Colony Flow Level 549 Walkthrough Solution & Guides | How to solve Colony Flow 549

Guide By Liam Stone
Updated on July 30, 2026
The video above covers the entire Level 549 solution. Watch it if you want to skip the article and jump straight to the answer.
Video doesn't match your screen?
Game updates frequently scramble layouts! Try our AI Screenshot Solver first to find your exact board instantly, or report broken guides to our team.
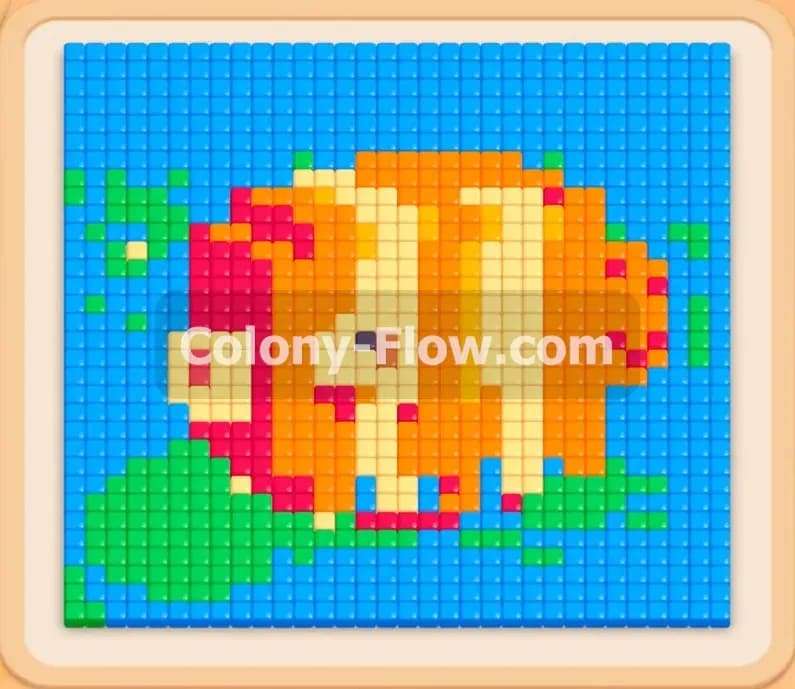
I just finished playing Colony Flow Level 549 and I am ready to walk you through exactly how to beat it. This level features a massive pixel art giraffe surrounded by green trees and a bright blue sky. You need to manage your tray space perfectly to avoid a dead end. I will show you which colors to pull first so your ants always have an open path to the food tiles.
Colony Flow Level 549 Overview
What You Are Working With
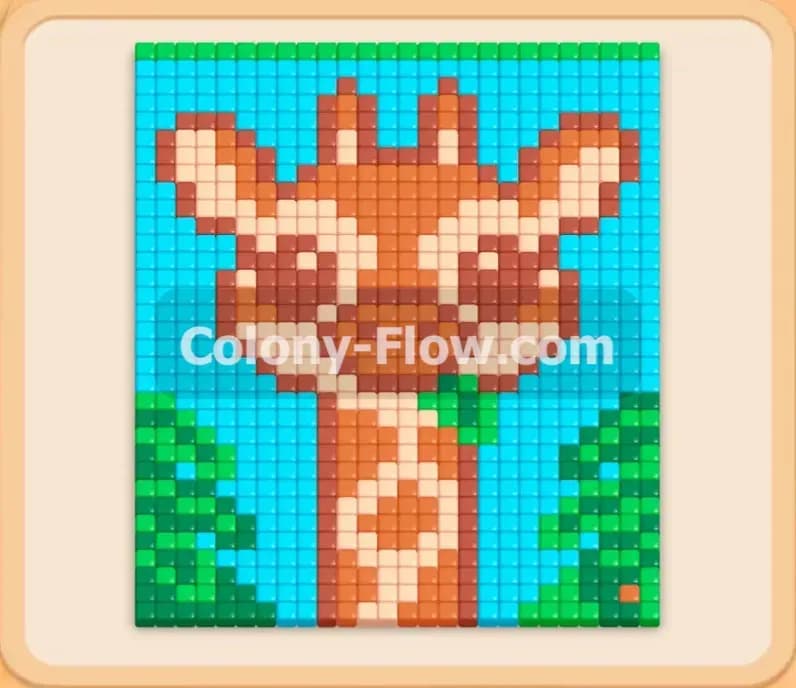
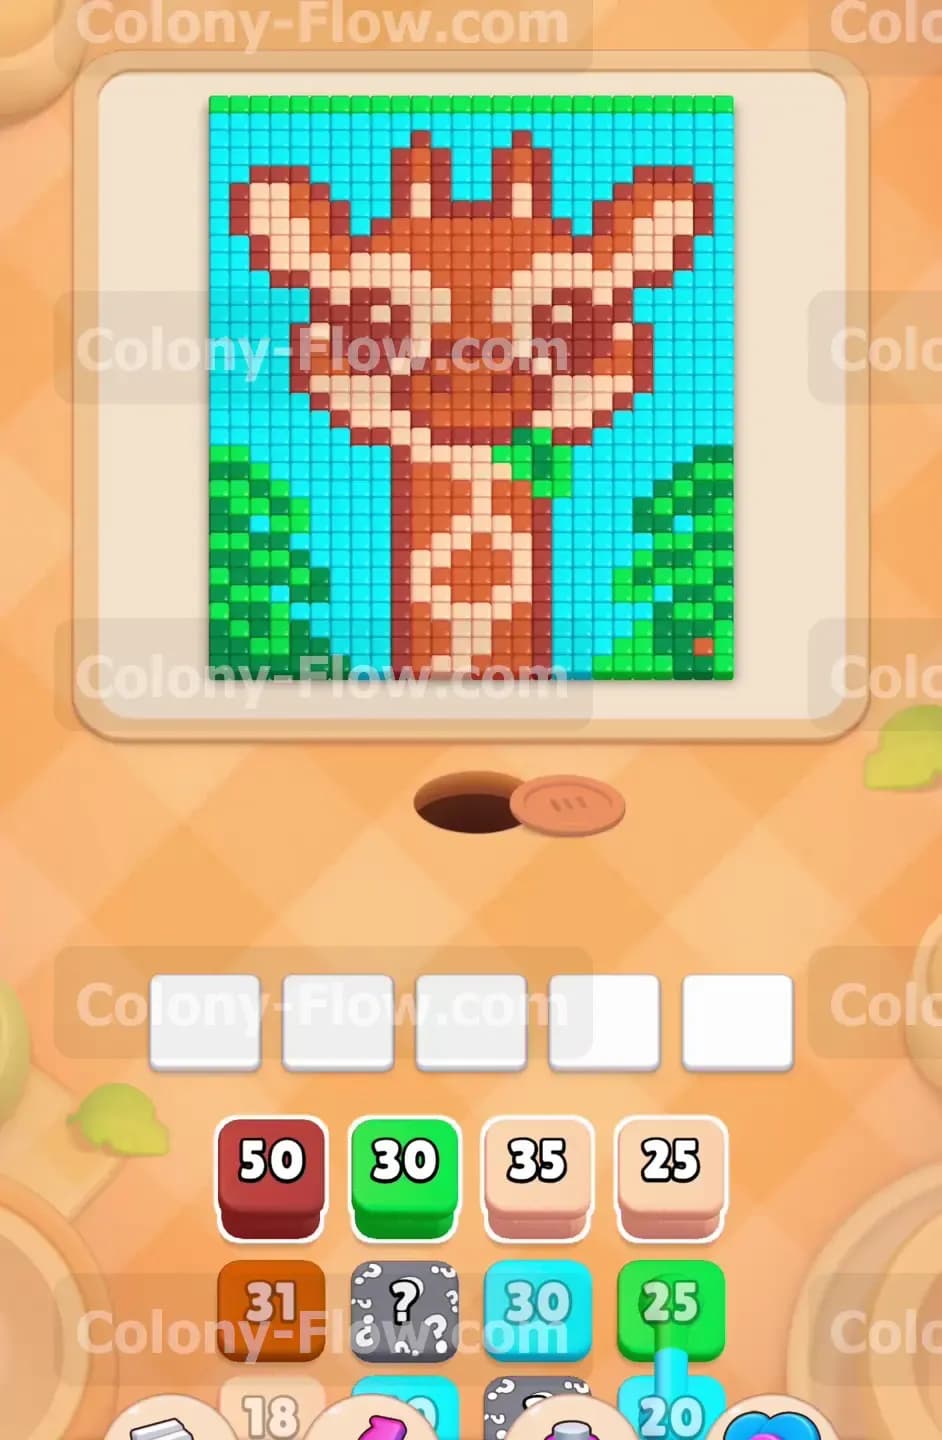
This level gives you a tall giraffe picture taking up the center of the board. The giraffe uses light brown, orange, dark brown, and dark red food tiles. The surroundings include a large blue sky background and thick patches of green bushes at the bottom left and bottom right corners. The tray at the bottom of the screen holds all the colored numbered blocks you need to feed the ants. You will encounter hidden boxes in your tray that conceal their true color until you clear the blocks resting above them. You will also deal with connected boxes. These connected boxes pull out of the tray together and sit in your waiting slots as a single linked group.
What It Takes to Clear Level 549 Board
You have to clear the entire pixel art picture from the outside in. The game gives you five waiting slots at the bottom of the screen. You pull numbered blocks from the tray into these slots to feed your ants. If you pull blocks that the ants cannot reach, those blocks will sit idle in the slots. If all five slots fill up and no ants can move to clean the board, you lose the level instantly. To win this board you must always keep a path open. You will clear the outer blue and green sections first so the ants can reach the intricate center details of the giraffe without jamming your tray.
Colony Flow Level 549 Step by Step Solution
Step 1: Clear the outer blue sky background to open the board
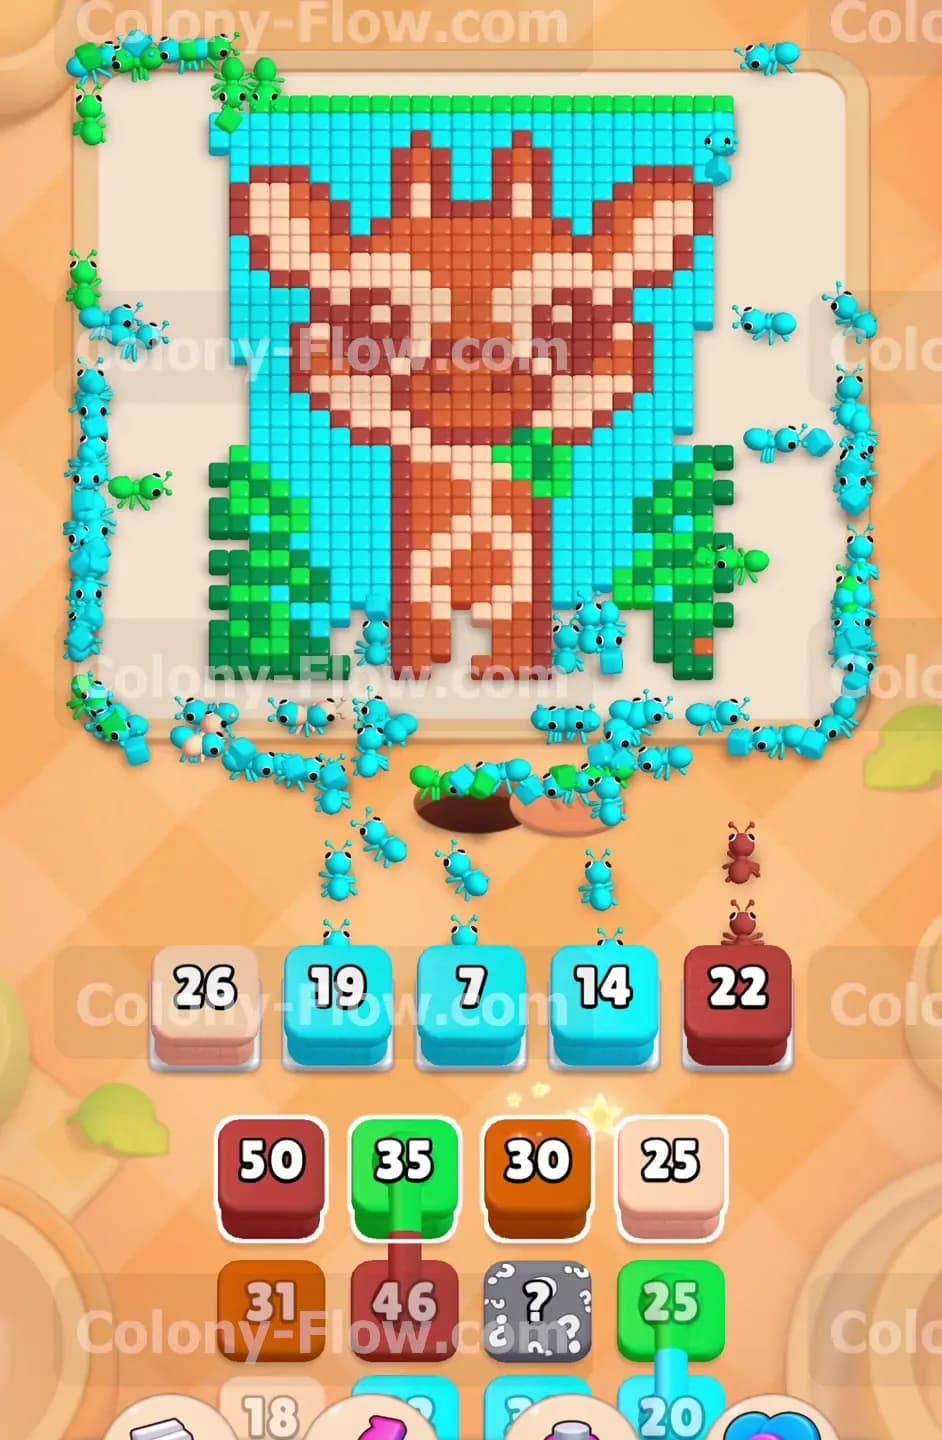
The blue sky touches the outer edges of the board. This makes it the only safe place to begin your puzzle. Pull the initial blue blocks from the tray into your waiting slots. Watch the ants stream out of the nest hole and march up the left and right sides to eat the blue tiles. The numbers on your blue blocks will count down quickly as the ants grab the food and clear the path. Do not pull any orange or light brown blocks during this opening sequence. You will see a dark red block with a value of 50 in your tray, but you must completely ignore it right now. The ants cannot reach the center of the giraffe yet. Pulling those interior colors would permanently trap them in your waiting slots. Keeping your slots free of unplayable colors is the only way to survive these first few moves.
Step 2: Pull the dark red and dark brown blocks for the outer giraffe details
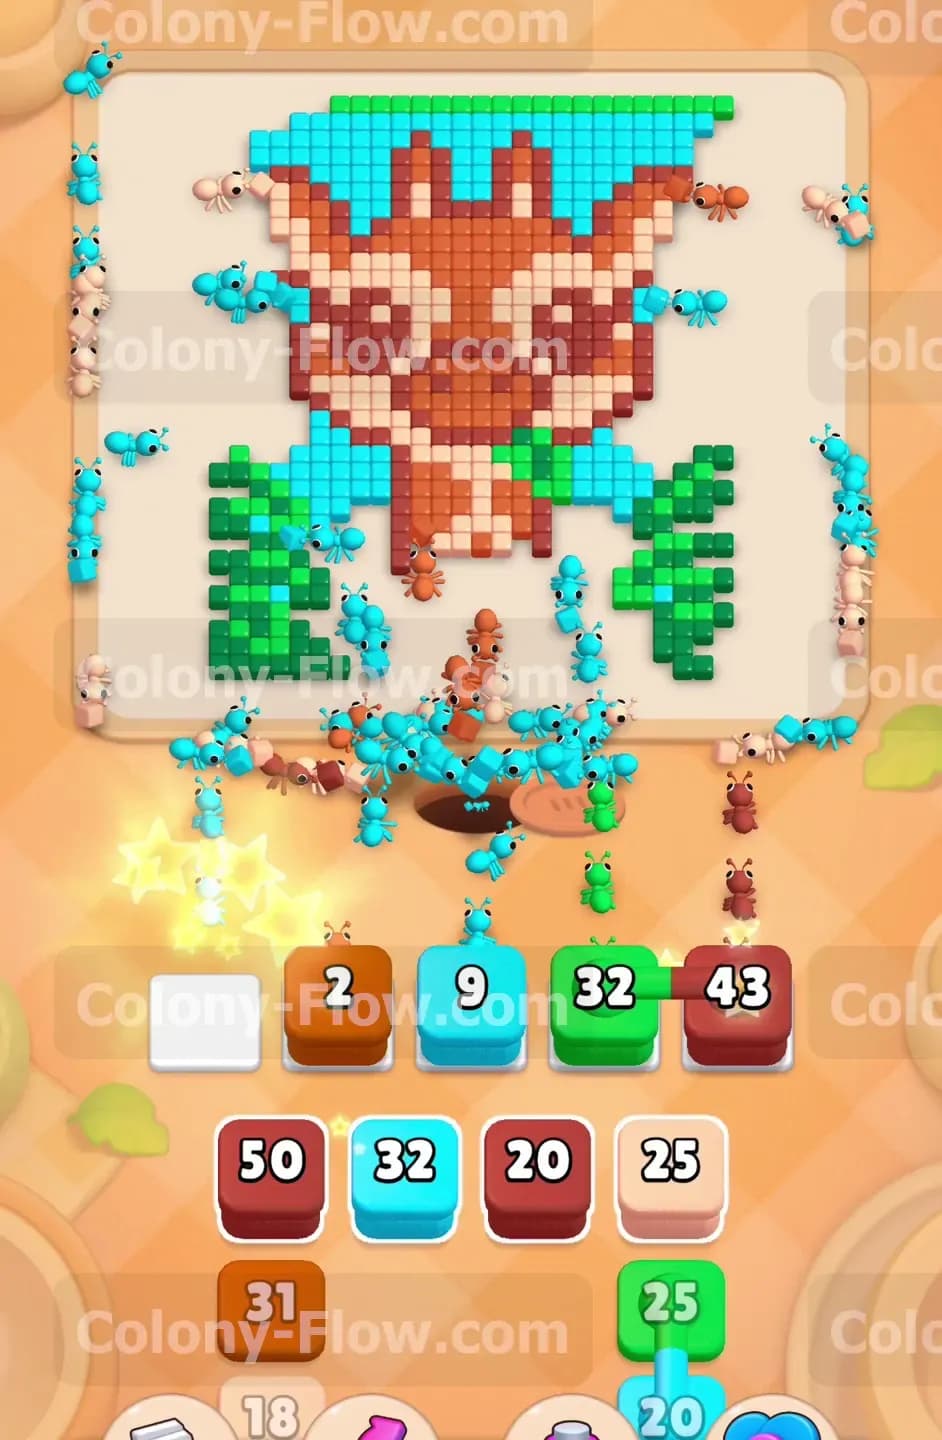
Once the ants remove a large portion of the blue sky, the top edges of the giraffe become fully exposed. The ears and the top horns feature dark red and dark brown tiles. Pull a dark brown block and a dark red block into your empty slots. The ants will climb up the newly cleared empty space and start chewing on the dark red spots and the dark brown outlines. You still have a few blue blocks left in your tray. Pull another blue block with a value of 9 or 14 to keep a separate team of ants working on the remaining sky background. This dual approach keeps the ants flowing continuously toward multiple targets. You maintain an active board and prevent any single color from blocking your progress as the numbers drop.
Step 3: Deploy the green blocks to clear the bottom bushes
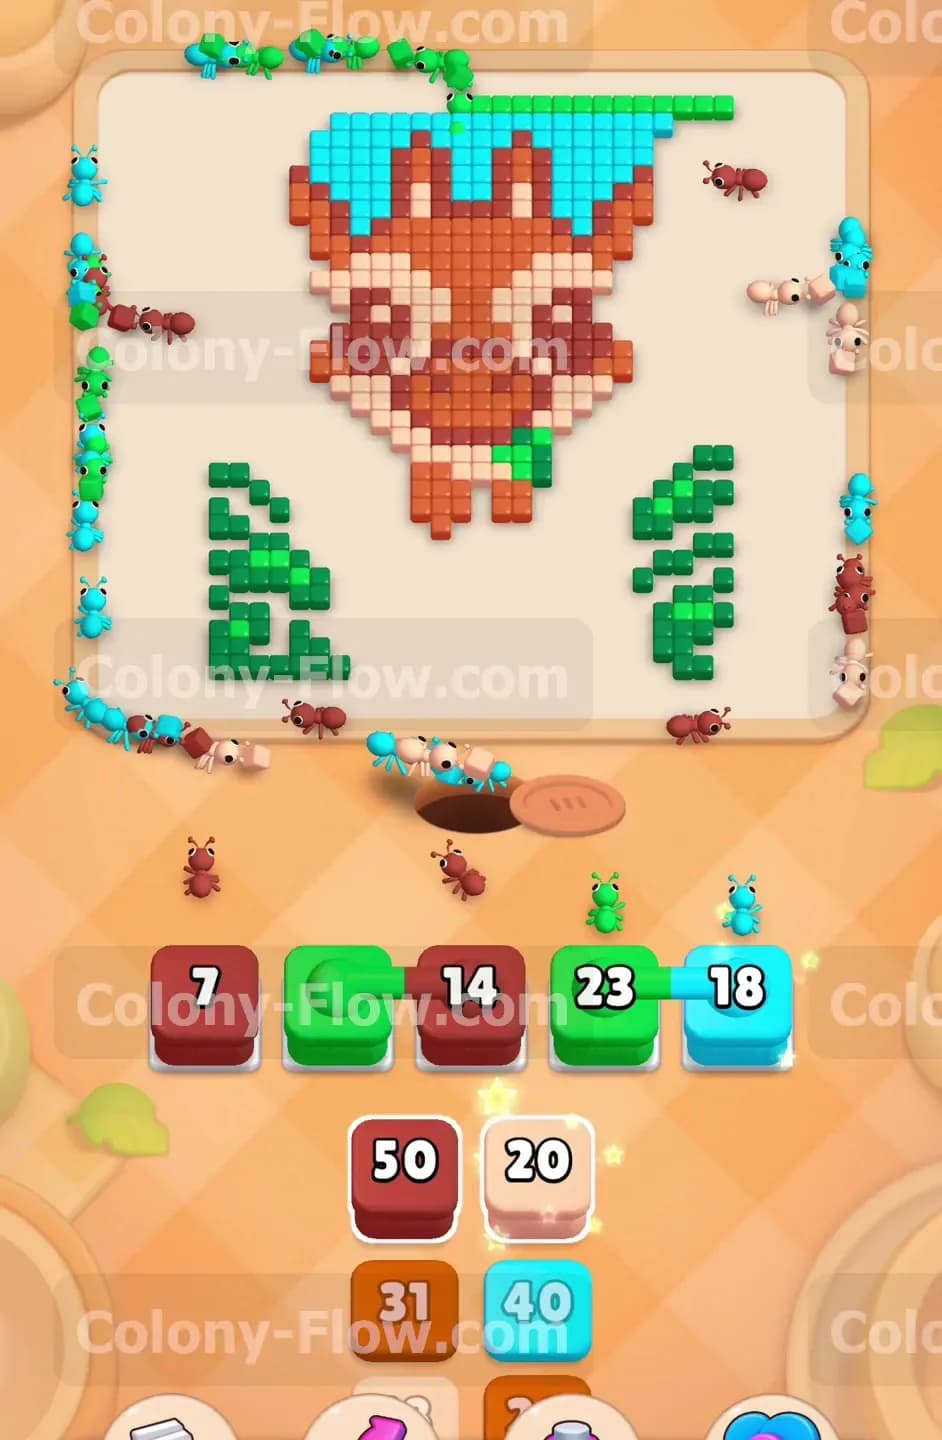
The bottom left and bottom right corners of the board contain thick green bushes. Now that the ants have cleared the outer blue sections along the borders, they can walk directly to these green tiles. Pull a large green block from the tray. You will also notice connected green boxes appearing in your tray. Pull these connected boxes into your slots. They will take up multiple spaces but they clear out the green bushes very efficiently. The ants will swarm the number 32 green block and rapidly shrink the bushes. Your ants will split their attention between the green bushes at the bottom and the dark red spots at the top of the giraffe. Splitting their attention ensures your waiting slots empty out before they can fill up and ruin your run.
Step 4: Attack the light brown and orange sections of the lower neck
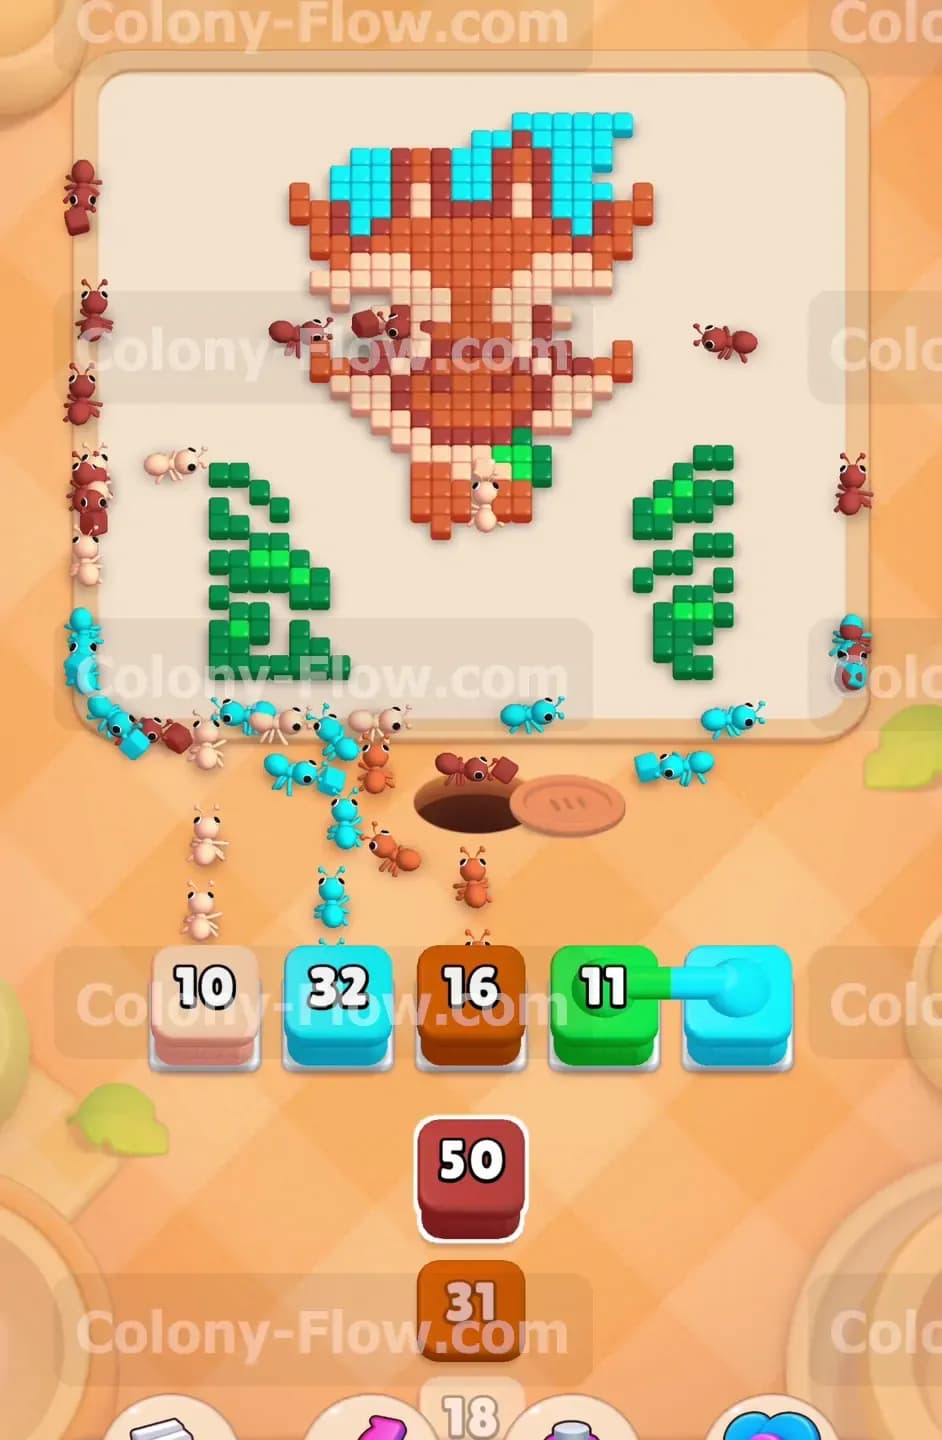
With the green bushes shrinking and the blue sky mostly gone, the entire lower half of the giraffe neck is completely accessible. Now is the perfect time to pull the light brown and orange blocks. Start with a light brown block to clear the outer boundary of the neck. Follow that immediately with an orange block to clear the inner neck pattern. The ants now possess a short and direct path from the nest hole straight up into the giraffe body. The numbers on your light brown blocks will drop extremely fast. Just make sure you do not pull too many orange blocks at once. You want to clear the light brown edges first so the ants can reach every single orange tile without hitting a solid wall of uncleared food.
Step 5: Reveal the hidden boxes and finish the remaining sky
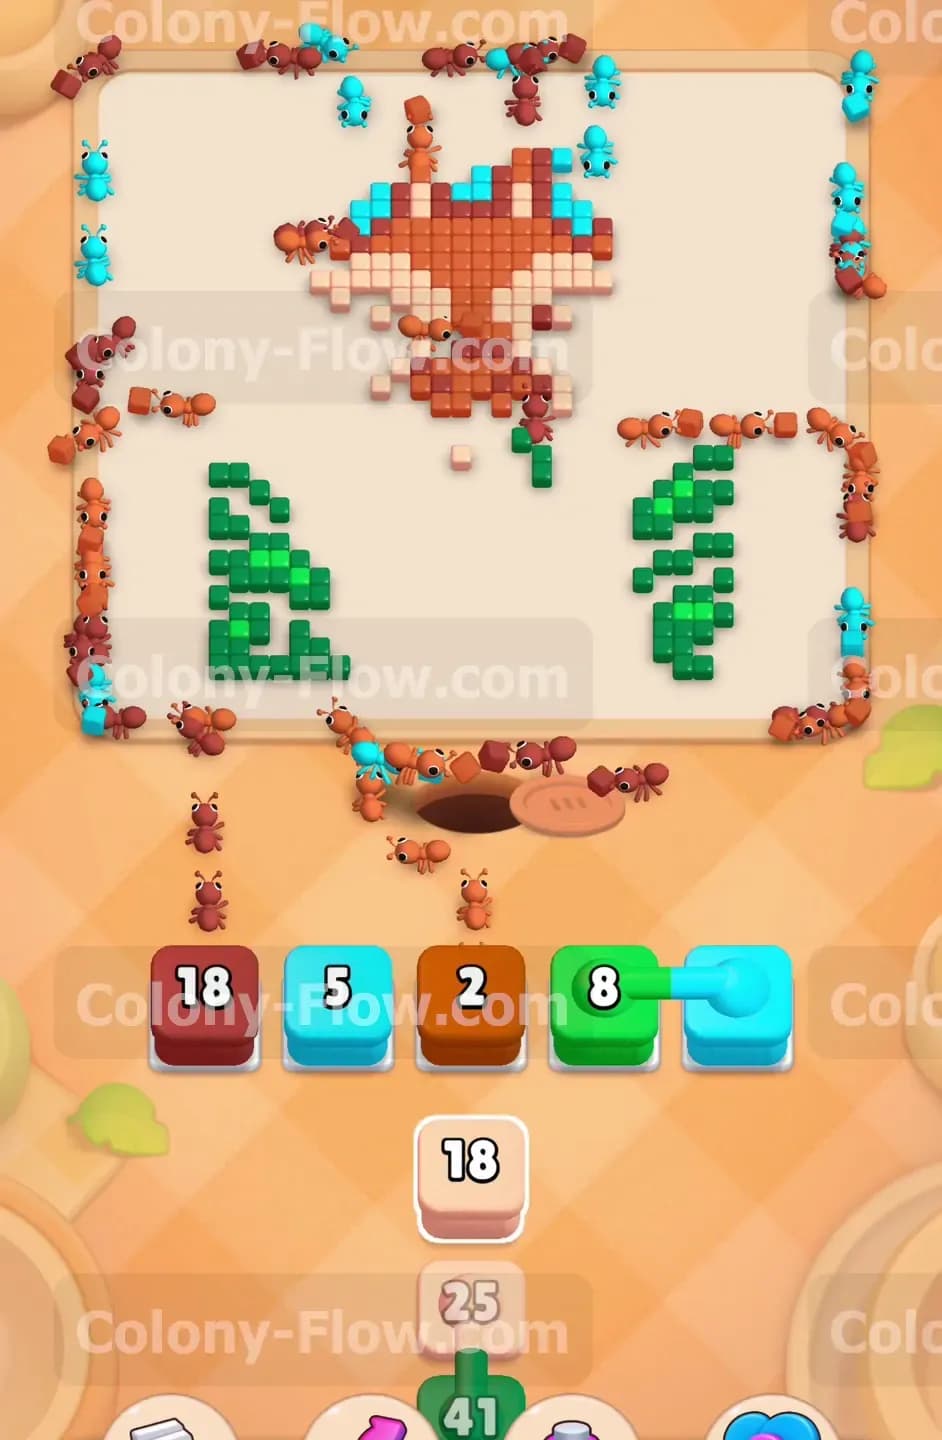
As you empty out the top layers of your tray, the hidden boxes finally reveal their true colors. Many of these hidden boxes turn out to be blue. Pull these newly revealed blue blocks into your active slots. You will also get a set of connected blue boxes. Send them up to the top of the board to clean up the very last stubborn pieces of the blue sky trapped between the giraffe ears. At the same time, pull another dark red block to finish off the dark red spots on the main face. Balancing the newly revealed hidden boxes with the newly exposed face tiles keeps your board moving and guarantees your tray stays fluid. You are now perfectly set up for the final push.
Step 6: Focus entirely on the main orange face of the giraffe
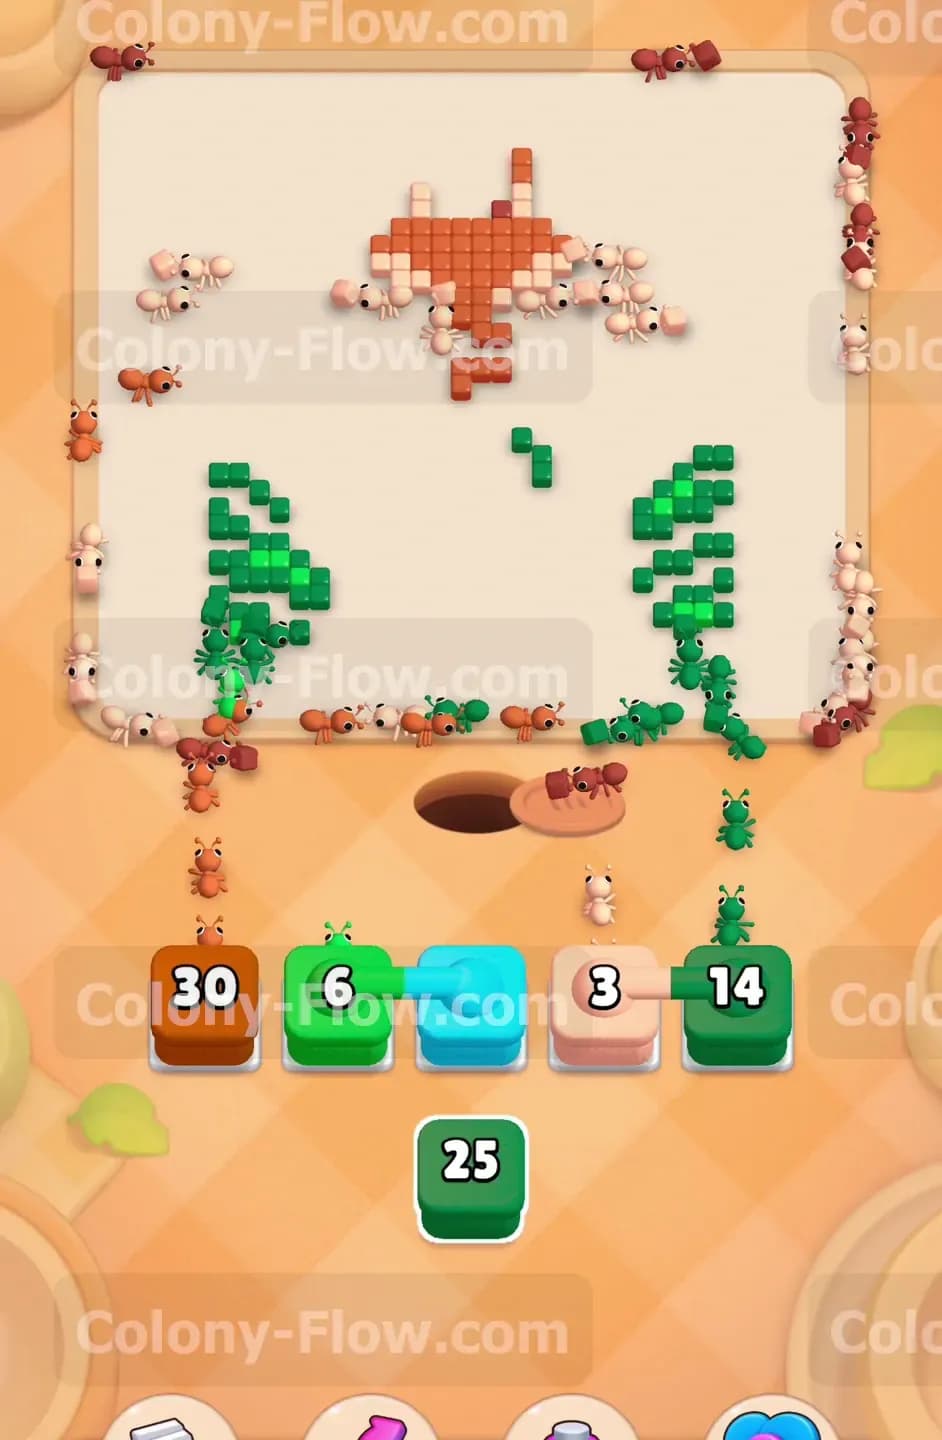
The board is now mostly empty except for the large orange face, a few green bush remnants, and some light brown snout tiles. You will see a massive orange block in your tray with a high number. Pull it directly into your waiting slots. A huge swarm of ants will rush straight up the middle of the empty board to devour the main face. This is a great moment because the ants have absolutely zero obstacles blocking their path. Pull a smaller green block to keep a separate stream of ants working on the last few green tiles at the bottom right. Keeping two different colors active helps you process your remaining tray blocks much faster than doing them one by one.
Step 7: Empty the final tray blocks to complete the picture
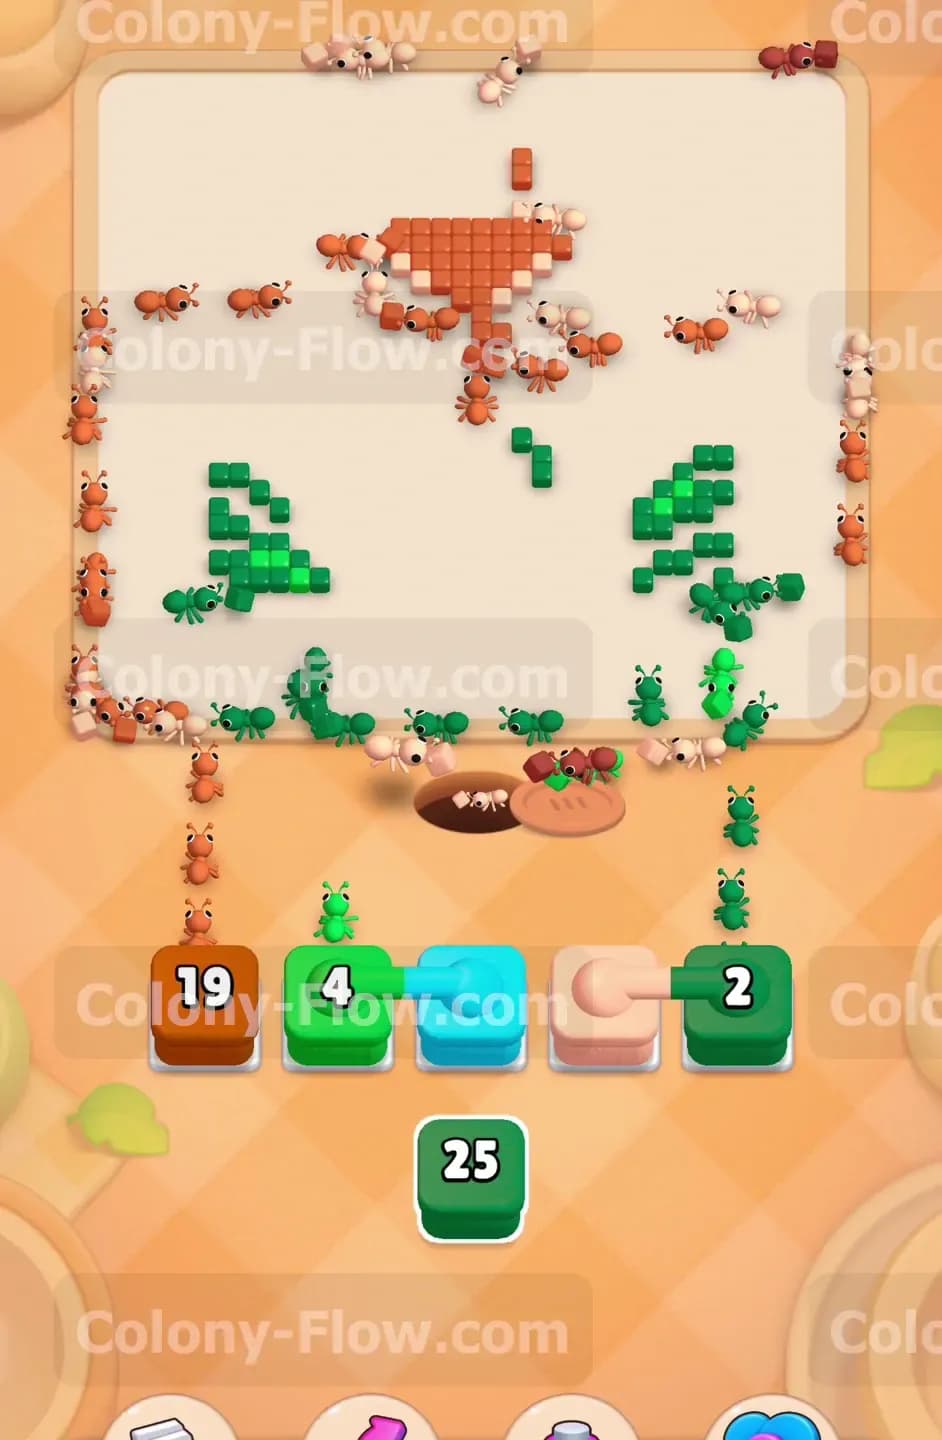
You are down to the very last few tiles on the board. The giraffe snout still has a few light brown pixels remaining. A tiny cluster of green bushes sits isolated on the right side. Pull the final light brown block and the final green block from your tray. The ants will make incredibly quick work of these last scattered food tiles. Your waiting slots will sit completely empty as the numbers drop down to zero. The ants will carry the final pieces of food back down to the nest hole. The board is now completely clear and you have successfully beaten this tricky puzzle. You can sit back and watch the final clear animation.
Final Thought
Beating this puzzle comes down to strict slot management and knowing exactly when to pull each color. You have to respect the outer boundaries of the picture before you dive into the center details. If any particular move gives you trouble, I highly encourage you to watch the video above this article. Seeing the ants clear the exact paths in real time makes the whole strategy incredibly easy to follow.