Colony Flow Level 86 Walkthrough Solution & Guides | How to solve Colony Flow 86

Guide By Liam Stone
Updated on July 11, 2026
The video above breaks down Level 86 visually, so skip the text below if you'd rather watch.
Video doesn't match your screen?
Game updates frequently scramble layouts! Try our AI Screenshot Solver first to find your exact board instantly, or report broken guides to our team.
Welcome to Colony Flow Level 86 where we take on a bright pixel art jester hat puzzle. This board is packed with different colors and requires careful slot management to avoid an early game over. I played through this one a few times to find the safest route from the bottom rim of the hat all the way to the top corners. Follow my moves below to clear the board without clogging your waiting slots.
Colony Flow Level 86 Overview
What You Are Working With
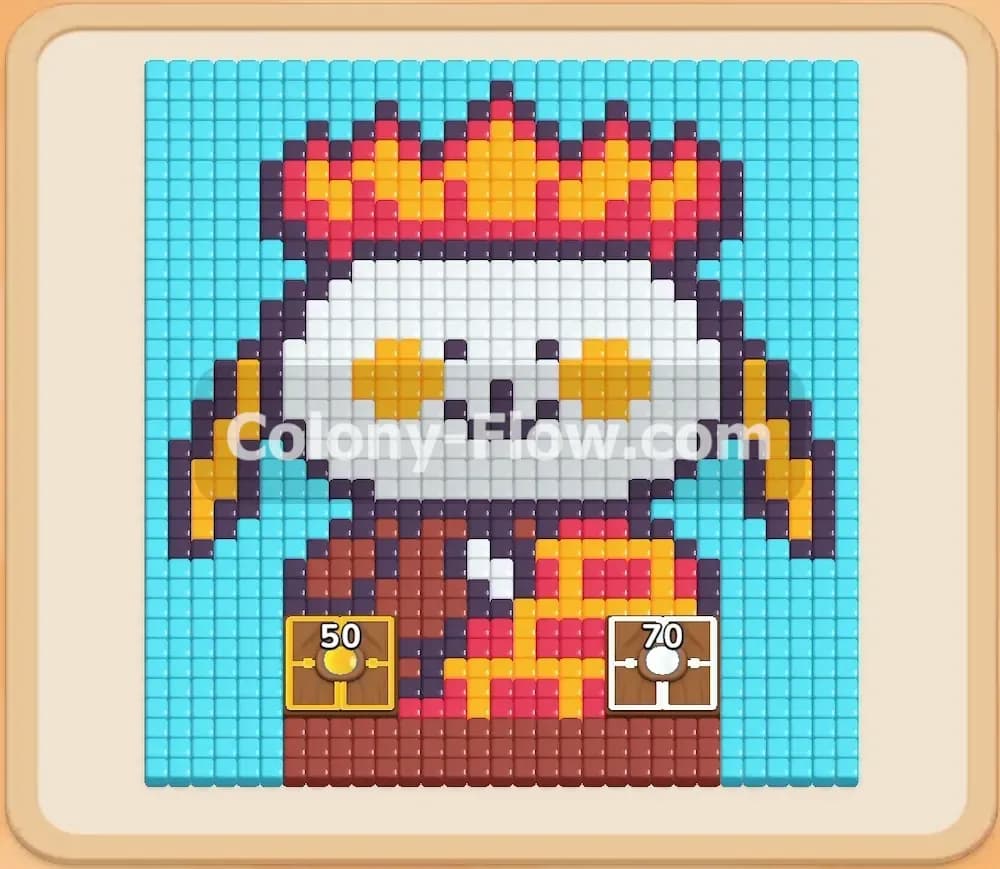
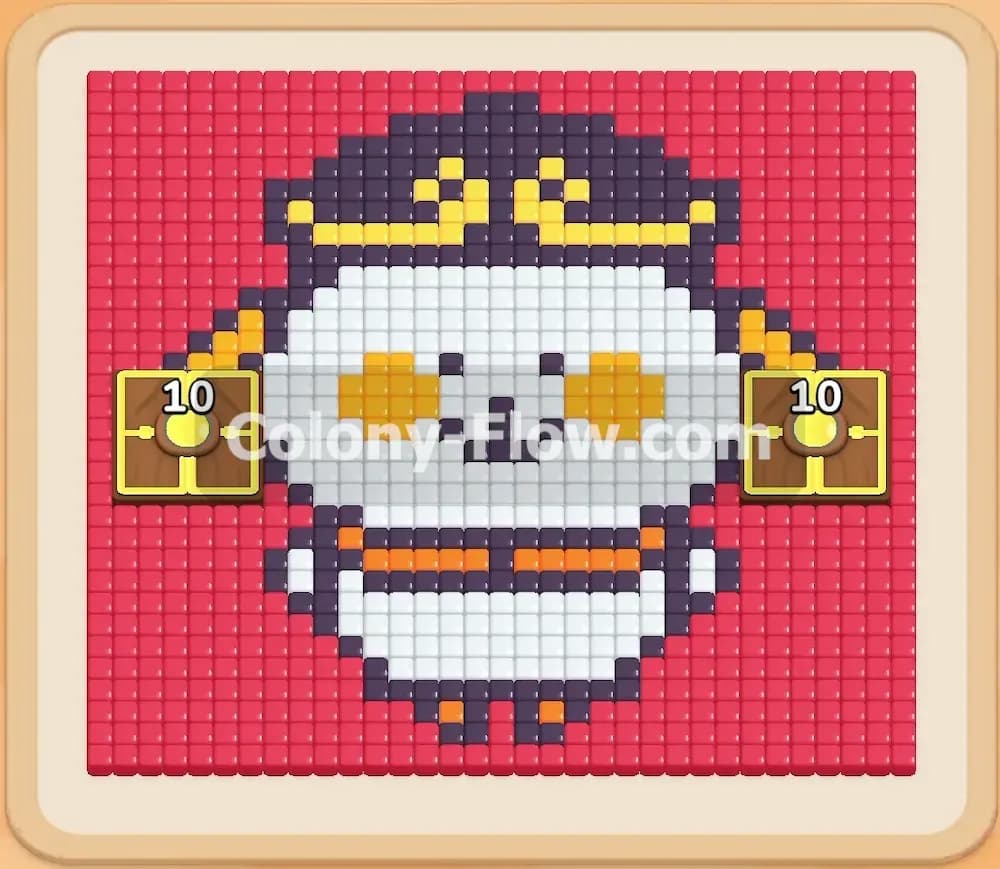
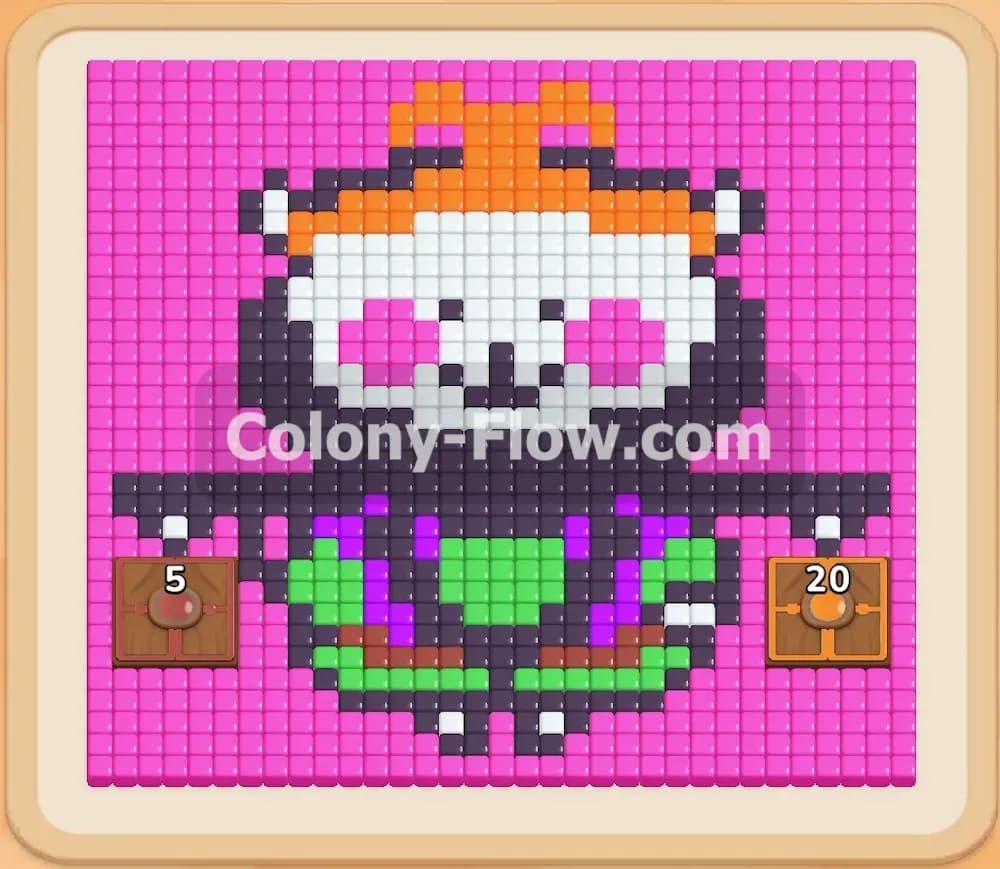
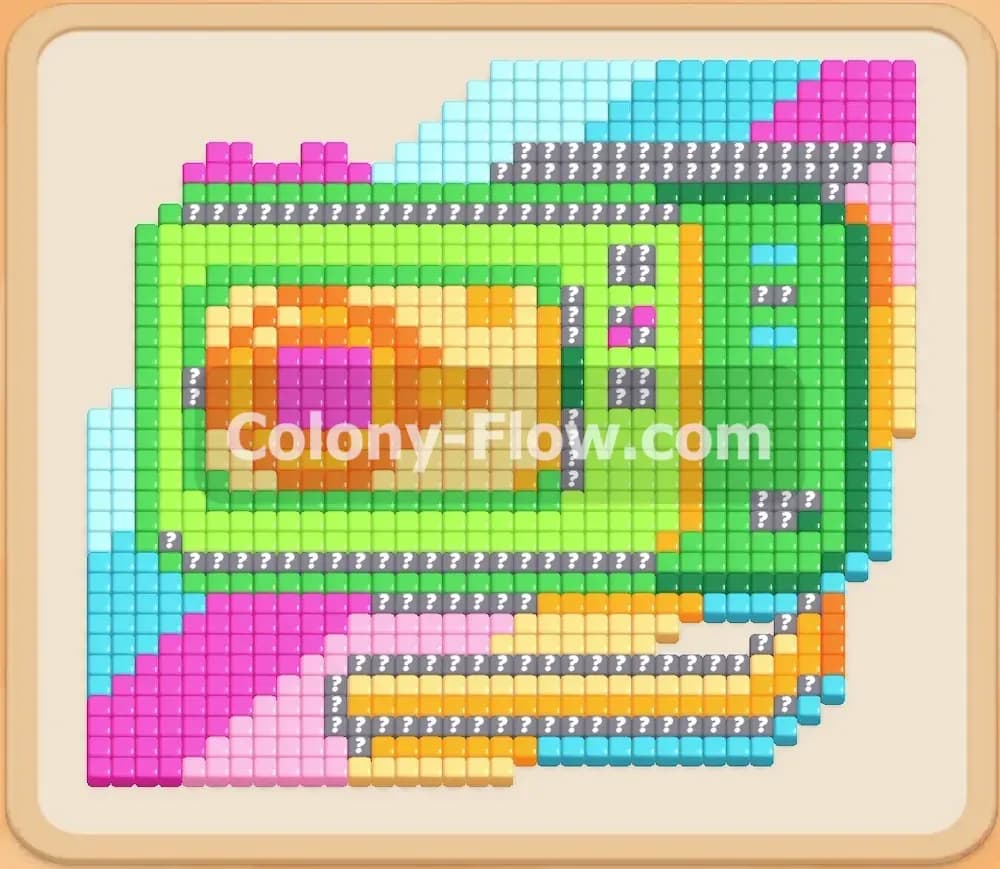
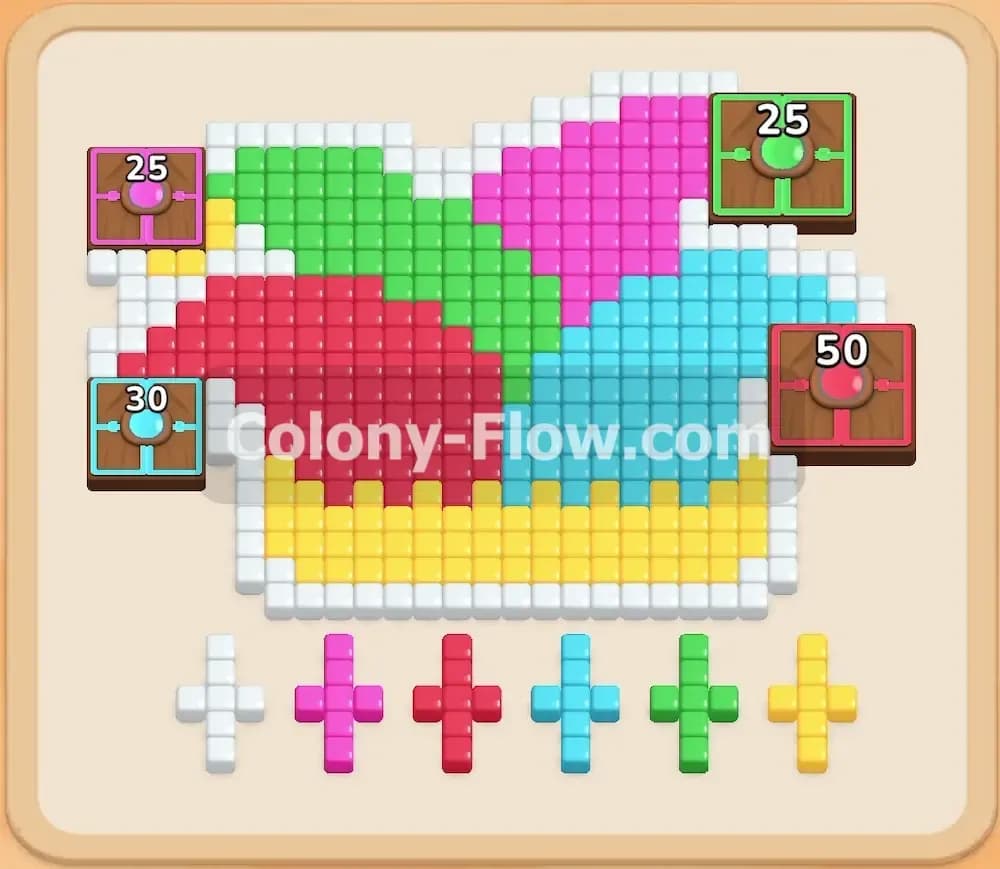
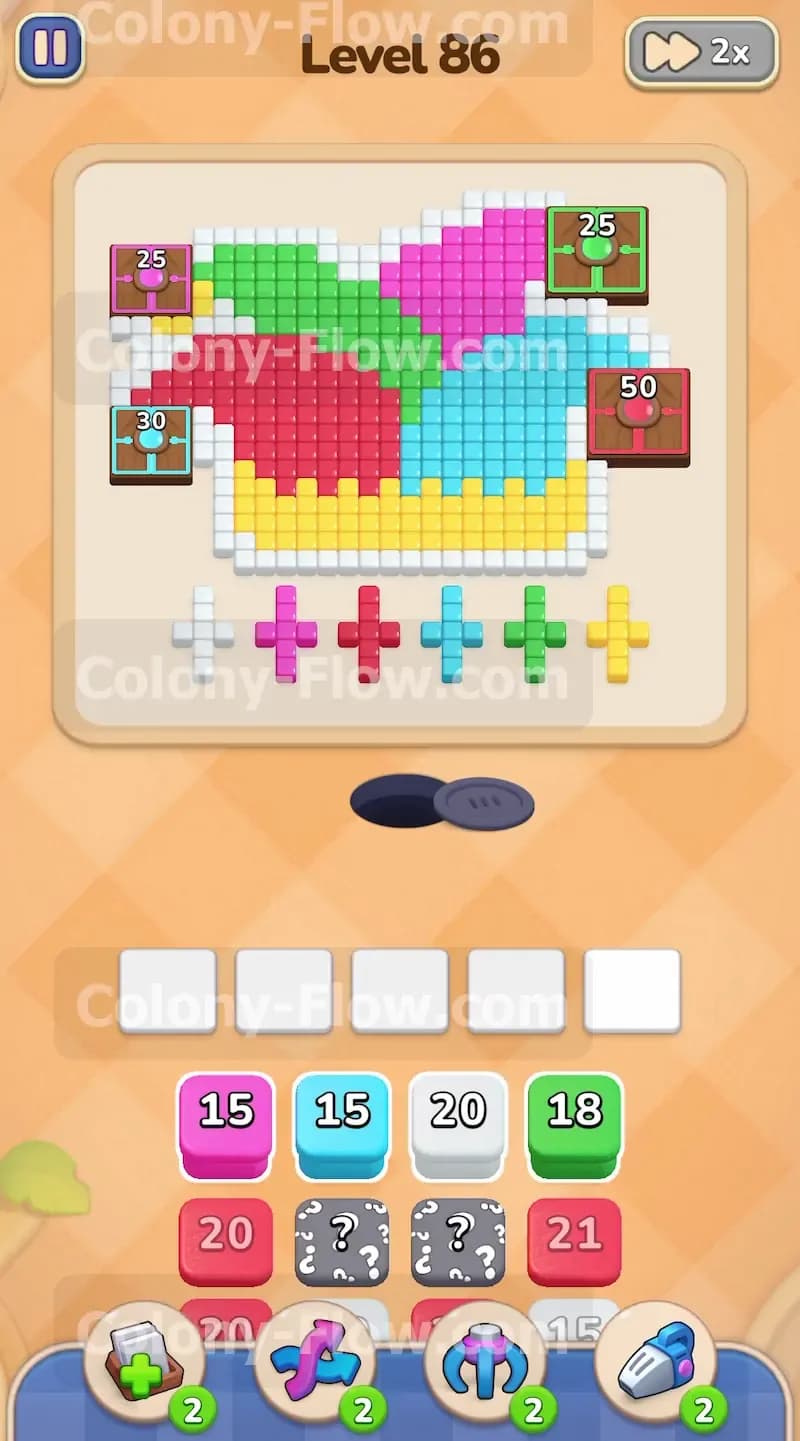
The board features a large pixel art jester hat. The bottom edge is a mix of yellow tiles and white cross shapes directly above the nest hole. Above the bottom rim you will see two massive middle sections. The left middle section is purely red and the right middle section is purely blue. Above those you have a pink section in the top left corner and a green section in the top right corner. You will also notice large numbered food blocks embedded directly in the picture. These big crates work exactly like regular food tiles but they require a heavy continuous stream of ants to count down to zero. The tray at the bottom holds your colored numbered blocks. You will see some hidden boxes marked with question marks. These hidden boxes keep their colors a secret until you clear enough space for them to move. You will also deal with connected boxes. These are blocks joined together by a thick visual line that must move to the waiting slots as a single group.
What It Takes to Clear Level 86 Board
Winning this level means feeding your ants every single piece of the jester hat. You must clear the bottom yellow and white rim first to open physical paths to the upper red and blue sections. Your ants stream out of the nest hole and need open lanes on the board to reach matching food colors. If you pull blocks from the tray and the ants have no open path to reach matching food your waiting slots will fill up immediately. Filling all five slots with no valid moves will instantly fail the level. Clearing the board safely requires matching your tray block colors to the specific sections of the hat you currently have open. You must wear down the large numbered blocks by feeding them enough ants of the matching color while keeping at least one lane active at all times.
Colony Flow Level 86 Step by Step Solution
Step 1: clear the bottom rim to open the board up
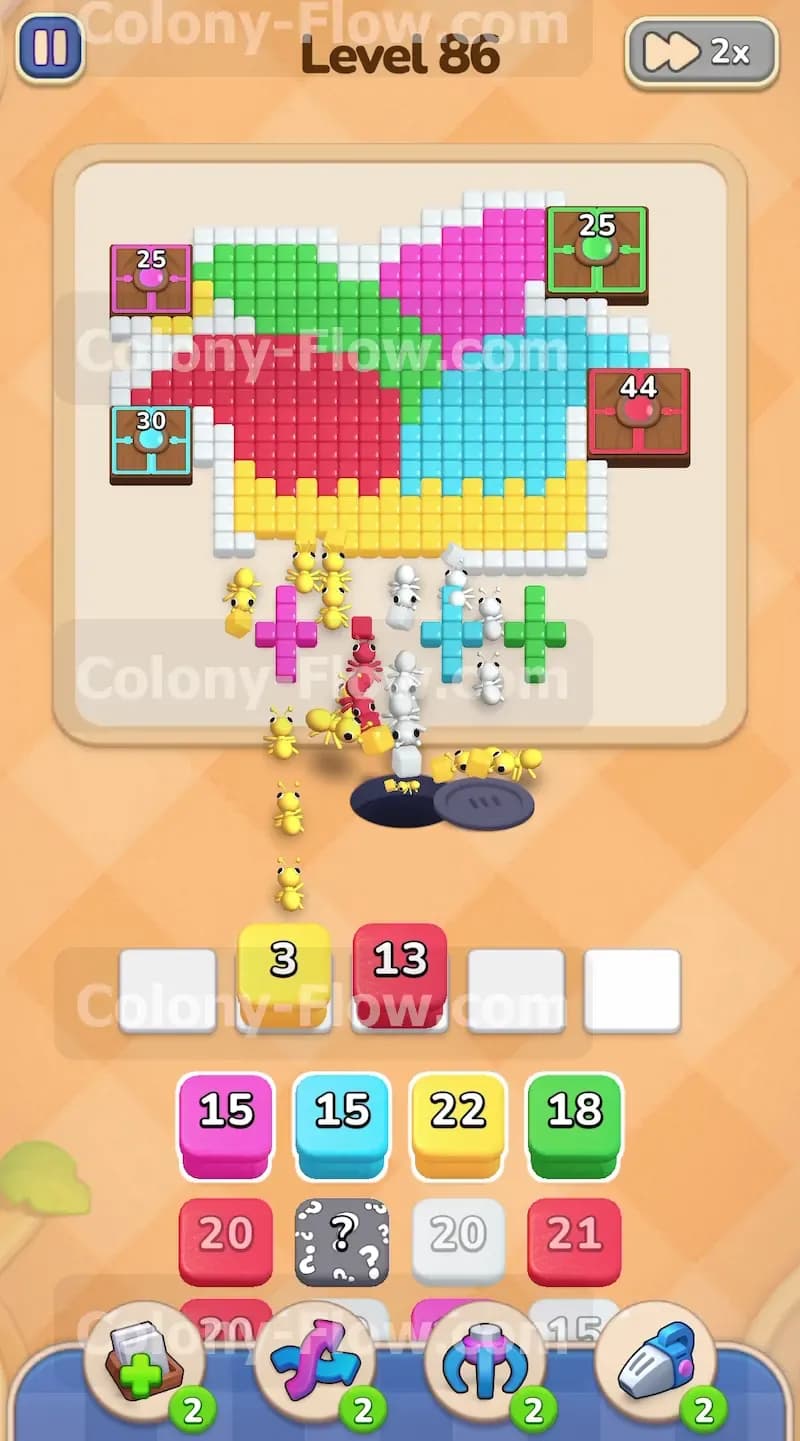
The only accessible food tiles at the start of the level are the yellow blocks and white cross shapes at the very bottom of the hat. Look at your starting tray and find the yellow block and the white block. Pull the yellow block up to your waiting slots. Your yellow ants will immediately stream out of the nest and start eating the yellow parts of the bottom rim. Bring up the white block right after that. The white ants will target the white cross shapes along the edge. You must wait for these ants to finish eating the bottom row completely. Do not pull any other colors yet because they have no open path on the board. Pulling a red block or a blue block right now would trap it in the waiting slots and ruin your run. Keep your slots empty while the yellow and white ants do their necessary cleanup work.
Step 2: send ants into the red and blue middle sections
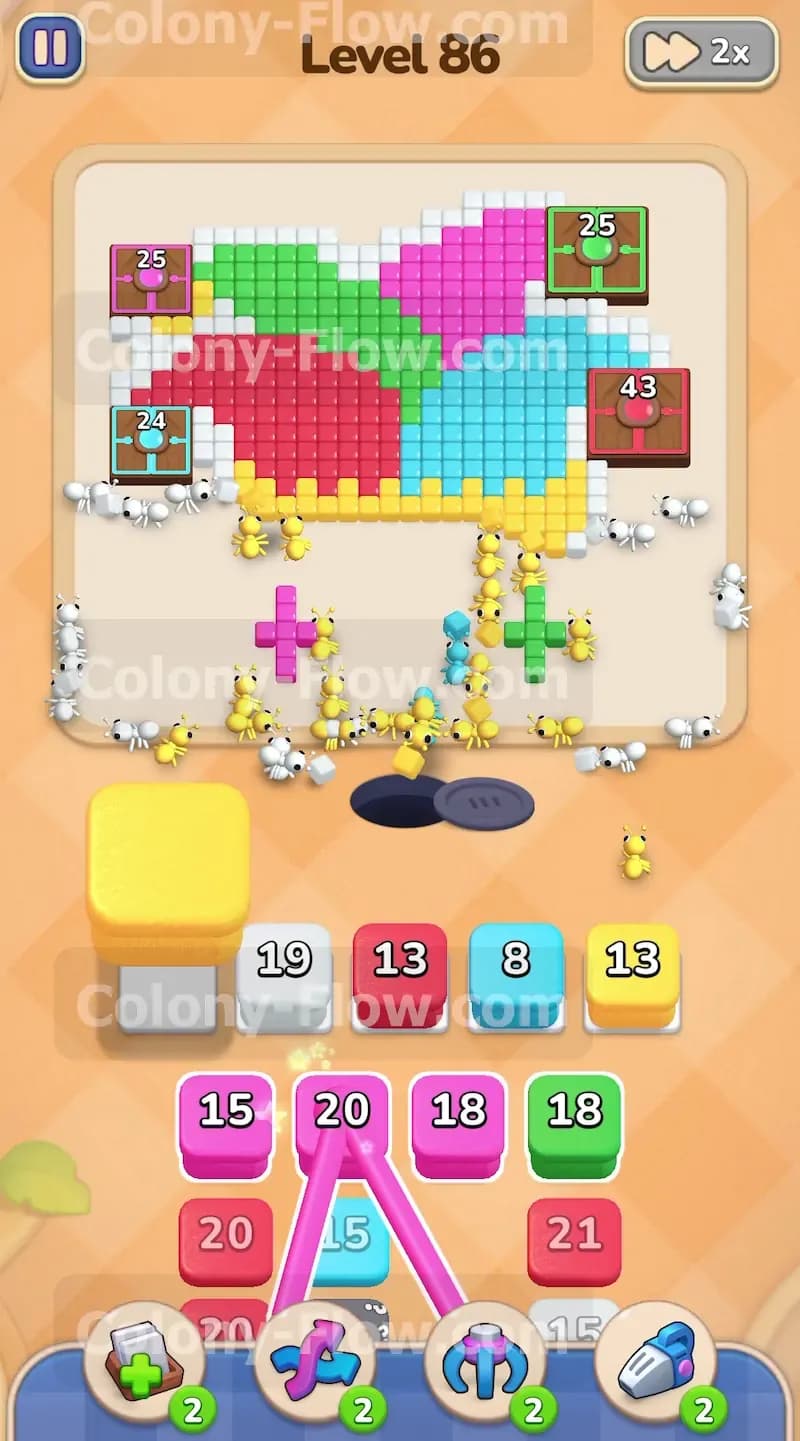
Once the bottom rim is gone the massive red and blue sections become fully exposed. You now have open paths on both the left side and the right side of the board. Look at your tray and select a red block to send red ants up the left side of the hat. Next select a blue block to send blue ants up the right side. The ants will split perfectly at the nest hole and march up their respective sides. Watch the countdown numbers on your tray blocks drop as the ants consume the board. When your first red block empties you should bring up another red block to keep the momentum going. Do the exact same thing for the blue side. You want to maintain a steady active flow of red and blue ants to completely hollow out the middle of the jester hat.
Step 3: reveal the hidden boxes in your tray
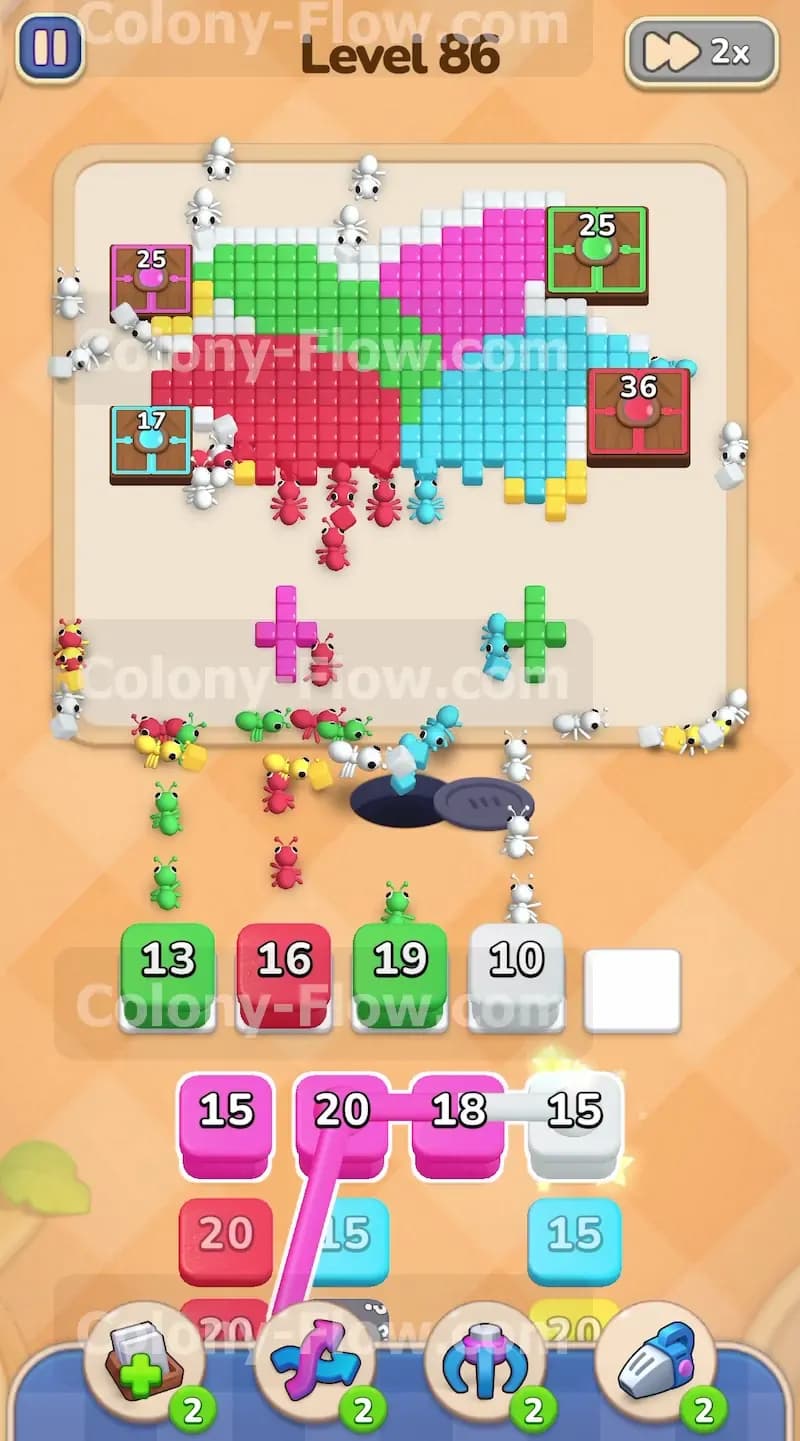
As you use up the visible red and blue blocks in your tray the hidden boxes will shift forward into view. These hidden boxes have big question marks on them and you cannot know their true color until they are ready to move. Keep clearing the red and blue sections on the board to make room in your tray. When a hidden box reveals itself it will show a specific color like white or green. Evaluate the board immediately to see if that newly revealed color has an open path. If the hidden box turns out to be white you should look for any remaining white shapes near the bottom or middle. Pull the newly revealed block up to the waiting slots only if its target food is exposed and reachable.
Step 4: manage the connected pink boxes safely
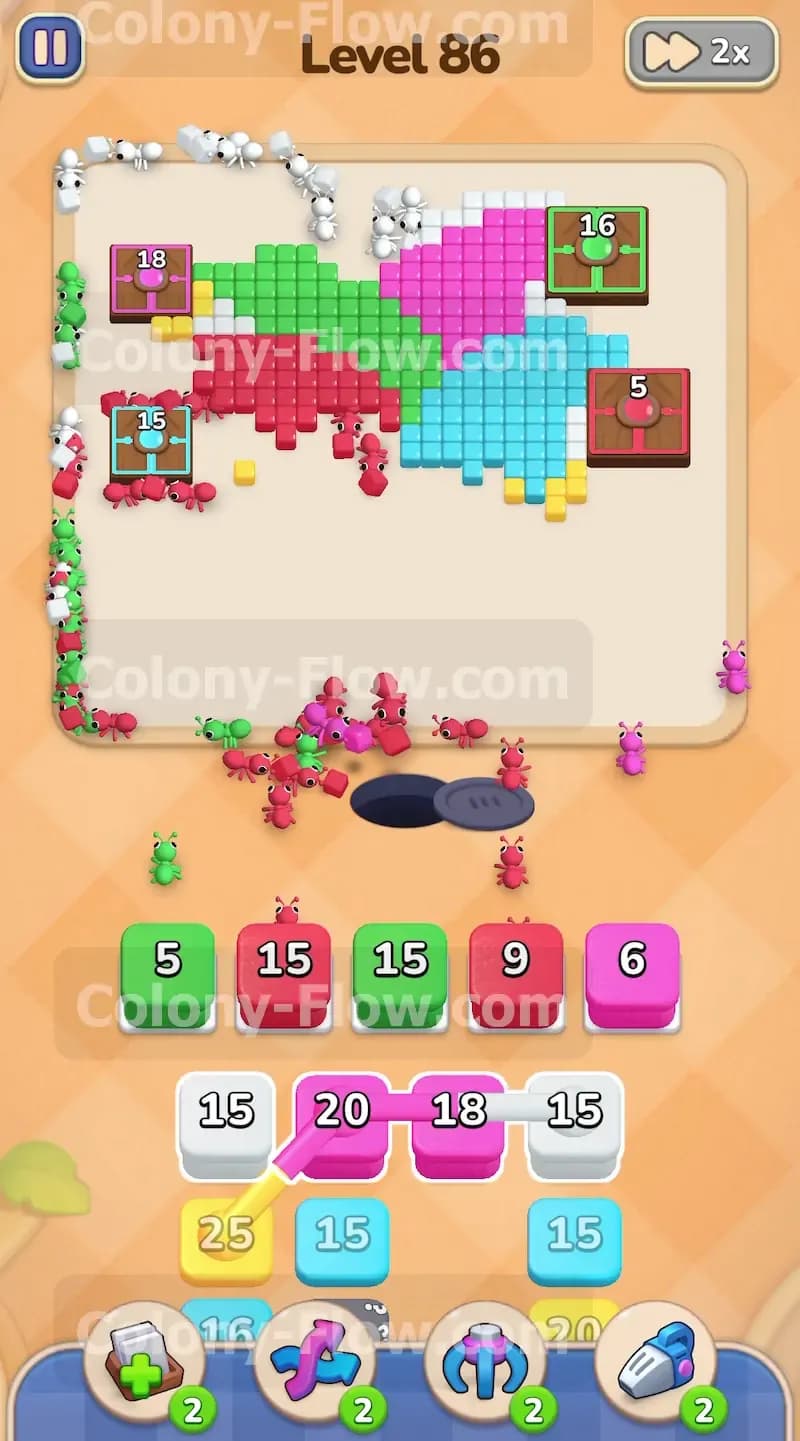
Your tray contains a pair of connected boxes colored pink. These two pink blocks are linked together and will move to your waiting slots as a single large unit. Because they are linked they will occupy two of your five precious waiting slots the moment you tap them. You must ensure you have two completely empty slots before you touch them. Furthermore you must make sure the pink section at the top left of the hat is actually reachable. Wait until your red ants have cleared enough of the left middle section to open a clear route. Once a path to the top left pink section opens up you can tap the connected pink boxes safely. The pink ants will march all the way up the left side and begin eating the top corner.
Step 5: wear down the large numbered green squares
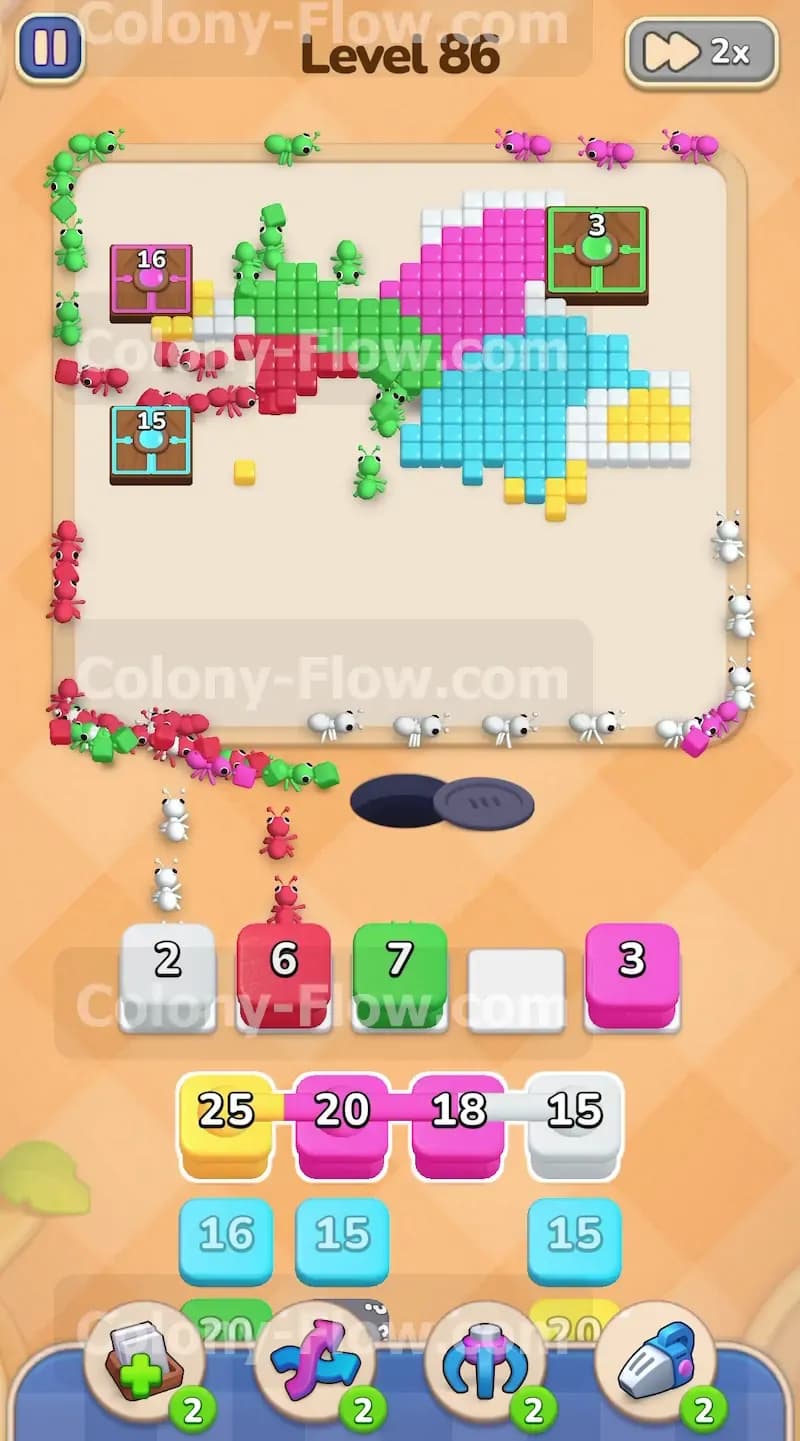
The top right section of the hat is entirely green. Within this green section is a large block with a big number on it taking up a lot of space. This big square requires a massive number of green ants to clear. Wait until your blue ants have eaten through the right middle section. Once a physical path to the top right opens you can start pulling green blocks from your tray. Bring up a green block and let the green ants travel up the right side. They will eat the smaller green tiles first and then swarm the large numbered green block. Keep an extremely close eye on your waiting slots. Only pull a second green block if you have enough room and the first green block is almost completely empty.
Step 6: clear the remaining large pink block
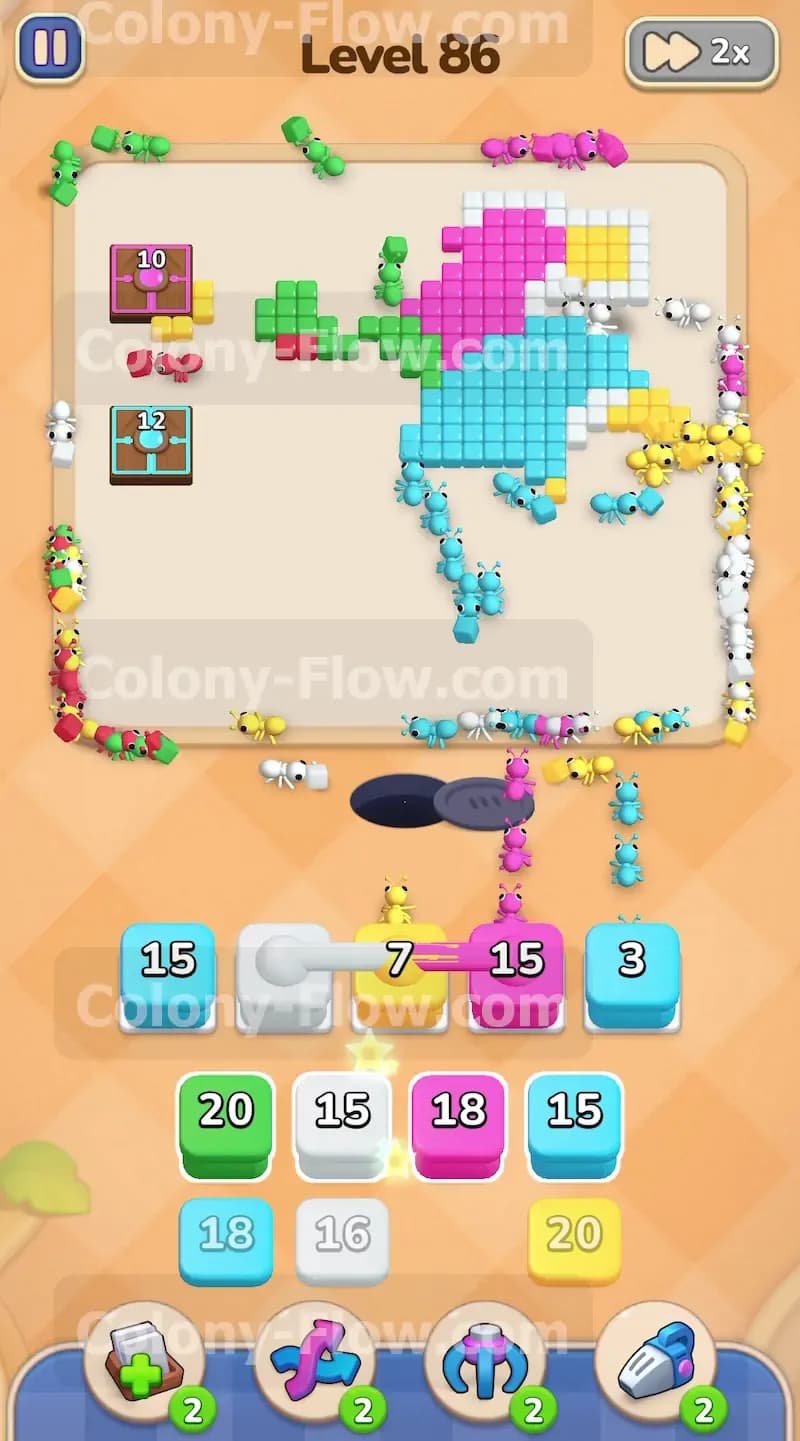
Just like the green section the top left pink section has a large numbered block. Your earlier connected pink boxes started the job but you will definitely need more pink ants to finish it off. Look at your tray for any remaining individual pink blocks. Make sure your waiting slots are not clogged with colors that cannot move. Pull a pink block up and let the ants travel up the left lane. They will converge on the large pink square and chip away at its remaining number. Let the ants work until the number hits zero and the block completely disappears from the screen. Your board should now look very empty with only a few scattered pieces left in the top corners and the middle edge.
Step 7: deploy the final connected boxes to finish the level
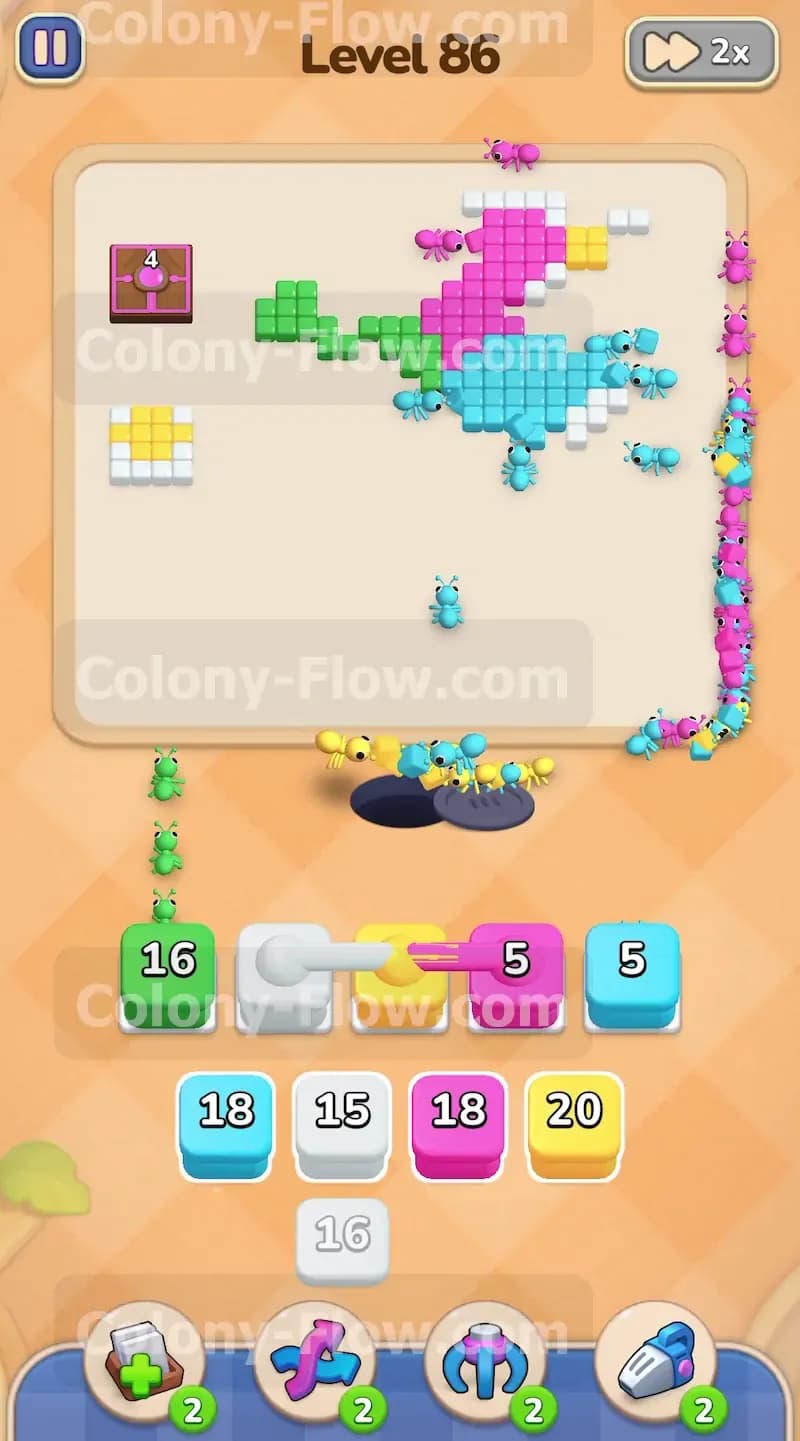
Near the very end of the level a set of connected boxes featuring white and yellow colors will appear in your tray. You might also have a few lingering individual blocks of various colors depending on exactly how your ants pathing went. Survey the remaining pixel art on the board carefully. You will see a small cluster of white and yellow tiles remaining in the center area. Check your waiting slots to ensure you have two open spaces for the final connected boxes. Pull the white and yellow connected boxes up. The ants will stream out and consume the last few tiles. Bring up any final single blocks needed to clear the very last pixels in the top corners. Once the final tile vanishes the ants will finish their march and you will win the level.
Final Thought
Playing this game requires immense patience and excellent slot management skills. You must resist the urge to tap blocks just because they are available in the bottom tray. Always secure a physical path on the board before you commit a block to your limited waiting area. This level really tests your ability to juggle the red and blue sides evenly before pushing into the pink and green corners at the top. If you find yourself getting stuck or filling your slots too quickly I highly recommend watching the video above this article. Seeing the timing of the moves in action can help you master the flow and beat the board on your next try.