Colony Flow Level 245 Walkthrough Solution & Guides | How to solve Colony Flow 245

Guide By Liam Stone
Updated on August 1, 2026
You can jump straight to the video above and watch the full Level 245 solution instead of reading on.
Video doesn't match your screen?
Game updates frequently scramble layouts! Try our AI Screenshot Solver first to find your exact board instantly, or report broken guides to our team.
Colony Flow Level 245 presents a strict puzzle that forces you to plan your moves around locked blocks in your tray. You are tasked with clearing a colorful pixel art scene of a yellow cat sitting in the grass, but hidden keys on the board dictate your progress. I found that managing the five waiting slots is a real challenge here because the tray remains restricted until you collect those keys.
Colony Flow Level 245 Overview
What You Are Working With
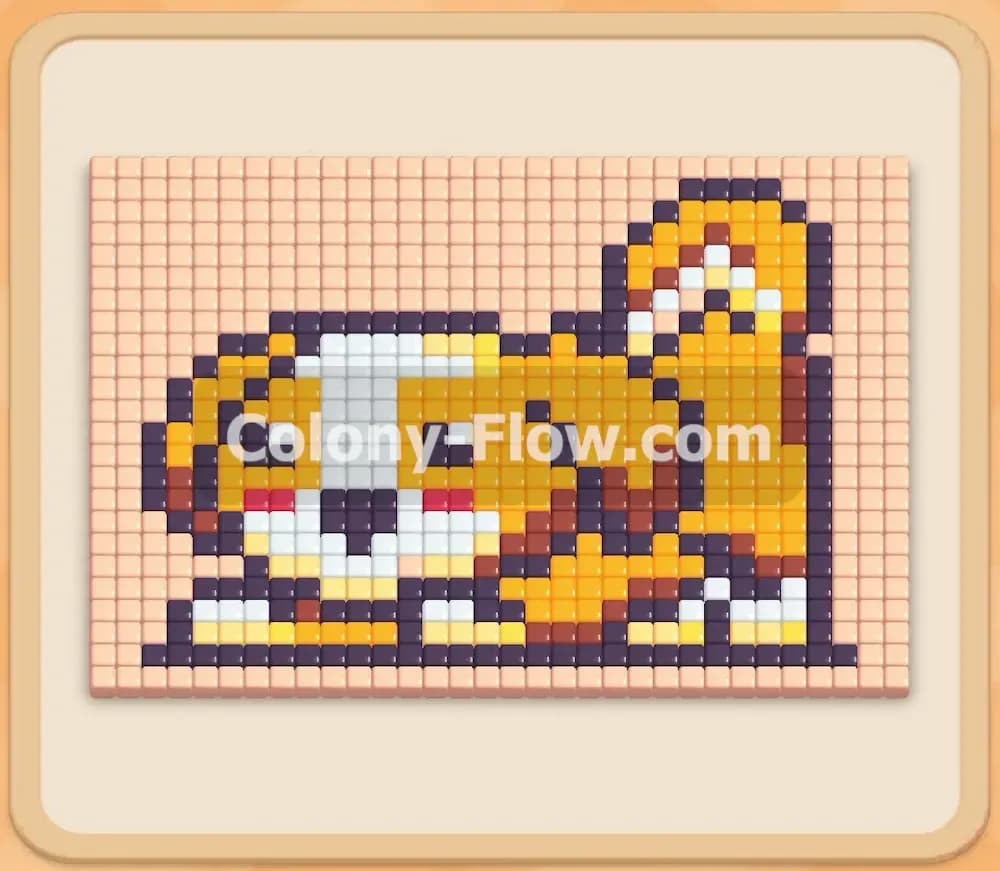
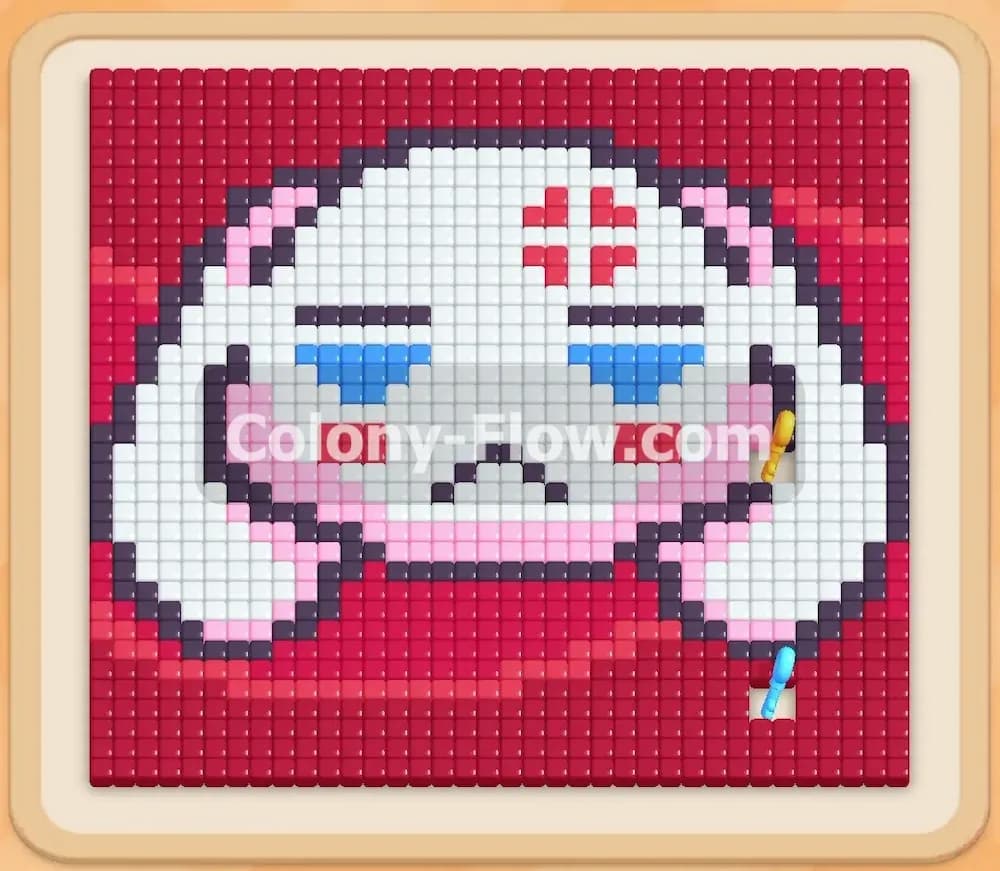
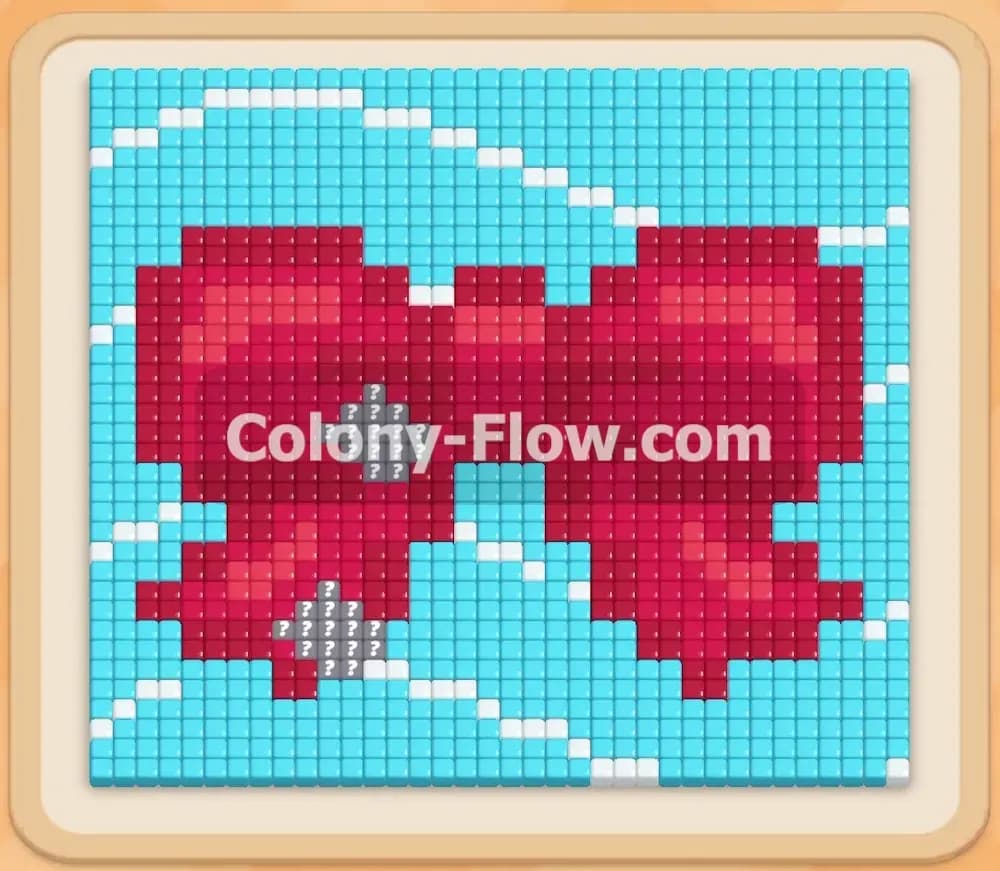
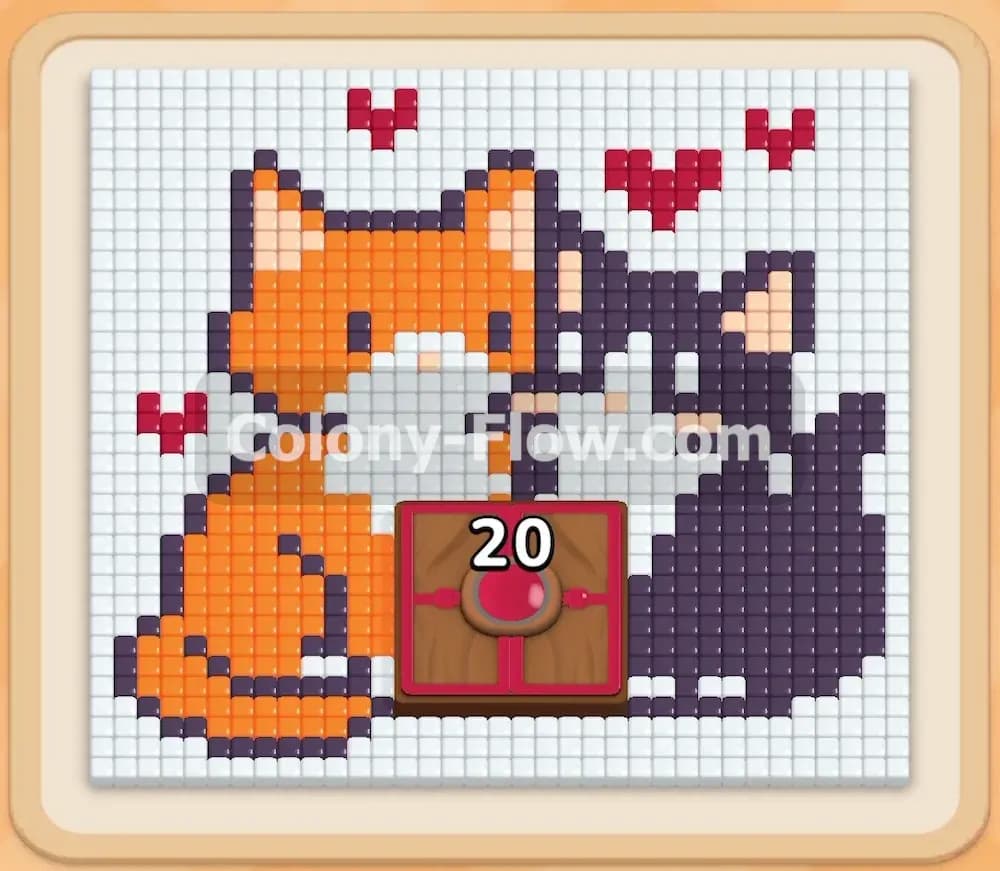
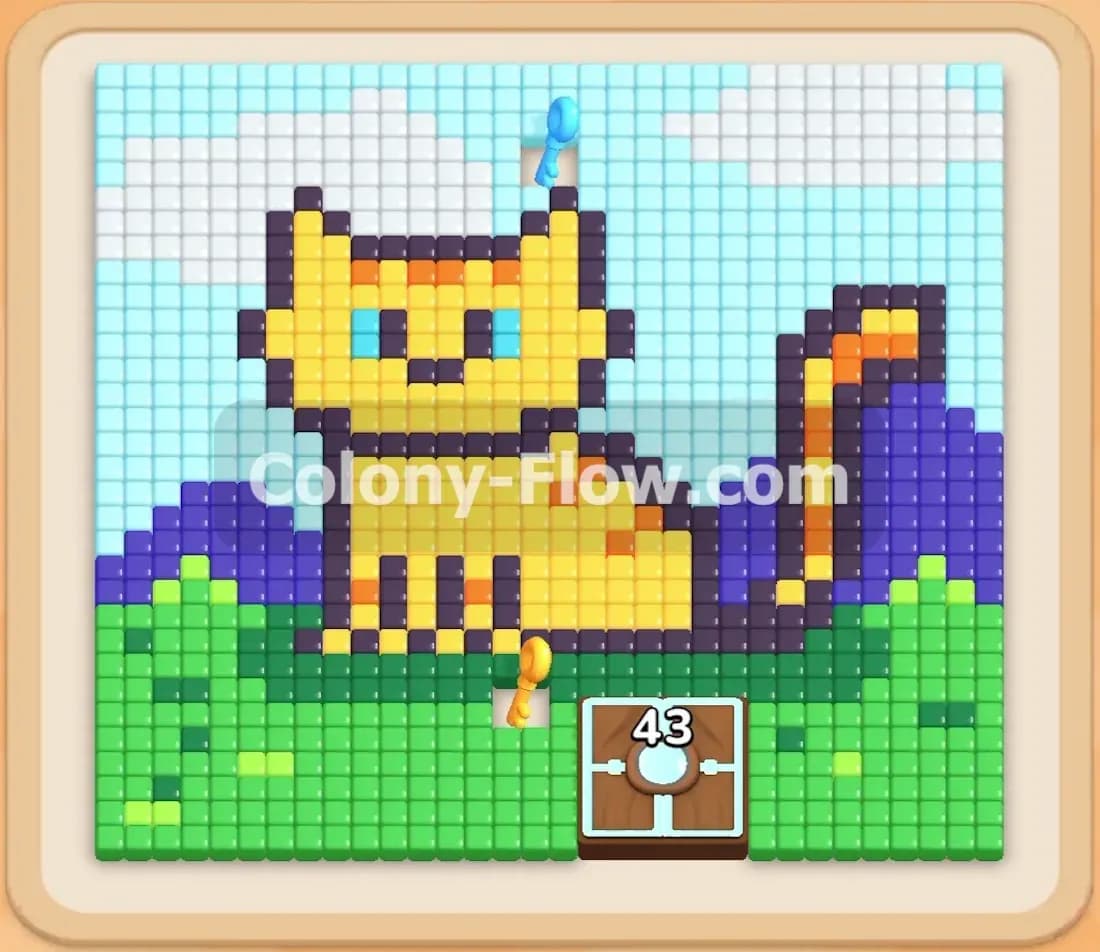
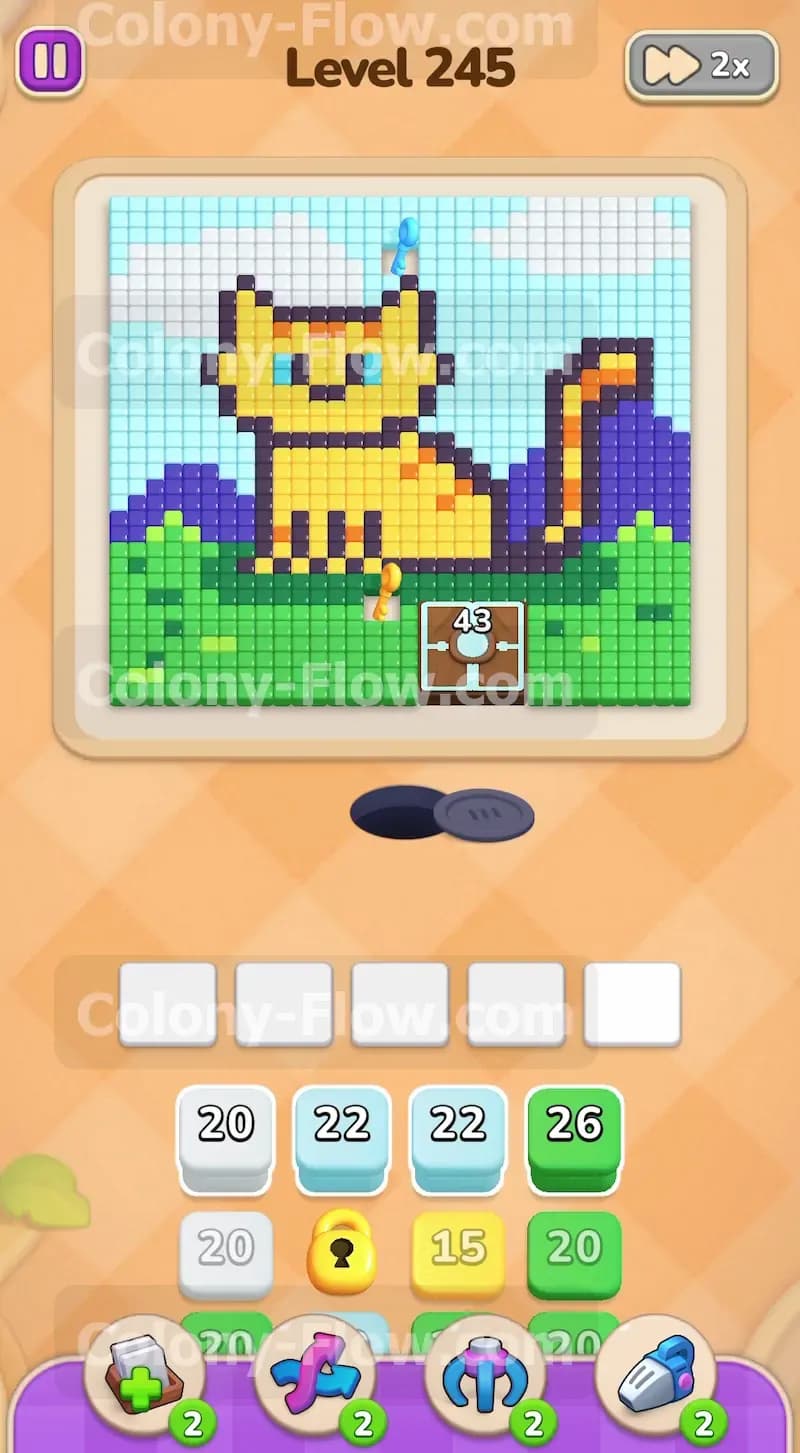
The picture for this level features a yellow cat sitting on bright green grass. Behind the cat is a vibrant light blue sky dotted with fluffy white clouds. To the right side of the cat, there are dark blue and purple hills that add depth to the scene. The tray at the bottom holds the colored numbered blocks you need to clear these sections. You will use White, Green, Light Blue, Yellow, Dark Blue, Purple, Orange, and Black blocks throughout the level. This level heavily features the Lock and Key mechanic. There are three keys resting on the board. You will find one yellow key on the lower body of the cat just above the grass. A second yellow key sits higher up on the cat's face. A light blue key is located way up in the top left corner of the sky. These keys correspond to locked blocks buried inside your tray. You cannot use or move past the locked blocks until you collect their matching keys from the board. This creates a strict order of operations. You must plan your moves to reach the keys in the correct sequence while keeping the ant colony flowing smoothly.
What It Takes to Clear Level 245 Board
You win when every single pixel of the cat, grass, hills, and sky is gone. The main challenge is managing your five waiting slots while hunting down the three keys. If you pull too many blocks that have no open path to their matching tiles, your slots will jam. If all five slots fill up and no ants can move, you lose the level instantly. You must clear the outer layers of the picture first. The grass and clouds act as barriers. Removing them opens paths to the inner sections where the keys are located. Collecting the keys unlocks the tray and provides the exact blocks you need to finish the harder to reach tiles. You must constantly balance clearing large open areas like the sky and grass with chipping away at the detailed sections like the cat and hills. Never focus entirely on one color. Keep multiple streams of ants moving at once to ensure your tray keeps cycling and fresh blocks keep appearing.
Colony Flow Level 245 Step by Step Solution
Step 1: Clear the clouds and grass to open paths
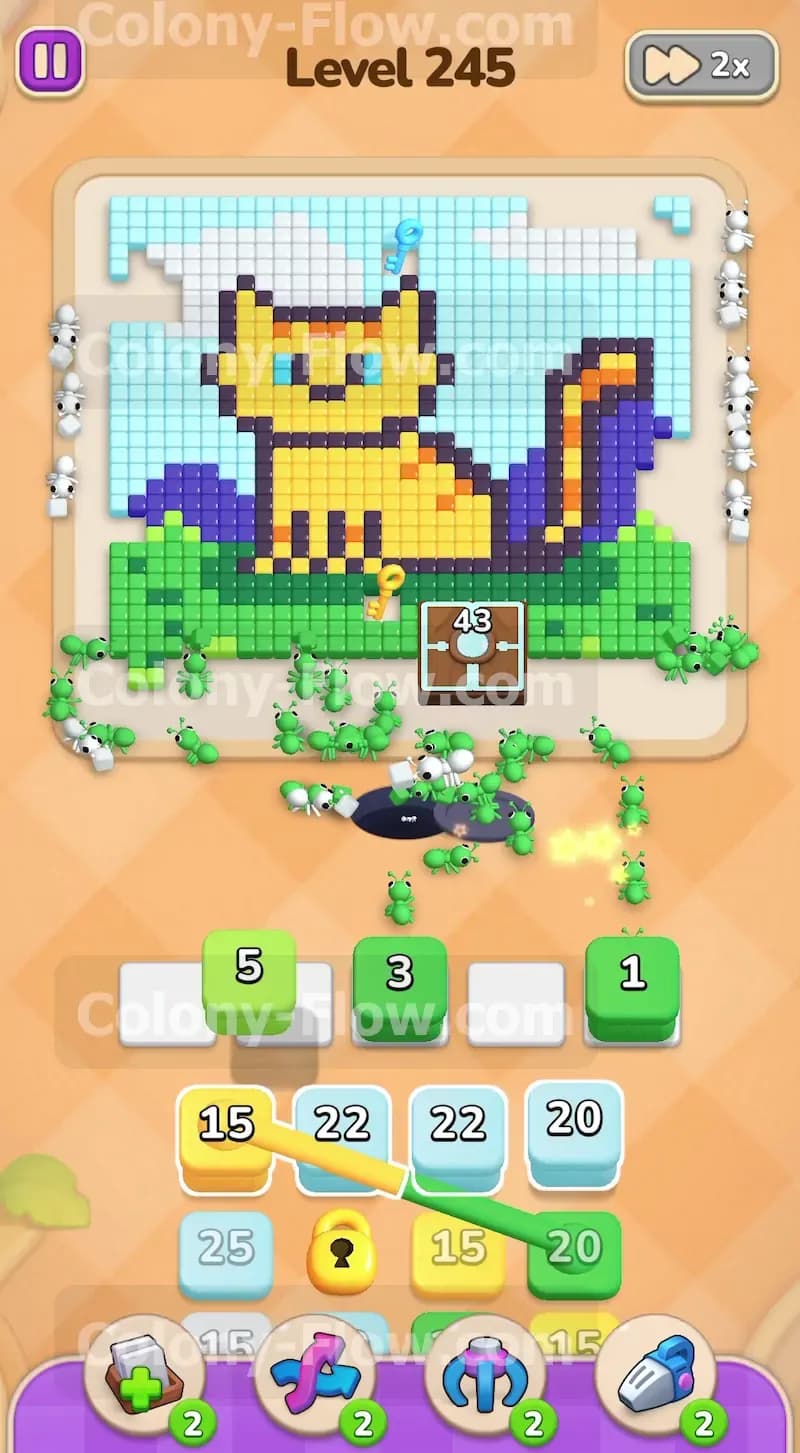
You need to remove the outer edges of the picture before you can reach the main subject. The white clouds and green grass block access to the cat and the sky. Tap the White blocks in your tray to send white ants toward the clouds on the left side. At the exact same time, pull Green blocks to release green ants into the grass at the bottom. The ants will march up from the nest hole and eat away these sections pixel by pixel. This creates wide open spaces on the board and prevents your waiting slots from jamming early on. You always want to start with the most accessible colors. Clearing the grass is especially important because it exposes the bottom edge of the yellow cat. This is your first major target. The first yellow key rests right on the lower body of the cat. You cannot get that key until the grass blocking it is completely removed. Watch the numbers on your blocks count down and pull more Green and White blocks as needed to keep the swarm active.
Step 2: Collect the first yellow key from the cat
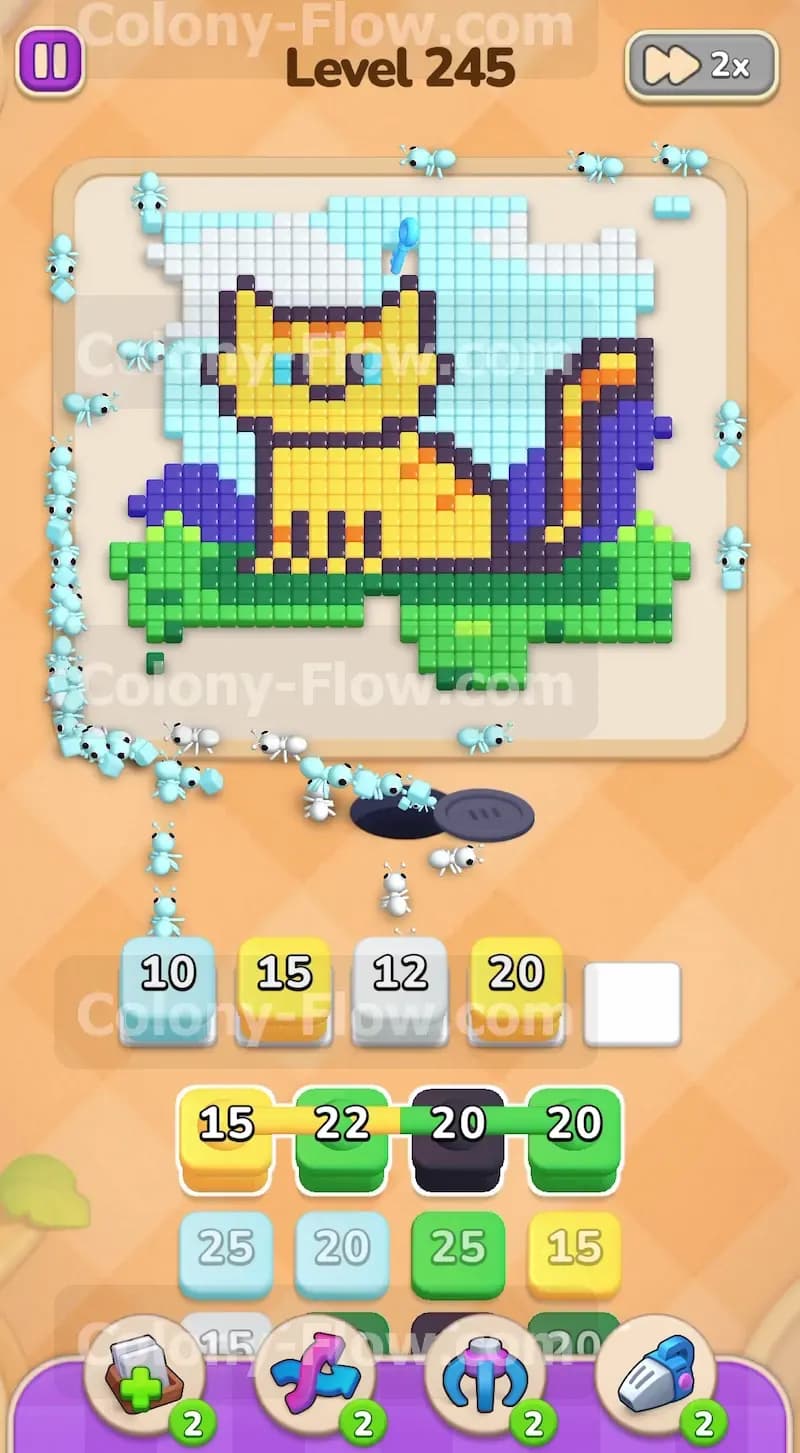
With the grass mostly out of the way, you now have a direct and clear path to the yellow tiles. Tap a Yellow block from the tray. Yellow ants will stream out of the nest and start eating the bottom portion of the cat. As they chew through these tiles, they will eventually reach and collect the first yellow key. This key immediately flies down into your tray and removes a yellow lock from one of the buried blocks. This is a crucial move for your progression. Unlocking this block gives you access to fresh numbers and colors that you desperately need to keep the board moving. Always make sure you do not pull too many Yellow blocks at once. The path to the cat is narrow at first. Keep an eye on your five waiting slots and only pull what the yellow ants can actively reach without getting stuck behind other colors.
Step 3: Clear the sky and target the light blue key
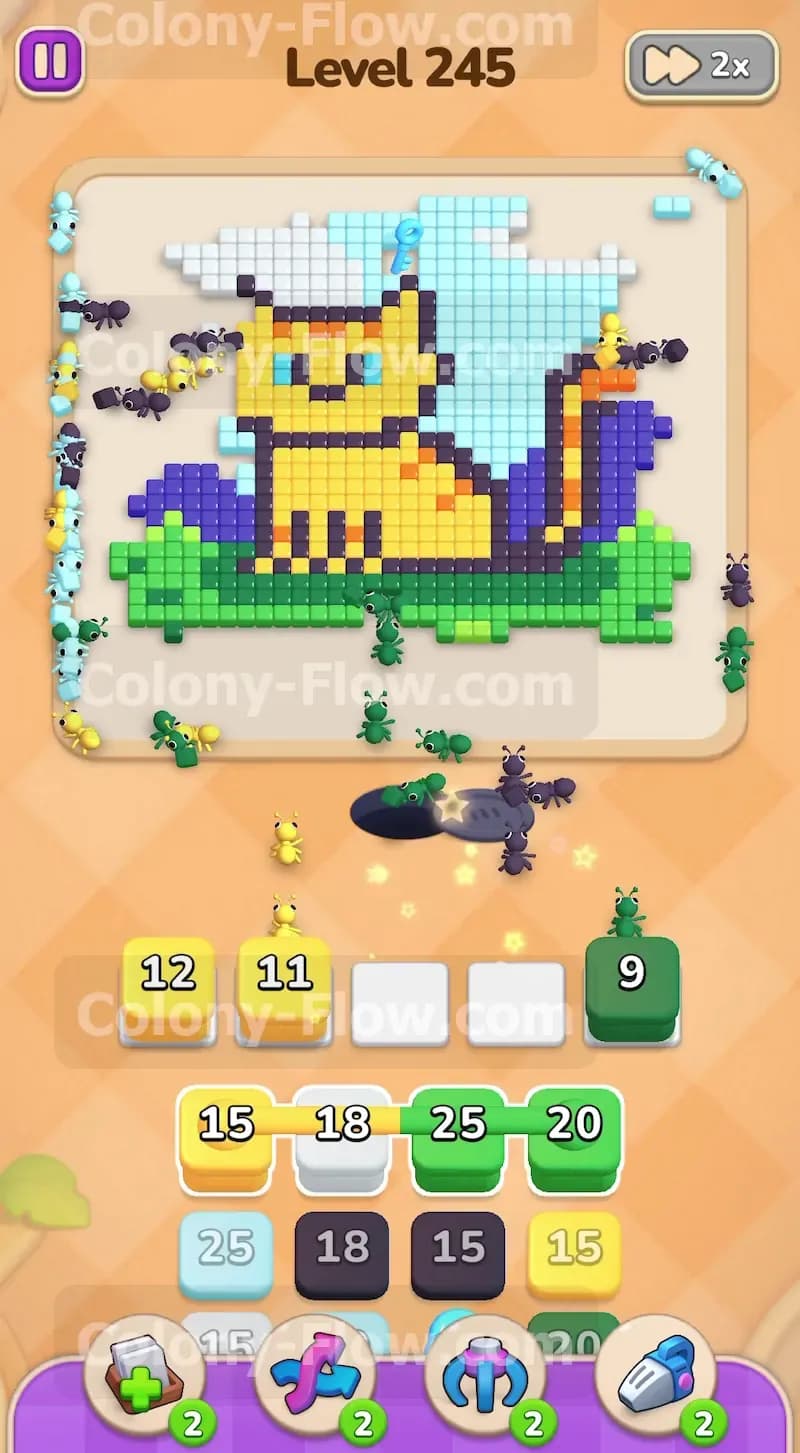
The clouds are gone and the light blue sky is fully exposed. Tap the Light Blue blocks to send a massive swarm of ants into the sky background. The light blue key is sitting all the way in the top left corner of the board. It will take a large volume of light blue ants to chew through enough sky tiles to reach it. While the light blue ants are busy working on the top left, keep tapping Yellow and Green blocks to clean up any remaining grass and lower cat sections. You want multiple colors of ants working on different parts of the board at the same time. This constant dual flow keeps your tray cycling and ensures you always have a valid move available. Once the light blue ants finally reach the top left corner, they will grab the light blue key. This key drops down and removes the light blue lock in your tray, freeing up even more essential blocks.
Step 4: Work on the hills and collect the second yellow key
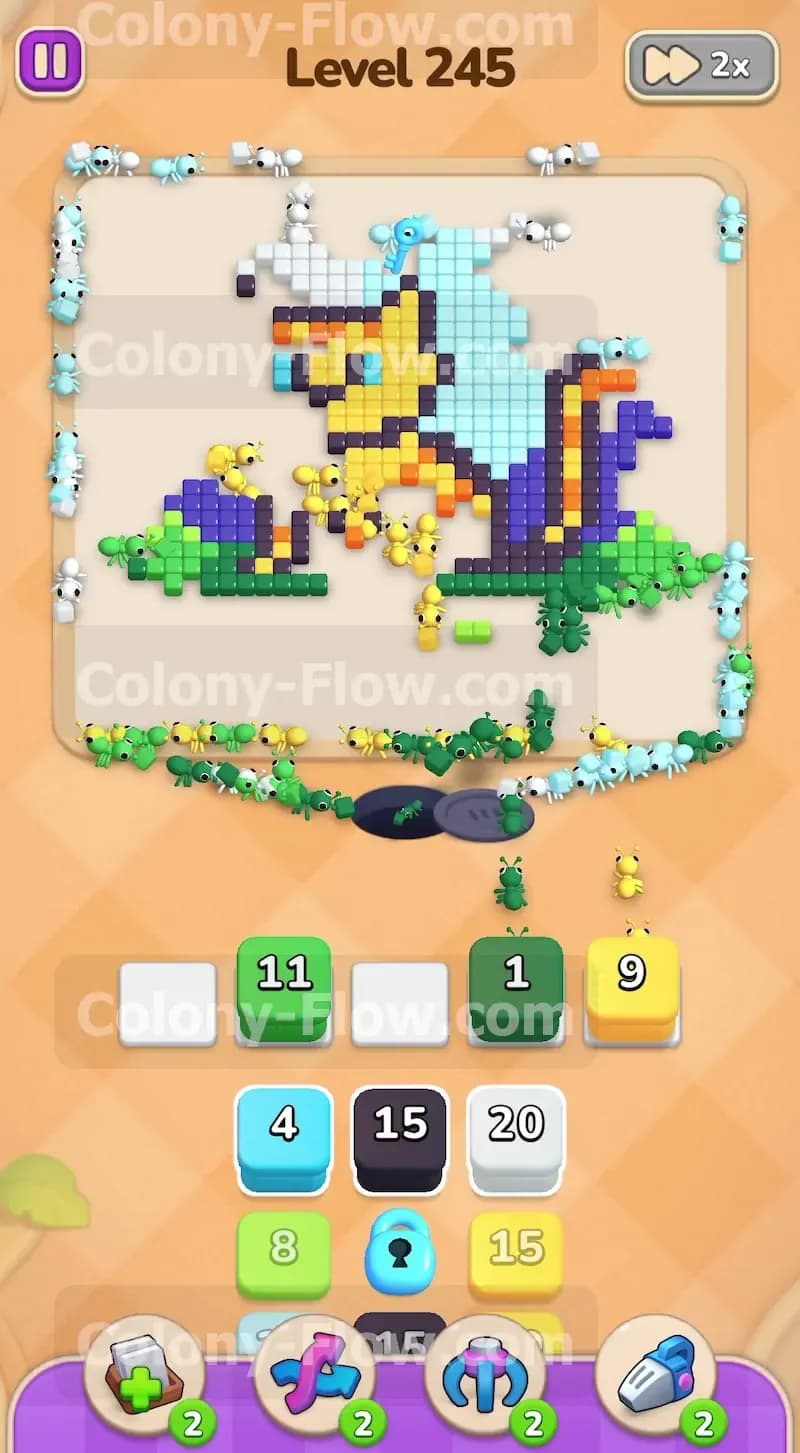
Your tray is now mostly unlocked, giving you access to the Dark Blue and Purple blocks. Tap these blocks to send ants toward the hills on the right side of the picture. The hills form a thick barrier around the back and tail of the cat. As the dark blue and purple ants clear this area, you should also pull more Yellow blocks from the tray. The yellow ants will work their way up the cat's body and reach the face area. The second yellow key is located right on the cat's face. The yellow ants will clear the surrounding yellow tiles and snatch this final key. This key drops down and removes the very last lock in your tray. You now have complete freedom to pull any block you need without worrying about hidden barriers in the tray.
Step 5: Clean up the cat details and remaining hills
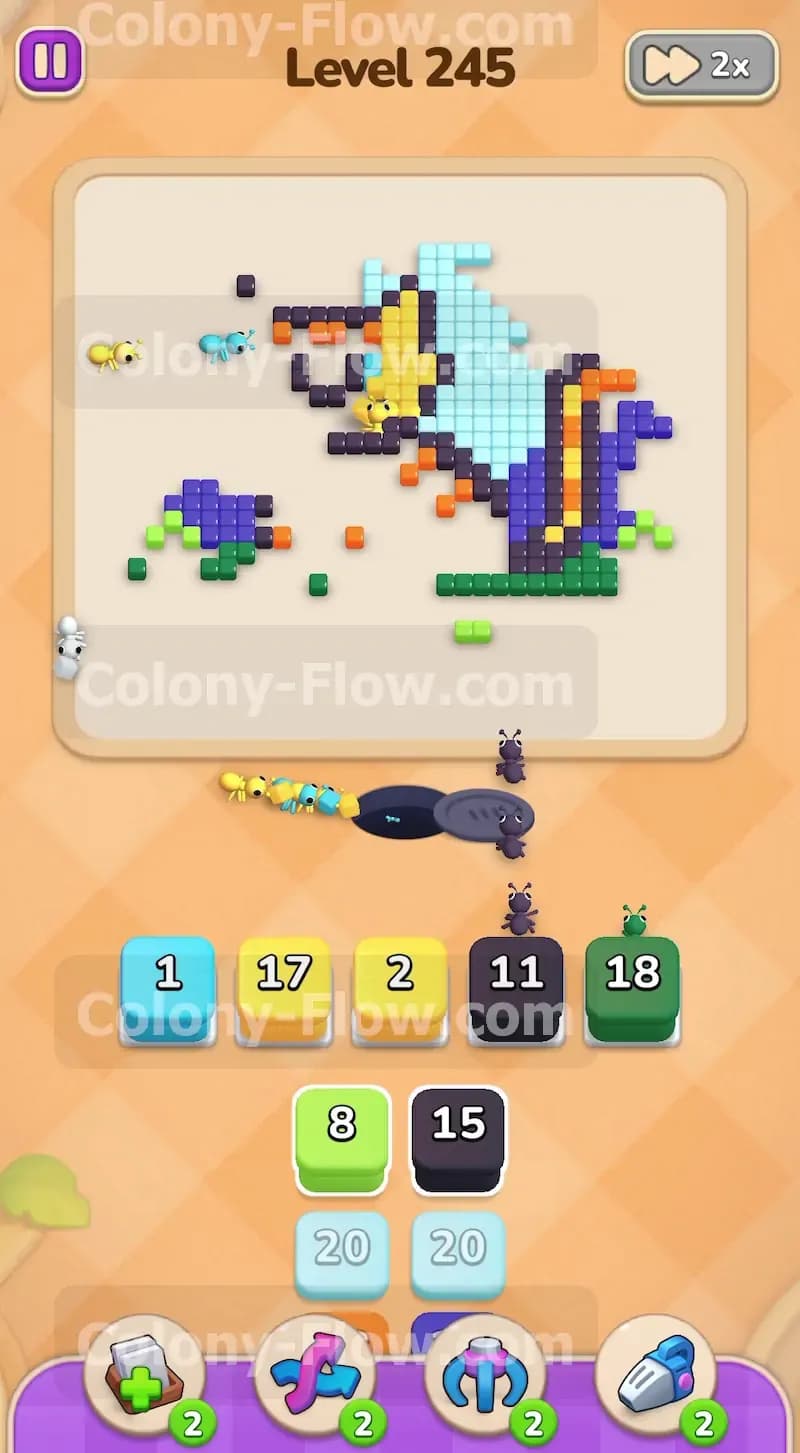
The board is getting sparse and the picture is losing its shape. You are left with the orange outlines of the cat, some dark blue hill segments, and a few purple shadow details. Tap the Orange blocks to send ants to the cat's outline. Since the main body is mostly gone, the ants have a fast and direct route to these orange tiles. Tap the remaining Dark Blue and Purple blocks to finish off the right side hills. You must be very careful with your waiting slots during this cleanup phase. Only pull a block if you are absolutely sure the ants have an open path to those specific colored tiles. If you pull a color that is blocked by another color, it will sit in your slot and clog your tray. Read the board carefully and let the ants clear the way before you pull a new color.
Step 6: Clear the final scattered pixels to win
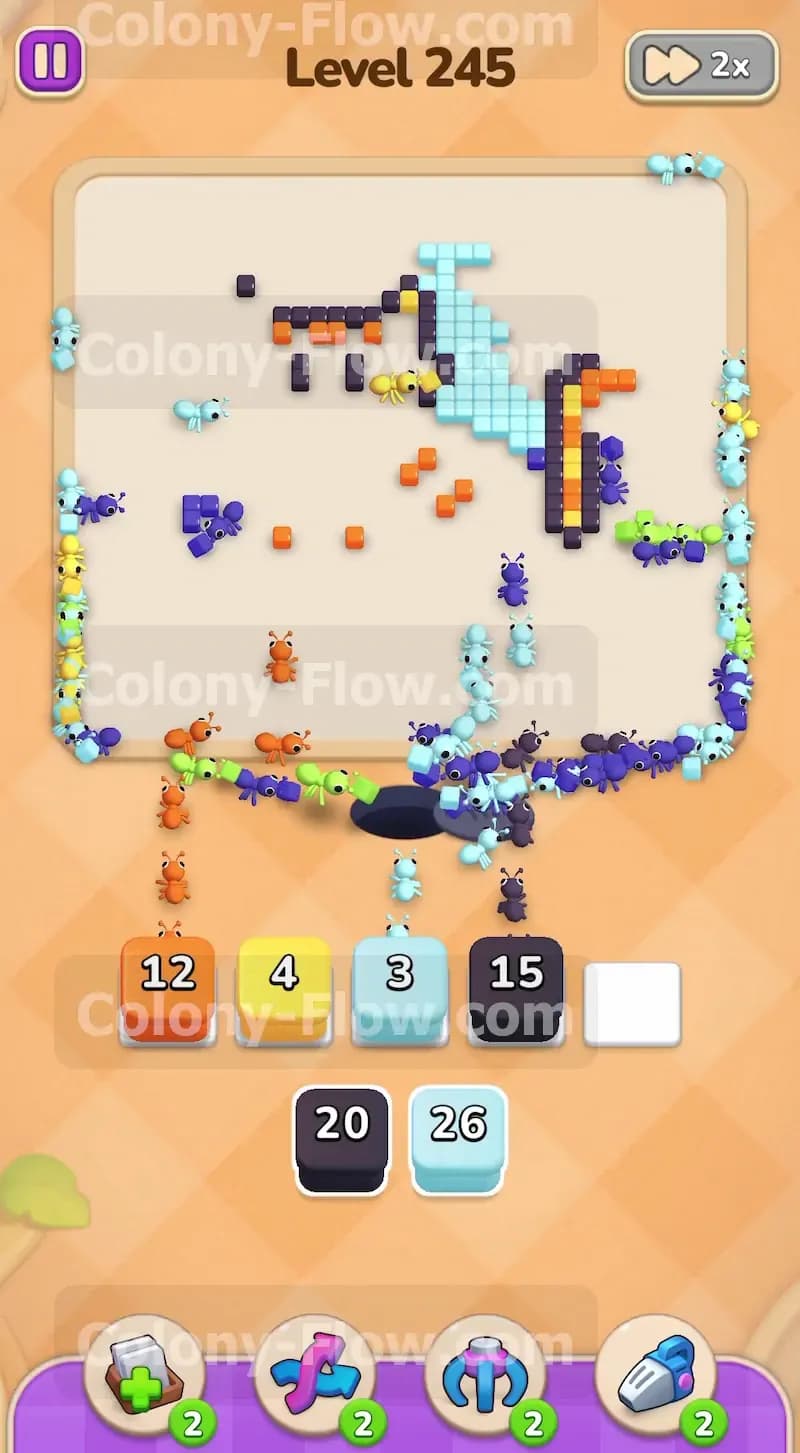
Only a handful of random tiles remain on the board. You will see a few isolated black pixels for the cat's face, some leftover light blue sky pieces, and random orange details near the tail. Look closely at the board and pull the exact matching blocks from your tray. Tap the Black blocks to send ants to eat the eyes and mouth. Tap the final Light Blue and Orange blocks to clear the stragglers. The ants will rush out and clean up these last isolated pieces. Keep a steady pace and do not rush your taps just because the level is almost over. Let the ants finish eating a section before you queue up the next color. Once the final pixel is consumed and the ants return to the nest, the level is complete.
Final Thought
This level requires careful attention to the keys and a steady hand on your waiting slots. Unlocking the tray in the correct order is the absolute only way to reach the end without jamming the board. Check the video above this article if any step is hard to follow in text.