Colony Flow Level 357 Walkthrough Solution & Guides | How to solve Colony Flow 357

Guide By Liam Stone
Updated on July 18, 2026
Check out the video above for the full Level 357 walkthrough if you want to skip the written steps below.
Video doesn't match your screen?
Game updates frequently scramble layouts! Try our AI Screenshot Solver first to find your exact board instantly, or report broken guides to our team.
Colony Flow Level 357 is a fun but tricky puzzle that challenges your timing and planning. You have to feed a meditating frog picture made of colorful food tiles to your hungry ants. The board features connected boxes in the tray and large brown barrier boxes blocking the bottom paths. You must manage your moves carefully to keep the ants moving without clogging your slots.
Colony Flow Level 357 Overview
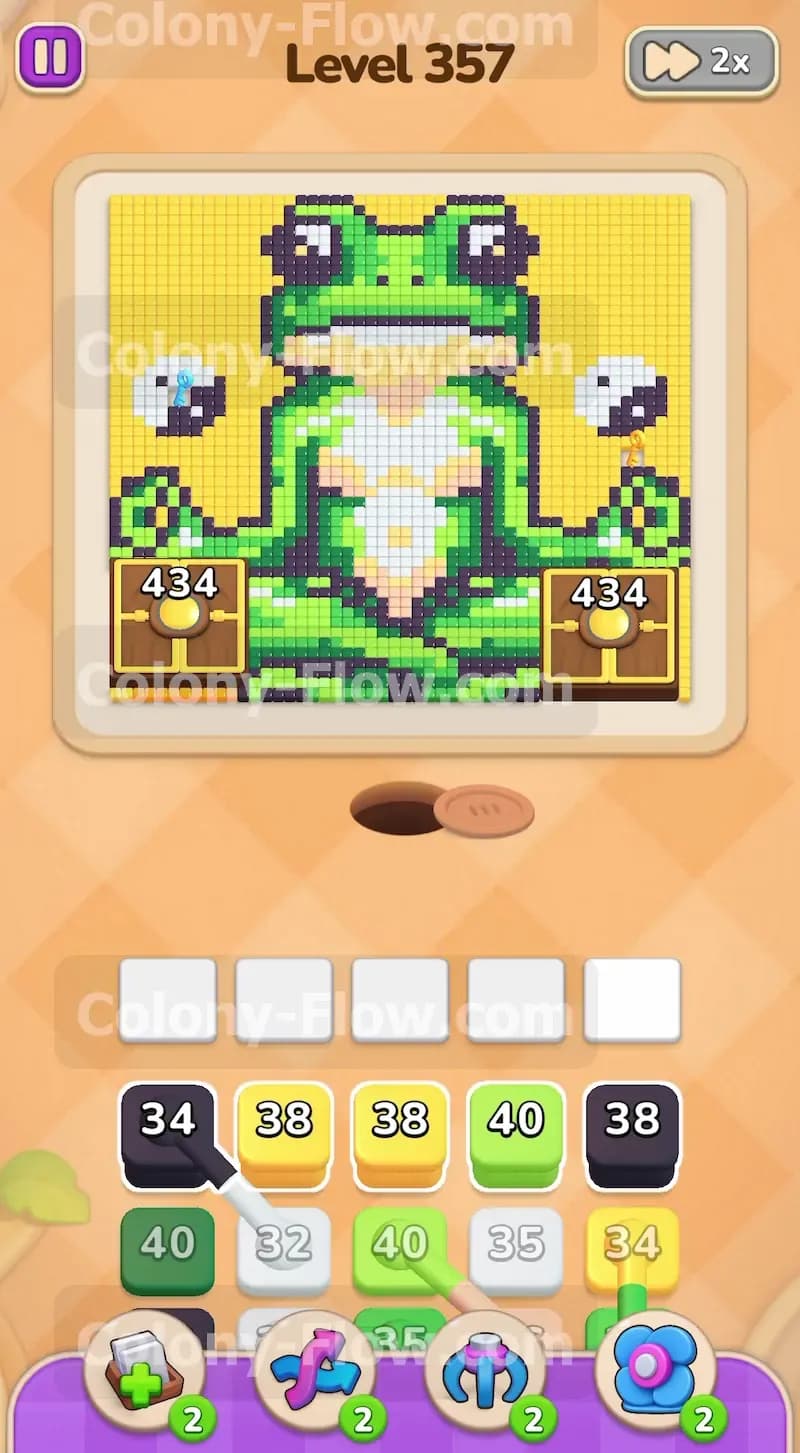
What You Are Working With
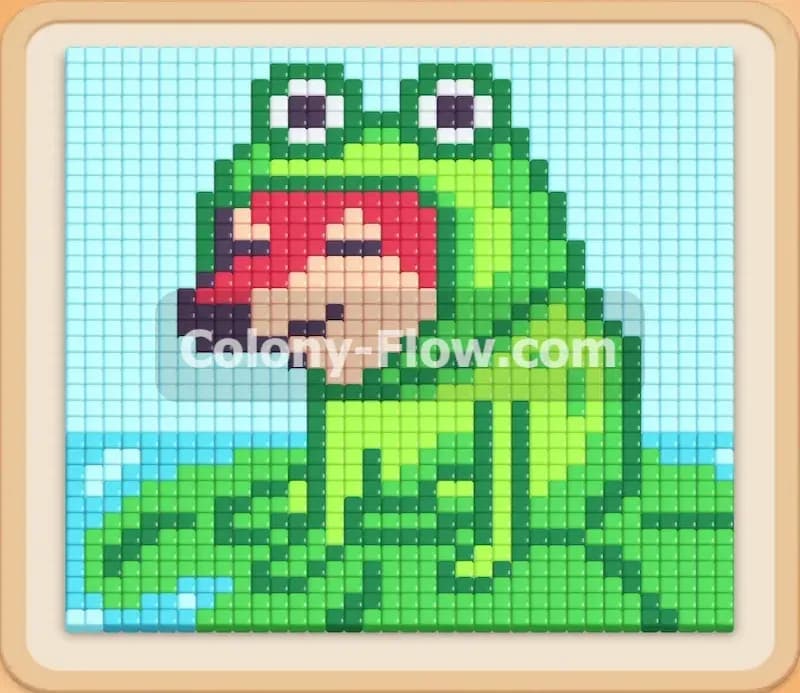
The picture at the top of the screen shows a detailed pixel art frog sitting in a meditative pose. The frog has a large light green body with a white belly and peach colored hands and feet. A dark green outline defines the shape of the frog. Black pixels form the eyes and the outer border of the entire picture. Behind the frog sits a bright yellow aura made of many food tiles. Two black and white yin yang symbols float on either side of the frog. At the very bottom of the picture you face two massive brown boxes. Each box displays the number 434 in bright white text. These brown boxes act as heavy barriers. They block the direct paths to the higher parts of the board. Down in your tray you have a mix of standard colored blocks and connected boxes. Connected boxes are a special element in this level. A white line links two blocks together in the tray. When you tap one of these blocks both linked blocks move into your waiting slots at the very same time.
What It Takes to Clear Level 357 Board
Your main objective is to clear every colored pixel from the board without causing a traffic jam in your waiting slots. You have exactly five waiting slots available. If you pull too many blocks and fill all five slots while no ants can find an open path to their matching tiles you will lose the level instantly. The large brown boxes present a major obstacle from the start. They absorb hits from any color of ant. You must continuously send ants out to chip away at these brown boxes and reduce their numbers to zero. Clearing the brown boxes opens up the main pathways to the frog body and the yellow aura. You must balance pulling standard blocks with pulling connected boxes. Since connected boxes take up two slots at once they increase your risk of filling the tray. You win when you successfully feed all the frog tiles to your ants and empty the board completely.
Colony Flow Level 357 Step by Step Solution
Step 1: Start chipping away at the massive brown barrier boxes.
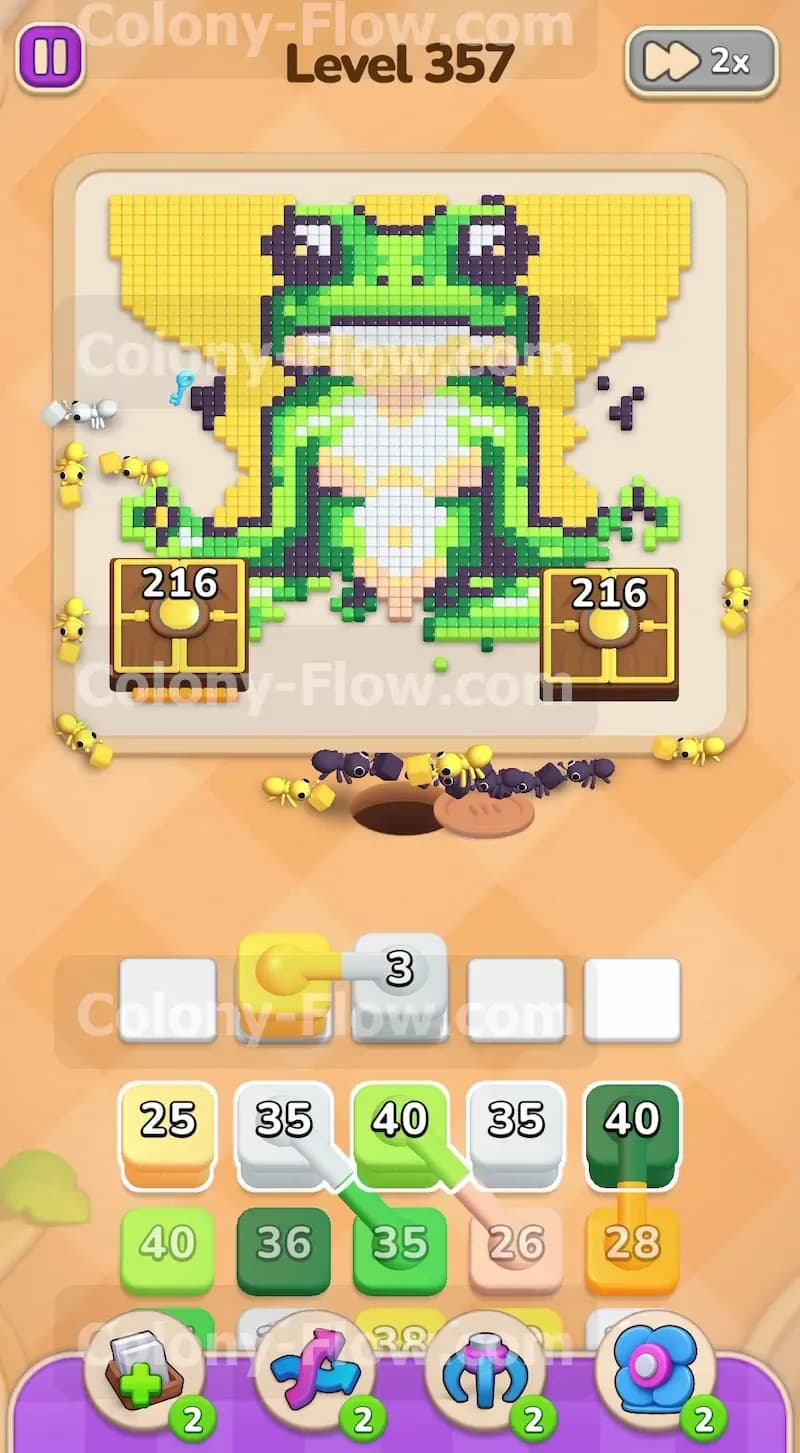
You begin the level by focusing on the accessible parts of the frog and attacking the brown boxes. Pull the 34 black block and the 40 light green block from the tray. You also bring up a 38 yellow block. The black ants stream out of the nest hole and head straight toward the yin yang symbols and the dark eyes of the frog. The light green ants march up to target the lower sections of the light green body. As these different ants travel upward they collide with the large brown boxes. Every single ant that touches a brown box reduces its count by one. You want to maintain a steady flow of ants hitting these barriers. The faster you drop the number 434 down to zero the faster you gain access to the rest of the board. You must keep a close eye on your waiting slots and only pull blocks when you know the ants have a clear path to travel. If you pull too fast you risk filling the slots and losing the game right at the start.
Step 2: Deploy your first set of connected boxes into the waiting slots.
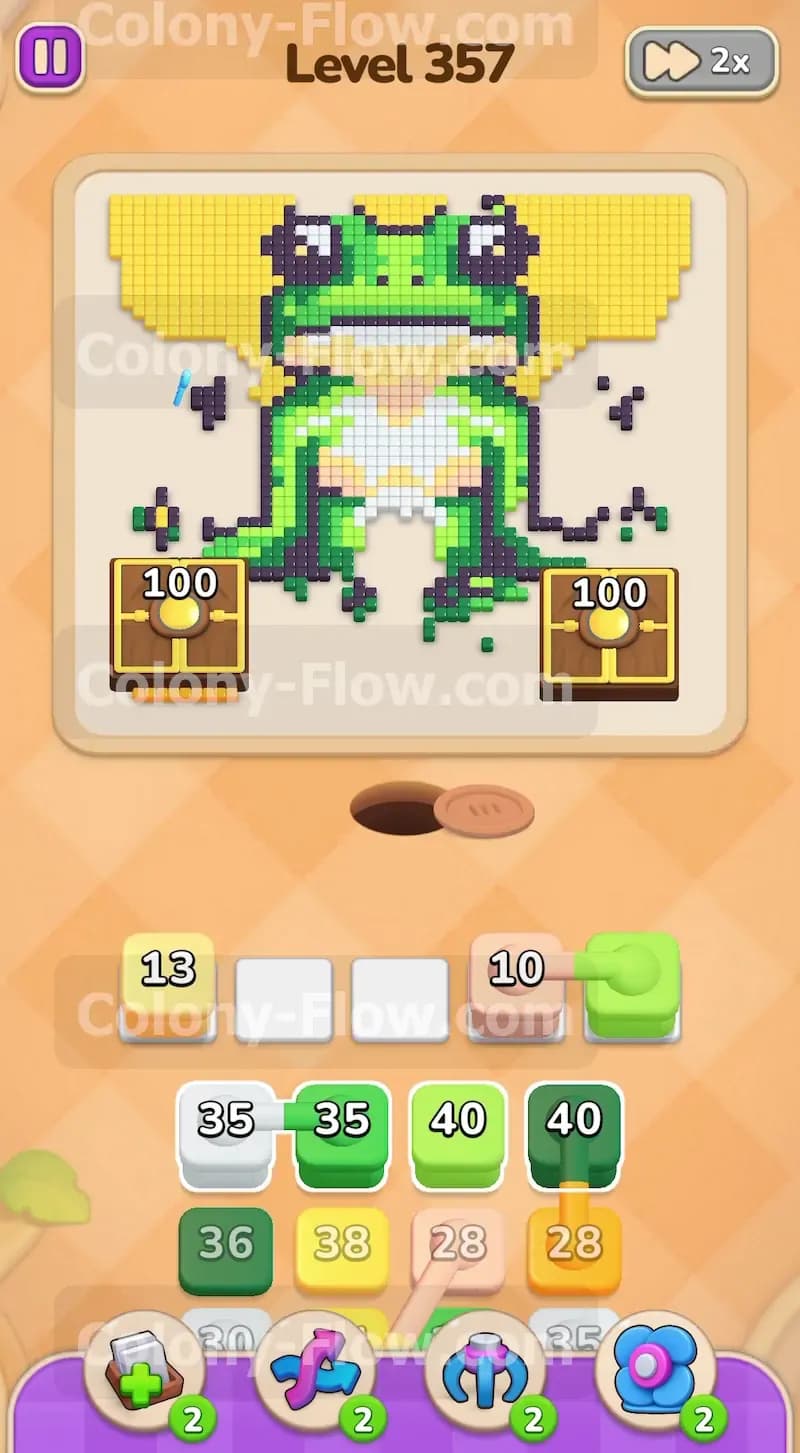
Now you encounter your first set of connected boxes in the tray. You see a 35 white block linked by a solid white line to a 40 light green block. When you pull this pair they move into your waiting slots together. They instantly take up two of your five available spaces. The white ants rush out to begin clearing the lower portion of the white belly. The light green ants follow right behind them to continue working on the main body of the frog. You also have a yellow block finishing its countdown in the slots. Managing connected boxes requires excellent timing. You must ensure that both colors in the connected pair have open paths to their matching tiles before you pull them. If one color lacks a path that block will sit in your slot and take up valuable space.
Step 3: Clear the frog hands and feet with skin color blocks.
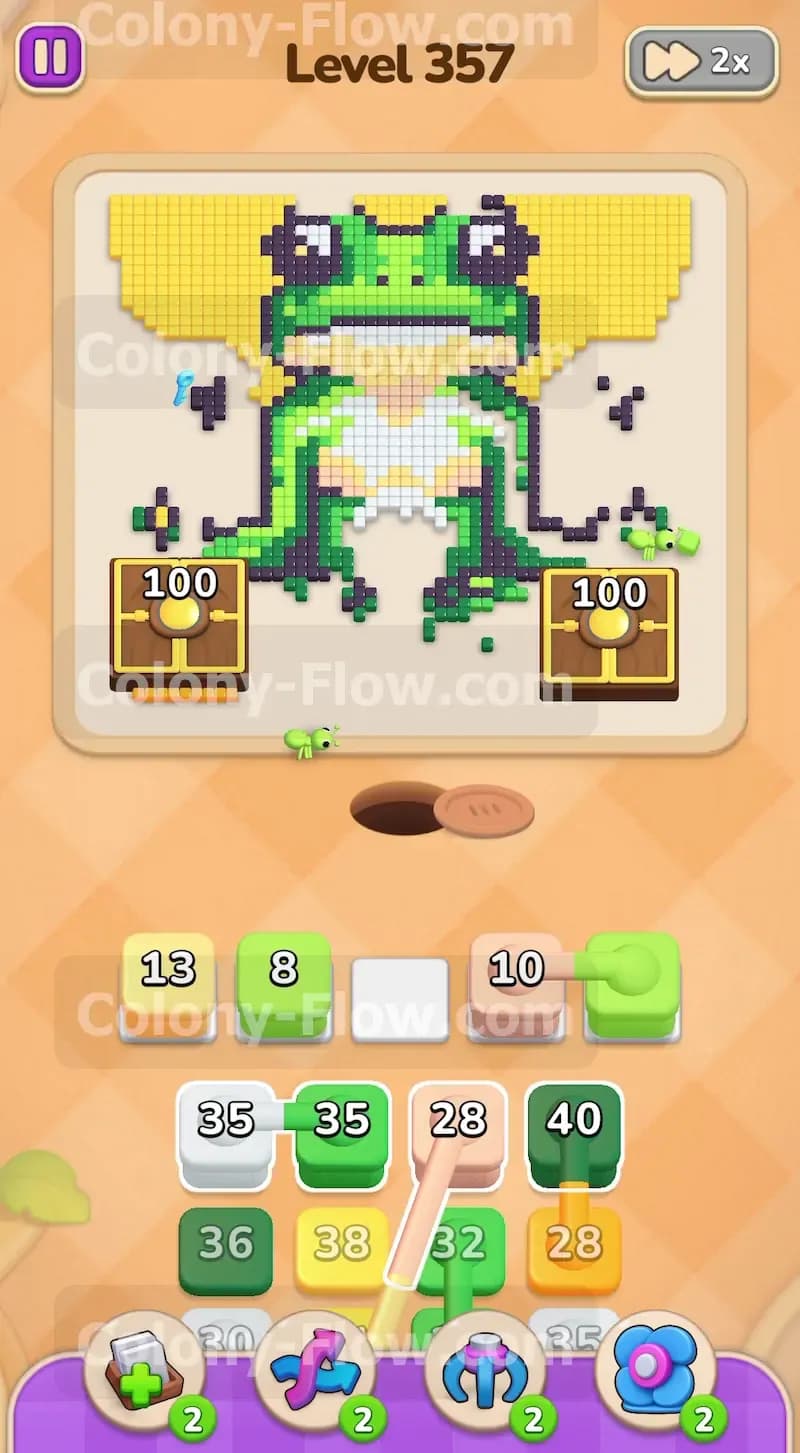
The constant stream of ants has significantly reduced the numbers on the brown barrier boxes. You pull a 13 skin color block from the tray. Next you grab a 10 skin color block that is connected to another light green block. The skin color ants target the peach colored hands and feet resting at the bottom of the meditating frog. The fresh wave of light green ants provides another surge to eat away the green body tiles. These ants also land more hits on the brown boxes as they pass by. You are now juggling several colors at once. The white ants and yellow ants are still working on the belly and the background. You must monitor the board carefully to verify that every active color can reach its destination without getting stuck.
Step 4: Break the brown boxes and open the entire board.
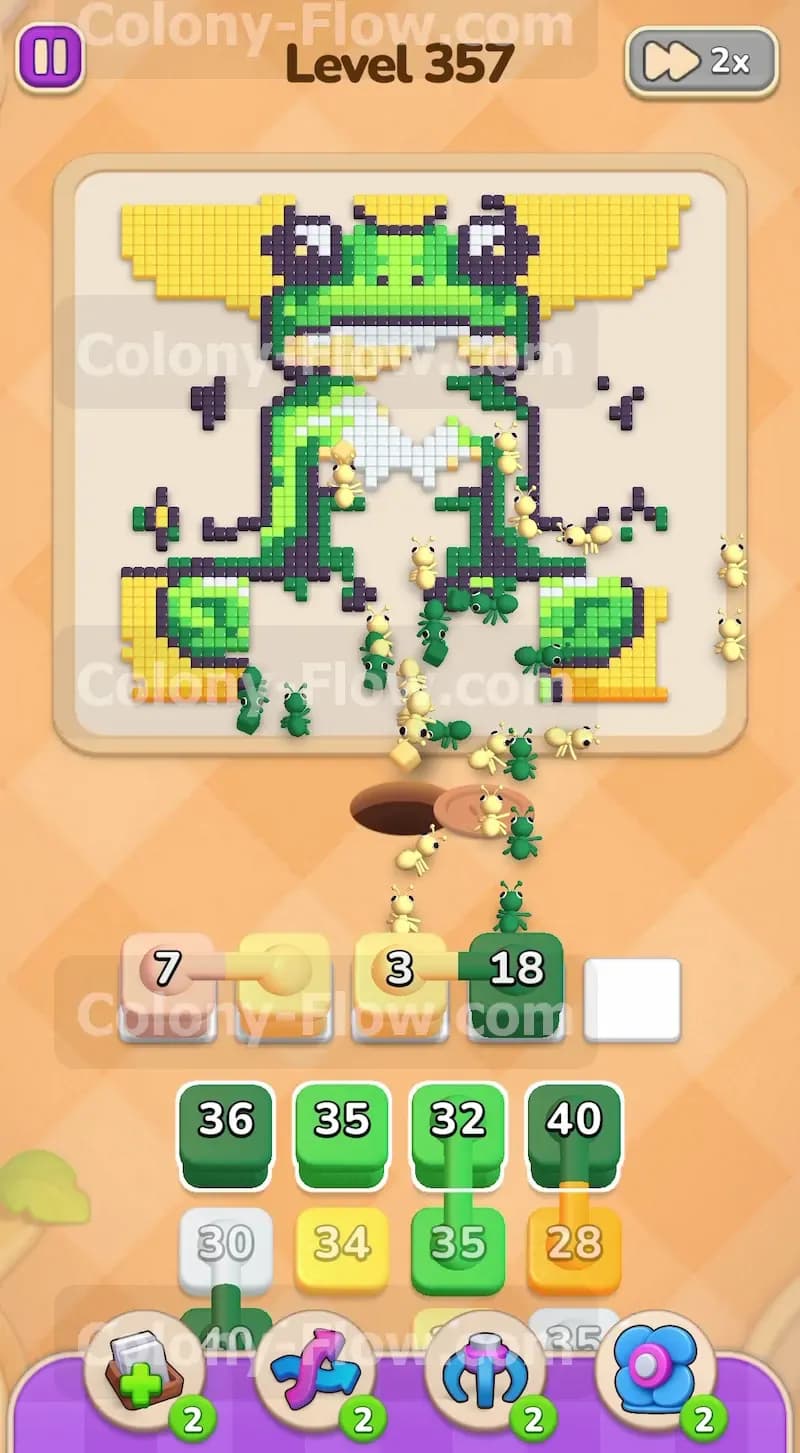
You pull a 28 skin color block that is connected to a 32 light green block. As these new ants rush out of the nest they land the final crucial hits on the large brown boxes. The boxes vanish entirely from the screen. This removal completely transforms the board. The entire bottom of the picture is now wide open. Your ants have unrestricted access to the inner layers of the frog and the massive yellow aura behind it. You also have some yellow blocks active to clear the lower parts of the background. With the barriers out of the way you can move much more aggressively and pull blocks with confidence. The threat of a dead end is much lower now that the paths are wide open. You can send large groups of ants straight up the middle of the screen without any interference.
Step 5: Attack the thick dark green outline of the frog.
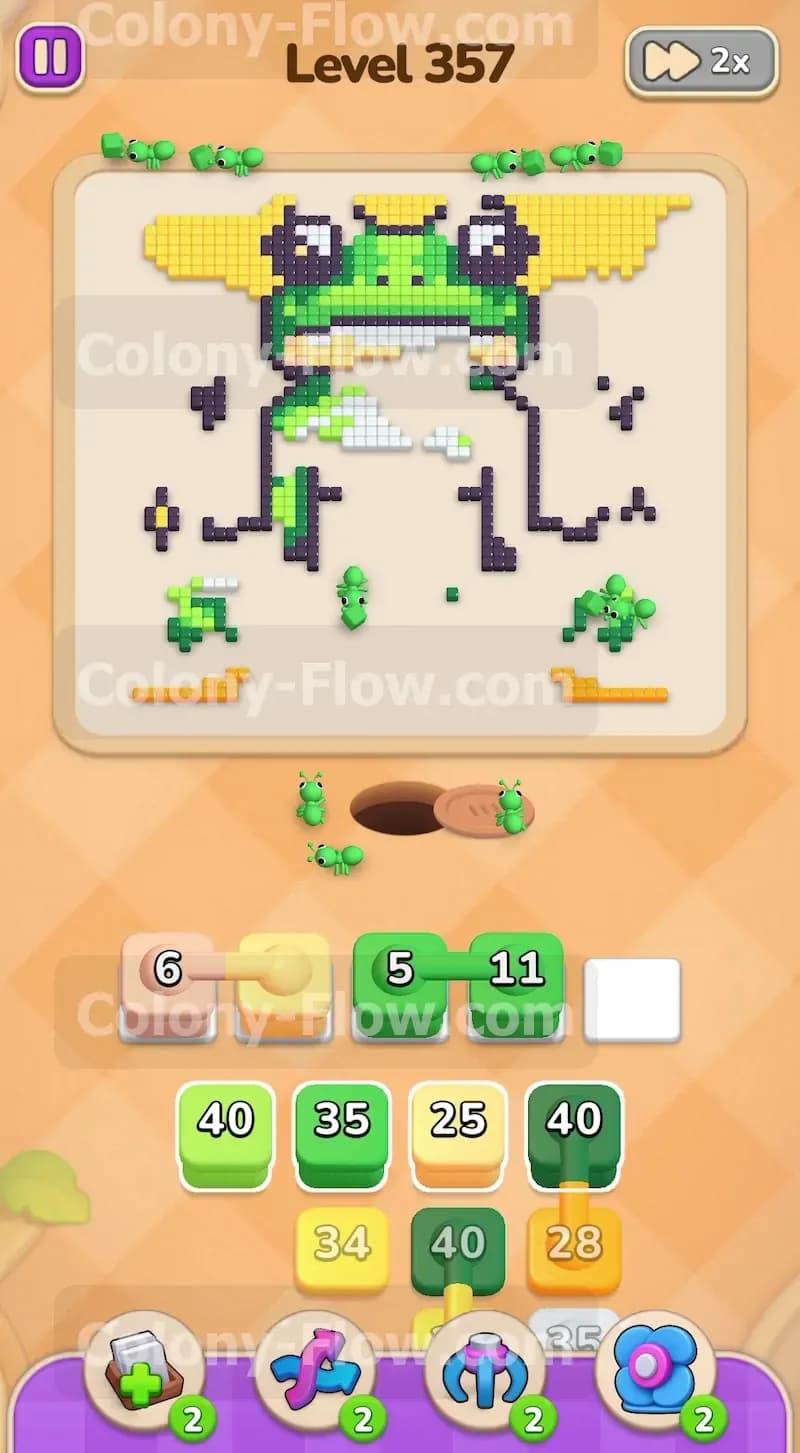
With the center of the board exposed you shift your attention to the heavy dark green outline surrounding the frog. You pull an 18 dark green block to start dismantling this border. You also have a 7 skin color block and a 3 yellow block finishing up in your waiting slots. The dark green outline is massive and requires hundreds of ants to clear completely. You pull several more dark green blocks from the tray including a 36 block a 35 block and a 32 block. You need a huge swarm of dark green ants to handle this section. They systematically march around the edges of the frog and eat the outline piece by piece. Keep pulling dark green blocks as long as the path remains clear and your waiting slots have room.
Step 6: Finish the white belly and the remaining body parts.
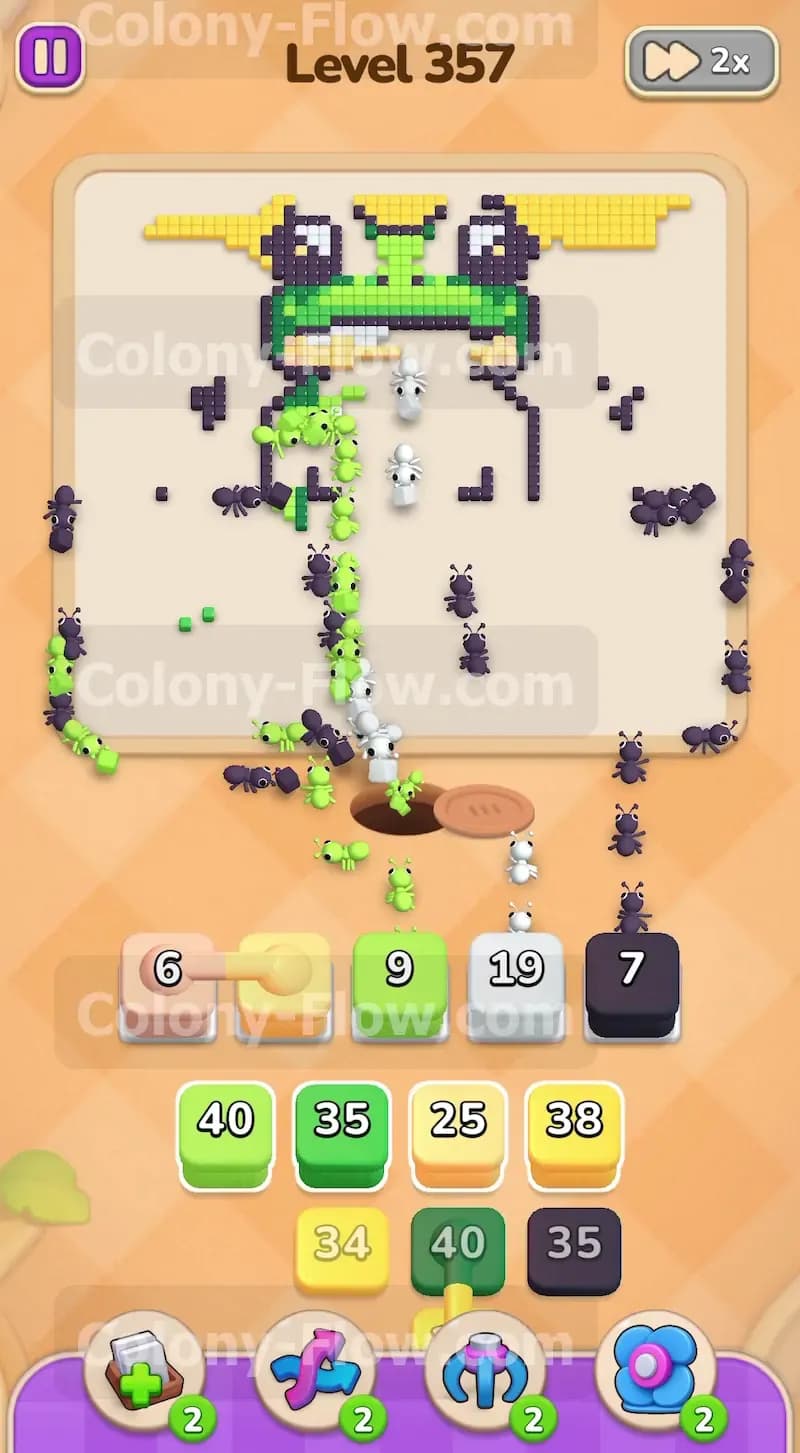
The frog is shrinking rapidly under the constant ant pressure. You pull a 19 white block to finish off the top section of the white belly and the remaining white halves of the yin yang symbols. You also deploy a 9 light green block to grab the last few light green body pixels near the head. A 7 black block goes into the slots to clear the remaining black spots on the eyes and the inner borders. You still have a few dark green blocks active to finish the outline. The board looks very sparse at this stage. You just need to ensure that the different colors of ants do not block each other as they cross the large open spaces. Timing your pulls ensures a smooth flow toward the top of the screen.
Step 7: Consume the yellow aura and complete the final border.
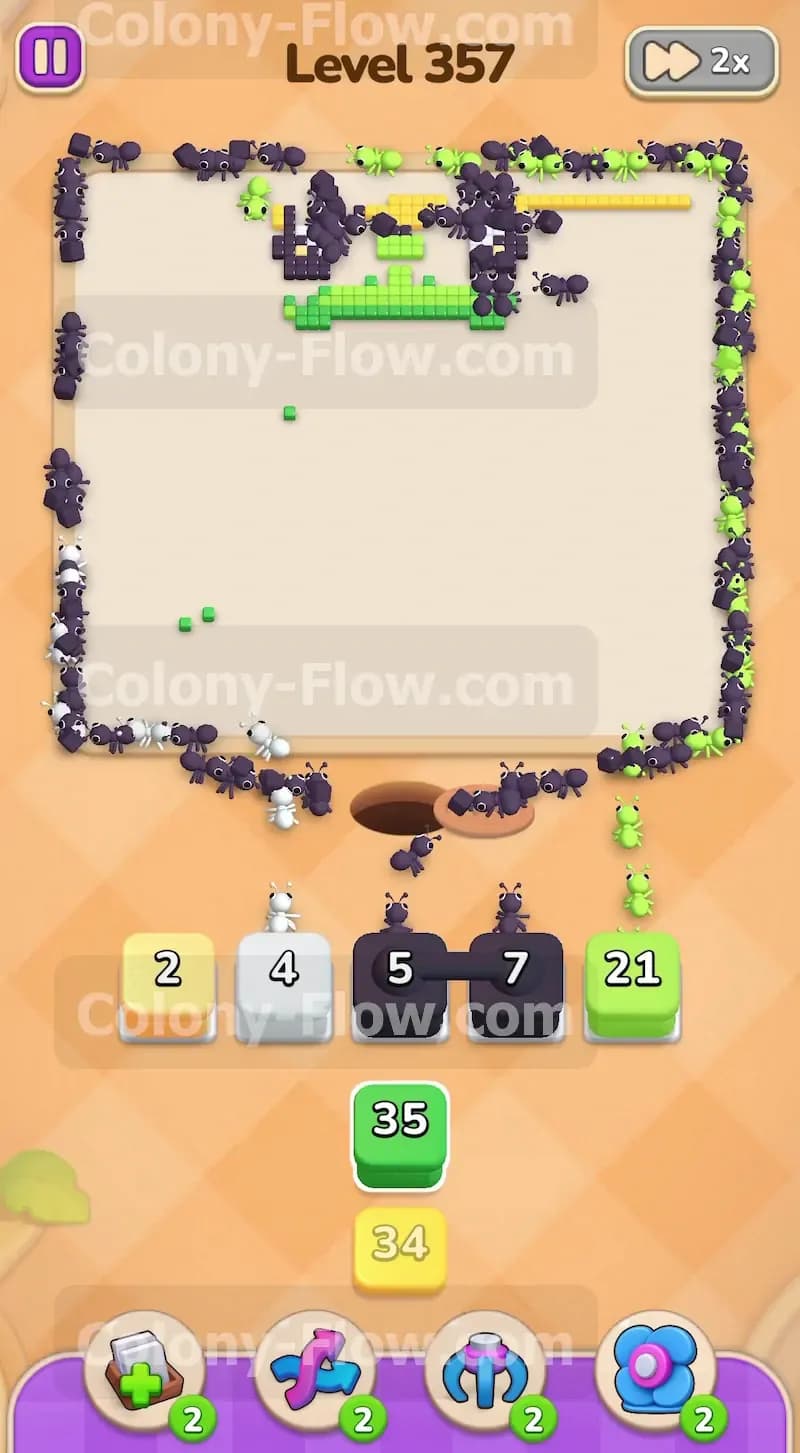
The only parts of the picture left are the massive yellow aura at the top and the very outer black border. You pull your remaining yellow blocks and black blocks into the waiting slots. The black ants rush up the sides to eat the last few black tiles completing the outer frame. The yellow ants spread out across the top of the board and consume the bright yellow background. You have plenty of open space now so your waiting slots will remain perfectly clear. You can safely empty your tray and watch as the final ants clear the last pixels on the screen to win the level.
Final Thought
Level 357 demands careful management of connected boxes and relentless pressure on the large barrier boxes. If you keep the paths flowing and time your connected pulls perfectly you will dismantle the meditating frog smoothly. The key is never letting your five waiting slots fill up before the brown boxes break. Check out the video above this article if any step is hard to follow in text.