Colony Flow Level 338 Walkthrough Solution & Guides | How to solve Colony Flow 338

Guide By Liam Stone
Updated on July 18, 2026
If skimming isn't enough, watch the video above for the full Level 338 walkthrough.
Video doesn't match your screen?
Game updates frequently scramble layouts! Try our AI Screenshot Solver first to find your exact board instantly, or report broken guides to our team.
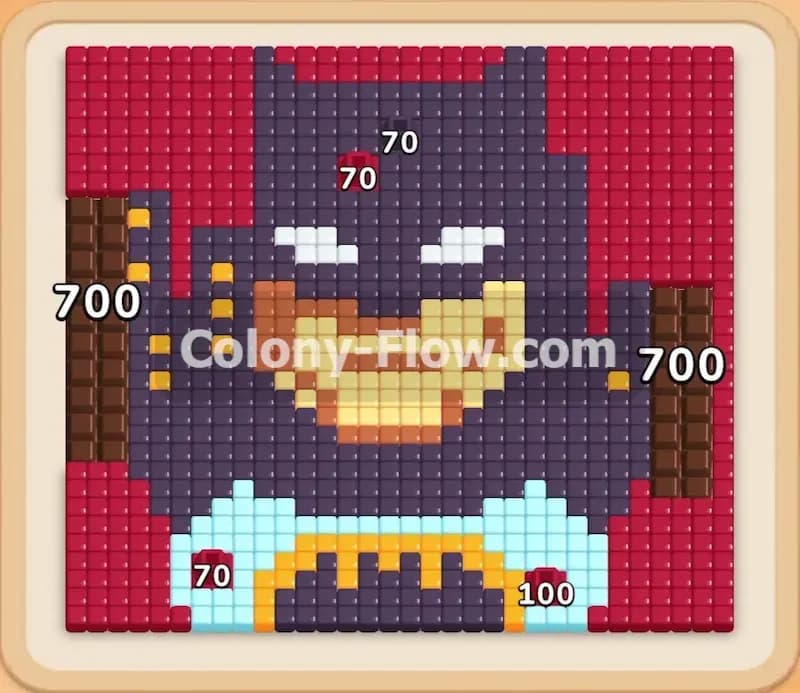
Colony Flow Level 338 drops you into a challenging situation right from the start. You face a large pixel art picture heavily obscured by thick chocolate sections. The tray below is packed with complex elements including connected boxes and hidden boxes. You have to break through the chocolate barrier before you can even touch the real puzzle underneath.
Colony Flow Level 338 Overview
What You Are Working With
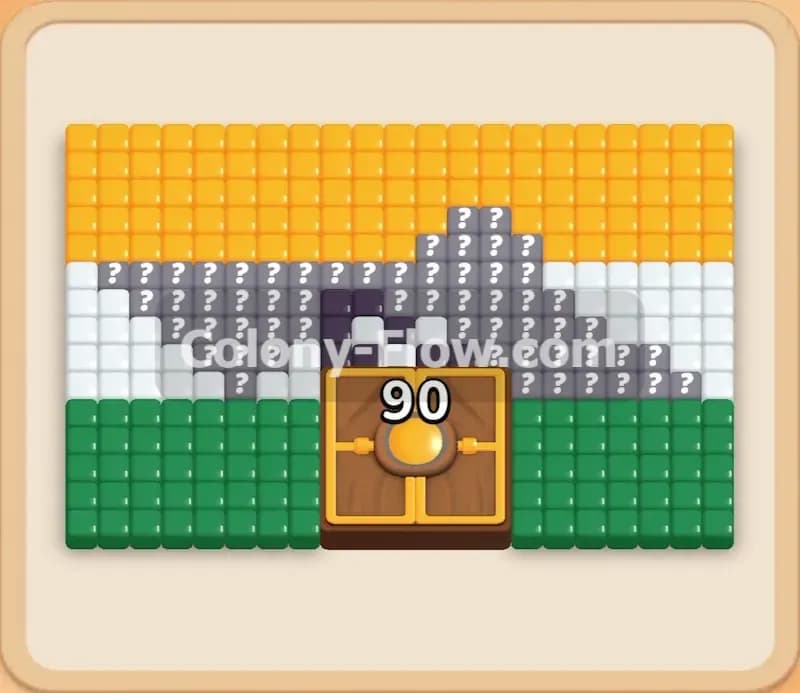
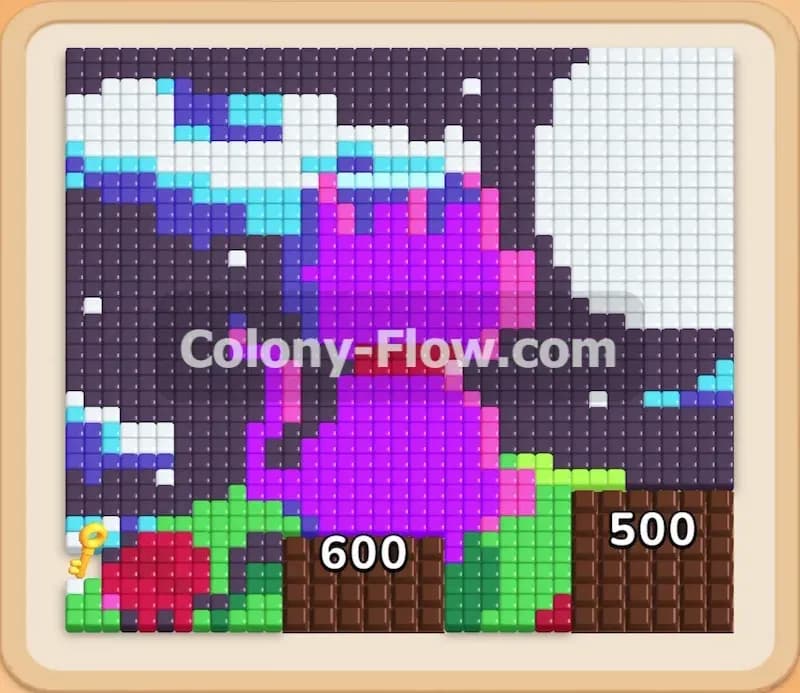
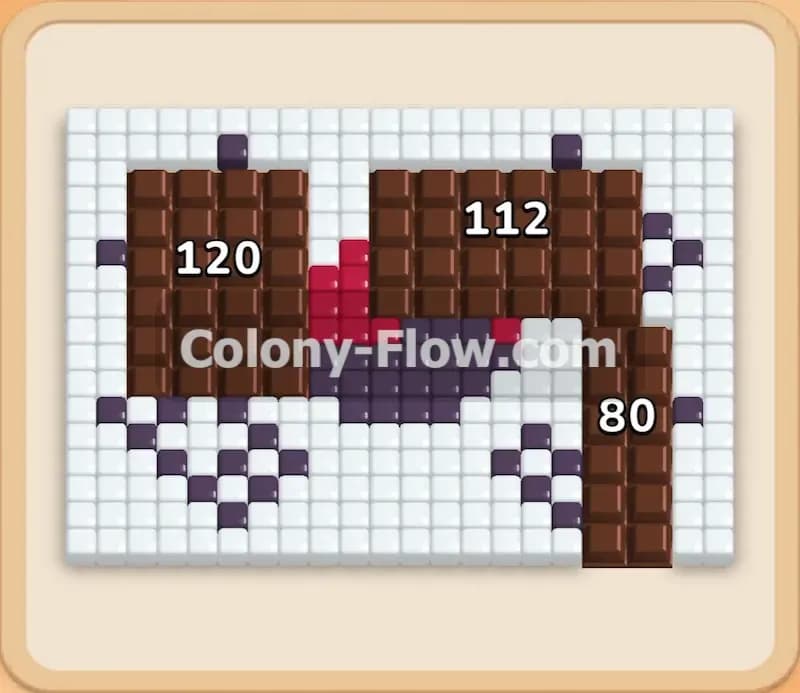
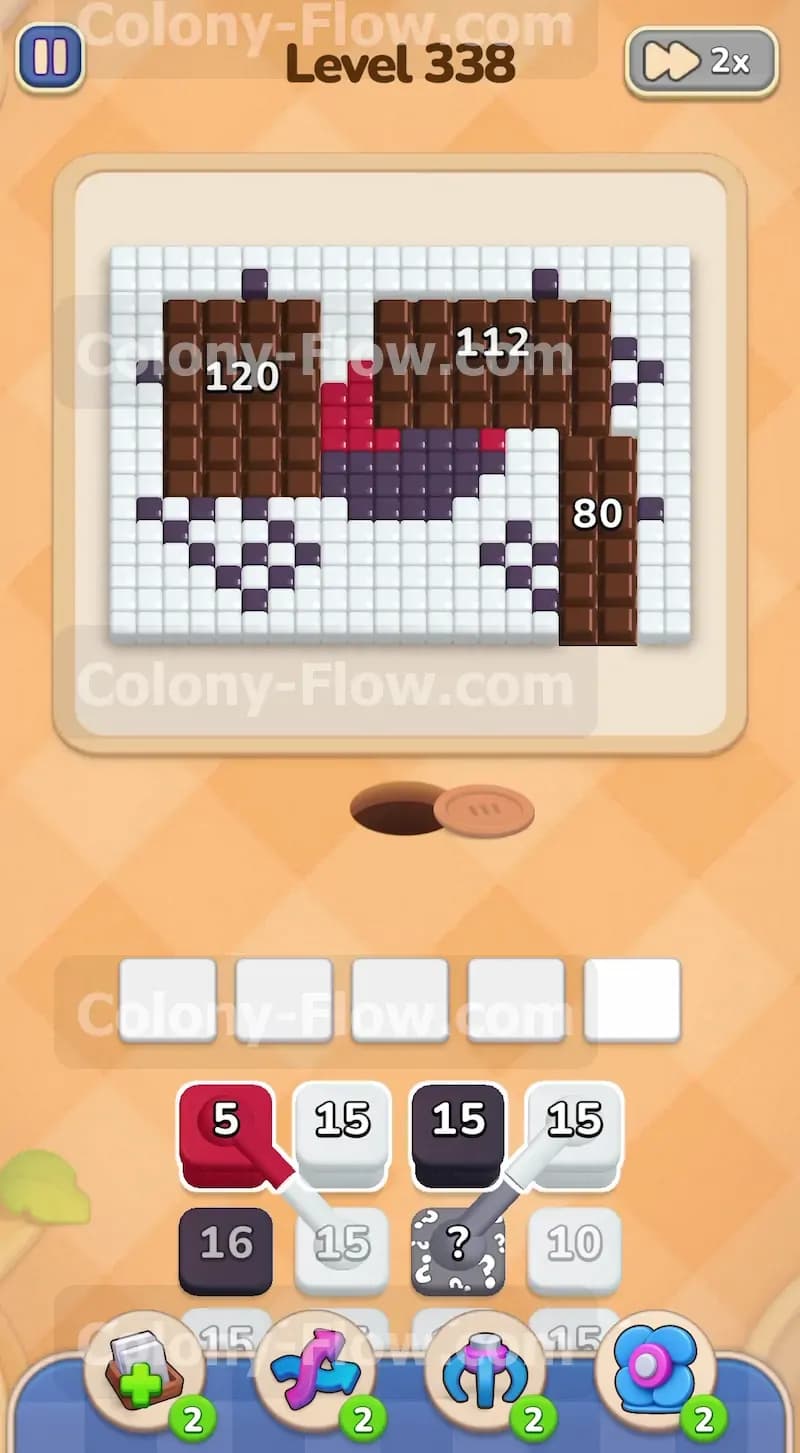
The board displays a flag design hidden under three massive chocolate blocks. The chocolate sections carry massive numbers meaning they require a huge swarm of ants to break apart. Underneath the chocolate lies a prominent red and black circle in the middle along with black shapes in the corners and a vast white background. Your tray is loaded with white blocks and black blocks along with a few red blocks. The tray also features connected boxes where a white block and a red block are linked together. Several hidden boxes sit in the middle and bottom rows. These hidden boxes disguise their color with question marks until they have enough room to move forward.
What It Takes to Clear Level 338 Board
You must send ants to chip away all the chocolate before you can clear the colored tiles. The chocolate blocks block all access to the flag pattern beneath them. You have five waiting slots at the bottom of the screen. You must always maintain an open path for your active blocks. If you fill all five slots and the active blocks have no matching tiles available the game ends and you lose. You must balance your block pulls carefully to keep the ants flowing without dead ending your board.
Colony Flow Level 338 Step by Step Solution
Step 1: Start chipping away at the massive chocolate barriers
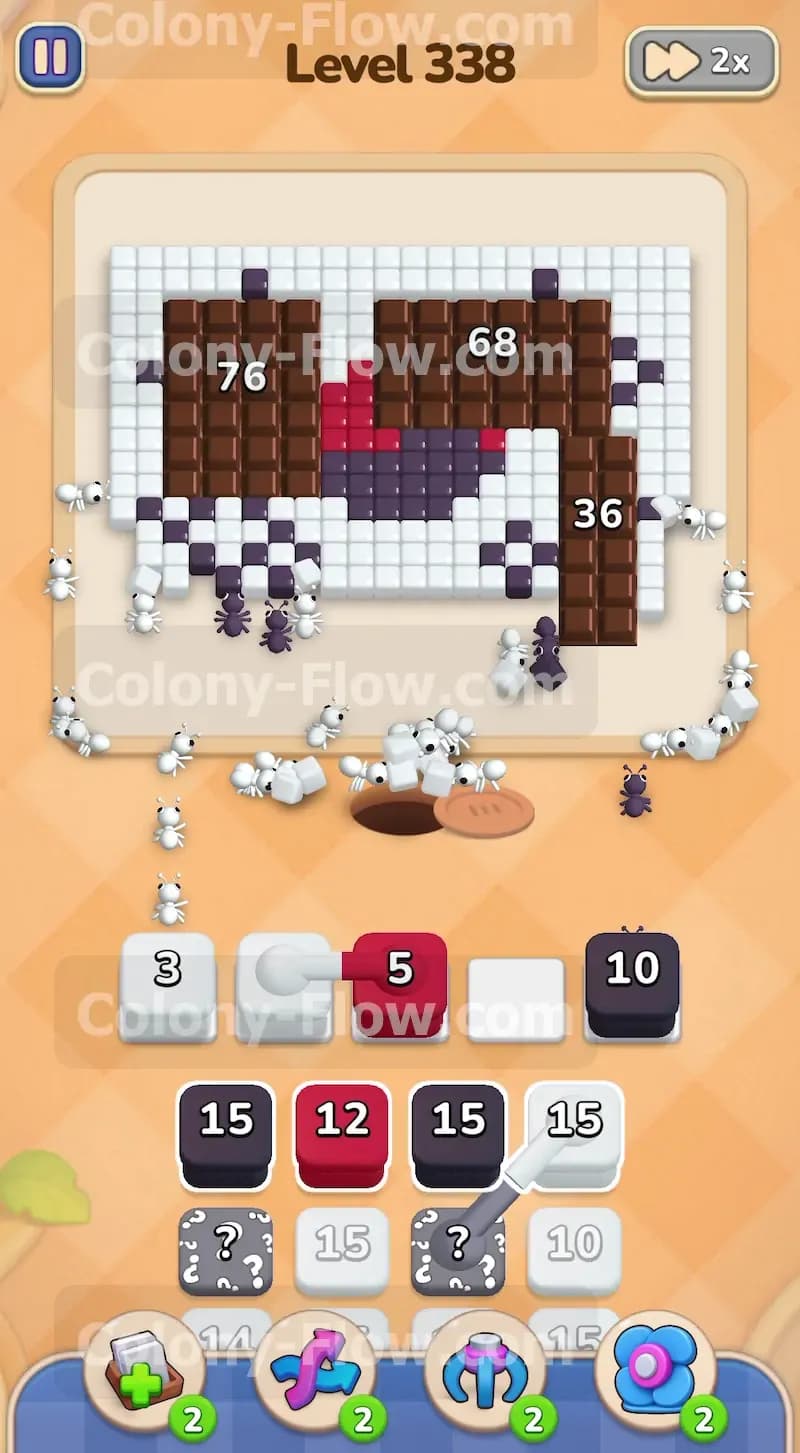
You need to get your ant colony moving immediately to tackle the heavy chocolate blocks covering the left and right sides of the board. Pull the first white block and the first black block up into your waiting slots. These initial blocks send out a huge stream of ants that march straight for the chocolate. The left chocolate section requires well over one hundred ants to clear so you want to start this process early. Next pull the connected white and red block from the top row of the tray. The white half of this connected pair will activate and help chew through the chocolate. The red half will sit quietly in the waiting slots because there are no exposed red tiles yet. You take up a slot to get the white block working but you must ensure you do not fill the remaining slots and jam the board.
Step 2: Maintain the ant flow and uncover hidden boxes
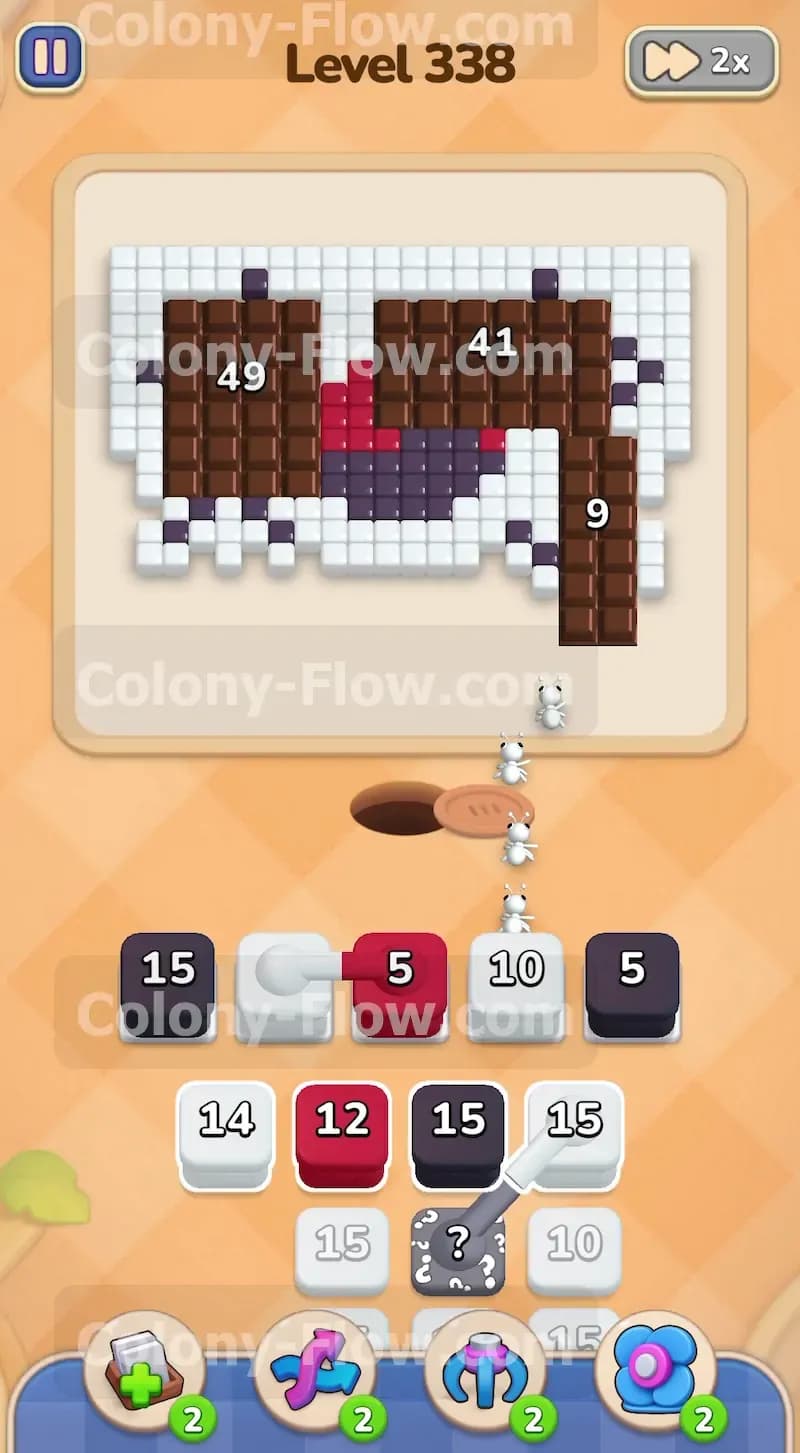
Keep feeding blocks into the waiting slots to maintain constant pressure on the chocolate. Pull another black block and another white block to join the attack. As you pull these blocks from the middle of the tray the hidden boxes behind them start to shift forward. These hidden boxes keep their color a secret until they have room to move in the tray. You must clear the blocks in front of them carefully. The ants will continue to stream out of the nest hole and swarm the chocolate sections. You will notice the large numbers on the chocolate slowly counting down. Always watch your five waiting slots to guarantee at least one block is actively sending out ants.
Step 3: Break the first chocolate section and expose the picture
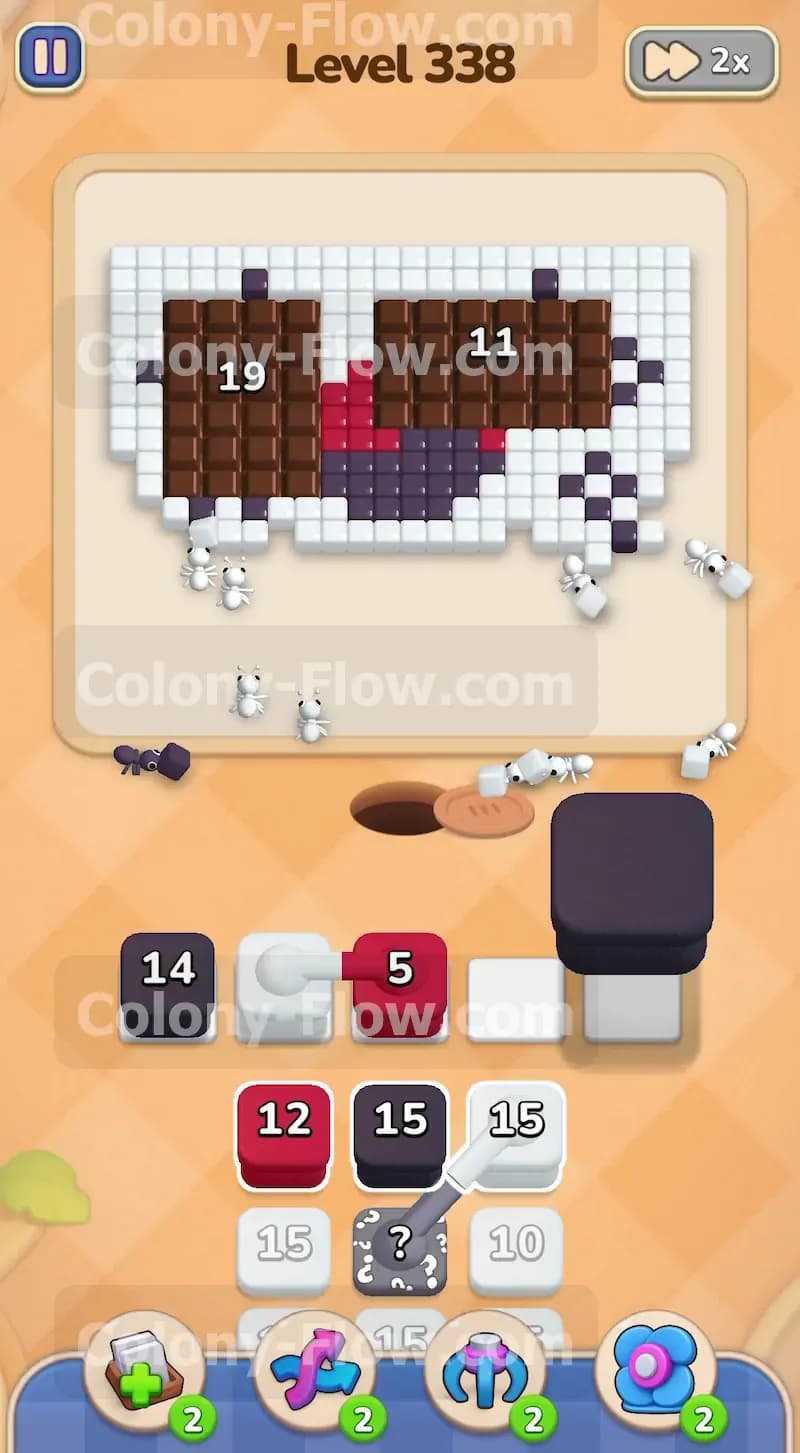
The relentless stream of ants finally destroys the right side chocolate block. This reveals the white background tiles and the black corner shapes underneath. The moment this happens the white and black blocks in your waiting slots suddenly have new targets. The ants shift their focus from the chocolate to the newly exposed pixel art tiles. Your active blocks will drain much faster now freeing up precious space in your waiting slots. Use this opportunity to pull more blocks from the tray. Bring up another black block to handle the exposed black shapes. The left chocolate block is still holding strong but its number is dropping fast.
Step 4: Destroy the remaining chocolate and open the center circle
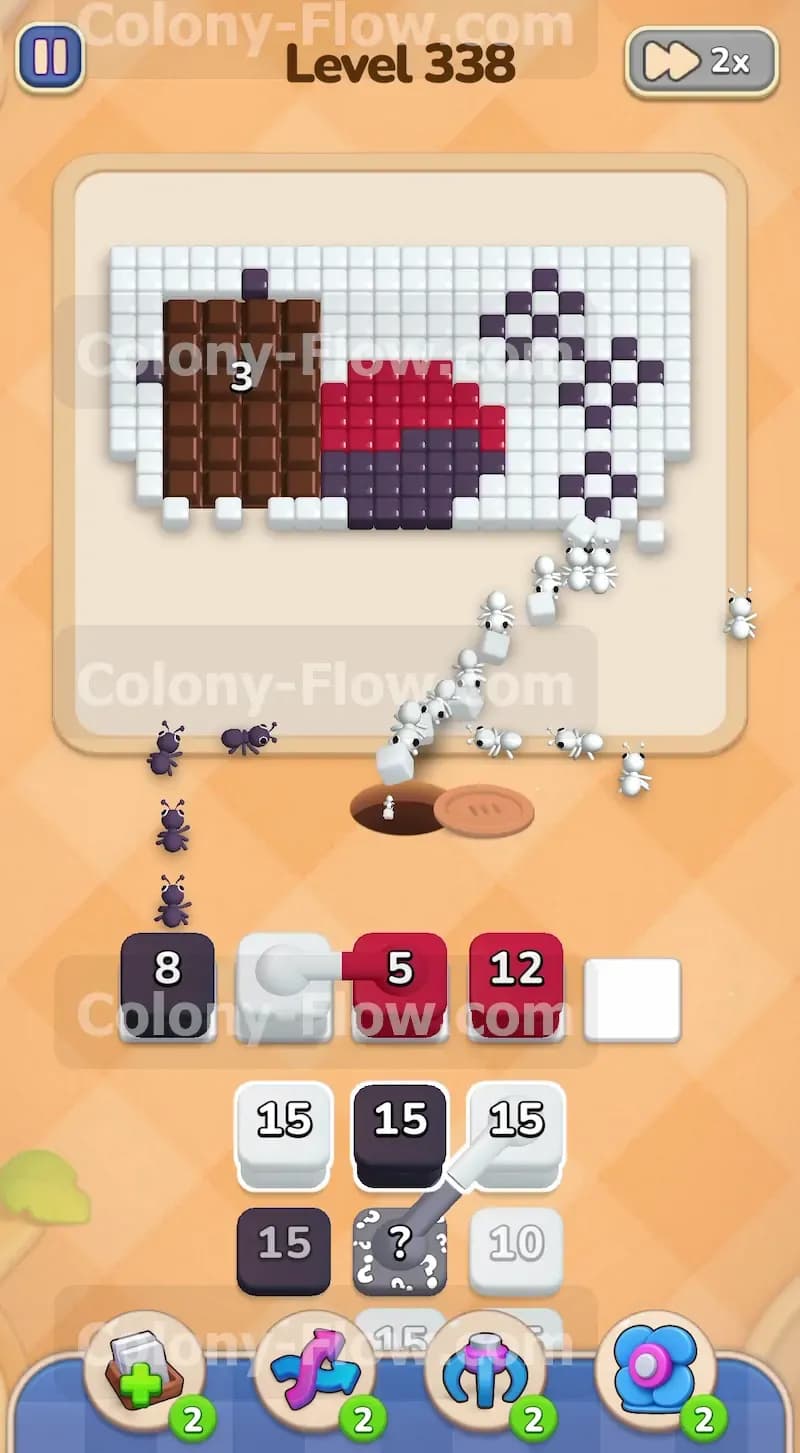
Direct your colony to finish off the remaining chocolate on the left and in the middle. Pull a red block from the tray to prepare for the next phase. The final pieces of chocolate will crumble and expose the large red and black circle in the center of the flag design. Now that connected red block sitting in your waiting slots from the very beginning finally springs to life. The red tiles are exposed so the red block finds its path and starts sending out ants. This frees up the slot that the connected block was taking up for so long. The board is now completely free of chocolate and you can focus entirely on clearing the colored tiles.
Step 5: Tackle the center red and black symbol
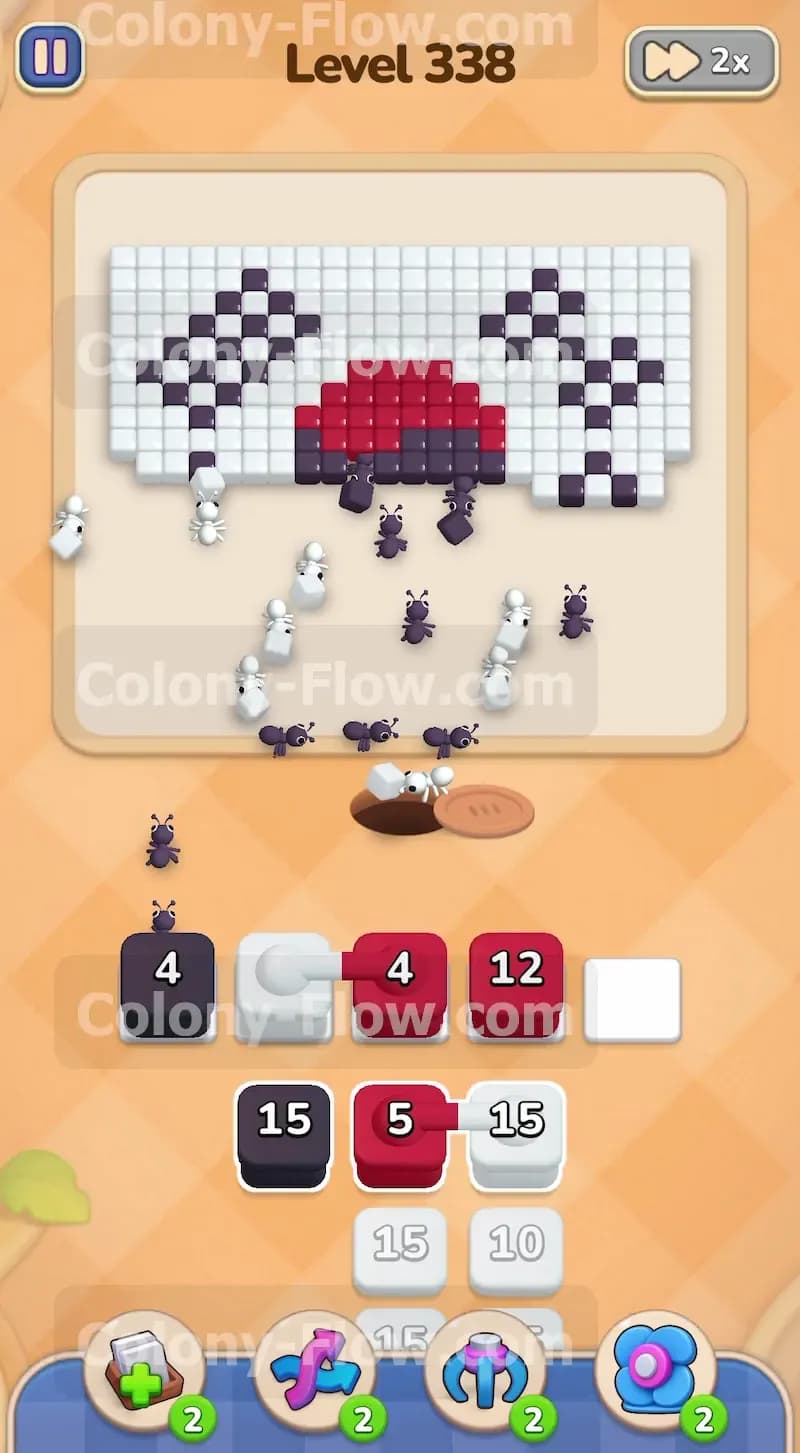
Send your colony straight for the newly exposed center shapes. You have multiple red blocks and black blocks active in your waiting slots now. The ants will split up to tackle the top red half and the bottom black half of the center circle. This requires a large volume of ants so keep pulling blocks from the tray as space allows. You will uncover the remaining hidden boxes as you empty the lower rows of the tray. Bring these hidden boxes up to the waiting slots as soon as they reveal their colors. Most of these will be white blocks needed to clear the massive white background. Be very careful not to pull too many white blocks at once or you will jam your five slots while waiting for the red and black tiles to clear.
Step 6: Clear the extensive white background
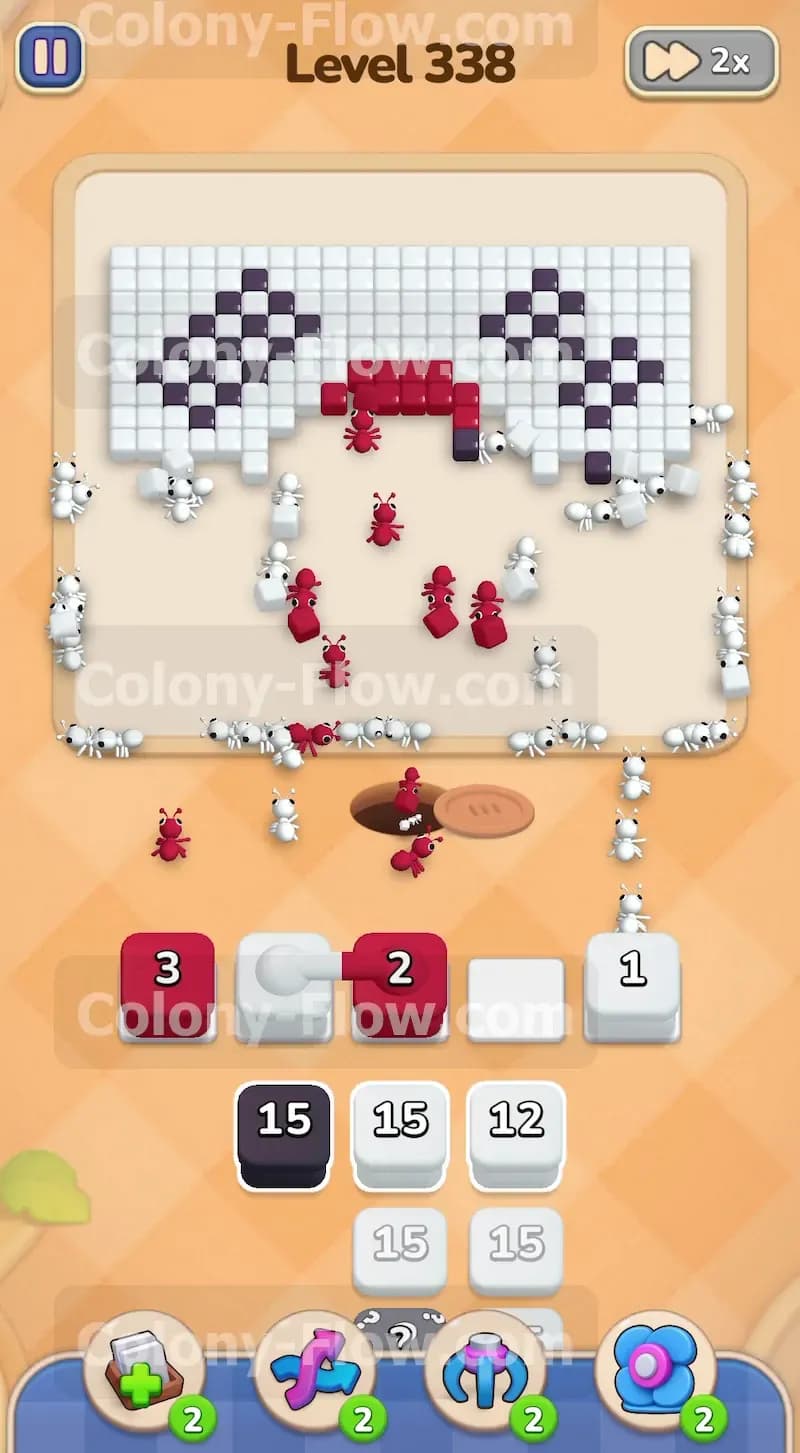
Shift your attention to the vast amount of white space surrounding the central symbol and corner shapes. Pull the remaining white blocks from the tray into your waiting slots. The ants will swarm the entire board to hunt down the white tiles. You will see a massive flurry of activity as the white blocks count down rapidly. The center red and black symbol should be mostly clear by now. Make sure you match the pace of the white blocks with the remaining black blocks needed for the corner shapes. You are nearing the end of the tray so every move matters. If you pull a black block and there are no reachable black tiles you will dead end the board and lose. Ensure the paths stay open.
Step 7: Finish off the corner shapes and complete the board
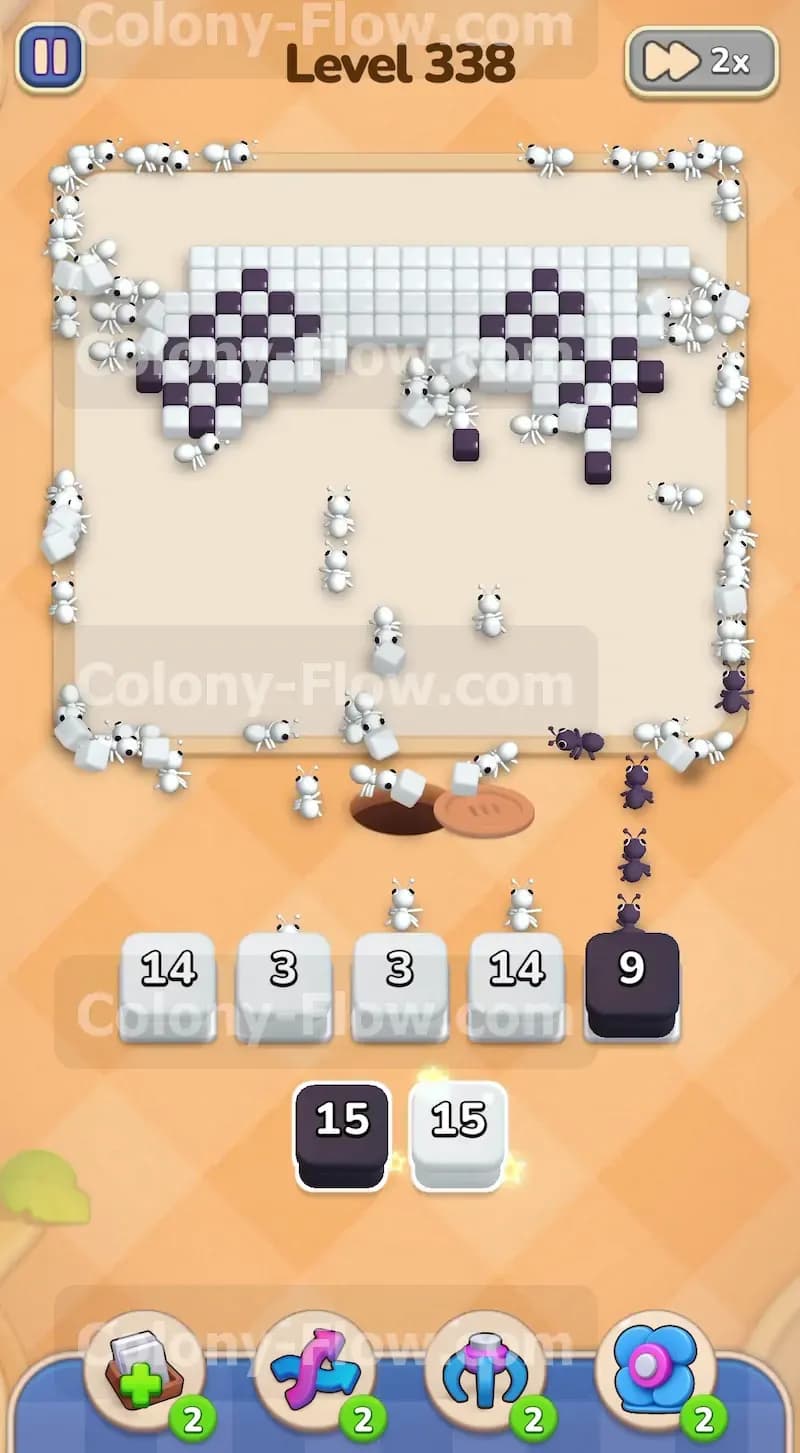
Bring up the very last blocks from your tray to complete the puzzle. You should have a few remaining white blocks and one final black block. The black block will send ants to clear out the last few tiles of the corner shapes. The white blocks will mop up the final edges of the white background. Watch the ants run their final paths across the empty board. The numbers on your waiting slot blocks will hit zero and the blocks will disappear. Once every tile is eaten the level is complete. You successfully managed the connected blocks and defeated the heavy chocolate cover without ever jamming your slots.
Final Thought
Handling chocolate and connected blocks at the same time requires patience and careful slot management. You have to endure having a useless block taking up space until the board opens up. If you found the timing of the block pulls confusing or if you want to see exactly how the hidden boxes behave please watch the video above this article. Seeing the ants clear the chocolate in motion will help you master this board.