Colony Flow Level 1277 Walkthrough Solution & Guides | How to solve Colony Flow 1277

Guide By Liam Stone
Updated on August 12, 2026
Skip ahead to the video above if you want to see Level 1277 solved without reading the full article.
Video doesn't match your screen?
Game updates frequently scramble layouts! Try our AI Screenshot Solver first to find your exact board instantly, or report broken guides to our team.
Colony Flow Level 1277 puts a colorful pixel art monster on your screen. You have to feed a massive amount of light purple background tiles to your ants before you can even touch the main picture. The monster sits right in the middle of the board and blocks direct access to the top tiles. I played through this board to map out the safest route for your blocks. You will need to manage a massive stack of colors in your tray. Follow my strategy to keep your waiting slots open and clear the whole picture without getting stuck.
Colony Flow Level 1277 Overview
What You Are Working With
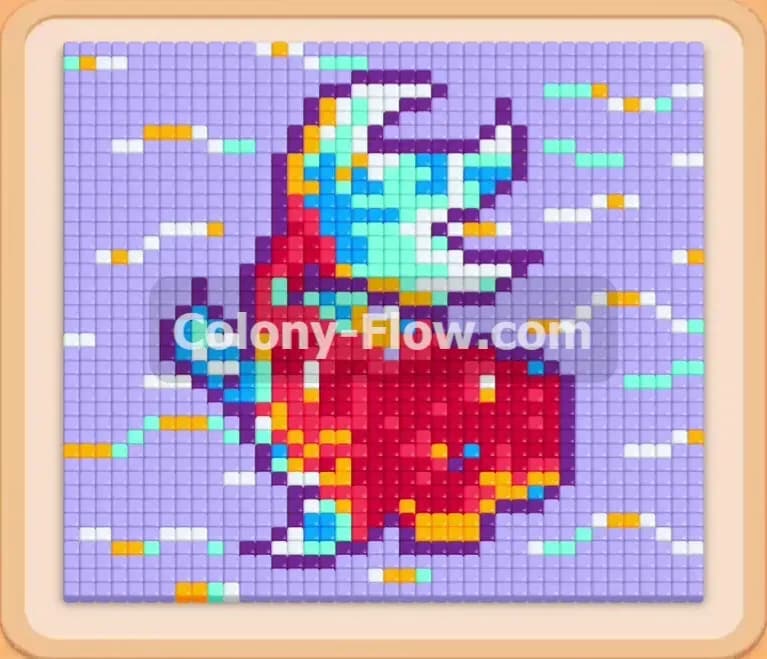
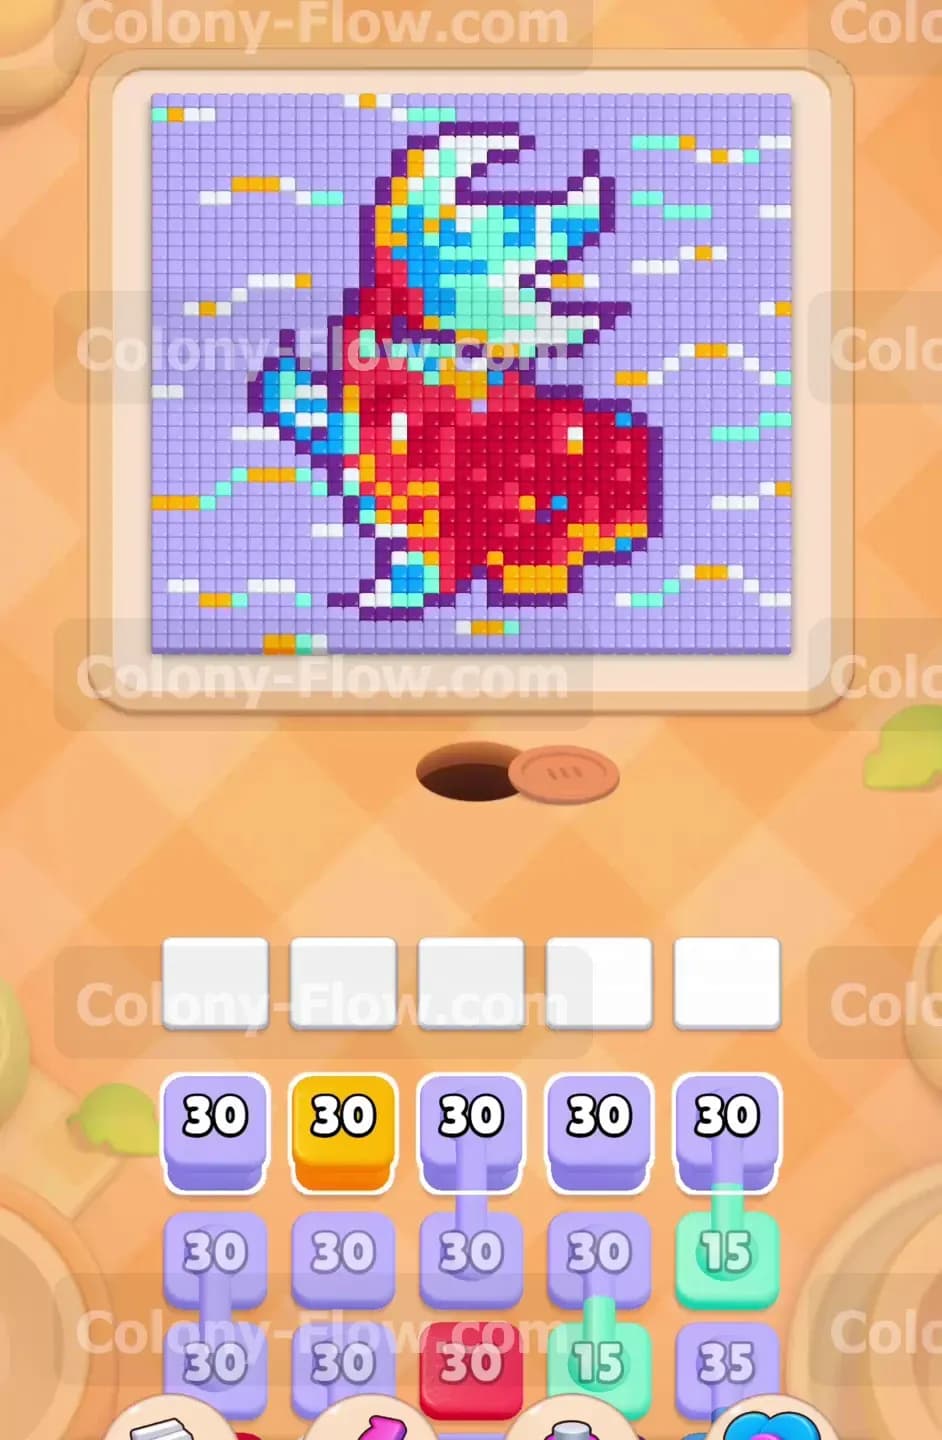
The picture on this board features a red and blue monster with yellow spots and white horns. A giant light purple background surrounds the entire creature and fills almost the whole screen. You will also see small orange accent lines floating around in that light purple background. Down in your tray you have a huge stack of numbered blocks. You will deal with many light purple blocks holding thirty ants each. You also have large red blocks dedicated to the monster body. You will see teal blocks for the spikes and underbelly sections. Dark purple blocks handle the thick outline of the creature. Yellow blocks clear the spots on the body. Blue blocks clear the shadows and extra details. White blocks take care of the horns at the top.
This board relies heavily on the connected boxes mechanic. You will see thick visual lines linking two or more blocks together down in your tray. When you tap one of these connected boxes all the linked blocks move up into your five waiting slots at the same exact time. You have to be very careful with these connected groups. Pulling a pair of connected blocks instantly fills two waiting slots instead of just one. You must plan ahead to survive.
What It Takes to Clear Level 1277 Board
You clear this board by perfectly timing your connected boxes and managing your limited space. Your five waiting slots are your only lifeline during the puzzle. If you fill all five slots with colors that have no open path to their matching tiles you fail the level immediately. You must always ensure that the colors you bring up have a direct open path on the board right at that moment. Since the light purple background covers the entire outer edge you have to start your clearing process there. You will peel back the light purple layers to expose the dark purple outline. Breaking the dark purple outline then exposes the red body and the white horns. You will work your way inward from the background to the center of the monster piece by piece.
Colony Flow Level 1277 Step by Step Solution
Step 1: Tap the first light purple blocks to eat the background outer edges
Your very first moves must target the massive light purple background. Look at your tray and tap the standalone light purple block holding thirty ants. The background tiles touch the absolute bottom edge of the picture frame. This gives your light purple ants an immediate open path to start eating. Watch the ants stream out of the nest hole and start clearing the bottom left and bottom right corners of the background. The number thirty on the block will start counting down right away. This constant counting keeps your waiting slots flowing and prevents a jam. Do not touch any other colors yet. The red and dark purple tiles are completely blocked by the background. If you pull a red block right now it will sit stuck in your slots and put you at risk of losing. Keep feeding light purple blocks to carve out a large open space at the bottom of the board.
Step 2: Pull the connected light purple blocks to clear more space
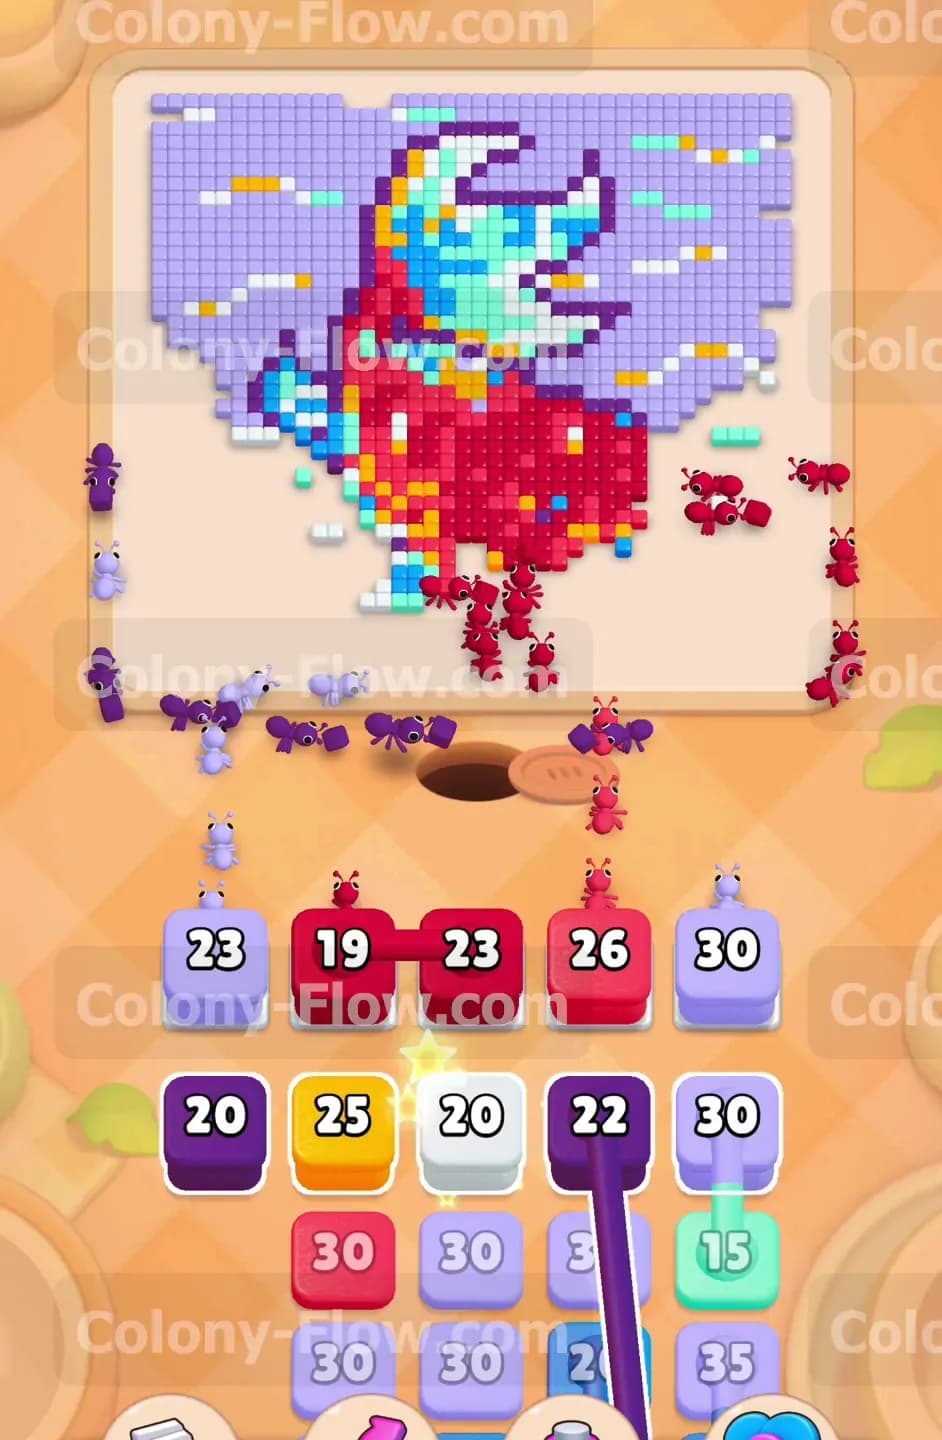
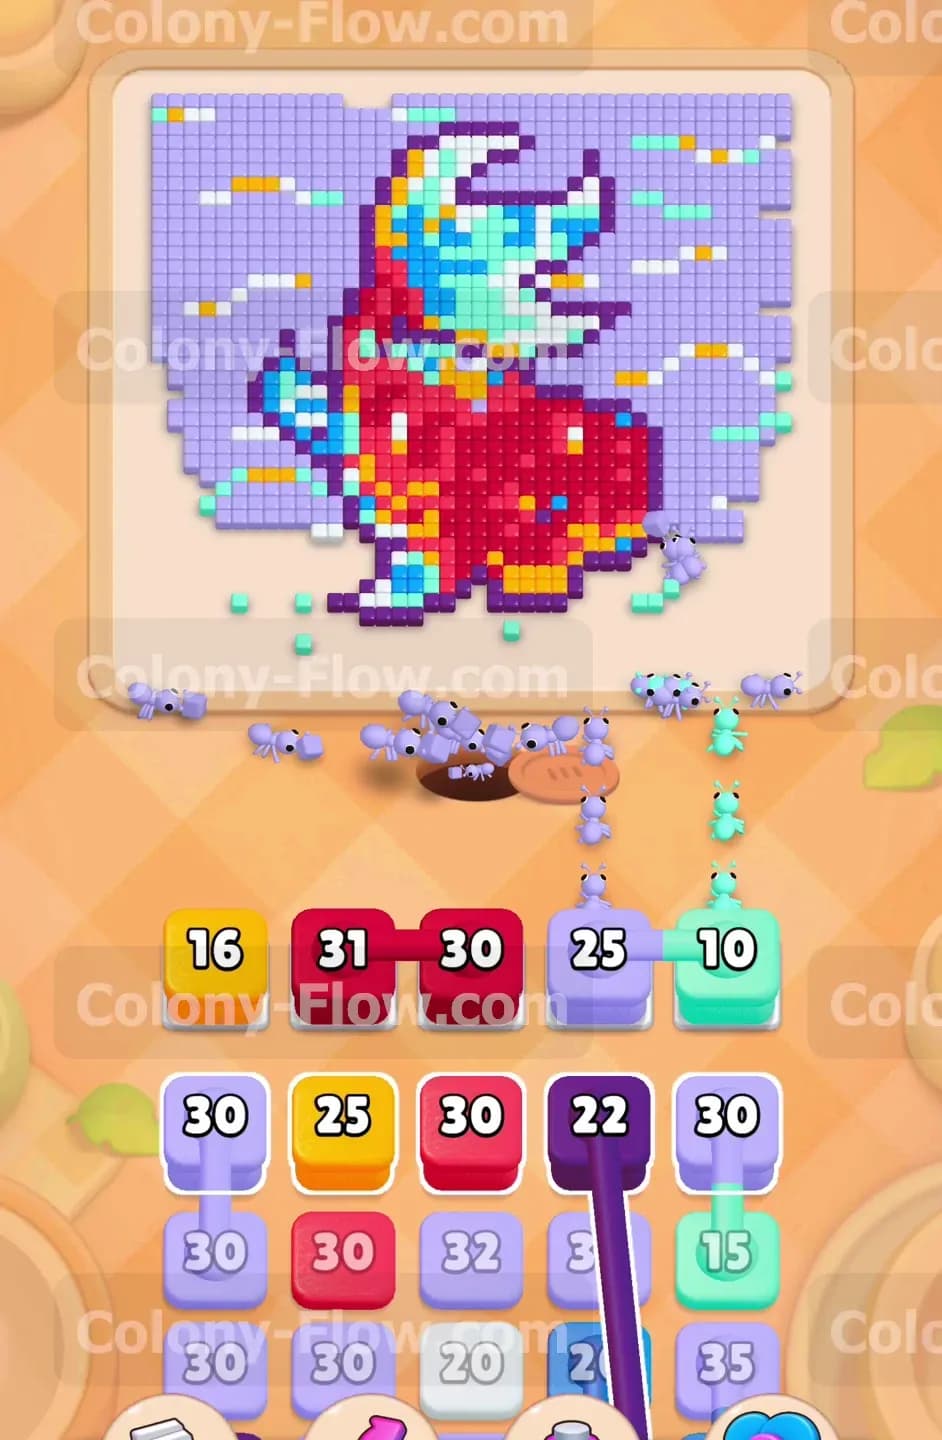
Once you have a steady stream of light purple ants eating the bottom corners you can safely bring up the connected light purple boxes. Tap the pair of light purple blocks holding thirty ants each. Both blocks will fly up into your waiting slots simultaneously. Because you already opened a massive surface area of light purple tiles both of these new blocks will activate at the same time. The ants will flood the board and rapidly eat their way up the left and right sides of the monster. The numbers on these blocks will drop fast. Letting these connected boxes run together clears huge chunks of the background and gets them out of your slots quickly. You will see the orange accent lines become exposed as the background disappears. Tap an orange block when those lines are fully open.
Step 3: Bring out the connected red blocks to attack the monster body
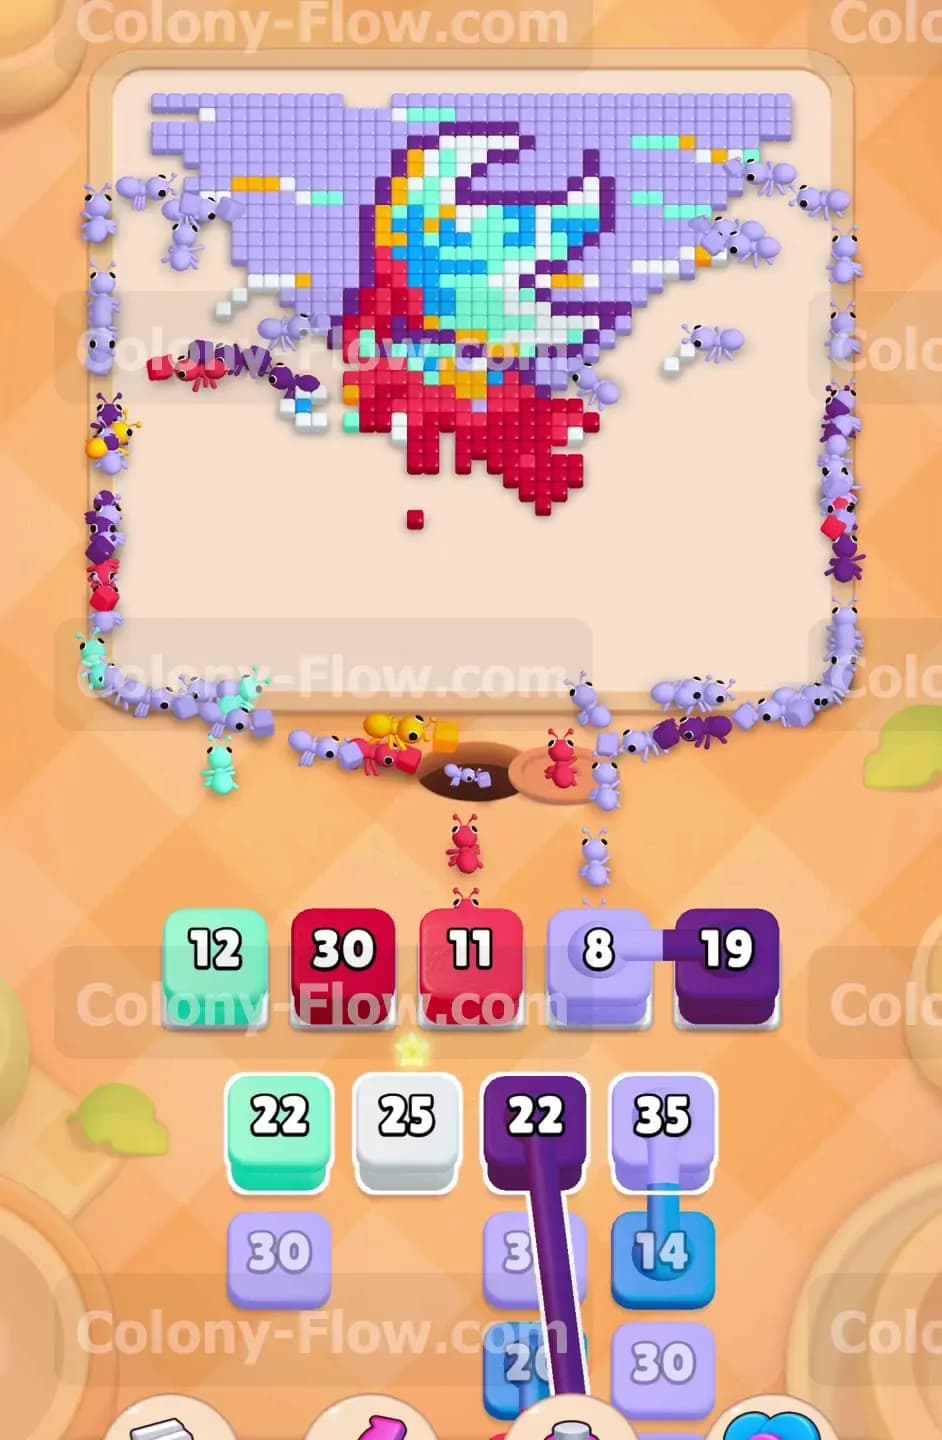
As the light purple background recedes from the bottom center you will finally expose the bottom edge of the red monster. Now you have a clear path for your red ants. Tap the connected red blocks from your tray. One holds thirty one ants and the other holds thirty ants. Both red blocks will fill two of your waiting slots. The red ants will march straight up the middle of the board and begin devouring the main red body of the monster. You still need to keep a light purple block active in your slots as well. The light purple ants will continue working on the top half of the background while the red ants hollow out the center. Balancing these two active colors ensures you never face a dead end.
Step 4: Dispatch the teal blocks to clear the underbelly and spikes
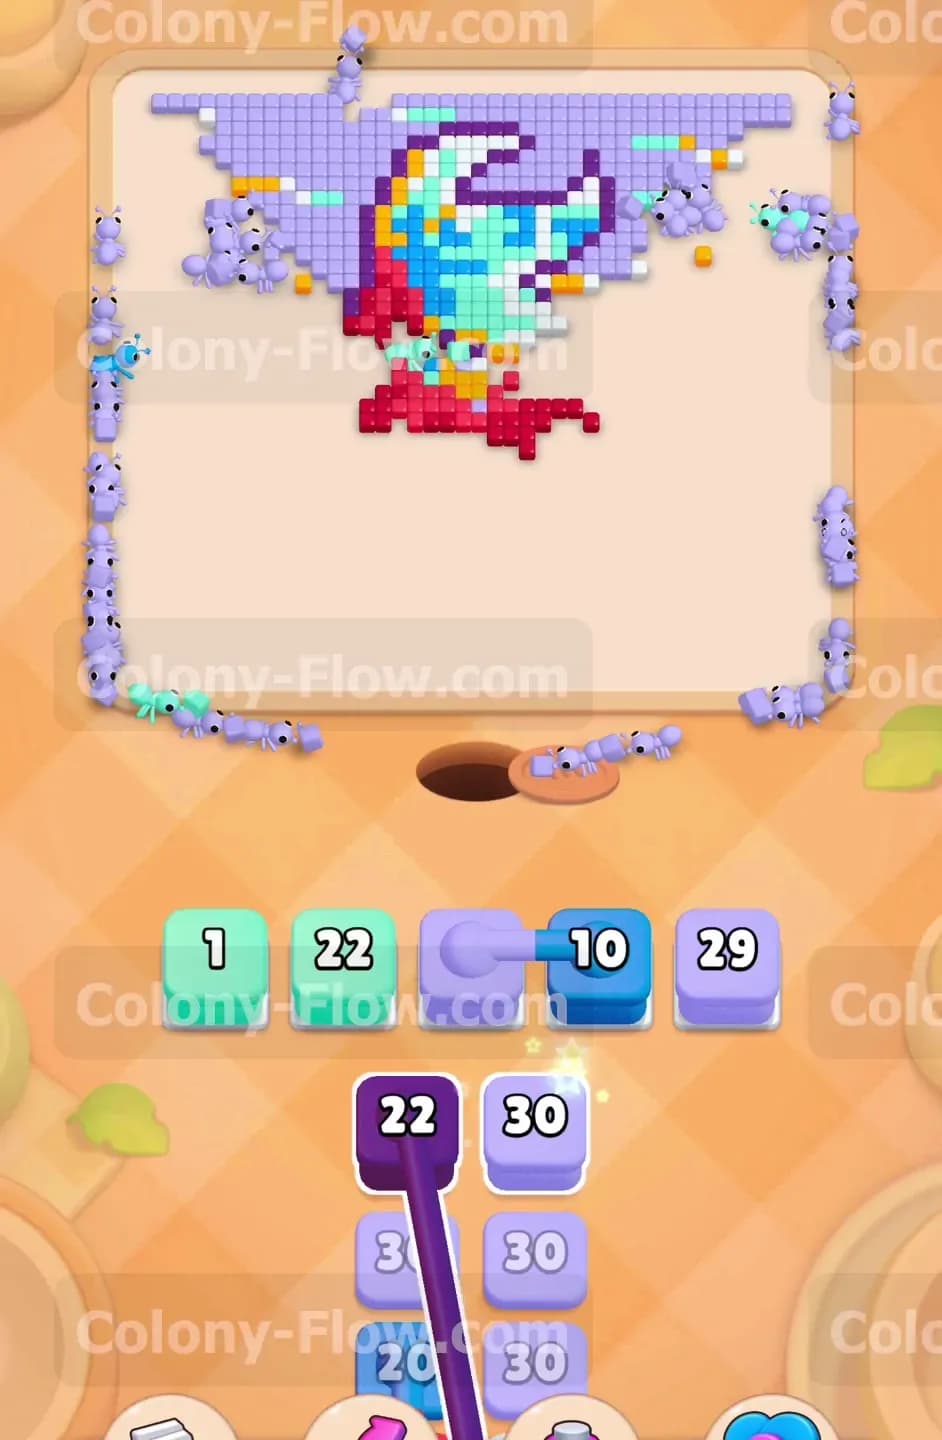
The red ants will soon eat away enough of the lower body to expose the teal sections. You will see teal tiles forming the underbelly and the back spikes of the creature. Once these teal tiles have empty space next to them you can tap your teal blocks. Bring up the teal block holding fifteen ants and the teal block holding ten ants. The teal ants will rush the board and strip away those specific sections. Meanwhile your red blocks will continue counting down as they eat the upper chest of the monster. Always make sure your active blocks are actively counting down. If a block stops counting you need to check if its path got pinched off by another color.
Step 5: Deploy the dark purple blocks for the heavy outline
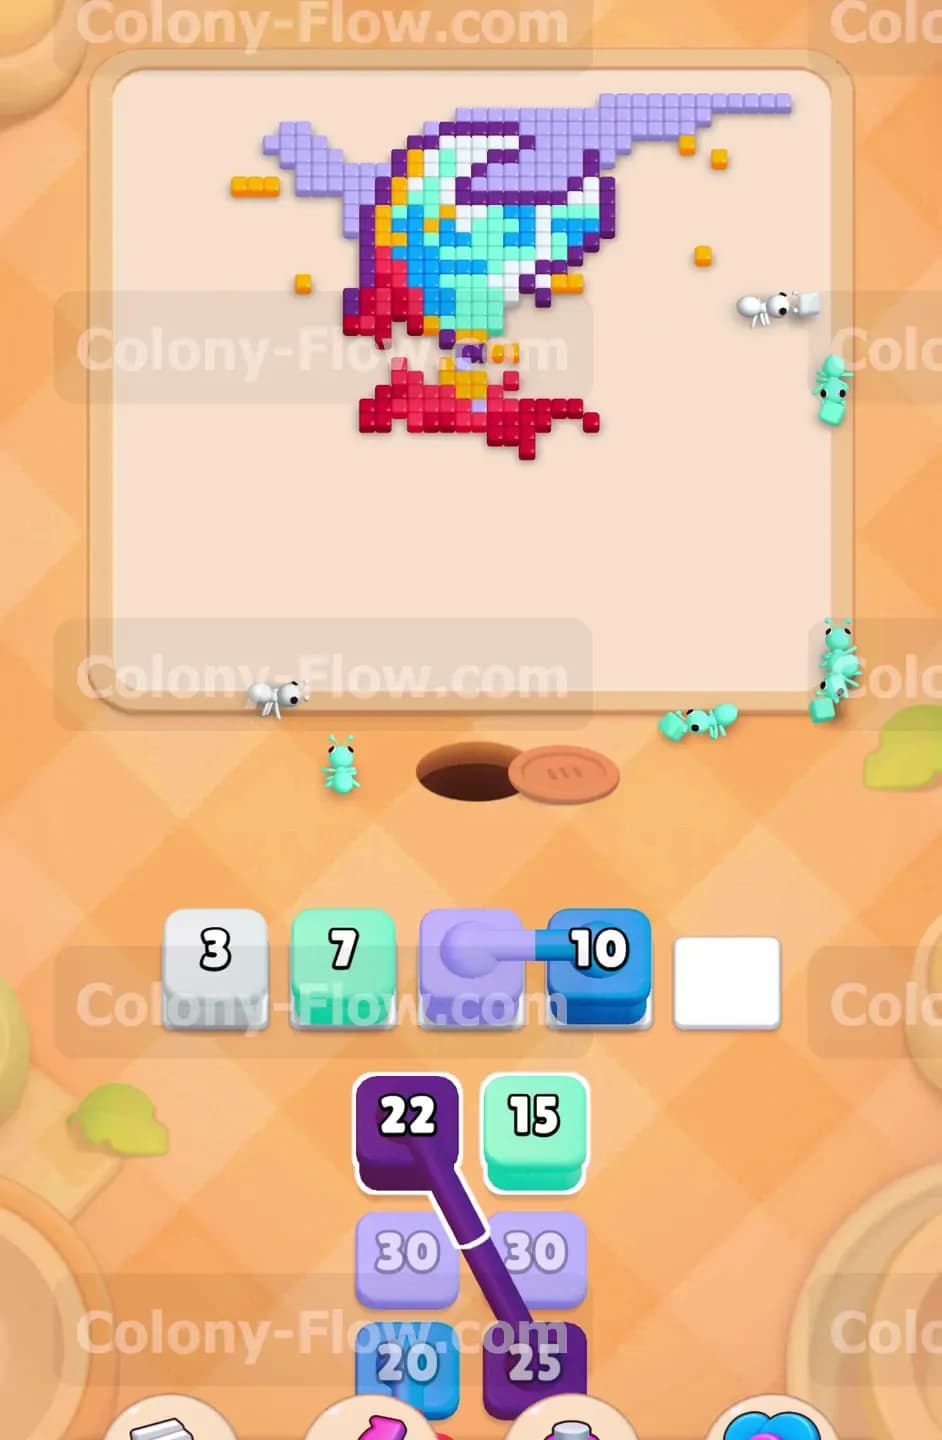
The monster features a very thick dark purple outline that separates the inner body from the outer background. By this point your light purple ants and red ants have exposed large sections of this outline. Tap the dark purple blocks holding twenty two ants. Some of these dark purple blocks are connected boxes. Bring them up carefully. Make sure you have at least three empty slots before you tap a connected pair. The dark purple ants will trace the edges of the monster shape. They will eat the boundary lines and break the picture into smaller separate sections. This opens up even more paths for your remaining colors to enter the middle of the board.
Step 6: Send yellow and blue ants to clean up the spots and details
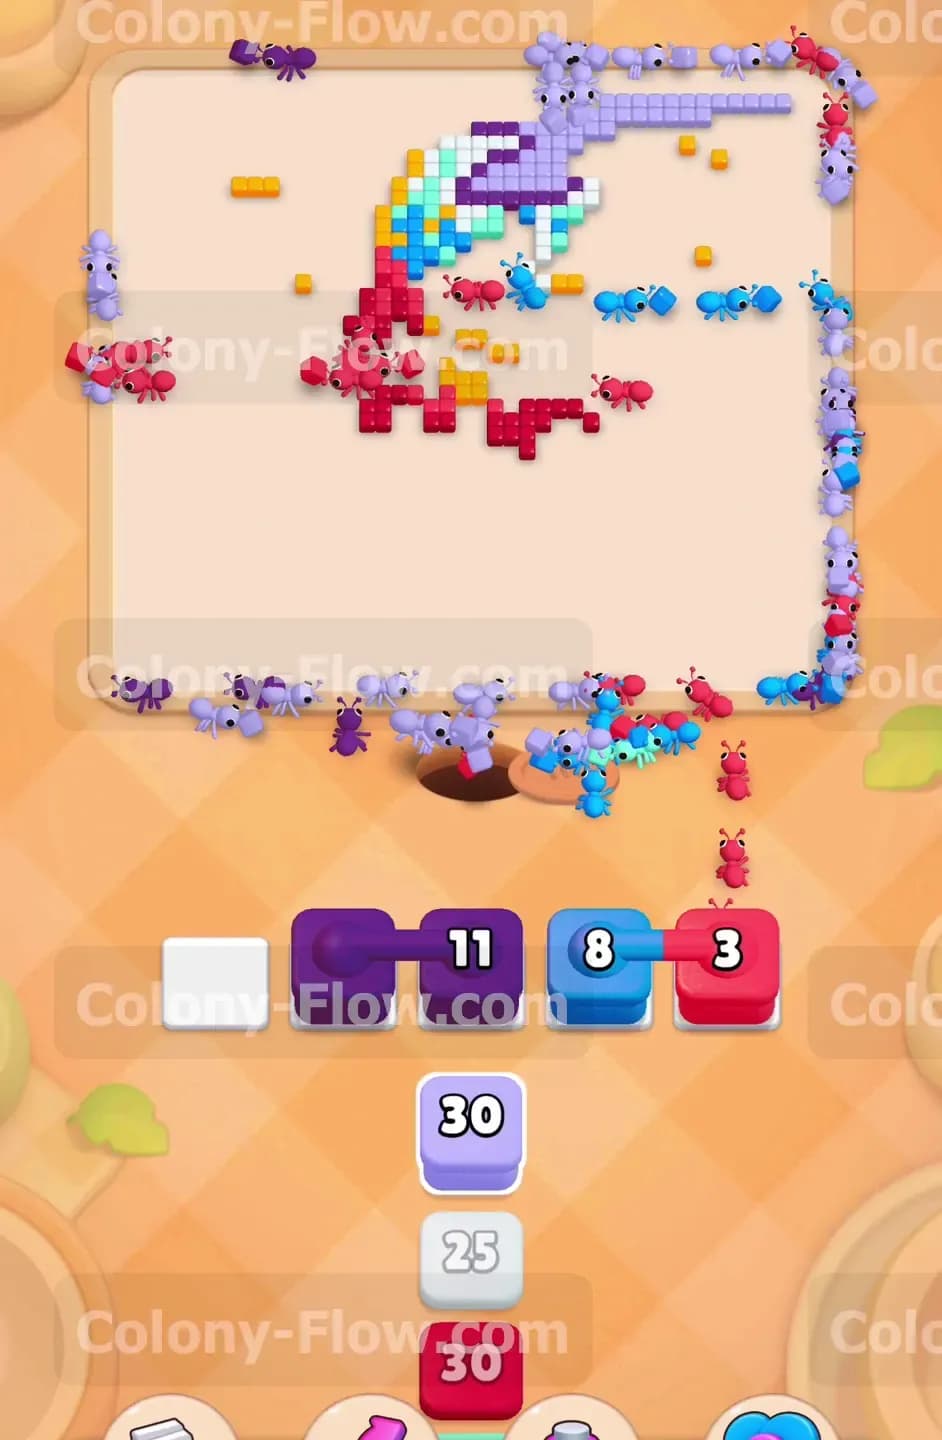
Deep inside the red body you will find small clusters of yellow tiles forming spots. You will also see dark blue tiles forming shadow lines and back details. Wait until the red ants clear the tiles directly touching these spots. Once the yellow and blue tiles touch open space you can pull your yellow block holding twenty five ants and your blue block holding thirty five ants. The ants will navigate through the empty spaces left by the red body and eat the spots. Be patient here. Do not load the yellow block until you visibly see open space next to a yellow tile. Loading it too early will jam a slot and restrict your options for finishing the rest of the board.
Step 7: Clear the white horns and the top face details
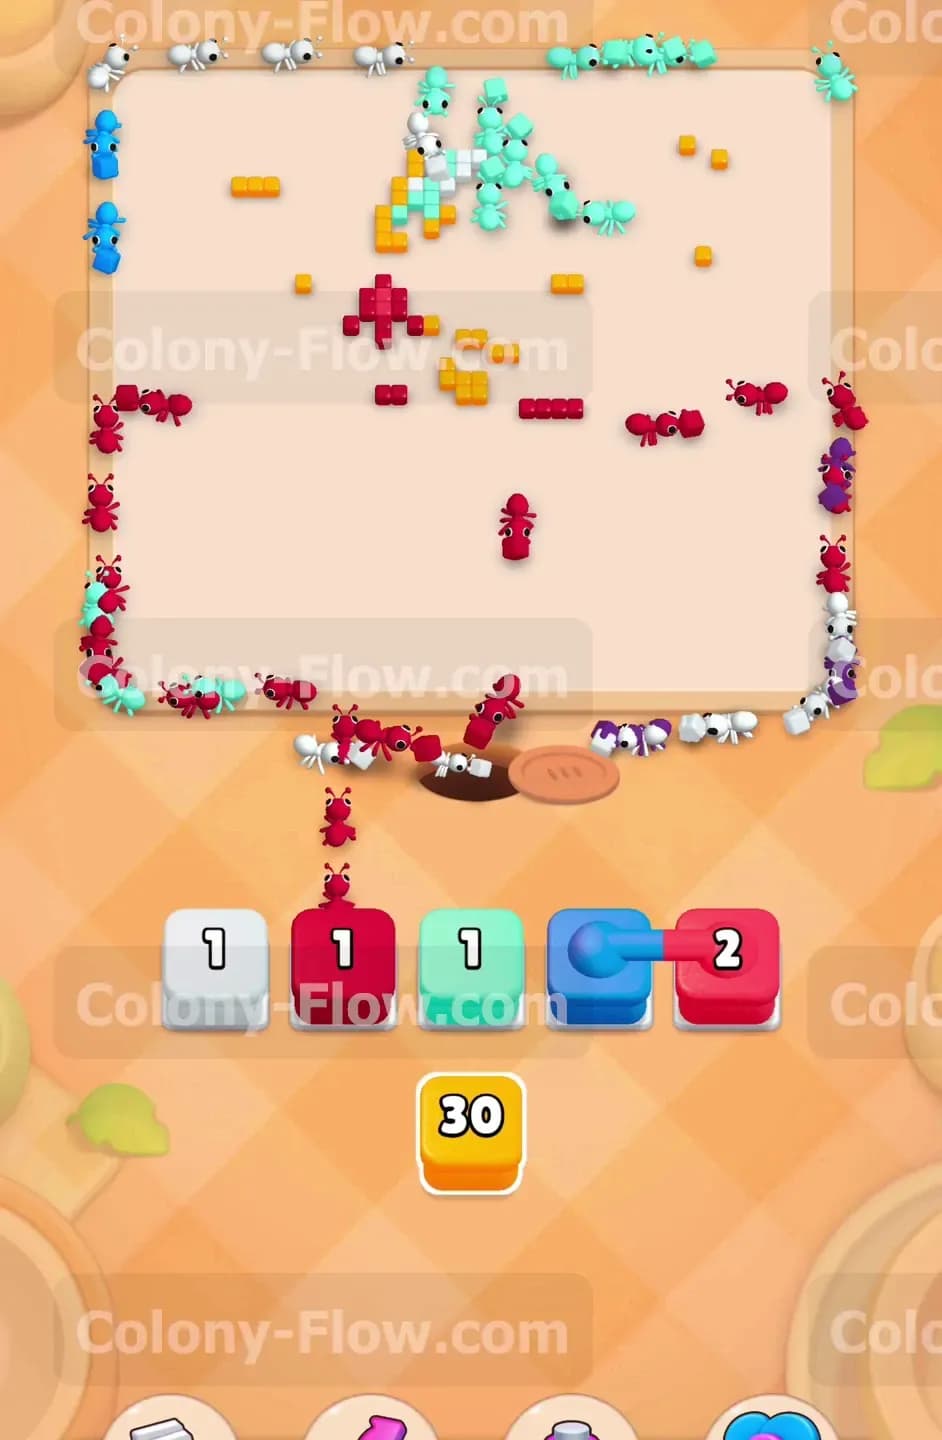
The top section of the monster consists of white horns and a cyan face area. The remaining light purple ants should be finishing the very top edge of the background right now. Tap the white blocks holding twenty and twenty three ants. The white ants will march all the way to the top of the board and eat the horns. Pull the remaining cyan and teal blocks to clear the face. You will notice your tray getting very empty. Keep your eyes on the board and verify that every new block you tap has a valid target. The picture is shrinking rapidly and the paths are getting longer. The ants will take more time to travel from the nest hole to the top corners.
Step 8: Empty the final linked blocks to finish the board completely
In the very last moments of the level you will face a few small connected boxes in your tray. You might see a blue block holding two ants linked to a red block holding two ants. You must wait until the final few pixels of the monster head are completely exposed before tapping these small linked boxes. If you pull them and the red tile is hidden behind a blue tile you will block a slot unnecessarily. Wait for the exact moment when both colors touch open space. Tap the final connected blocks. The last few ants will run up and eat the final pixels. The entire picture vanishes and the level is complete.
Final Thought
Managing your five waiting slots is the entire key to surviving this puzzle. You must respect the connected boxes and never pull them unless you have plenty of room in your tray. Keeping a constant flow of light purple ants working on the outside while you tackle the inside is a great way to stay safe. If you find yourself getting stuck on the exact order of the colors just watch the video above this article. The video will show you exactly how to sequence your connected boxes to keep your slots totally clear.