Colony Flow Level 407 Walkthrough Solution & Guides | How to solve Colony Flow 407

Guide By Liam Stone
Updated on August 1, 2026
You can jump straight to the video above and watch the full Level 407 solution instead of reading on.
Video doesn't match your screen?
Game updates frequently scramble layouts! Try our AI Screenshot Solver first to find your exact board instantly, or report broken guides to our team.
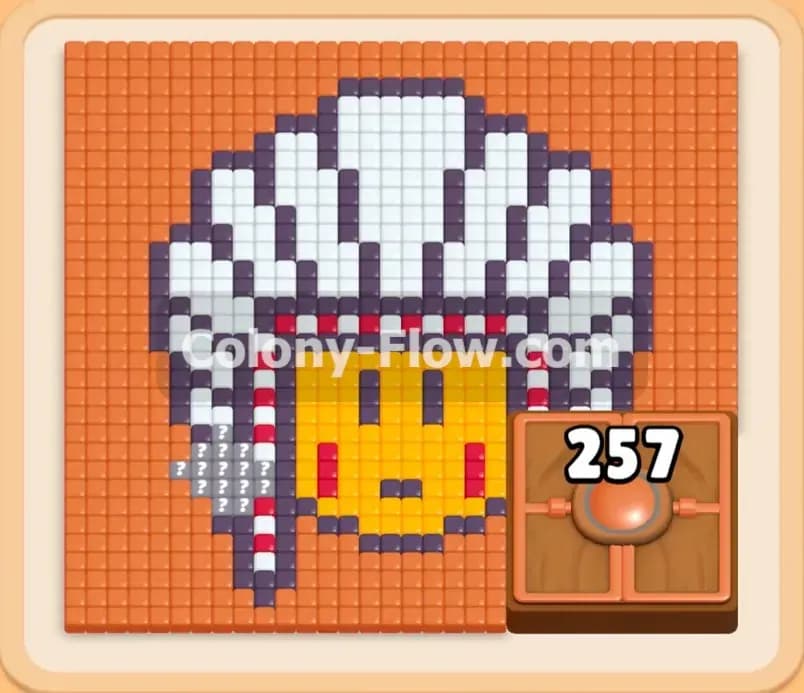
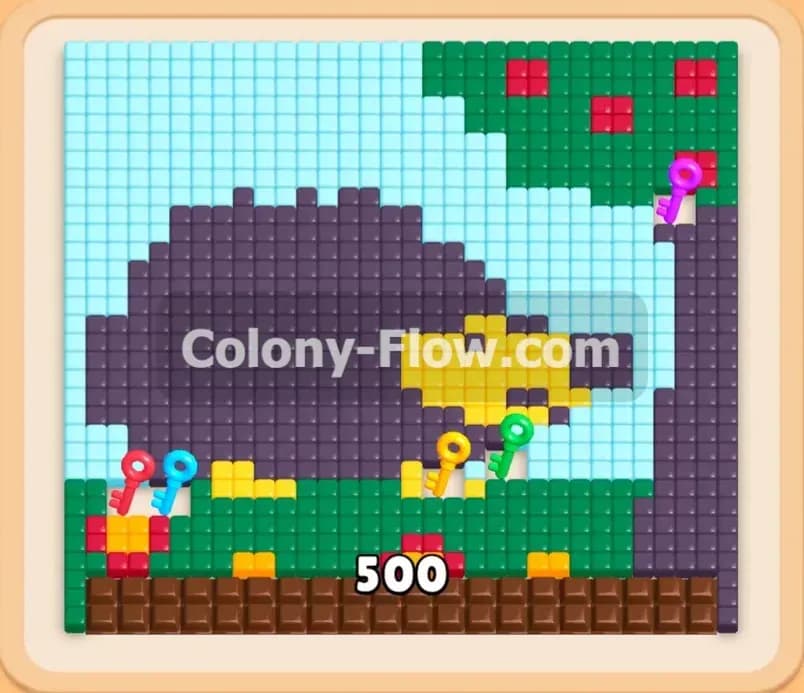
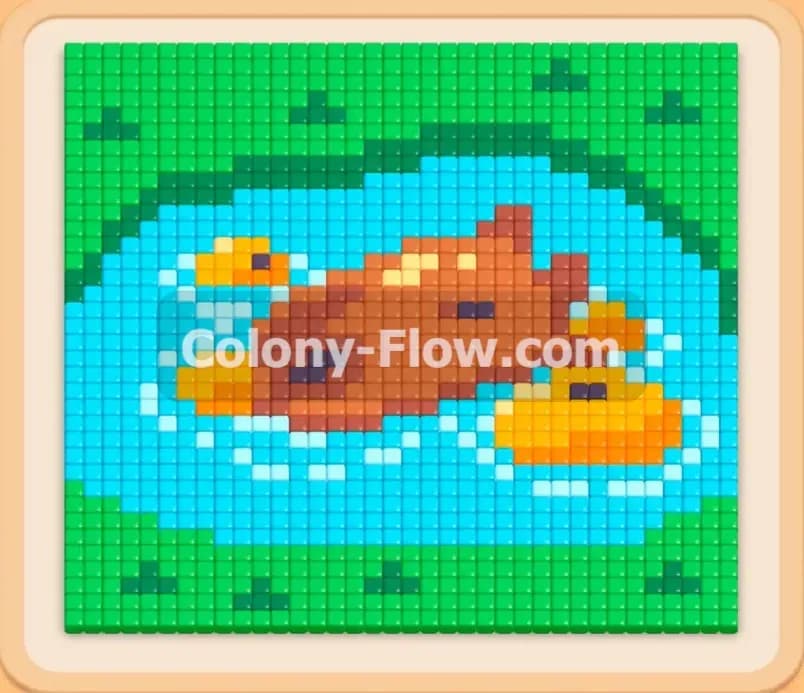
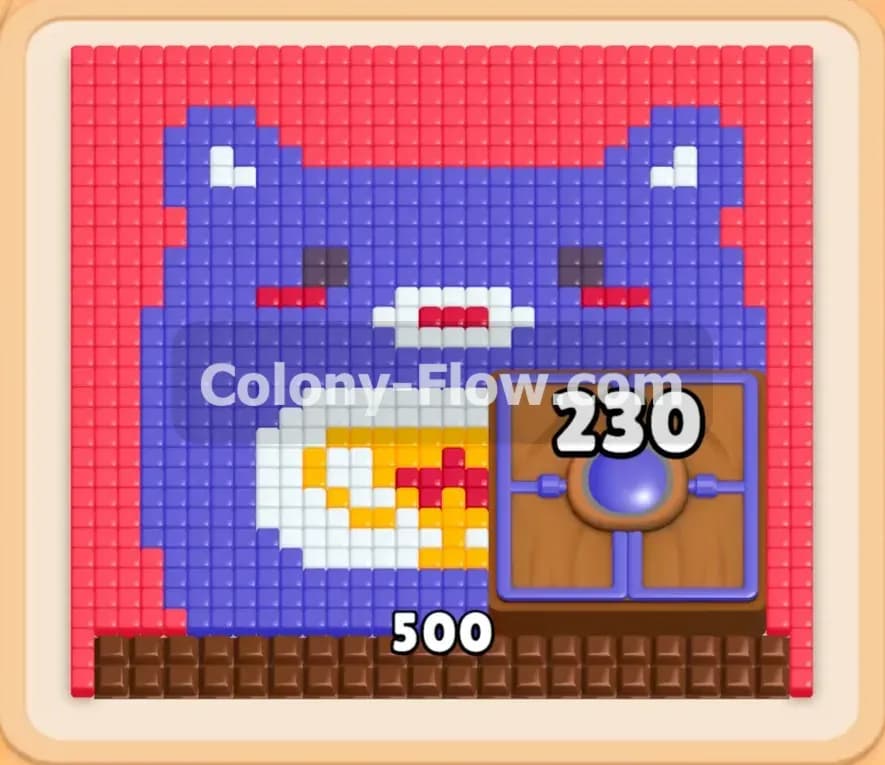
Colony Flow Level 407 tasks you with clearing a massive pixel art portrait of a character in armor. You will notice right away that the bottom base of the image requires a tremendous amount of work to chew through. The tray below the board is packed with connected boxes and locked blocks that demand careful planning to navigate successfully. I will walk you through exactly how to feed your colony and break this entire board down without jamming your waiting slots.
Colony Flow Level 407 Overview
What You Are Working With
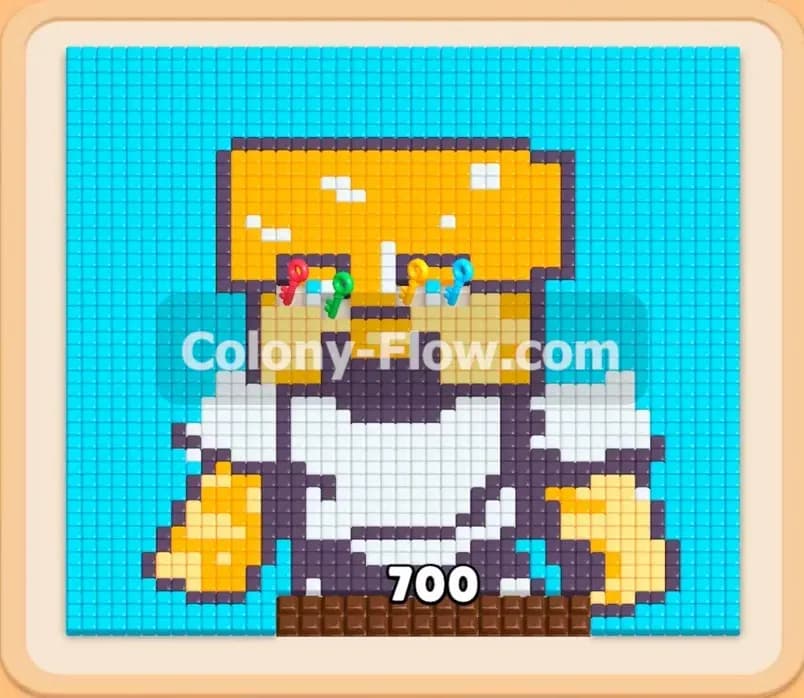
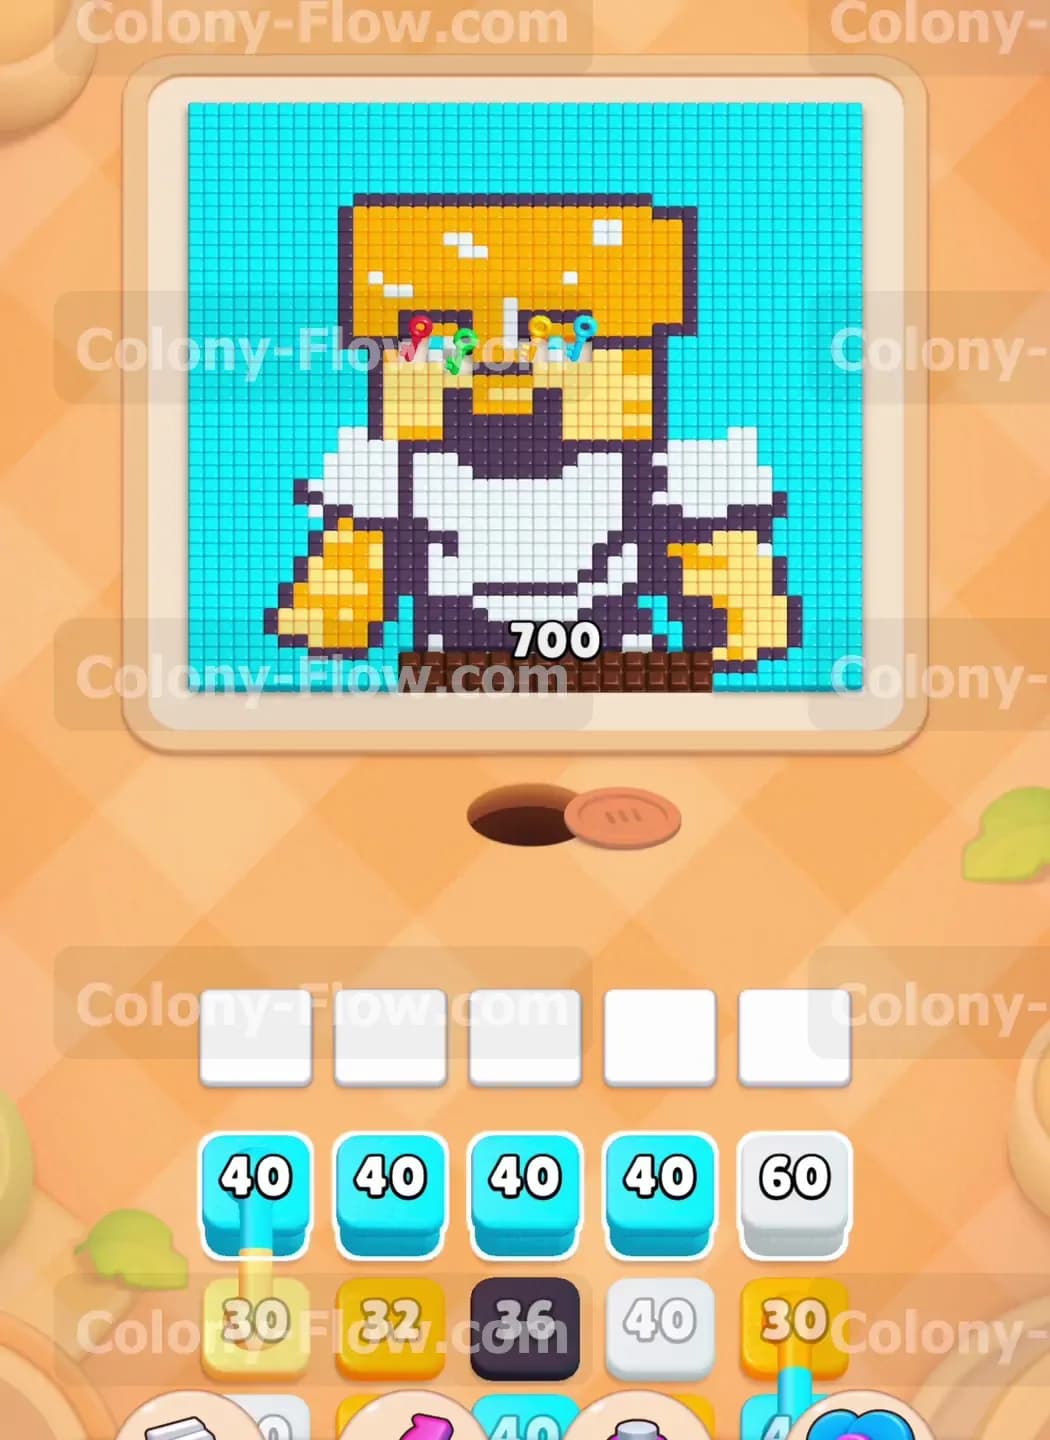
The pixel art displays a character with a large yellow blocky head and bright white armor standing against a solid cyan background. The character stands on a very thick brown base line that stretches across the lower portion of the screen. Your tray holds standard single colored blocks along with a few special mechanics designed to test your sequence planning. You have connected boxes that link two different blocks together so they must be pulled at the same time. You also face the lock and key system in the tray where certain colored blocks are completely trapped behind colored padlocks until you play the corresponding key block. The nest hole sits directly below the middle of the brown base.
What It Takes to Clear Level 407 Board
You must clear this board by systematically peeling the image from the bottom layer up to the top layer. You must begin with the massive brown base to give your ants physical access to the legs and the lower armor. Managing your five waiting slots is your biggest hurdle throughout this entire run. If you pull too many connected boxes or grab locked blocks before the path is genuinely open your slots will fill up and instantly end your game. You secure the win when you successfully collect all the necessary keys unlock the trapped blocks and allow your colony to devour the final massive sections of the cyan background.
Colony Flow Level 407 Step by Step Solution
Step 1: Start the massive brown block to clear the thick base line.
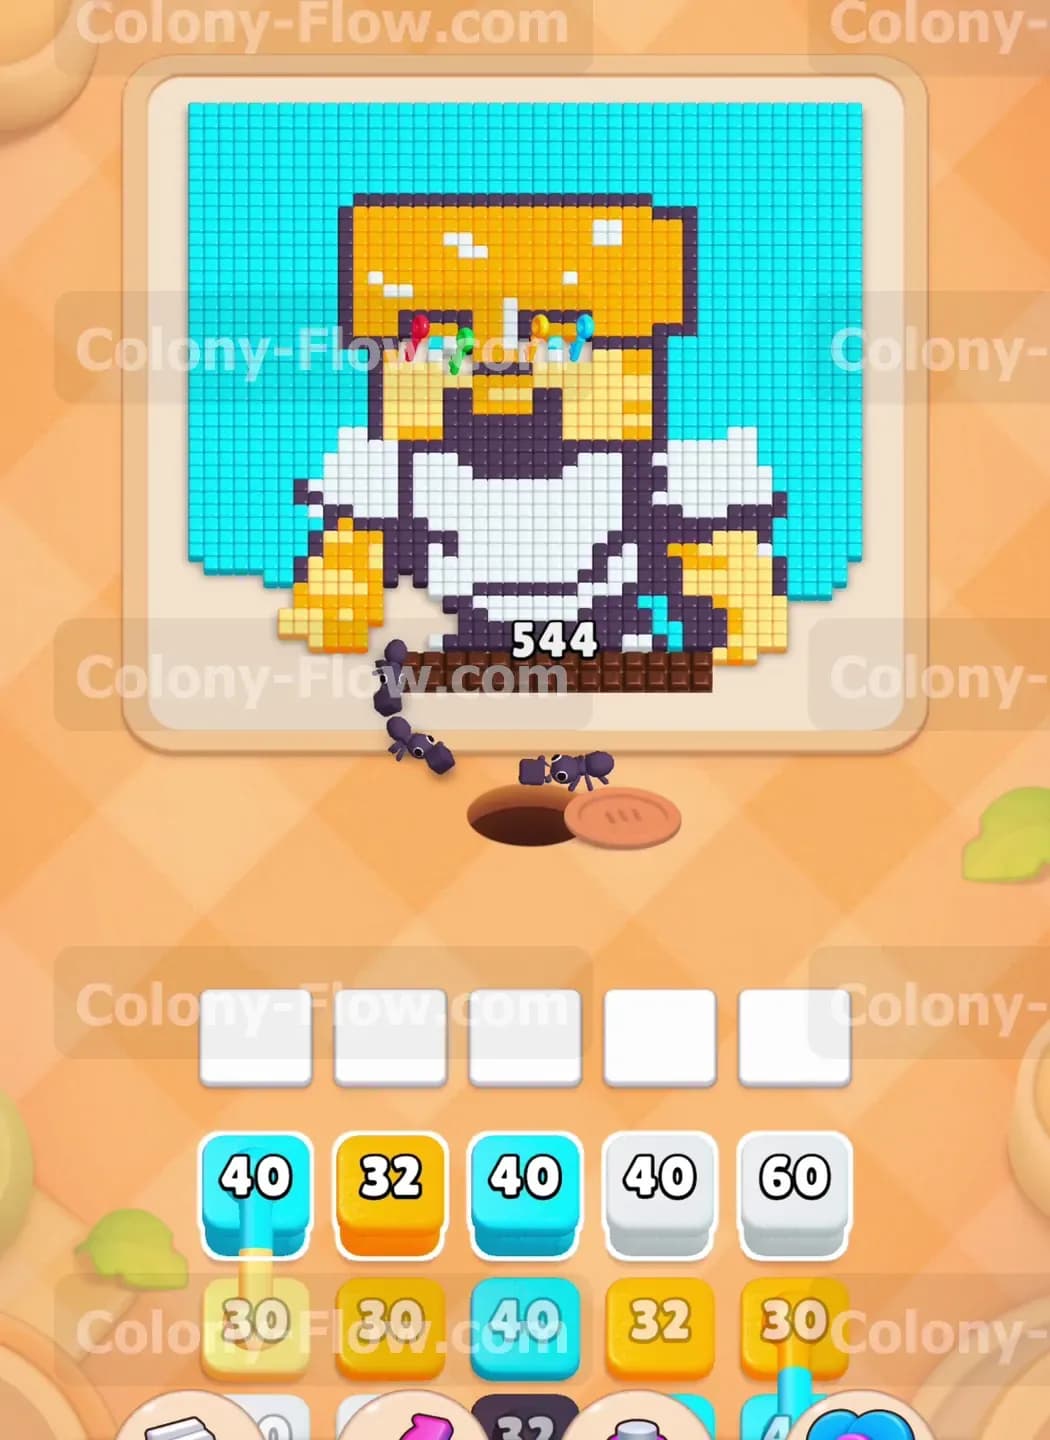
You need to tackle the thick brown base immediately because it blocks everything else on the board. The tray gives you a brown block with a massive 700 count to handle this obstacle. You pull this heavy brown block into your first waiting slot right as the level begins. The brown ants will stream out of the nest hole and begin their very long feast along the entire bottom edge of the picture. This specific block takes a very long time to count down to zero due to its huge size. You must let it run in the background while you carefully queue up your next moves. Leaving the brown base intact completely blocks access to the white armor and the dark purple legs located just above it. Getting the brown ants moving immediately is your top priority to pry open the rest of the board. Since this brown block sits in your tray for a long duration you effectively only have four open slots to work with for the early portion of the level.
Step 2: Pull the first set of connected boxes to clear the outer edges.
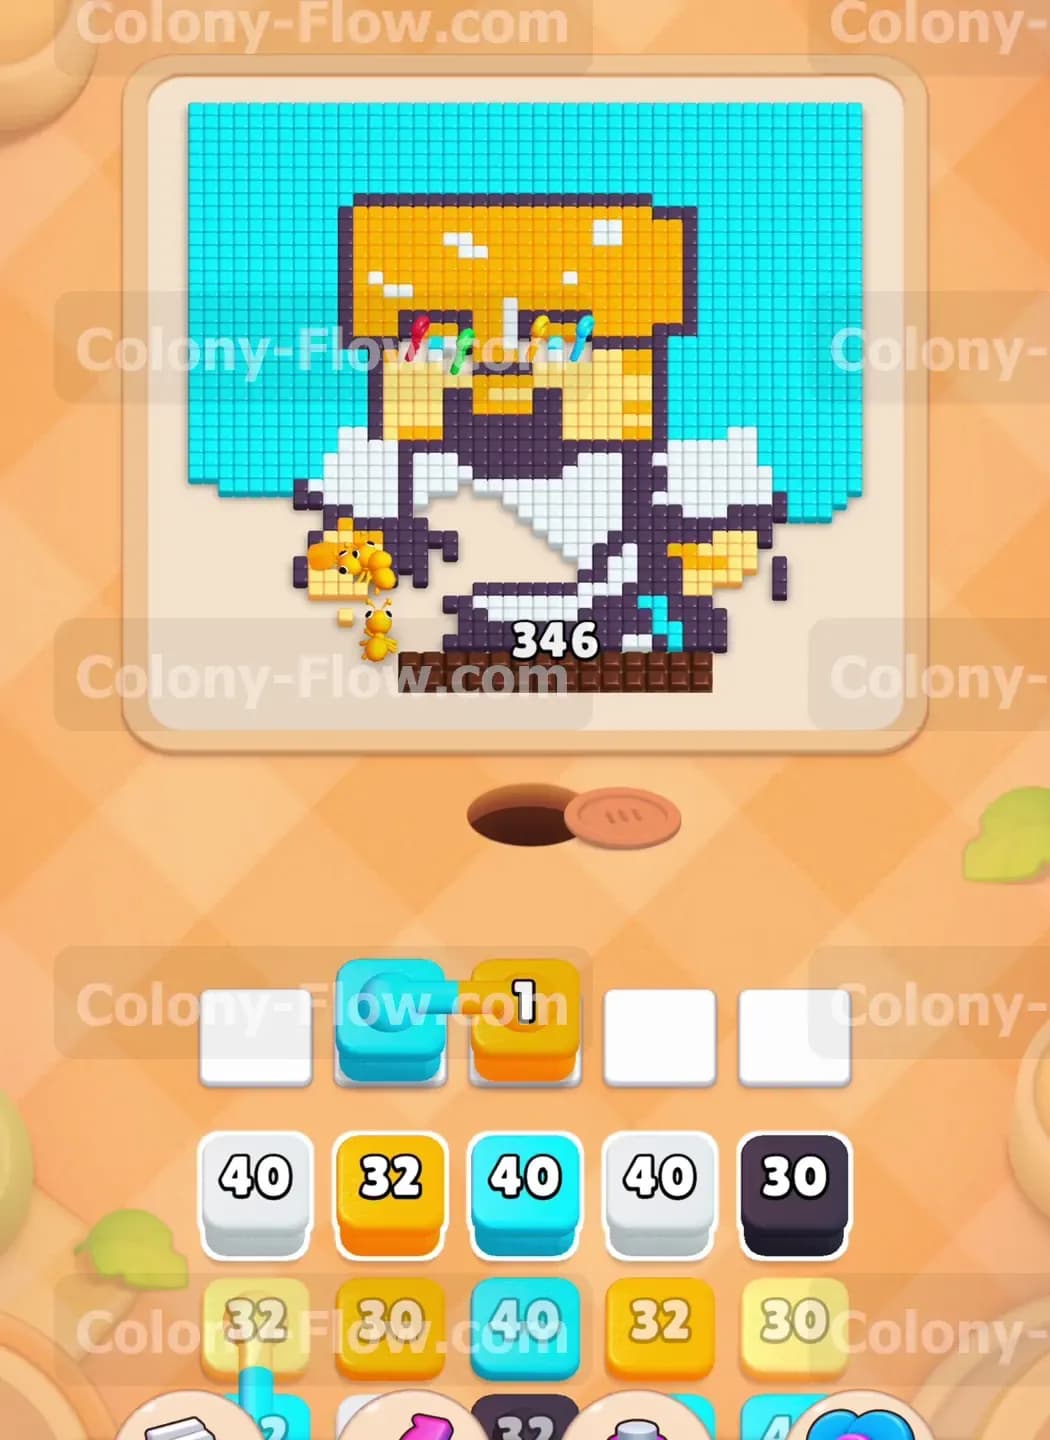
While the brown ants are busy chewing away the base line you will notice connected boxes shifting into your tray. One specific pair links a cyan block directly to a yellow block. You pull this connected pair into your waiting slots. Because these two blocks are linked together they automatically take up two of your remaining four available slots at the exact same time. The cyan block has a value of one and the yellow block also has a value of one. The single cyan ant will scurry up and target the lowest exposed pixel of the background on the far right. The single yellow ant will target a tiny exposed yellow pixel near the hand of the character on the left. You must make absolutely sure both colors have an open physical path before you pull the connected pair into play. If the cyan path is blocked the entire pair will just sit trapped in your slots and take up incredibly valuable space.
Step 3: Clear the dark purple legs to open the middle chest area.
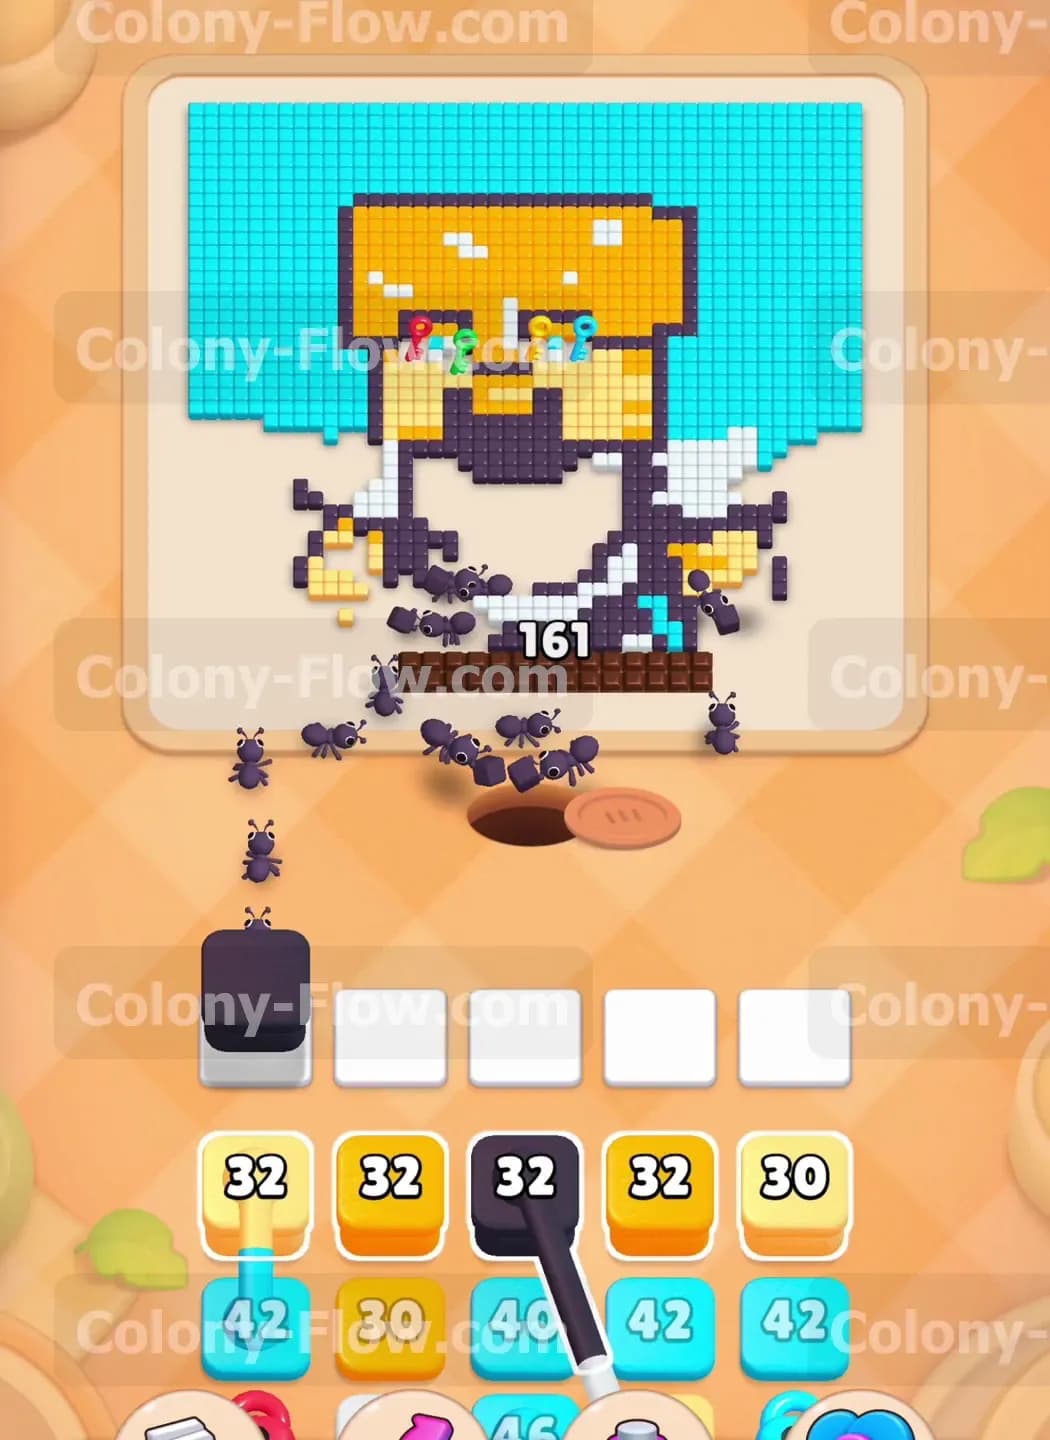
The brown base is actively shrinking and the dark purple pixels making up the legs are finally exposed to the nest hole. You pull the dark purple blocks from your tray to send out the next wave of hungry ants. There is a pair of dark purple blocks connected together in the tray with values of 32 each. You pull them up and the dark purple colony swarms the leg and pants area. The pants take up a significant portion of the lower body and block access to the torso. As the dark purple pixels disappear your ants gain direct access to the bottom edge of the white armor shirt. You must always wait until the target pixels are fully exposed before pulling the matching colored block. Pulling the dark purple blocks too soon would leave them stuck in the waiting slots while the brown ants are still trying to clear the path.
Step 4: Chew through the white armor and manage the lock and key blocks.
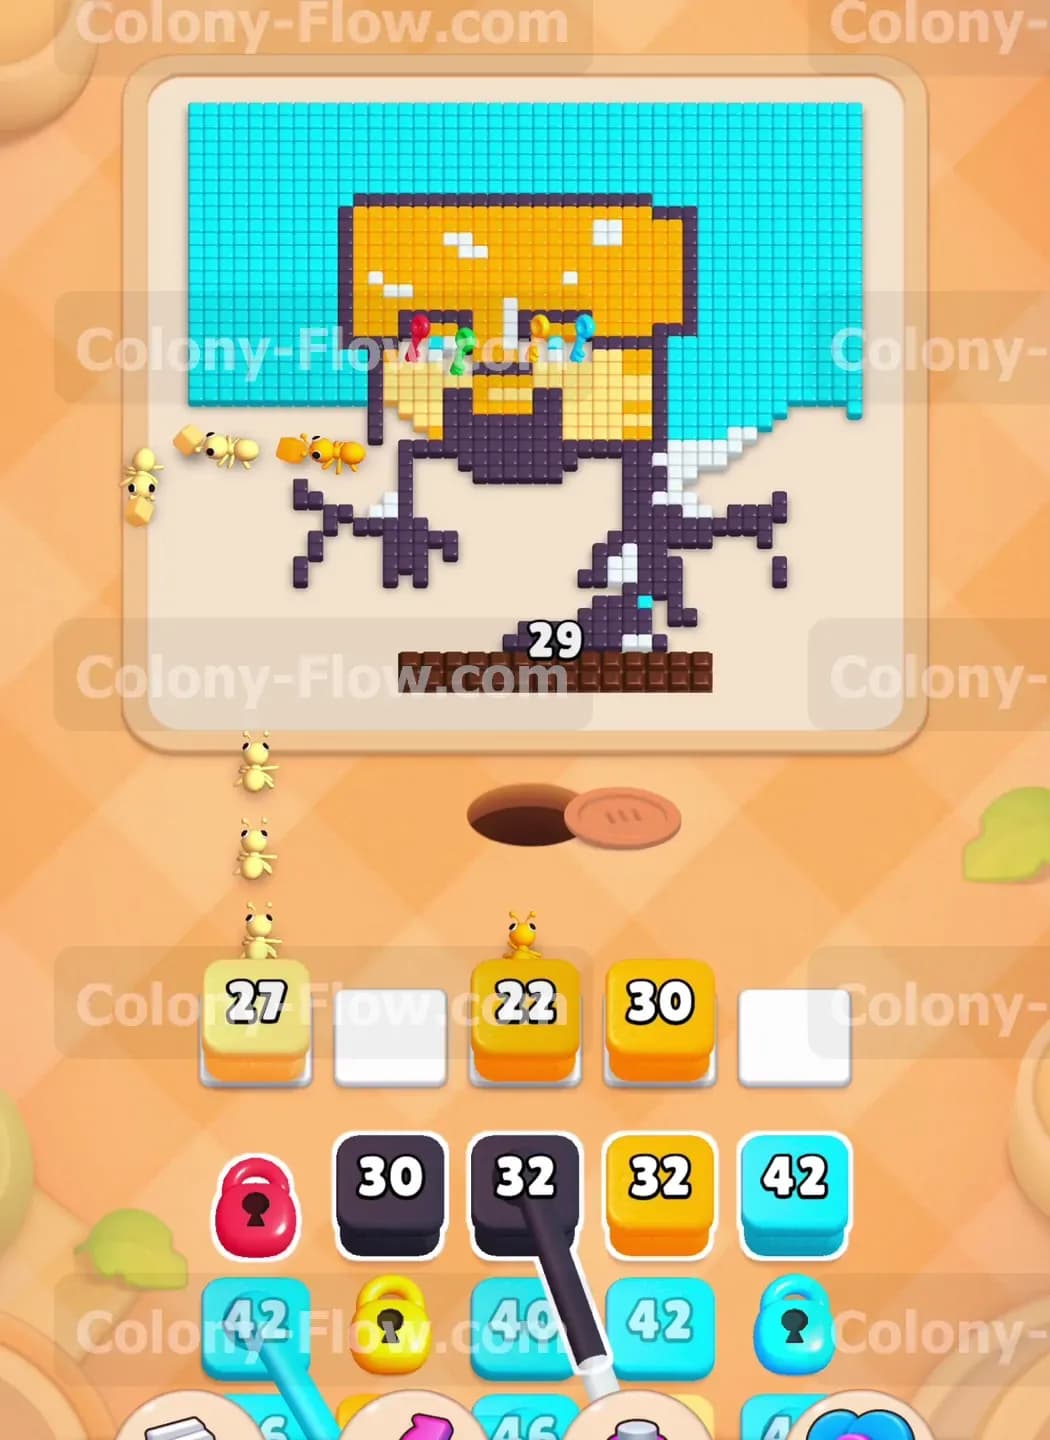
With the legs completely gone the white armor is now totally open for your colony to consume. You pull the white blocks carrying values like 40 and 60 to send white ants rushing up into the chest and shoulder areas. At the exact same time you need to pay close attention to the new items shifting into your tray below. You will see several standard blocks trapped behind brightly colored locks. You will also spot other blocks holding the matching keys needed to free them. You pull the yellow block holding the bright yellow key. As the yellow ants clear the newly exposed yellow pixels on the face the key travels down the screen and unlocks the trapped blocks in the tray. You must prioritize playing the key blocks whenever their matching picture pixels become reachable. Failing to unlock the tray early will eventually starve you of the colors you desperately need to finish the upper half of the head.
Step 5: Unlock the remaining tray blocks and clear the massive yellow head.
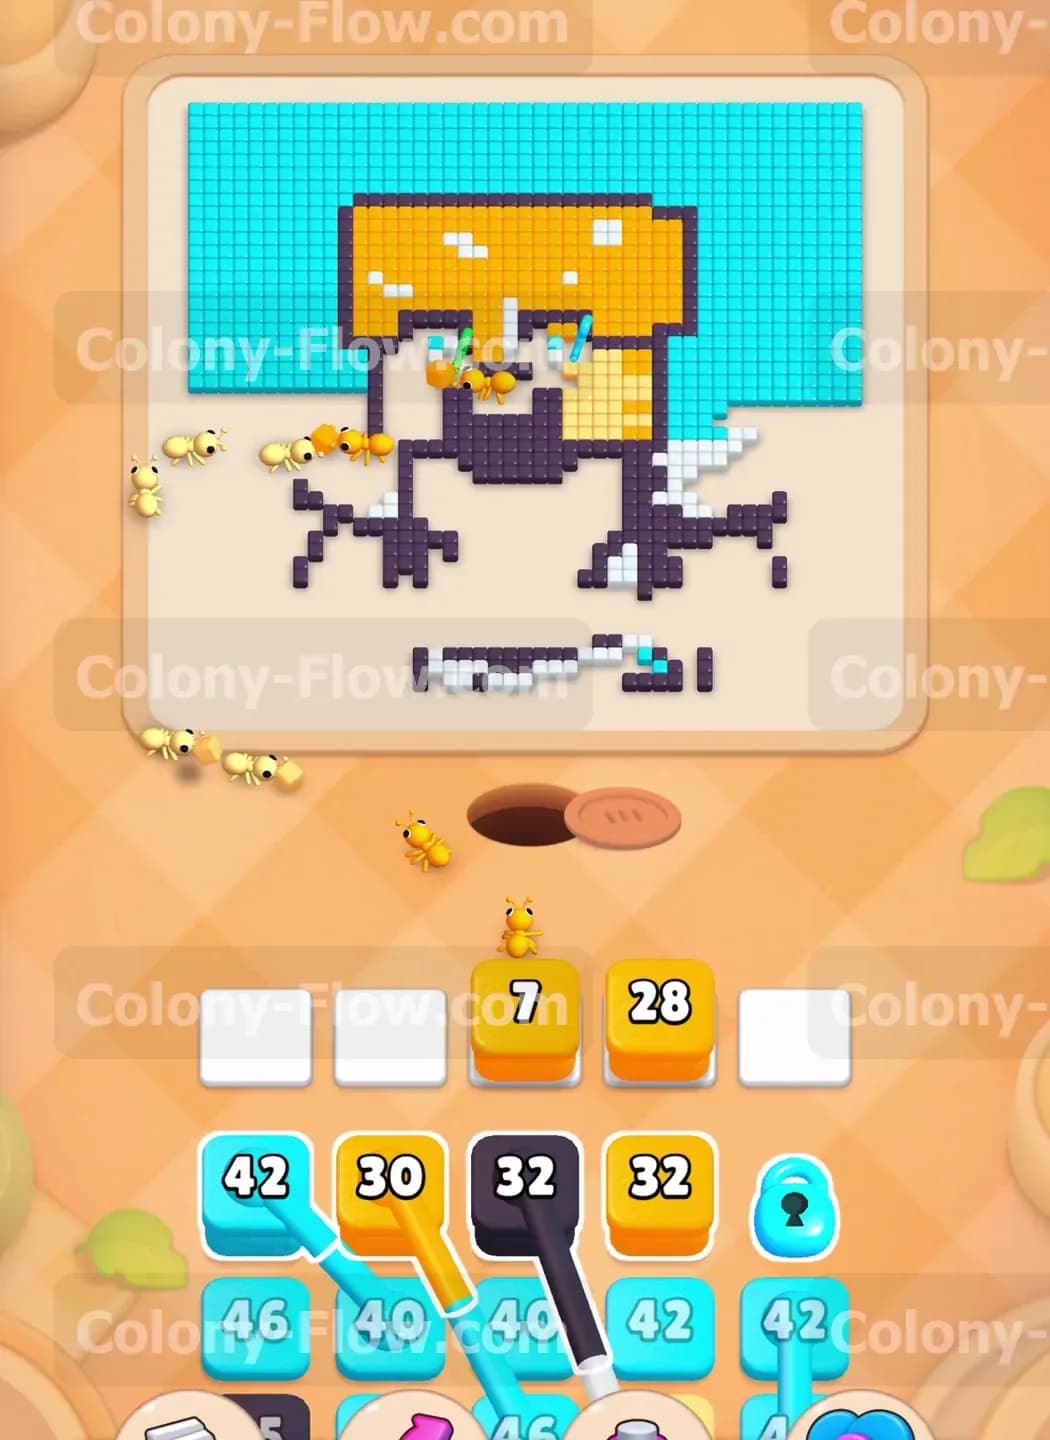
The white armor is mostly chewed away and the huge yellow head becomes the next primary target for your swarm. You pull more yellow blocks into your waiting slots to keep the yellow ants flowing upward. Some of these yellow blocks carry numbers in the thirties. You also pull the cyan key block carrying a value of 42 to pry open another locked section of the tray. The yellow ants aggressively chew away the face the helmet and the pixels surrounding the eyes. You must keep a very close watch on your available waiting slots during this heavy action. Do not pull a cyan background block unless a completely clear path exists around the outside of the yellow head. The cyan background surrounds the head completely but the ants need a straight route to reach those outer pixels without bumping into the yellow tiles.
Step 6: Finish the remaining connected blocks lurking in the tray.
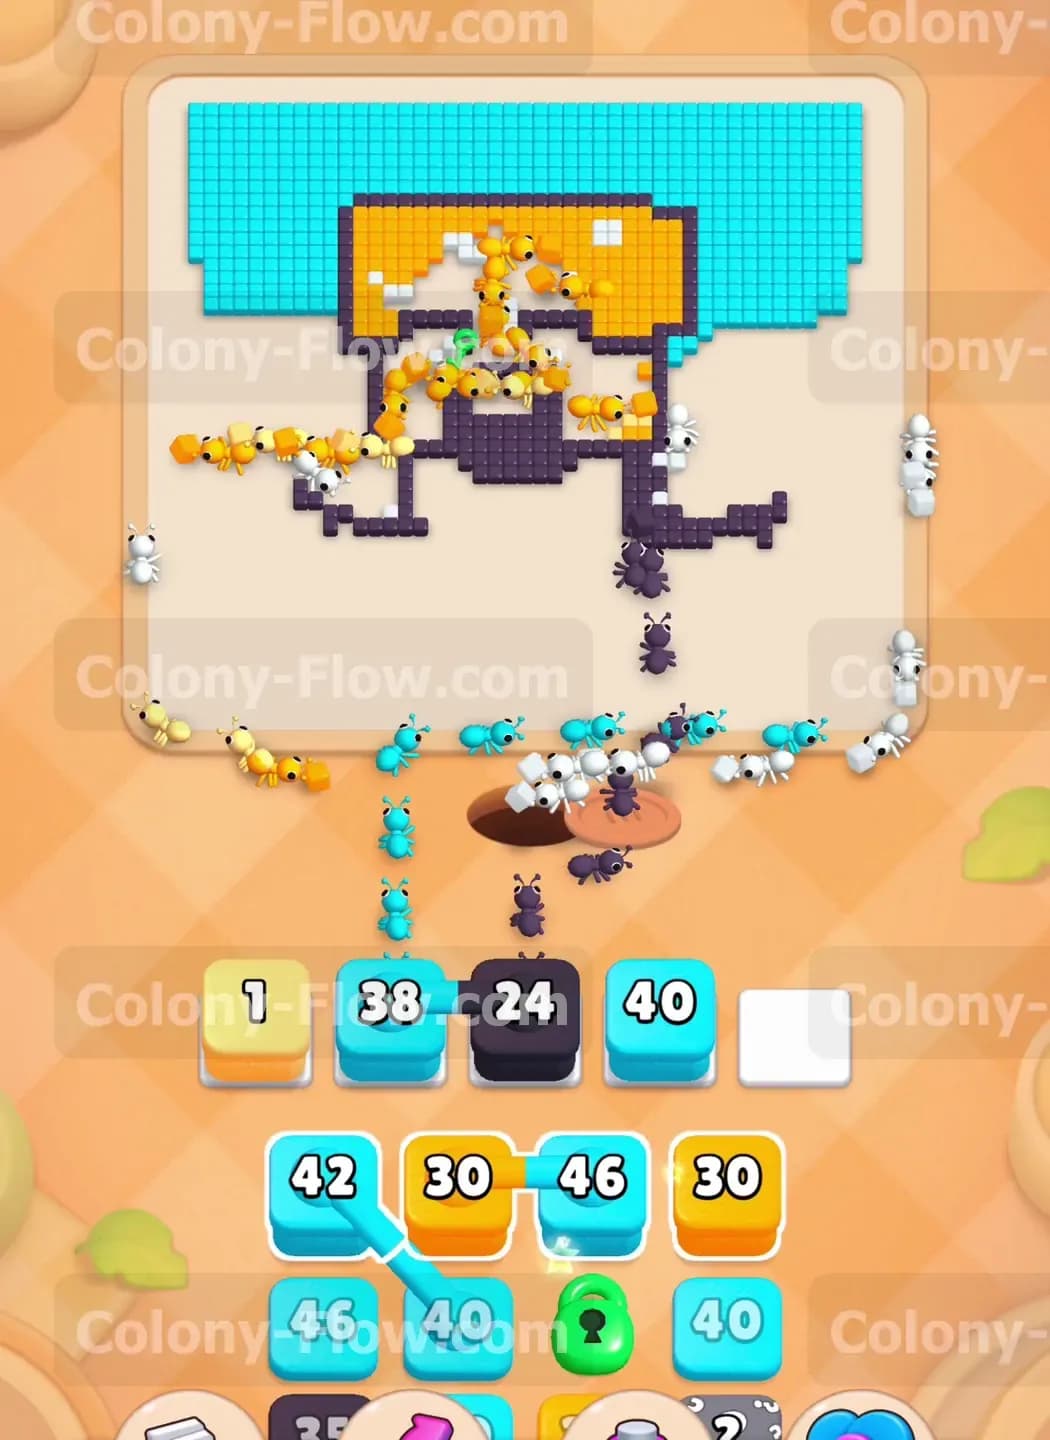
The yellow head is shrinking extremely fast and the tray reveals another challenging set of connected boxes. This new pair links a cyan block to a dark purple block. You carefully pull this pair into your slots once you verify the paths. The dark purple ants will rush up to finish off the very last few pixels of the hair and the eyes located inside the head outline. The cyan ants will start chipping away at the massive blue background looming above. You must ensure the dark purple pixels are actually reachable before pulling this connected pair. If those dark purple pixels are still trapped inside a wall of yellow tiles the pair will clog two of your slots indefinitely. Waiting patiently for the yellow ants to expose the dark purple pixels guarantees the connected blocks will clear out smoothly.
Step 7: Clear the massive cyan background to finish the board entirely.
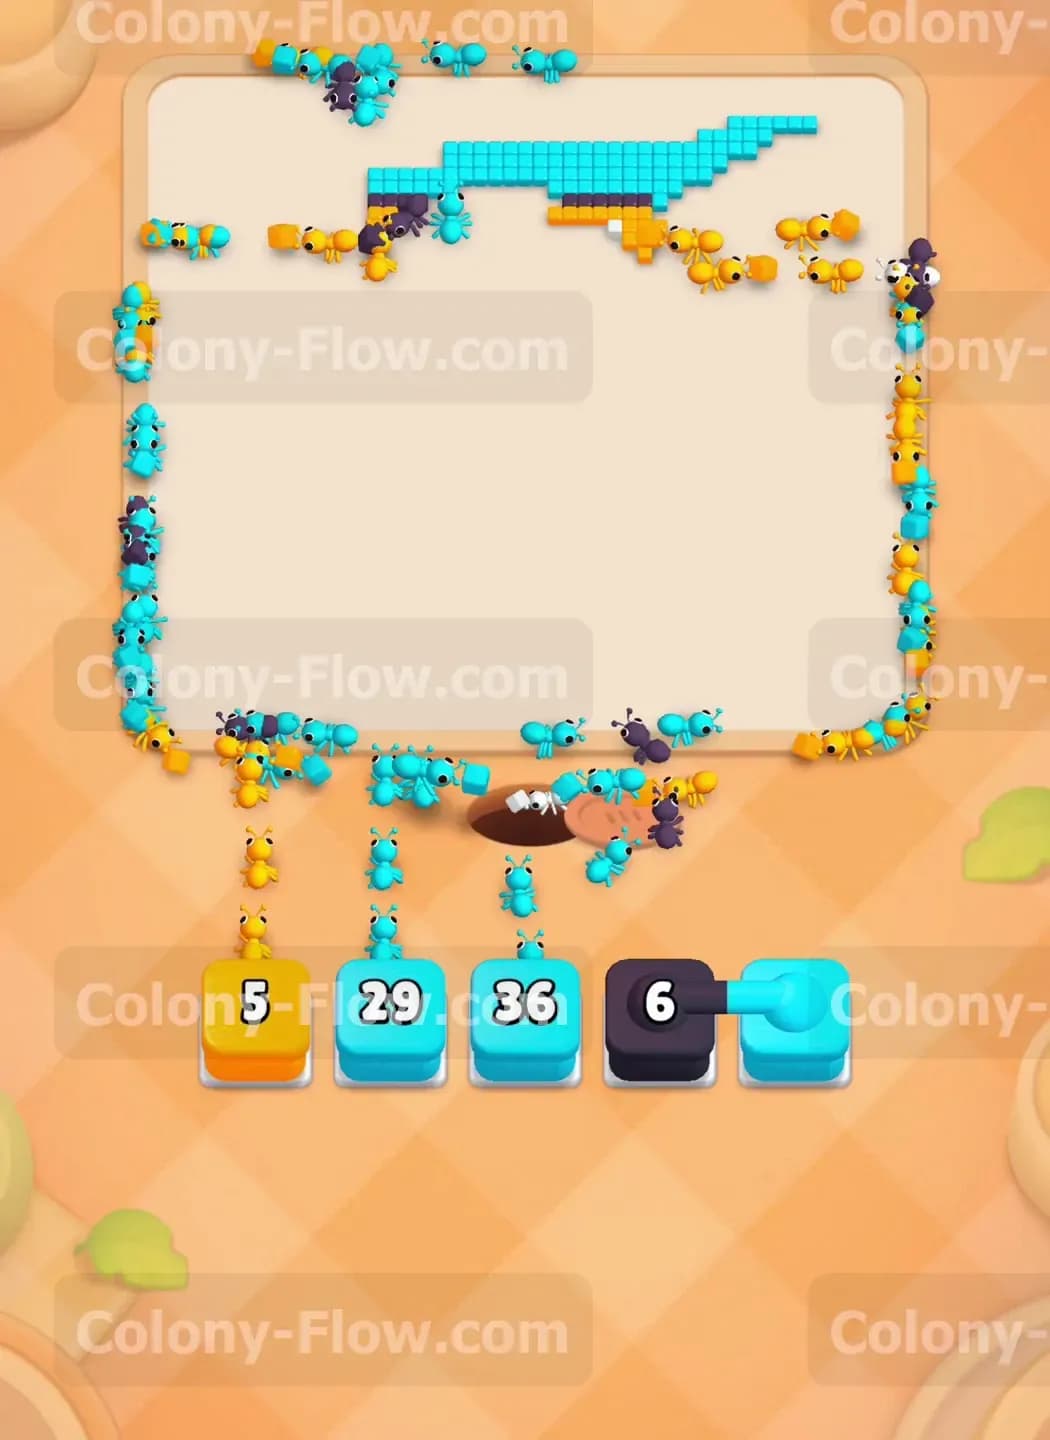
The character portrait is entirely gone and only the bright cyan background remains on the screen. You have a massive number of cyan pixels left to clear out. The tray is now completely full of high value cyan blocks carrying numbers like 42 and 46 and 40. You pull them into your waiting slots one after another. The cyan ants stream out of the nest hole and spread rapidly across the entire upper section of the board. You can pull multiple cyan blocks at once right now because the path is completely wide open and the background is enormous. The ants will wrap around the empty space and devour the remaining tiles from the outside edges inward. The numbers on the cyan blocks drop rapidly as the swarm finishes the massive job. The final pixel vanishes and you win the level.
Final Thought
Clearing this huge portrait requires extreme patience with the massive starting base. Managing your limited tray space is much easier when you focus heavily on the connected blocks and the key blocks the moment they become available. If you find yourself struggling with the sequence of the locks feel free to watch the video above this article to see the exact timing in action.