Colony Flow Level 540 Walkthrough Solution & Guides | How to solve Colony Flow 540

Guide By Liam Stone
Updated on August 1, 2026
Watch the video above first if you want to see Level 540 solved before reading the written steps.
Video doesn't match your screen?
Game updates frequently scramble layouts! Try our AI Screenshot Solver first to find your exact board instantly, or report broken guides to our team.
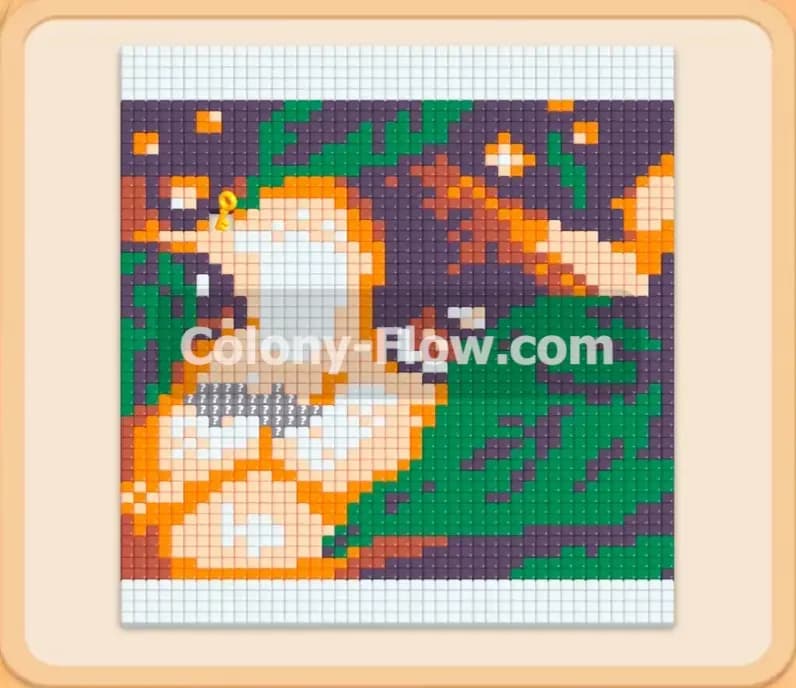
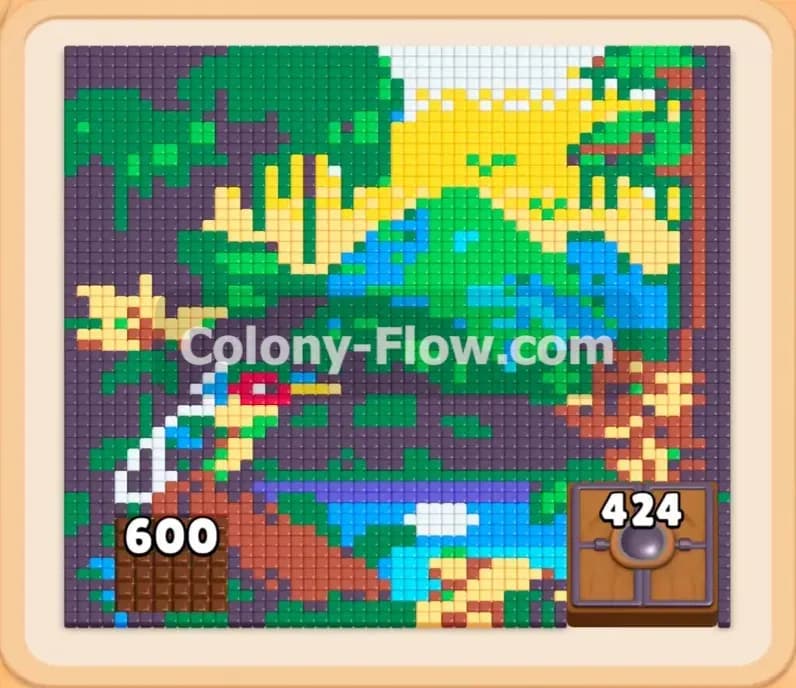
Welcome to Colony Flow Level 540 where you face a stunning pixel art landscape featuring a mountain and a colorful bird. This beautiful scenery hides a surprisingly tough puzzle that requires strict tray management. I played this level myself and found the exact sequence to clear it without jamming the board. Let me show you how to beat it.
Colony Flow Level 540 Overview
What You Are Working With
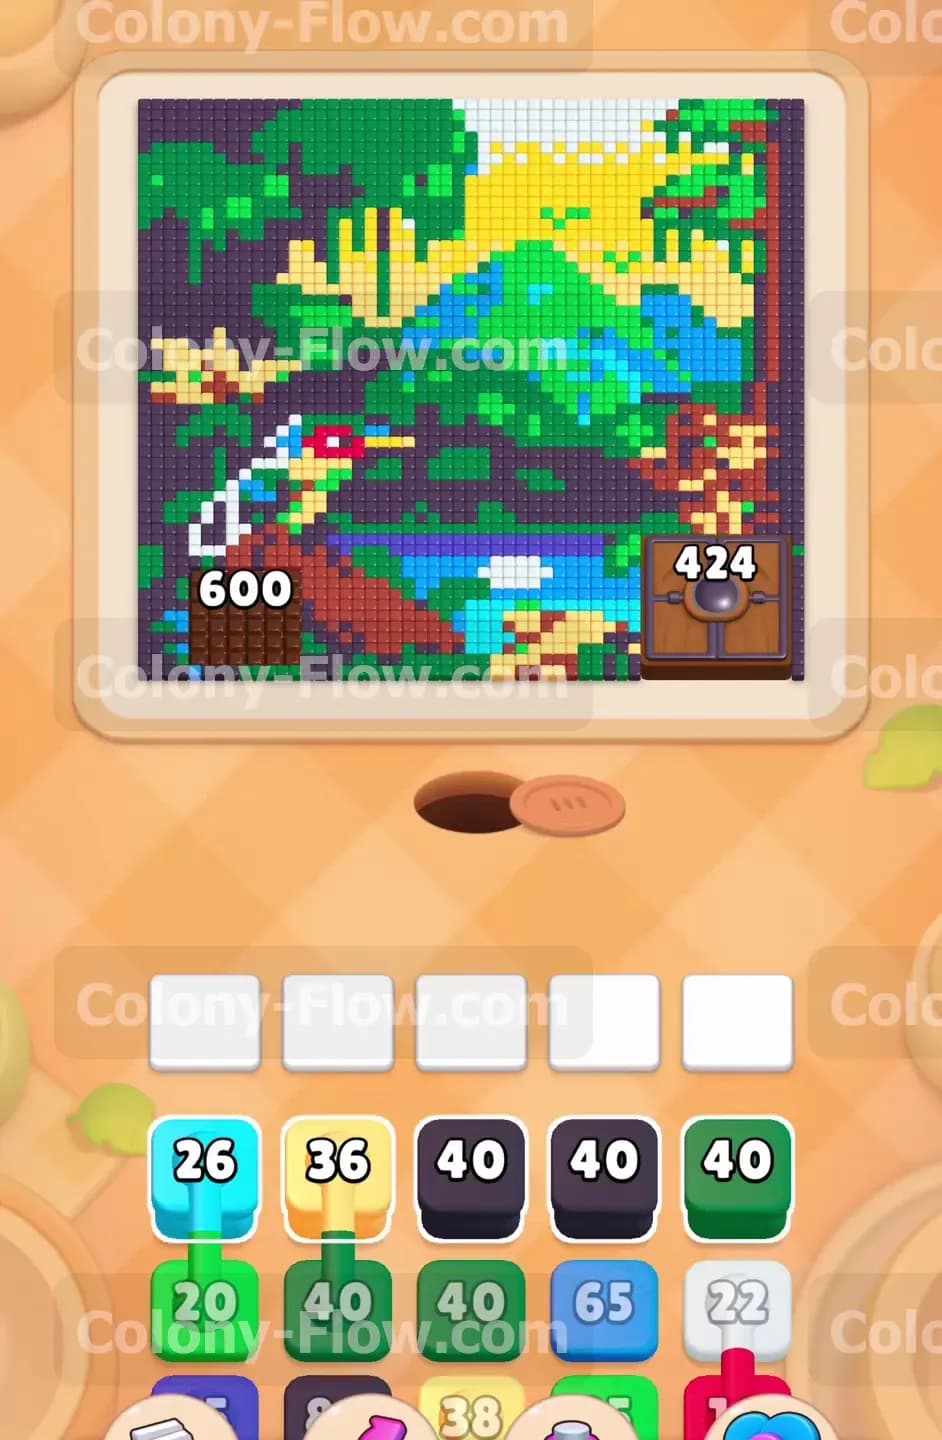
Let us talk about the board and the obstacles you face. You start with a large landscape picture. The biggest obstacles are two massive Hungry Doors sitting directly at the bottom left and bottom right of the screen. The left Hungry Door demands 600 food points to open. The right Hungry Door requires 424 food points. These doors block all access to the main picture. Your tray is full of numbered blocks that you pull to send ants onto the board. Some blocks are single colors while other blocks are Connected Boxes that pull together. You only have five waiting slots at the bottom of your screen. If you fill all five slots and the ants cannot reach their matching colors, you lose the level instantly.
What It Takes to Clear Level 540 Board
Clearing this board requires extreme patience and careful slot management. You must feed those massive Hungry Doors first because breaking them opens the only paths into the river and the forest. Once the doors vanish, you can flood the board with different colored ants to eat the water, the mountain, the trees, and the bird. You will win the level when every single pixel tile is gone and all the ants return to their nest hole.
Colony Flow Level 540 Step by Step Solution
Step 1: You must feed the two massive Hungry Doors to unlock the lower sections of the board.
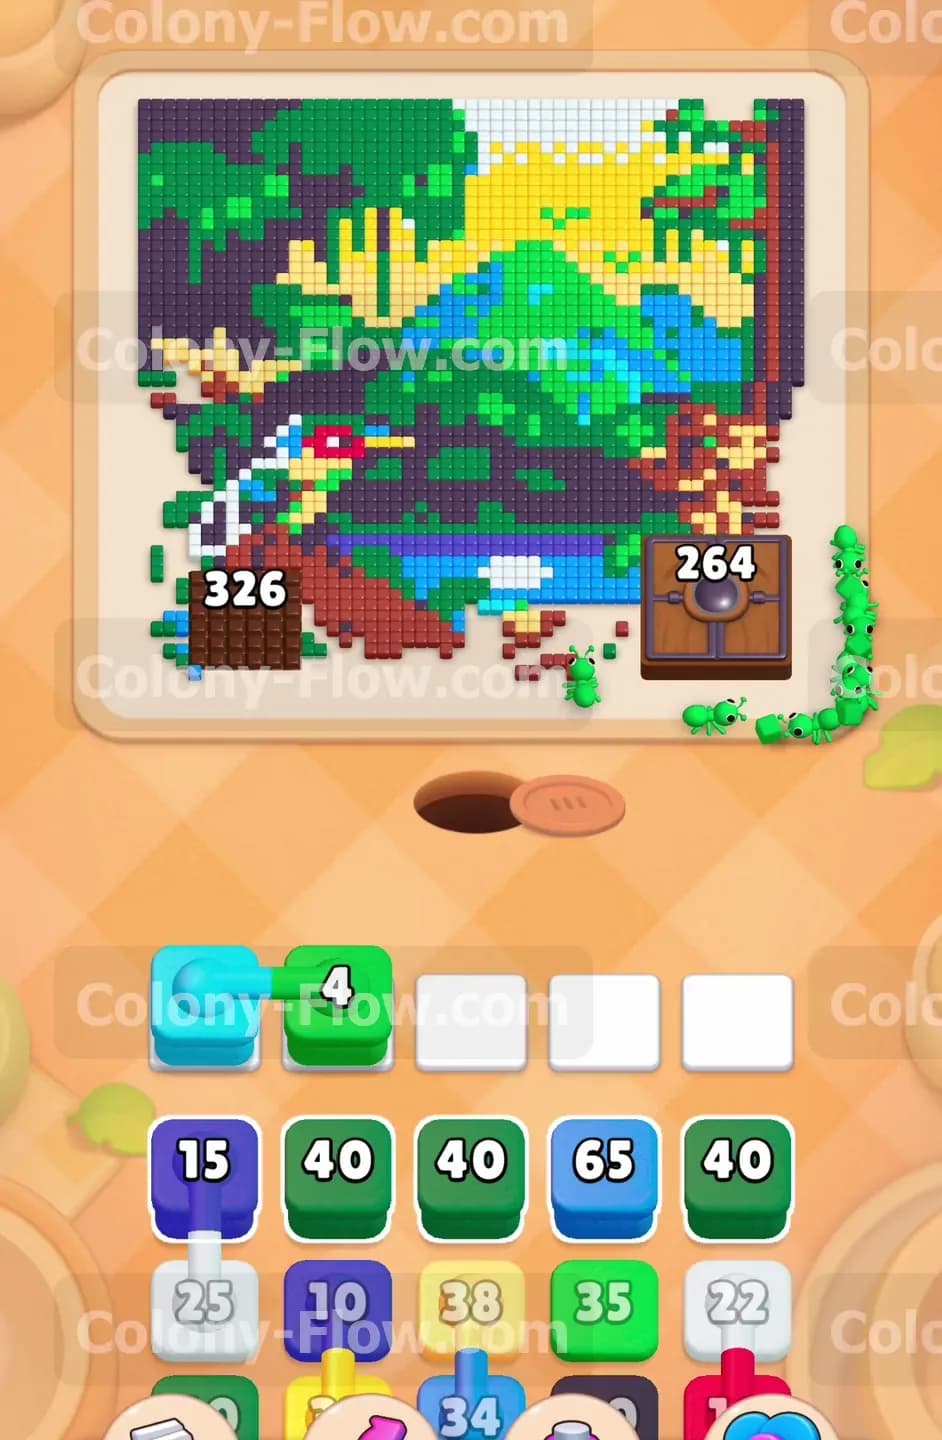
The very first thing you face on this level is a massive wall blocking your ants from reaching the main picture. Two huge Hungry Doors sit directly at the bottom of the board. The left Hungry Door needs an overwhelming 600 food points to open. The right Hungry Door requires 424 food points. You cannot reach the mountain, the water, or the bird until you completely destroy these doors. Look at your tray and pull the light blue and green blocks. You will also see dark blue blocks in your tray with numbers counting down. Pulling these blocks sends a huge wave of ants toward the bottom of the picture. The ants will march straight out of the nest hole and start eating the doors. You will watch the number on the left door drop rapidly. Keep pulling blocks that match the colors the ants need to reach those doors. Do not pull colors that have no open path yet. If you pull the wrong colors early, they will sit in your five waiting slots. Filling those five slots means you lose the level instantly. Stick to the colors that directly feed the two Hungry Doors to keep your board moving.
Step 2: You will pull Connected Boxes carefully to prevent a jam in your waiting slots.
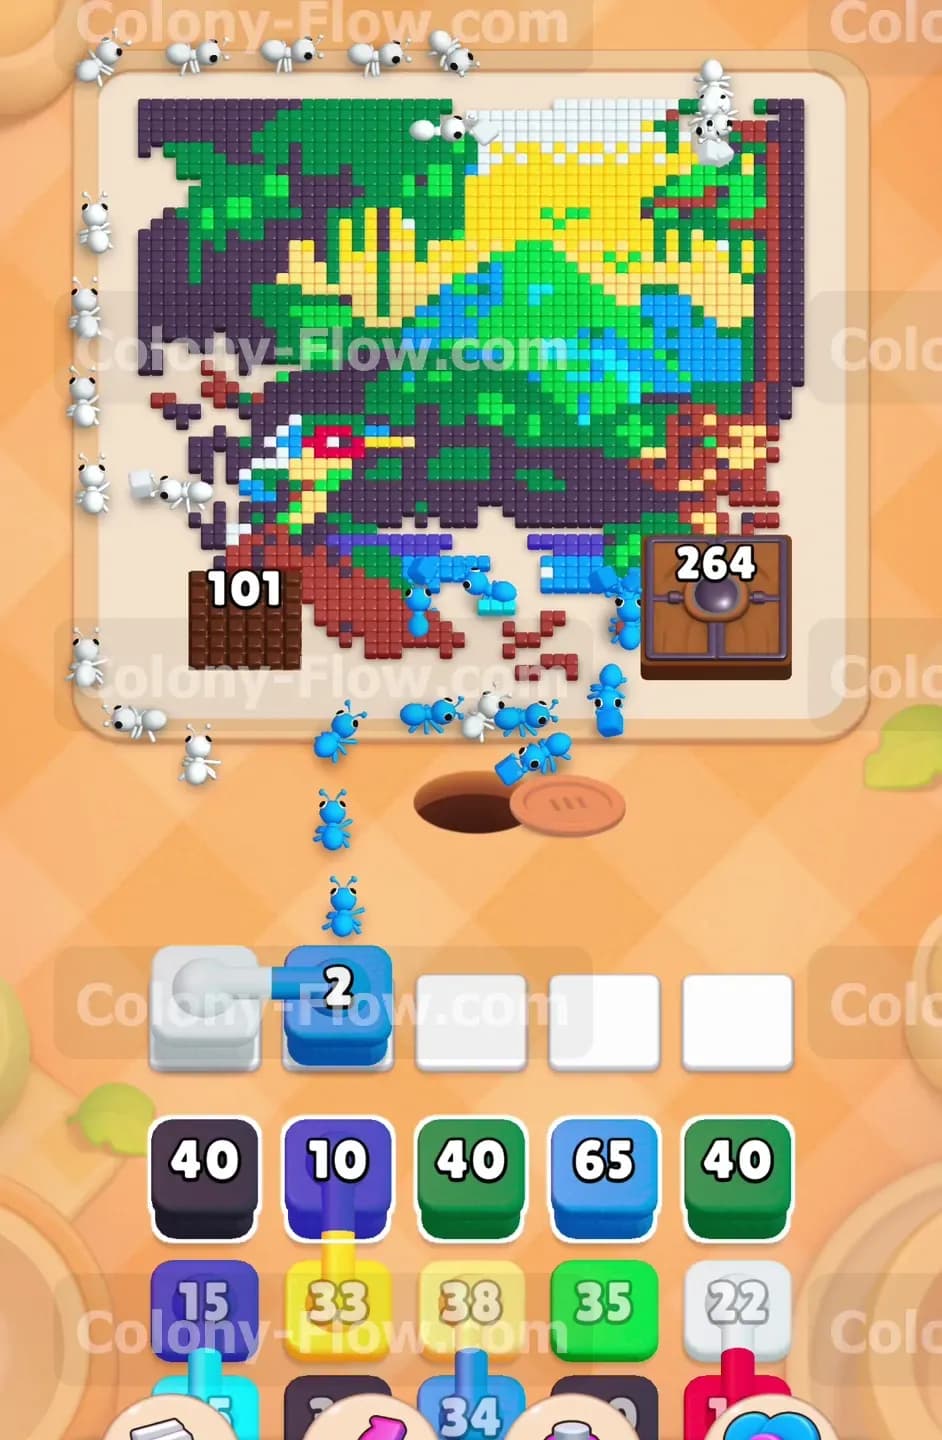
As the Hungry Doors take damage, your tray introduces a completely new challenge. You will see Connected Boxes appear in your tray. One connected set features a light blue block tied directly to a green block. The green block holds a number four on it. When you pull a connected set, both blocks move into your waiting slots at the exact same time. You must ensure the ants have a clear and open path to both colors before you pull them up. The green ants need a path to green tiles. The light blue ants need a path to light blue tiles. Pull the connected light blue and green set to keep the pressure on the bottom area. Your ants will continue devouring the obstacles in their way. The left Hungry Door will drop all the way down to a much smaller number. You are very close to breaking through the left side completely. Keep a very close eye on your five waiting slots. Only pull blocks when you know the ants can move out and clean the board.
Step 3: Breaking the left Hungry Door allows white and blue ants to flood the left side.
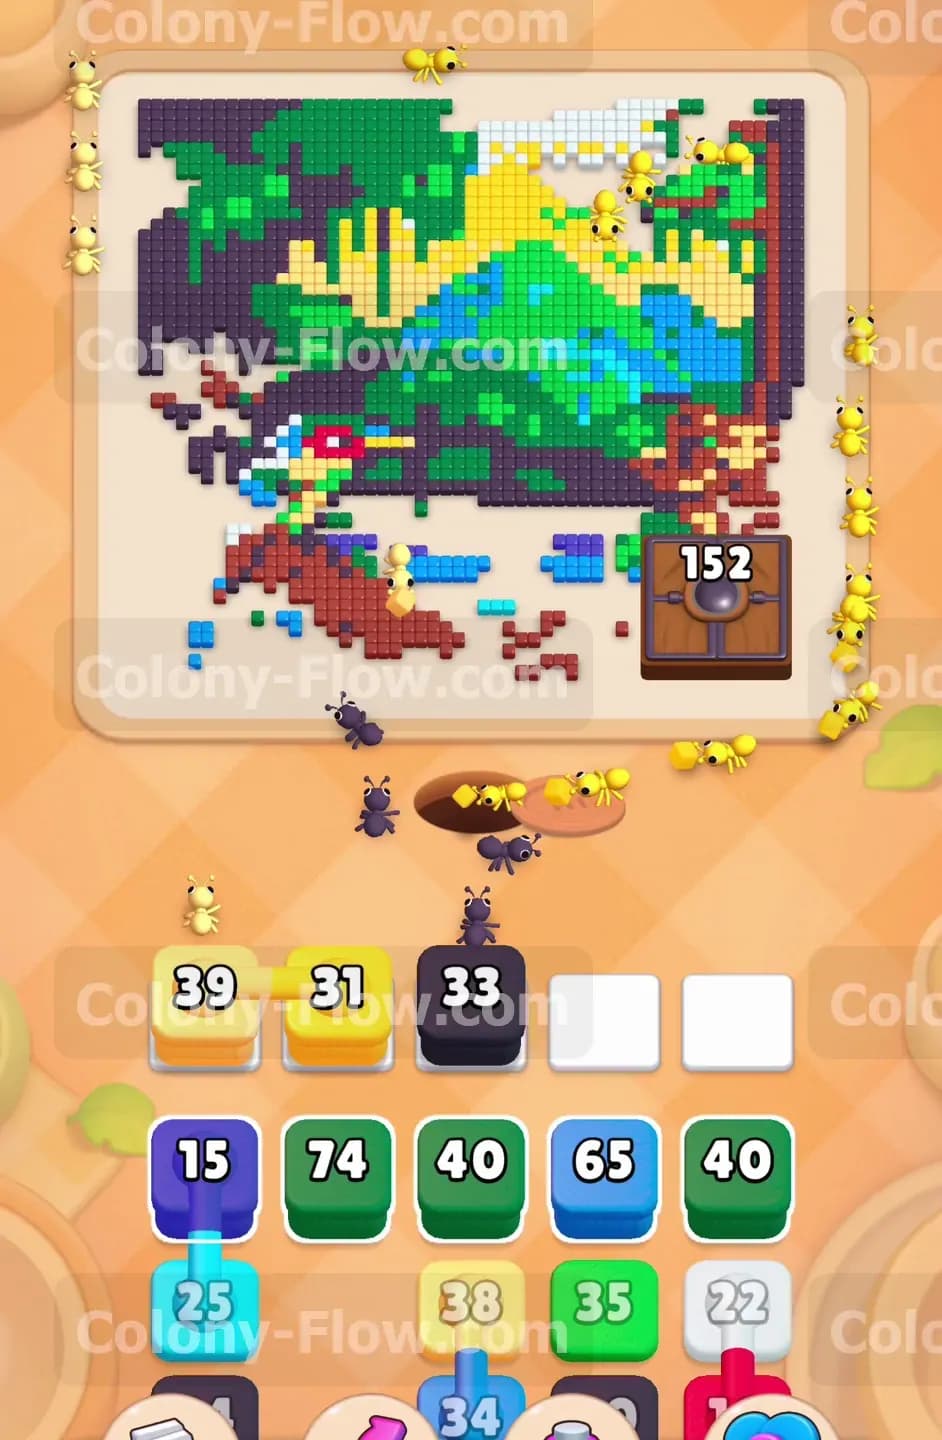
The moment you clear the final points on the left Hungry Door, the entire left side of the board opens up. This breakthrough is a massive relief for your waiting slots. You finally have access to the white border tiles and the blue water tiles. Look at your tray and find the connected white and dark blue blocks. Pull this connected set into your slots. A huge swarm of white ants will rush up the left edge of the picture to eat the border. At the exact same time, the dark blue ants will flood into the river section near the bottom. This dual movement clears a huge chunk of the lower left board in one continuous action. Your waiting slots will empty out quickly as the ants consume the tiles. You now have a wide open path on the left side to reach the upper sections of the mountain. Always remember to let the ants finish their routes before pulling too many new blocks into your tray.
Step 4: Destroying the right Hungry Door gives your ants full access to the forest.
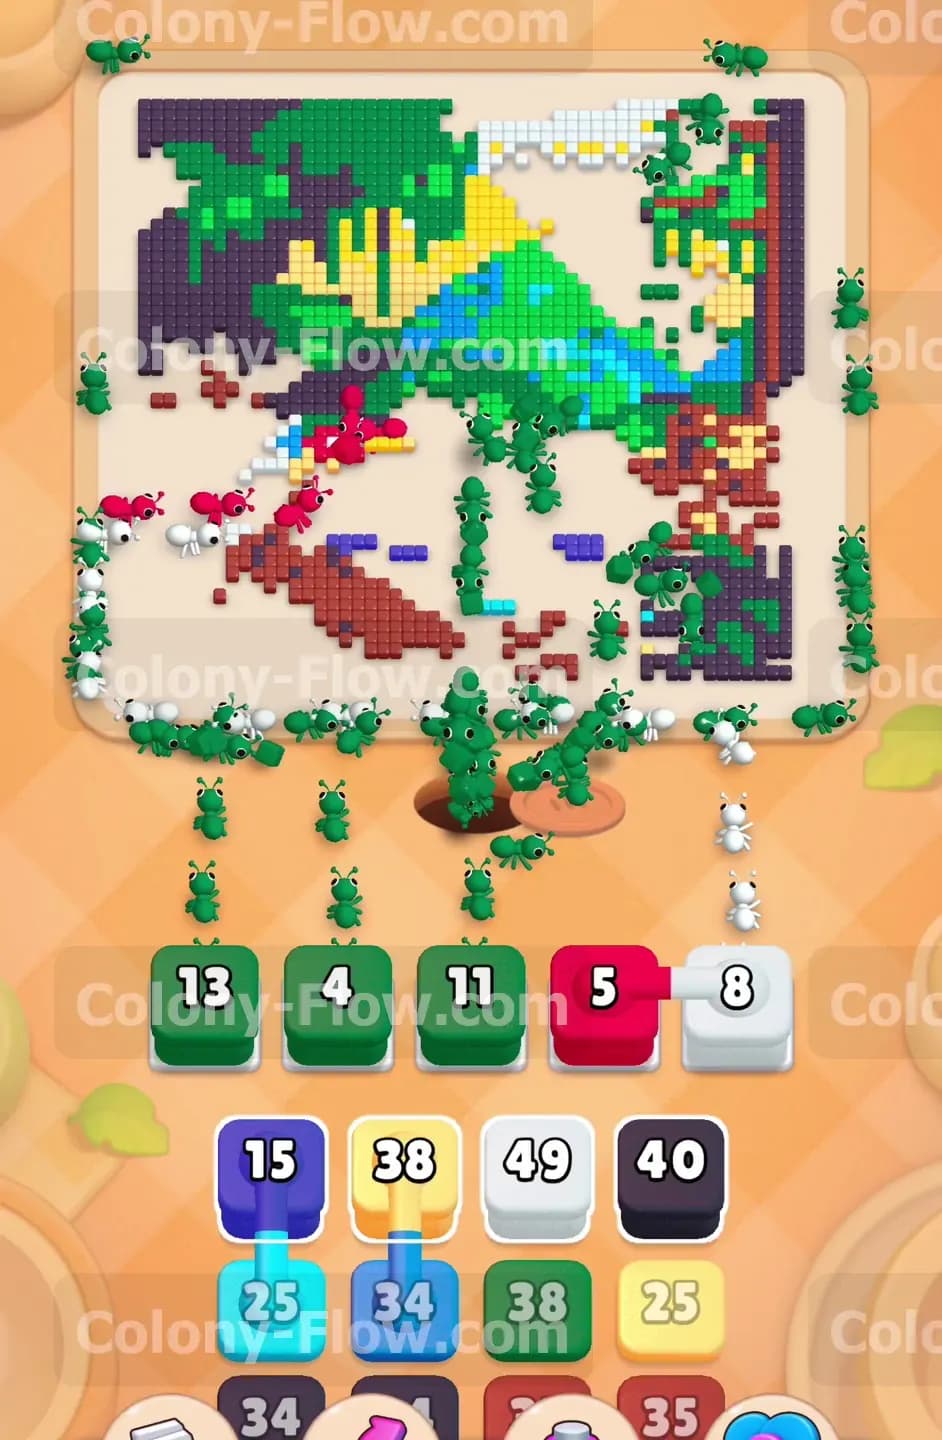
While the left side is wide open and active, the right side is still completely blocked by the second Hungry Door. This door has been sitting untouched for a while. It is time to clear it out and open the rest of the board. Bring up the yellow blocks and the remaining dark blue blocks from your tray. The ants will charge the right side and finish off the door completely. Once the door breaks, a brand new path opens into the right side of the forest and the mountain base. Your tray will now give you large yellow blocks to use. You will see a yellow block with 39 and another yellow block with 31. Pull these yellow blocks to send yellow ants deep into the right side of the picture. They will eat the yellow accents scattered in the trees and start working on the bright sun in the sky. Your ants now have full access to both the left and right sides of the board.
Step 5: You will clear the colorful bird and the central green mountain peaks.
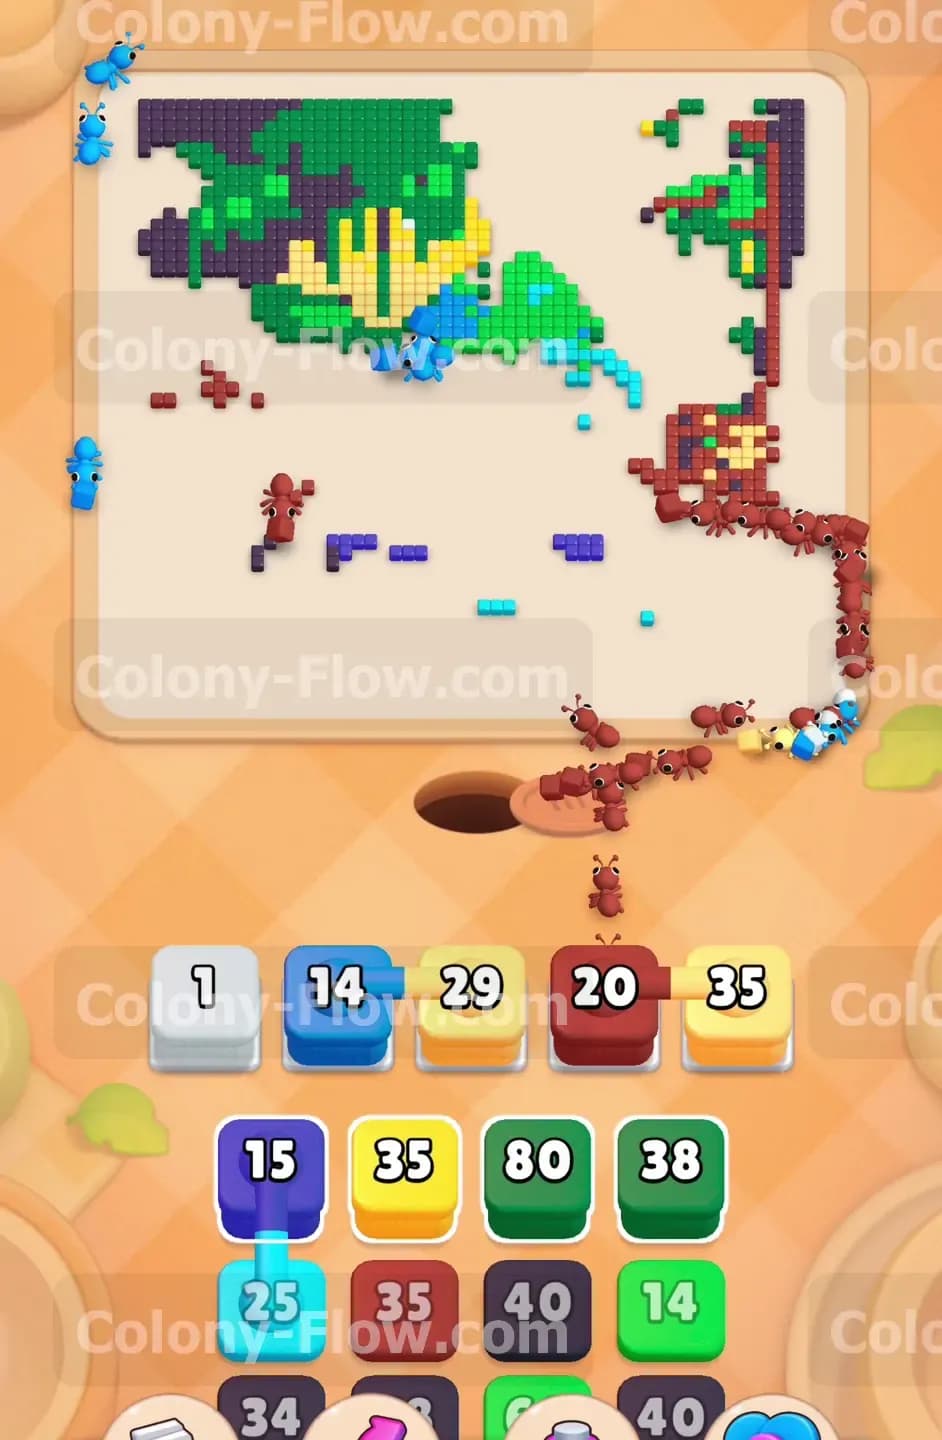
With the bottom obstacles completely gone, you can finally focus on the detailed pixel art in the center of the board. You will see a colorful bird made of red, white, and green tiles sitting on a branch. You will also see the large green mountain peaks towering in the background. Your tray will provide a connected set of red and white blocks. Pull this set to feed the red and white parts of the bird. The ants will quickly dismantle the bird shape piece by piece. Next, look for the solid green blocks in your tray. You will see green blocks with numbers like 13 and 11. Pull these green blocks into your waiting slots. A massive army of green ants will march up the center of the board. They will eat the mountain peaks and the green leaves on the tall trees. The picture is now disappearing very rapidly. Make sure you do not pull too many blocks at once. Let the ants finish their meals so your slots stay perfectly clear.
Step 6: Your ants will clean up the brown tree trunks and the remaining sky.
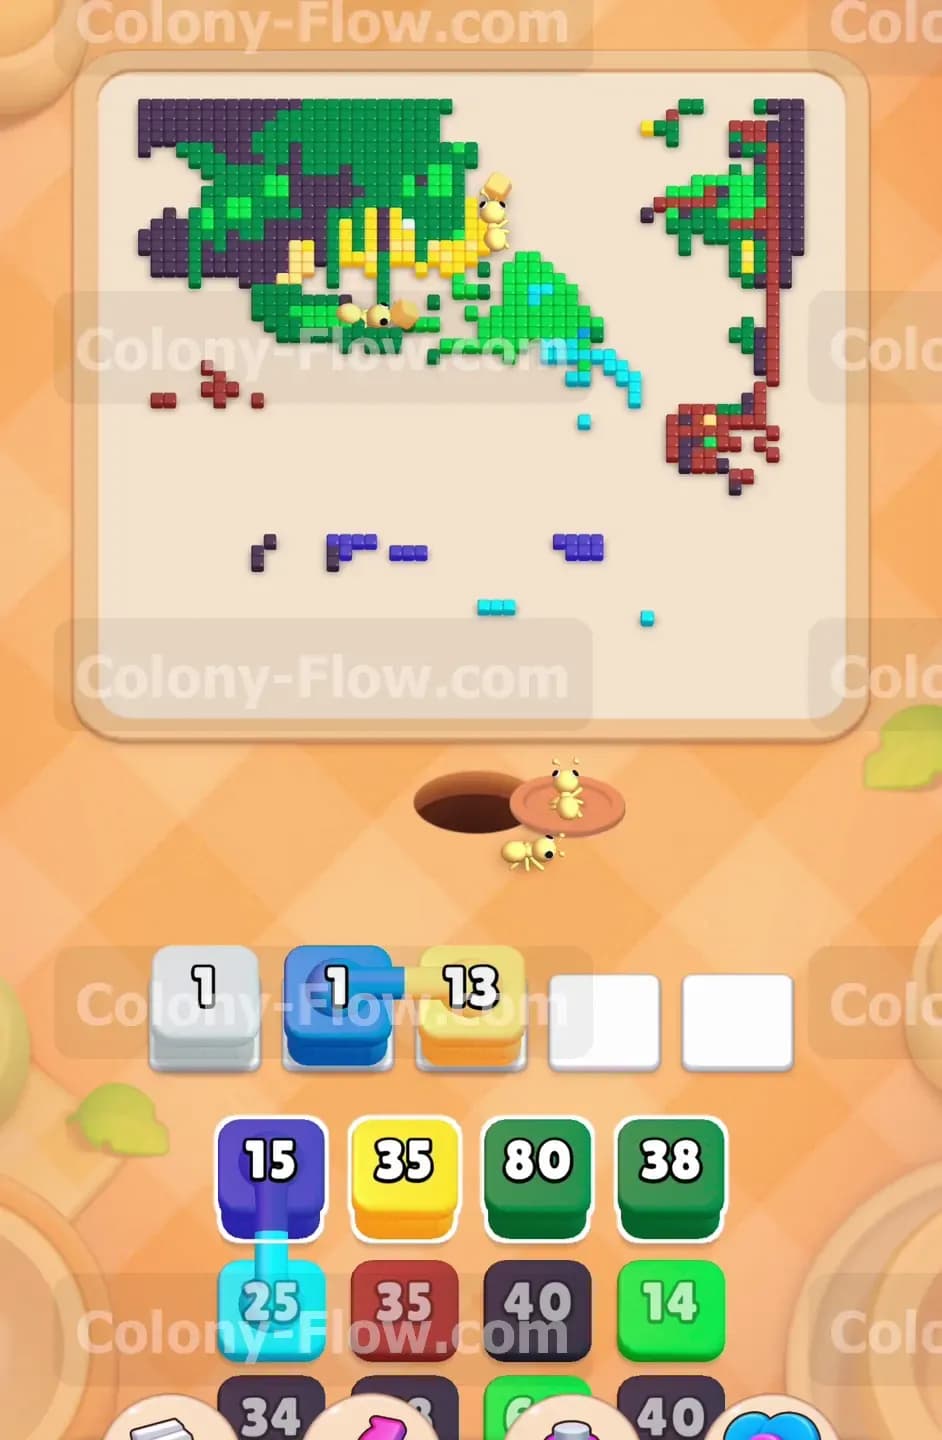
The board is now mostly empty space with just a few scattered structures remaining. You will see the brown tree trunks standing on the right side and some light blue sky tiles near the top edge. Your tray gives you a mix of single blocks and Connected Boxes to finish this section safely. Pull the brown blocks to send brown ants directly to the tree trunk on the right edge. Then look for the connected blue and yellow blocks in your tray. Pull these to send light blue ants to finish the water and yellow ants to finish the last sun rays. The board looks very sparse now. The ants have to travel much farther from the nest hole to reach their food. This long travel time means your waiting slots will stay full a little longer than usual. Be patient and let the ants do their job. Do not panic and pull extra blocks while you wait for the ants to cross the empty board.
Step 7: You will finish the outer border to complete the picture and win the level.
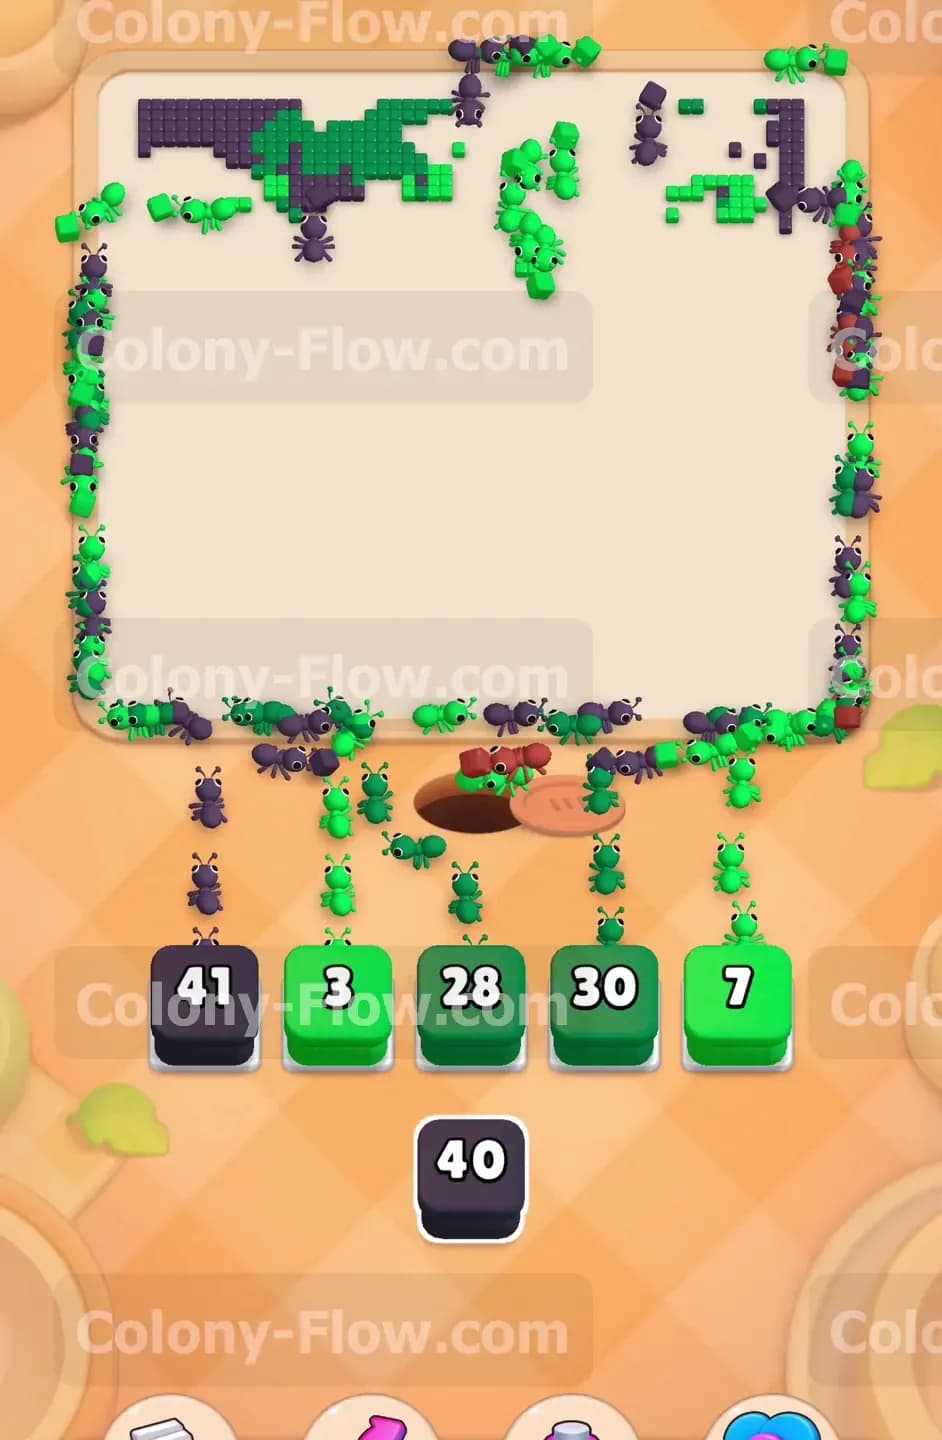
You are in the final stretch of the level. The only tiles left are a thin border of dark blue and green pixels wrapping all the way around the empty canvas. Your tray will give you exactly what you need to finish the job. You will see a large dark blue block with a high number and several green blocks. Pull the dark blue block first. A massive swarm of dark blue ants will run all the way around the outer edge of the board to eat the top border. Then pull the remaining green blocks. The green ants will follow the exact same long path to clean up the final green pixels. You will watch a beautiful stream of ants circling the entire board. Once they eat the very last tile, the screen clears. You have successfully beaten the level and kept your waiting slots perfectly safe.
Final Thought
Colony Flow Level 540 is a true test of patience and slot management. Breaking those two massive Hungry Doors early is the only way to survive the beginning phase. If you manage your Connected Boxes carefully and never force a block without an open path, you will succeed. Feel free to scroll up and watch the video above this article if any step is hard to follow in text. Good luck with your ant colony.