Colony Flow Level 605 Walkthrough Solution & Guides | How to solve Colony Flow 605

Guide By Liam Stone
Updated on August 1, 2026
The article below explains Level 605 in detail, but the video above gets you there faster.
Video doesn't match your screen?
Game updates frequently scramble layouts! Try our AI Screenshot Solver first to find your exact board instantly, or report broken guides to our team.
Colony Flow Level 605 brings a fun space theme with a brightly colored rocket ship pixel art picture. You need to manage a steady stream of ants to eat through the flames and hull of the ship. I played through this board to find the safest path so you avoid filling your waiting slots. Follow my steps to clear the board smoothly and keep your colony moving.
Colony Flow Level 605 Overview
What You Are Working With
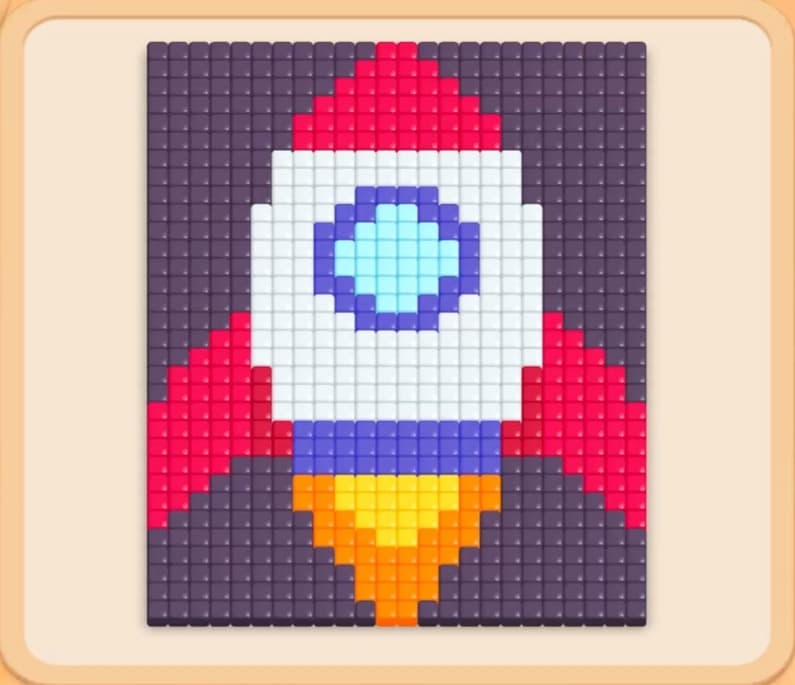
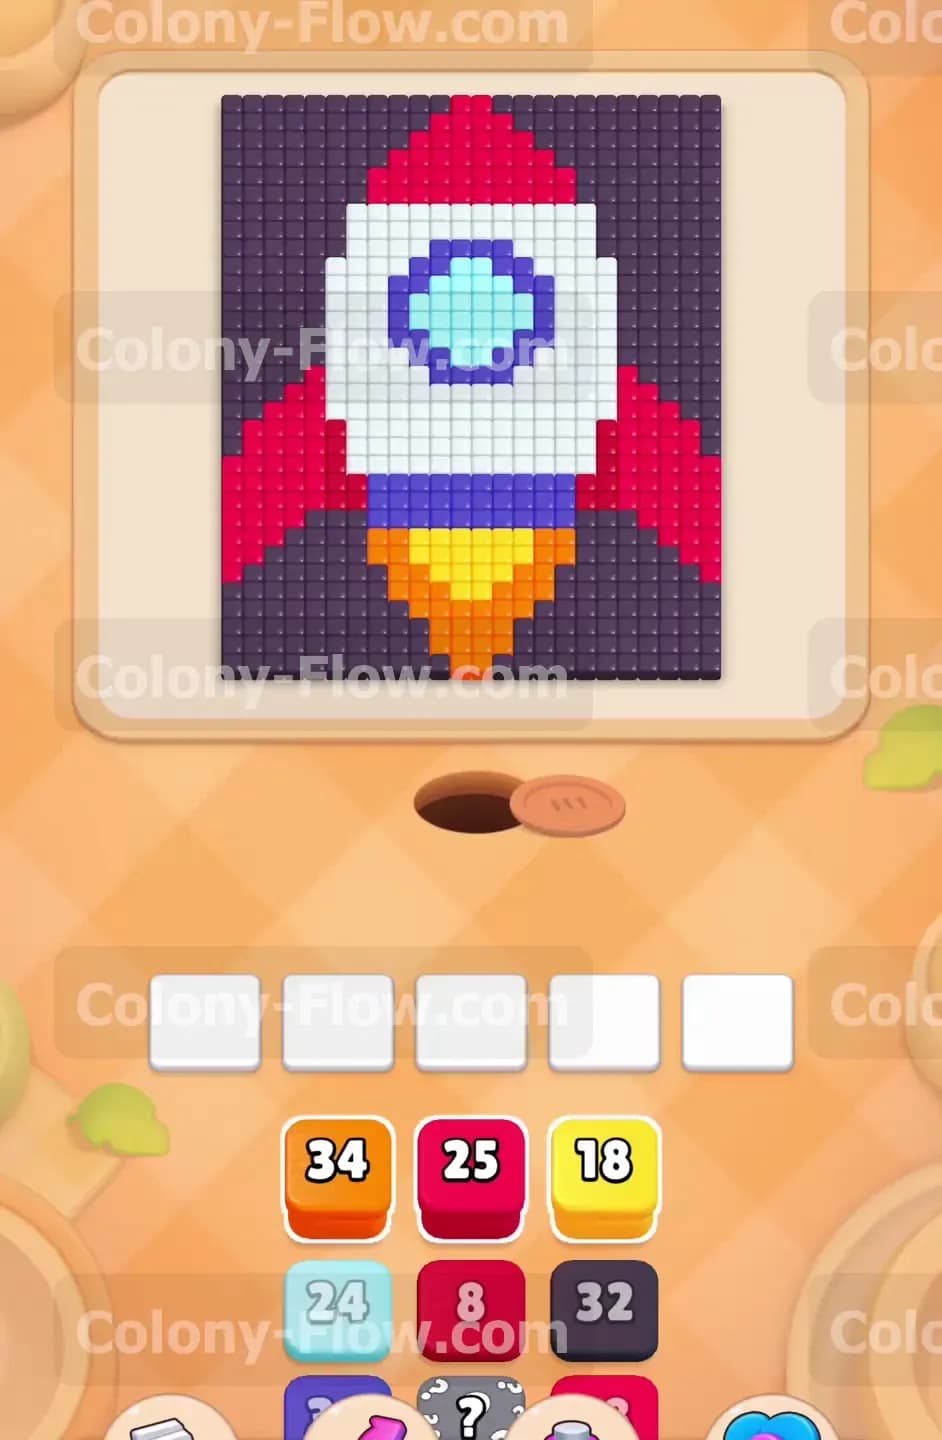
The picture shows a classic rocket ship pointing upward. The background consists of dark purple tiles. The rocket features red fins on the sides and a red point at the top. The main hull uses white tiles. A circular window sits in the middle of the hull. This window has a light blue center and a dark blue outer ring. Bright orange and yellow tiles make up the flames shooting out of the bottom. The tray at the bottom of the screen holds numbered blocks matching all these colors. You will also encounter special tiles on this board. You must manage connected boxes where two blocks link together. You will also deal with a hidden box that hides its color until you move it into a valid position.
What It Takes to Clear Level 605 Board
Winning this level requires a bottom up approach. You must clear the orange and yellow flames first because they block access to the main rocket body. Once the flames disappear the ants can reach the lower white hull and the dark purple background tiles. You must carefully balance pulling white blocks for the hull and dark purple blocks for the background. This balance keeps the ants spread out and prevents traffic jams in your waiting slots. You will then work your way up to the blue window and finally the red tip of the rocket. You win when every single tile is gone and the ants return to their nest.
Colony Flow Level 605 Step by Step Solution
Step 1: clear the bottom flames and lower fins first
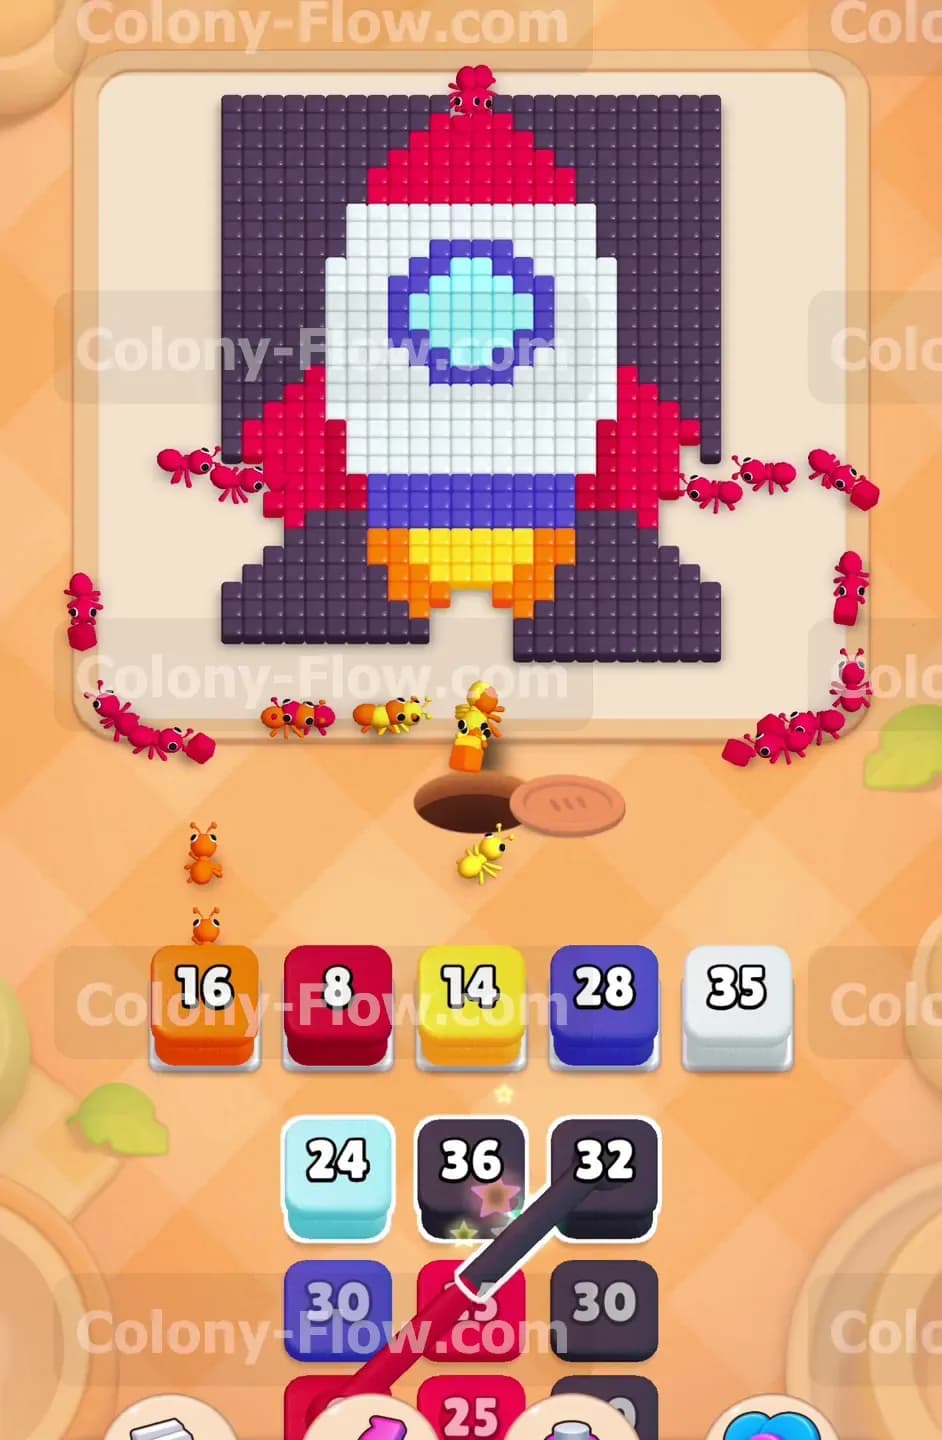
Begin by pulling the orange block into your waiting slots. Follow this immediately by pulling the yellow block and the red block. The ants stream out of the nest and rush straight up the middle of the board. They aggressively eat the orange and yellow flame tiles at the base of the rocket. As the flames disappear the ants branch out to the left and right sides. They start eating the bottom sections of the red fins. This opening sequence is crucial. You must remove these bottom tiles to create open paths to the rest of the picture. If you pull colors other than orange or yellow right now your waiting slots will jam up and you will lose the level. Keep your focus strictly on the very bottom edge of the artwork. Watch the numbers on the orange and yellow blocks count down to zero. The blocks vanish and clear vital space in your tray.
Step 2: open paths into the dark purple background
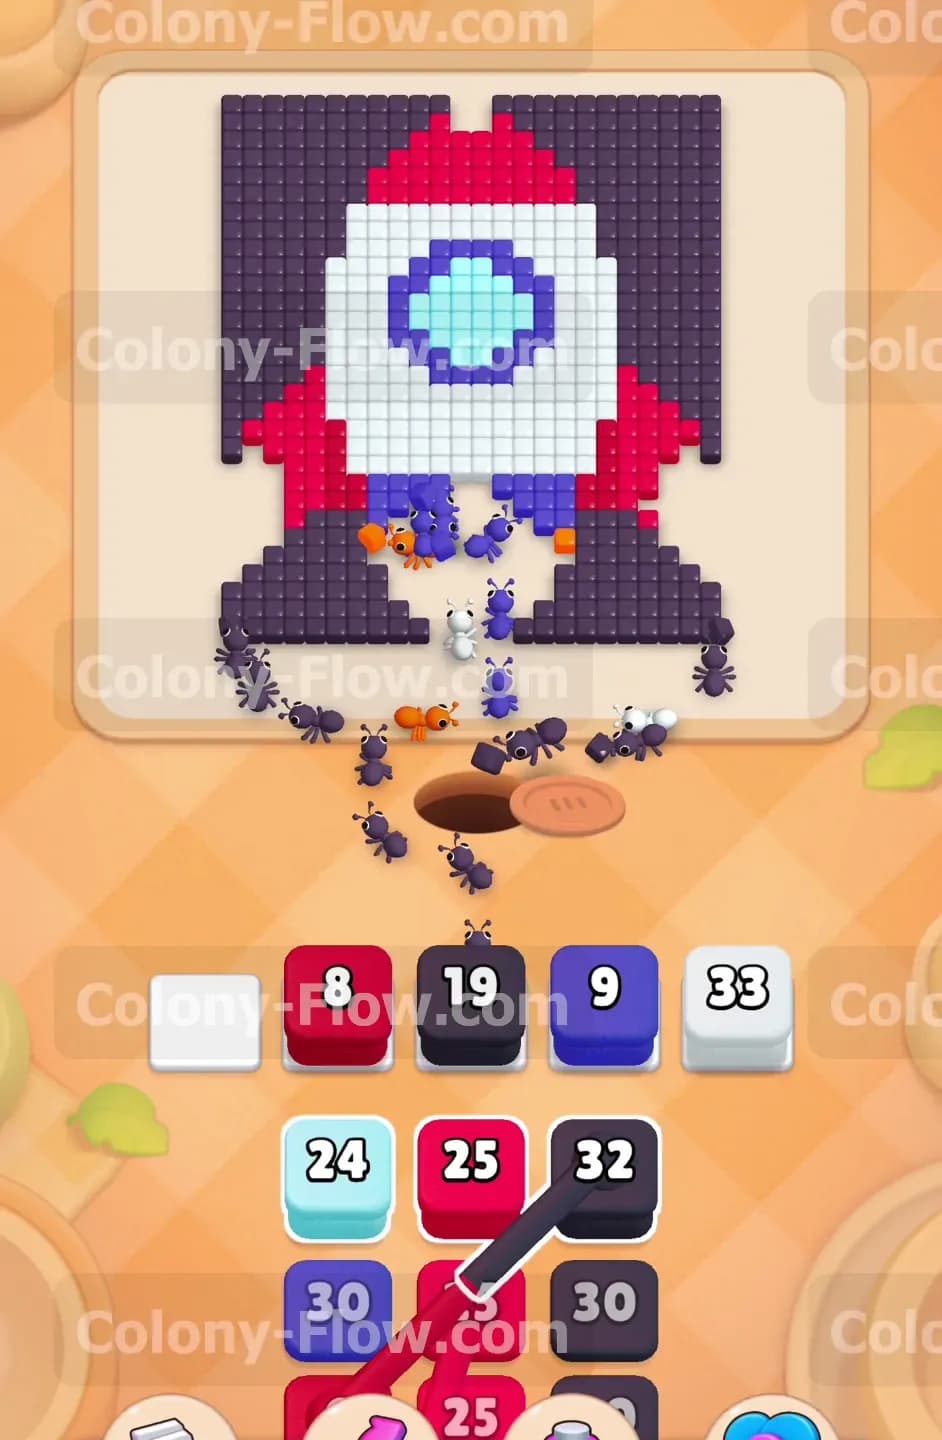
Now that the flames are gone you have direct access to the dark purple tiles surrounding the bottom of the rocket. Pull a dark purple block into your waiting slots. At the same time pull a white block to target the bottom row of the rocket hull. The colony splits into two main groups. One group marches around the edges of the red fins to consume the dark purple background. The other group moves straight up into the white tiles of the main body. Giving the ants two different colors to eat at the same time is a great strategy. It keeps a high volume of ants busy and ensures your waiting blocks empty out quickly. Always verify that a path exists before you pull a new color. The dark purple tiles stretch all the way up the sides of the board so you will need to keep feeding dark purple blocks from the tray regularly.
Step 3: use the first set of connected boxes safely
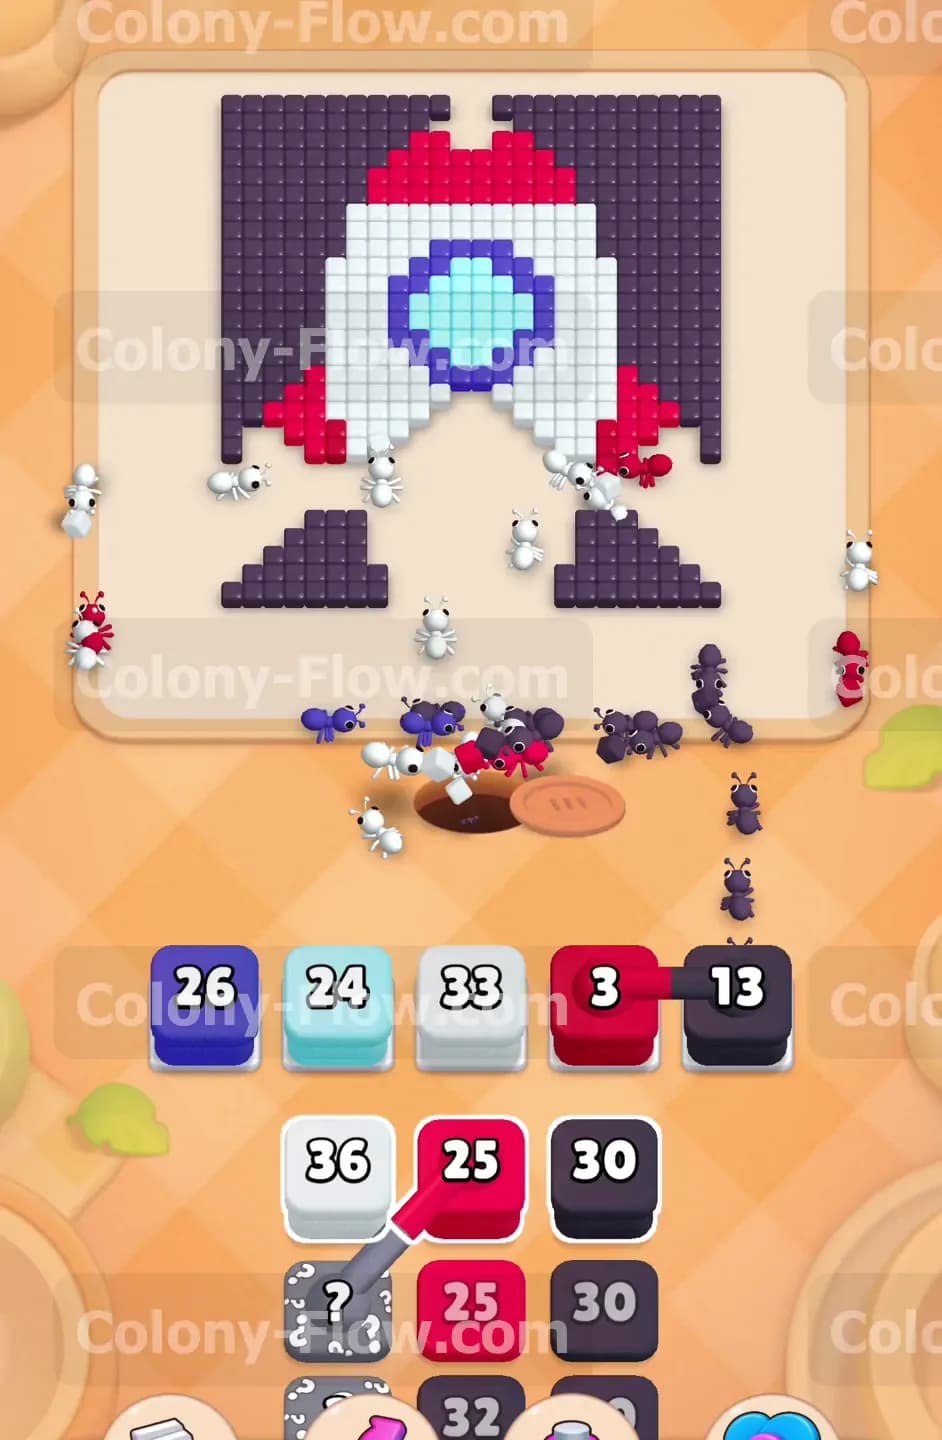
You will spot a set of connected boxes in your tray. This set links a dark blue block to a dark purple block. Pulling one forces the other into your waiting slots as well. You must ensure open paths exist for both colors before you make this move. Check the board to confirm the ants can reach the dark purple background. Then check that the ants have eaten enough white hull tiles to reach the dark blue outer ring of the window. Once you confirm both paths are clear pull the connected boxes up. The ants will seamlessly split their attention. They will clear more background tiles and start chipping away at the window border simultaneously. Managing connected boxes requires patience. Waiting for the exact right moment guarantees your five slots stay open and your ants keep flowing.
Step 4: clear the light blue window center
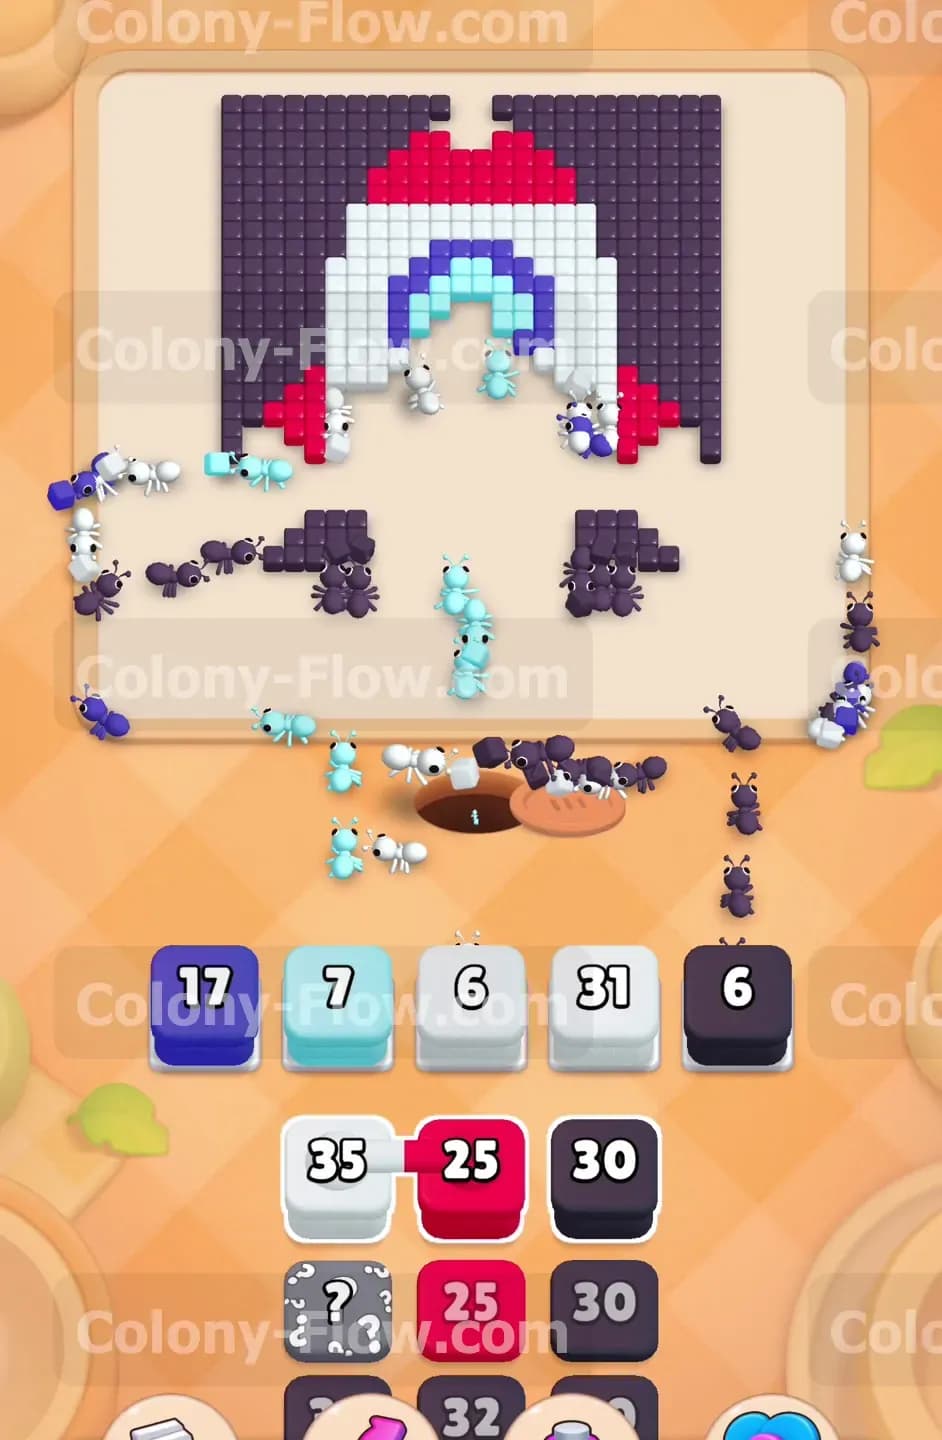
With the dark blue outer ring partially cleared you can now target the center of the window. Pull the light blue block from the tray. The ants march straight up through the empty space left by the missing white hull tiles. They reach the light blue tiles in the middle of the window and start eating them. You should also pull another white block right now. The rocket body surrounds the window completely. You need the ants to continue eating the white tiles on the left and right sides of the window. Feeding both light blue and white blocks keeps the swarm moving steadily upward. The light blue block will count down quickly because there are not many light blue tiles in the picture. Once it clears you have a massive open space in the middle of the board.
Step 5: handle the hidden box and clear more background
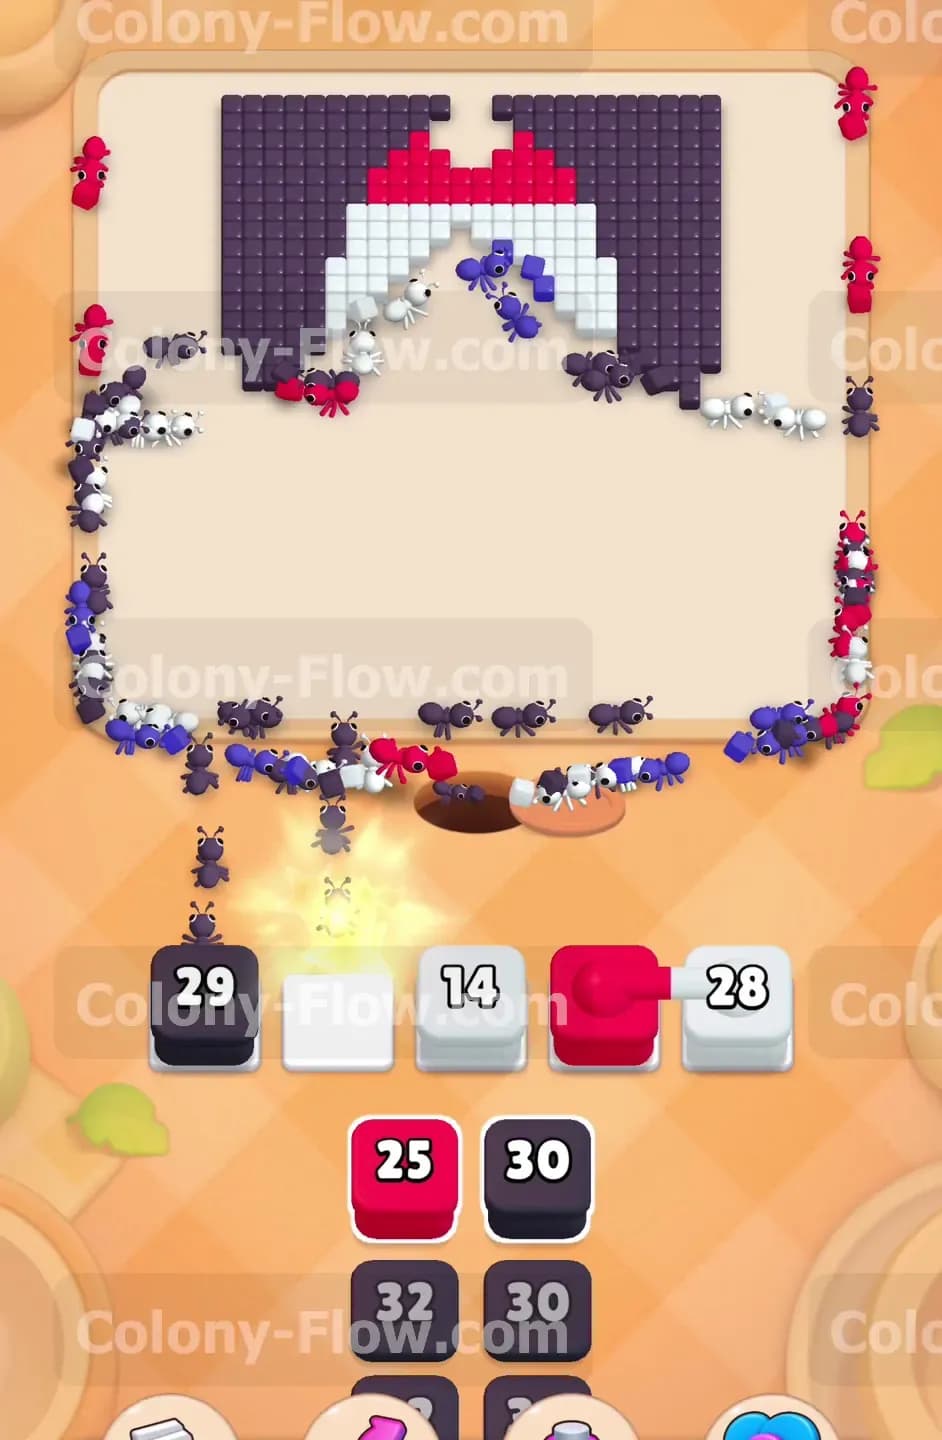
A block with a question mark sits waiting in your tray. This hidden box will not reveal its true color until it has a valid path to move. Clear out the blocks in front of it first. Pull the available red block and the dark purple block to make room. The ants will use the red block to finish off the upper sections of the red fins. They will use the dark purple block to eat higher up the sides of the background. As space opens up the hidden box becomes available. Move it into your waiting slots to reveal the color. Adapt your next moves based on whatever color appears. The key is to never panic when dealing with a hidden box. Just rely on the basic rule of keeping an open path for whatever color it turns out to be.
Step 6: finish the white hull and dark blue window border
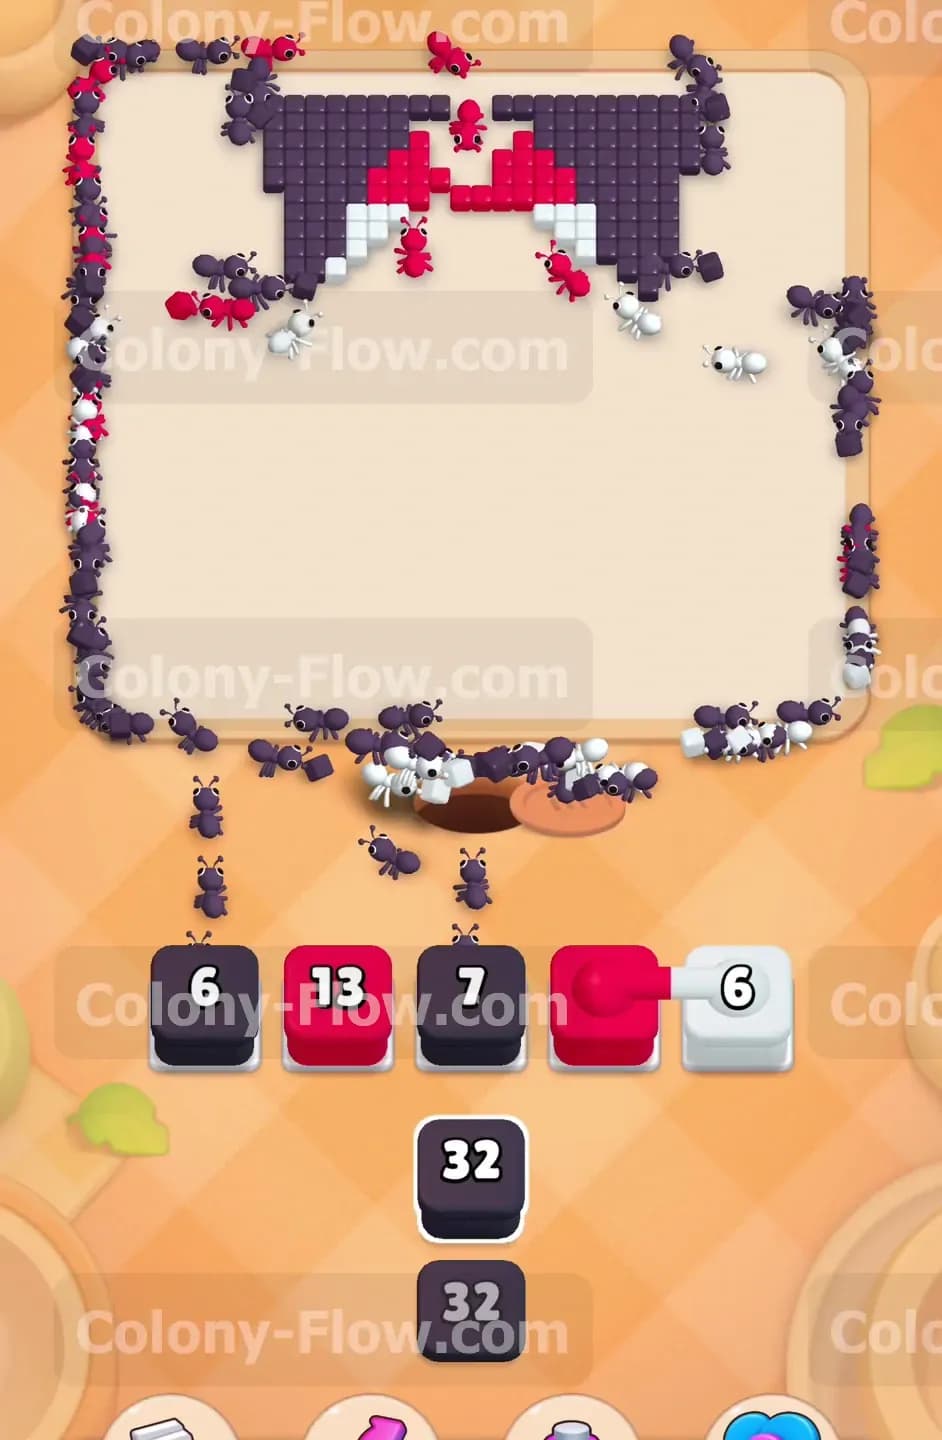
The top half of the rocket body still needs attention. Pull the remaining white blocks from your tray. Also pull the final dark blue block. The ants swarm the upper section of the white hull and finish off the rest of the dark blue window ring. They will eat their way right up to the base of the top red point. Watch your waiting slots very closely during this phase. You are nearing the end of the level and the available tile colors are shrinking. Do not pull any red blocks until the white tiles directly underneath them are completely gone. The white hull acts as a barrier. You must remove that barrier entirely to give the ants a clear runway to the top of the ship.
Step 7: tackle the top red point of the rocket
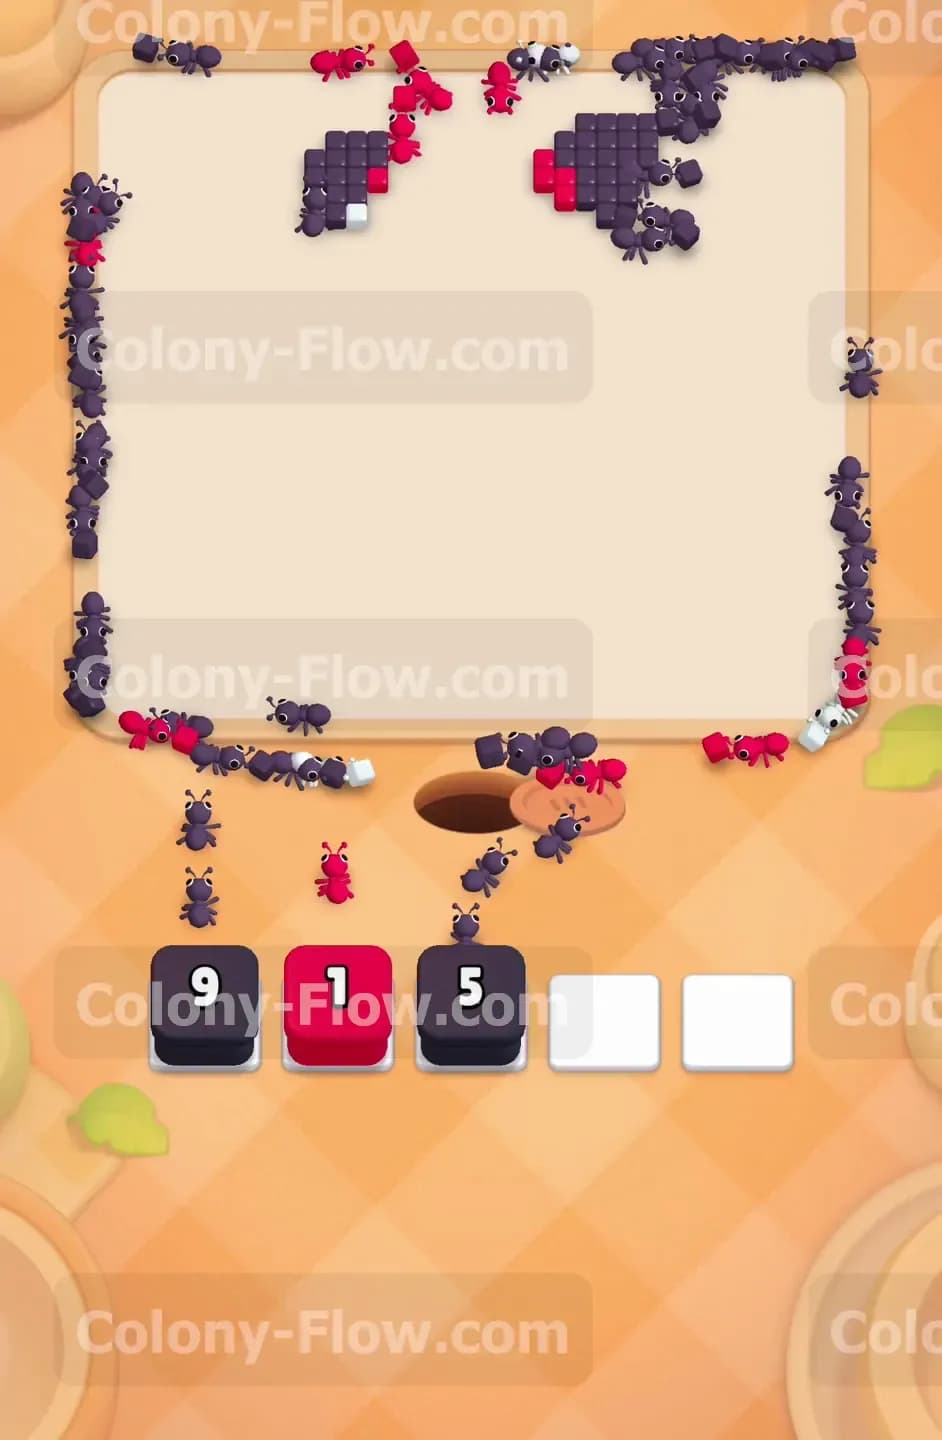
The white hull is completely gone and the top red tiles are totally exposed. Pull the final red blocks into your waiting slots. The ants have a massive open area to travel through. They rush up to the very top of the rocket shape and consume the red point. The entire rocket ship is now erased from the board. Only the dark purple background tiles remain in the extreme upper left and upper right corners. Your waiting slots should be mostly empty right now. You have navigated the most complex parts of the picture. Maintain your focus for just a few more moves to secure the win.
Step 8: clear the remaining dark purple corners to win
Only dark purple blocks remain in your tray. Pull them up into your waiting slots one by one. The ants will stream all the way to the top edges of the screen. They spread out into the corners and eat the last few dark purple tiles. Watch the numbers on your final blocks count down to zero. The board becomes completely clear and the remaining ants disappear back into their nest. You have successfully managed the flow and kept your slots from jamming.
Final Thought
Clearing this puzzle requires steady patience and careful attention to the bottom up pathing. If you ever feel stuck or unsure about when to pull a specific connected box I highly encourage you to watch the video above this article. Seeing the ants move in real time makes the whole strategy much easier to understand.