Colony Flow Level 1083 Walkthrough Solution & Guides | How to solve Colony Flow 1083

Guide By Liam Stone
Updated on August 12, 2026
Reading not your style? The video above shows exactly how to beat Level 1083.
Video doesn't match your screen?
Game updates frequently scramble layouts! Try our AI Screenshot Solver first to find your exact board instantly, or report broken guides to our team.
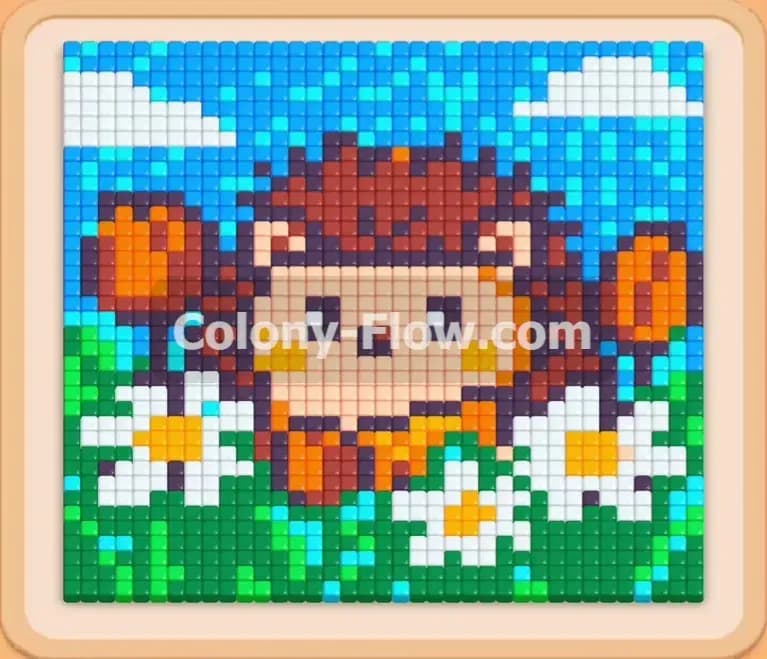
Colony Flow Level 1083 brings a fun pixel art hedgehog scene for you to clear. You need to manage a crowded board full of connected boxes and high numbers. Keeping your paths open is the real challenge here because the tiles block each other constantly. Let me show you exactly how to break this level down and claim your victory.
Colony Flow Level 1083 Overview
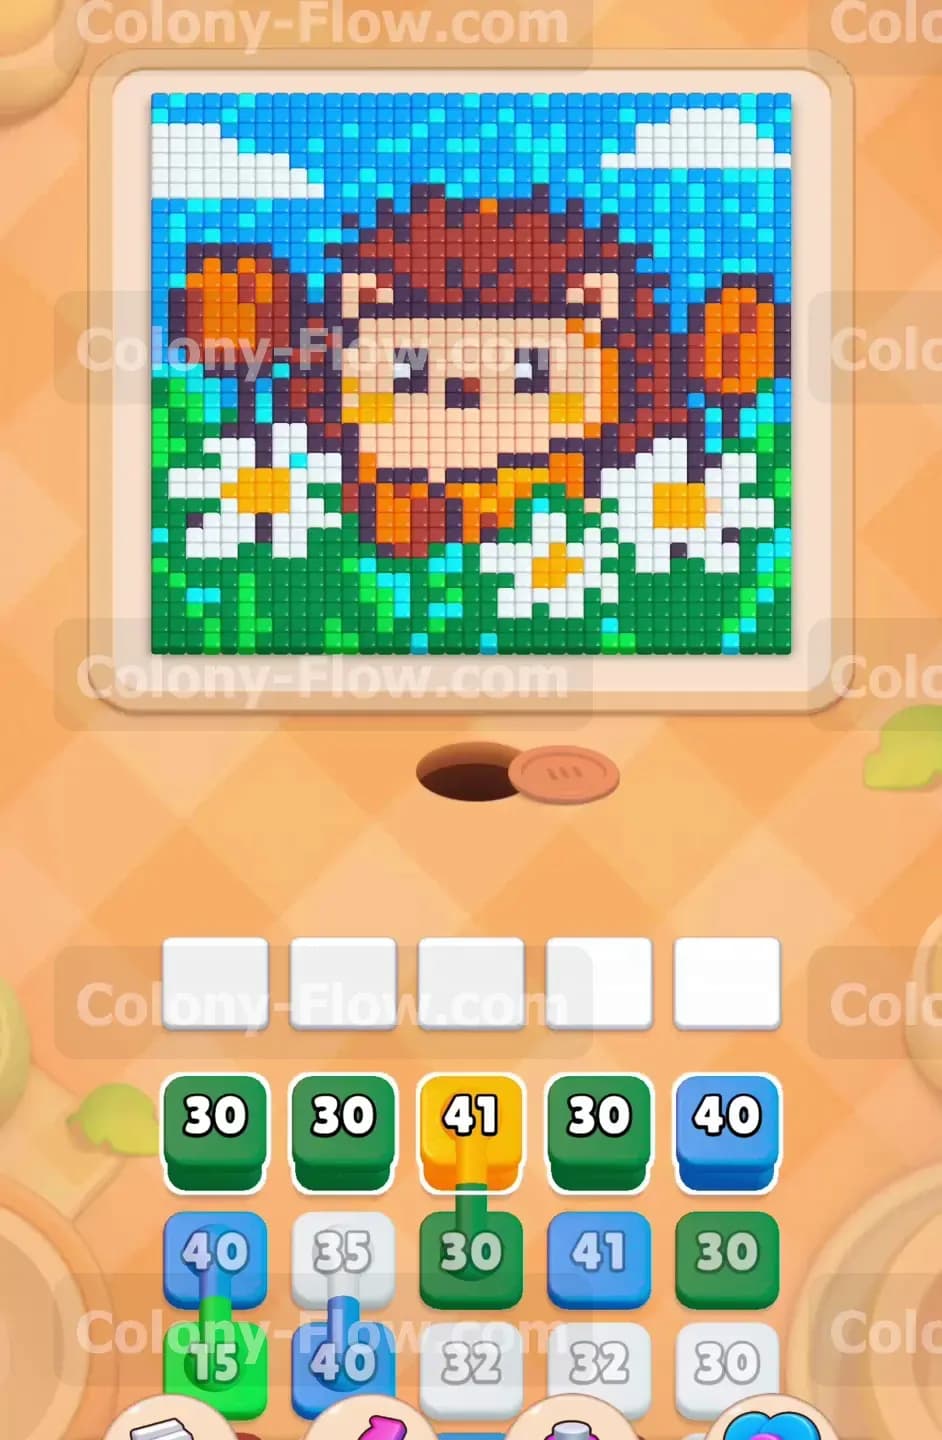
What You Are Working With
The picture features a cute hedgehog surrounded by flowers and grass under a bright blue sky. The colors include light blue for the sky and solid white for the clouds and daisies. You also have dark green and light green for the grass patches below. The hedgehog itself uses beige and dark brown with some bright orange details. Two large orange tulips stand tall on either side of the hedgehog. Down in the tray you have many high number blocks to pull. You will see several connected boxes scattered throughout the tray. These connected boxes require extra care because pulling one brings the whole chain up to your waiting slots. This takes up valuable space very fast. There are no hidden elements or complex doors to worry about here. You just face a pure flow puzzle where sequence and timing matter most. Planning your pulls makes all the difference.
What It Takes to Clear Level 1083 Board
Clearing this level means feeding every single colored tile to your ants without filling your five waiting slots. The board starts fully solid and the ants can only reach the outer edges of the picture first. You have to work from the outside in to make progress. This means focusing on the light blue sky and the dark green grass before you can touch the hedgehog in the middle. Your main goal is to balance the large number blocks with the available open tiles on the board. If you pull a block that needs forty tiles but only twenty are exposed you will jam a slot for a long time. You must always expose enough tiles of a specific color before bringing its block up to the top. Careful observation prevents fatal mistakes. Keeping at least one slot open guarantees you always have an escape route if things get tight.
Colony Flow Level 1083 Step by Step Solution
Step 1: Start with the outer sky and bottom grass to open the board
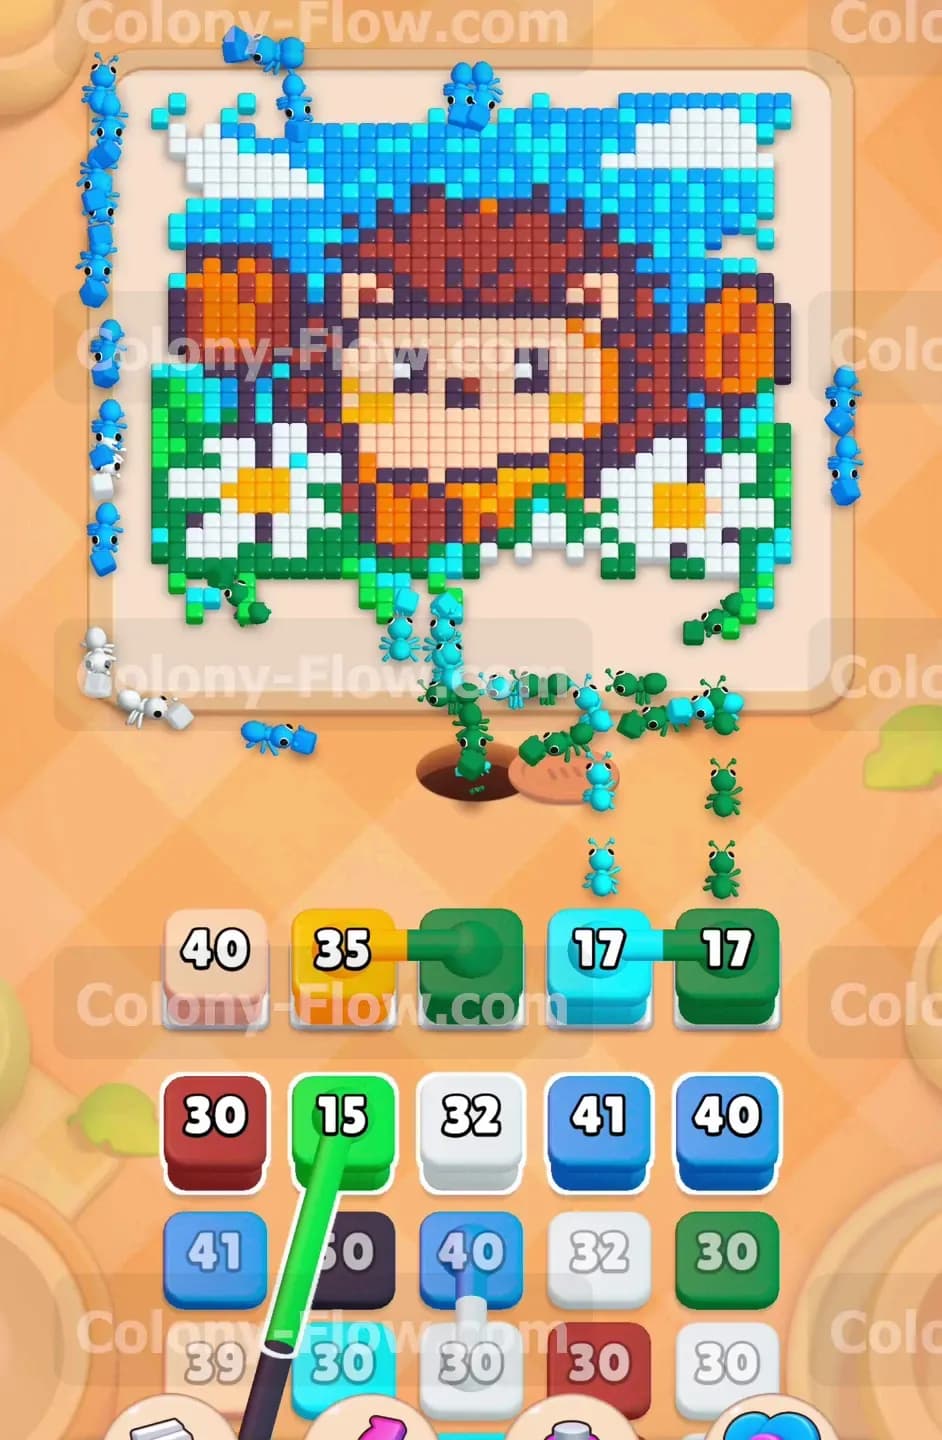
The very beginning of the level requires you to attack the most accessible outer tiles. The ants pour out of the nest hole at the bottom and look for an open path right away. You want to start by pulling a light blue block to clear the outer edges of the sky. Then you need to pull a dark green block for the bottom edge of the grass. The grass and the sky form the entire perimeter of the hedgehog picture. By sending ants to both the top and the bottom you create multiple active working zones. This prevents the ants from bunching up in one single spot and slowing down the flow. Keep a close eye on the numbers decreasing on your active blocks. Once the light blue and dark green numbers drop you know you have successfully exposed the next inward layer of tiles. Do not pull too many blocks at once in this early phase. Let the ants finish their current paths completely first. This patience keeps your waiting slots clear and ready for bigger moves.
Step 2: Deploy the connected white blocks to clear the clouds and daisies
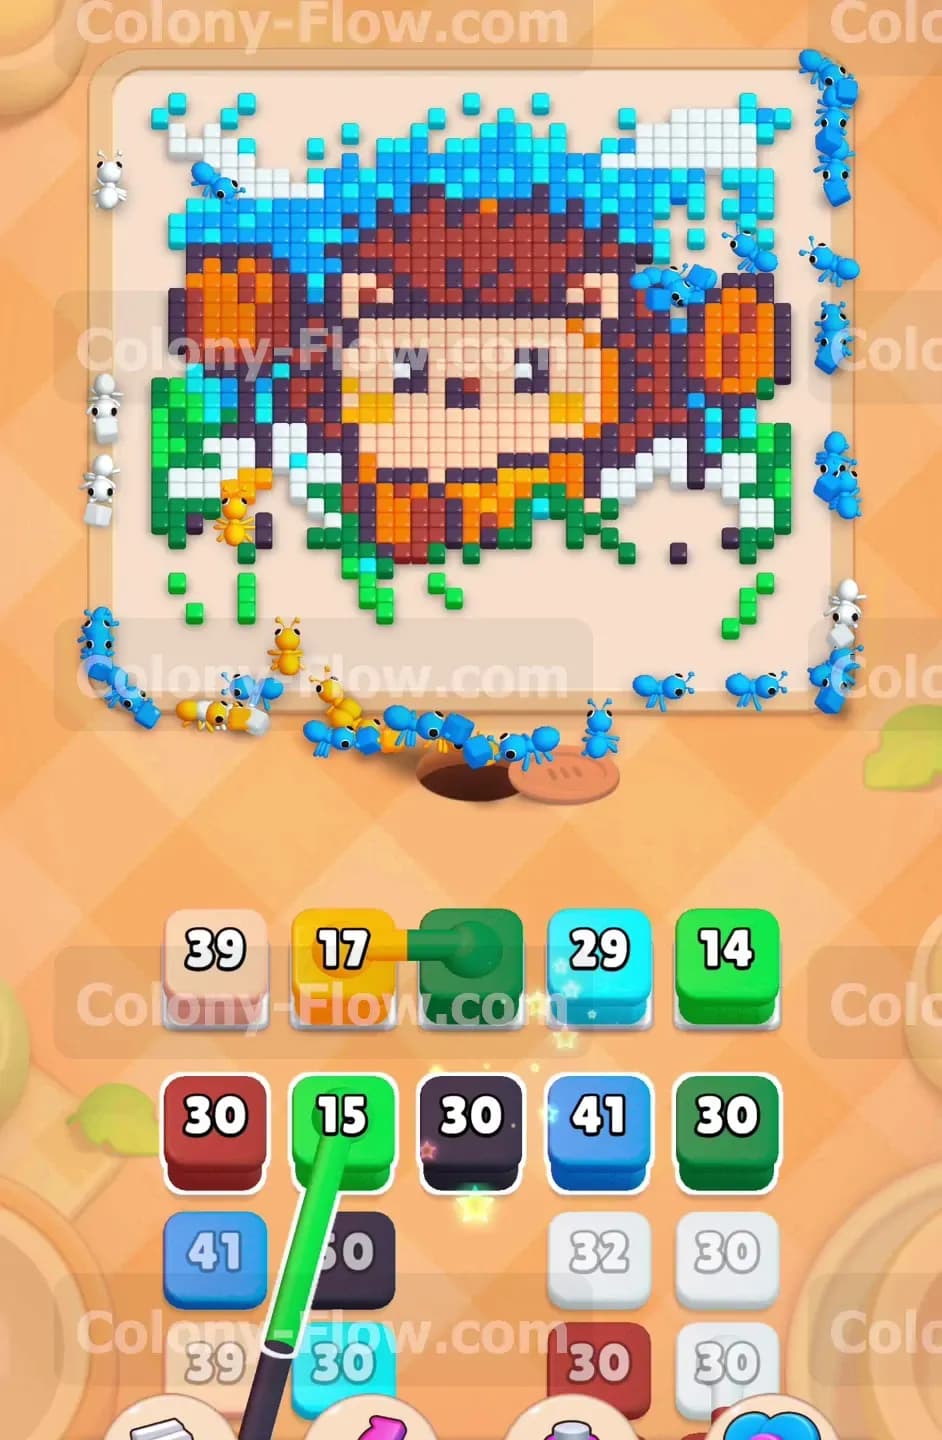
As the light blue sky clears you will reveal the bright white clouds at the top of the board. The dark green grass clearing also exposes the white petals of the daisies at the bottom left and right. This is the perfect time to use the connected boxes resting in your tray. You will see a white block linked directly to another colored block. Pulling this connected set brings both items up to your waiting slots simultaneously. Since you already opened up the clouds and the daisies the ants will immediately swarm these white tiles. The white numbers will tick down rapidly as the ants carry the food away. Connecting your moves like this keeps the board flowing smoothly without any pauses. Always make sure you have at least two open waiting slots before pulling any connected boxes. If you pull them with only one slot open you will jam the board and fail the level instantly. Managing this space is your top priority right now.
Step 3: Focus on the light green grass details and yellow flower centers
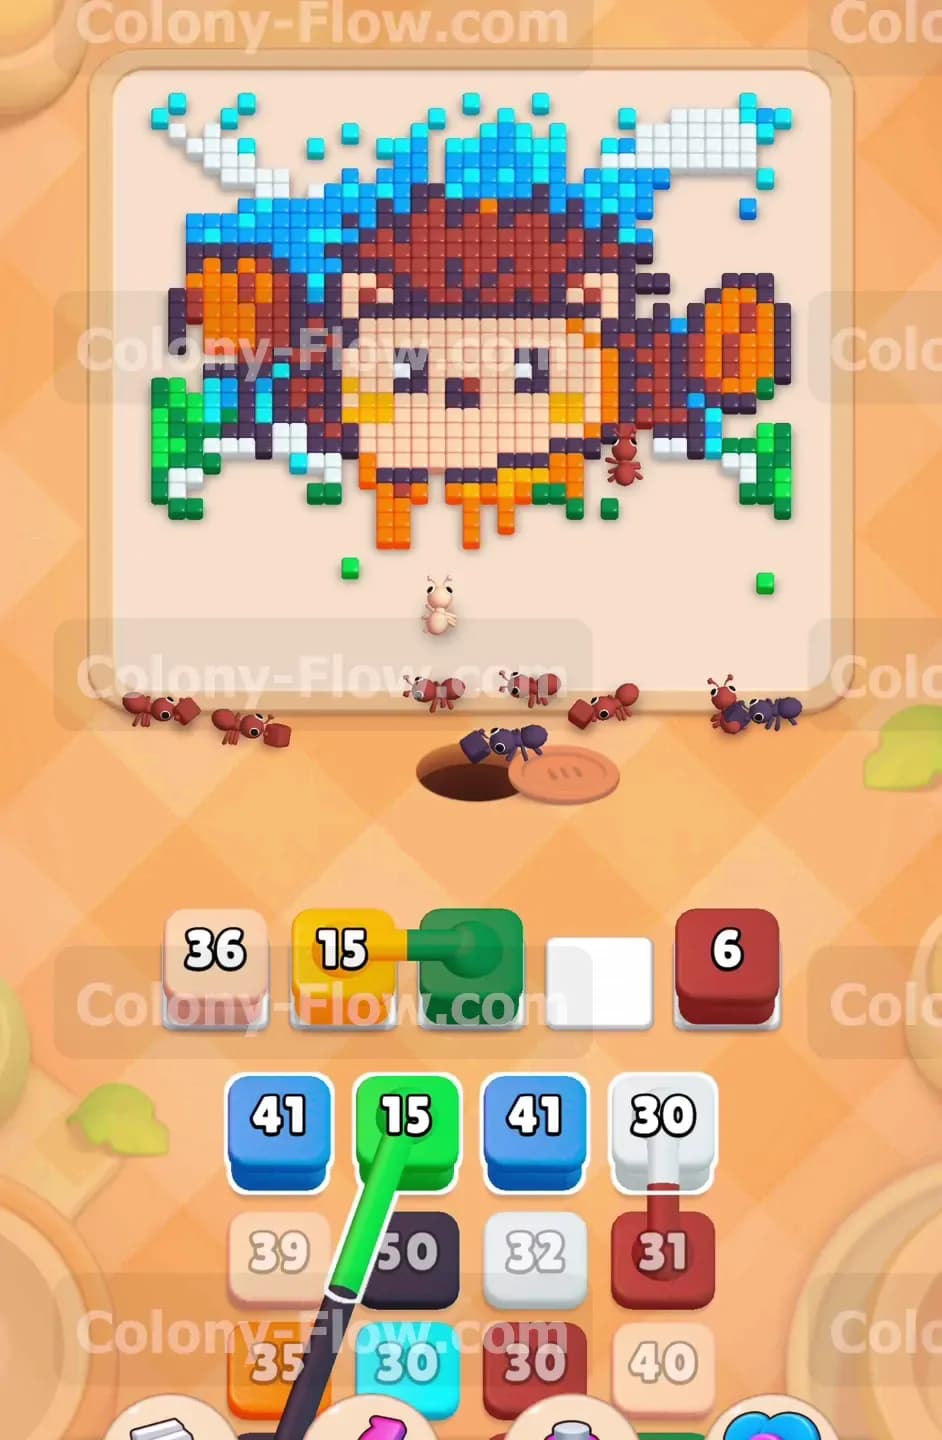
With the white daisies mostly gone you finally expose their bright yellow centers. The thick grass area also reveals light green highlight tiles scattered near the bottom. You need to pull a yellow block and a light green block to clear these small clusters. These specific colors have much lower numbers but they physically block the direct path to the main hedgehog body. Let the ants clear the light green sections first to get them out of the way. This action completely removes the entire grass layer from the bottom of the board. Then let your colony eat the yellow tiles next. Clearing the yellow centers finishes off the daisies entirely and leaves the bottom corners empty. Your waiting slots should clear out nicely as these smaller numbers hit zero one by one. This frees up plenty of valuable space for the heavier blocks coming in the next phase. You always want a completely clean tray before attacking the main central subject of the picture.
Step 4: Attack the orange tulips and hedgehog feet to reach the core
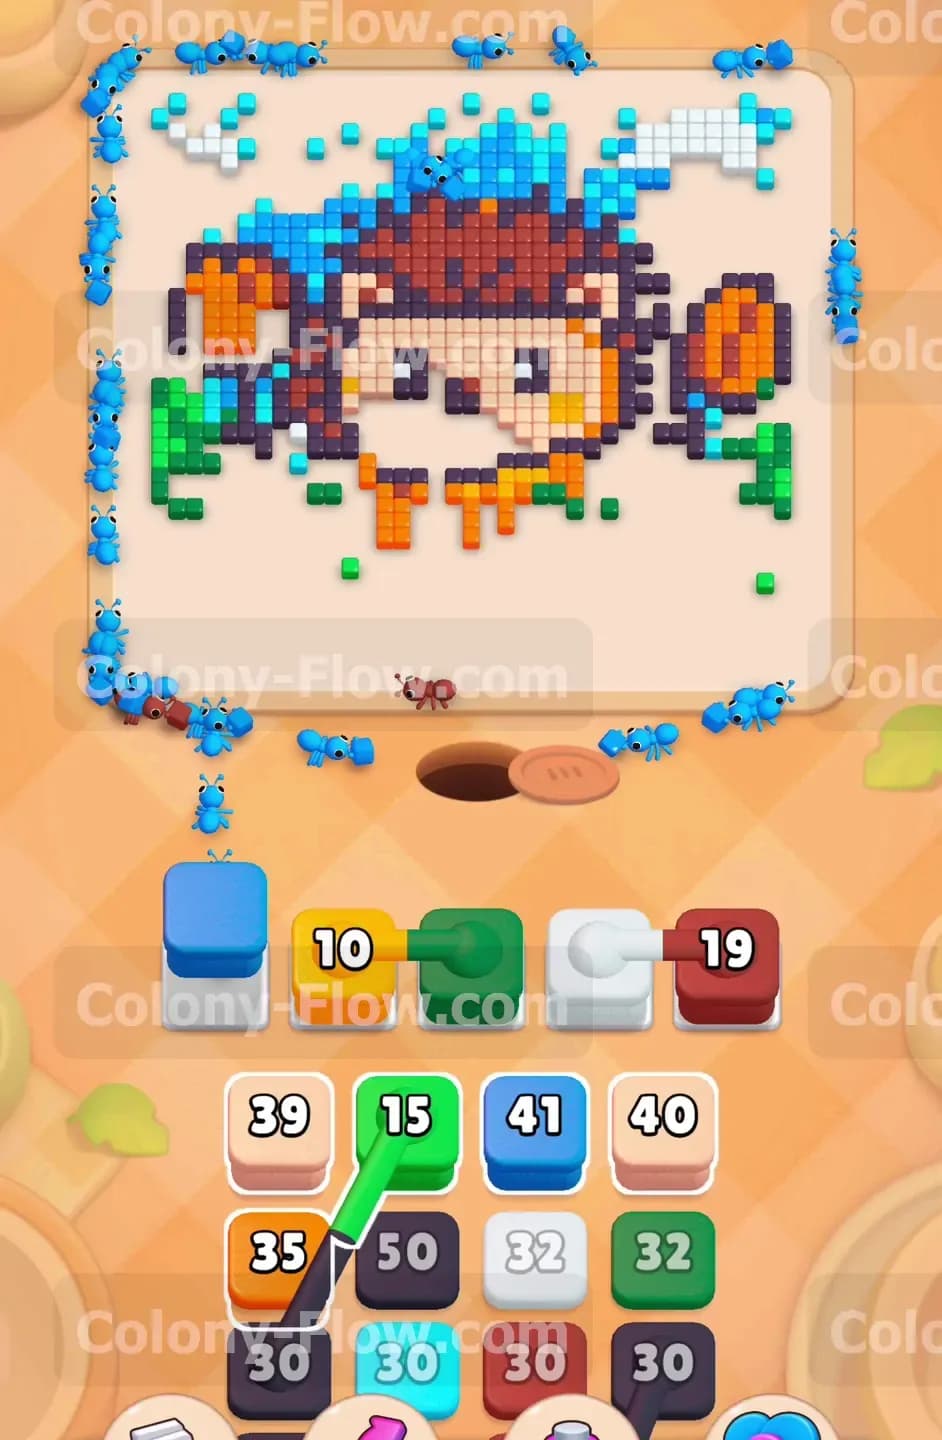
Now you have a wide and clear path to the bright orange elements of the picture. The two large tulips on the left and right sides are fully exposed and ready to clear. The hedgehog also has little orange feet resting at the bottom. Pull an orange block into your waiting area to start this process. You will need two orange blocks to handle the total volume of these heavy flower tiles. The ants will smartly divide their attention between the left tulip and the right tulip. Some ants will also travel straight up the middle to target the little feet. This multi directional flow is great because it clears blocking tiles from three different angles at once. Keep watching the board closely to ensure no tiles get trapped behind others during this feeding frenzy. The orange tiles melt away very quickly under this combined assault. This action successfully strips away the outer decorations and leaves only the hedgehog face and quills remaining in the center of the board.
Step 5: Use beige blocks to reveal the face and inner body details
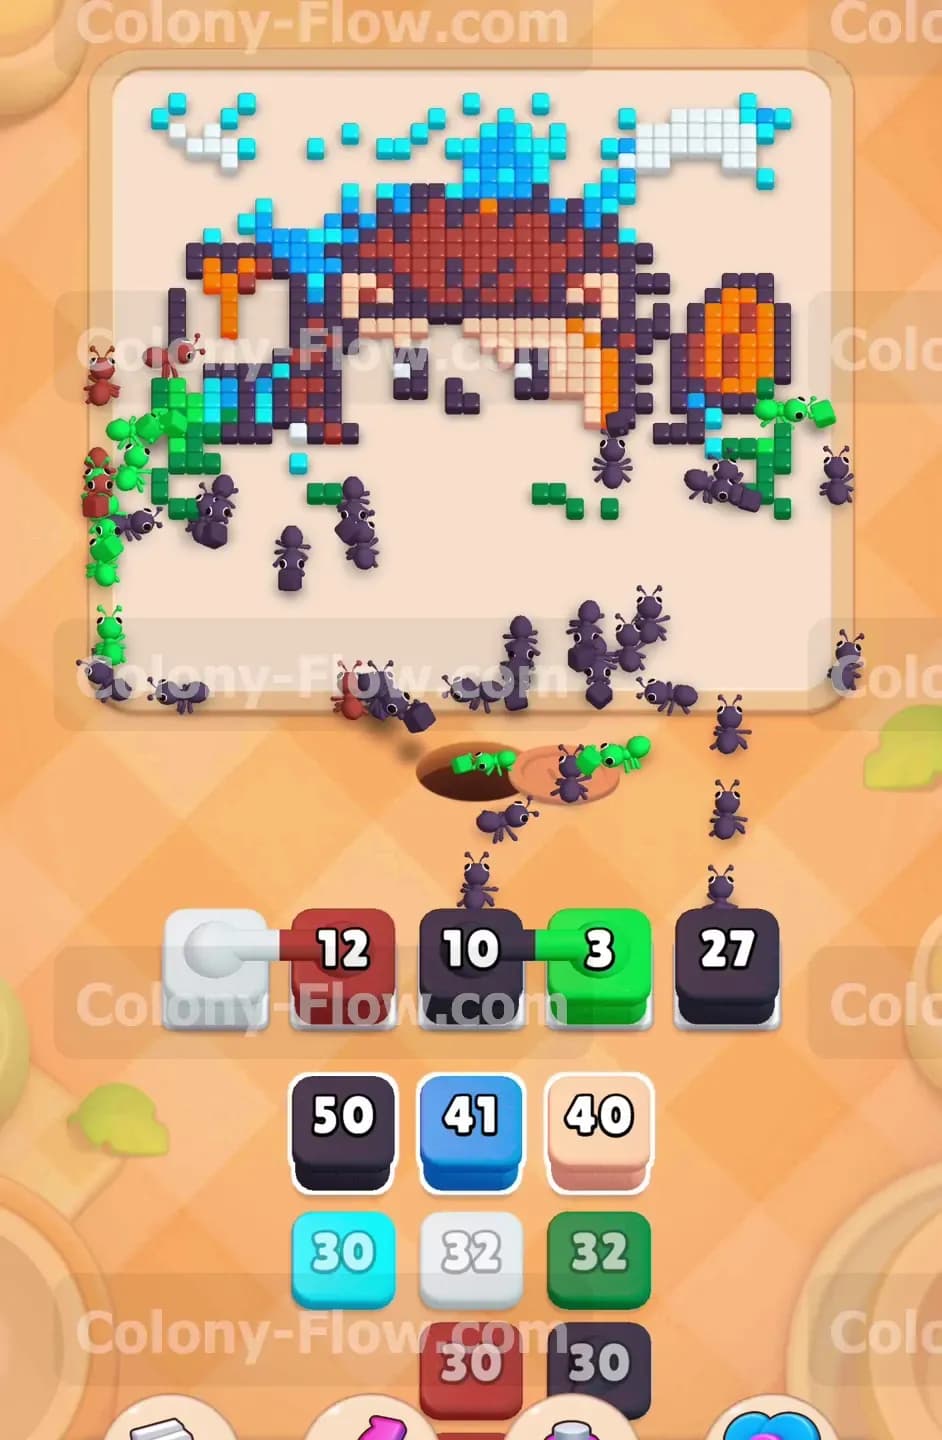
The hedgehog face uses a massive chunk of beige tiles. These tiles sit right in the very middle of the dark brown quills. Pull a heavy beige block up to start clearing the adorable face. You have a very wide open board now so the ants travel straight up the center to the target. The beige section is quite dense and packed tightly together. You will see the number on your active block drop by thirty or forty in just a few short seconds. This fast pace is exactly what you want to maintain your momentum. A fast clear means your waiting slots stay empty for longer periods. As the beige face finally disappears you will clearly see the black tiles for the eyes and nose. Pull a black block to grab those tiny structural details next. They only take a few ants to clear but you must absolutely get them out of the way to finish the internal face structure. Leaving them blocks the inner quills.
Step 6: Clear the connected green and blue blocks stuck in the middle
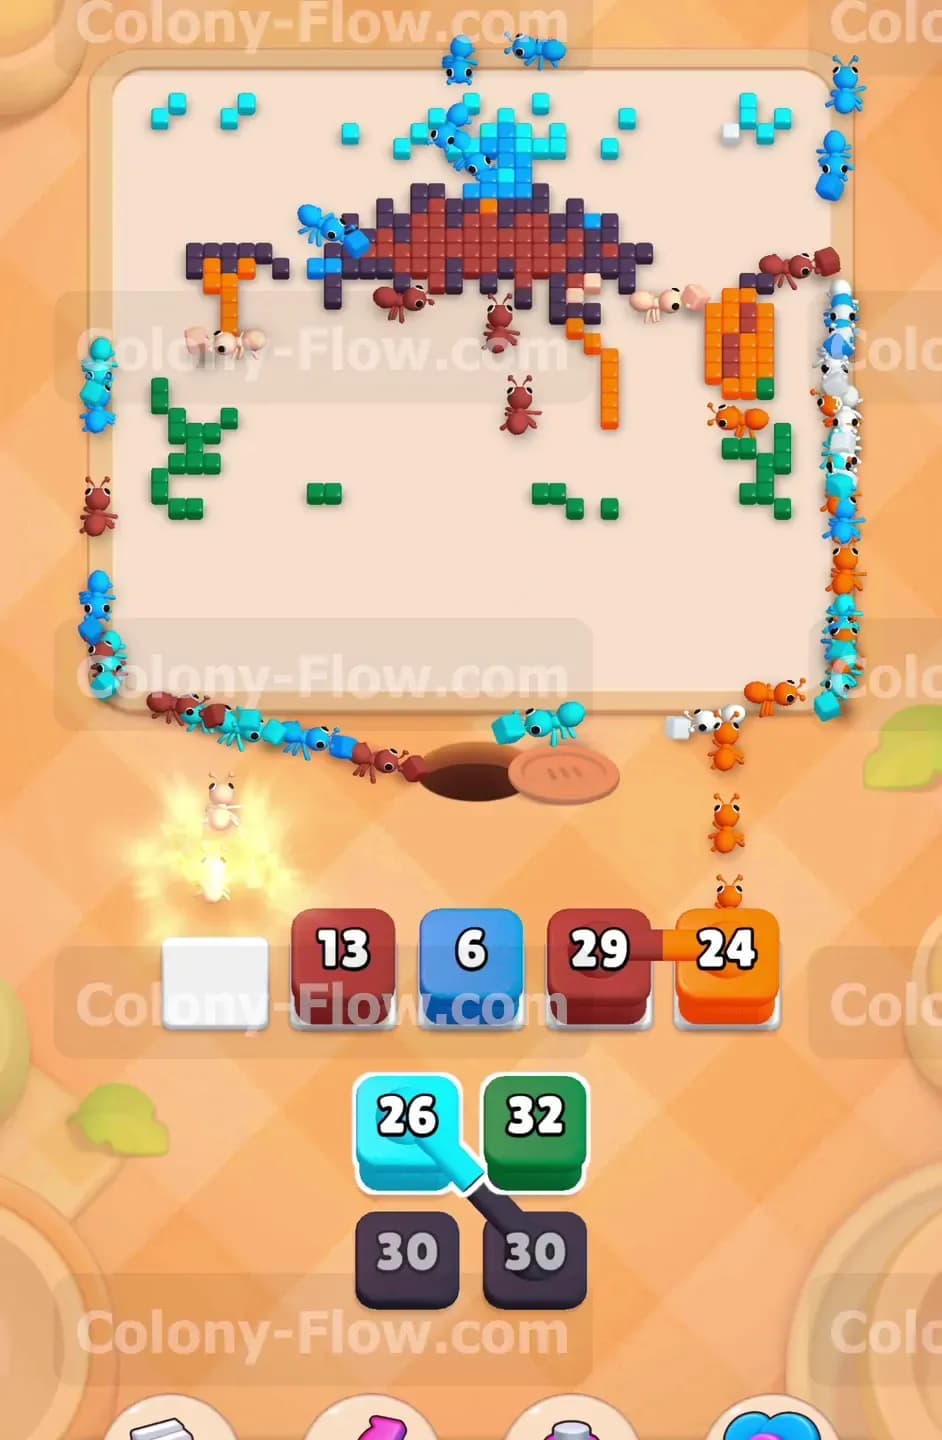
Sometimes the bottom tray gives you connected boxes that you simply cannot use right away. You will notice a dark green block linked to a light blue block buried deep in the tray. You need to pull these now to clear the remaining tiny sky and grass fragments tucked right up against the hedgehog body. Because you wisely saved this connected pair for later you have plenty of room in your waiting slots to handle them. The ants will eagerly clean up the stray blue tiles at the top edges and the remaining green tiles scattered at the sides. Handling these stubborn leftovers prevents them from becoming totally isolated. If you ignore small fragments they can block ant access to the final central tiles. Always sweep the board visually for stragglers before committing your very last heavy blocks to the slots. Clean edges make for a fast victory.
Step 7: Finish the dark brown quills to complete the entire picture
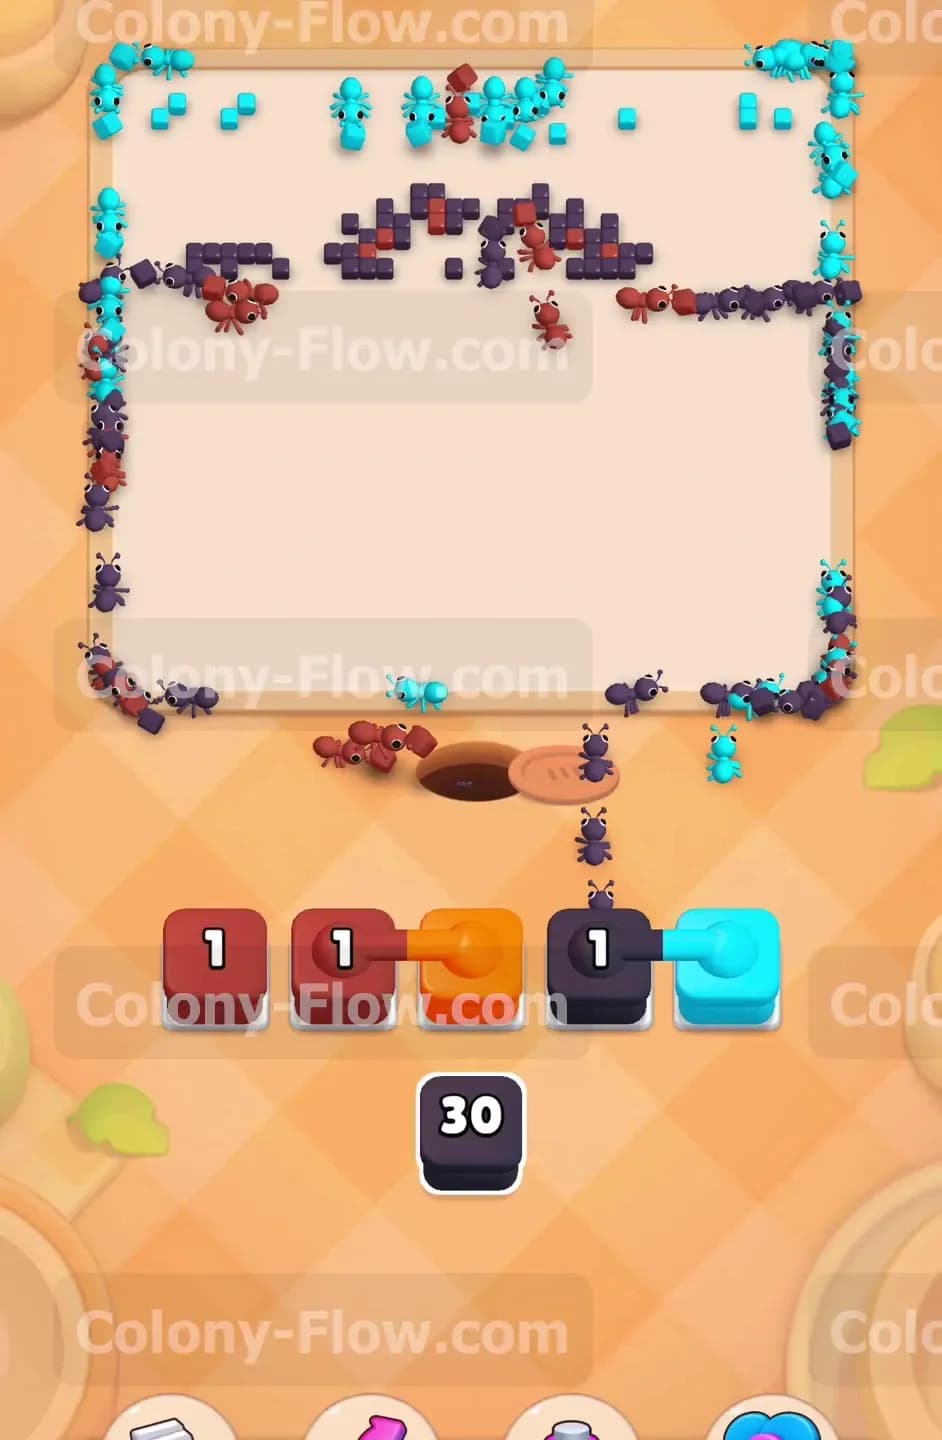
The final major obstacle is the large solid mass of dark brown quills. These tiles form a thick protective shell around the top and sides of the little hedgehog. You should have plenty of dark brown blocks ready in your tray for this exact moment. Pull them up one by one to keep the flow safe. Do not pull all of them at once or you risk a late stage failure. Bring just one up and let the ants eat a steady path into the thick quills. Once that block finishes and vanishes bring the exact next one up. This steady rhythmic pacing guarantees you will never jam your waiting slots at the very end of the level. The ants will march straight up the middle and dismantle the remaining quills piece by piece. When the final dark brown block hits zero the remaining tiles disappear from the screen. The ants will celebrate and return to the nest and you will officially beat the level.
Final Thought
Colony Flow Level 1083 tests your patience with connected boxes and massive tile counts. As long as you clear the sky and grass first you will always keep a valid path open for your ants. Take your time pulling blocks and watch the board state carefully. I encourage you to watch the video above this article if any step is hard to follow in text. Watching the real time ant movement makes the strategy perfectly clear.