Colony Flow Level 977 Walkthrough Solution & Guides | How to solve Colony Flow 977

Guide By Liam Stone
Updated on August 8, 2026
The Level 977 walkthrough plays out in full in the video above, so skip the article if that works better for you.
Video doesn't match your screen?
Game updates frequently scramble layouts! Try our AI Screenshot Solver first to find your exact board instantly, or report broken guides to our team.
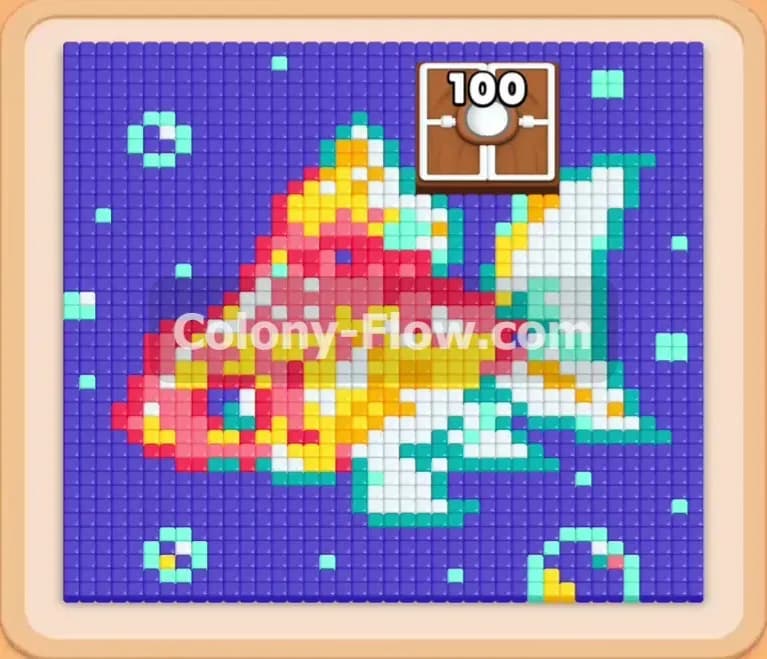
Welcome to Colony Flow Level 977. This puzzle presents a beautiful pixel art goldfish swimming in a vibrant ocean of bright purple water. You will face a demanding layout packed with connected blocks and a massive hungry door at the very top of the board. I play every level manually so I can show you the exact moves required to beat the board. Follow my strategy below and you will guide your ants to victory without clogging your waiting slots.
Colony Flow Level 977 Overview
What You Are Working With
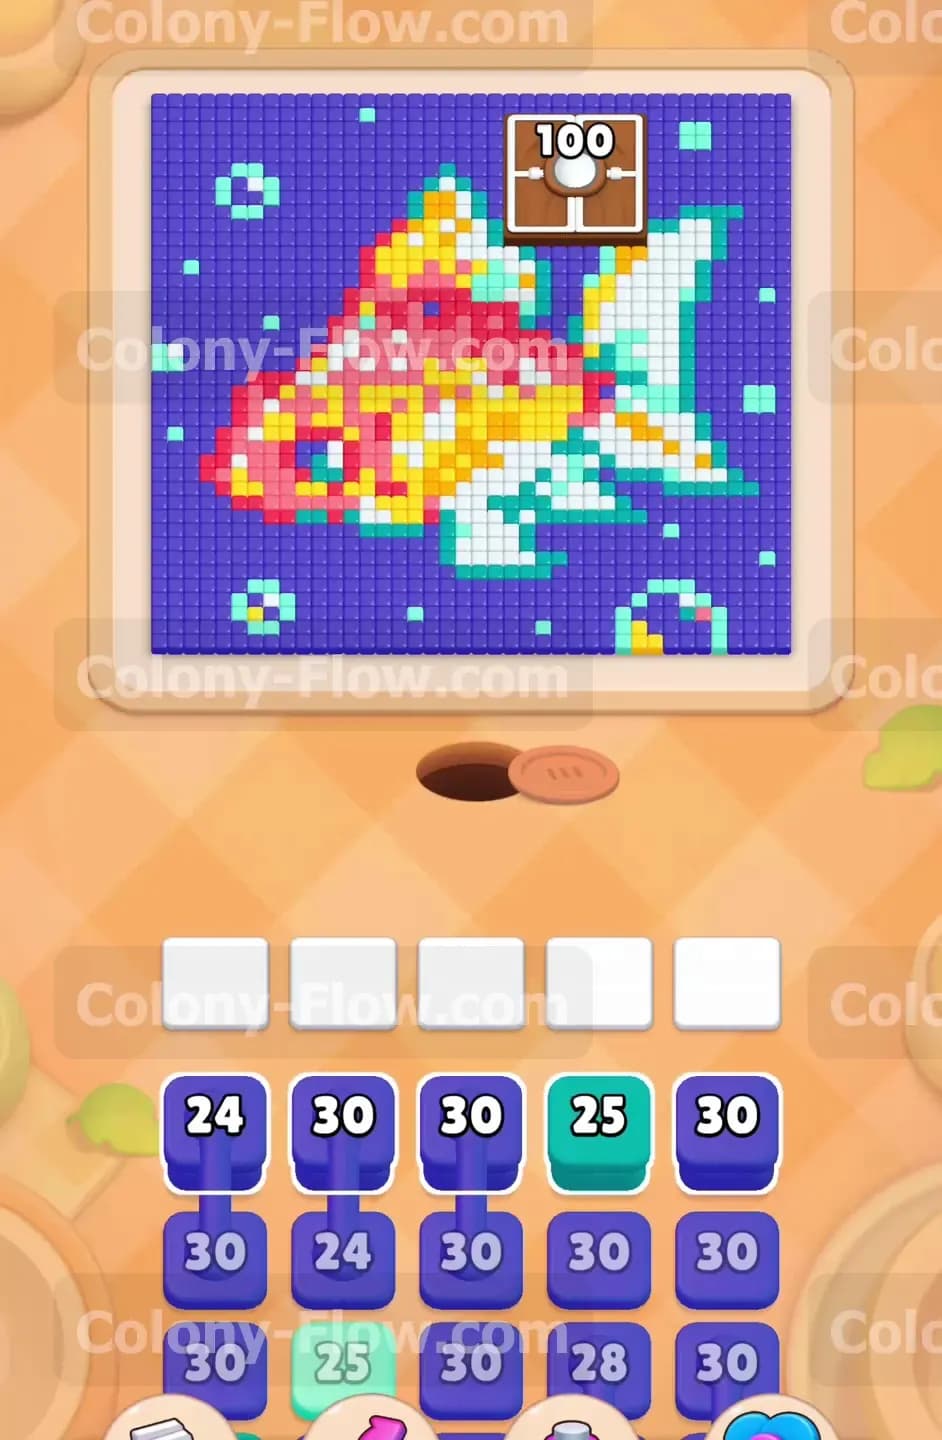
Your board features a large goldfish made of yellow, orange, red, pink, and white pixels. The fish is completely surrounded by a massive field of purple pixels and a few scattered teal bubbles. At the top edge of the board sits a brown hungry door marked with the number 100. This door requires your ants to clear one hundred tiles before it opens up the space behind it. Down in your tray you start with a solid wall of dark blue blocks. Deeper in the tray you will find white, teal, yellow, red, and pink blocks. Many of these later blocks are connected boxes. These connected boxes are tied together by a thick white pipe and must be pulled into your waiting slots as a single group.
What It Takes to Clear Level 977 Board
Winning this level requires you to clear every single pixel from the board so the ants can finish their meal. Your primary obstacle is the five slot waiting area at the bottom of the screen. You lose the game if you fill all five slots with blocks that the ants cannot use. You must always maintain an open path from the nest hole to the correct colored pixels. Since the purple water blocks access to the fish you have to clear the water first. You also need to manage your tray space perfectly when pulling the connected boxes. If you pull a three part connected chain before its colors are exposed on the board you will instantly jam three of your five slots and ruin your run.
Colony Flow Level 977 Step by Step Solution
Step 1: Feed the initial dark blue blocks to the purple water.
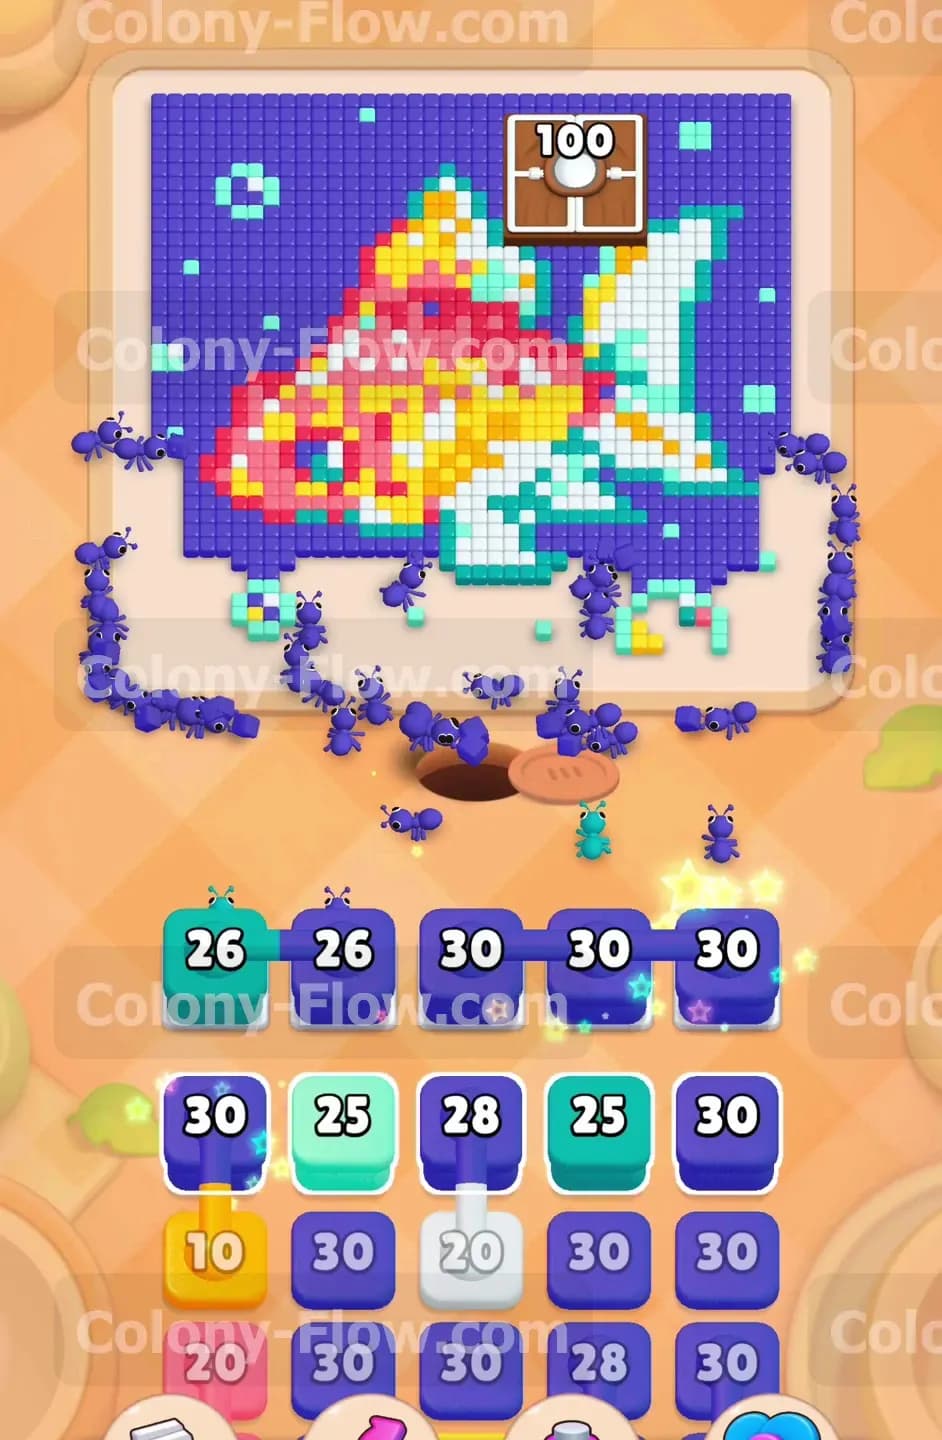
When you begin the level your ants only have access to the purple water pixels. Look at your starting tray and you will see multiple dark blue blocks holding values of 24 and 30. Tap the first few dark blue blocks to move them into your waiting slots. The ants will immediately stream out of the nest and start carrying the dark blue color to the purple water. The water covers the entire outer edge of the board so your ants have plenty of open paths to work with. Keep pulling dark blue blocks as the numbers drain down. You want to clear as much of the perimeter as possible before you even look at the other colors in the tray.
Step 2: Monitor the hungry door as it counts down to zero.
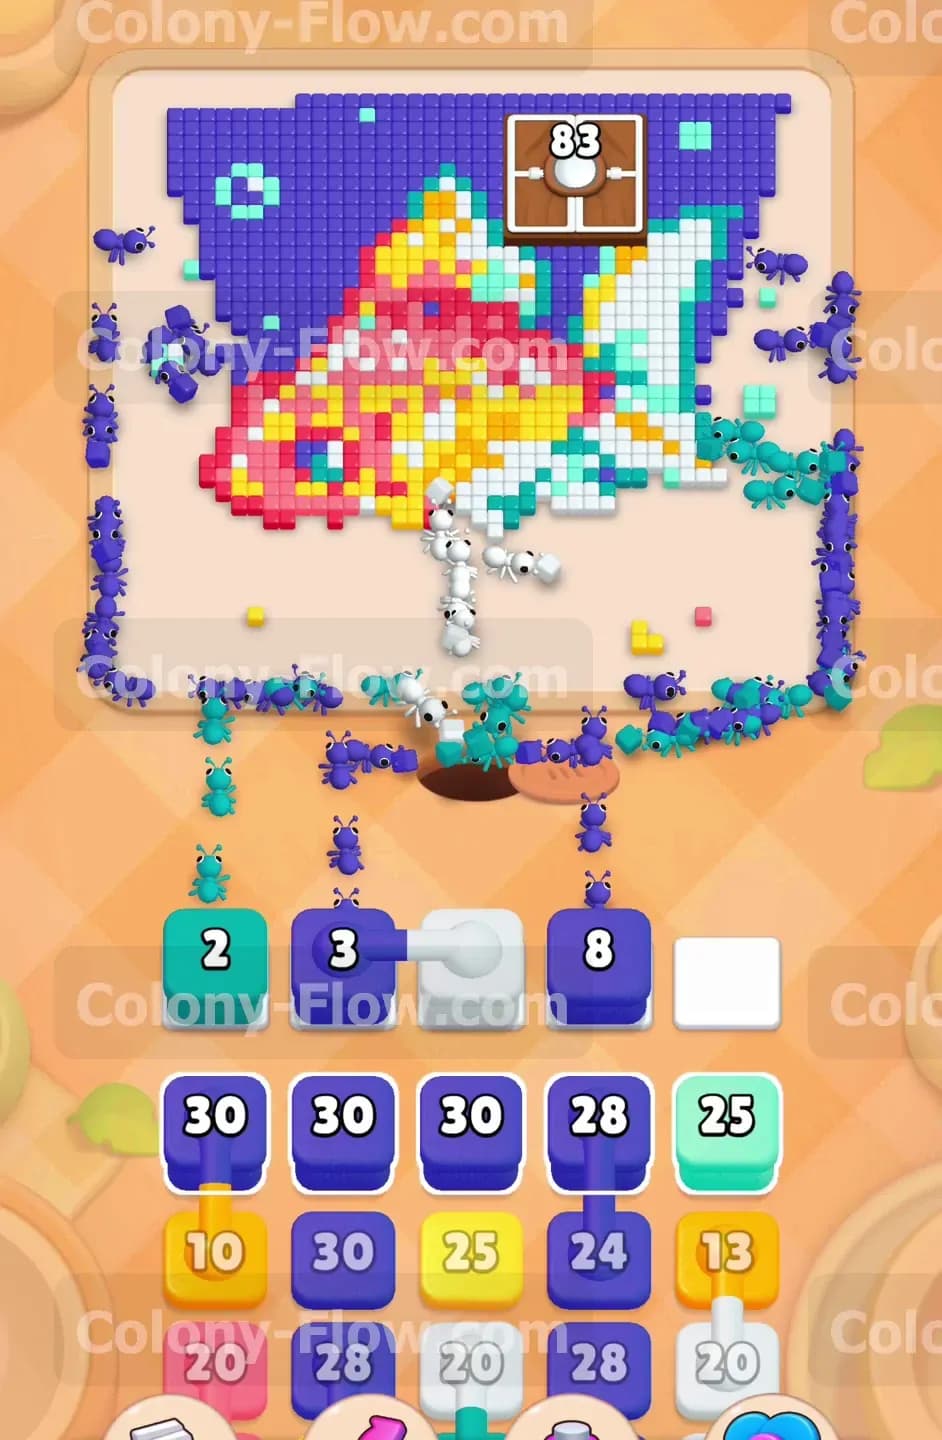
The brown hungry door at the top of the board acts as a strict gatekeeper. It starts at a required count of 100 tiles. Every time an ant clears a purple pixel the number drops. You will see the counter fall to 83 and then 41 as your dark blue blocks do their job. Keep feeding dark blue blocks into the waiting slots to sustain the swarm. Do not pull any other colors yet. You must force the hungry door to open before you move on to the inner sections of the fish. If you pull a teal block right now it will sit in your waiting area and take up valuable space because the teal bubbles are still entirely surrounded by water.
Step 3: Deploy your first teal blocks to clear the outer bubbles.
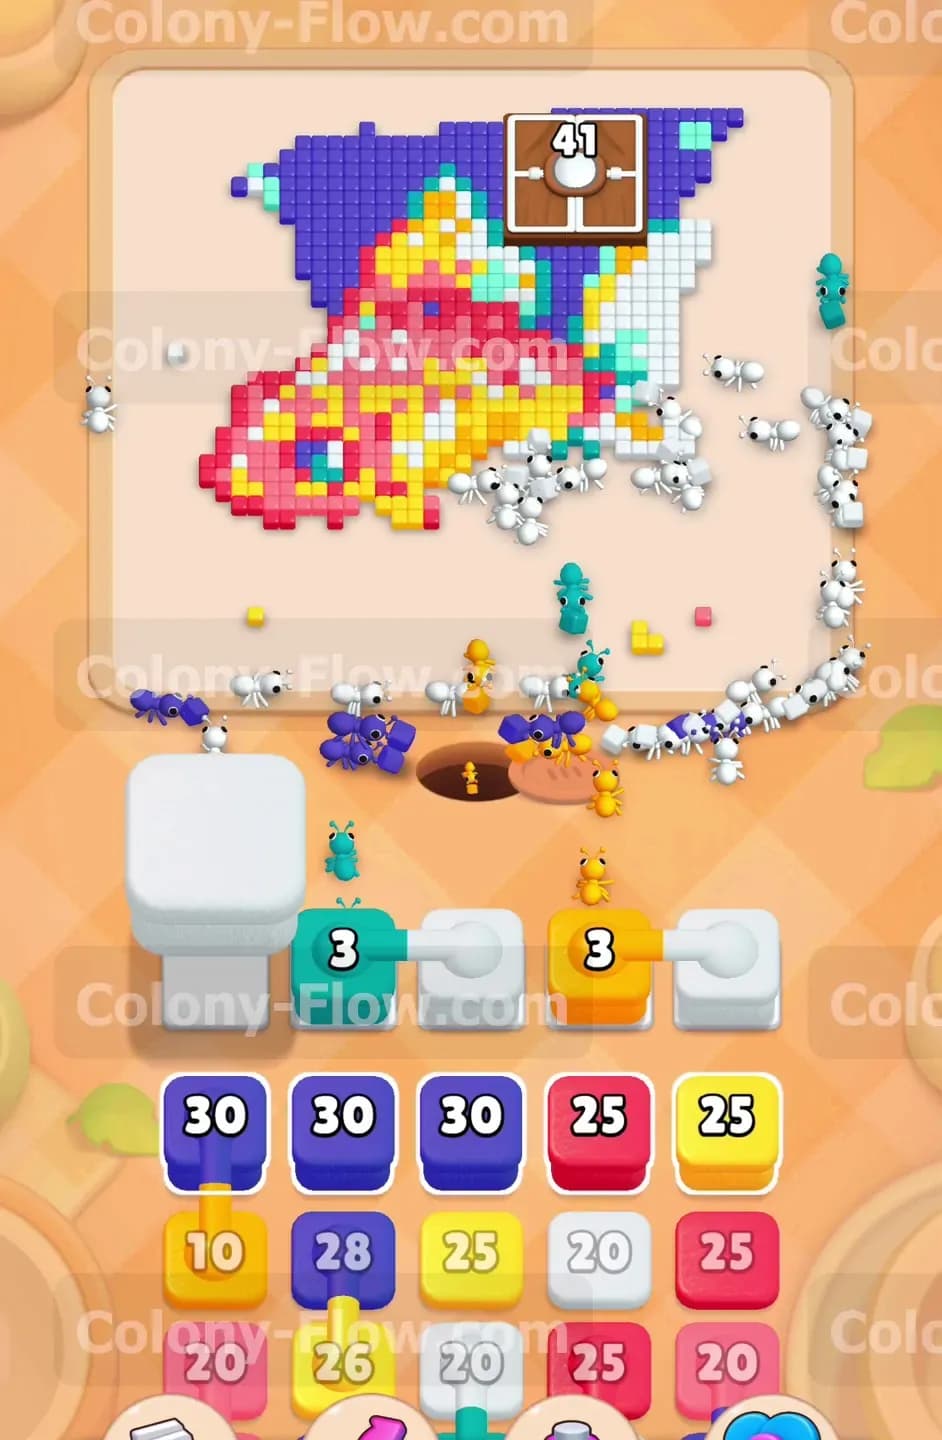
Once the hungry door disappears and the top section opens up you will have clear paths to the teal bubbles. Now you can safely pull the teal blocks into your waiting area. You will find teal blocks valued at 25 in the upper rows of your tray. Tap one and watch the ants branch off to eat the teal pixels scattered around the fish. This action uncovers more of the fish fins and creates new pathways for your colony. Always leave at least one or two waiting slots empty during this phase so you have room to react if a block drains slower than expected.
Step 4: Pull the first set of connected boxes to reveal the fins.
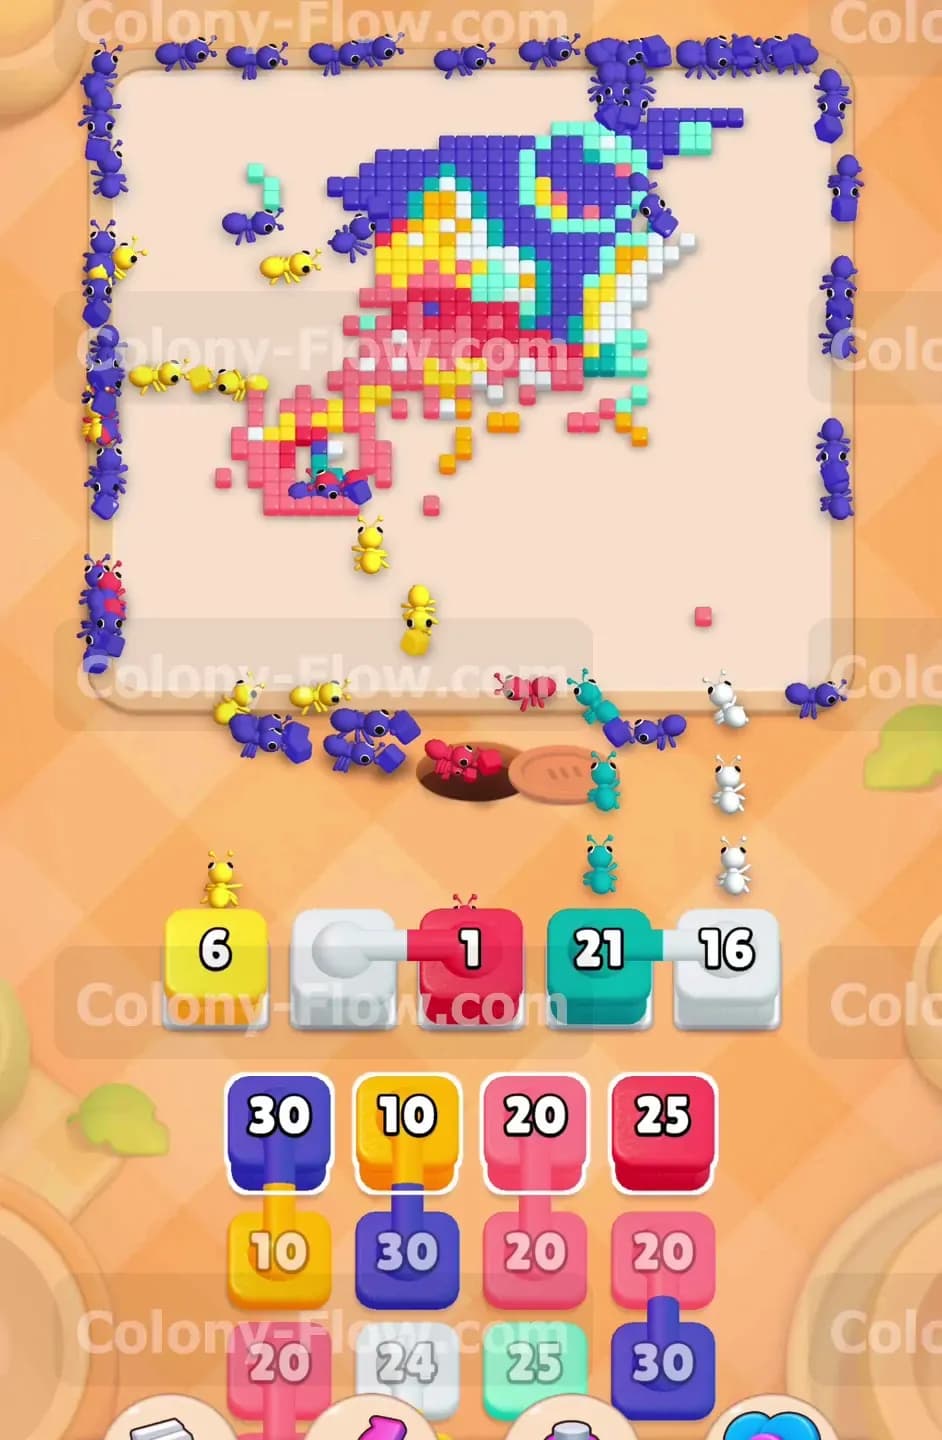
As you dig deeper into the tray you will encounter your first connected boxes. You will see a dark blue block linked directly to a white block. You need two empty waiting slots to pull this pair. Ensure the white fins on the goldfish are fully exposed before you tap this chain. When you pull it the dark blue block will send ants to finish off the last few patches of purple water. At the exact same time the white block will direct ants to the outer edges of the fish fins. This dual action is incredibly satisfying and completely safe as long as both colors have open paths.
Step 5: Attack the yellow and orange scales on the upper body.
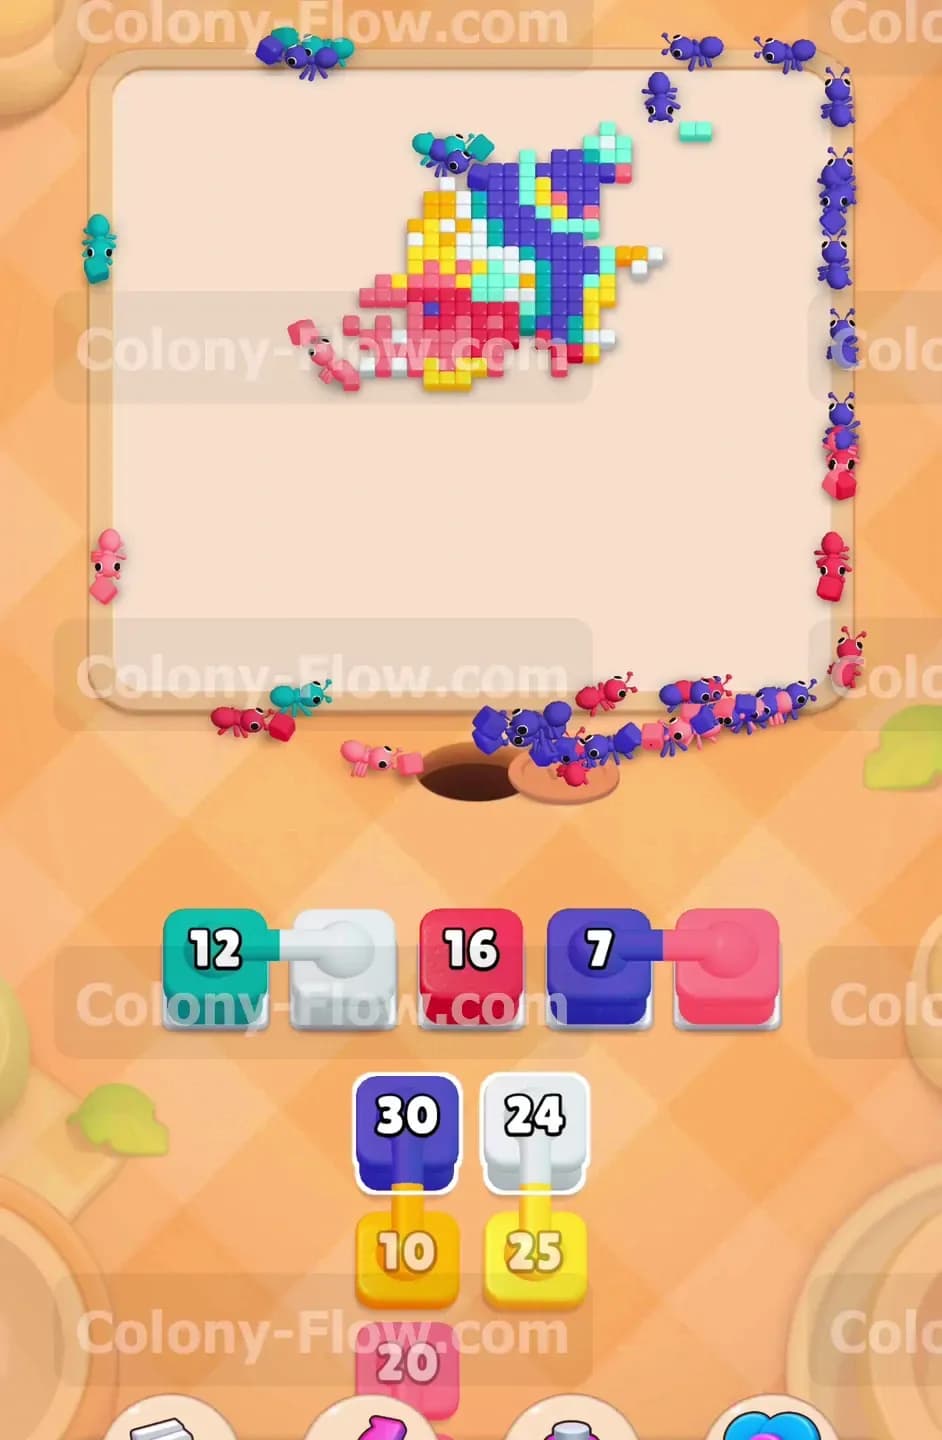
With the water mostly gone your ants can finally focus on the main body of the goldfish. The top half of the fish is made of bright yellow and orange pixels. Locate the yellow blocks in your tray holding values of 10 and 25. Pull a yellow block into your waiting slots and let the ants swarm the top of the fish. The yellow pixels will vanish and expose the orange pixels right below them. Keep a close eye on your tray to spot the next correct move. You will find an orange block ready to go. Tap the orange block next so the ants can continue eating their way down the side of the fish.
Step 6: Manage the massive three part connected chain.
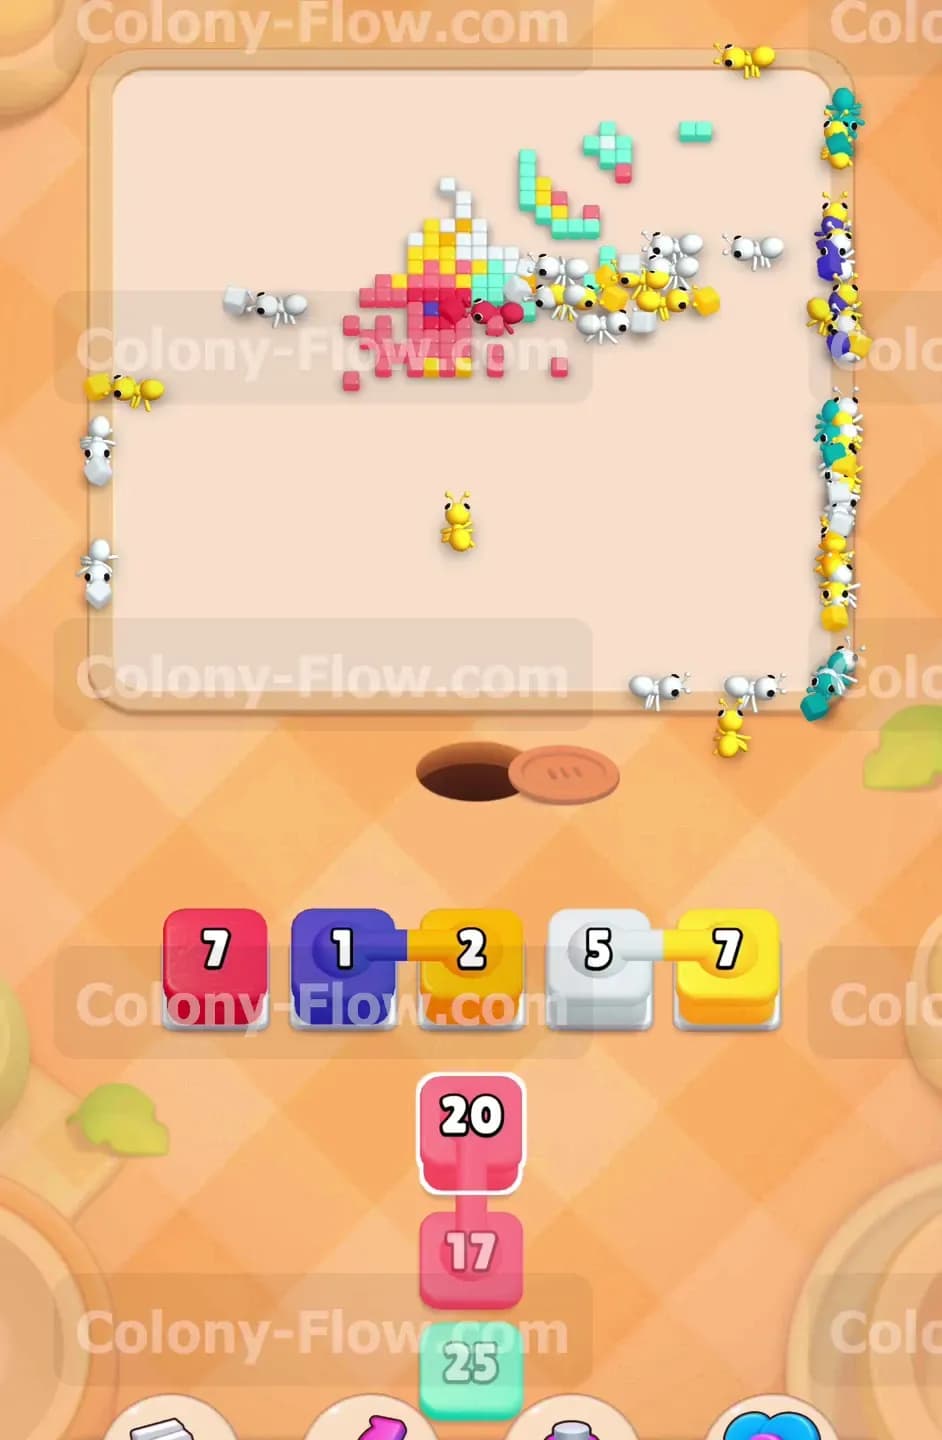
This step requires absolute precision to avoid an instant game over. Deep in the tray you will find a massive connected chain consisting of a white block linked to a red block and a teal block. Pulling this chain will consume three of your five waiting slots instantly. Before you touch it you must verify that the white fins, the red lower body, and the final teal bubbles are all reachable by the ants. Once you confirm all three paths are completely clear you can tap the chain. Your ants will split into three separate streams and devour huge chunks of the remaining picture.
Step 7: Clear the pink and red sections of the lower belly.
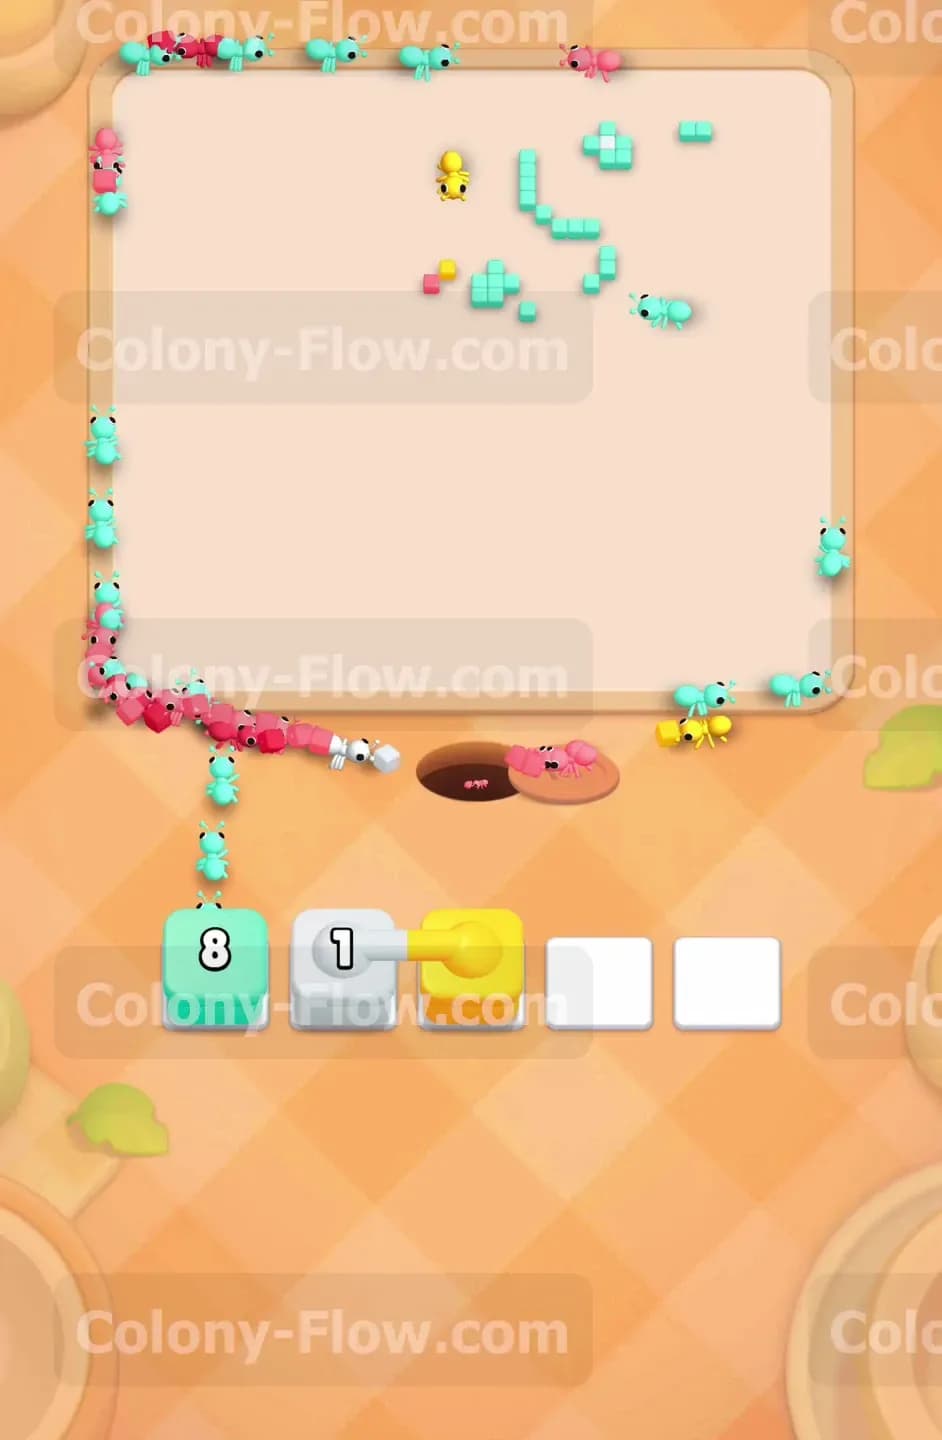
The bottom section of the goldfish features a large cluster of pink and red pixels. Your tray will reveal a pink block valued at 20 and another valued at 17. Pull the remaining red blocks first to clear the outer layer of the belly. Once the red pixels are gone the pink pixels will be completely exposed. Pull the pink blocks into your waiting slots. The ants will rush the bottom of the board and eat away the final large solid color block on the fish. You are now very close to finishing the level and just need to handle the remaining scraps.
Step 8: Clean up the final isolated pixels to complete the board.
The board now only has a handful of scattered pixels left. Your tray contains small blocks holding single digit values. You will see a dark blue block holding a 1 and an orange block holding a 2. There is also a final connected pair featuring a white block linked to a yellow block. Take your time here. Look at the remaining colors on the board and match them exactly to the small blocks in your tray. Pull the final teal block to grab the last bubble. Pull the white and yellow pair to finish the tail. When the last pixel disappears the ants will return to the nest and you will win the level.
Final Thought
Colony Flow Level 977 tests your patience with connected boxes and a demanding hungry door. Managing your five waiting slots is the entire secret to winning this puzzle. If you take your time and only pull blocks when their matching pixels are completely exposed you will succeed. Please watch the video above this article if any step is hard to follow in text. The visual guide will show you exactly how to time your connected box pulls so you never run out of room in your tray.