Colony Flow Level 1140 Walkthrough Solution & Guides | How to solve Colony Flow 1140

Guide By Liam Stone
Updated on August 12, 2026
You don't have to read the whole guide. The video above shows you exactly how to clear Level 1140.
Video doesn't match your screen?
Game updates frequently scramble layouts! Try our AI Screenshot Solver first to find your exact board instantly, or report broken guides to our team.
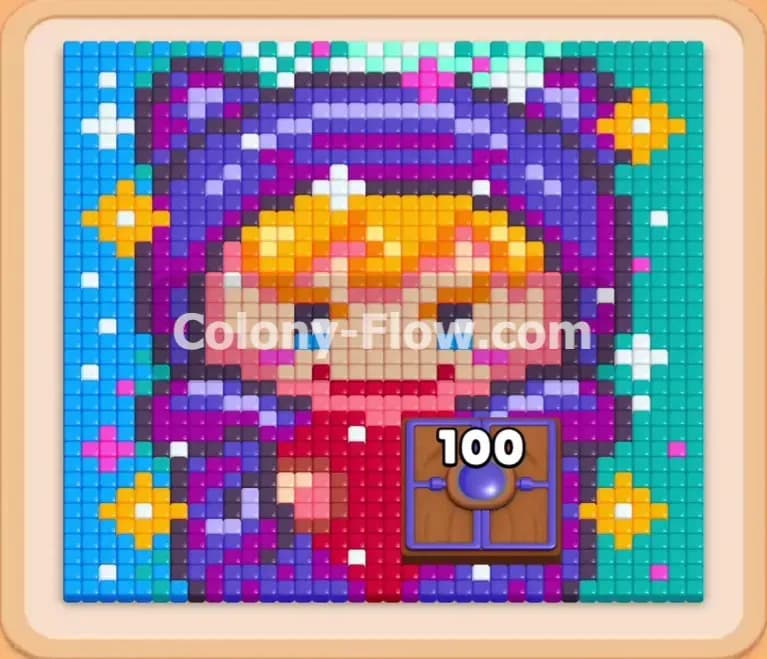
Welcome to Colony Flow Level 1140. This puzzle features a colorful pixel art character wrapped in a purple hood and surrounded by bright stars. You have to manage your tray space carefully because the board includes a massive Hungry Door blocking the bottom section. I will walk you through my exact strategy to feed the colony and clear every single tile without jamming the waiting slots.
Colony Flow Level 1140 Overview
What You Are Working With
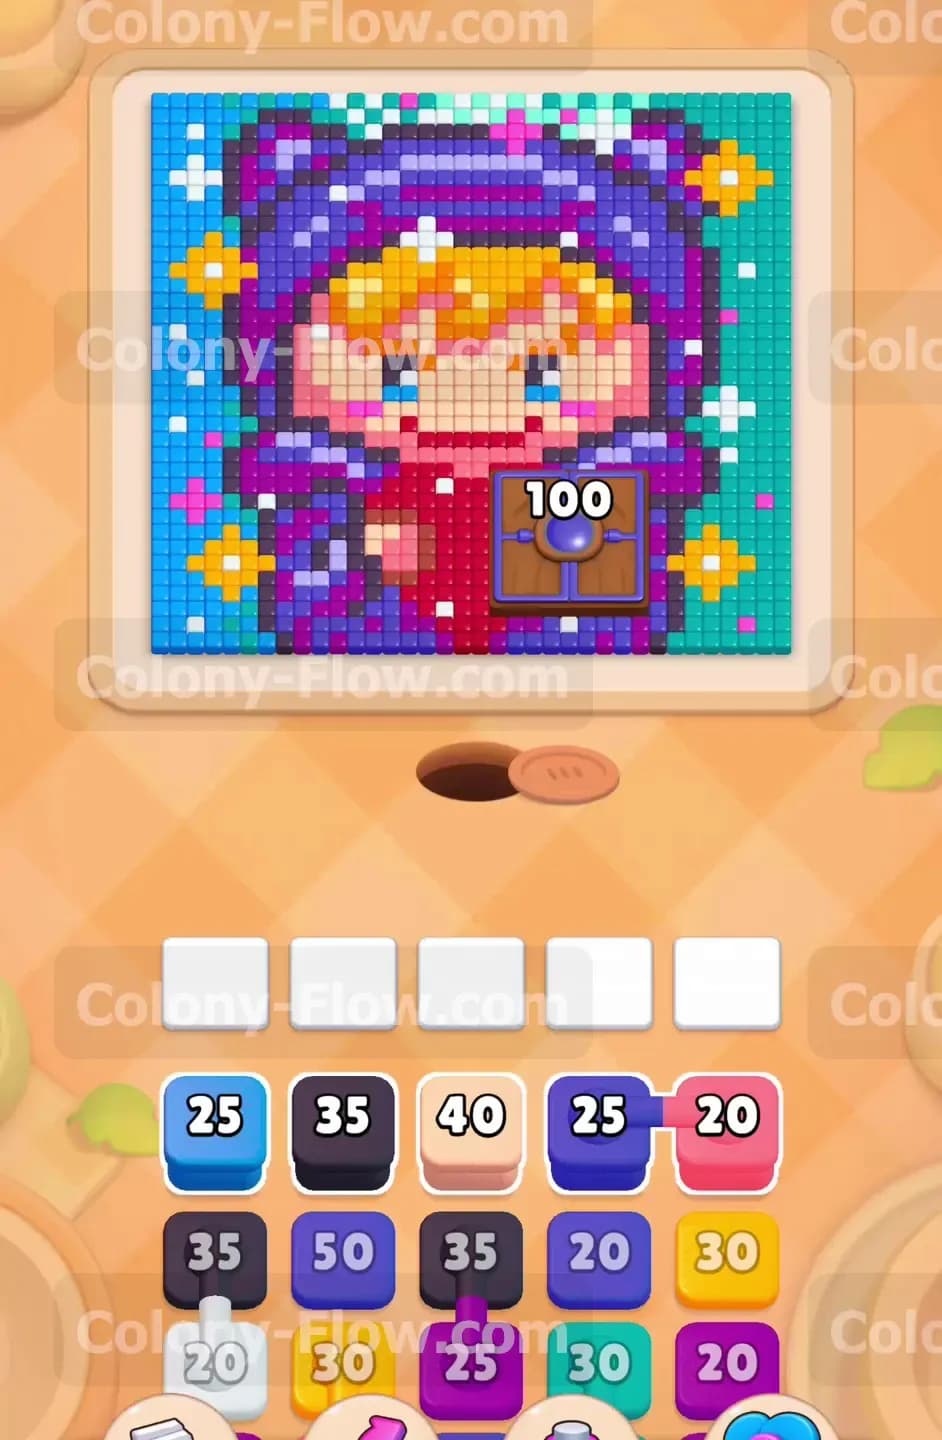
The board presents a pixel art image of a hooded figure set against a light blue background. The character has a pale face with yellow hair and a large purple hood. Bright yellow and orange stars decorate the space around the figure. Right at the bottom center of the character sits a large wooden Hungry Door with the number 100 clearly printed on it. This door covers the entire lower torso and cloak area of the character. You cannot access the tiles underneath until you satisfy the Hungry Door.
Down in your tray you will see a mix of solid colors to match the board. The starting rows give you blue, black, beige, pink, and purple blocks. As you dig deeper into the tray you will encounter Connected Boxes. These are two or more blocks linked together by thick lines. When you pull one part of a connected group the whole chain comes up into your waiting slots. This makes tray management extremely tricky.
What It Takes to Clear Level 1140 Board
Winning this level requires you to completely clear all the colored tiles from the board and allow your ants to return home. The central challenge revolves around the five waiting slots located just above your block tray. Every time you tap a block it moves into one of these slots. The ants then stream out of the nest hole to consume matching tiles on the board.
You lose the game if you fill all five waiting slots and none of those colors have an open path to the board. The ants will stop moving and the level ends in failure. You must constantly monitor the board to ensure at least one active block can reach its target. Getting past the Hungry Door is your main priority because it opens up the bottom half of the board and prevents a massive traffic jam in your waiting slots.
Colony Flow Level 1140 Step by Step Solution
Step 1: Open the outer blue background and black outlines
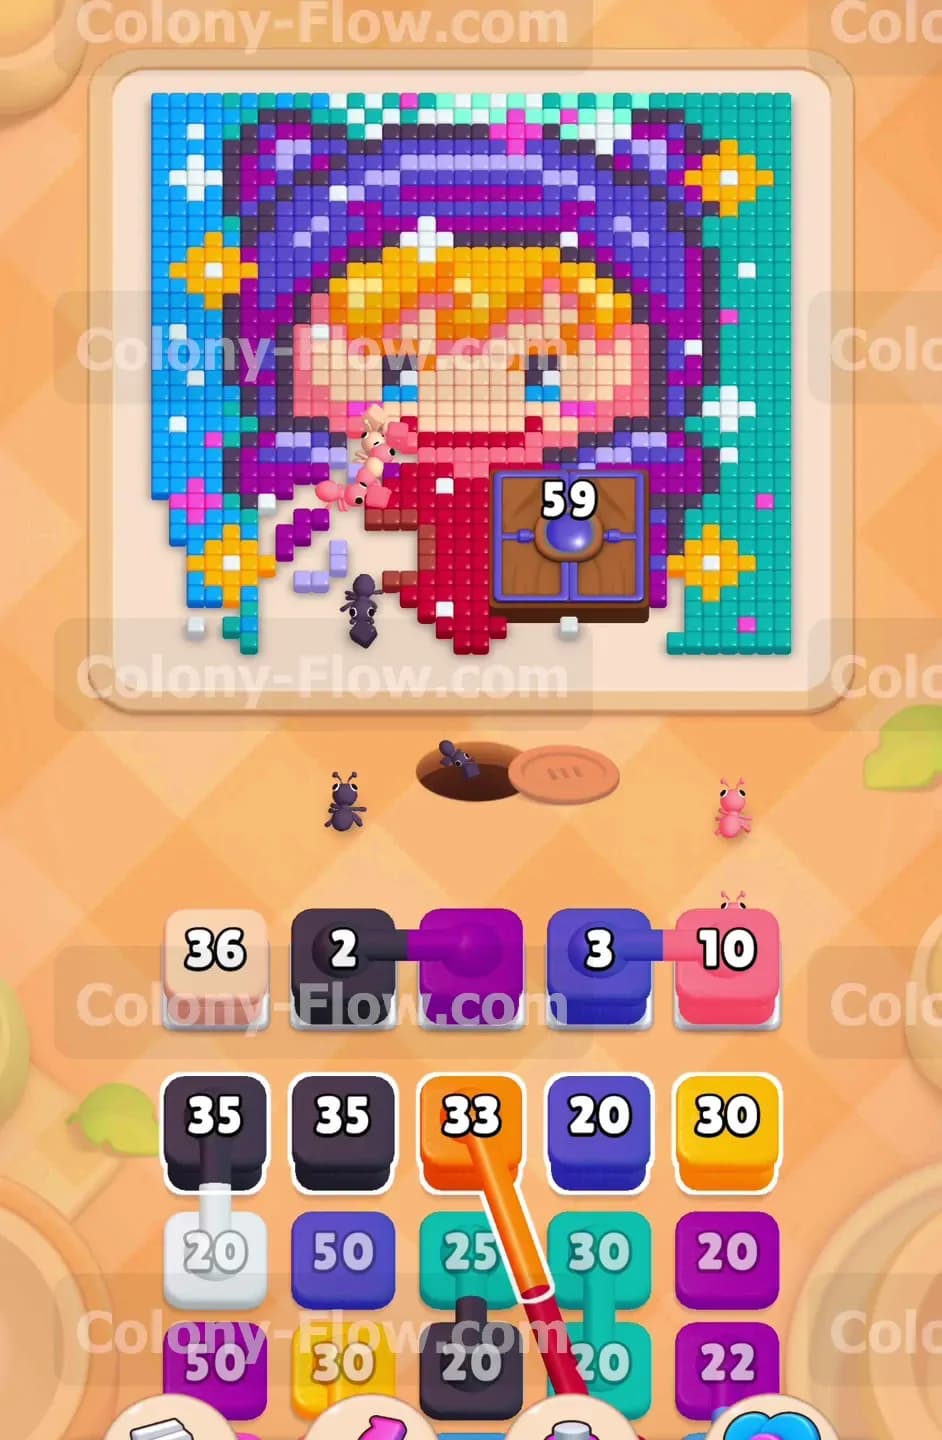
You need to establish clear walking paths for your ants right from the start. Look at the top row of your tray and select the blue 25 block and the black 35 block. The blue tiles sit on the very outer edges of the pixel art. The black tiles form the dark outline of the character hood. Pulling these two blocks sends a massive wave of ants up the left and right sides of the board. Watch them chew away the outer boundary. Do not touch any other blocks yet. You want to leave three empty slots in your waiting area so you have room to maneuver if the board gets tight. This early patience sets up a smooth flow for the rest of the puzzle. Managing your initial tray pulls prevents an immediate loss.
Step 2: Feed the Hungry Door to reduce the initial count
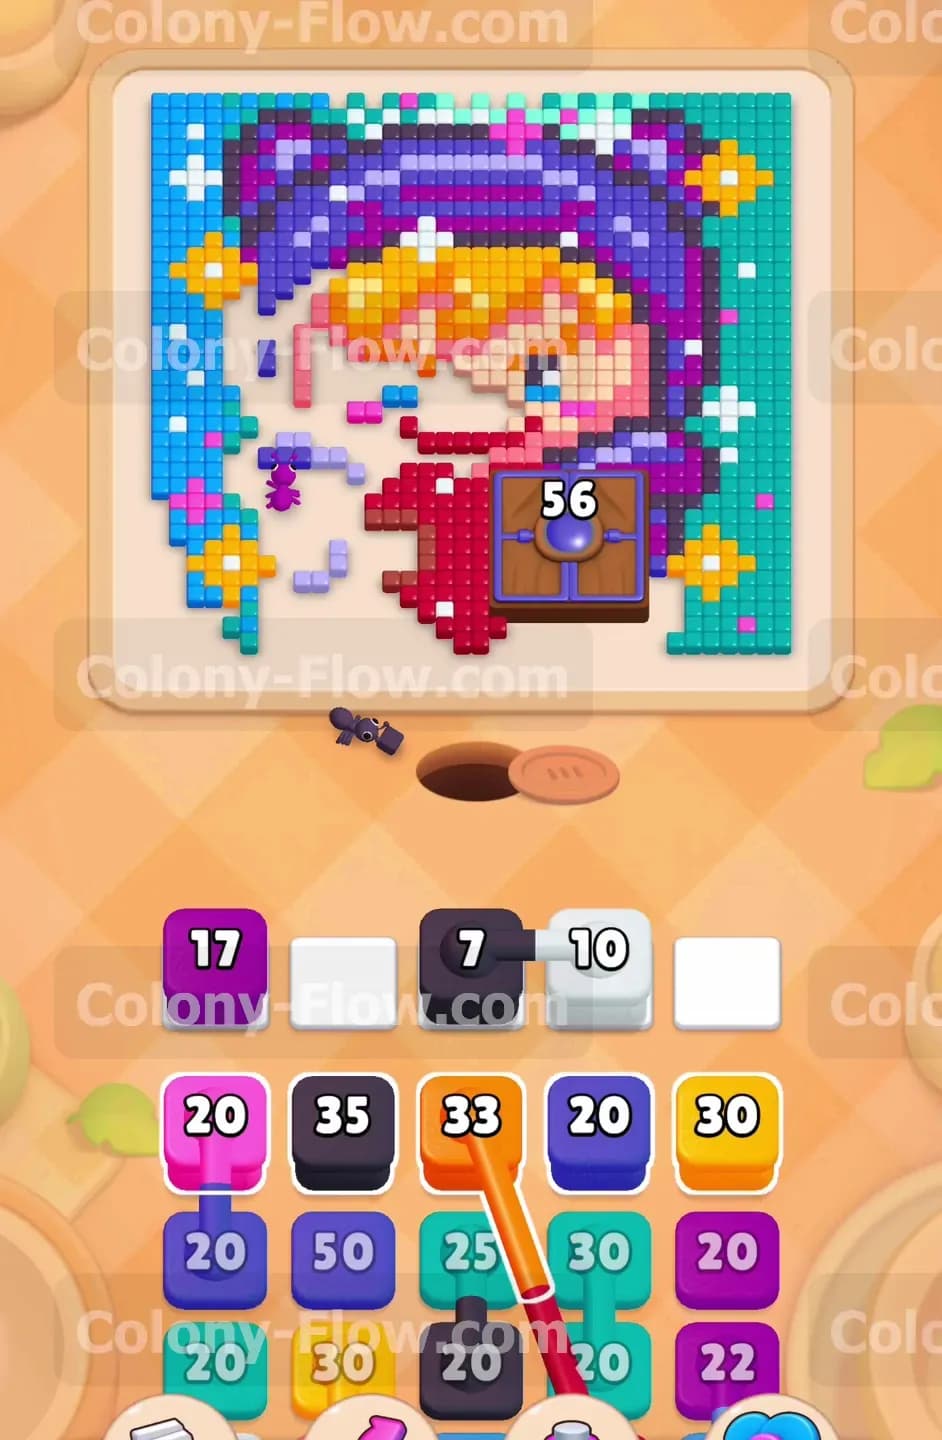
The large wooden Hungry Door blocks your progress to the red cloak underneath. You need to start feeding ants into it to lower that massive starting number of 100. Pull the beige 40 block and the pink 20 block into your waiting slots. The ants will use the paths you just opened to reach the lower edges of the character face and the pink accents on the hood. Some of these ants will interact with the Hungry Door and begin chipping away at its requirement. You will see the number drop down into the fifties as the ants do their work. Always verify that your current ants finish their numbers before you pull new colors. Rushing this step will fill your tray with numbers that cannot reach their targets.
Step 3: Clear the purple hood to create massive open space
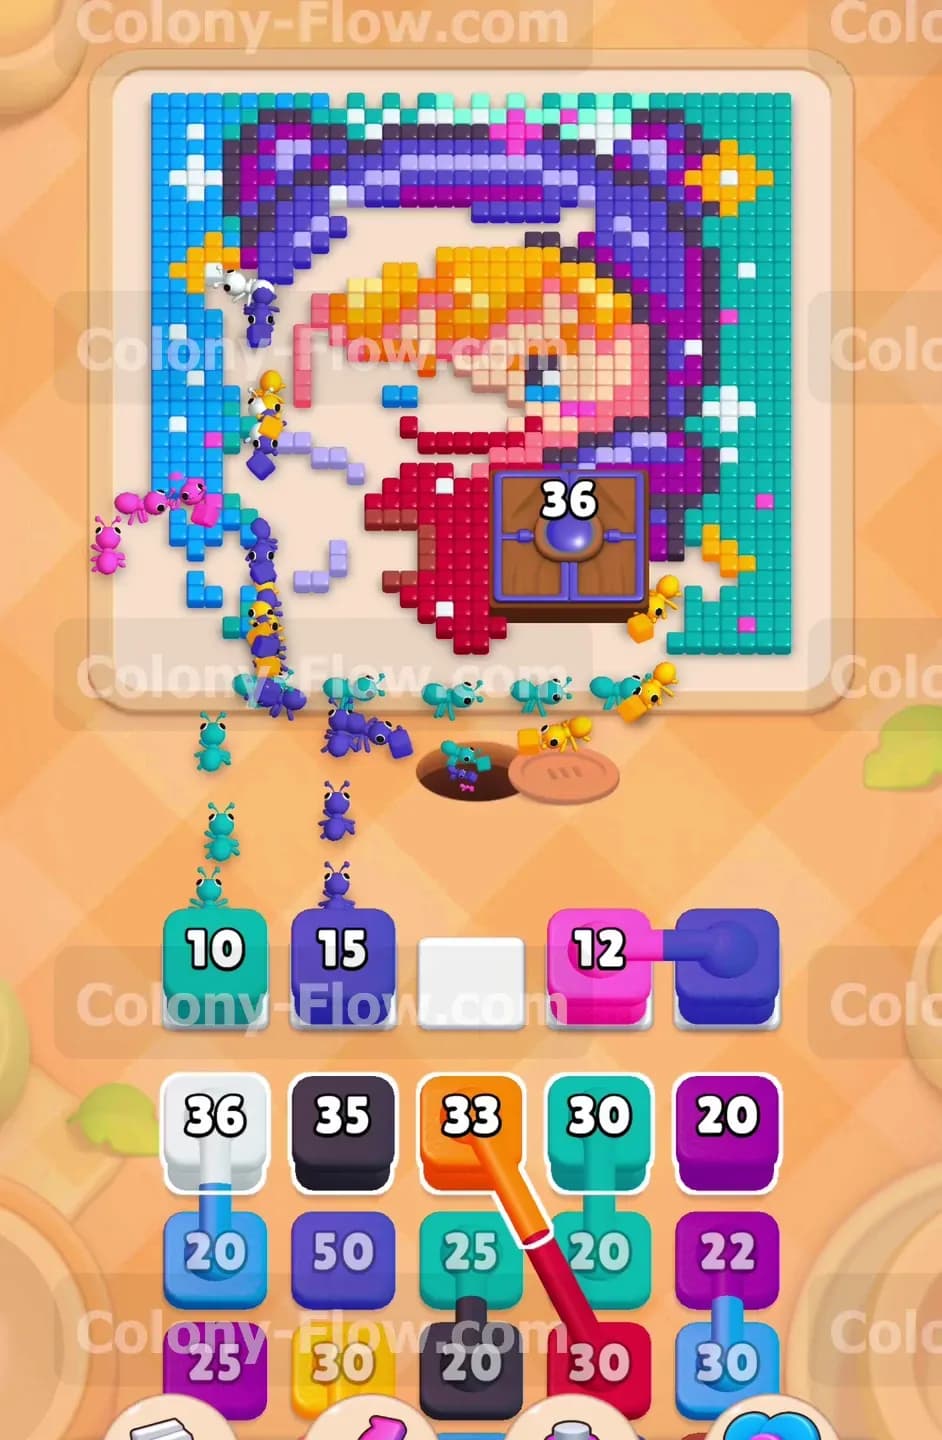
With the outer edges stripped away you can finally attack the main bulk of the image. The purple hood takes up a huge portion of the top and sides. Select the purple 50 block and the black 35 block from the next row in your tray. Your ants will surge upward and flood the purple sections. This move drastically shrinks the pixel art and gives your ants much shorter travel times to reach the remaining central tiles. Keep an eye on the waiting slots. If the purple block counts down slowly just wait patiently. Never crowd the tray when a large block is actively clearing. Doing so risks a fatal block lock that will ruin your entire run.
Step 4: Manage your first set of Connected Boxes
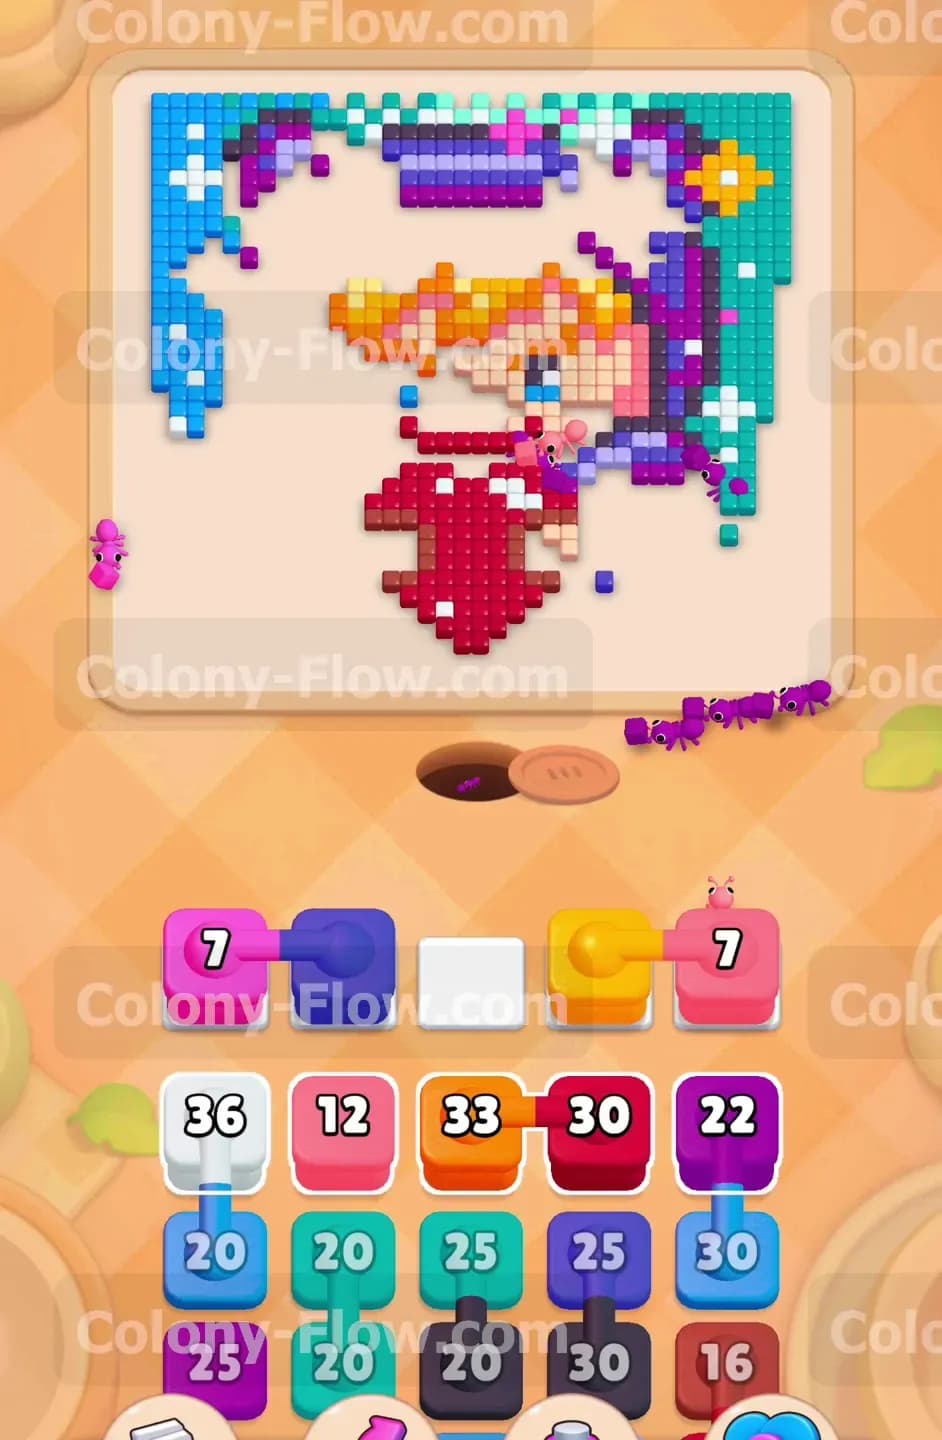
As you expose deeper rows in the tray you will spot your first set of Connected Boxes. These blocks have visible lines tying them together. Tapping any single block in this chain pulls the entire group into your waiting slots all at once. You must check the board to guarantee that at least one of these linked colors has an immediate open path. Wait until your current waiting slots are completely empty. Once the area is clear you can pull the connected group containing the orange 33 block and the pink 10 block. The ants will rush out to eat the orange stars and pink hood details. Because you waited for a clear tray the connected group easily fits into your slots without causing a fatal jam. Understanding this mechanic is the only way to survive the mid game.
Step 5: Break the Hungry Door completely
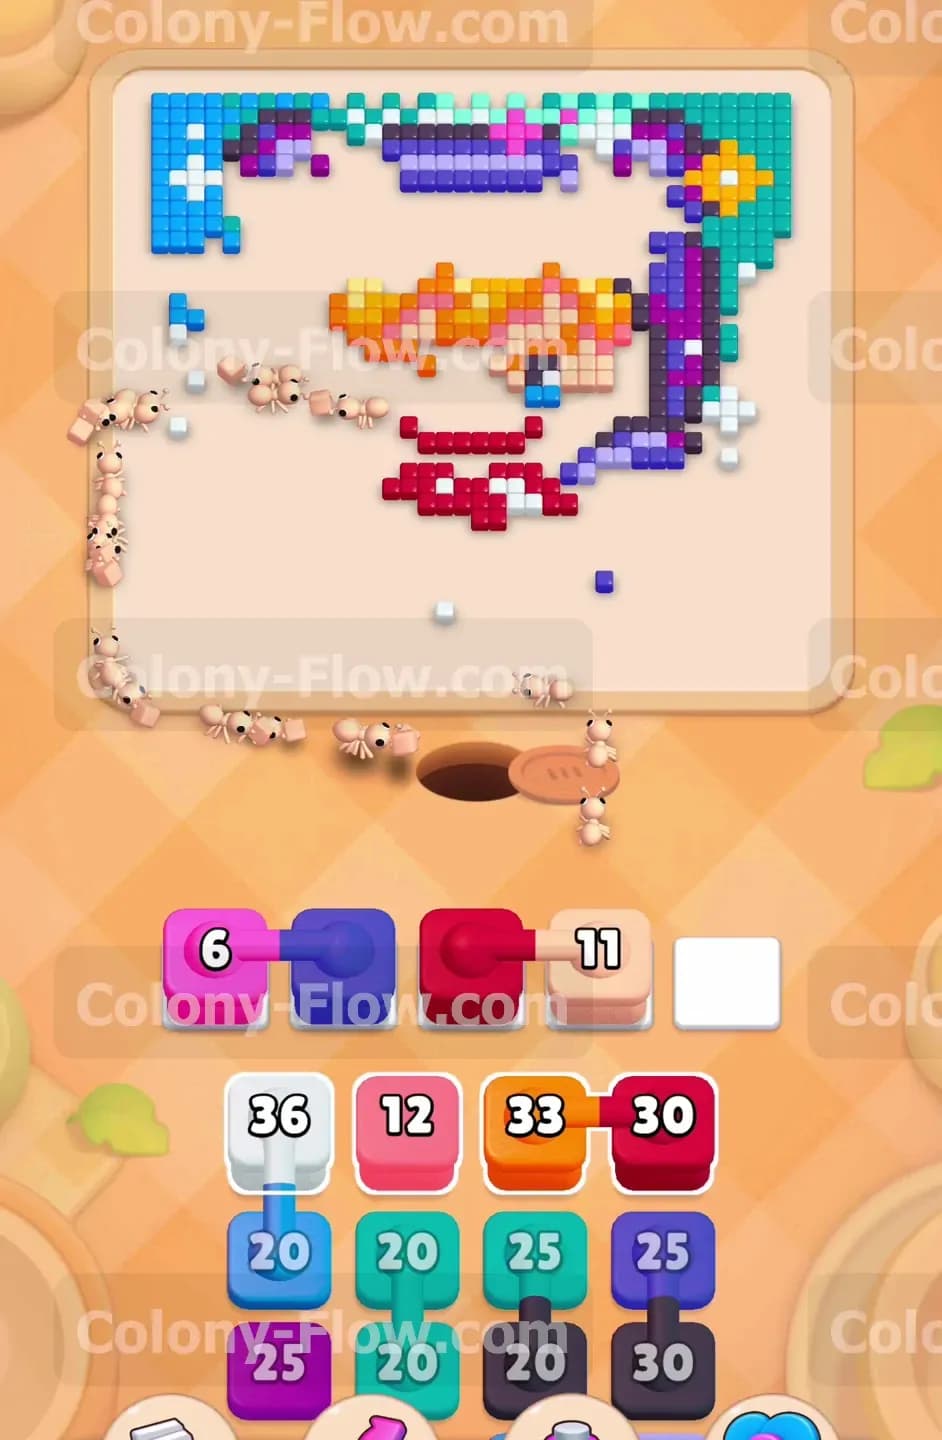
The Hungry Door still sits on the board with a count in the thirties. It is time to finish it off and reveal the hidden tiles. Pull the beige 36 block and the purple 20 block. The ants will swarm the face and the remaining hood sections right next to the door. This final push satisfies the Hungry Door requirement. The wooden structure will vanish from the board completely. This reveals a bright red cloak underneath. Breaking this door is a major step in the level because it prevents you from dead ending your matching colors later on. You now have full access to the bottom section of the character. You will notice the board feels much more open and manageable.
Step 6: Clear the red cloak and character face
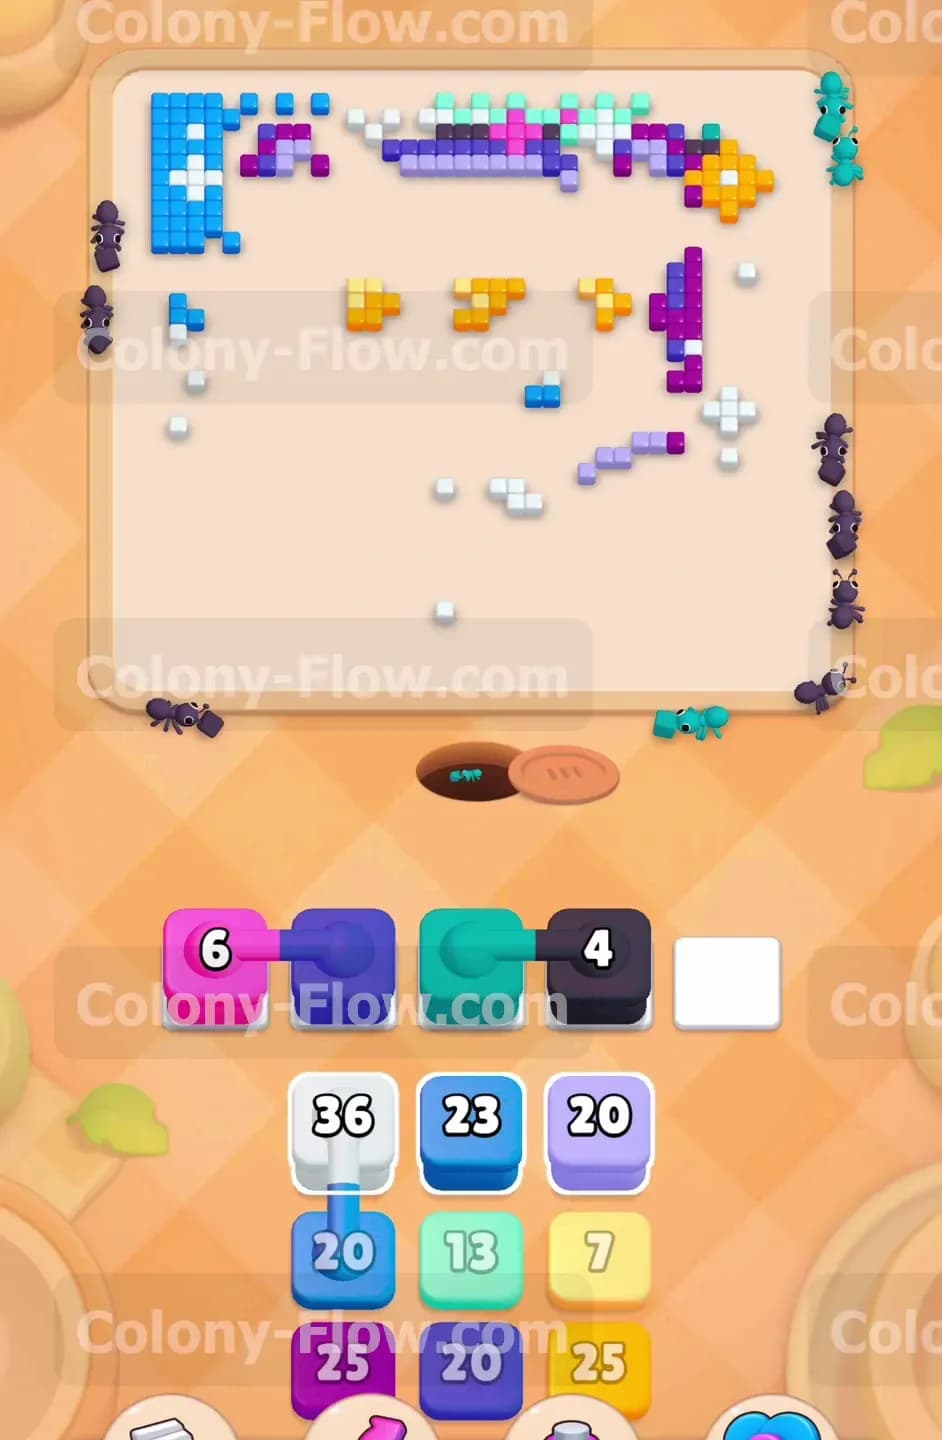
Now that the lower half of the character is exposed you can aggressively clear the center. Pull the bright red 30 block to send ants straight into the newly revealed cloak. At the same time you can pull the beige 12 block and the yellow 30 block. These colors will wipe out the remaining skin tones on the face and the bright yellow hair. The board will look very sparse at this point. Your ants will clean up the central tiles rapidly because they no longer have to travel all the way to the top corners. Keep your eyes on the board and confirm the red tiles clear out smoothly. Maintaining a steady rhythm keeps the tray from stalling.
Step 7: Handle the complex Connected Boxes in the late game
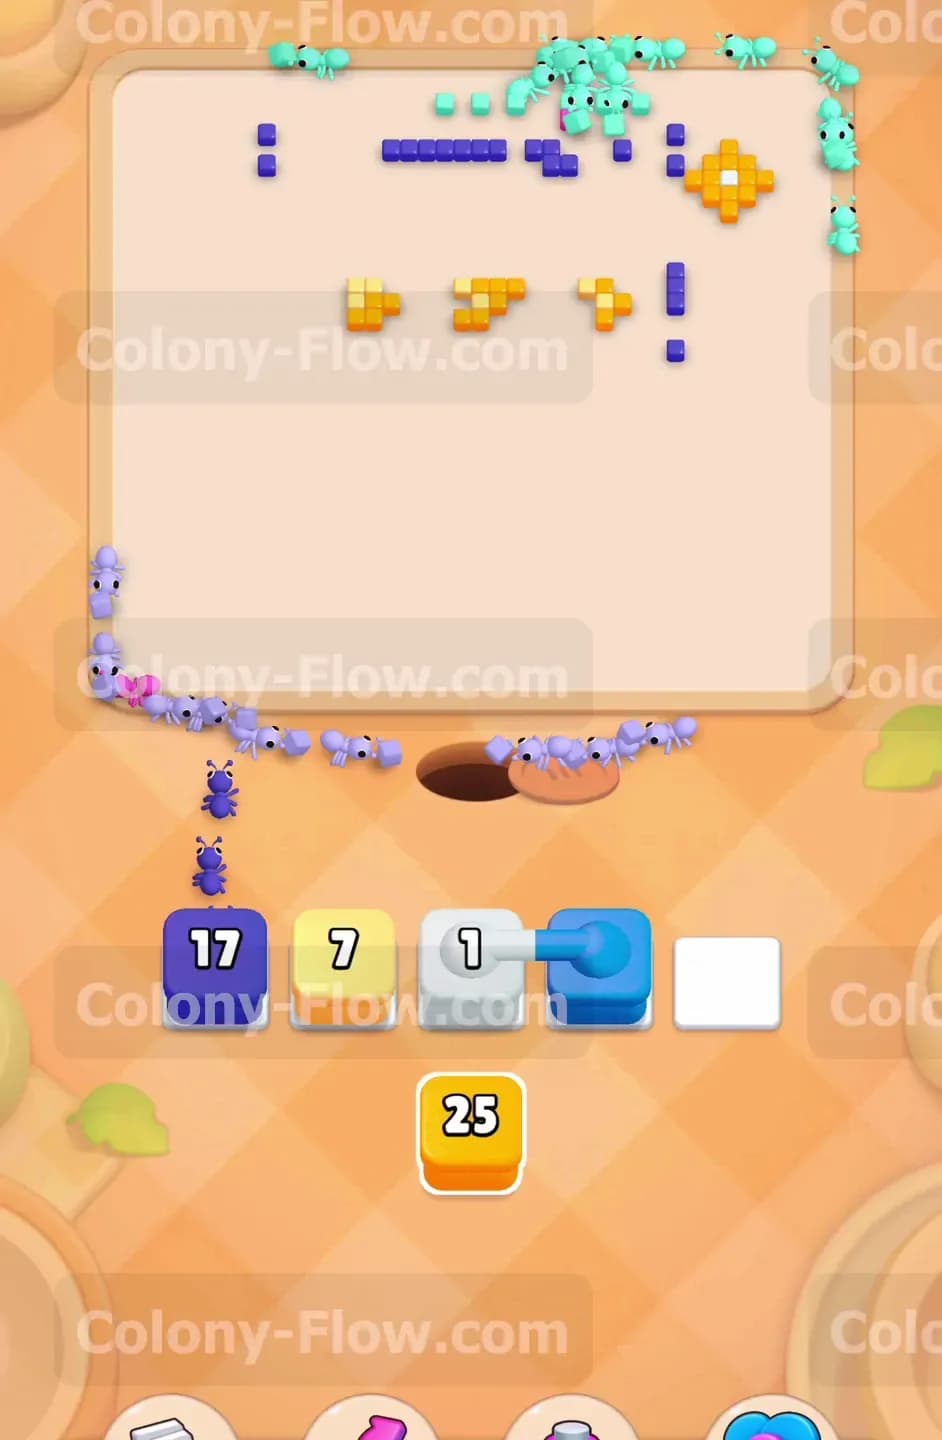
You will face one more dangerous obstacle in your tray near the end of the puzzle. A large chain of Connected Boxes links a pink 6 block, a purple block, a red block, and a beige 11 block together. Pulling this massive chain requires four empty waiting slots. You must let your current red and yellow blocks completely finish their work before you touch this chain. Once your slots are clear you can safely pull the group. The ants will easily divide and conquer the final scattered pieces of the hood, face, and cloak. The board is so open now that the ants will reach their targets in seconds. Your patience here guarantees a win. You never want to fail a level when you are this close to the end.
Step 8: Sweep the final stars and background fragments
Only a few isolated tiles remain scattered across the board. You will see small clusters of blue background, teal accents, and yellow stars. Look at your tray and select the teal 20 block along with the yellow 7 block. The ants will march out and clean up the stars on the right side. Finally you can pull the last blue 17 block. The final wave of ants will sweep up the remaining blue pixels at the top left. The board becomes completely empty and the victory screen appears. You successfully navigated the Connected Boxes and the Hungry Door without ever jamming your tray.
Final Thought
Colony Flow Level 1140 demands careful timing and excellent spatial awareness. Breaking the Hungry Door early gives you the breathing room you need to handle the dangerous Connected Boxes later in the puzzle. If you ever feel stuck on when to pull a specific block chain please watch the video above this article. Seeing the timing in motion can help clarify exactly how to keep your waiting slots open and your ants moving smoothly.