Colony Flow Level 608 Walkthrough Solution & Guides | How to solve Colony Flow 608

Guide By Liam Stone
Updated on August 1, 2026
If you're short on time, the video above covers the entire Level 608 solution in a few minutes.
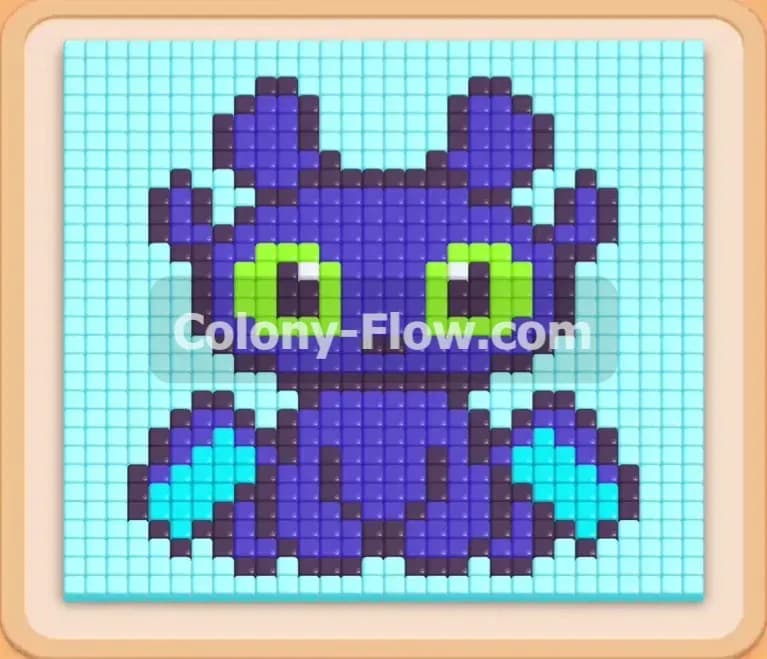
Video doesn't match your screen?
Game updates frequently scramble layouts! Try our AI Screenshot Solver first to find your exact board instantly, or report broken guides to our team.
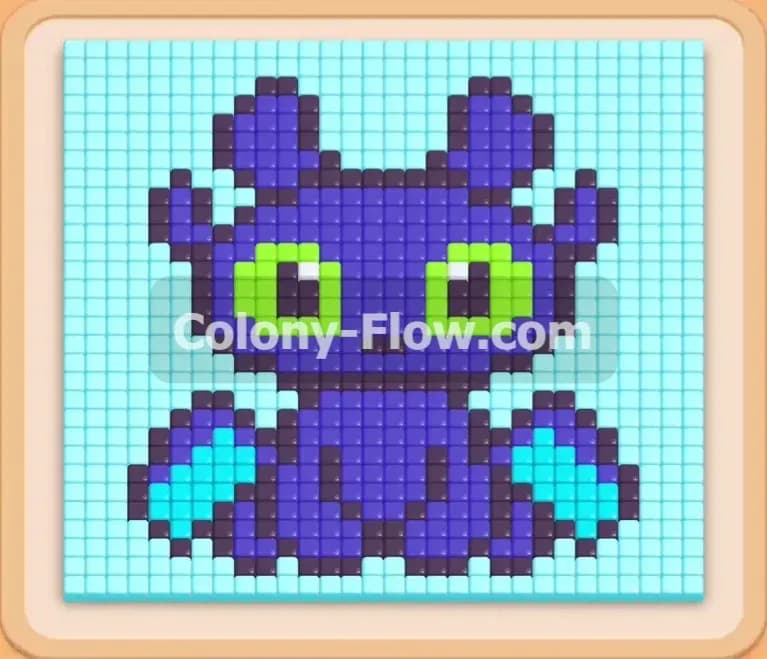
Welcome to Colony Flow Level 608 where you face a large dark purple creature with bright green eyes and huge wings. This pixel art character sits directly in the center of a wide light blue background. This level tests your timing because your tray is packed with connected blocks and extremely high numbered pieces. I played this stage multiple times to find the absolute perfect sequence of moves. You need a rock solid strategy to keep the ants moving and prevent a sudden dead end. I will show you exactly how to feed your colony and clear the board without locking up your tray.
Colony Flow Level 608 Overview
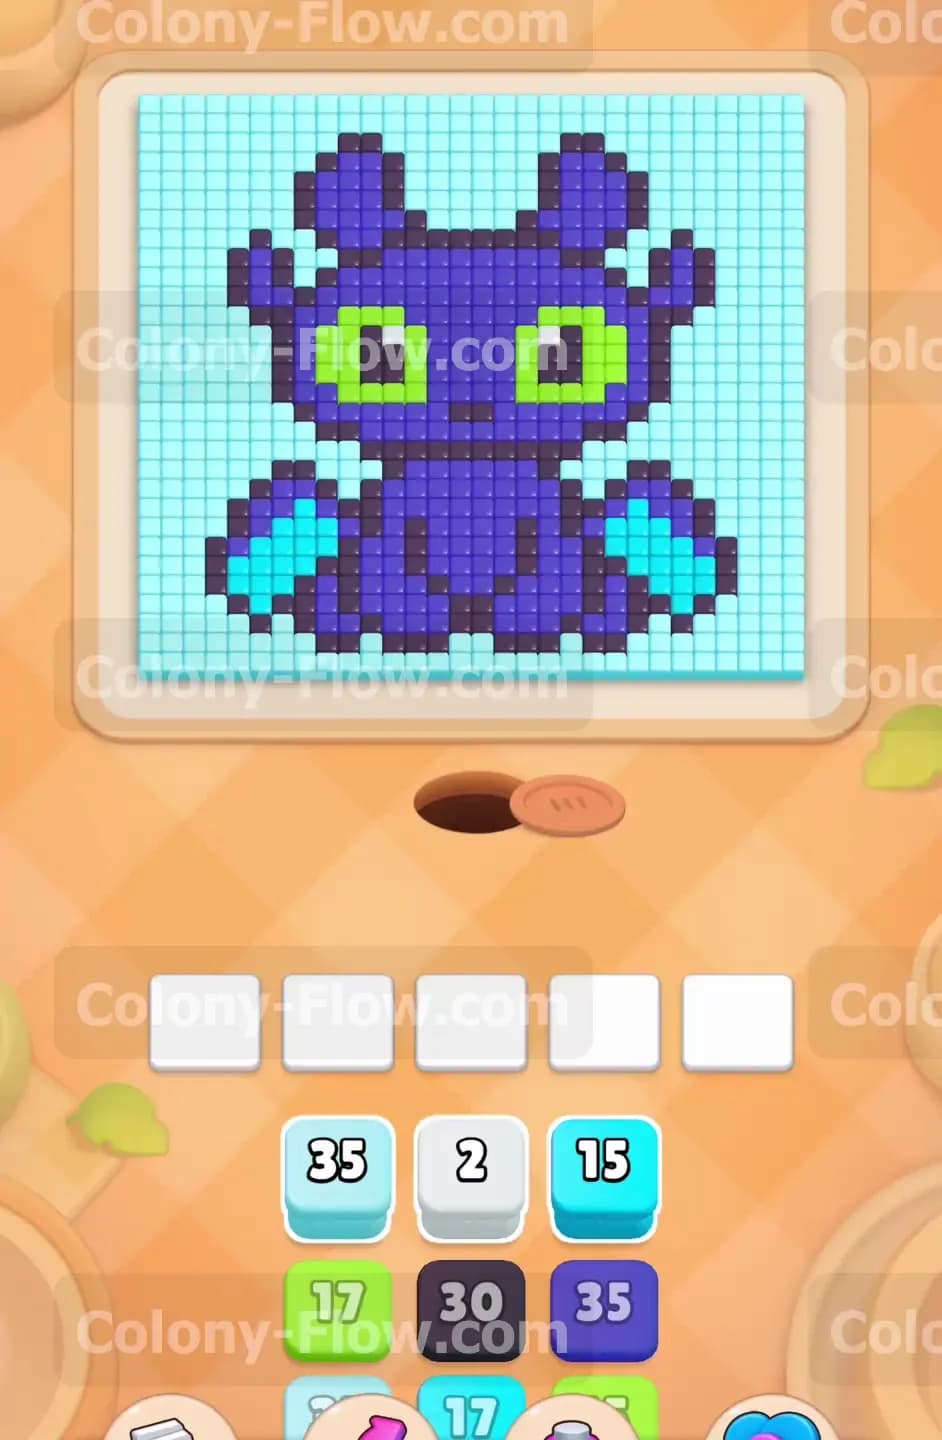
What You Are Working With
The pixel art board displays a massive creature built primarily out of dark purple blocks. The background and the outer edges of the wings consist entirely of light blue blocks. The creature features two large bright light green eyes and a few tiny white highlight pixels. Your tray located at the bottom of the screen holds a continuous supply of colored blocks. You have multiple dark purple blocks with massive values like 35 and 40. You also face connected boxes where a dark purple piece links physically to a light blue piece. The game board gives you exactly five waiting slots directly above the tray. A single nest hole sits at the very bottom center of the board where all your ants originate.
What It Takes to Clear Level 608 Board
You win this level by clearing every single colored pixel from the screen without jamming your waiting slots. The ants always walk to the closest available open path that matches the color in your slots. You lose the game if you pull blocks from the tray and completely fill all five waiting slots with colors the ants cannot reach. Every move you make must guarantee that at least one block in your waiting slots actively counts down. You must carefully strip away the bottom layers of the pixel art first. Peeling away the lower sections opens up clear paths to the higher sections. You survive by maintaining a steady flow and matching your tray pulls to the exact pace of your hungry colony.
Colony Flow Level 608 Step by Step Solution
Step 1: Clear the bottom edge of the creature with dark purple blocks
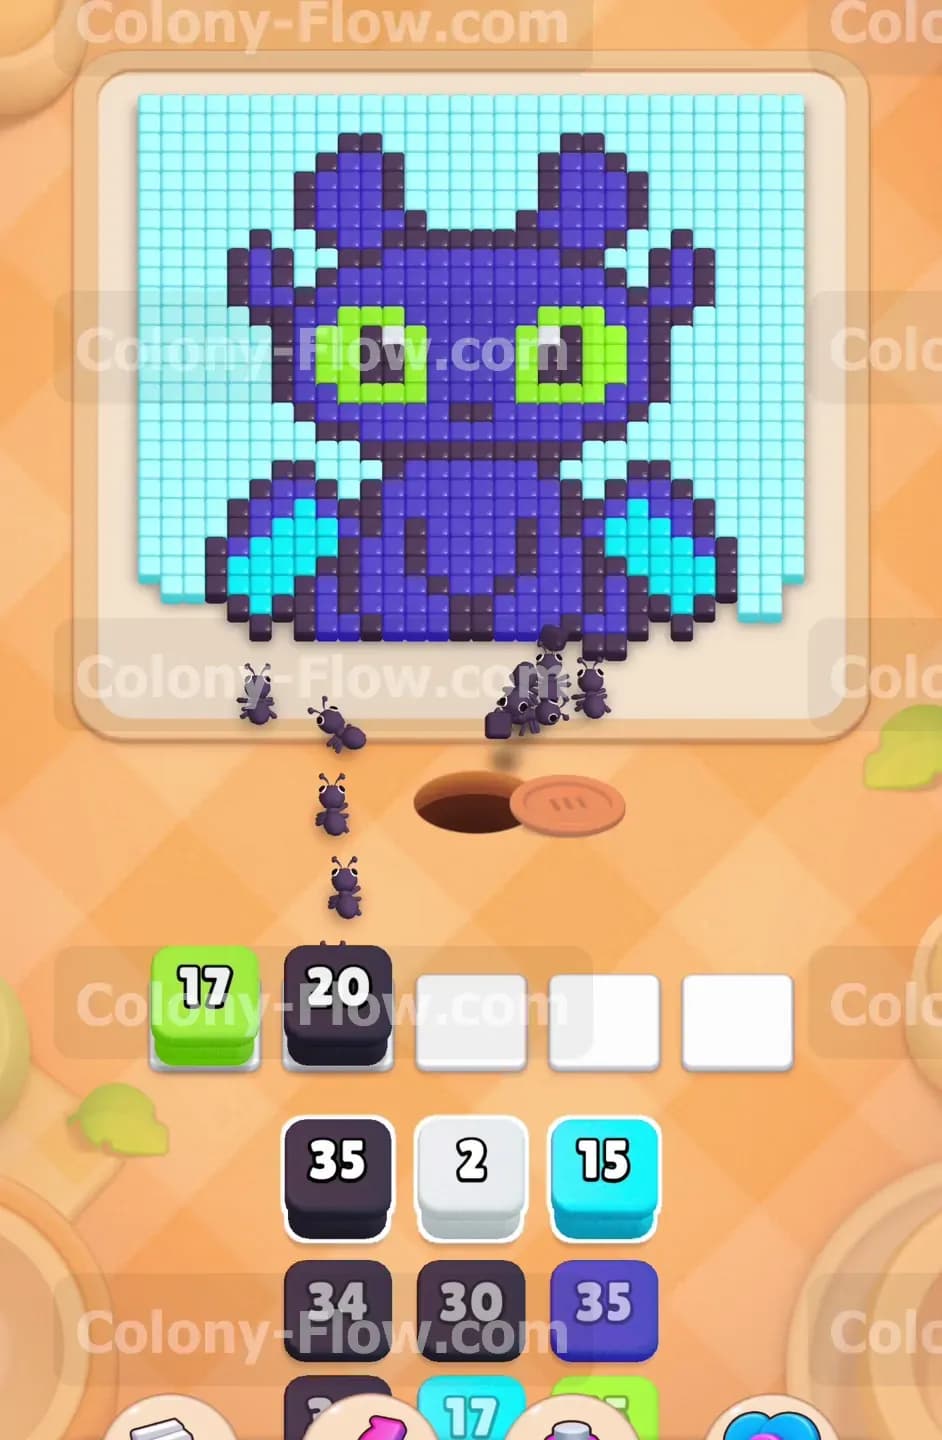
You must begin by opening up the lowest sections of the pixel art closest to the ant nest. The dark purple feet and the bottom boundary of the creature block all access to the inner colors. Pull your first dark purple blocks from the tray and place them into your waiting slots. The ants will immediately rush out of the central hole and begin carrying away the dark purple tiles. You must resist the urge to pull any light green or white blocks at this early stage. The eyes and highlight details remain completely buried higher up on the board. If you grab those specific colors right now, they will sit idle and permanently clog your waiting slots. Keep supplying dark purple until the entire bottom foundation of the character completely vanishes.
Step 2: Introduce light blue blocks to expand your active work area
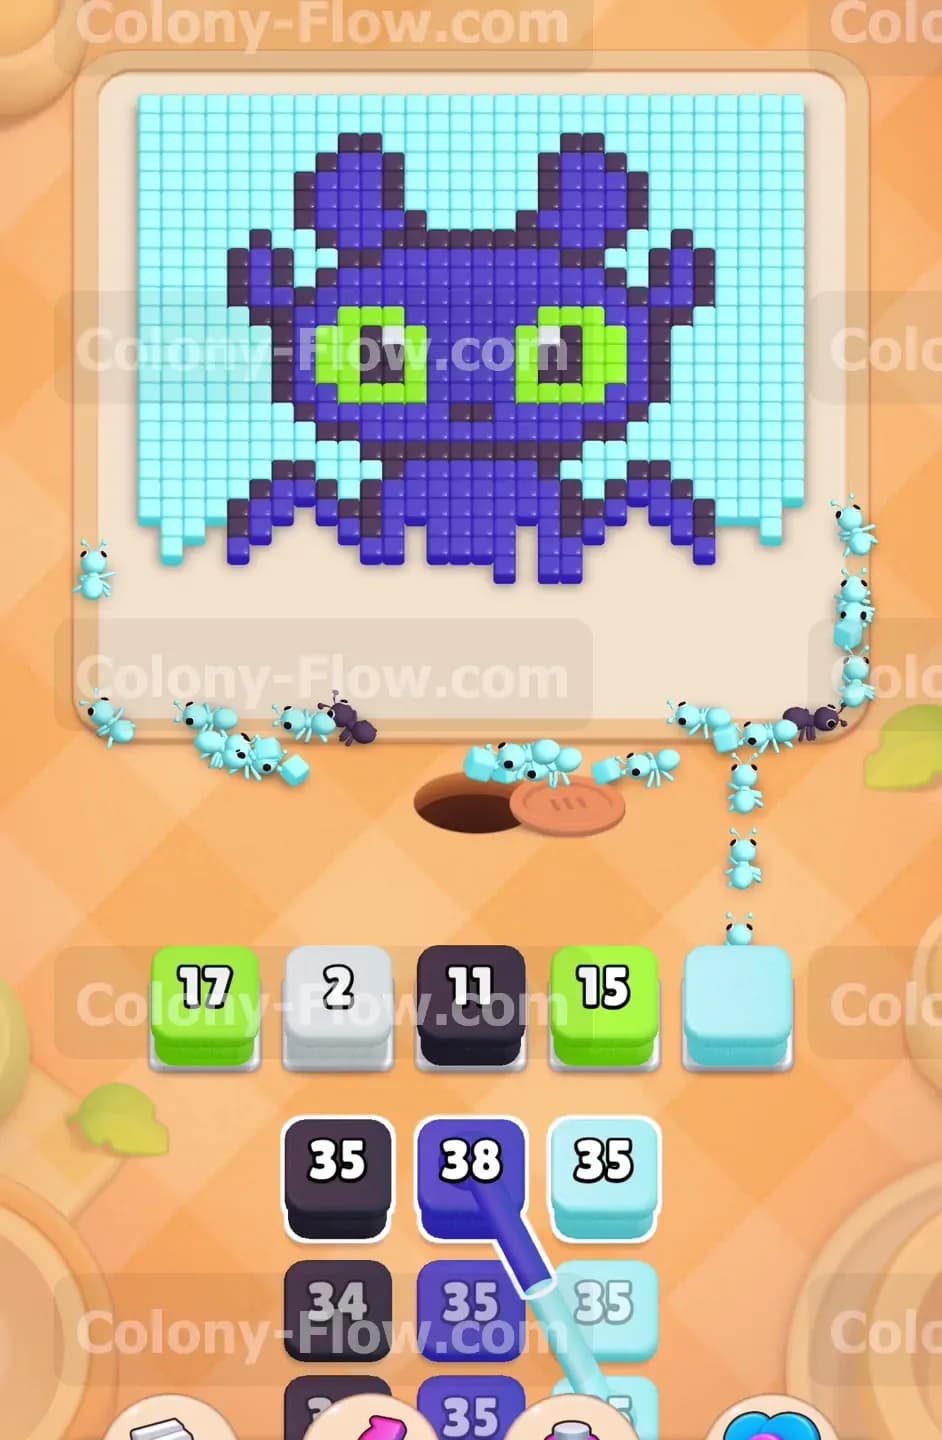
Once the bottom feet disappear, the ants gain clear access to the lower light blue background tiles. Pull a light blue block into your waiting area alongside another dark purple block. This simple strategy splits your ant colony into two separate and highly efficient workgroups. One group will continue eating upward into the dark purple underbelly of the character. The second group will spread outward left and right to clear the lower light blue background. Giving the ants two different targets ensures your numbers drain much faster. You keep your slots empty and ready for the next pieces by maintaining this split focus.
Step 3: Pull the connected blocks when both colors share an open path
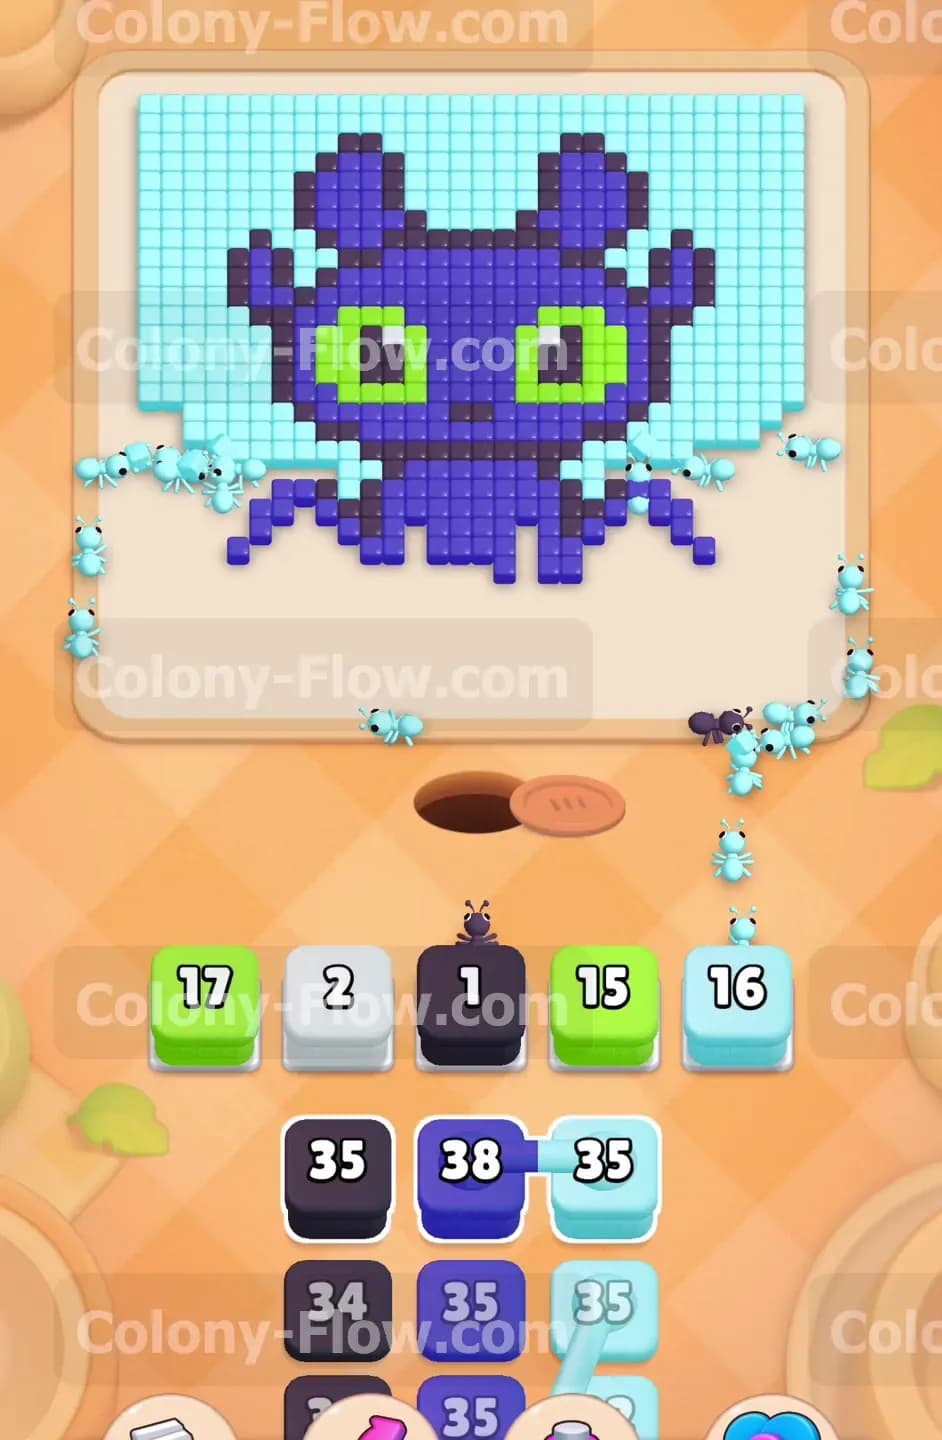
You will notice connected blocks sitting in your tray that link dark purple and light blue together. You must treat these connected boxes as a single group. When you pull them, they travel upward and occupy space in your waiting slots simultaneously. You must wait to use these linked pieces until the ants have a clear path to both the dark purple body and the light blue wings. Bring the connected blocks up into the slots now. Since both colors are completely exposed on the lower half of the board, the ants will attack both colors at the exact same moment. The numbers on both linked blocks will count down smoothly without risking a bottleneck.
Step 4: Clear the small white details located near the center of the face
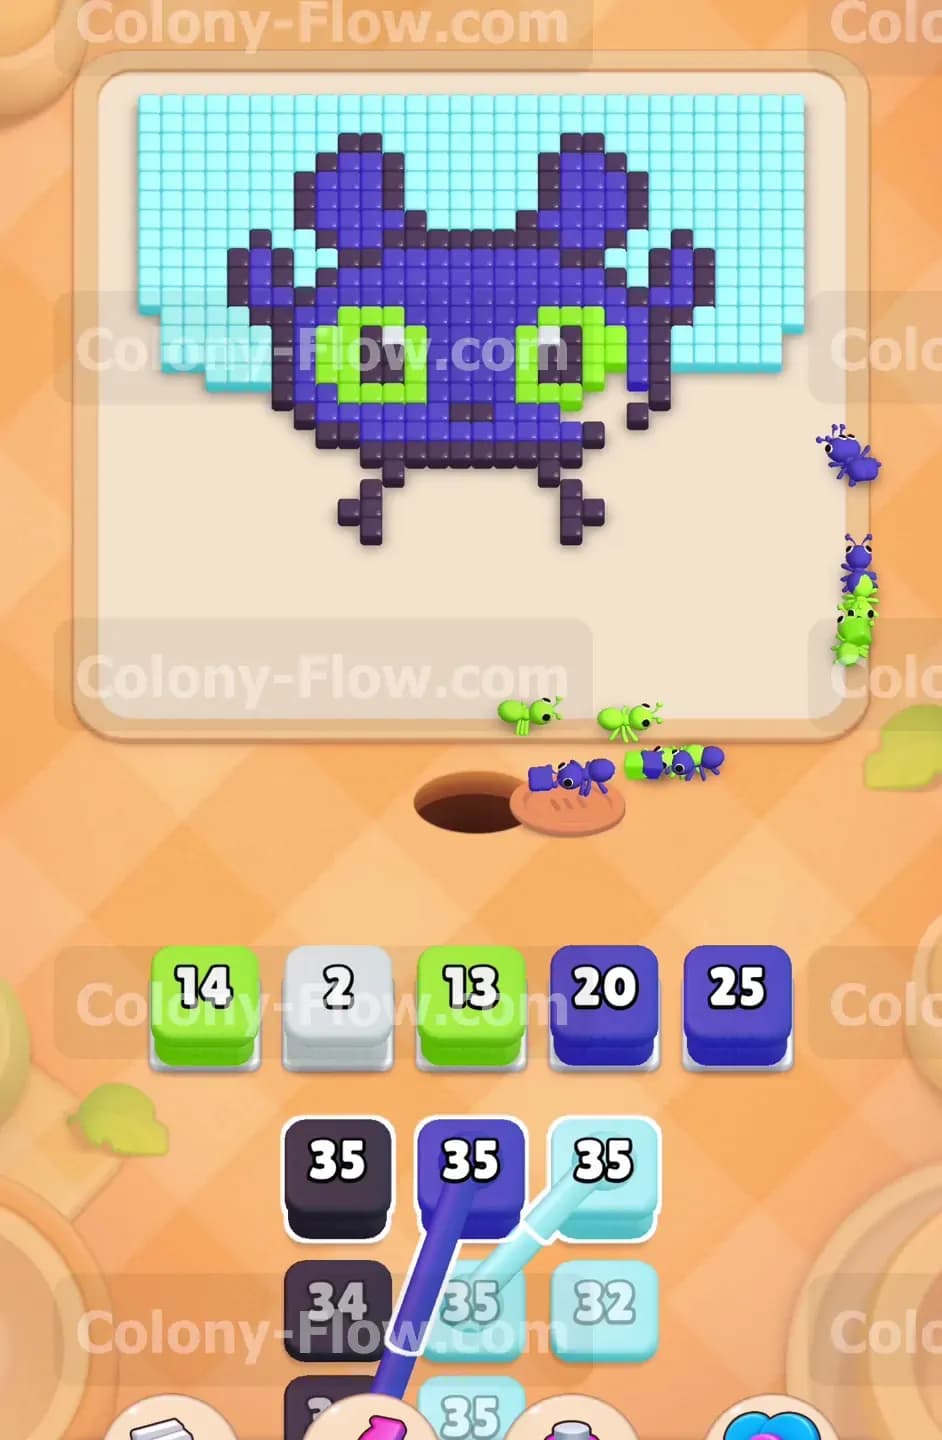
As the ants chew their way deep into the center of the face, they uncover a tiny cluster of white tiles. These small details require the low numbered white blocks from your tray. Pull the white block into an available open slot. The ants will quickly divert their attention to clear these center pixels. The white block will vanish almost instantly because the total number is incredibly low. Getting this fast block out of the way frees up valuable space in your tray and your waiting slots. You now possess a completely clean path extending straight up to the bright green eyes.
Step 5: Target the light green eyes to free up massive board space
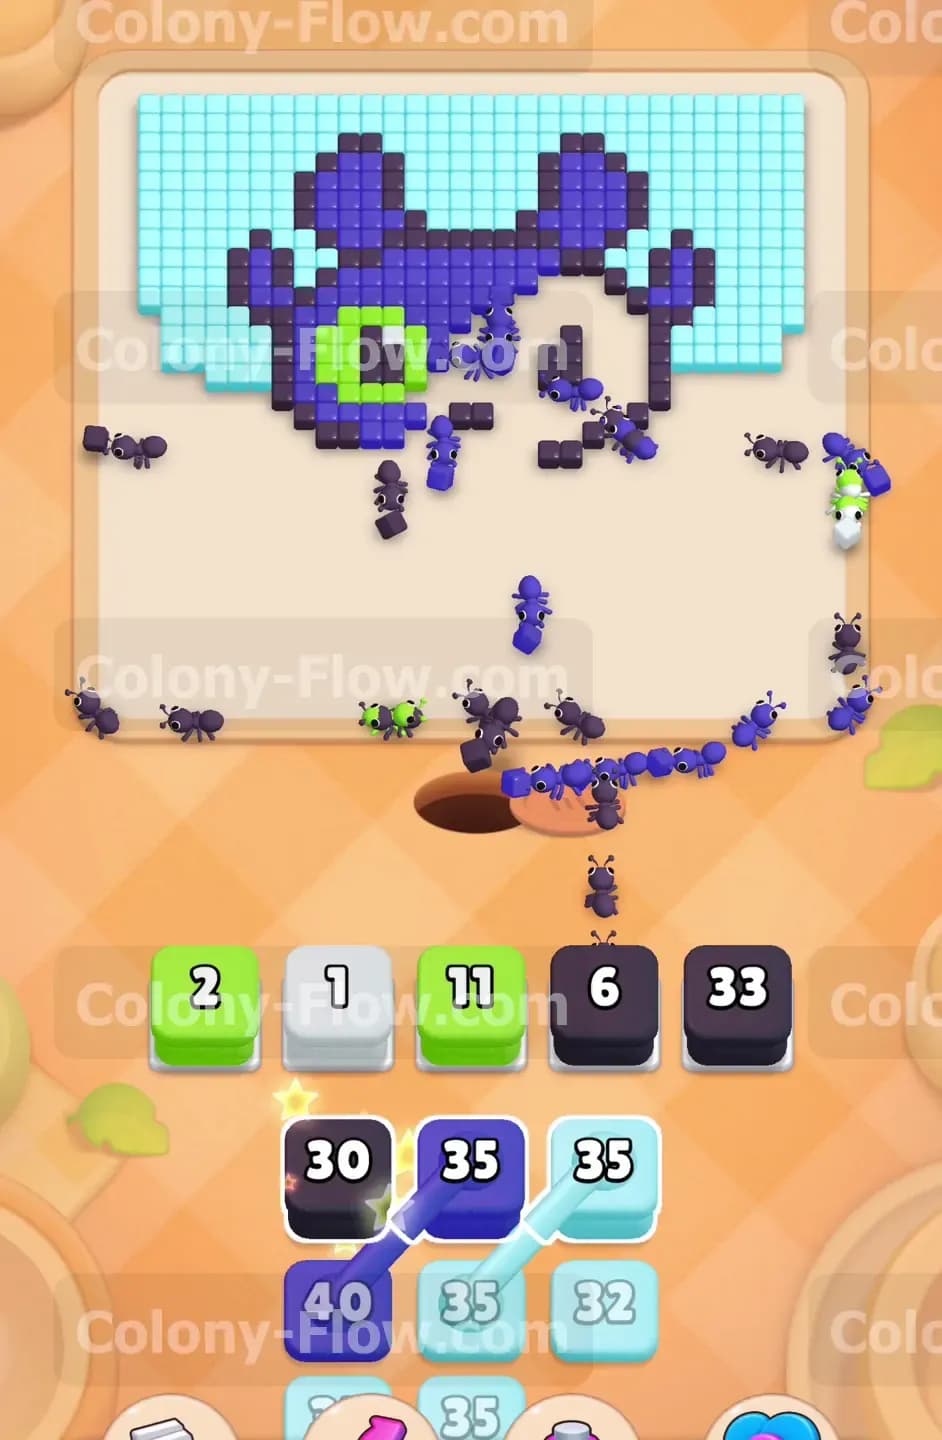
The ants will eventually reach the upper half of the face and expose the two large bright green eyes. Pull your light green blocks out of the tray and place them into the waiting slots. The colony will instantly swarm the eye sections and begin stripping them away pixel by pixel. You must clear these green sections as soon as they become completely accessible. Leaving the eyes untouched acts like a brick wall and prevents the ants from reaching the dark purple tiles on the forehead. Provide enough light green blocks to erase the eyes completely from the board. Your slots will empty out rapidly as the entire colony focuses heavily on this one vibrant color.
Step 6: Deploy your highest dark purple numbers to dismantle the head
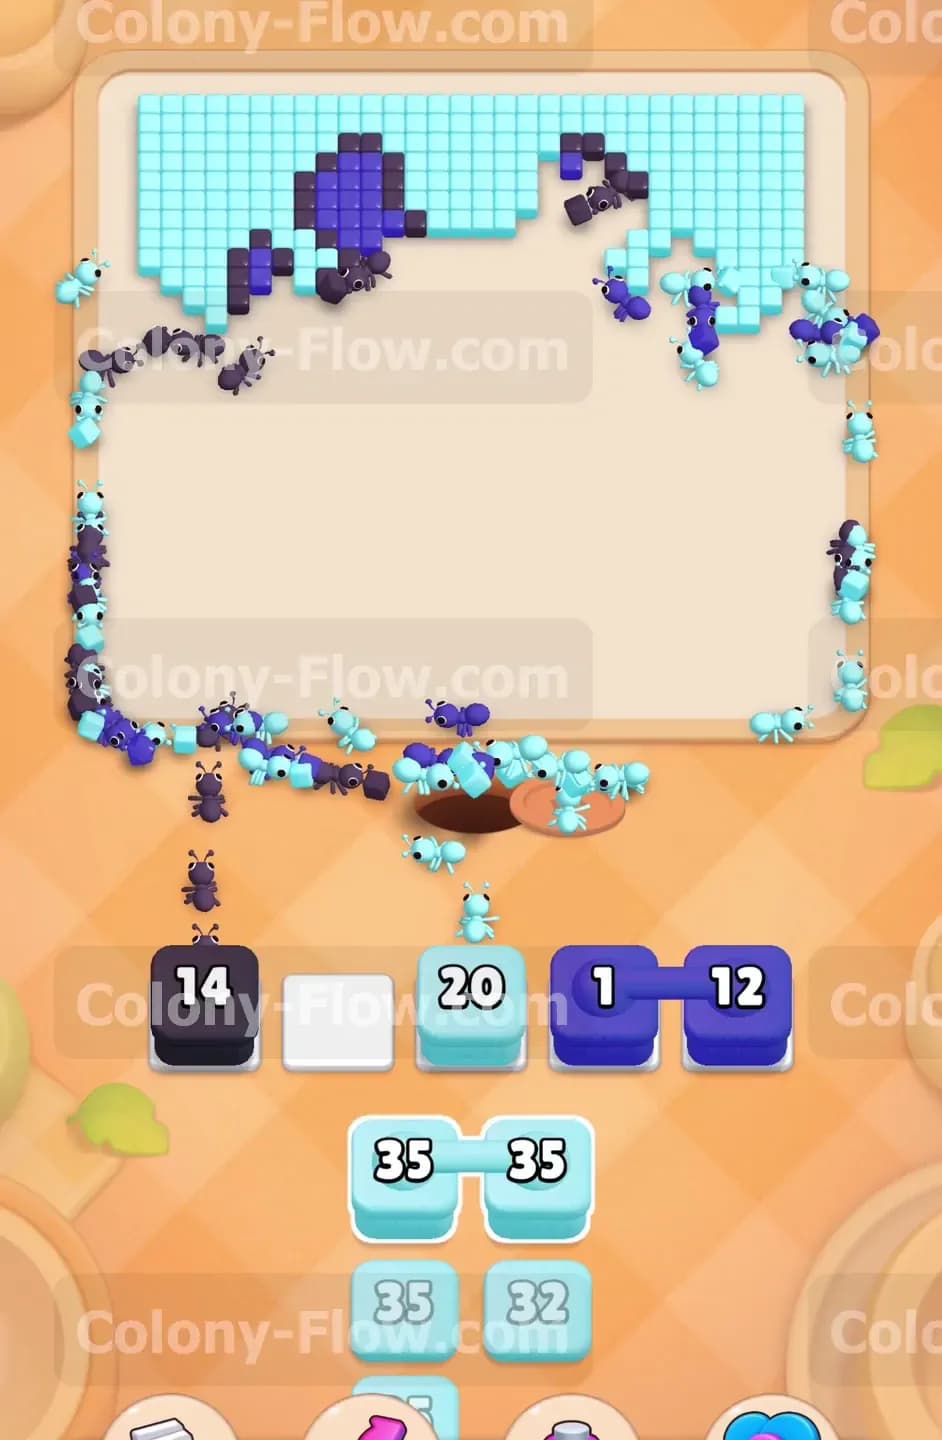
The top half of the creature contains a massive block of dark purple tiles stretching across the forehead and the large ears. Your tray provides you with heavily loaded blocks carrying numbers as high as 35 and 40 to handle this dense section. Pull these massive dark purple blocks into your active slots. Huge numbers take a significant amount of time to count down to zero. You must exercise extreme patience during this phase of the level. Do not panic and pull random colors while you wait for the numbers to drop. Let the ants steadily dismantle the forehead and the ears at their own pace. You want the dark purple blocks to vanish completely before you switch your attention to the final background pieces.
Step 7: Clean up the final top border of the light blue background
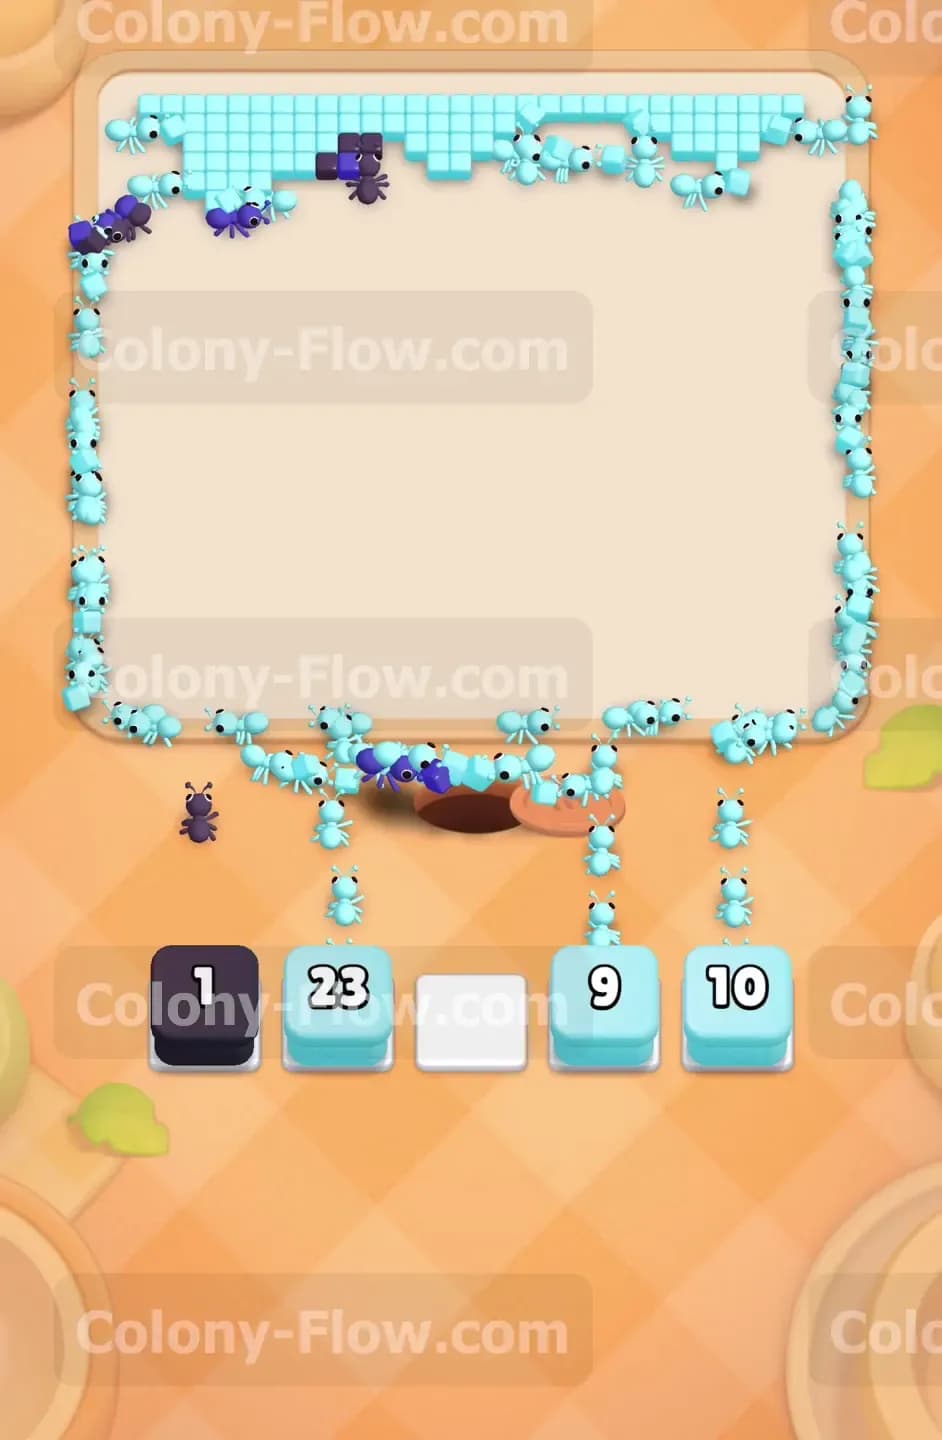
Only a thin horizontal layer of light blue background remains at the very top edge of the board. The central creature is completely gone at this point. Pull your final remaining light blue blocks into the waiting slots. The ants will march all the way up the empty sides of the screen and spread across the top border. They will carry away the last few light blue tiles one by one. Keep an eye on the numbers and pull the final background pieces as soon as space allows. The last pixel disappears and you successfully win the level.
Final Thought
Completing this puzzle requires strict discipline with your waiting slots and a steady focus on upward progression. You succeed by matching your tray pulls to the exact physical location of the ant colony on the board. Keep your paths open and never rush a color before its corresponding tiles become fully exposed. Watch the video above this article if any specific step feels difficult to follow in text. Seeing the exact timing of the connected blocks and the final top border push makes everything perfectly clear.