Colony Flow Level 557 Walkthrough Solution & Guides | How to solve Colony Flow 557

Guide By Liam Stone
Updated on August 1, 2026
Some players prefer video. The one above covers the entire Level 557 walkthrough.
Video doesn't match your screen?
Game updates frequently scramble layouts! Try our AI Screenshot Solver first to find your exact board instantly, or report broken guides to our team.
Welcome back to another puzzle guide. Today we are taking on Colony Flow Level 557 and it features a really beautiful pixel art landscape to clear. You need to manage your tray space perfectly because this board is absolutely massive and includes some tricky mechanics. I played through this level multiple times to find the safest route and I am going to teach you exactly how to beat it.
Colony Flow Level 557 Overview
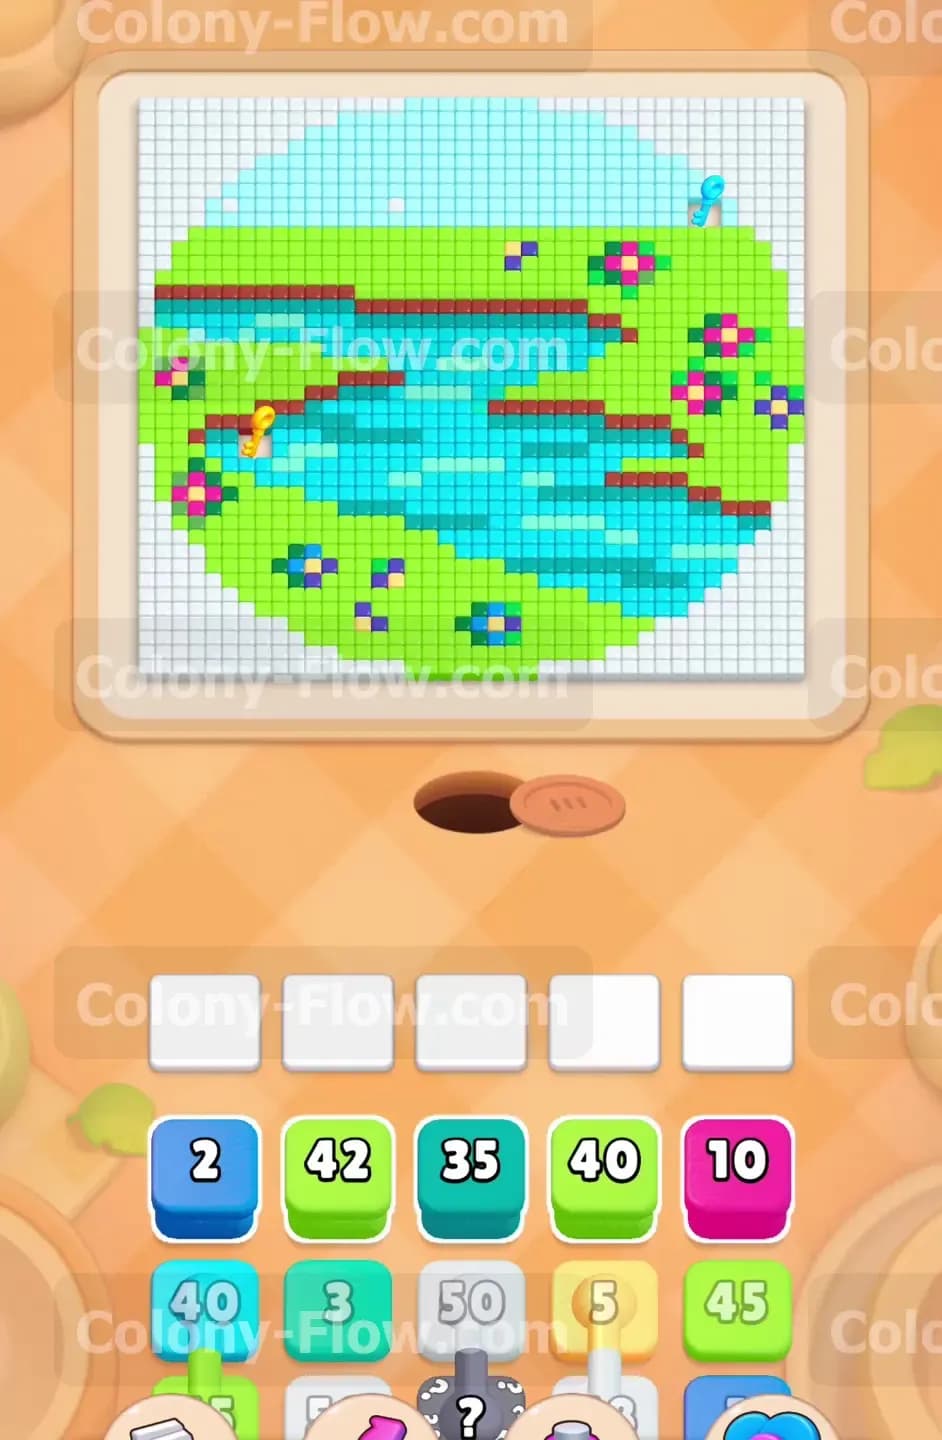
What You Are Working With
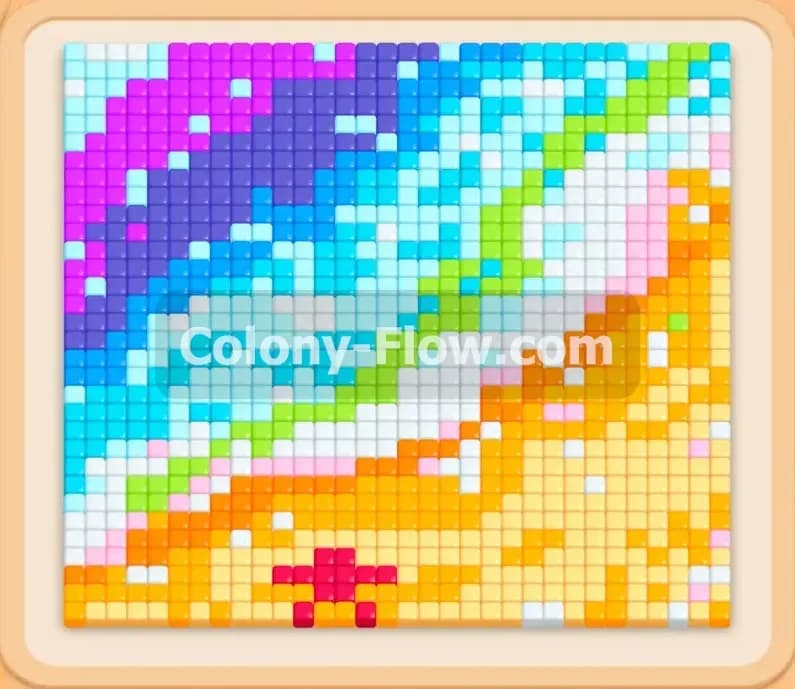
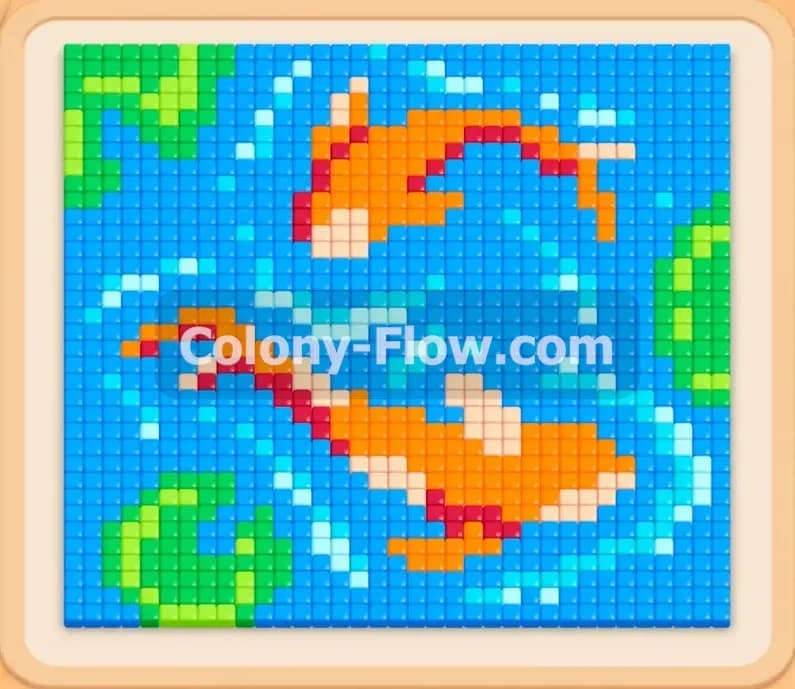
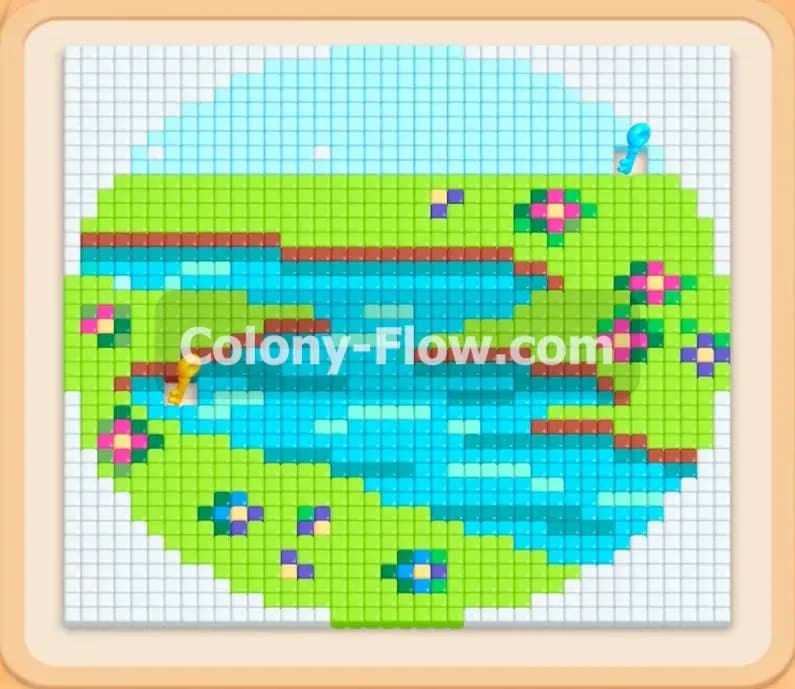
The picture for this level is a bright outdoor nature scene. A large white sky fills the top half of the board. A winding river made of light blue and dark blue pixels runs right through the center. Lush green fields surround the water and extend down toward the bottom of the screen. You will also notice smaller details like brown dirt patches along the riverbanks and a few bright pink flowers scattered in the grass. A yellow key sits directly on the green grass on the left side of the board.
Your tray contains a mix of standard colored blocks and two special mechanics. First you have Connected Boxes. These are two tray blocks joined together by a solid white link. They pull into your waiting area as a single unit and both colors must find an open path to clear. Second you have Lock and Key blocks. Several blocks in your tray have padlock icons on them. You cannot use these locked blocks until your ants march over to the left side of the board and collect that yellow key.
What It Takes to Clear Level 557 Board
To win you must feed every single pixel of the landscape to your ant colony. You lose the game if all five waiting slots fill up and no ants can reach a matching color on the board. This board is dangerous because many blocks hold huge numbers like 42 or 50. If you pull a massive number without a clear path you will clog your waiting area for a long time. You must carve a central highway through the grass and water first. This ensures the ants can reach the distant sky pixels and the left side key without causing a tray jam.
Colony Flow Level 557 Step by Step Solution
Step 1: Open the center using the initial green and blue blocks
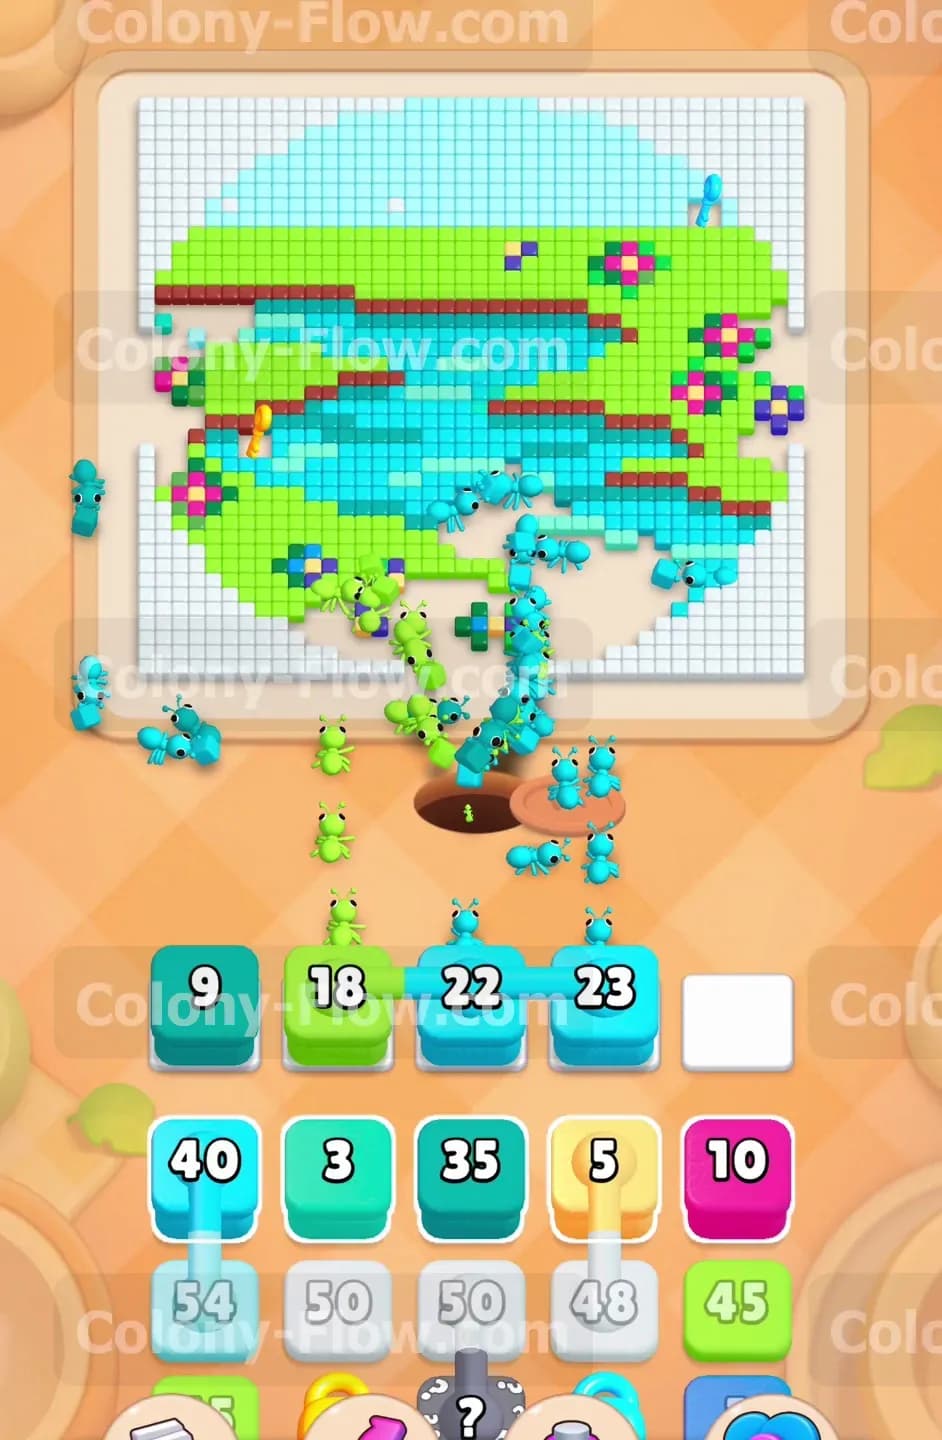
Start the level by pulling the light blue and green blocks from your opening tray. You will see some large numbers right away like a green 42 and a dark blue 35. Pull these carefully. The ants emerge from the nest hole and immediately start eating the bottom edge of the green grass and the light blue river. Focus on clearing a vertical path right up the middle of the picture. This strategy creates a massive open space that exposes multiple colors at once. Always check that the ants have an exposed pixel of the matching color before you drag a new block up. If you pull a color that is buried behind a wall of grass your waiting slots will fill up and put you in immediate danger of a game over.
Step 2: Deploy the first connected boxes to attack the sky
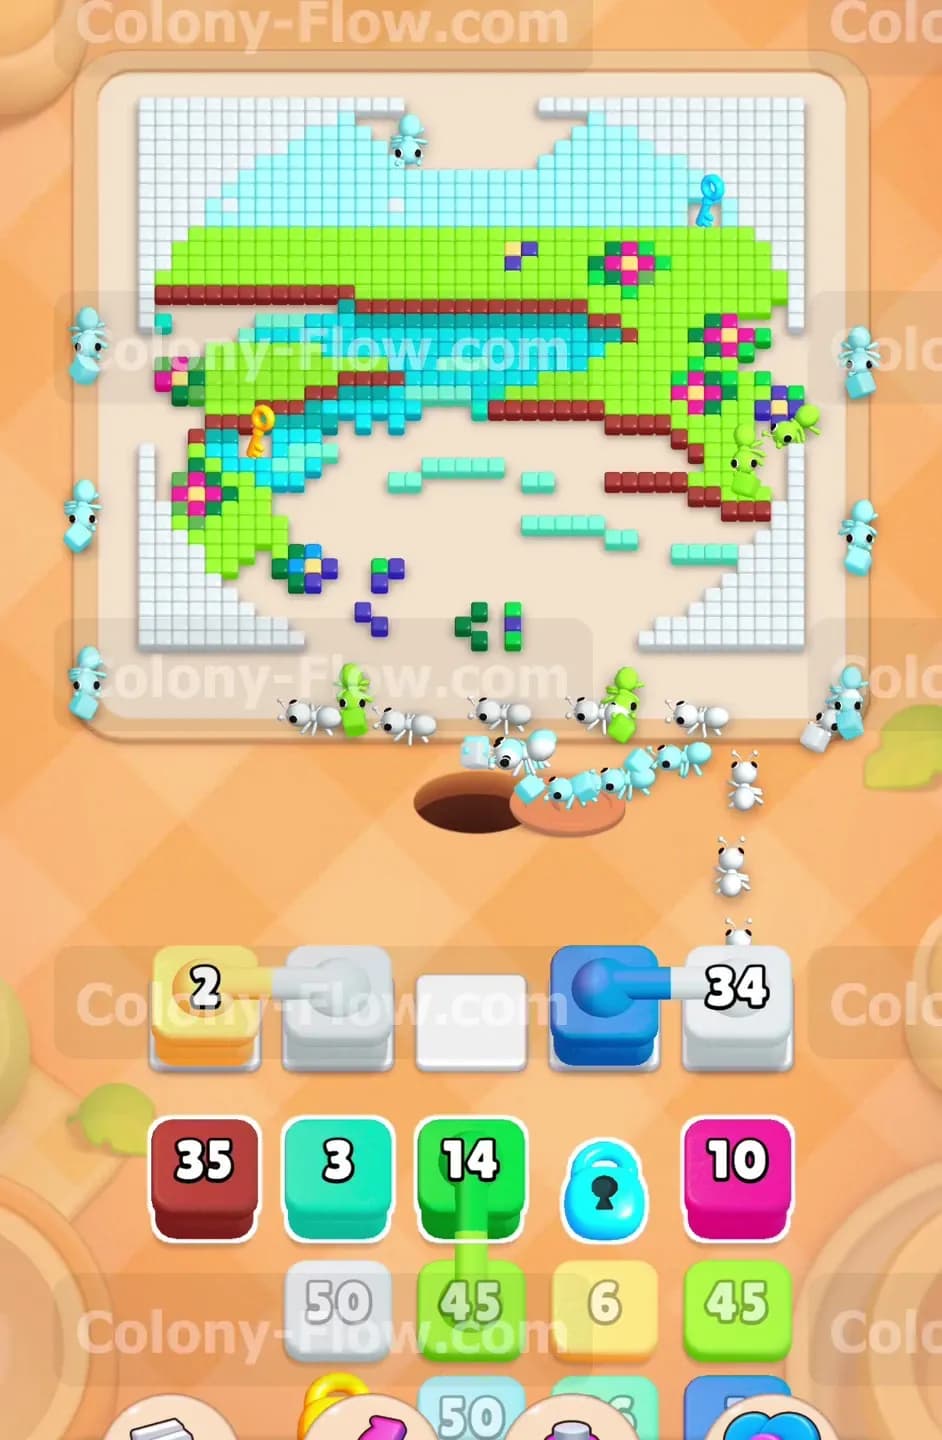
As you clear the opening blocks your tray will reveal the first set of connected boxes. You will see a yellow block linked directly to a white block. Remember that connected boxes take up multiple slots in your waiting area. You need the white block to start chewing through the huge white sky at the top of the board. Wait until your initial green and blue ants have eaten enough of the central landscape to expose the white border. Once you see an open white pixel you can pull the connected pair. The ants will turn white and travel a long distance up the board to start clearing the sky. Managing this long travel time is crucial so keep your other slots busy with smaller blocks near the bottom.
Step 3: Route the colony leftward to reach the yellow key
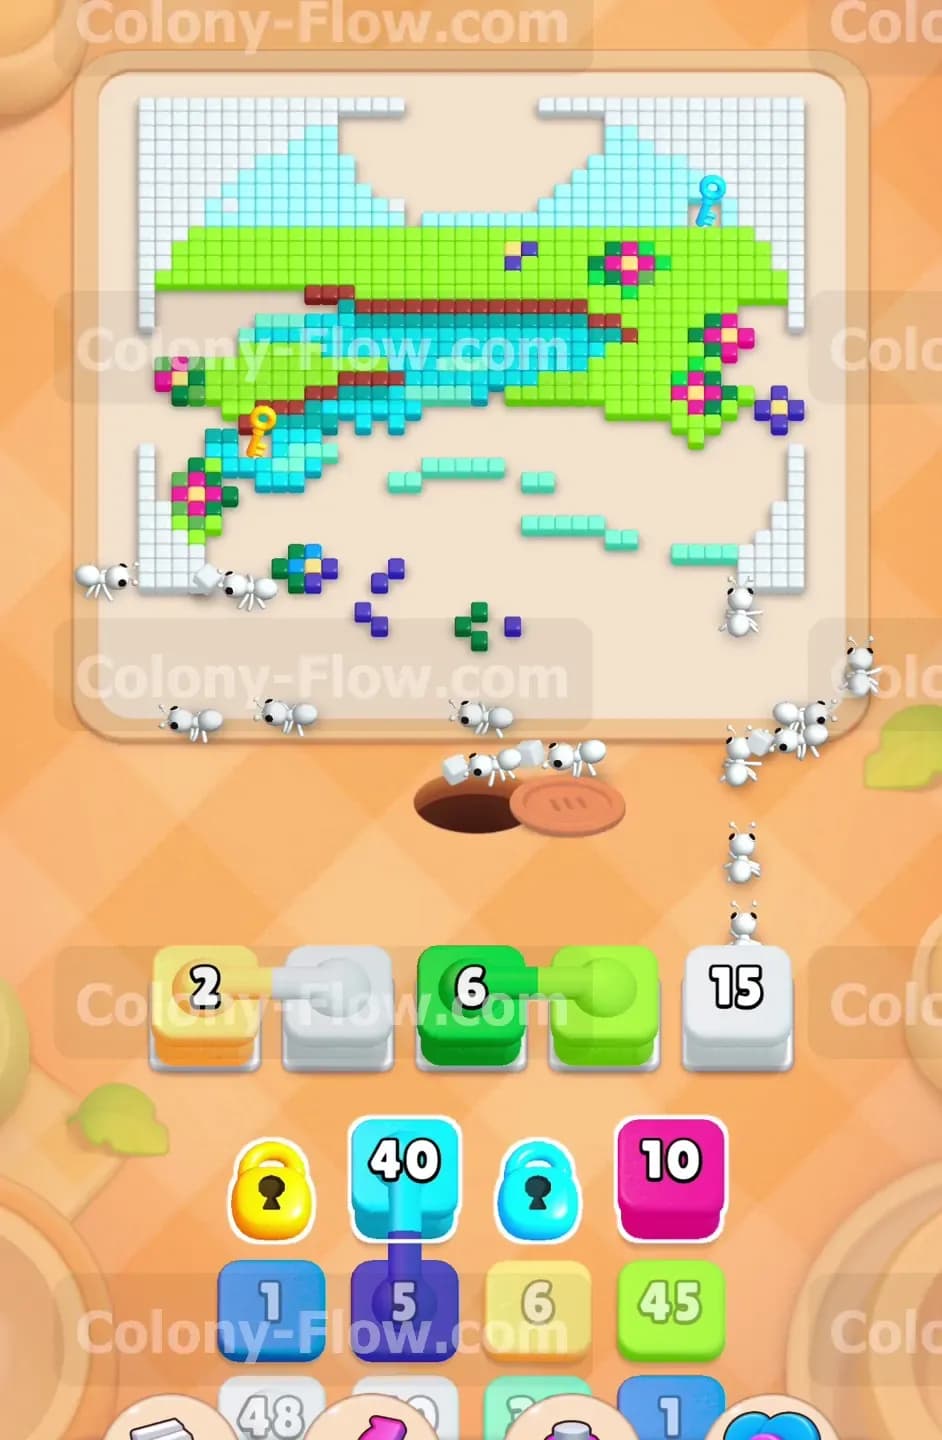
Your next major goal is the left side of the board where the yellow key is resting on the grass. You need that key to remove the padlocks sitting on the blocks in your tray. Start pulling more green and dark blue blocks to guide your colony toward the left edge. The river is incredibly useful here because it acts like a natural horizontal highway. Clearing the water removes a huge chunk of the picture and strips away the inner borders of the green fields. Keep cycling your smaller numbered blocks to maintain a steady flow of ants toward that key. Every blue and green pixel they eat opens the path just a bit wider.
Step 4: Manage the massive white blocks taking up your slots
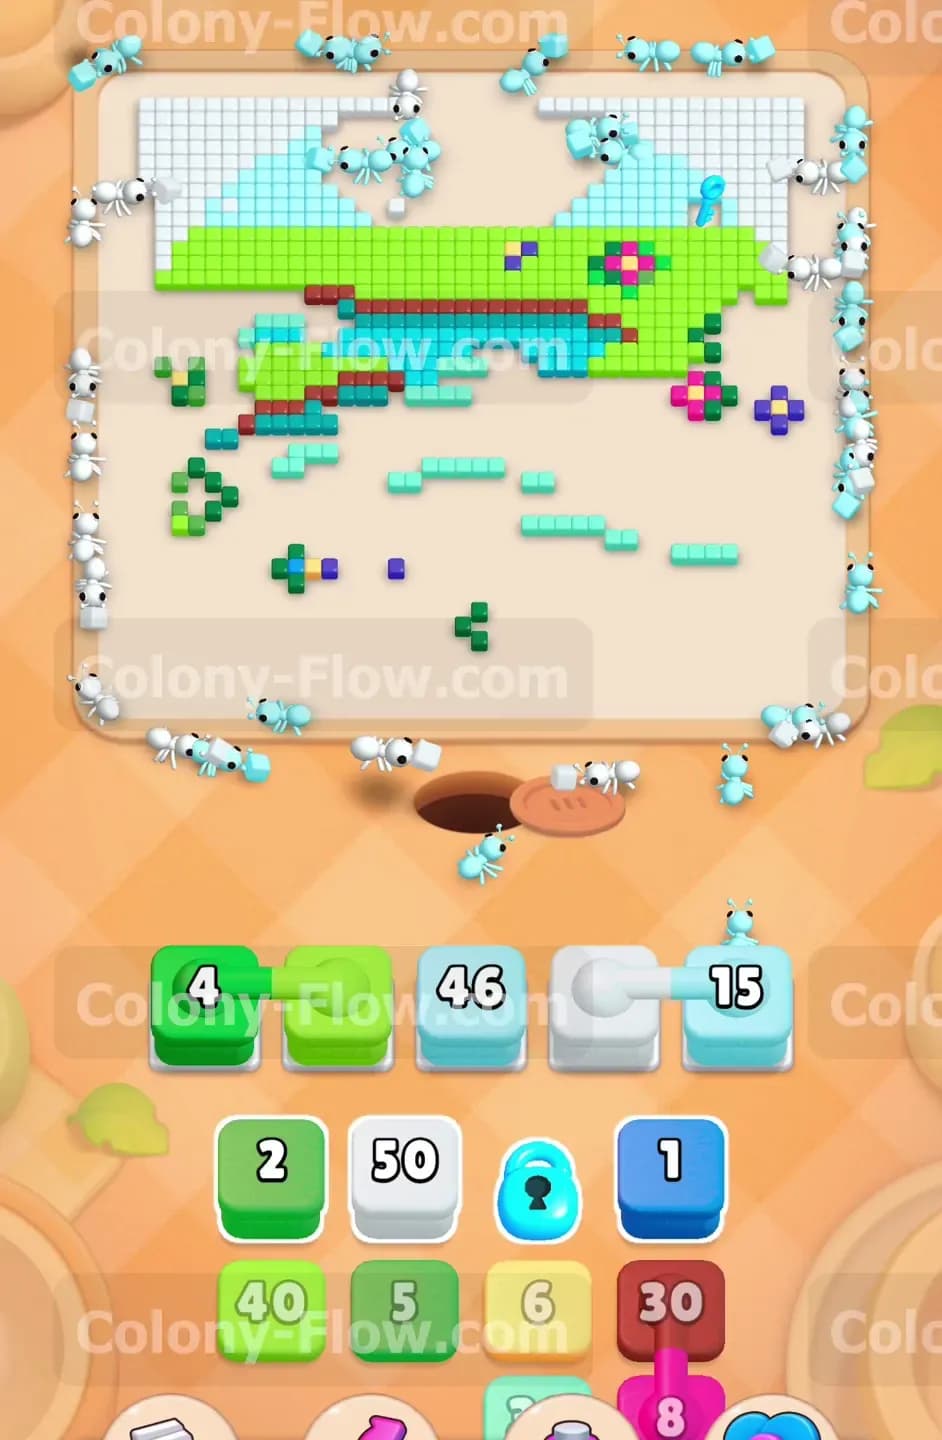
As you dig deeper into your tray you will uncover white blocks with gigantic numbers like 46 and 50. These are highly dangerous if handled poorly. The ants have to walk all the way from the bottom hole to the upper sky corners which takes a lot of time. You must pull these large white blocks only when you have two or three other waiting slots completely empty. If you clog your tray with massive numbers the ants take too long to finish them and you will have no room for quick maneuvers. Keep your other slots rotating rapidly with small green and blue blocks. This keeps the board shrinking steadily while the massive sky area slowly disappears in the background.
Step 5: Collect the yellow key and free the locked blocks
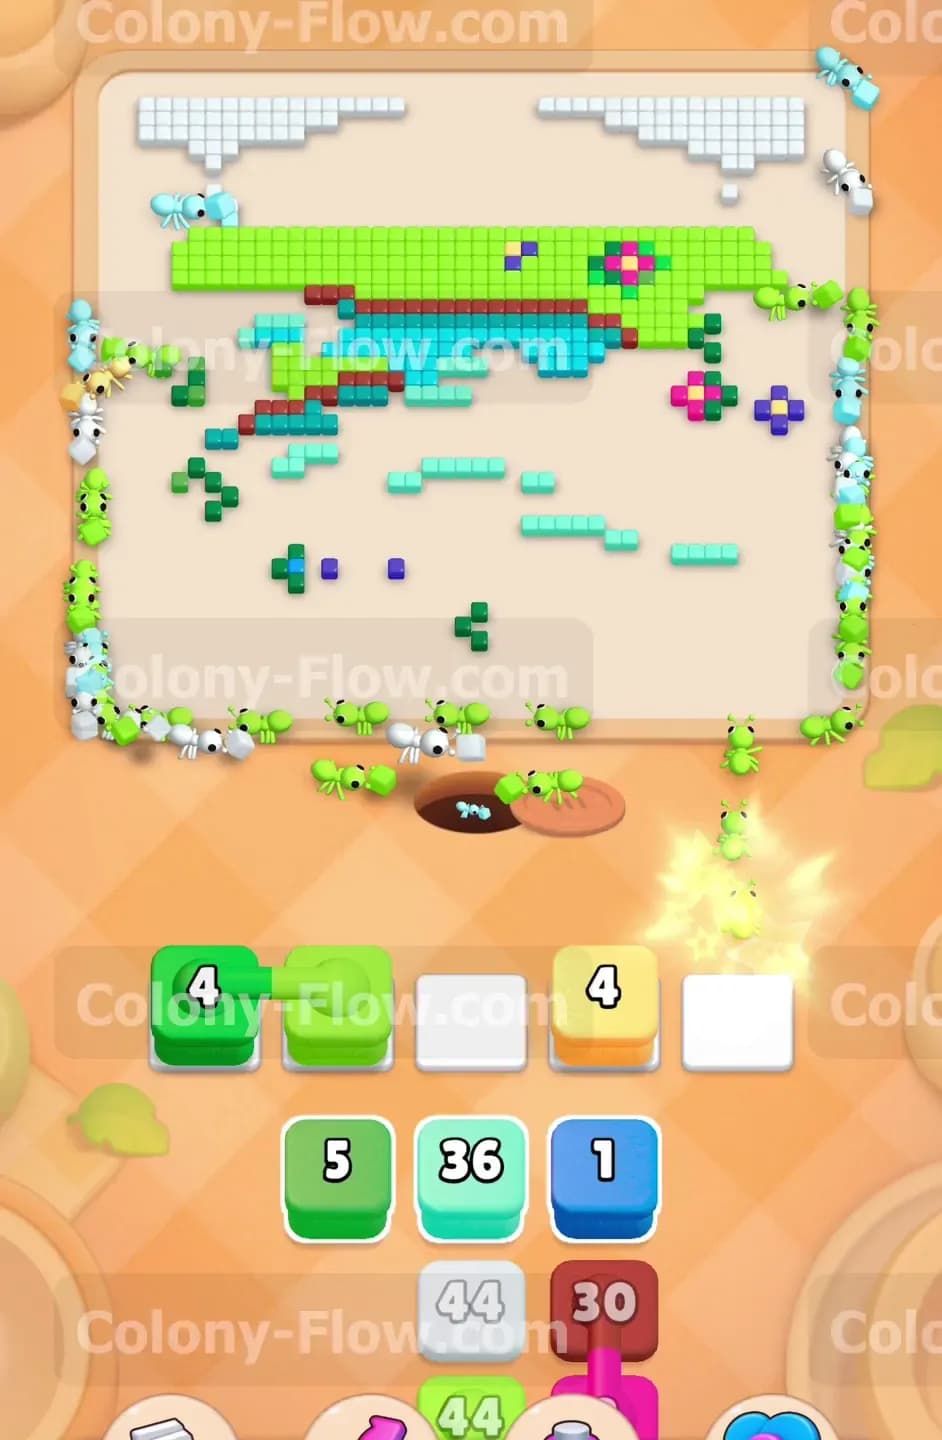
Your ants finally chew their way through the left side grass and reach the pixels surrounding the yellow key. The moment they touch the key a satisfying animation plays down in your tray as the padlocks break off. This action frees up crucial light blue and dark blue blocks that were totally frozen before. You can now pull these newly unlocked blocks into your waiting area. Bring them up immediately because you desperately need those blue colors to finish off the remaining water sections on the right side of the board. Getting those locks out of the way makes managing your limited tray space significantly easier.
Step 6: Use connected green blocks to clear the scattered fields
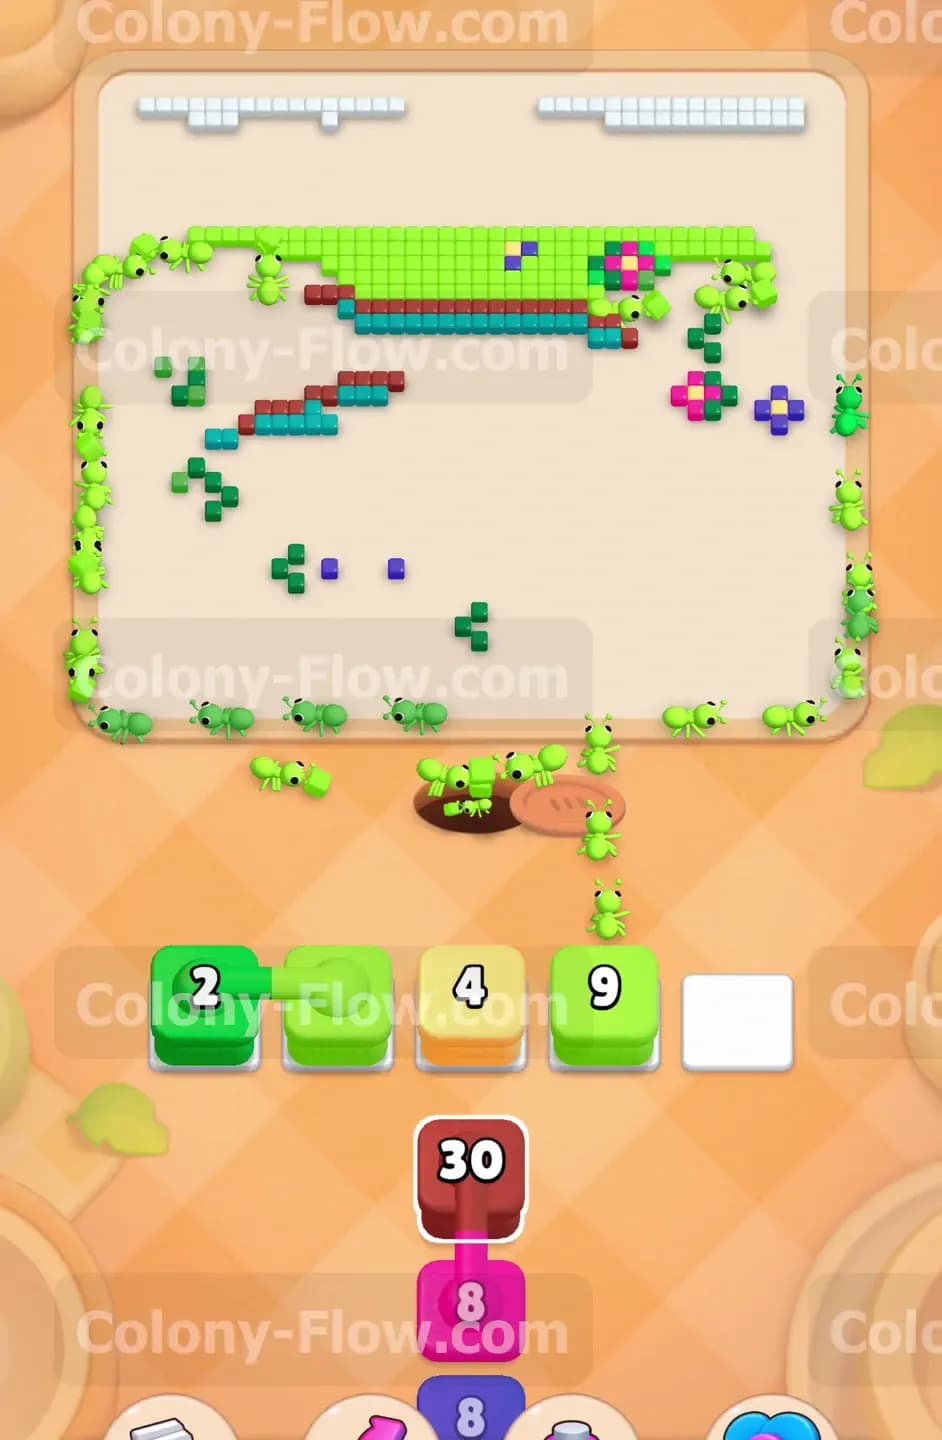
The tray soon hands you another set of connected boxes. This time you will see a green block linked to another green block. By now the remaining grass is broken up into scattered pieces around the edges of the screen. Pull these connected green pairs and let the ants divide their efforts. The colony will split into different streams and target separate green sections at the exact same time. This step is incredibly satisfying because you watch the board empty out very quickly. Just make sure you do not have any hidden brown dirt or pink flowers blocking the green grass paths before you pull the linked pairs.
Step 7: Clean up the brown riverbanks and pink flowers
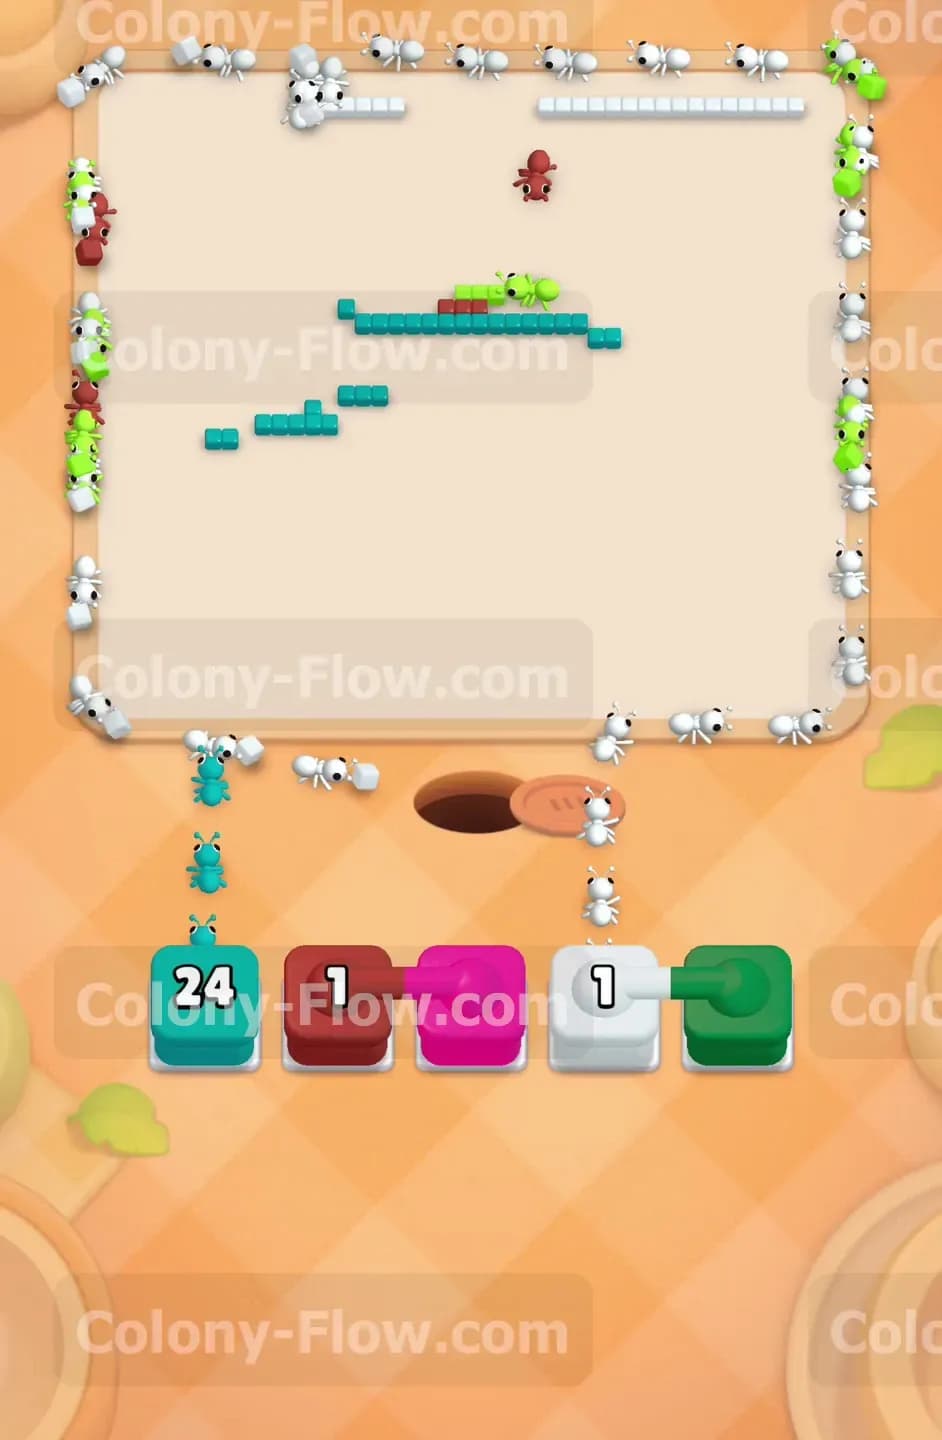
You are now down to the final stubborn details. The picture is mostly empty white space with just a few scattered colors clinging to the edges. You have a brown block with a large number 30 and a pink block with a 10. Pull the brown block first and let the ants travel all the way up to the remaining dirt patches. The walking distance is very long right now so you have to be patient. Once the brown path clears out pull the pink block to consume the leftover flowers. The ants will rush out to finish these bright details. Keep your remaining slots completely open so the colony can finish their meal without any tray traffic jams.
Step 8: Clear the final pixels and finish the board
Your tray is almost entirely empty now and only a handful of single blocks remain. You will see a small dark blue block and a final green block with tiny numbers left on them. Drag them into your waiting area. The very last ants leave the nest hole and march to the extreme edges of the screen. They clean up the final stray pixels of the beautiful landscape. The board flashes completely empty and you win the level. Because you managed your slots perfectly and kept the central highway open you never let the waiting area reach a dead end.
Final Thought
This level requires a lot of patience and careful slot management to beat. The massive numbers and connected blocks can easily trap you if you rush your pulls. If you find any of these steps hard to visualize I highly encourage you to watch the video above this article. Watching the exact timing of the pulls will help you clear the board on your very next attempt.