Colony Flow Level 588 Walkthrough Solution & Guides | How to solve Colony Flow 588

Guide By Liam Stone
Updated on August 1, 2026
You can watch the Level 588 solution unfold in the video above instead of scrolling through the article.
Video doesn't match your screen?
Game updates frequently scramble layouts! Try our AI Screenshot Solver first to find your exact board instantly, or report broken guides to our team.
Welcome to Colony Flow Level 588. This stage throws a massive symmetrical pattern at you with plenty of colorful layers to peel back. You will need careful tray management to survive the dense outer rings and reach the hidden sections inside. I played through this one a few times to find the safest route and I am ready to show you how to beat it. The board looks intimidating at first glance but breaking it down piece by piece makes it very manageable.
Colony Flow Level 588 Overview
What You Are Working With
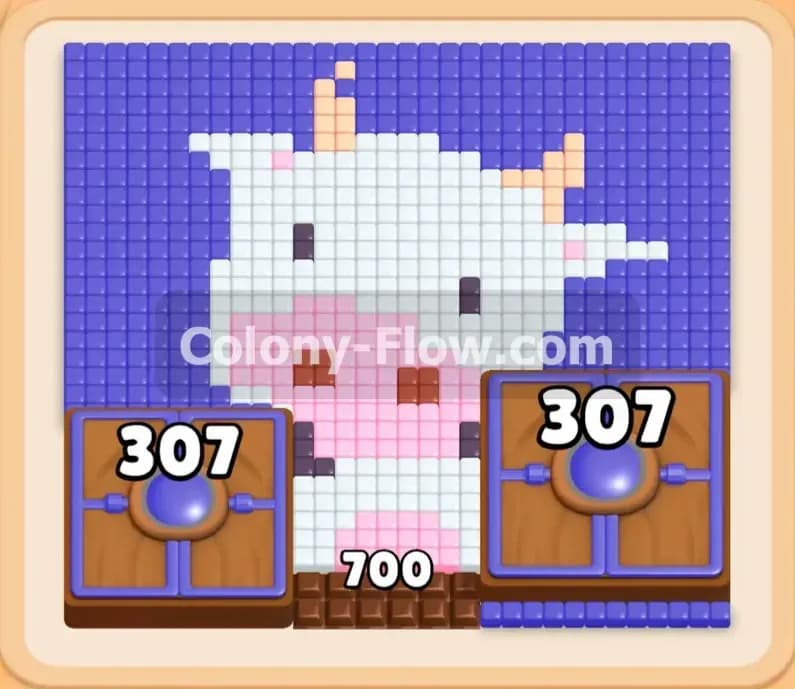
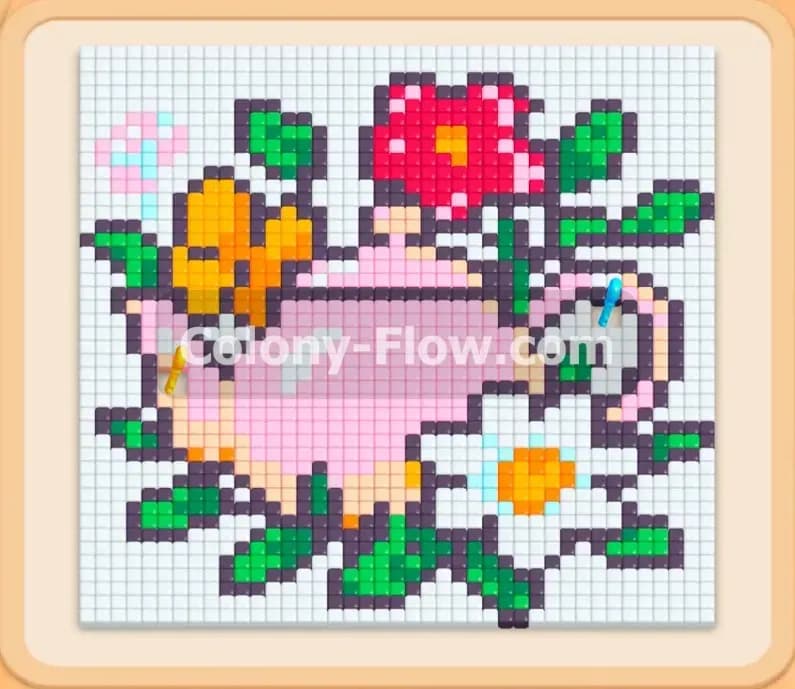
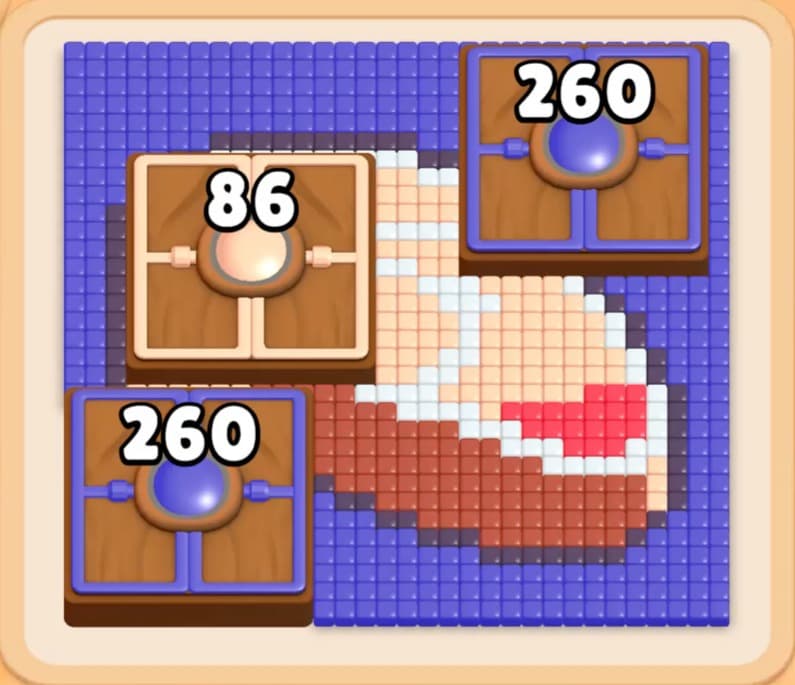
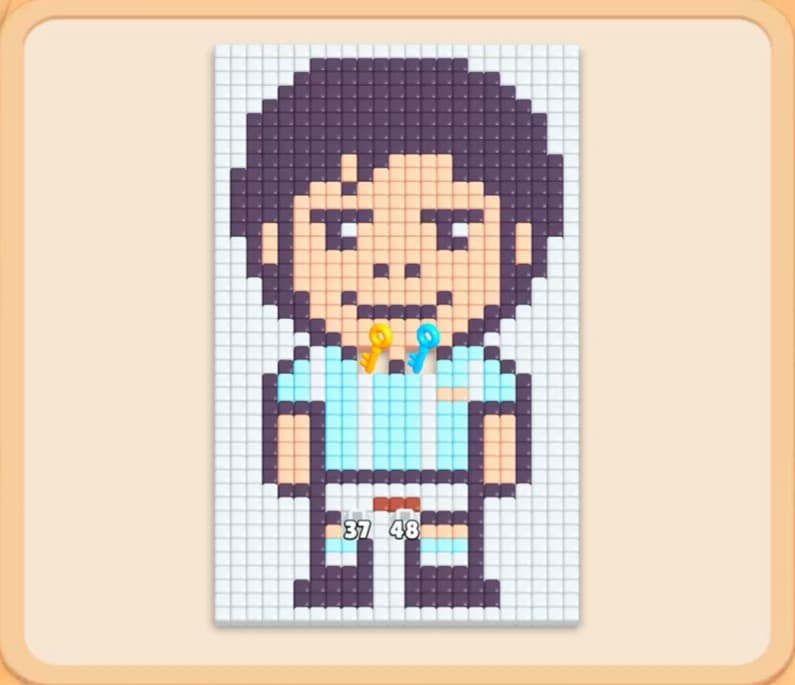
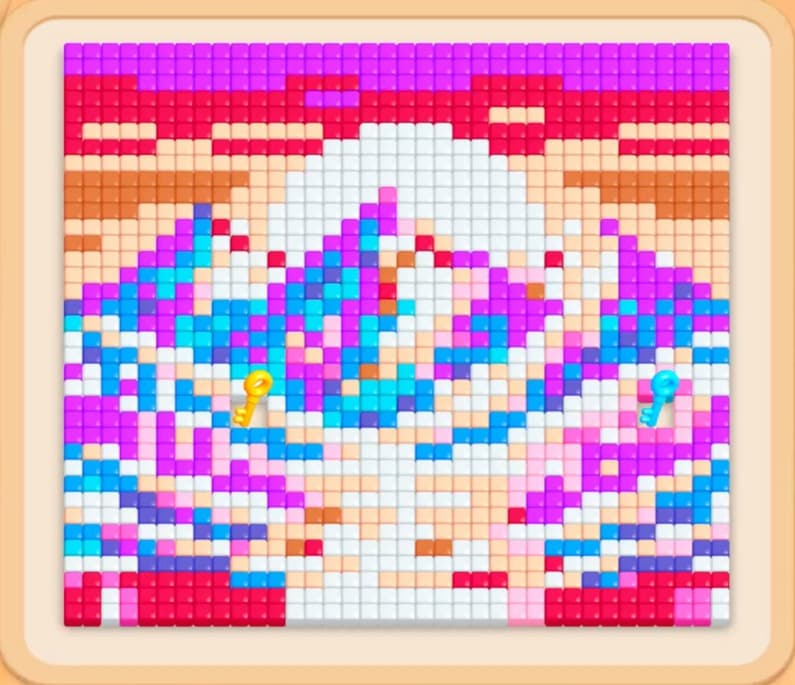
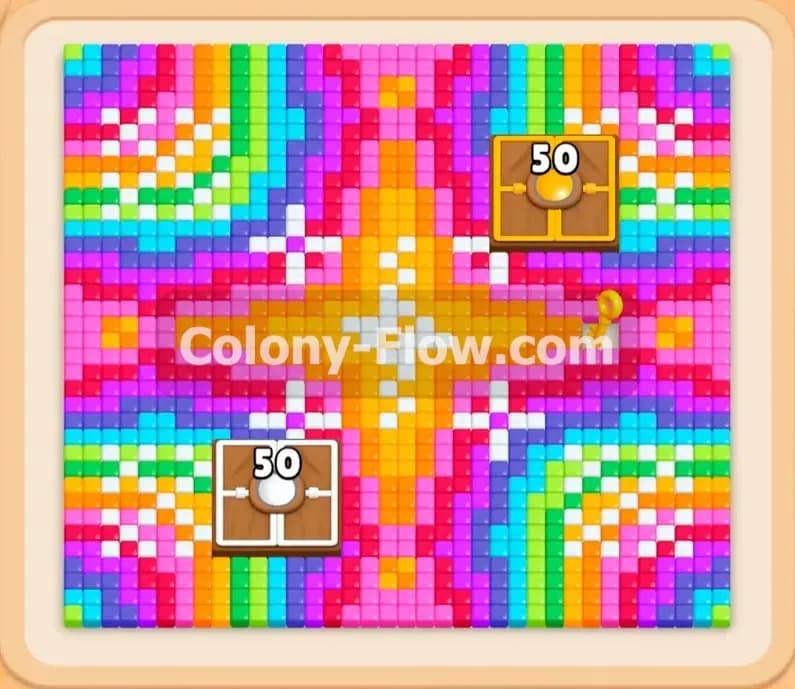
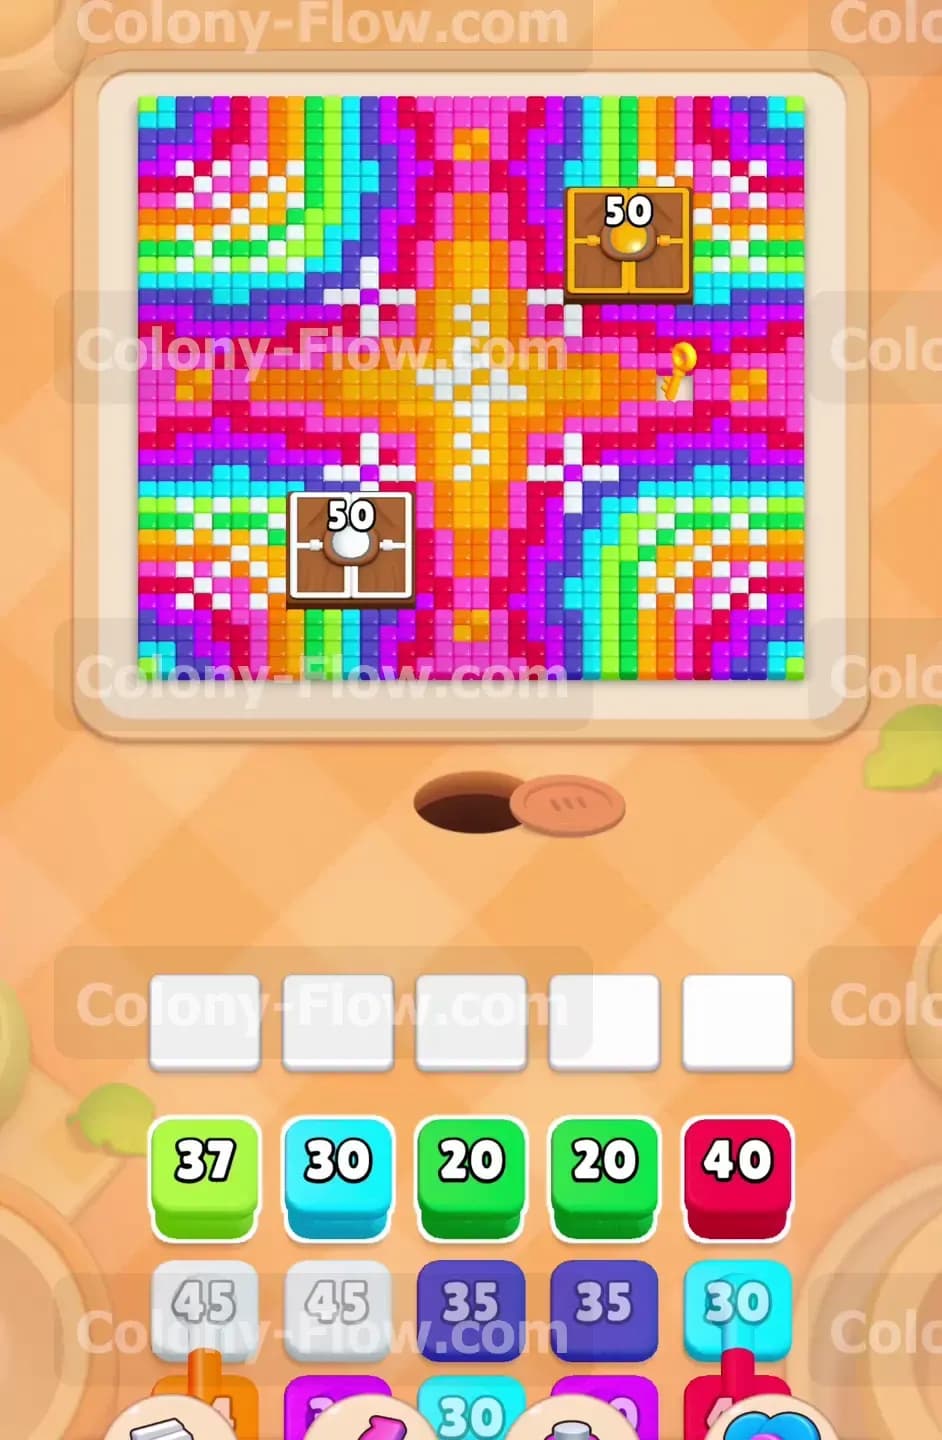
The board starts with a huge bright design covering almost the whole screen. A large white and orange star shape sits right in the middle. Radiating out from that center you have thick layers of pink purple green light blue and more white tiles. The tray at the bottom is packed with high numbers and several connected blocks that require careful timing. You will also spot two wooden lockboxes sitting on top of the food tiles. One lockbox is on the middle left side and the other is on the top right. You can see a single golden key resting on the right side of the main pattern. You need to collect that key to pop the lockboxes open.
What It Takes to Clear Level 588 Board
Winning this stage means eating every single colored tile on the board until nothing is left. The ants pour out of the nest hole at the bottom and they need clear paths to reach their matching colors. Your main danger is the row of five waiting slots above the tray. If you pull blocks that cannot reach their target tiles they will sit in those slots. Fill all five slots with stuck blocks and your run ends immediately. You must pull blocks only when a clear path exists to the exact color you need. You also need to dig through the outer colored layers to grab that golden key. Grabbing the key opens the lockboxes to reveal hidden food tiles underneath. You clear those newly revealed tiles along with the rest of the board to finish the level.
Colony Flow Level 588 Step by Step Solution
Step 1: Open the outer corners to create your initial paths
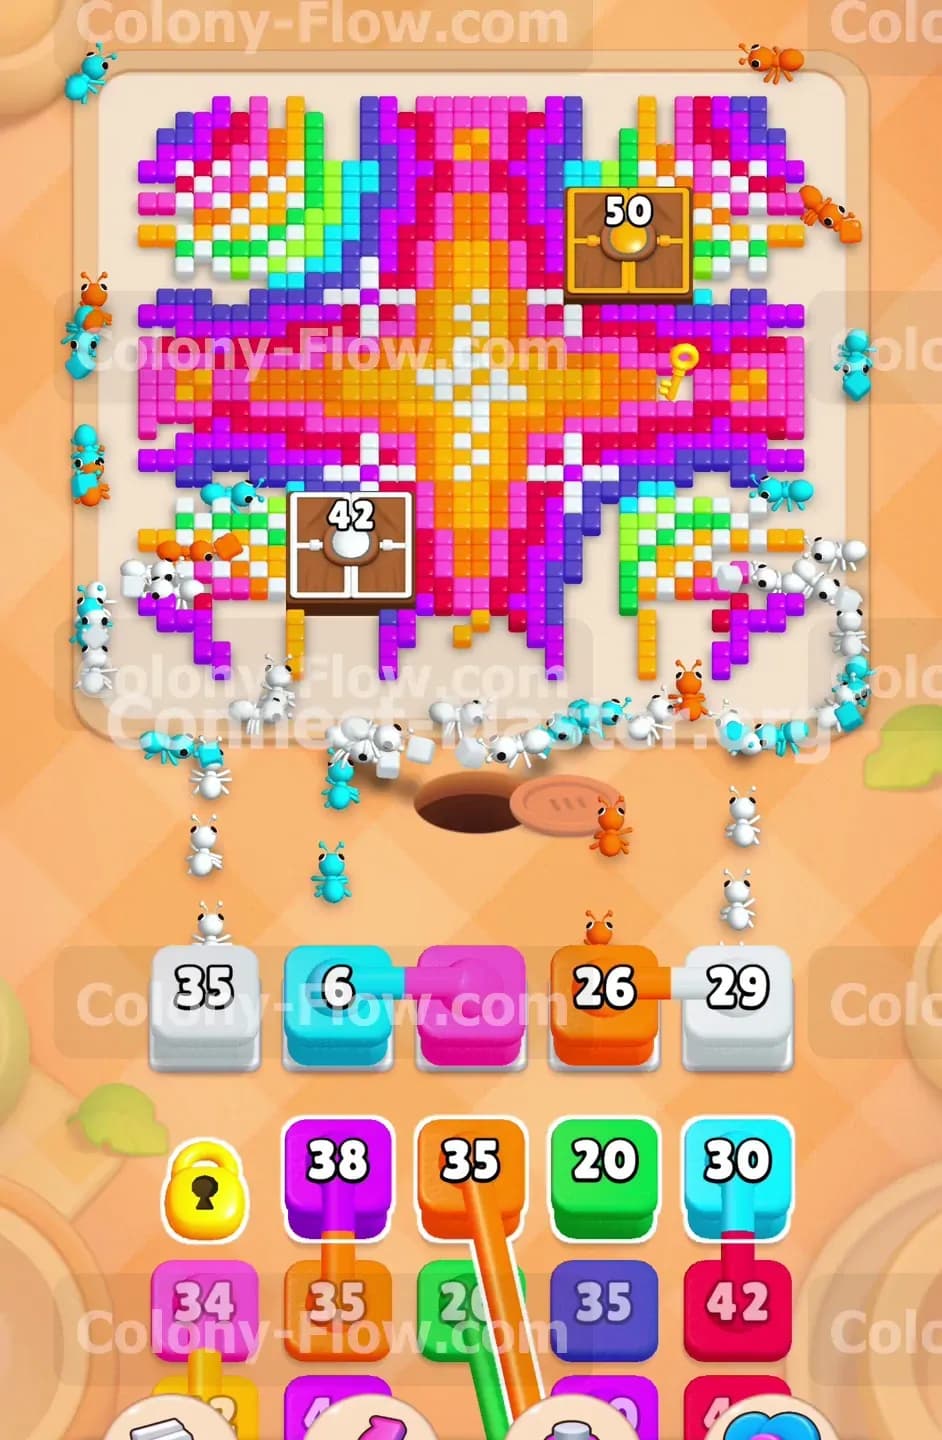
Look at the four corners of the giant pattern. The outermost edges feature light blue and white tiles. Pull your first white and light blue blocks up into the waiting slots. The ants will march out of the nest and travel up the far left and right sides of the screen to start chewing away the outer borders. You will see the numbers on your blocks tick down as the ants carry the food back to the nest hole. Pull a pink block next to start working on the thick pink layer right behind the blue tiles. Keep watching your five slots. Only pull a block when the ants are actively clearing a path for that specific color. This slow and steady corner work gives you breathing room for the rest of the puzzle.
Step 2: Use connected blocks to push deeper into the side borders
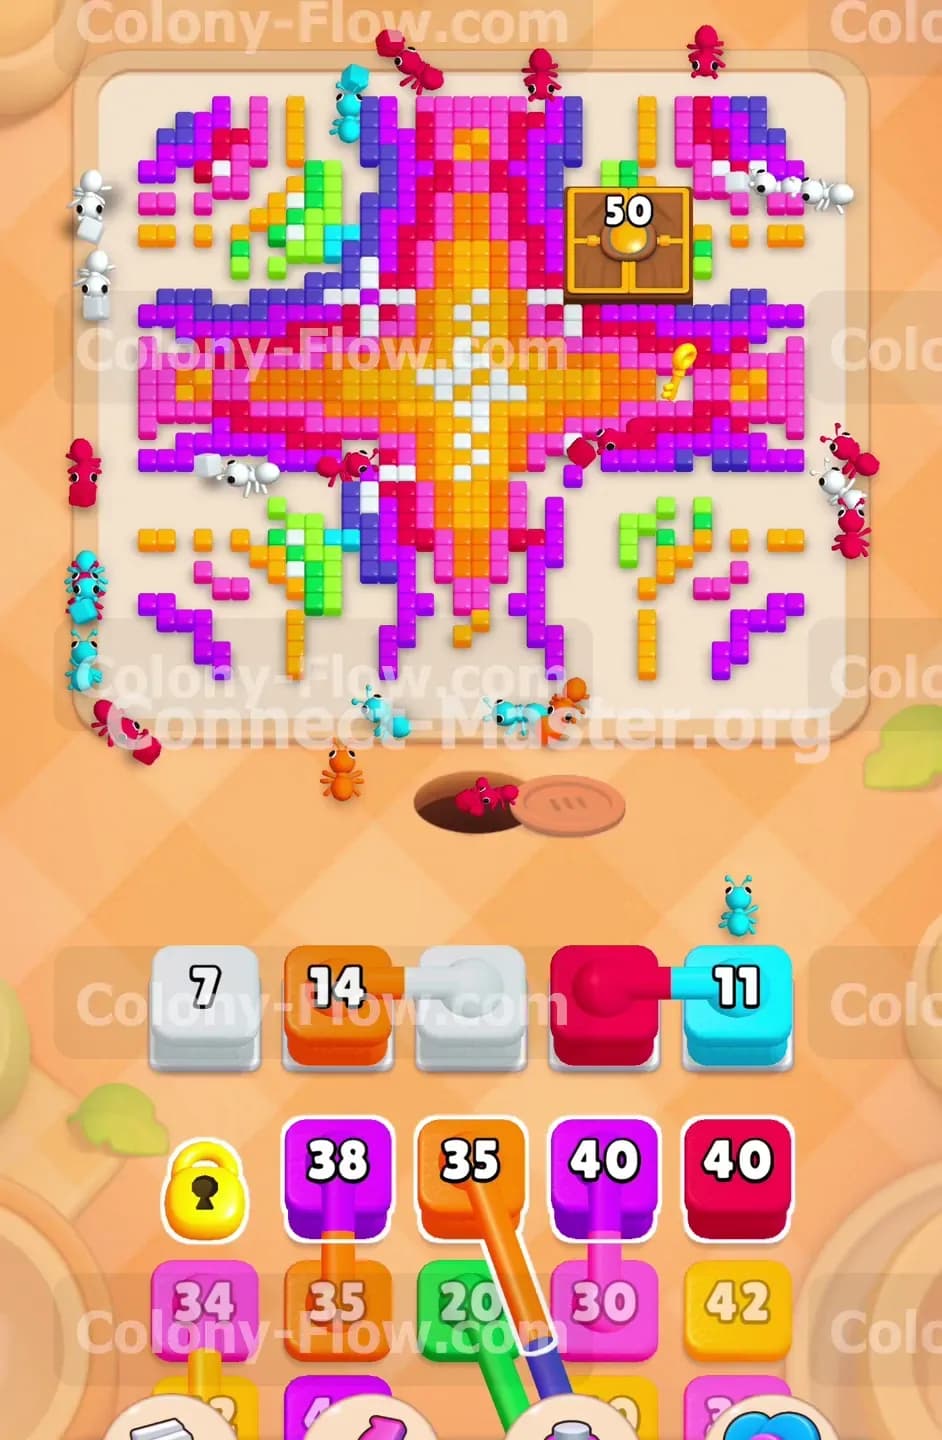
As the outer corners vanish you expose more of the inner design. The tray will start offering connected blocks where two colors link together. You must pull these carefully because both colors occupy waiting slots at the same time. Pull the connected light blue and pink blocks to carve into the left side of the pattern. You will also need orange and white blocks to clear the sections just below the middle area. Send your orange ants up the channels that you just created. The ants will stream in a long line toward the newly opened orange tiles. This clears away the bulk of the lower left quadrant and creates a massive open space.
Step 3: Work toward the right side to get closer to the key
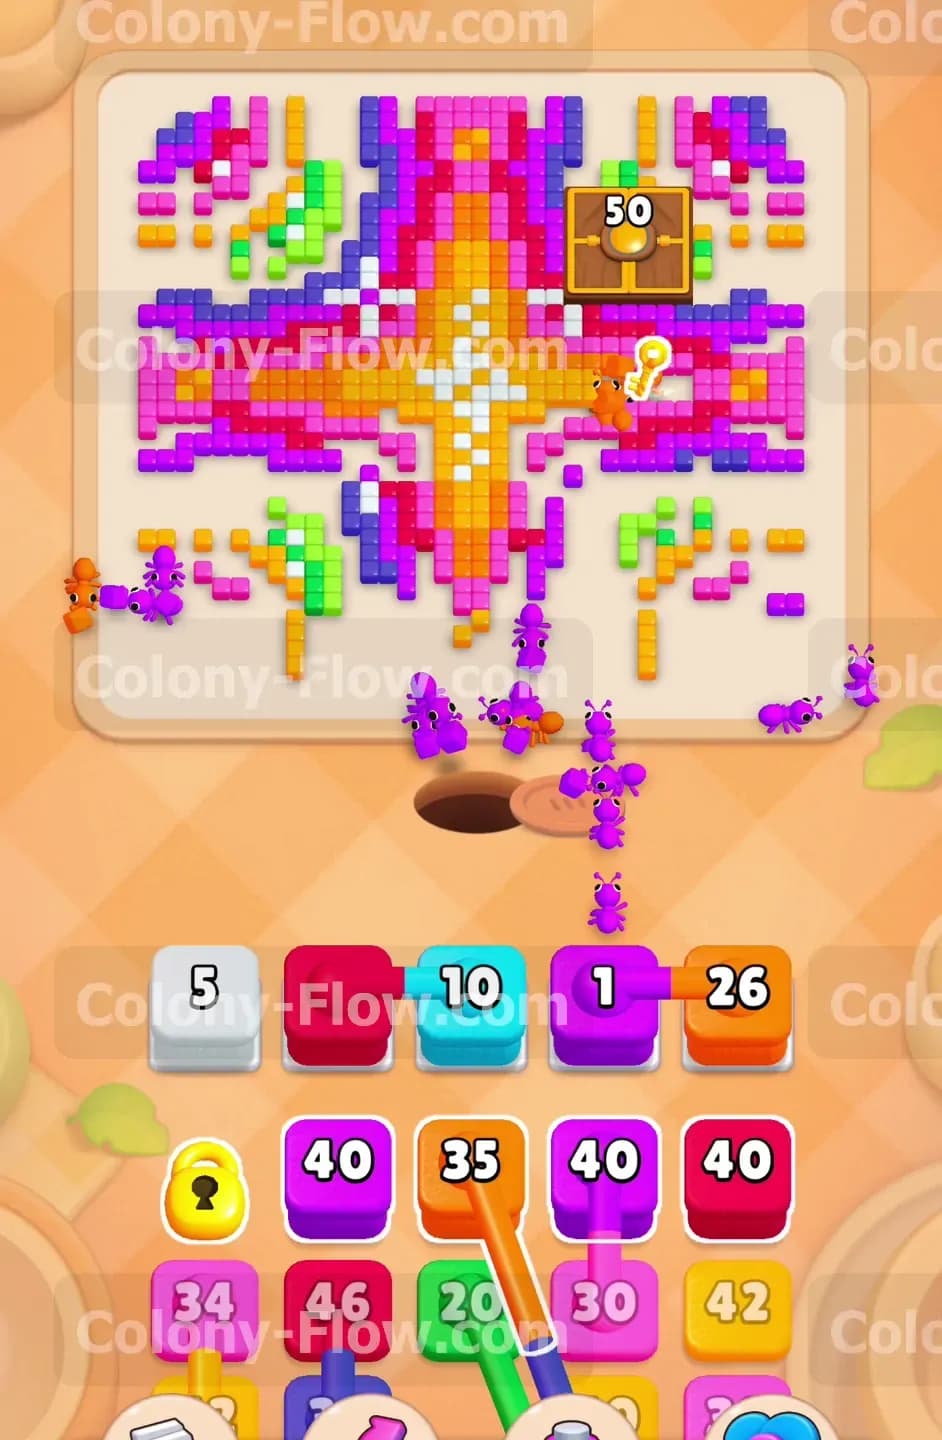
Now shift your focus to the right half of the board. The golden key sits on top of some pink tiles surrounded by purple and green layers. Pull purple blocks from the tray to let your ants swarm the right side. You will see a massive line of purple ants march around the bottom edge and head up the right wall. Send an orange block up into the slots alongside a white block to keep the momentum going. This combination clears the outer defensive rings on the right side. The path to the key is getting shorter with every move. Always ensure the block you pull matches a color that touches the open background. If a color is completely surrounded by other tiles do not pull that block yet.
Step 4: Clear the bottom left quadrant completely
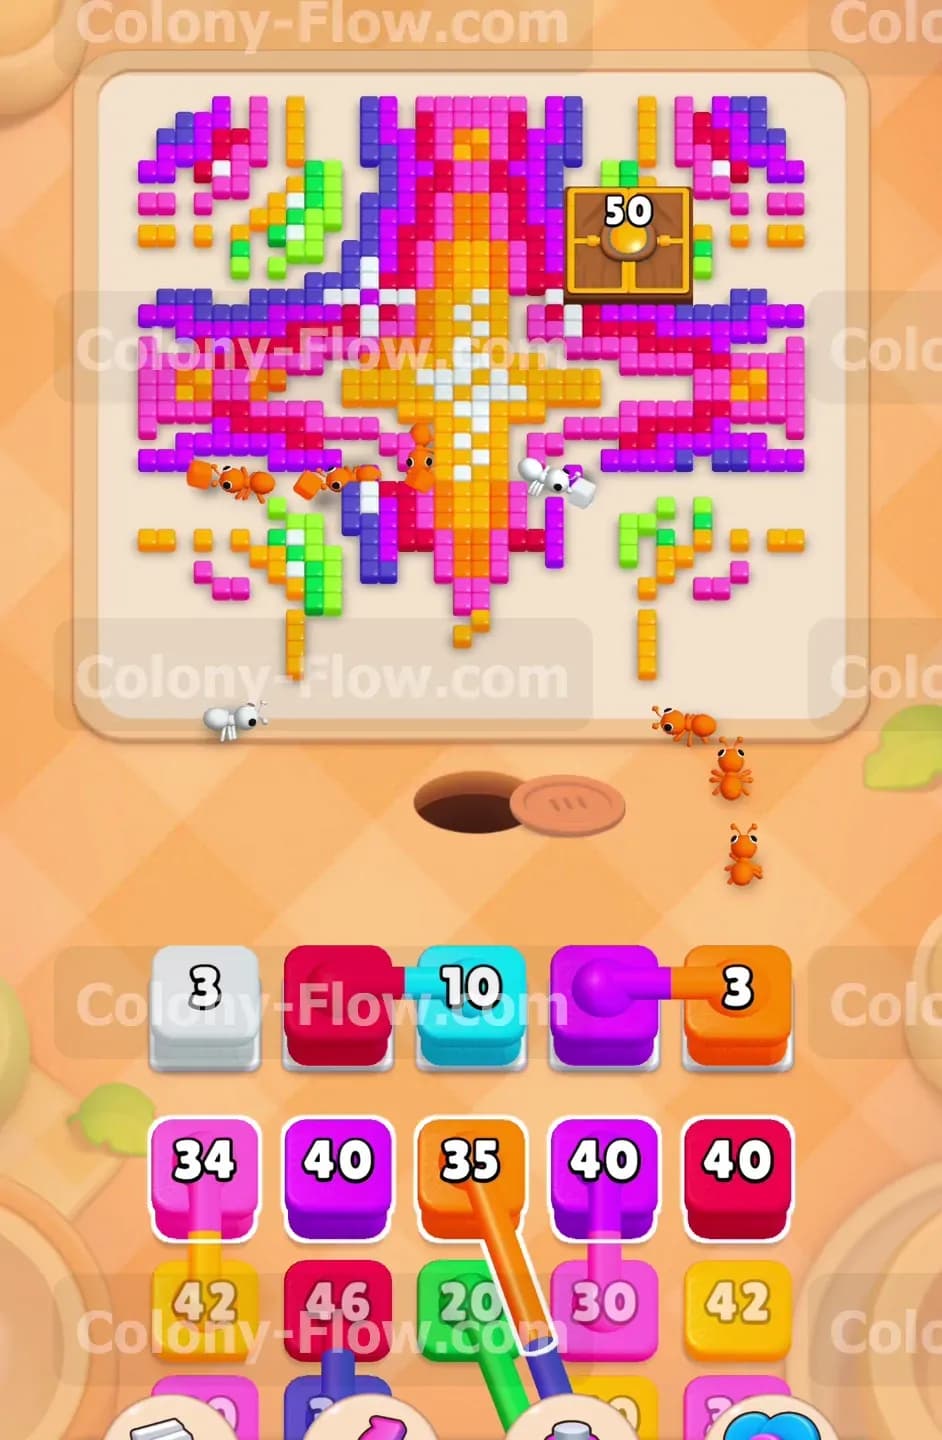
You have made good progress on both sides of the board. Now look at the left section where the first lockbox sits. The tiles around it are mostly gone by now. Pull a white block and a pink block to finish off the remaining food in that corner. You will notice the lockbox counter hit zero and vanish from the board completely. This creates a huge empty space on the left side of the screen. Having this whole area clear means your ants have a massive highway to reach the top sections without bumping into anything. Your waiting slots should be nearly empty at this point because every block you pull goes straight to work.
Step 5: Collect the golden key and unlock the top right box
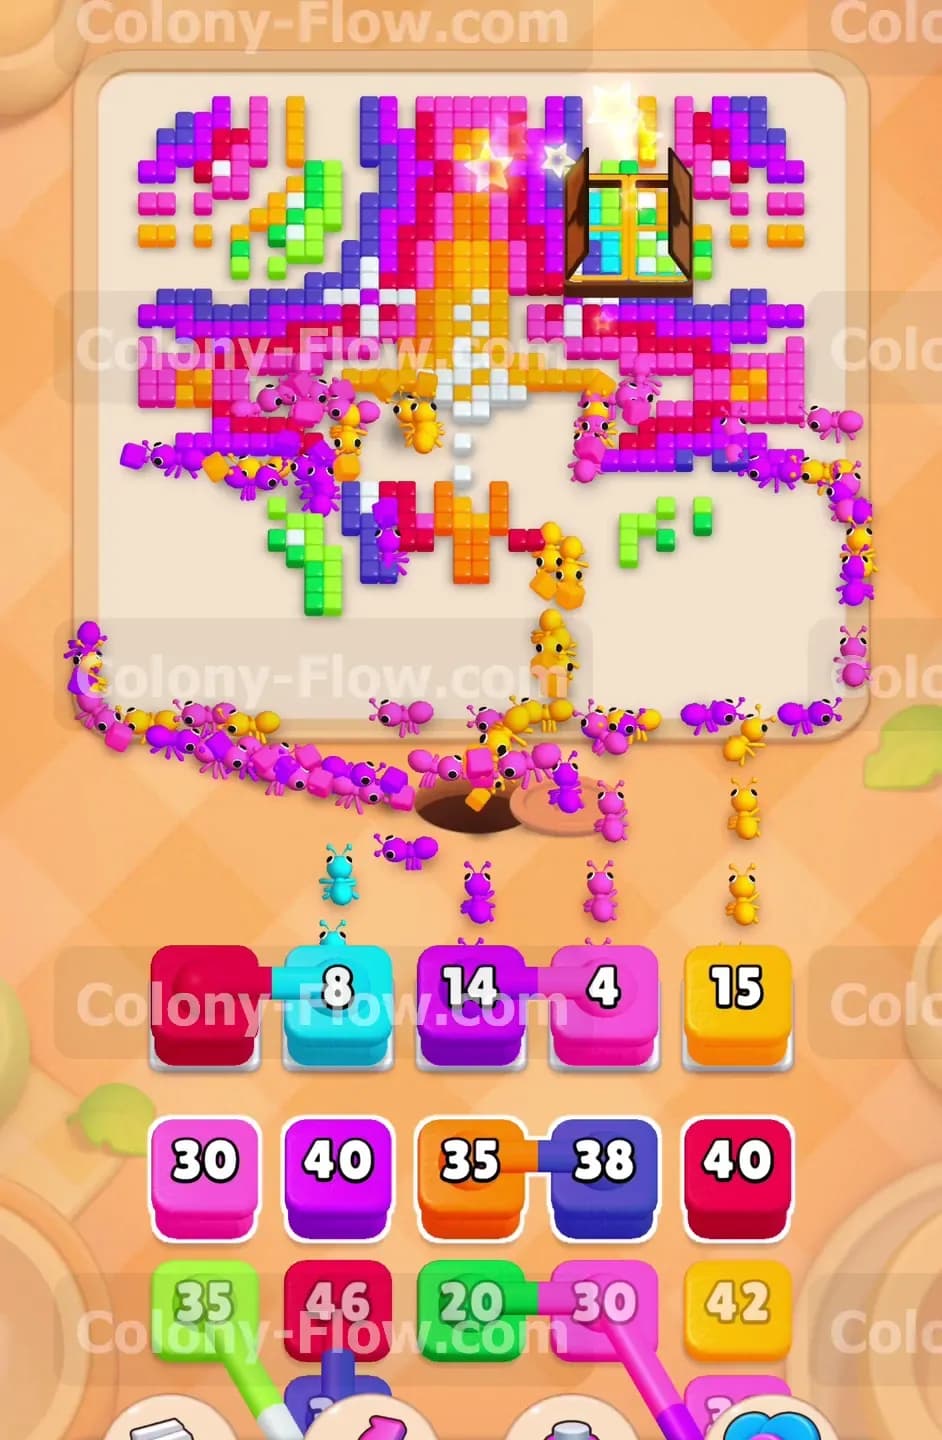
The most critical move of the level is finally here. The right side is open enough for you to target the tiles directly under the golden key. Pull the necessary pink and purple blocks to send your ants right into that specific cluster. As the ants eat the pink tiles underneath it the key falls and activates. The moment you collect that key the lockbox on the top right bursts open. A glowing animation plays and reveals a hidden square of tiles. The hidden tiles are a dense mix of light blue green purple and orange. This sudden addition of new colors is exactly why you kept your waiting slots clear. You now have immediate targets for the connected blocks waiting in your tray.
Step 6: Handle the newly revealed hidden tiles
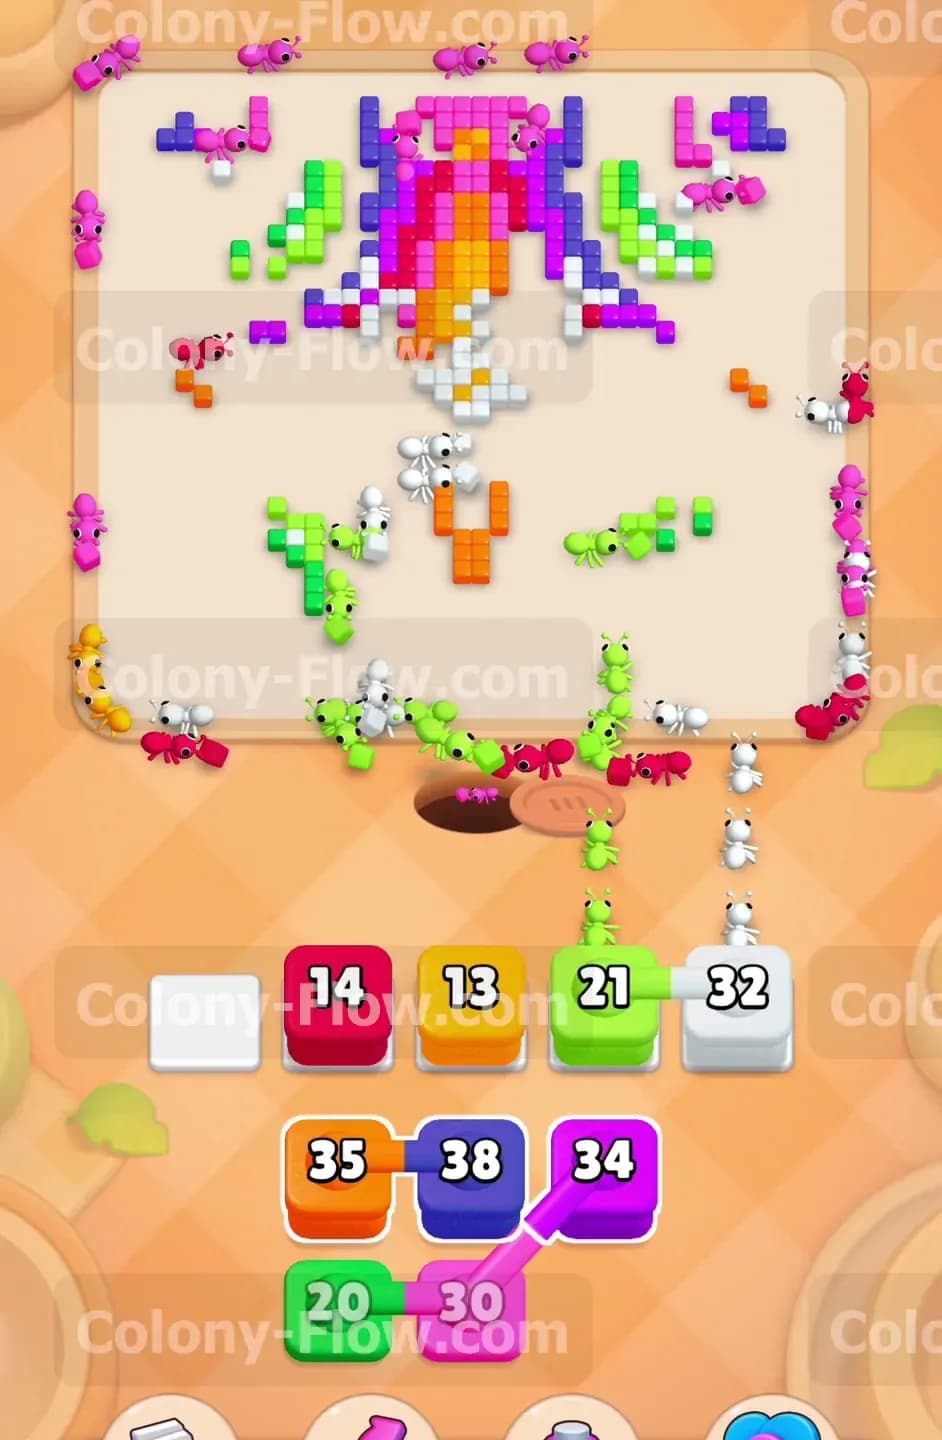
The top right corner is now a colorful mess of new food that requires immediate attention. Pull a connected pink and light blue block followed quickly by a purple block. The ants will rush the top right corner and strip away the light blue and purple layers first. You will see a pink block waiting in the slots with a small number left on it. Pull a yellow block to let ants eat the single yellow tile sticking out near the bottom center. The board is now breaking apart into smaller isolated islands of color. Keep checking the open edges of these islands. If a green tile touches the white background pull a green block. This simple rule prevents your five slots from ever jamming up while you navigate the broken pieces.
Step 7: Break down the central orange and white star
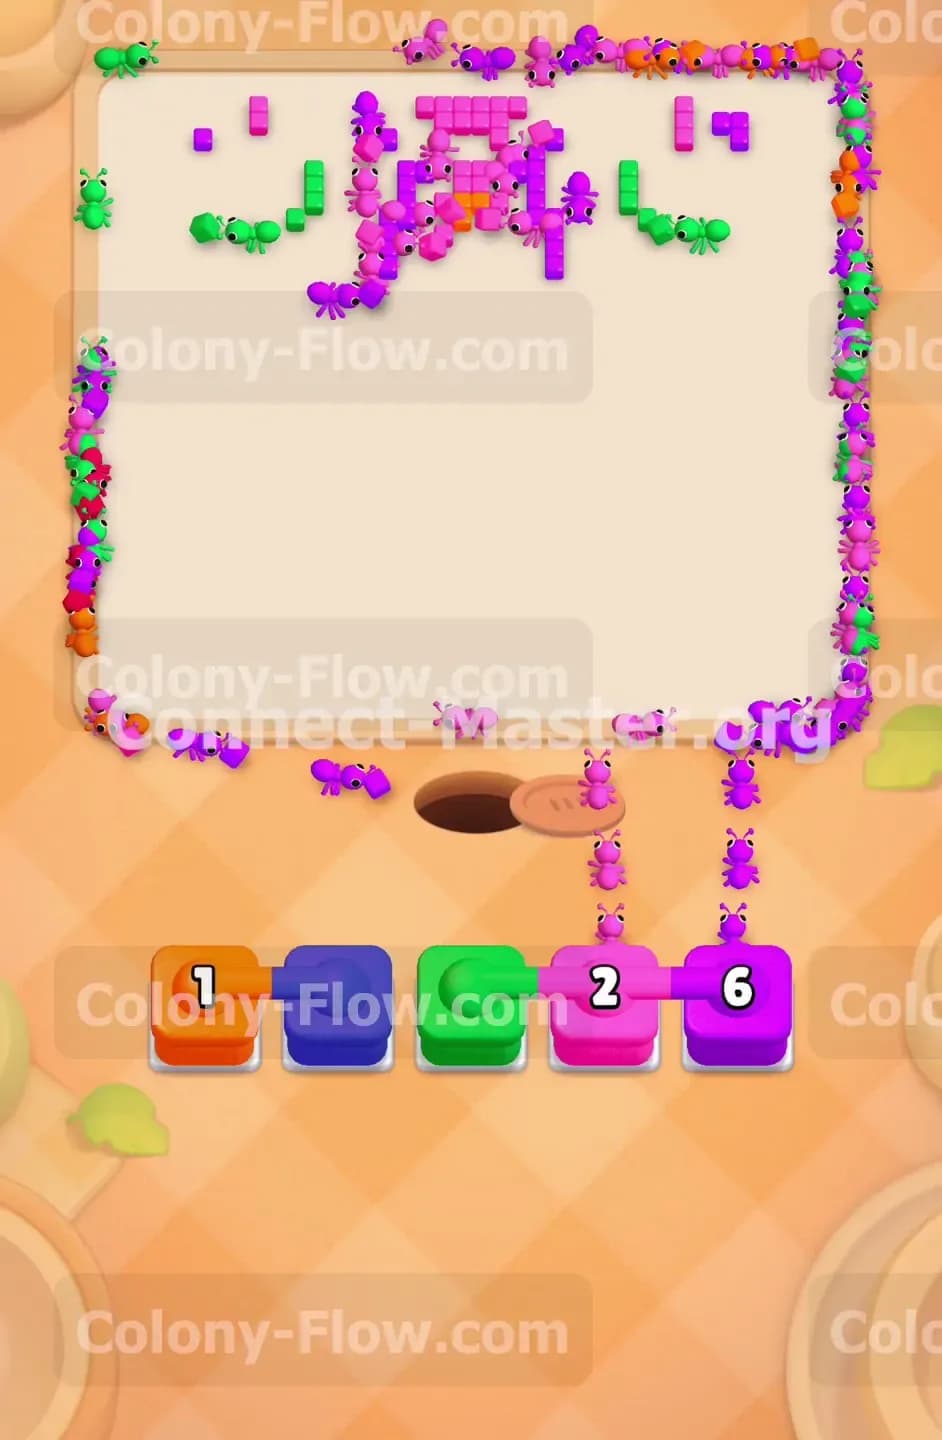
The huge star in the middle of the board is completely exposed now. You have chewed away all the colorful armor protecting it. Pull the large orange and white blocks from the tray. The ants will form two massive columns straight up the middle of the screen. They will dismantle the star very quickly because there are no other tiles blocking their path. Pulling these blocks clears a huge amount of space in the direct center of the screen. The only things left on the board are fragments of the original pattern scattered near the very top and a few stray tiles clinging to the walls. Your tray is much smaller now and you are very close to finishing the puzzle.
Step 8: Mop up the remaining scattered tiles
The final phase requires simple cleanup work. You will see small clusters of green purple and pink tiles clinging to the top edge of the screen. Look at your tray and pull the matching connected blocks to finish the job. Pull the green block to send ants across the empty center to eat the top green pieces. Pull a connected pink and purple block to handle the very last pieces on the upper right side. The ants will run a long lap around the outer edge of the screen to reach these final tiles. Watch the numbers drop to zero as the ants do their work. Once they carry the last piece of food back into the nest hole the board is completely empty and you win the stage.
Final Thought
This stage demands patience and a very careful eye on the golden key. Taking down the outer layers slowly ensures you never trap yourself with bad tray pulls. If you find yourself getting stuck on the lockbox section or the central star I highly recommend you watch the video above this article. Seeing the ants move in real time makes the correct path much easier to understand.