Colony Flow Level 132 Walkthrough Solution & Guides | How to solve Colony Flow 132

Guide By Liam Stone
Updated on July 11, 2026
The written guide below covers Level 132 in depth, but you can watch the video above for the same solution.
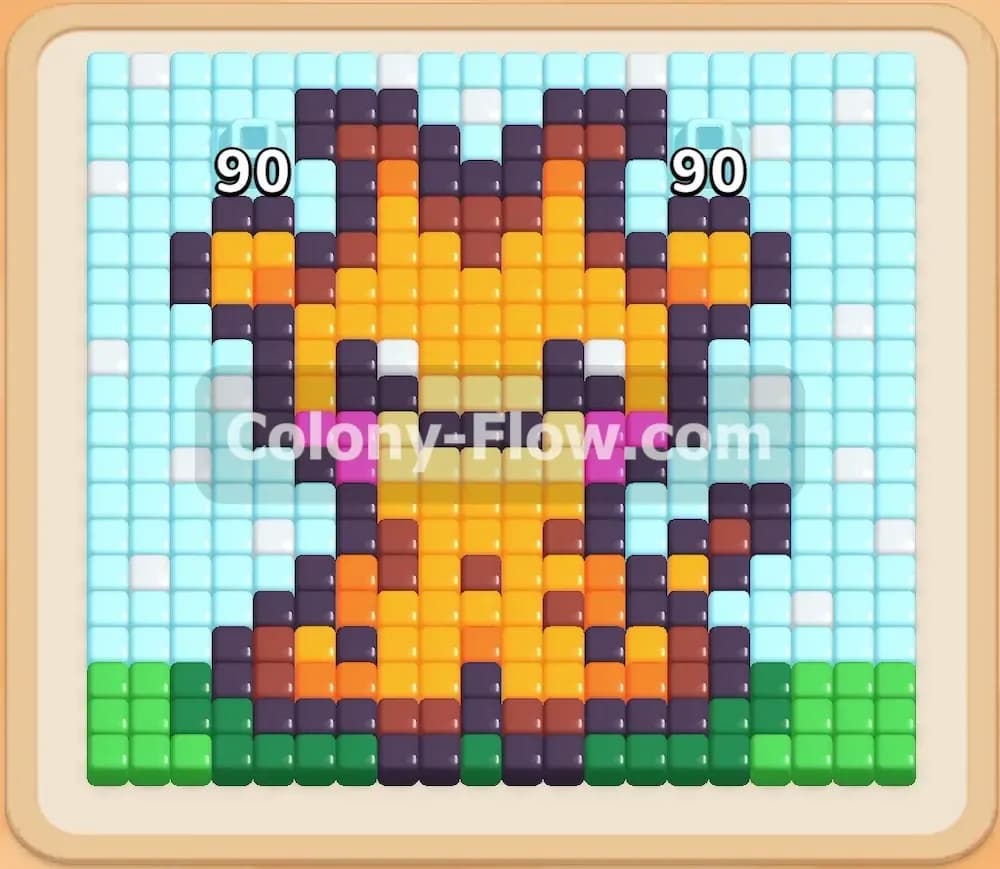
Video doesn't match your screen?
Game updates frequently scramble layouts! Try our AI Screenshot Solver first to find your exact board instantly, or report broken guides to our team.
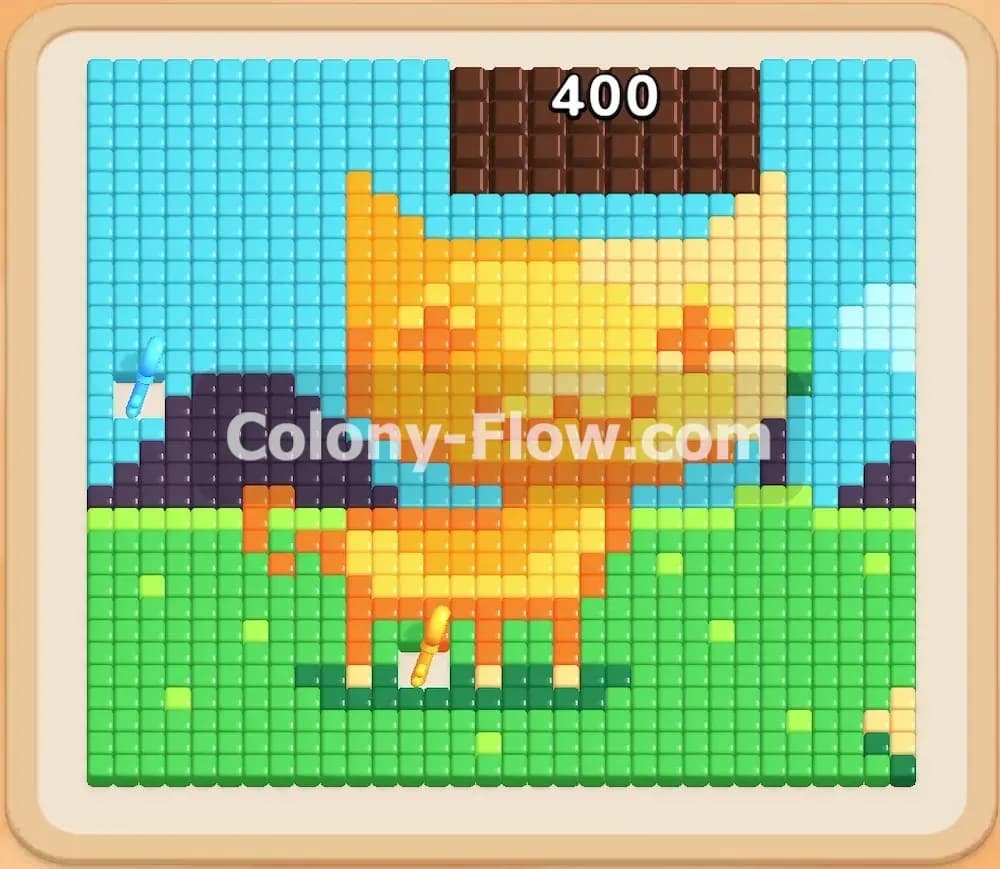
Welcome back to another puzzle guide where we tackle the tricky boards of Colony Flow Level 132 together. This specific puzzle features a massive pixel art giraffe that requires a lot of careful tray management to feed to your hungry ant colony. The board is surrounded by a huge light blue sky that entirely blocks your access to the upper sections of the animal. You will need to carve out a clear walking path through the green grass and the sky before you can safely dismantle the thick dark grey outline. Follow my moves closely to keep your waiting slots clear and secure the win.
Colony Flow Level 132 Overview
What You Are Working With
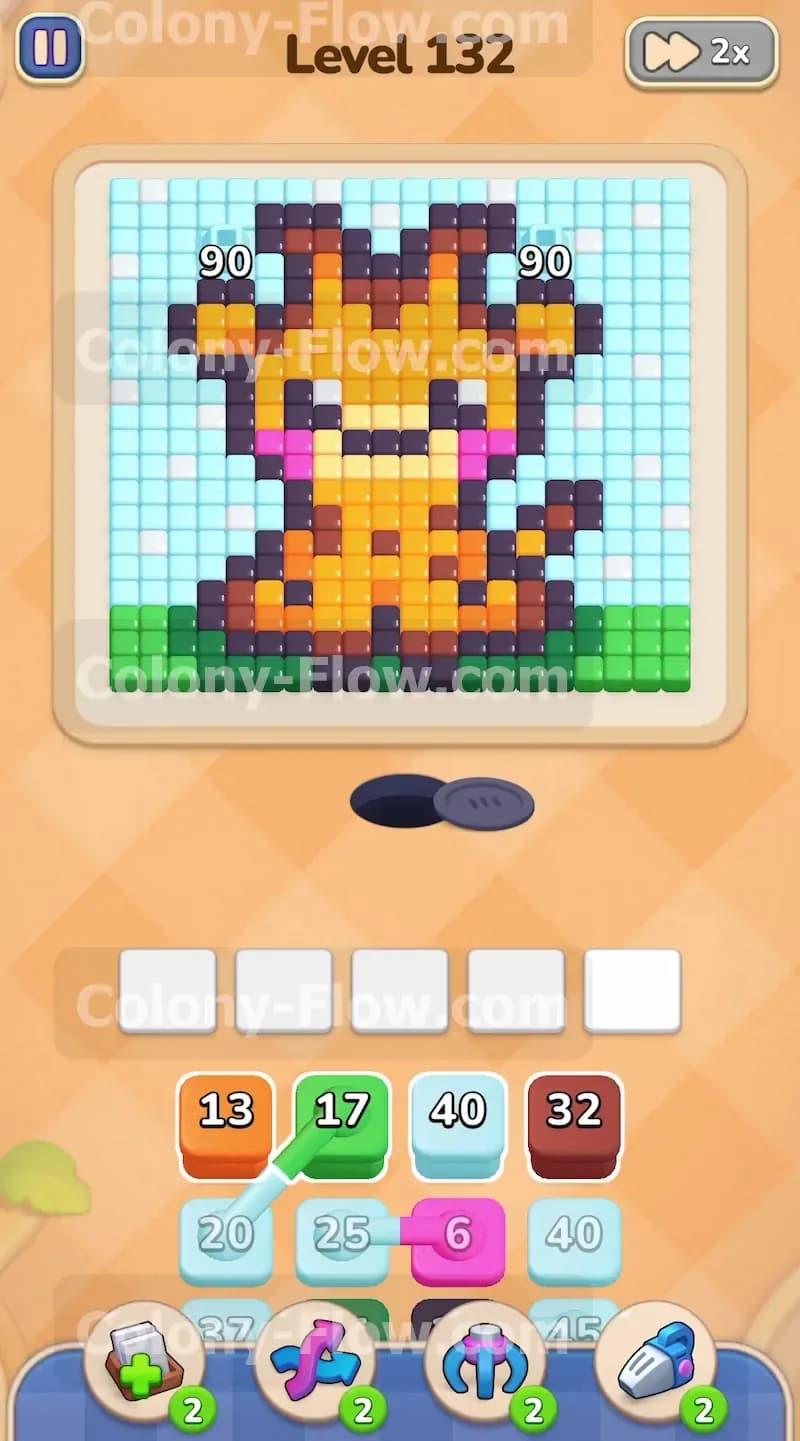
The pixel art for this stage features a cute sitting giraffe resting on a bed of green grass with a vast light blue sky stretching out behind it. The giraffe consists of a bright yellow body dark brown spots orange accents pink cheeks and a solid dark grey outline. Down in your lower tray you have a scattered mix of green light blue dark brown orange dark grey pink and yellow numbered blocks. There are no special hidden boxes or tricky chocolate wrappers to worry about on this board. You simply face a huge solid wall of food tiles that restrict your ant movement and limit your available paths.
What It Takes to Clear Level 132 Board
You win the stage when every single tile is eaten by the matching colored ants and the whole giraffe completely disappears from the screen. The absolute main challenge here is the strict five slot limit at the bottom of the screen. If you pull too many blocks that cannot reach their target colors your slots will fill up and you will instantly lose the run. Your strategy must focus on working from the outside edges inward. You must open the bottom grass first then clear out the massive sky then break the outer outline and finally consume the inner body parts without ever causing a dead end.
Colony Flow Level 132 Step by Step Solution
Step 1: Clear the green grass at the bottom of the board
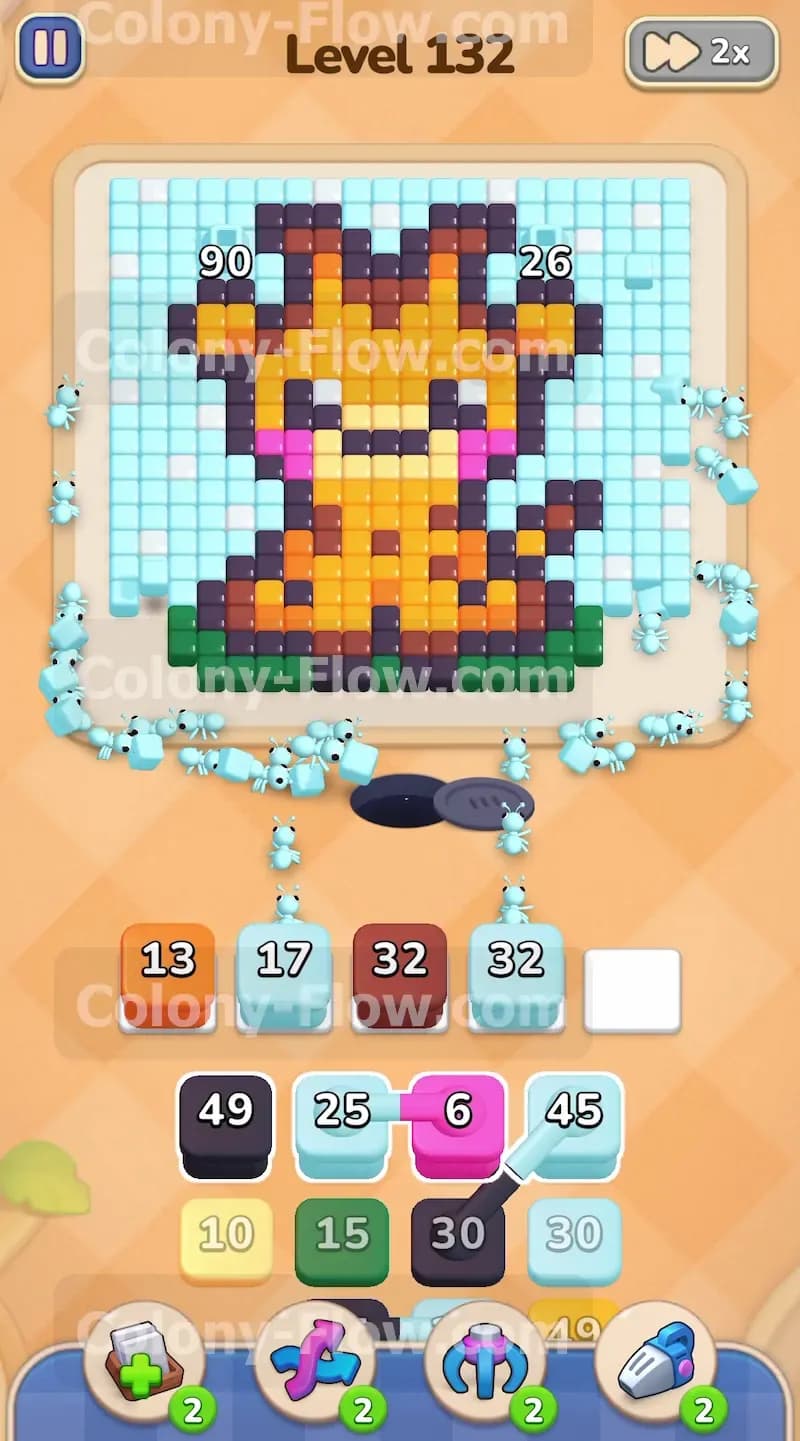
Look directly at the bottom section of the pixel art picture where the giraffe is resting. You will notice a thick horizontal strip of green grass tiles spanning the lower edge. Your nest hole is located just below this grass. If you pull any other color first those ants will crash straight into the green tiles and stop moving. This creates an immediate dead end that will jam your waiting slots and end your run early. To avoid this you must pull the green block from your tray first. The green ants will emerge from the nest hole and march straight up to consume the grass. As they eat away the green tiles they carve out a wide open path along the entire bottom border of the board. This newly created path is the foundation for your entire strategy because it allows all future ants to walk around the central obstacle and reach the sides of the picture. Wait for the green block to count down to zero and vanish before you make your next major move.
Step 2: Send out the light blue ants to consume the sky
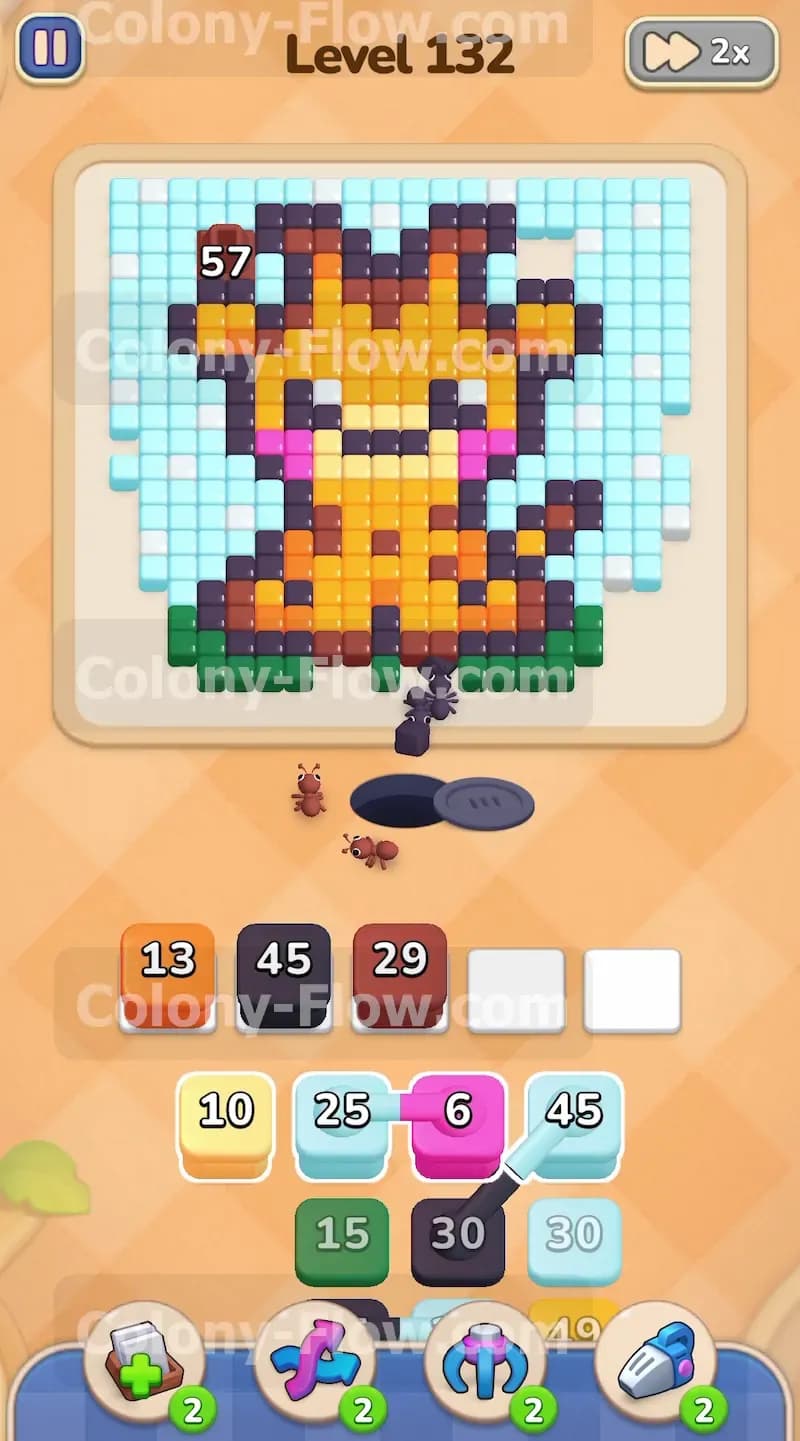
With the bottom path completely clear you are now ready to take on the most massive obstacle on the board. The light blue sky covers the entire background behind the giraffe and wraps around the top and sides. You will see large numbers like ninety floating over these light blue sections indicating just how many tiles you need to clear. Pull your light blue blocks up into the waiting slots. The light blue ants will stream out of the nest hole travel along the empty bottom path you just created and turn upwards to climb the extreme left and right edges of the board. They will swarm over the background and slowly eat away the sky. Because this area is so large you will need to pull multiple light blue blocks to get the job done. Be very careful not to fill all five of your slots with other colors while the light blue ants are working. Give them the time and space they need to strip away the background. Removing the sky exposes the top of the giraffe head the ears and the outer edges of the entire animal.
Step 3: Attack the dark grey outline around the giraffe
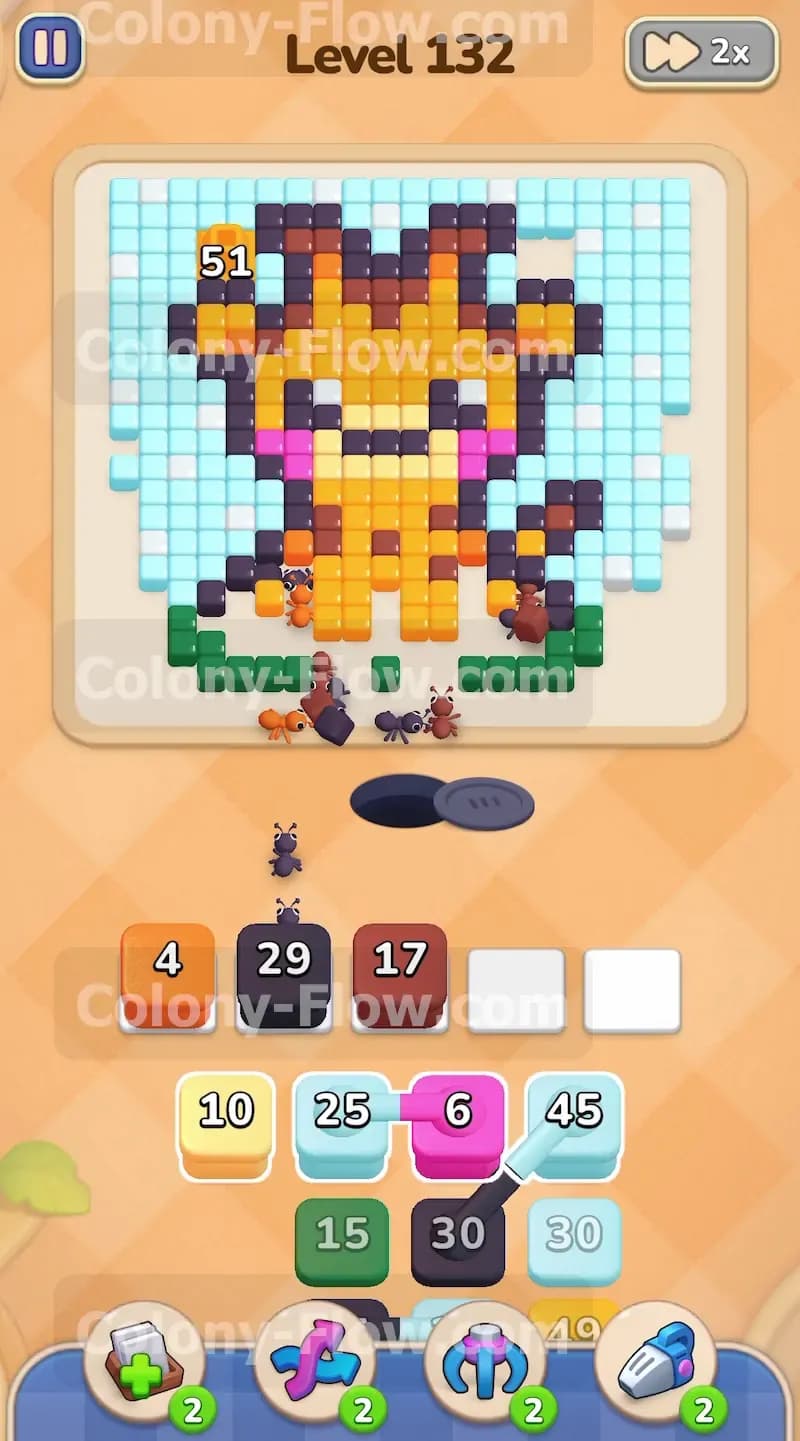
Once the light blue sky is largely out of the way the outer shell of the animal becomes totally vulnerable to your colony. The giraffe is surrounded by a continuous dark grey outline that traces its head its little horns its ears its main body and its tail. Pull the dark grey blocks into your active tray slots to send out the dark grey ants. Because the sky is gone these ants have completely open routes to approach the giraffe from the top the left and the right. They will start nibbling away the thick outline breaking down the barrier that protects the inner colors. This step is a critical phase of the puzzle. The dark grey outline acts like a solid wall and you must tear it down to access the yellow and orange tiles inside. Keep a close eye on your waiting slots as the dark grey blocks count down. Ensure the dark grey ants never run out of open targets and always verify that a path remains clear before you pull the next block.
Step 4: Target the dark brown hooves and body spots
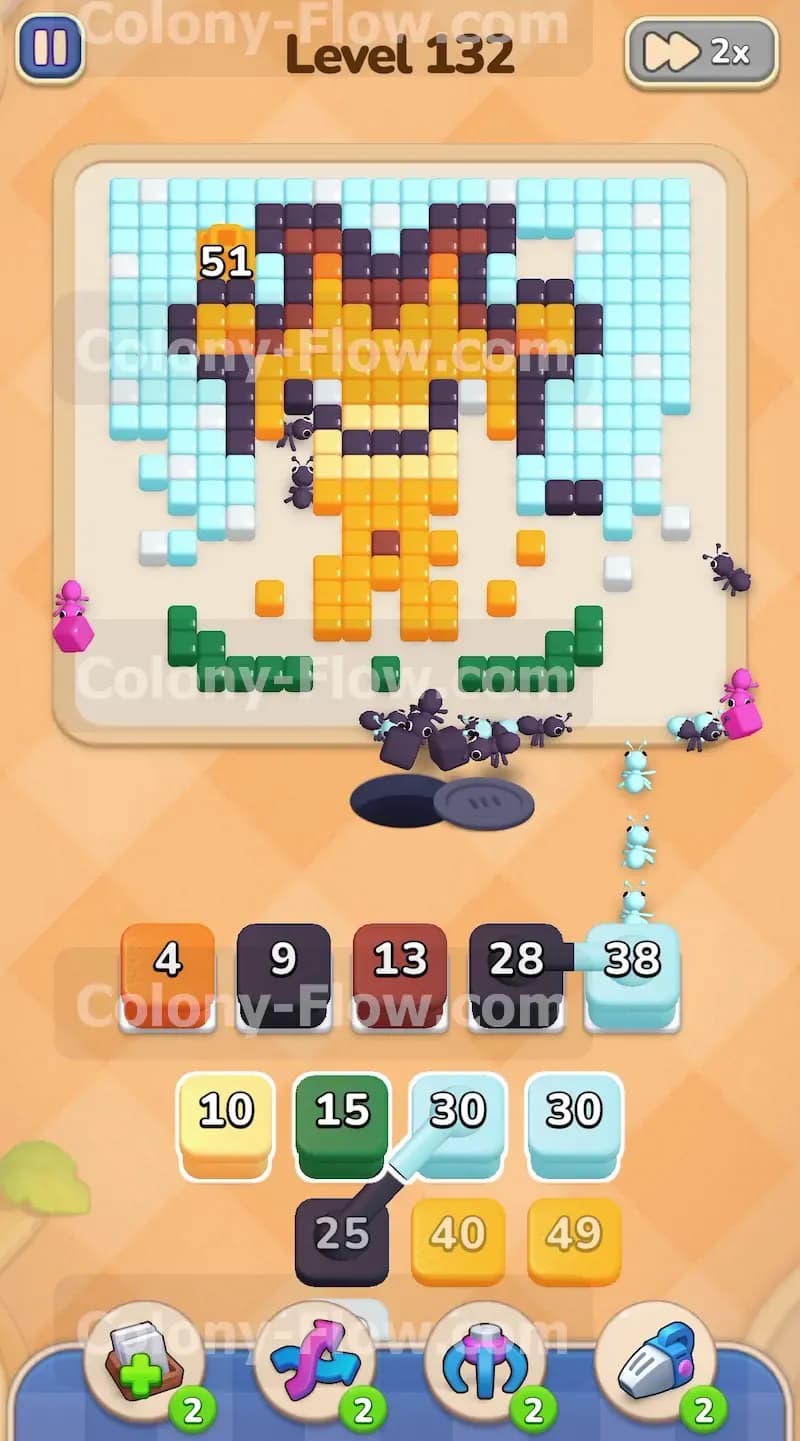
As the dark grey outline breaks apart it leaves behind exposed edges and gaps leading directly into the main figure. You will spot several dark brown sections scattered across the picture. These include the solid dark brown hooves resting at the bottom and the square dark brown spots decorating the back and neck of the giraffe. Pull the dark brown blocks from your lower tray to unleash your dark brown ants. The ants will flood through the gaps in the outline and rush straight to these specific clusters. They will consume the hooves first since they are closest to the nest hole and then climb higher to eat the spots on the body. Clearing out these dark brown sections is incredibly helpful because it punches deep holes into the solid mass of the animal. These holes create multiple new entry points for the remaining colors. Keep your tray organized by allowing the dark brown blocks to finish their work before you pull too many bright colors into the queue.
Step 5: Eat the orange accents on the head and body
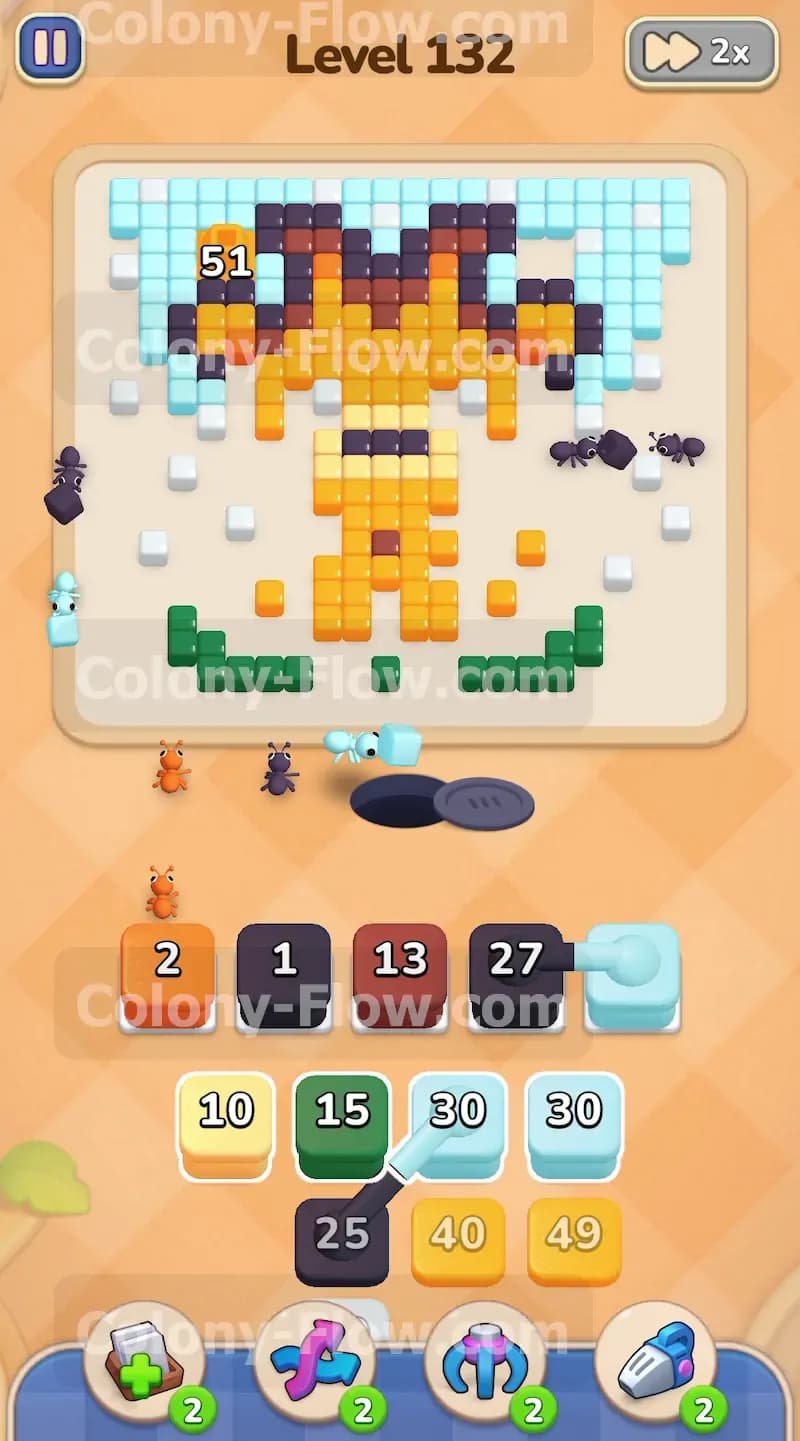
The next layer of the puzzle involves the bright orange accents that give the giraffe depth and shading. You will find orange tiles highlighting the inner ears the snout and the shaded underside of the torso and legs. Pull the orange blocks up into your five waiting slots. The orange ants will navigate the empty spaces left behind by the dark brown spots and the missing dark grey outline. They will swarm into the upper sections of the head to clean out the ears and rush into the lower sections to finish the sitting legs. You will watch the numbers on the orange blocks drop rapidly as the ants find easy access to their matching food tiles. This massive wave of clearing removes a significant portion of the inner picture. At this point your board is becoming very empty. The risk of creating a dead end is dropping drastically because paths are open in almost every direction.
Step 6: Consume the bright pink cheek squares
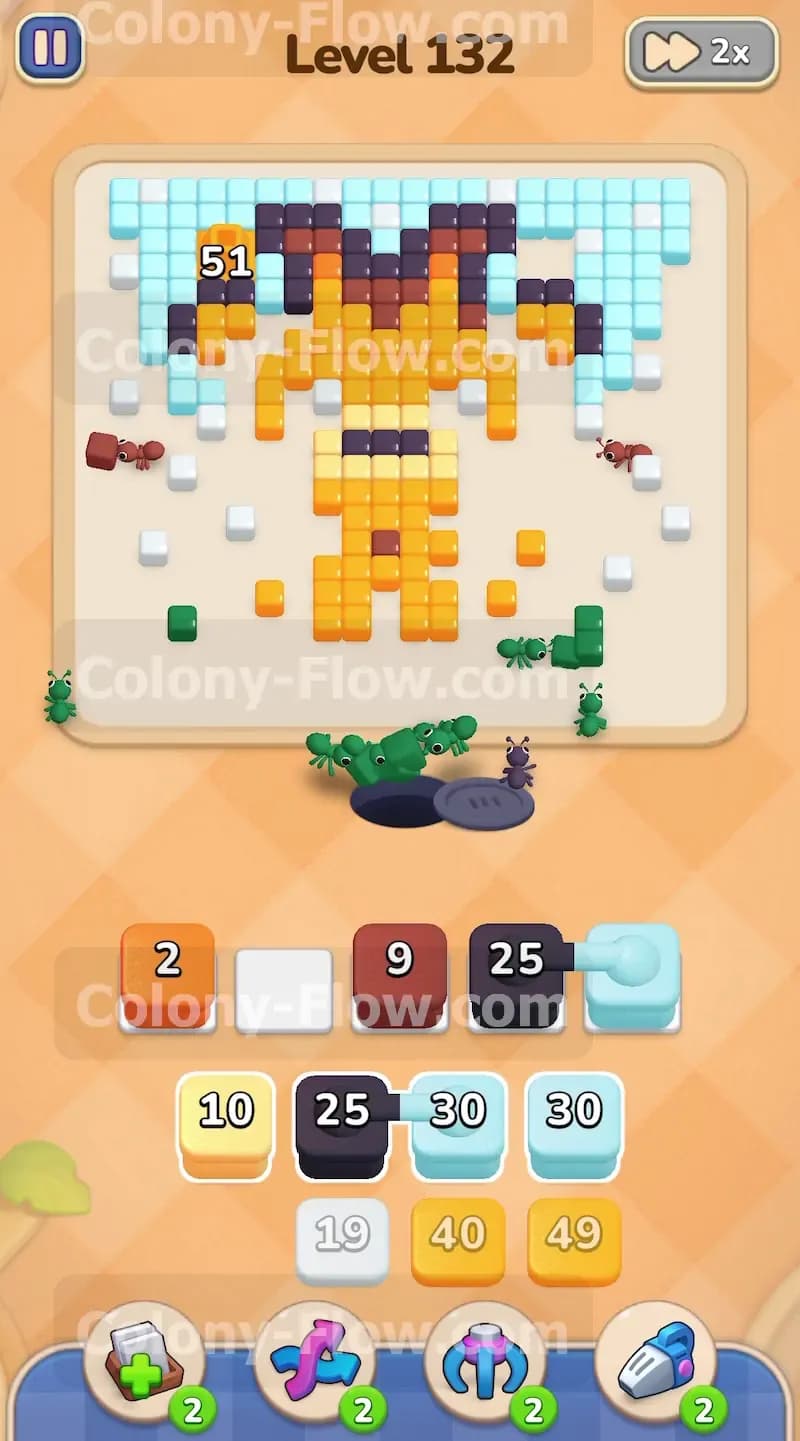
There is one tiny but very important detail left on the face of the animal. The giraffe features two distinct bright pink squares that represent its rosy cheeks. Locate the pink block down in your tray and pull it into an open waiting slot. A small group of pink ants will rush out of the nest hole and climb straight up the middle of the board to grab those two specific spots. Since there are only a few pink tiles required this block will count down to zero and vanish almost instantly. This is a very fast and satisfying step that removes another visual obstacle from the center of the face. Make sure the pink block is completely gone from your slot tray before you proceed to the grand finale. Keeping your slots completely clean right now prepares your board for the final massive swarm.
Step 7: Flood the remaining yellow body tiles
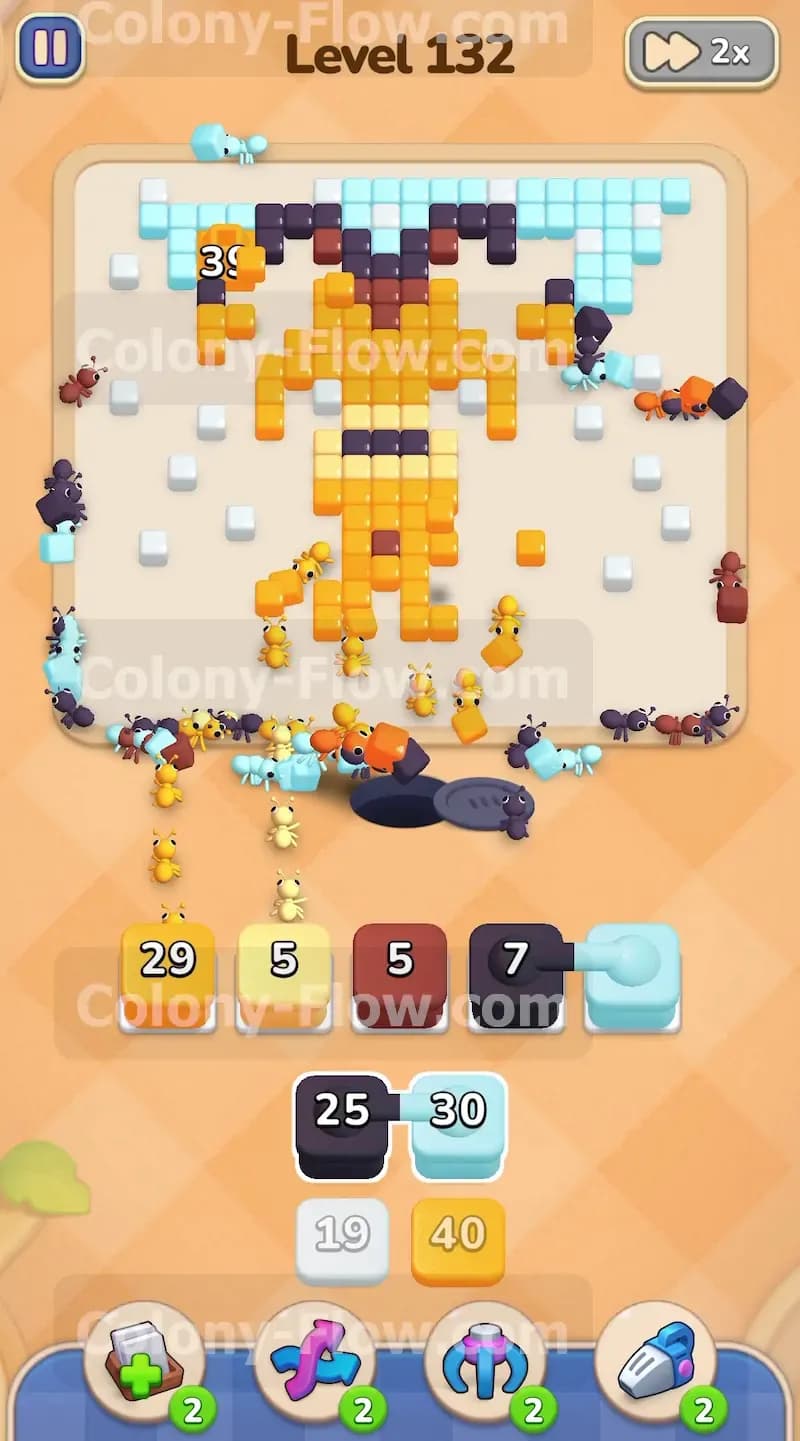
You have reached the very end of the puzzle and the only thing left standing on the board is the main yellow body of the giraffe. The entire core of the character consists of these bright yellow food tiles including the face the long neck the torso and the upper legs. Pull every single remaining yellow block from your tray to trigger the final finishing swarm. A massive wave of yellow ants will pour out of the nest hole and completely flood the center of the screen. Because the entire outer shell the grass and the background are completely gone the yellow ants have unlimited open access to their targets from every conceivable angle. They will surround the remaining tiles and consume them from the outside in. Watch the yellow numbers drop fast as the last pieces of the giraffe disappear into the colony. Your waiting slots will empty out one by one resulting in a beautiful and perfect clear.
Final Thought
This puzzle really tests your patience and your ability to peel away solid layers from the outside in. By clearing the grass and the sky first you gave your colony the room they needed to dismantle the giraffe without ever blocking a path. If you find yourself getting stuck on the thick outline or if any step feels hard to follow in text please watch the video above this article. Seeing the exact timing of the blocks in motion will help you master this level with total ease.