Colony Flow Level 382 Walkthrough Solution & Guides | How to solve Colony Flow 382

Guide By Liam Stone
Updated on July 19, 2026
The article below goes step by step through Level 382, but the video above shows the same thing faster.
Video doesn't match your screen?
Game updates frequently scramble layouts! Try our AI Screenshot Solver first to find your exact board instantly, or report broken guides to our team.
Colony Flow Level 382 presents a massive pixel art rocket ship floating in a deep space background right in the center of your screen. You need a solid plan to break this large design down from the bottom up without filling your active slots with useless colors. I play every single level to figure out the exact sequence required to keep the ants moving and the board clear. Here is the strategy I use to dismantle this rocket ship safely and beat the board.
Colony Flow Level 382 Overview
What You Are Working With
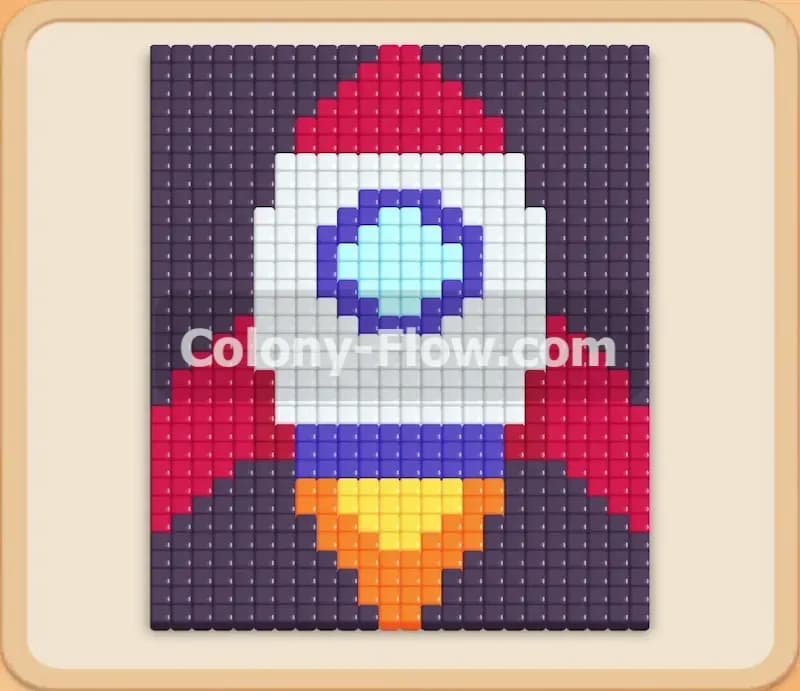
The picture on this board features a tall rocket ship surrounded by a massive dark purple space background. The very bottom of the rocket has a yellow and orange exhaust flame pointing directly down toward the ant nest. The sides of the rocket have bright red fins branching outward. The main hull of the ship is made of white pixels. A light blue window sits in the center of the white hull and a layer of dark blue trim surrounds that window. The dark purple background covers the entire left side, right side, and top of the screen around the rocket shape.
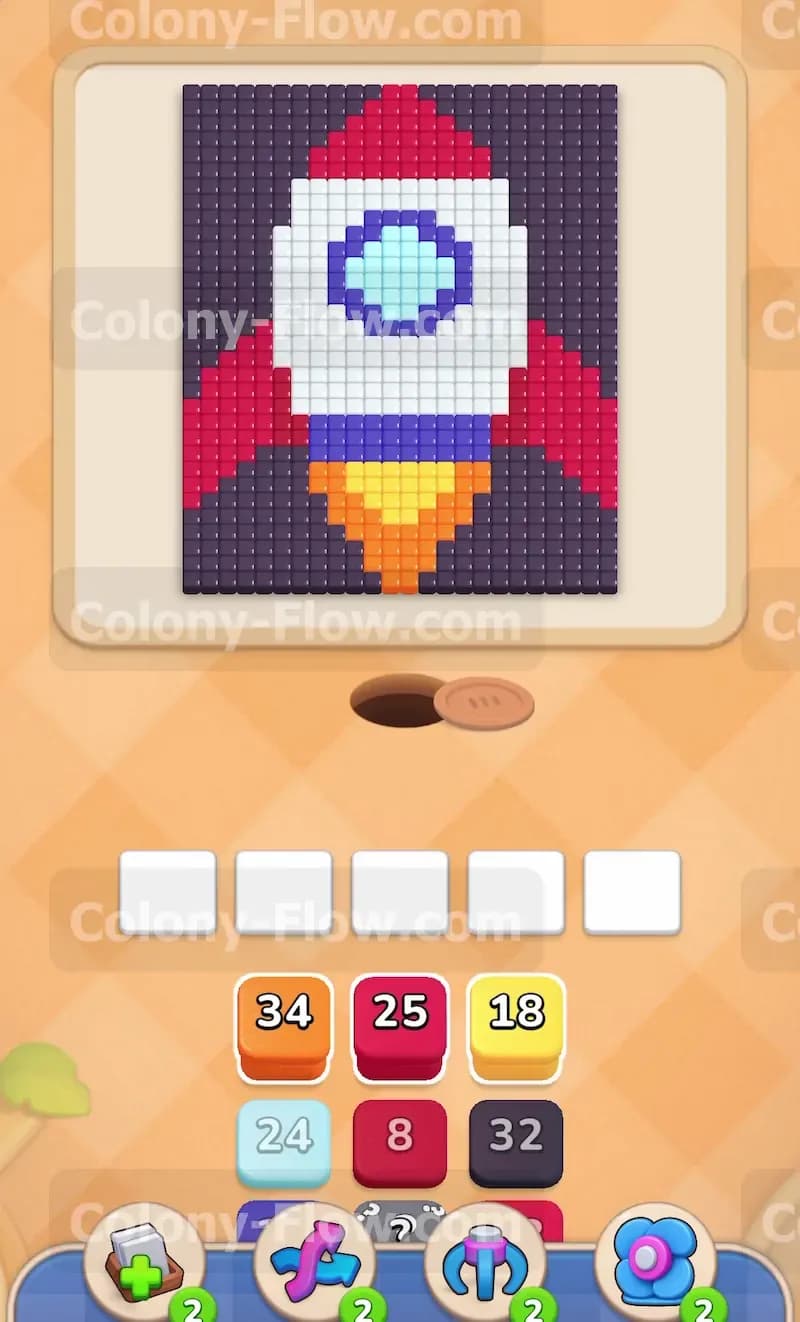
Your tray at the bottom of the screen contains numbered blocks matching all these colors. You will see large numbers on these blocks because the picture contains a huge amount of pixels. You will also notice a Hidden Box sitting deep in the middle of the tray. This block shows a question mark and hides its true color until you pull the blocks sitting above it. The Hidden Box will reveal its color only when it has a valid open path to move into an active slot.
What It Takes to Clear Level 382 Board
Clearing this level requires you to manage your five waiting slots perfectly. When you pull a colored block from the tray it moves into one of these five slots. The ants will only eat the corresponding colored pixels on the board if they have an open physical path to reach them. If you pull a color that is buried behind other pixels the block will sit in your slot and wait.
You lose the game if all five waiting slots fill up with blocks that the ants cannot currently reach. You must clear the picture systematically from the bottom edge and work your way up to the top. Every move you make must open a new pathway for the next color. The strategy relies on chipping away at the massive dark purple background while simultaneously eating up the center sections of the white rocket hull so your ants never run out of open targets.
Colony Flow Level 382 Step by Step Solution
Step 1: Clear the bottom exhaust flames to open the center path
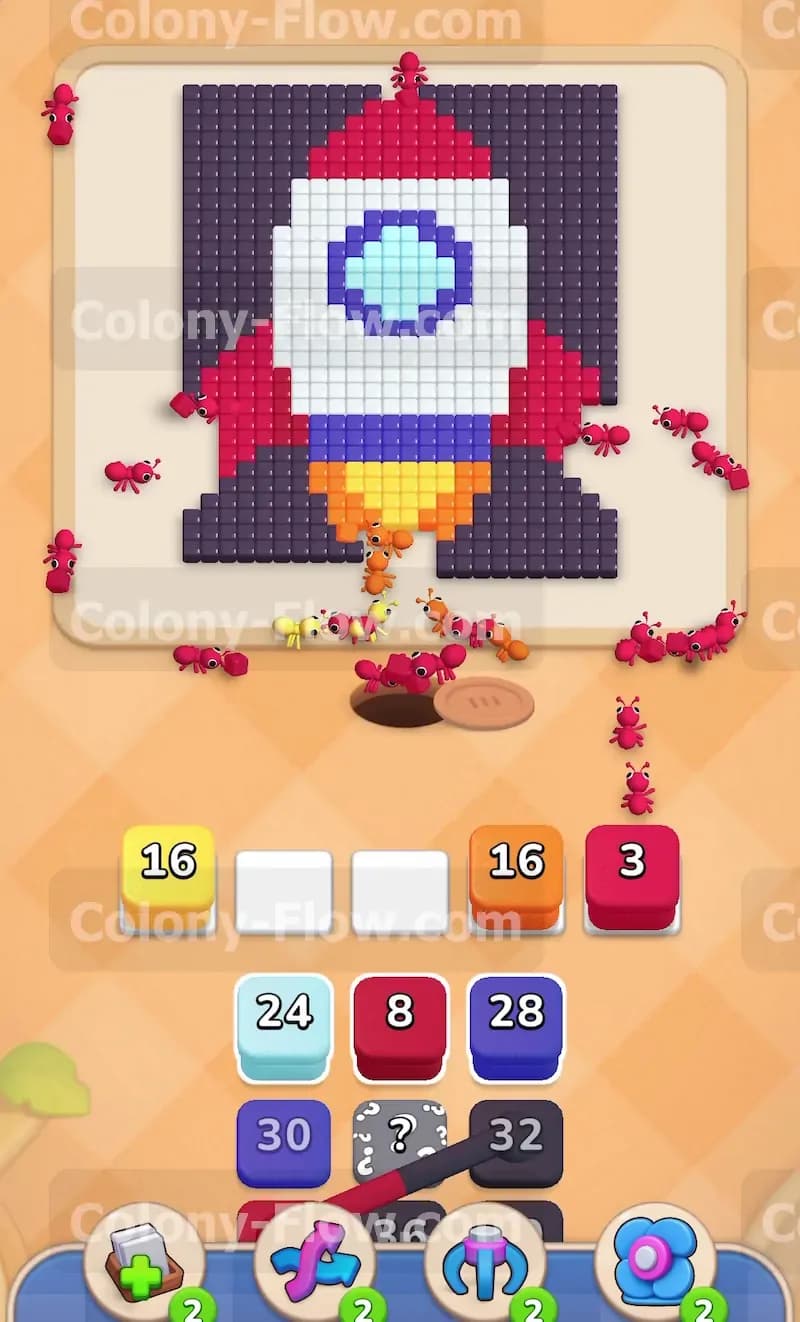
The lowest point of the picture is the rocket exhaust blocking the entire bottom center of the board. You must pull the yellow block holding eighteen units and the orange block holding thirty four units into your active slots to begin. The ants will stream out of the nest hole and consume the yellow pixels first followed immediately by the orange pixels. You cannot touch any of the dark purple blocks or white blocks yet because the exhaust completely blocks the ants from reaching the main body of the rocket. Wait for the ants to eat the entire exhaust flame to create a wide open lane up the middle of the board.
Step 2: Release the dark purple blocks to chip away the lower background
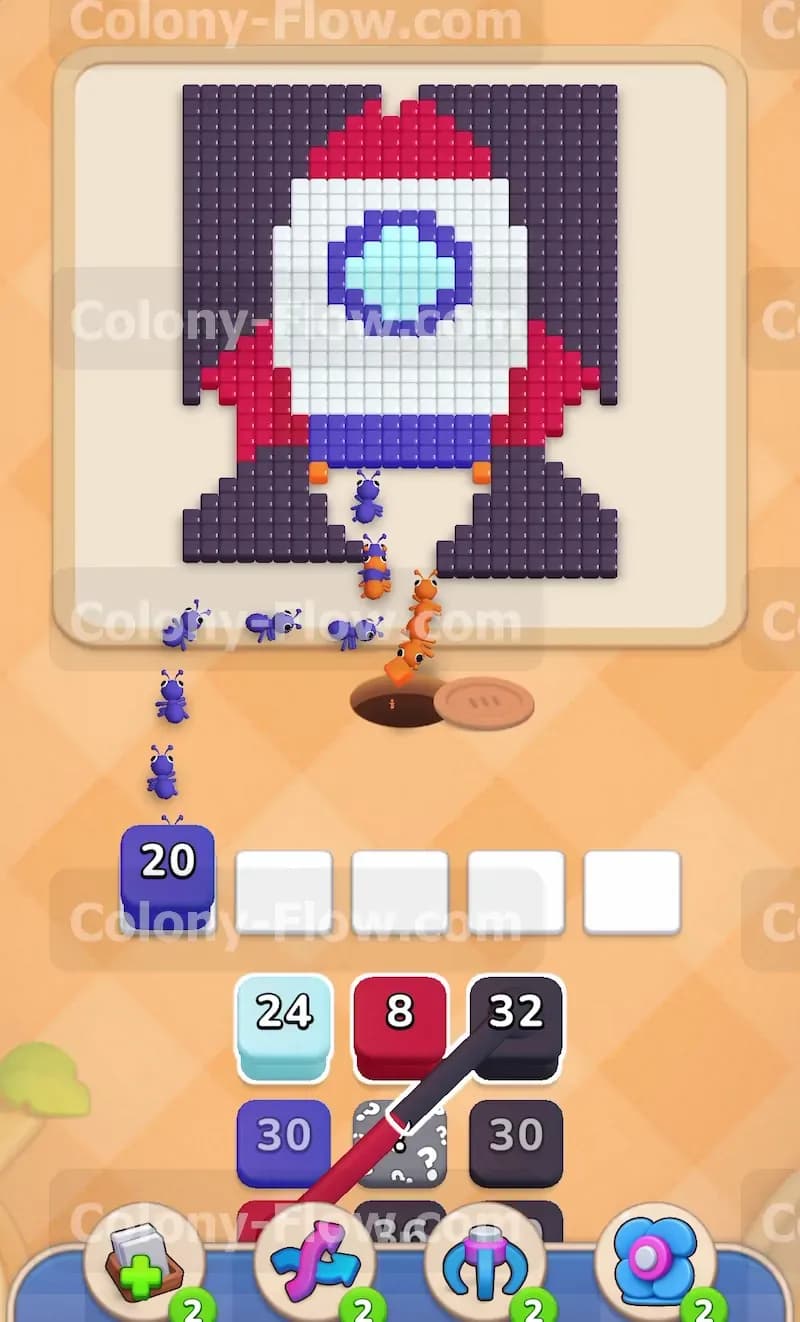
With the exhaust gone your ants can finally reach the dark purple pixels sitting on the bottom left and bottom right corners of the picture. Pull a dark purple block holding thirty two units into your tray. The ants will split into two different groups and march to both sides of the board to eat the lowest sections of the sky. While the ants work on the dark purple tiles you should pull a red block holding twenty five units to start eating the bottom edges of the red rocket fins. Managing the dark purple sky and the red fins at the same time keeps multiple paths active and keeps your tray flowing smoothly.
Step 3: Access the white hull and begin clearing the middle section
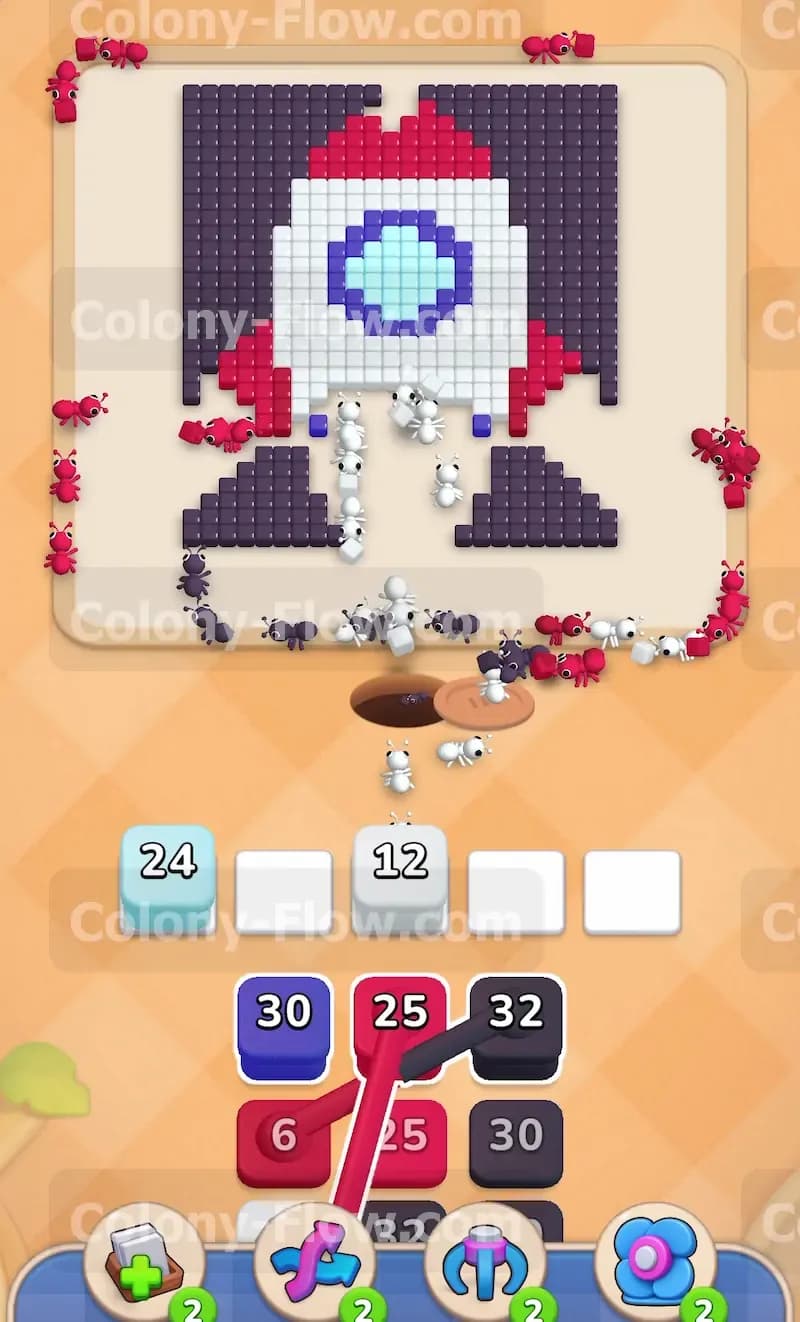
The receding red fins and the shrinking bottom background expose the white body of the rocket ship. You can now bring a light blue block holding twenty four units and a white block holding twelve units into your slots. The ants will bypass the outer edges entirely and stream straight up the center lane to eat the white hull. You will also pull a dark blue block holding twenty units to handle the bottom section of the trim surrounding the window. Always watch the five slots at the bottom closely during this phase. If you pull a white block too early before the red fins clear out you risk jamming a slot. Wait until the ants have a wide open path up the center before pulling the hull colors.
Step 4: Reveal the hidden box in the tray to maintain your momentum
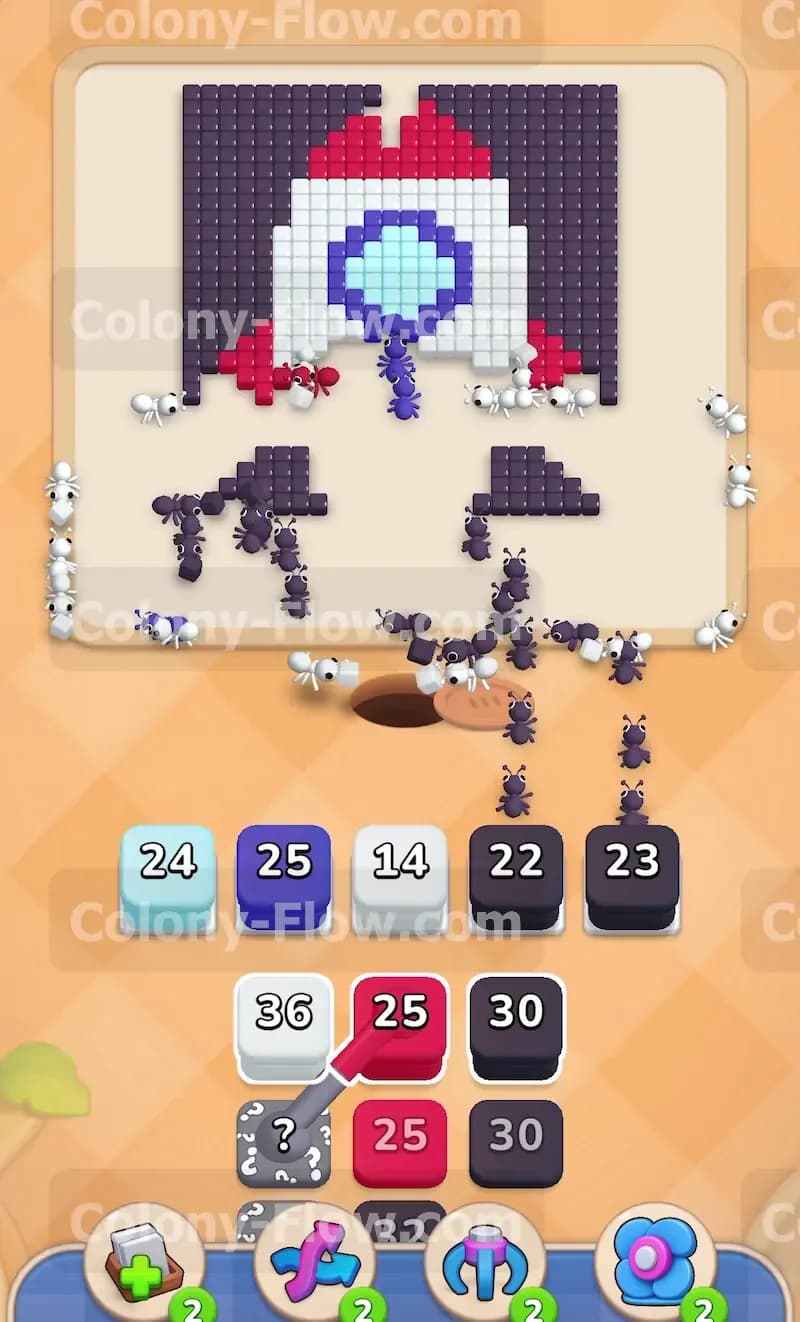
As you pull blocks from the top rows of your tray you will eventually uncover the Hidden Box sitting in the middle column. Once the blocks above it are gone and it has space to move it will flip over and reveal itself as a red block holding twenty five units. This extra red block is exactly what you need to handle the upper portions of the red fins on the rocket. Pull this newly revealed red block into a slot along with another dark purple block holding thirty units. The board is now split between ants eating the deep space background on the outer edges and ants finishing off the red fins near the top of the rocket.
Step 5: Deploy multiple dark purple blocks to clear the heavy upper background
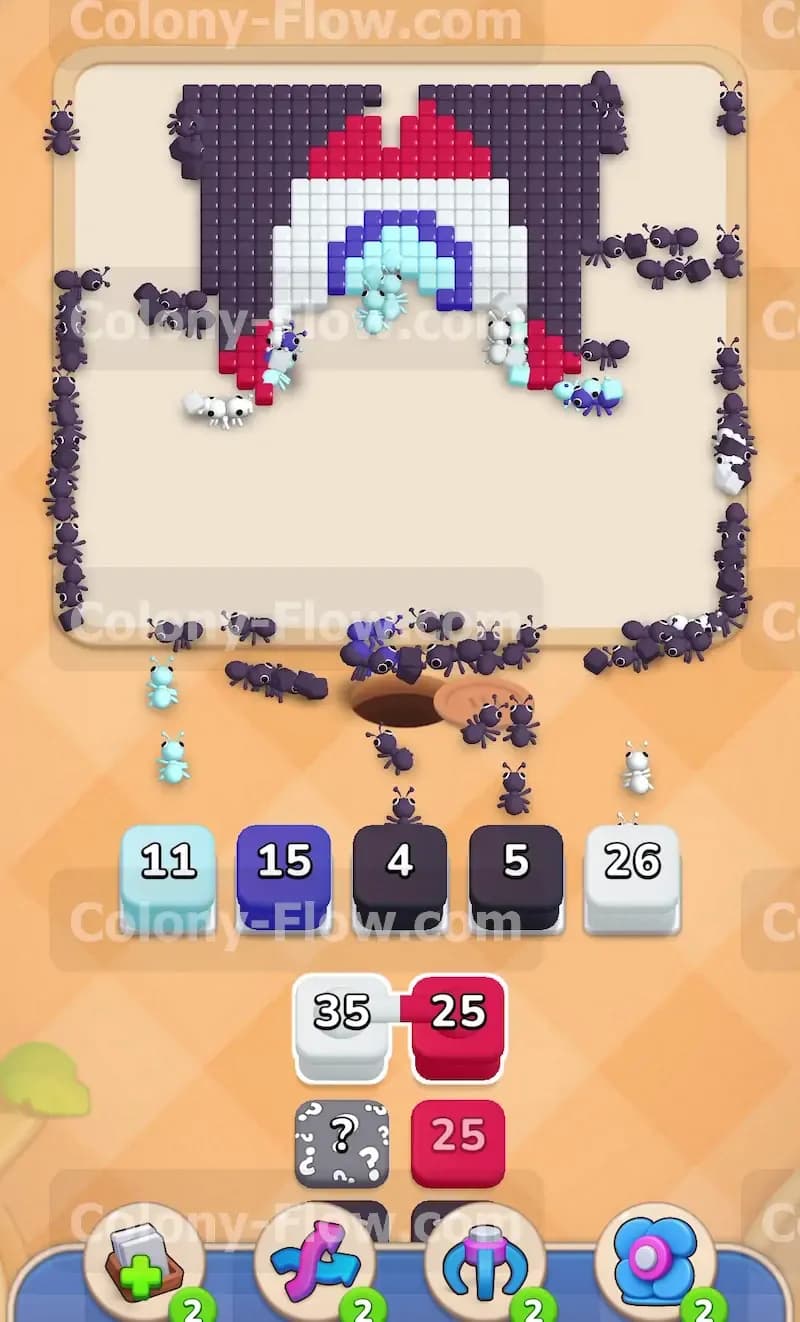
The upper half of the board contains a massive amount of dark purple background pixels. You will need to pull several dark purple blocks in a row to handle this huge volume. Pull blocks holding twenty two units and twenty three units into your slots. Because you already opened the bottom and middle sections completely the ants have clear paths to run up the extreme left and right sides of the screen. Let the ants consume the outer edges of the picture. Keep pulling dark purple blocks whenever an active slot empties out. You want to shrink the background down until only the top edge remains above the rocket.
Step 6: Finish the window and top hull sections of the ship
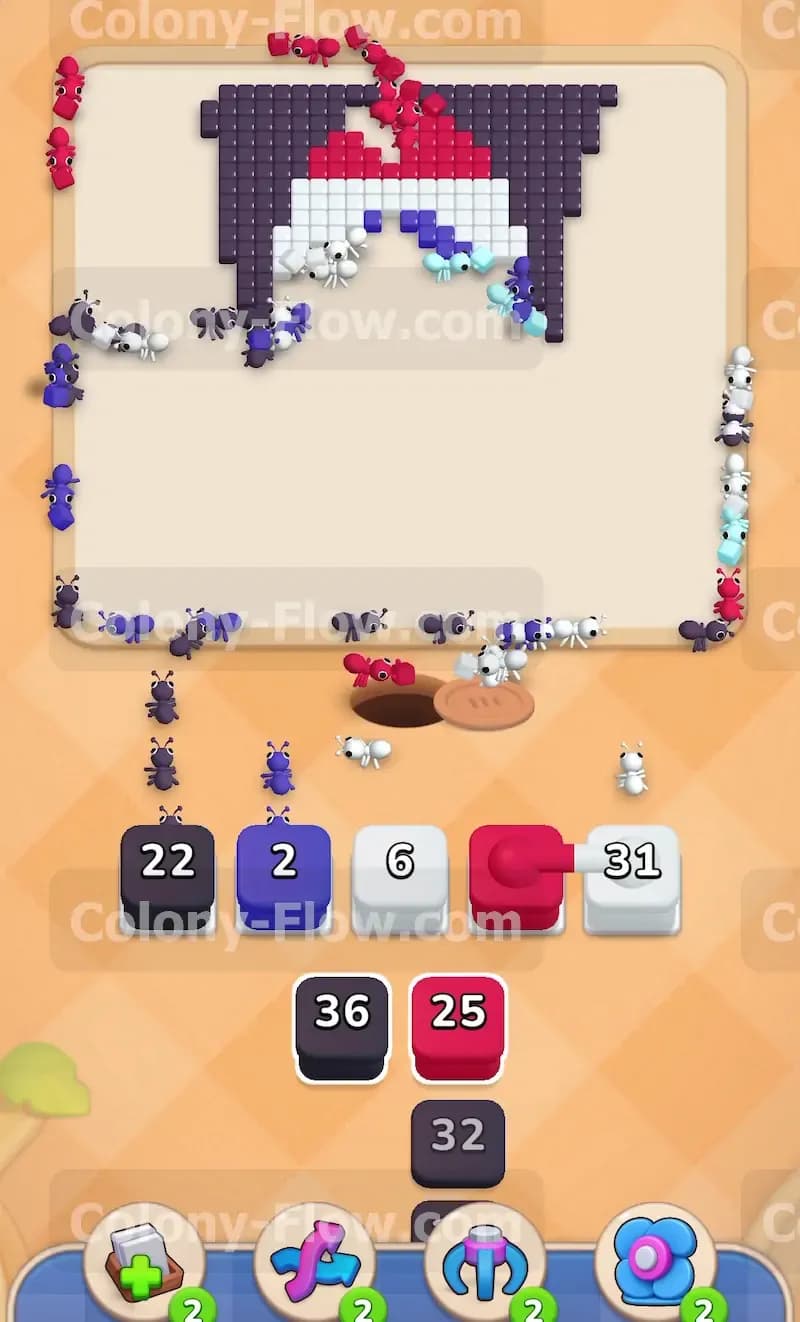
While the outer ants handle the space background you must shift your focus back to the center of the board. Pull the remaining light blue blocks to finish off the center window of the rocket. Then pull a dark blue block holding fifteen units to consume the rest of the trim surrounding that window. Bring up a white block holding twenty six units to clear the top section of the white rocket hull. Your ants will swarm the center area and strip away everything except the very top point of the ship. Make sure you balance these white and blue blocks with the dark purple blocks so your five waiting slots never fill completely.
Step 7: Clear the final red fin tips and top background pieces
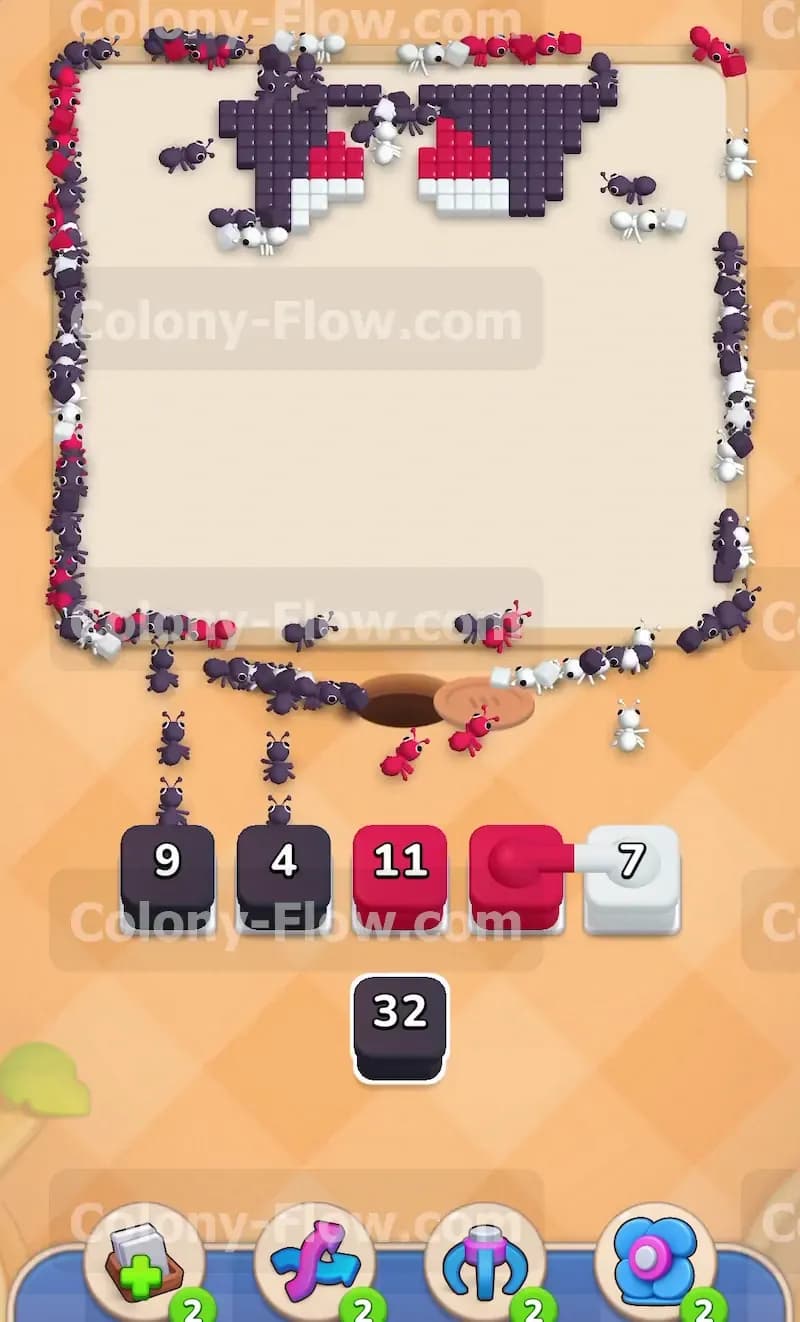
The board is almost entirely empty at this stage of the level. Only the very top red point of the rocket and a few scattered pieces of dark purple sky remain at the top edge. Pull a red block holding thirty eleven units to clear the top nose cone of the rocket ship. Pull the final dark purple blocks to eliminate the last bits of the background. Your ants will rush to the top corners of the board and consume the remaining pixels. The picture disappears entirely and the remaining ants return to the nest hole. You successfully clear the board without ever trapping your pieces in the bottom slots.
Final Thought
Pacing your moves is the secret to getting past this dense pixel art layout. You have to let the ants finish their current paths before you dump too many new colors into the waiting slots. If any of these written steps feel tricky to visualize you should definitely watch the video included above this article. Seeing the exact timing of when I pull the dark purple blocks will help you master the flow of the board and win the level.