Colony Flow Level 222 Walkthrough Solution & Guides | How to solve Colony Flow 222

Guide By Liam Stone
Updated on July 13, 2026
Want to skip the reading and watch instead? The video walkthrough for Level 222 is right above this article.
Video doesn't match your screen?
Game updates frequently scramble layouts! Try our AI Screenshot Solver first to find your exact board instantly, or report broken guides to our team.
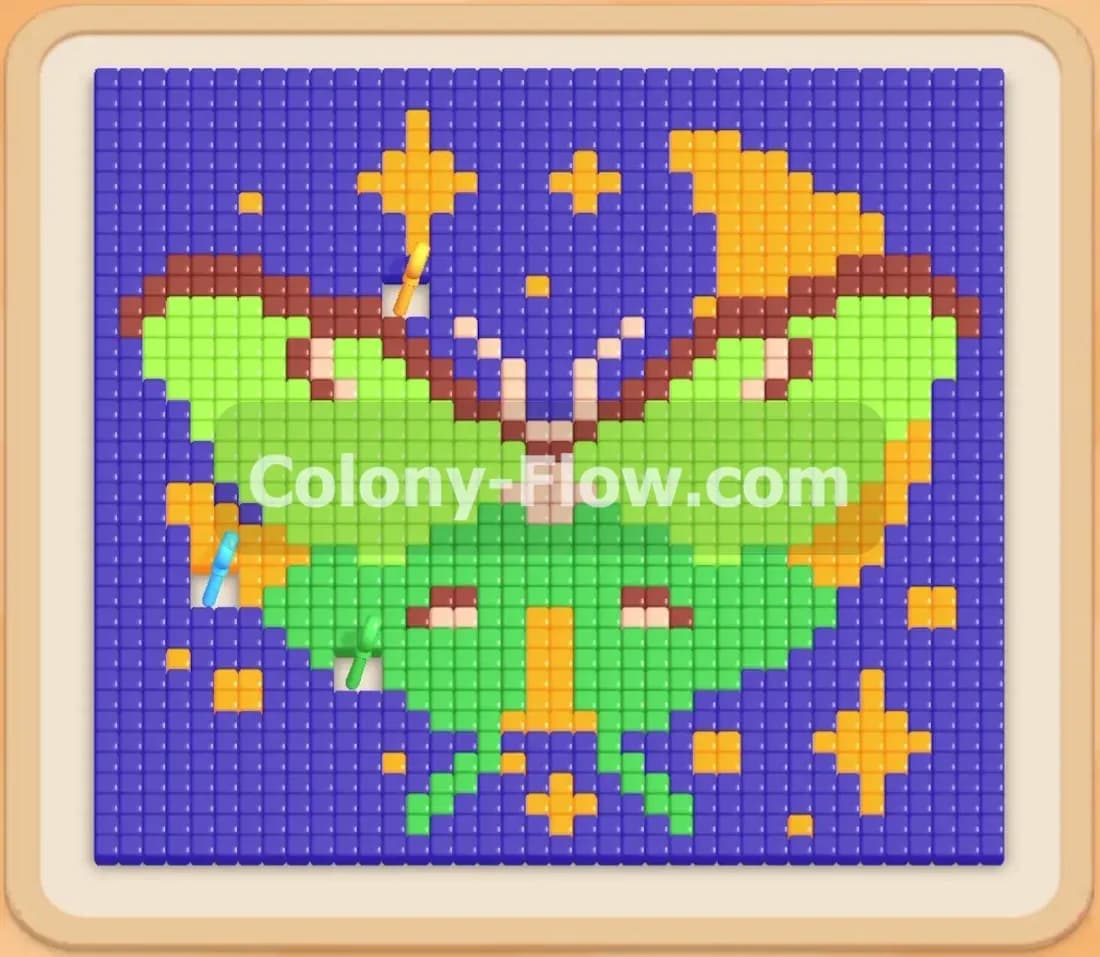
Colony Flow Level 222 drops you into a beautiful puzzle featuring a massive green moth surrounded by orange stars against a deep blue sky. I play every single stage to figure out the best clear order so you do not have to guess. This board gives you a lot of large numbers right away and introduces a few tricky mechanics in the tray. You need to manage your tray space carefully to keep the ants moving and beat the stage without getting stuck.
Colony Flow Level 222 Overview
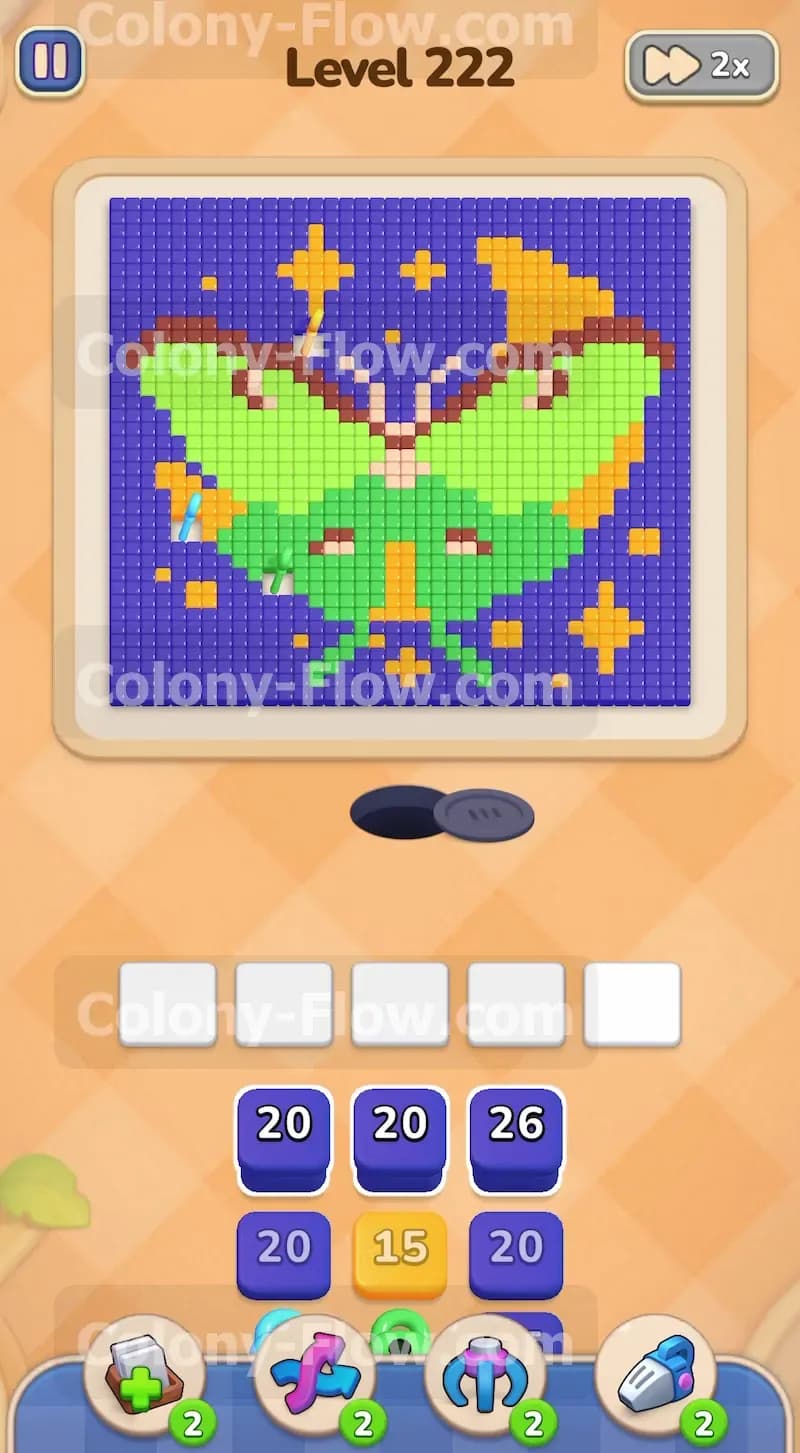
What You Are Working With
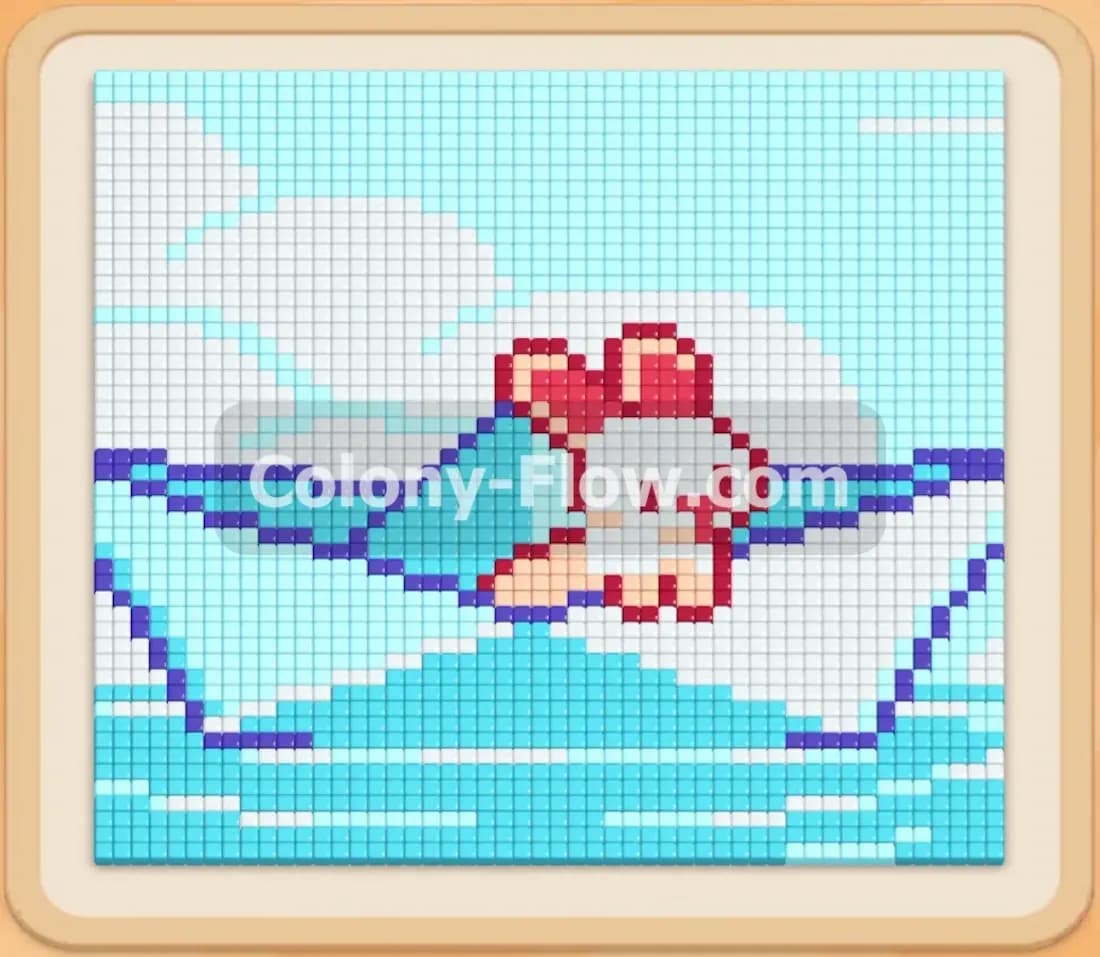
The picture at the top of your screen is a large winged insect design. You have bright green wings making up the bulk of the shape. Brown tips decorate the top outer edges of these green wings. A few small orange stars float in the background around the main insect. A solid wall of blue tiles surrounds the entire main image and acts as the night sky. At the bottom of the screen you have a tray loaded with numbered blocks. The tray contains several blocks carrying high numbers like twenty and twenty six. Some of the blocks in the tray are locked behind a bright yellow keyhole. This means the Lock and Key mechanic is active for this stage. You also have some Connected Boxes waiting deep in the tray pile. These are two large blocks glued together that take up multiple waiting slots at the same time. Right above the tray you have your five empty waiting slots. The nest hole sits just below the pixel art where your ants spawn.
What It Takes to Clear Level 222 Board
You clear the board by matching every numbered block in the tray to the colored tiles in the picture. Pulling a block from the tray moves it into your waiting slots and sends a stream of colored ants to eat the matching picture tiles. Your main threat is filling all five waiting slots with blocks that have nowhere to go. If those slots fill up and no ants can reach their target color you instantly lose the stage. You win by slowly peeling away the blue background to open physical paths to the green wings and brown tips. Finding the keys hidden in the puzzle unlocks the trapped tray blocks. You must pull blocks in the correct order to guarantee the ants always have an open walking route. Once the tray is completely empty and the ants consume the very last tile you beat the level.
Colony Flow Level 222 Step by Step Solution
Step 1: Clear the thick blue bottom border to let ants out of the nest
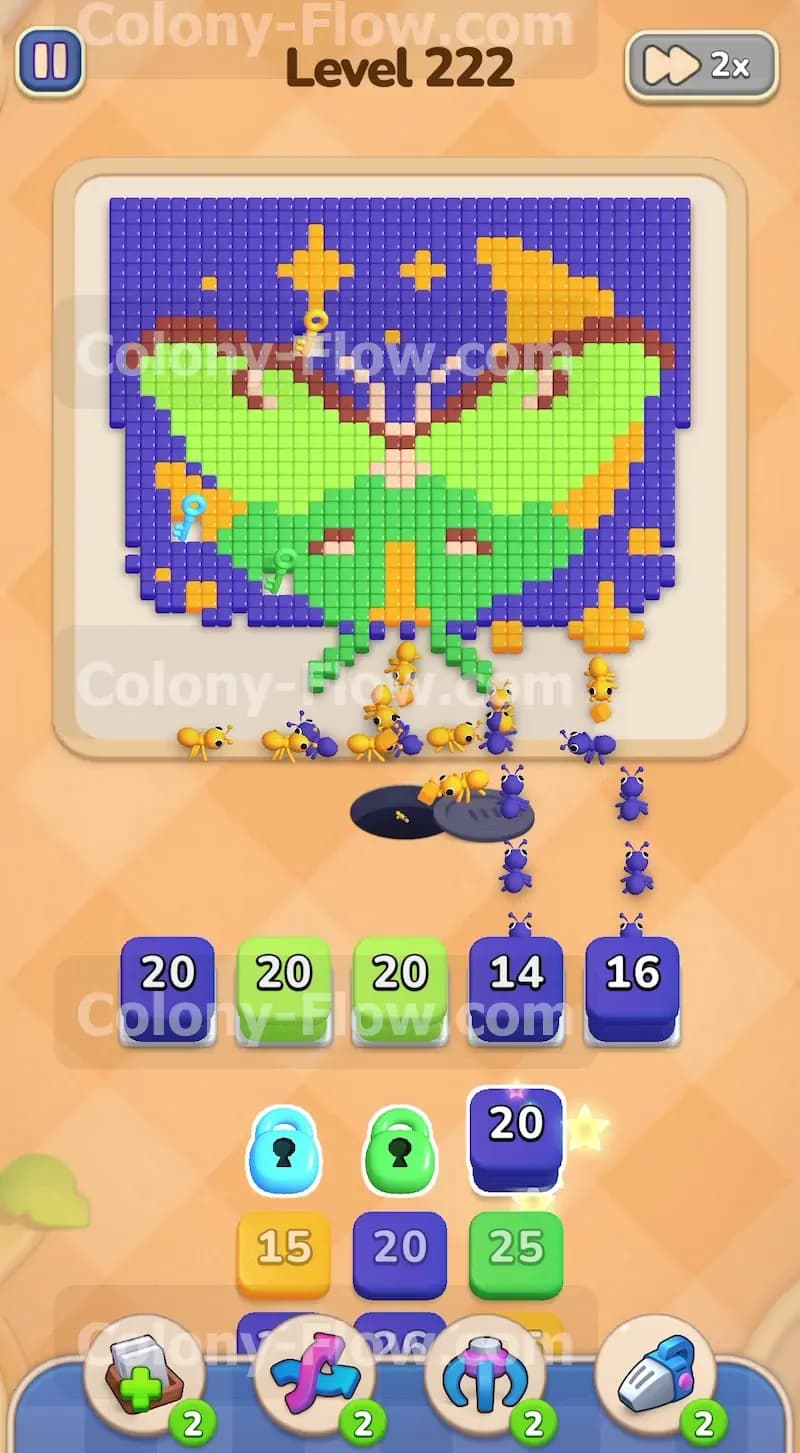
The game begins with a dense wall of blue tiles completely blocking the bottom of the board right above the nest hole. Your tray starts loaded with blue blocks carrying numbers like twenty and twenty six. Tap these initial blue blocks to move them into your waiting slots. The blue ants stream out of the nest hole and immediately start chewing away the bottom border. Keep a close eye on your five waiting slots during this opening move. Do not pull the yellow blocks yet because the yellow stars are too high up and completely blocked by the solid blue sky. Pulling yellow now would trap the block in your slots and cause a fast game over. Wait patiently for the blue ants to finish opening the bottom edge of the board.
Step 2: Send green ants to start working on the large insect wings
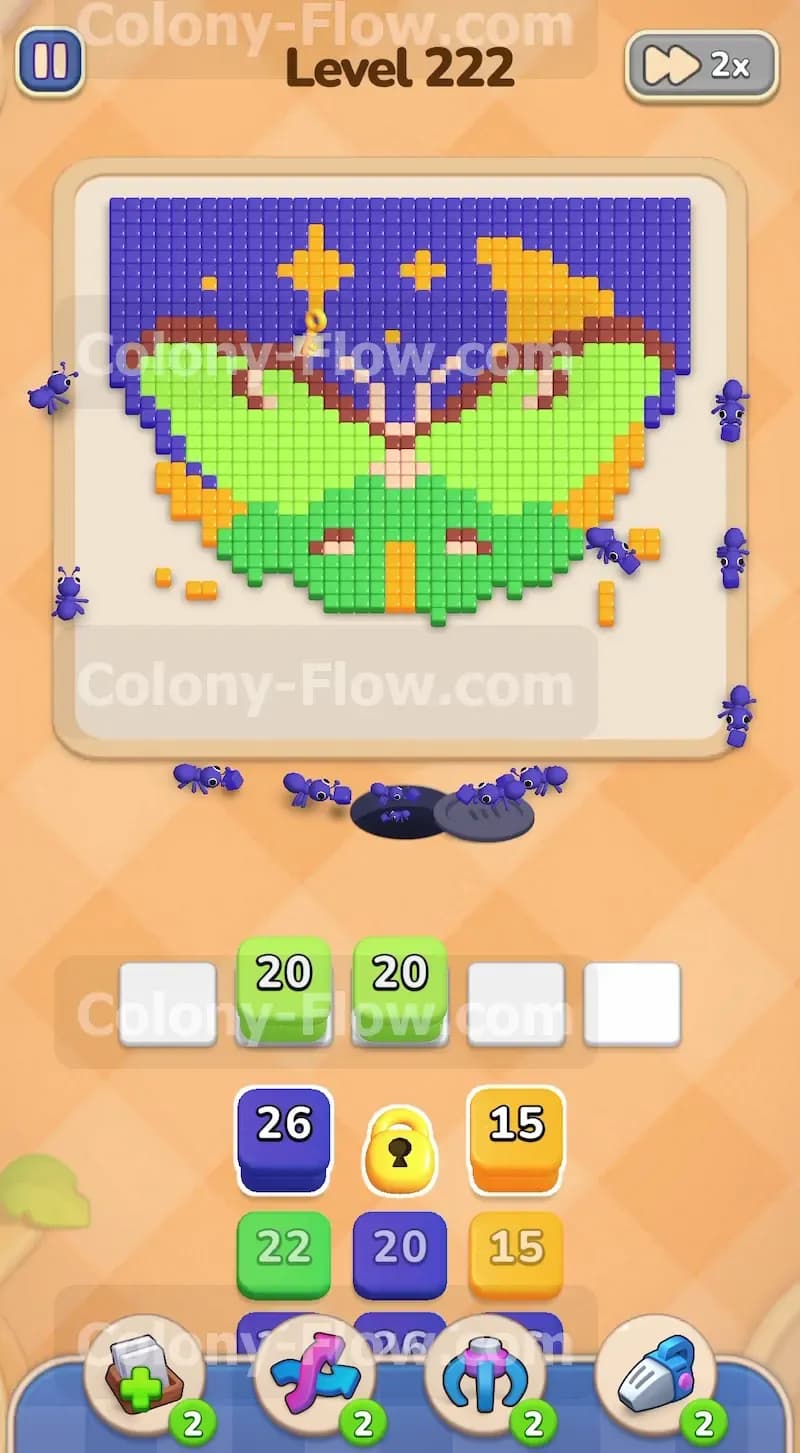
Once the blue ants clear the lowest boundary the bottom edges of the green wings become totally exposed. Your tray will now reveal several green blocks alongside some locked blue blocks. Leave the locked blocks alone for now because you need to locate the hidden keys first. Tap the green blocks holding twenties and pull them into the available empty slots. A massive swarm of green ants will march out and attack the lower half of the wings. You can safely pull another blue block to keep clearing the side borders of the sky while the green ants work. Balancing blue and green blocks keeps the traffic flowing smoothly and ensures you always have at least one empty slot available in your tray area.
Step 3: Manage the large connected boxes that appear in the tray
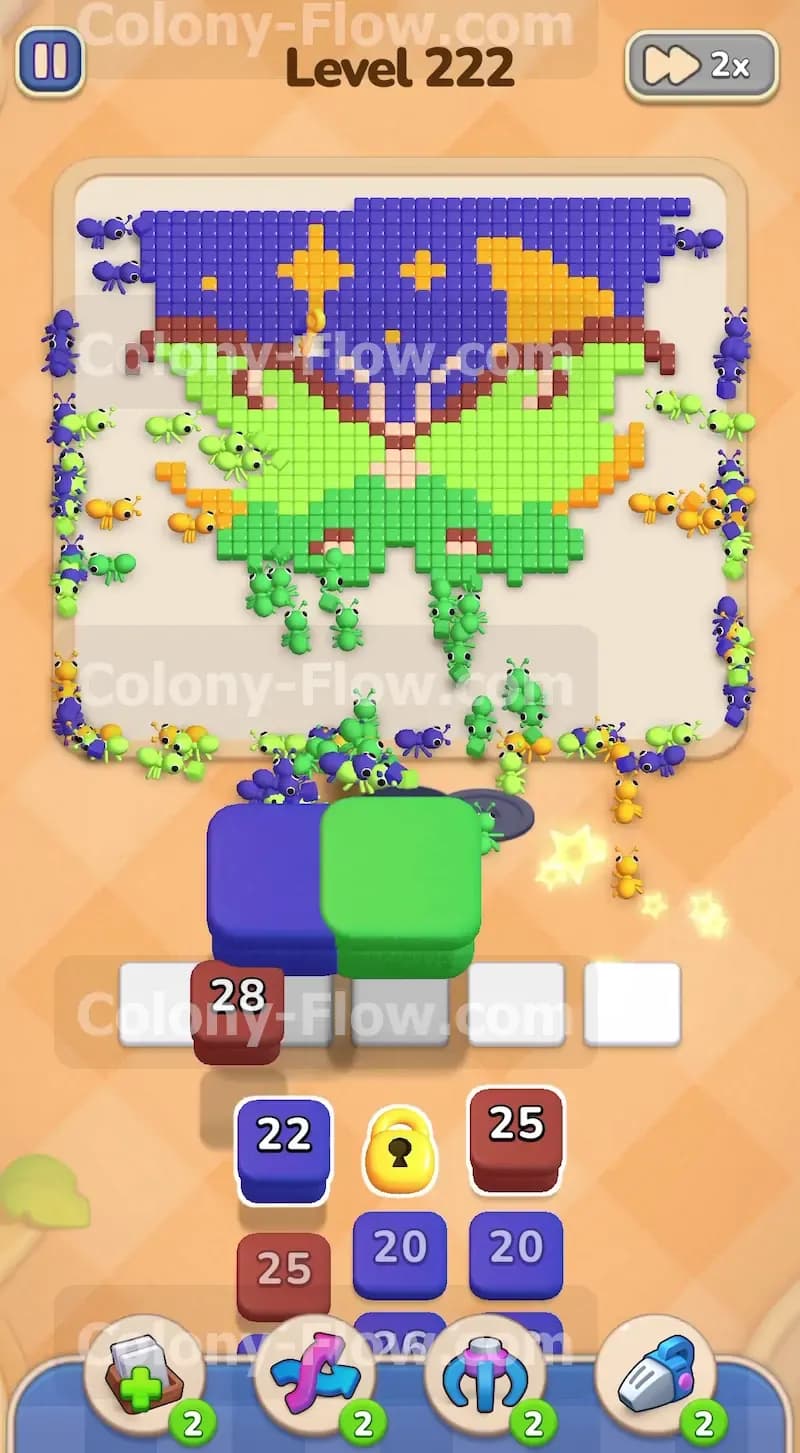
As you dig deeper into the block pile a giant set of connected boxes will drop down into view. These are two large blocks joined together forming a single solid unit. You must pull them together and they require two empty waiting slots at the exact same time. Verify you have the physical space in your waiting area before you tap them. Pulling these connected boxes releases a huge wave of both blue and green ants. They will push high up the sides of the board to clear the top corners of the blue sky and the thickest middle parts of the green wings. Watch the numbers on the connected boxes slowly drop as the ants do their heavy lifting. Never pull connected boxes if you only have one open slot.
Step 4: Deploy the brown blocks to clear the upper wing edges
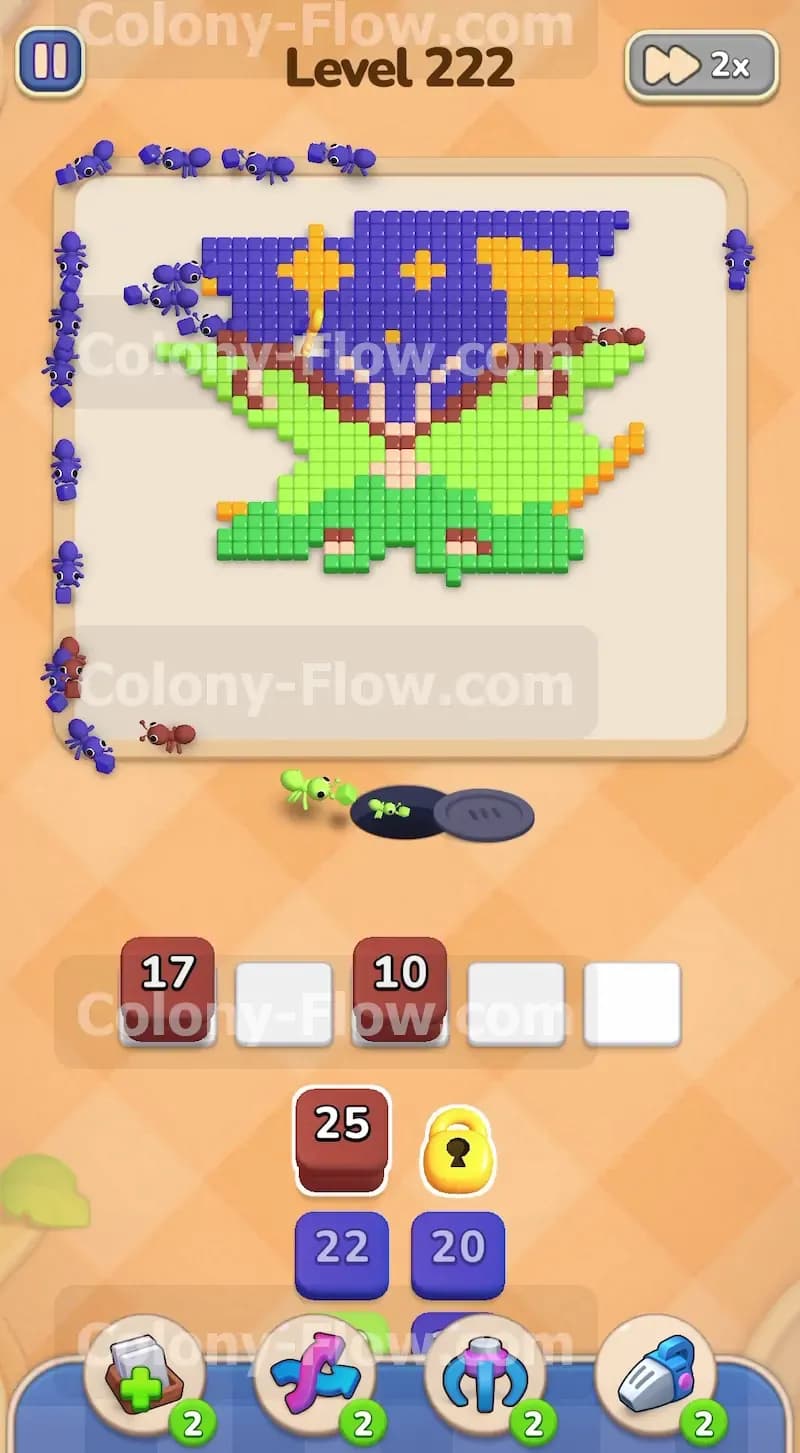
The green ants have now removed enough of the wings to expose the upper brown tips. The tray provides several brown blocks with numbers like twenty five and seventeen. Pull these brown blocks into your waiting area. The brown ants have a very long walk from the nest hole all the way up to the top of the wings. Give them plenty of time to travel across the empty space. Do not panic and fill your remaining slots with random colors while you wait for the brown ants to arrive at their destination. Let them eat away the thick brown sections on the top edges. This action removes the highest barriers on the board and exposes the hidden keys you desperately need to progress.
Step 5: Collect the keys to free the locked blocks in the tray
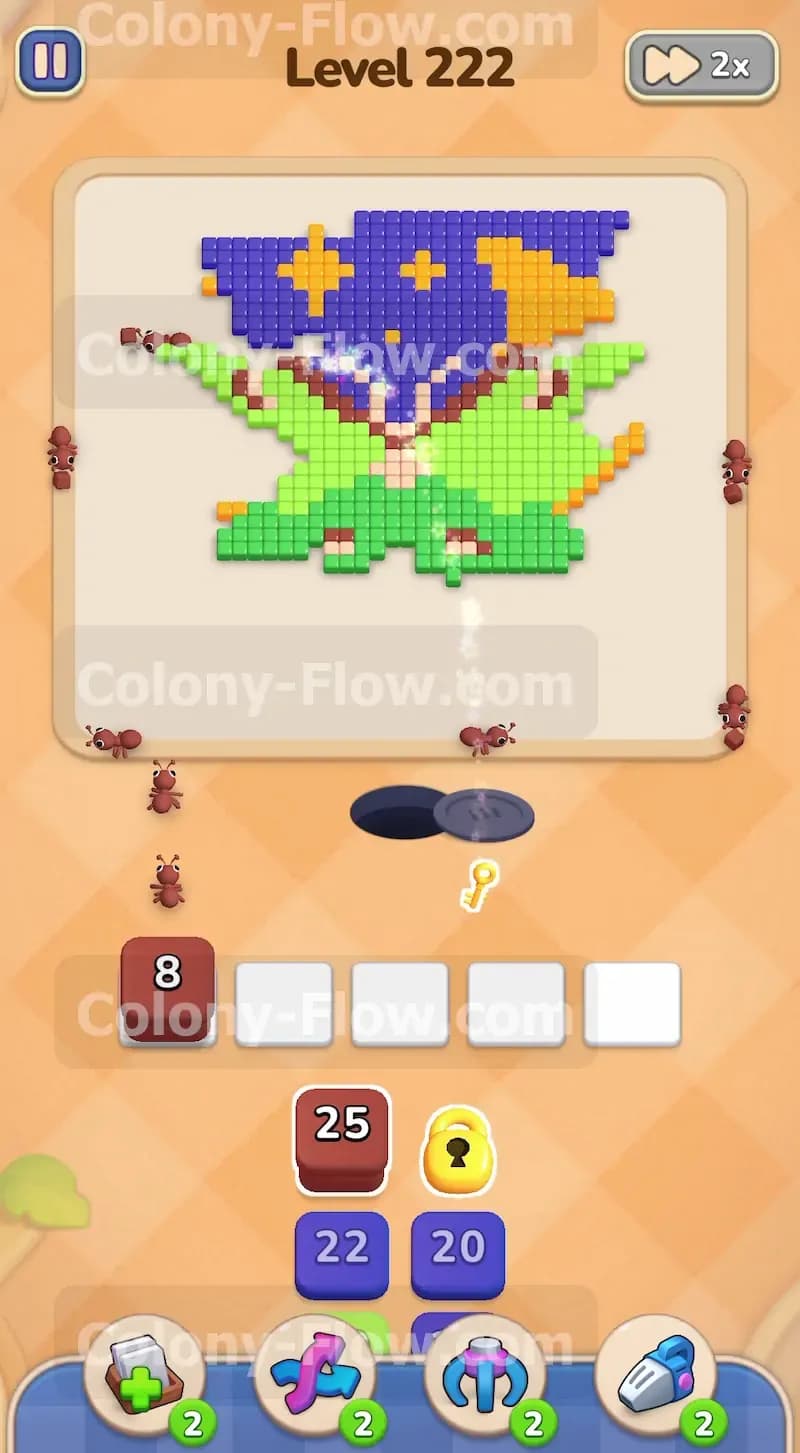
Clearing the top layers of the board finally uncovers the keys needed for the Lock and Key mechanic. As the ants consume the specific tiles hiding the keys you will see a small glowing golden key fly off the board and drop straight into the tray. It inserts itself directly into the locked yellow and blue blocks waiting at the bottom. The lock shatters and the block instantly becomes available to pull. This is a highly critical moment for your tray management. Immediately pull the newly unlocked blocks into your waiting slots to keep the block pile moving downward. The ants will rush out to grab the remaining blue sky pieces and the yellow stars scattered around the main insect body.
Step 6: Clear the remaining green body and orange stars
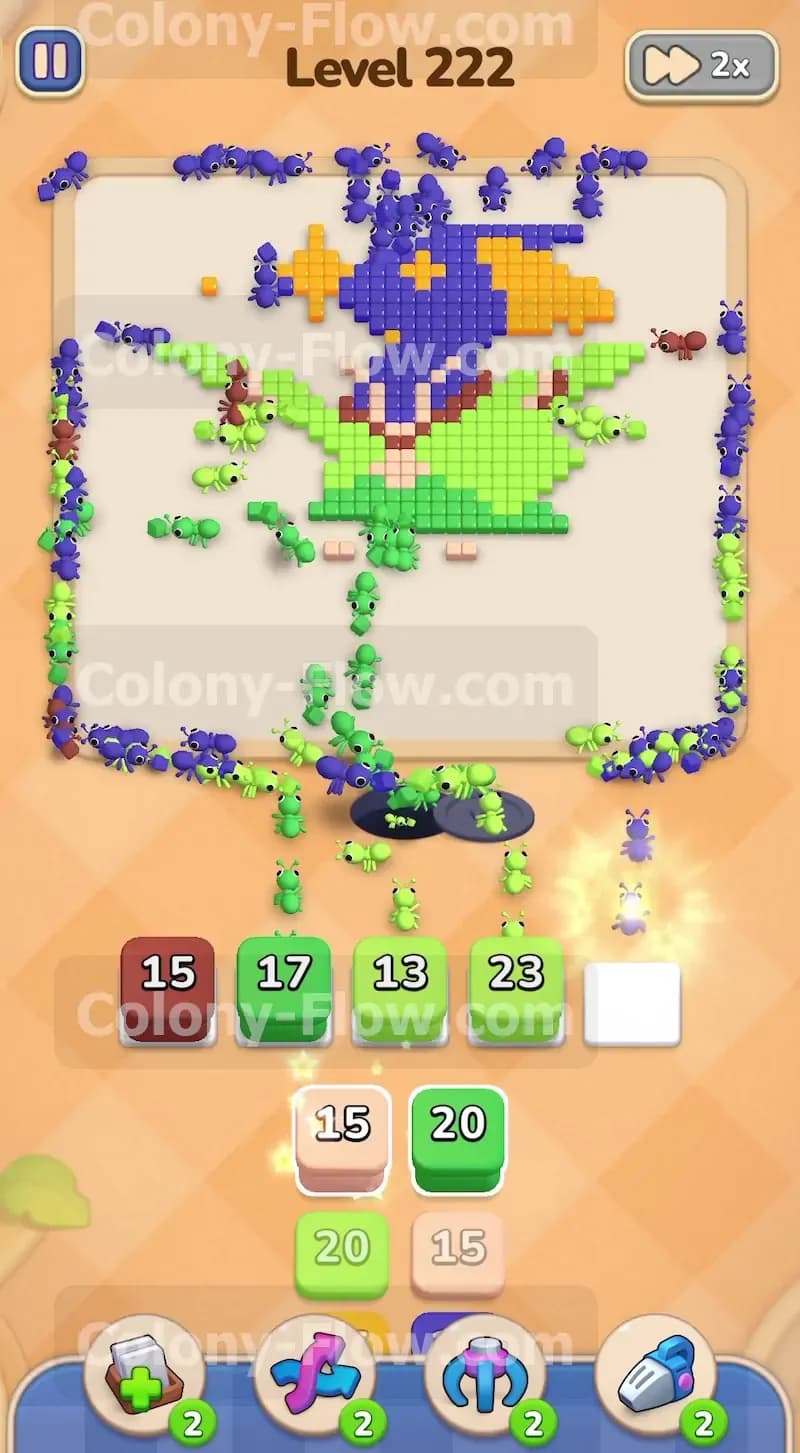
Your tray now shows lower numbers and a mix of orange pink and green blocks. The moth body is mostly gone but you still have the central green details and some orange star shapes left on the board. Pull the pink and orange blocks to send ants after the remaining decorative pieces. Follow up with the green blocks to finish the main body of the insect. Always check that the color you pull has a direct open path from the nest hole to the target tile. If an orange star is completely surrounded by green tiles you must wait and clear the green tiles first. Reading the paths correctly here prevents a late game jam.
Step 7: Empty the final pieces to finish the puzzle
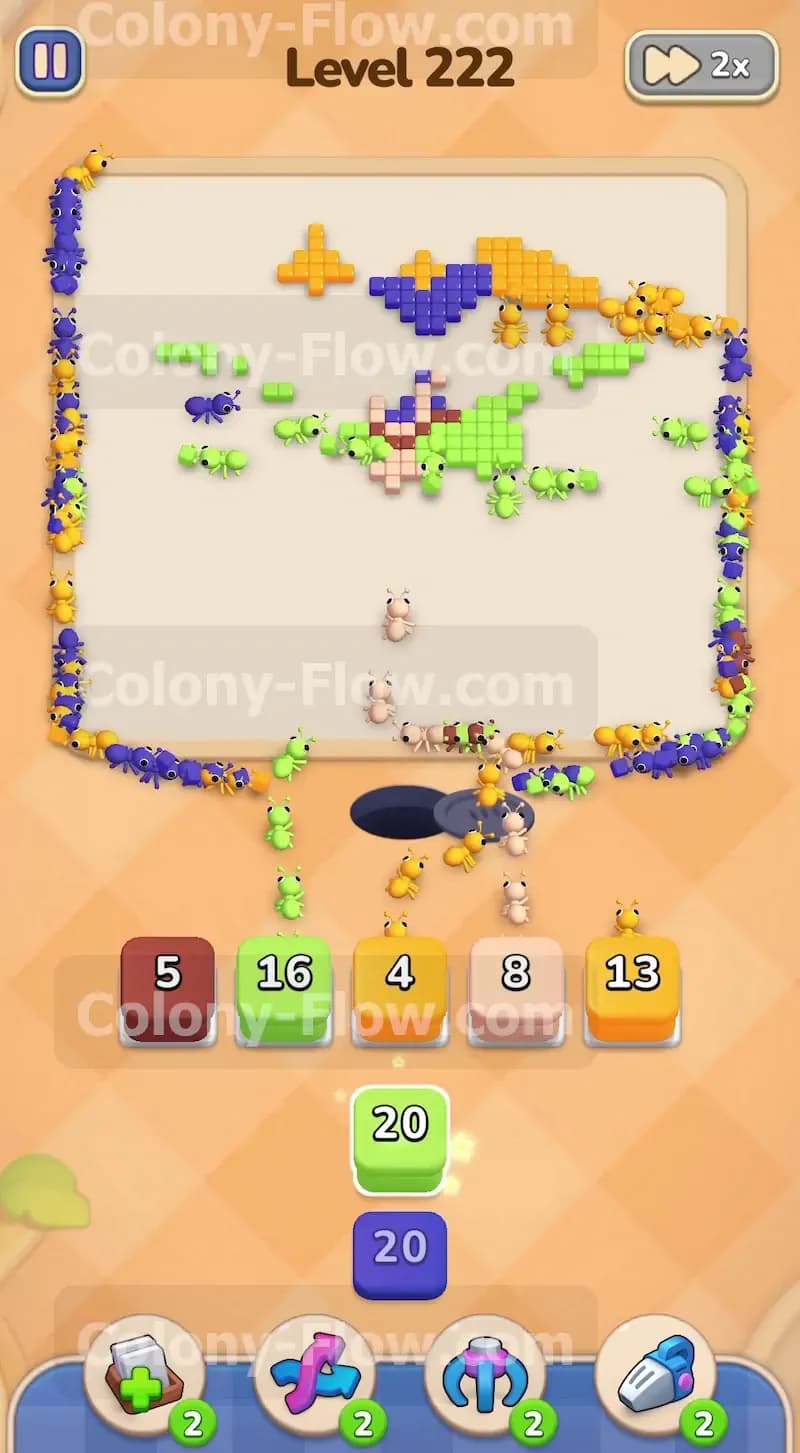
You are now at the very end of the tray pile. Only a few scattered blocks remain containing small single digit numbers. Pull the remaining brown orange and green blocks into your open waiting slots. The last few ants will run across the wide empty board to consume the final scattered pixels. Keep your hands off the screen and let the ants finish their meal. The board will wipe completely clean and the level complete screen will appear to reward your efforts.
Final Thought
Colony Flow requires a lot of patience and very careful slot management. Taking your time to read the board prevents those frustrating moments where your slots jam up right at the very end of a long puzzle. Watch the walking paths carefully and always prioritize clearing the lowest touching tiles first. If any of these step instructions feel hard to picture just scroll up and watch the video above this article. Seeing the ants move in real time makes the whole strategy crystal clear.