Colony Flow Level 1150 Walkthrough Solution & Guides | How to solve Colony Flow 1150

Guide By Liam Stone
Updated on August 12, 2026
Watch the video above for the quick version of the Level 1150 walkthrough.
Video doesn't match your screen?
Game updates frequently scramble layouts! Try our AI Screenshot Solver first to find your exact board instantly, or report broken guides to our team.
Colony Flow Level 1150 drops you into a complex puzzle right away with a large board and hidden paths. You face a large pixel art face wearing sunglasses with multiple obstacles blocking your progress at the start. You must manage your tray carefully to keep the ants moving without jamming your limited space. Finding the correct sequence to feed the swarm requires patience and strict attention to your available paths.
Colony Flow Level 1150 Overview
What You Are Working With
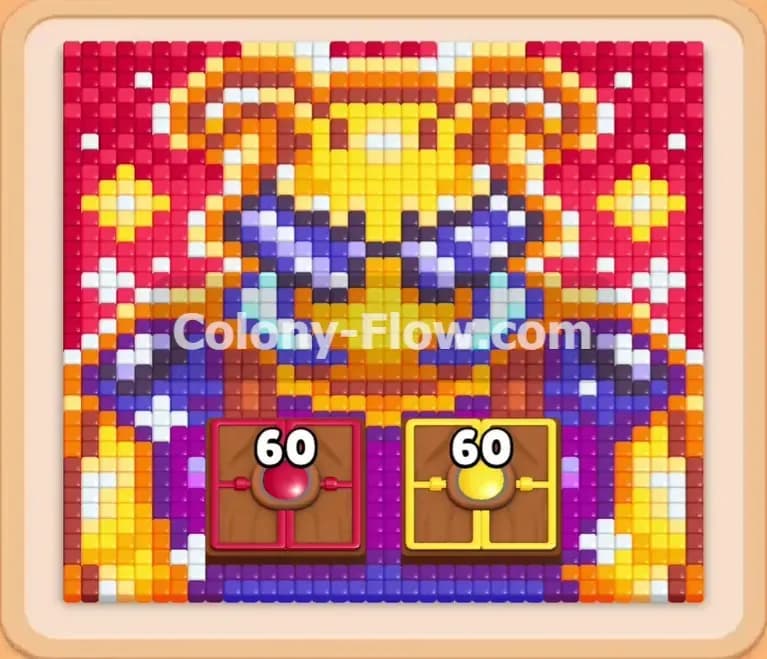
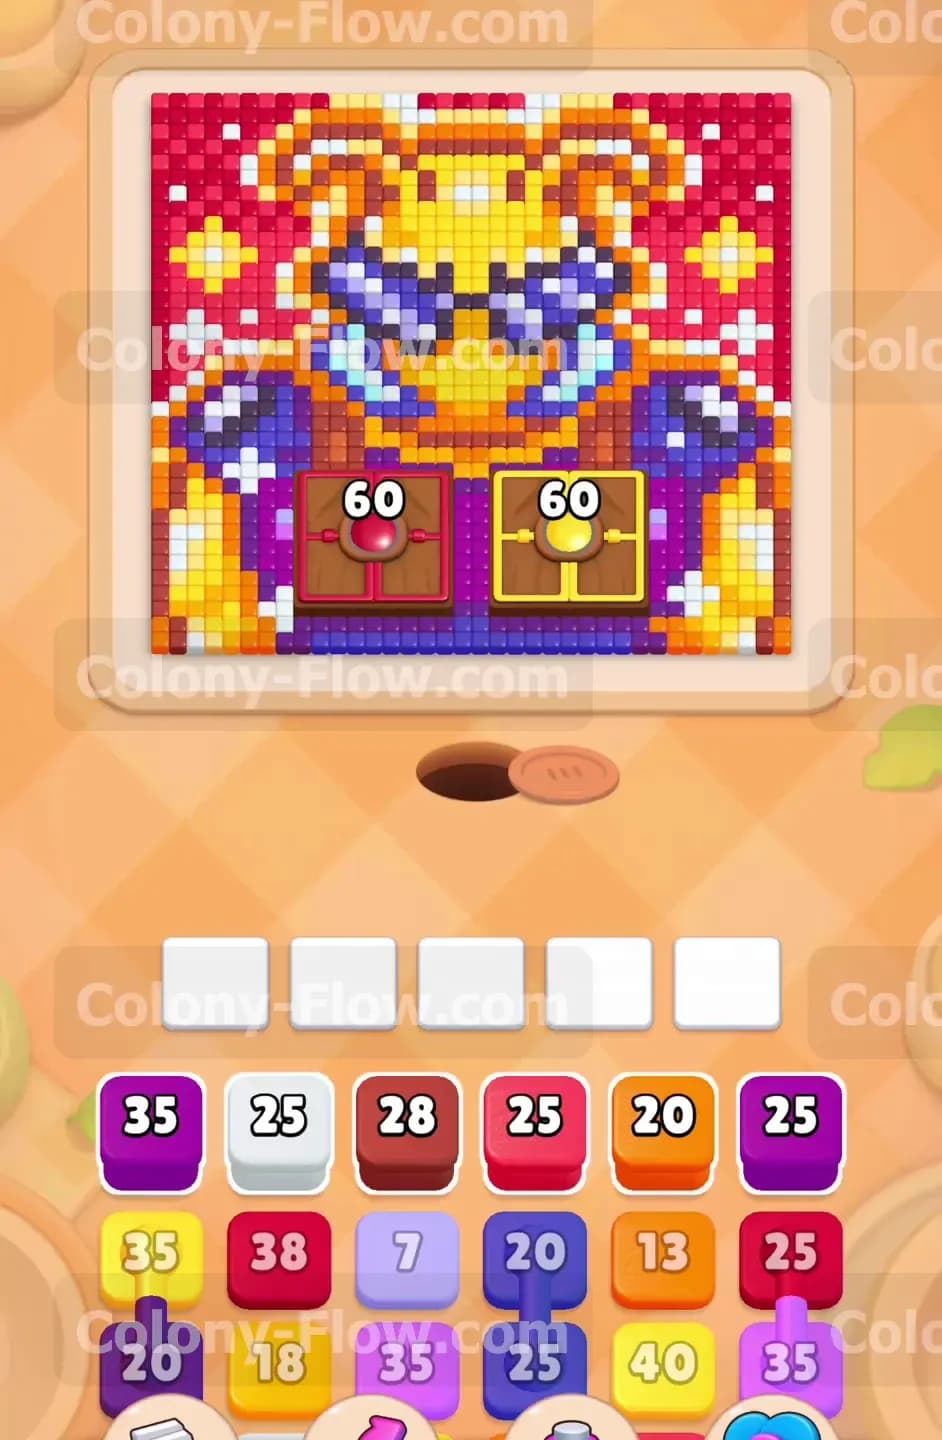
The main obstacle in this puzzle involves two massive Hungry Doors sitting right over the middle of the board. The left door requires 60 red resources to open. The right door requires 60 yellow resources to open. You also have Connected Boxes in your tray. These blocks link together and take up multiple waiting slots when you pull them. The picture features a stylized character wearing dark blue sunglasses. The head features large flowing red and orange sections that look like flames or wild hair. The bottom shows dark purple and light purple shoulders surrounded by yellow borders. The tray provides a mix of high value blocks including purple 35 blocks and yellow 35 blocks along with various connected combinations.
What It Takes to Clear Level 1150 Board
You win this stage by feeding the doors first to expose the full picture underneath. You must satisfy both Hungry Doors before the ants can access the main puzzle. Once the doors vanish the board opens up and reveals the remaining pixels. You then guide your swarm through the bottom purple and yellow sections to reach the top. You must constantly balance the Connected Boxes so they never fill your five available waiting slots. Leaving one path open at all times ensures the ants always have work to do and keeps your tray from suffering a fatal jam. You complete the level when every pixel disappears and your tray empties completely.
Colony Flow Level 1150 Step by Step Solution
Step 1: Target the red Hungry Door first to open the left side
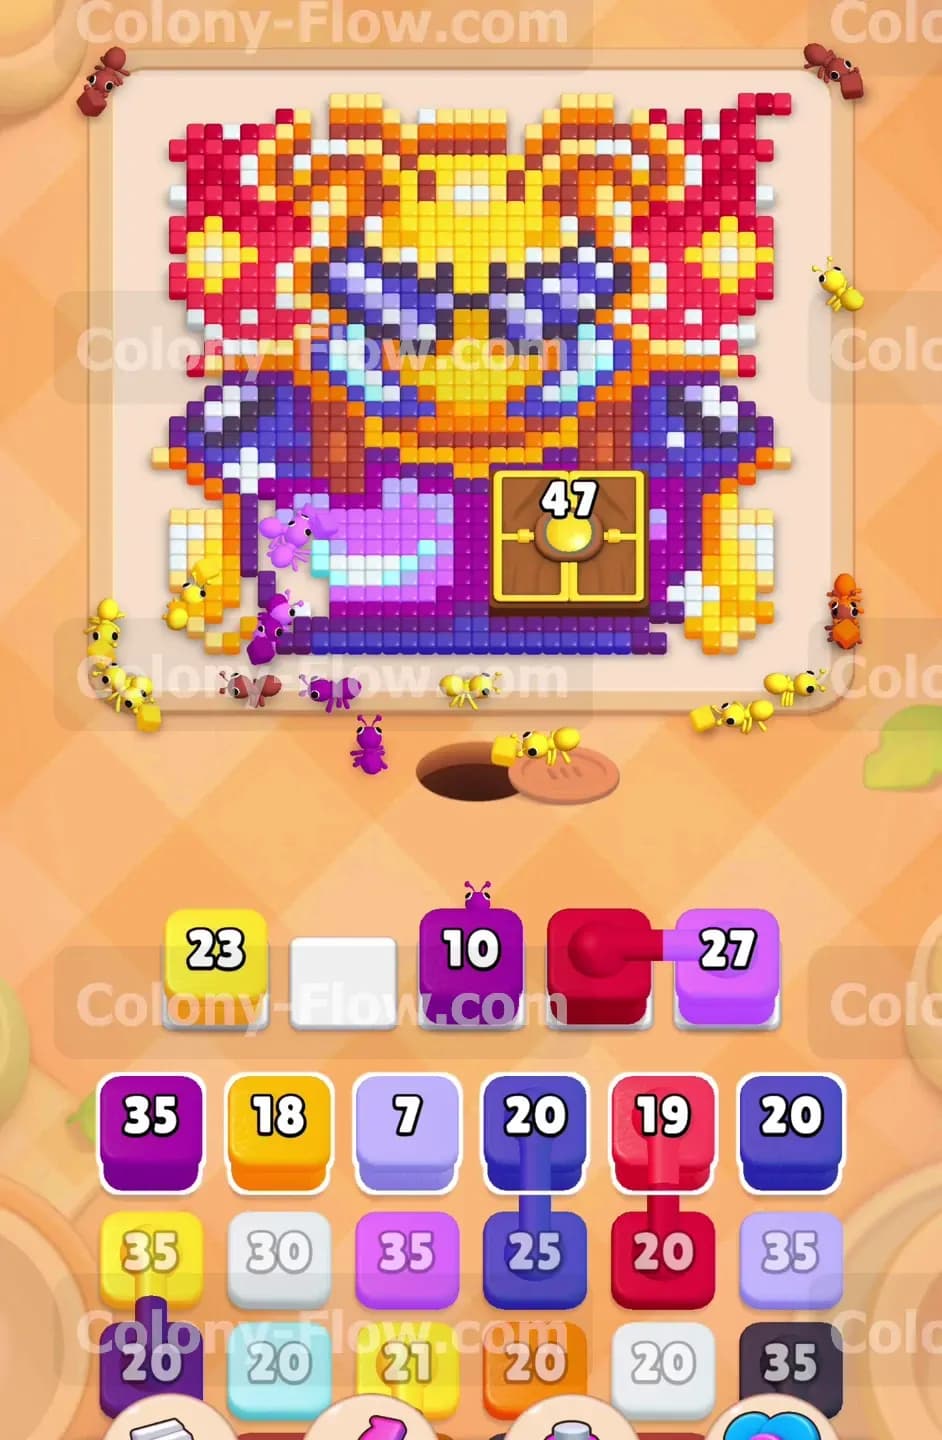
Focus your initial attention completely on the large red Hungry Door sitting over the left side of the character. This special door requires a massive 60 resources to open and it blocks access to the purple pixels underneath. You must pull red blocks from your tray to feed the door. Look at your available options and select the red blocks to send your swarm straight to the obstacle. The ants stream out of the nest hole and carry the red resources directly to the door. Every trip reduces the number on the door until it finally vanishes from the board. Do not touch any other colors during this phase. If you pull a blue or orange block early it simply sits in your waiting slot and creates a dangerous jam. You only have five slots available so keeping them clear for the red blocks is mandatory for survival.
Step 2: Feed the yellow Hungry Door to expose the right side
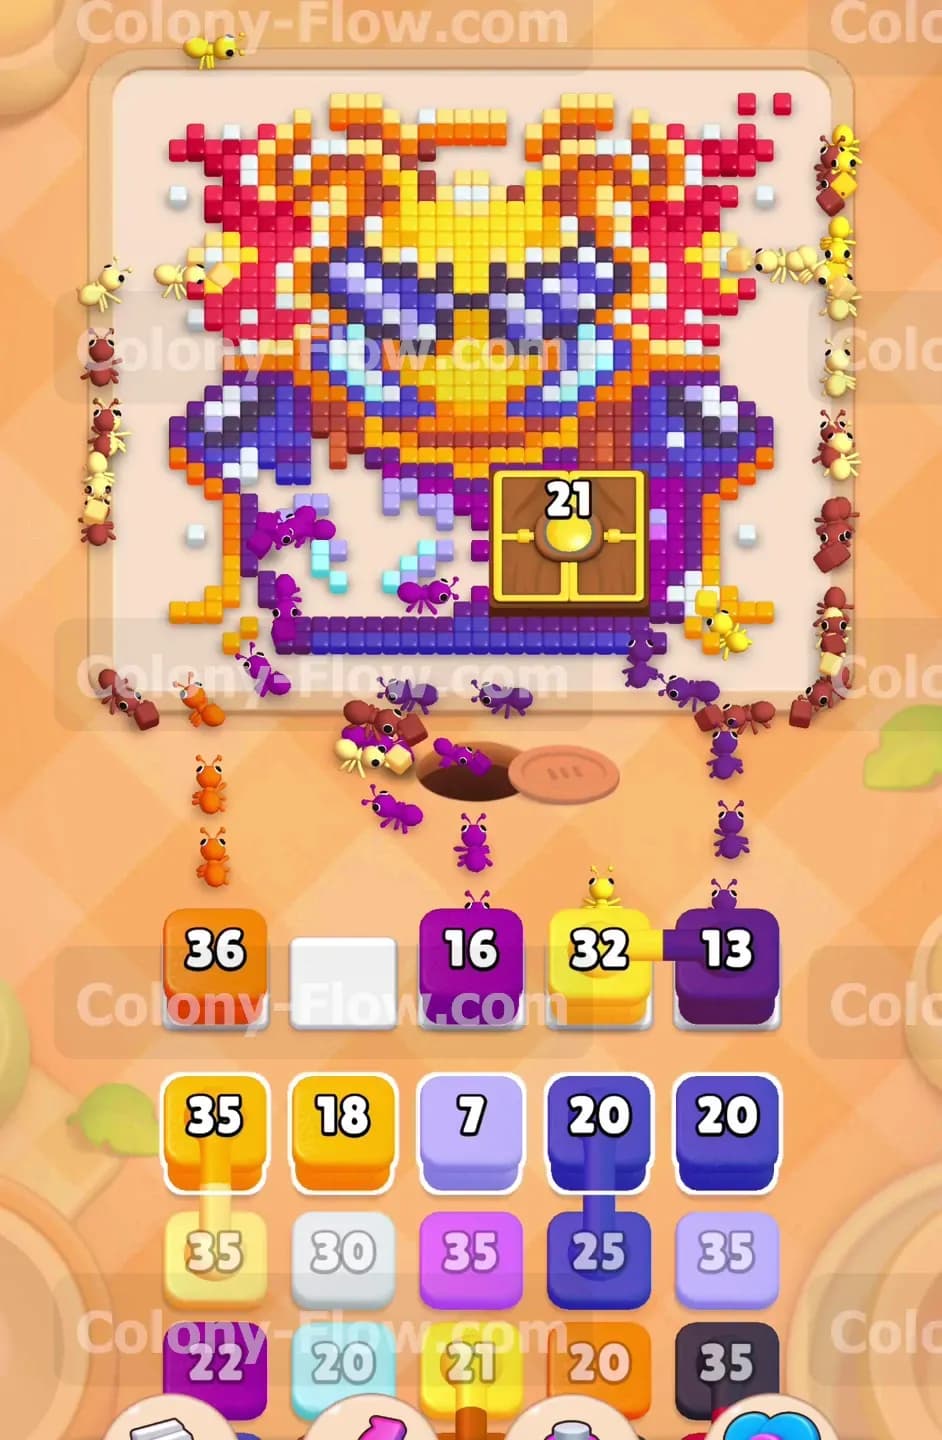
With the left door gone you must repeat the exact same process for the right Hungry Door. This door demands 60 yellow resources before it disappears. Locate the high value yellow blocks in your tray and pull them up into your waiting slots. The swarm will march over and dismantle the yellow door piece by piece. You now have full access to the bottom half of the picture. The waiting slots remain completely safe during this process because you only pulled the exact colors required by the active doors. The ants clear the yellow door rapidly and open up the pathways to the actual picture tiles.
Step 3: Clear the purple and yellow borders at the bottom
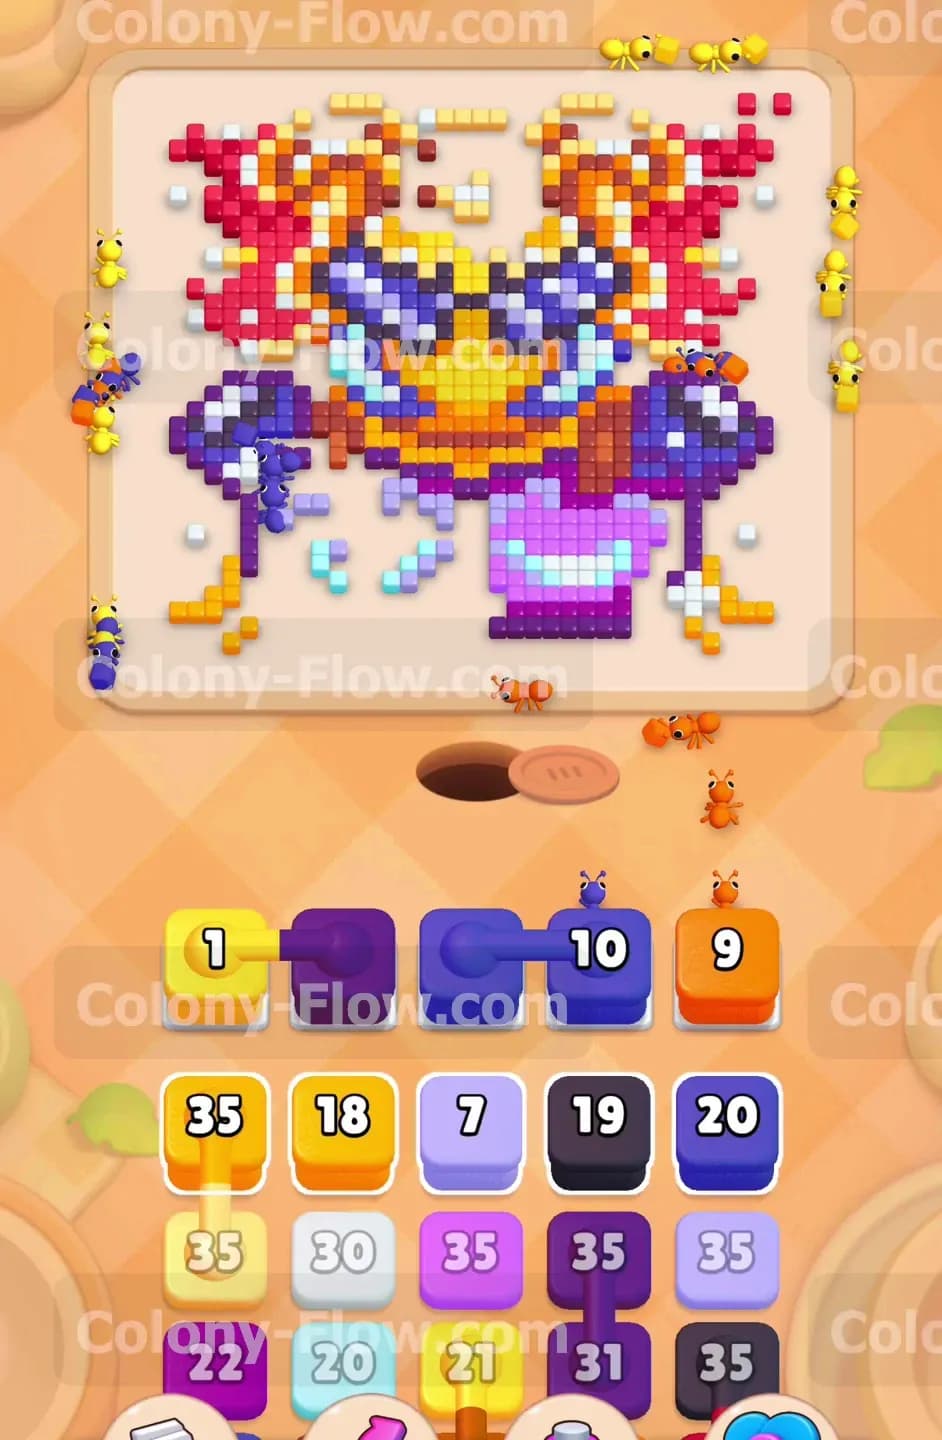
The ants now have a clear path to the bottom edges of the pixel art. The left side consists of dark purple and light purple tiles. The right side contains large patches of yellow tiles. Pull a large purple block and a large yellow block to start clearing these borders. You notice Connected Boxes in the tray during this phase. When you pull a linked pair both colors enter your slots simultaneously. You must ensure the ants can reach both colors on the board before you pull them. If they can only reach one color the other block gets stuck in your tray and wastes a valuable space. Wait for the purple and yellow pixels to recede before moving on.
Step 4: Break through the light purple and black sections
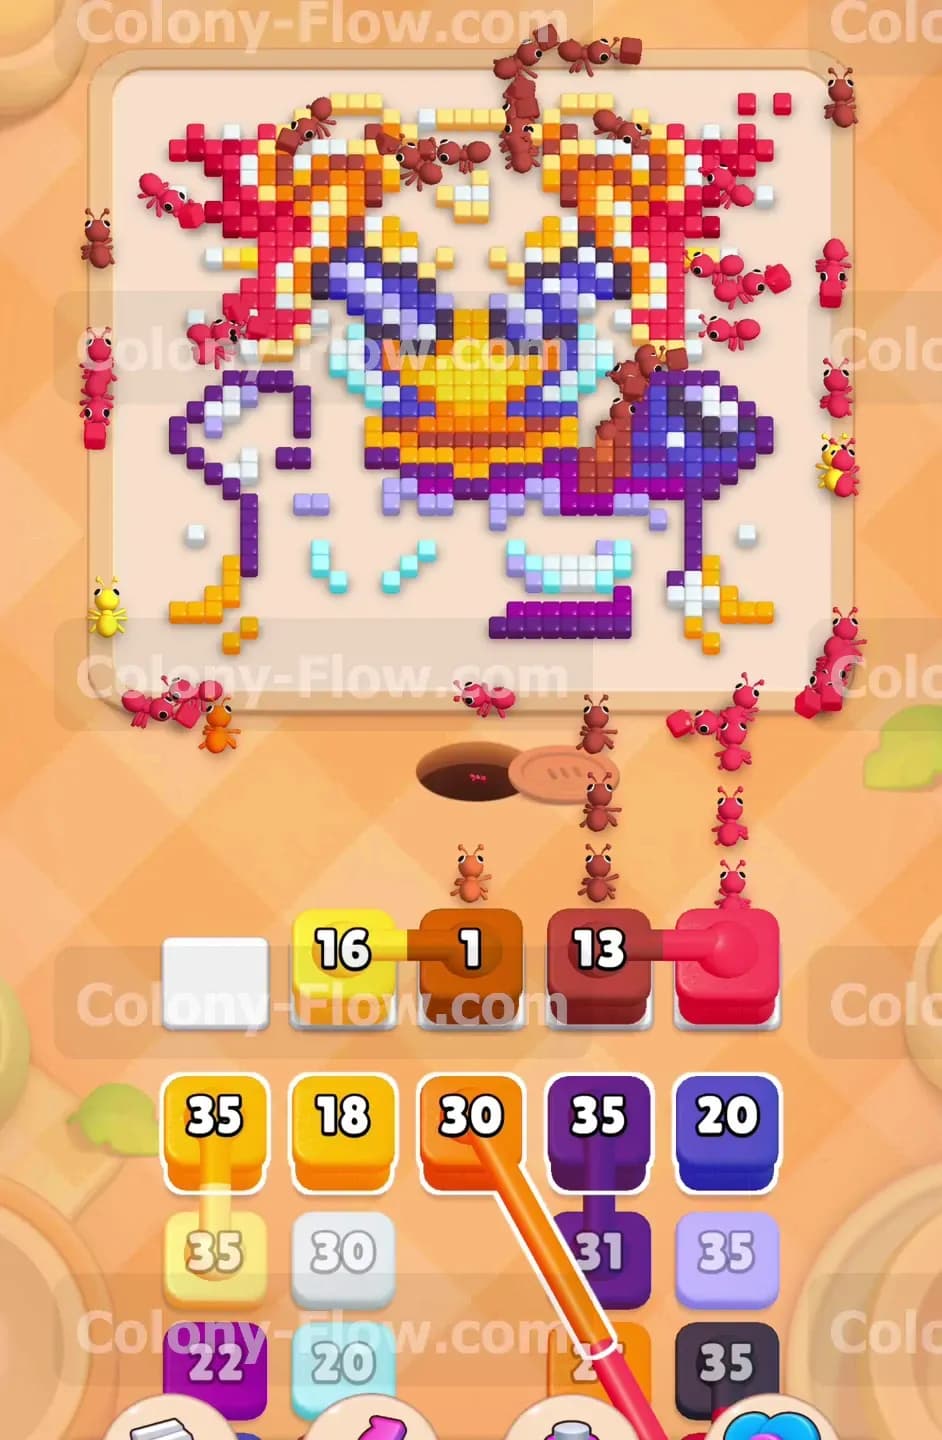
As the bottom edges clear the swarm moves closer to the center face. The character has light purple cheeks and thick black outlines around the jaw. Pull the light purple blocks from your tray to clear the cheek areas. Follow this up with the black blocks to erase the heavy outlines. The ants work quickly here because the paths are wide open and easy to access. Keep a close eye on your tray and avoid pulling colors meant for the very top of the head. Patience prevents unnecessary slot jams and keeps your momentum going forward. You will see the character lose its lower jaw completely as the ants consume these tiles.
Step 5: Dismantle the dark blue sunglasses in the center
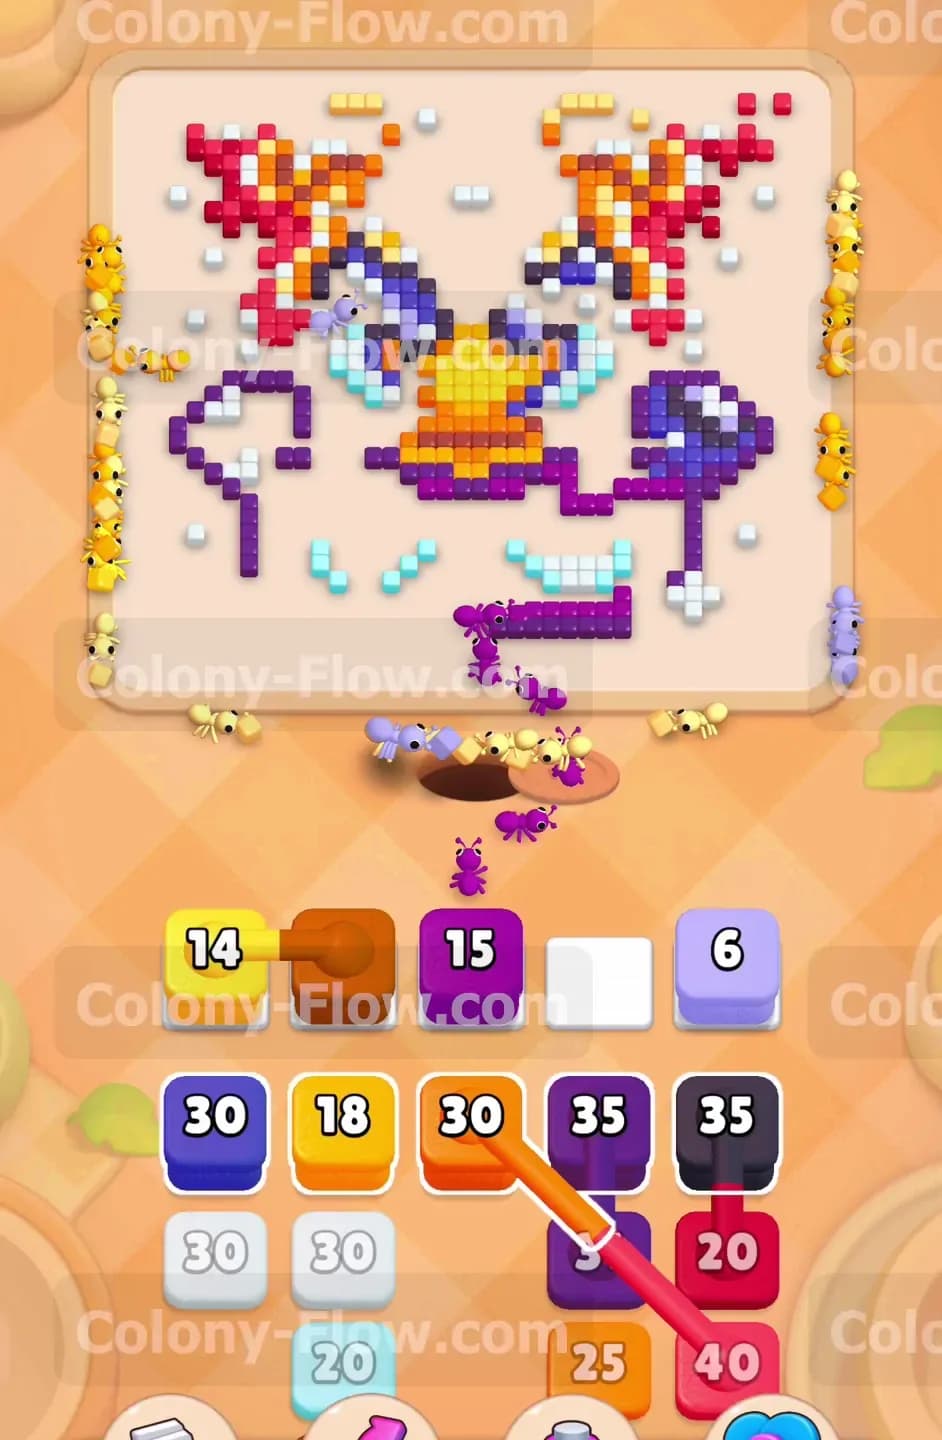
The center of the board features prominent dark blue sunglasses. The ants reach this section once the lower cheeks and black outlines disappear. Pull the high value dark blue blocks to feed the swarm and clear the eyewear. The dark blue area takes a lot of resources to clear completely. You will see the numbers on your dark blue tray blocks count down rapidly as the ants carry the resources away. Wait for the sunglasses to disappear entirely before shifting your attention to the outer edges. The board looks drastically different once the large blue center vanishes.
Step 6: Clear the red and orange outer head pieces
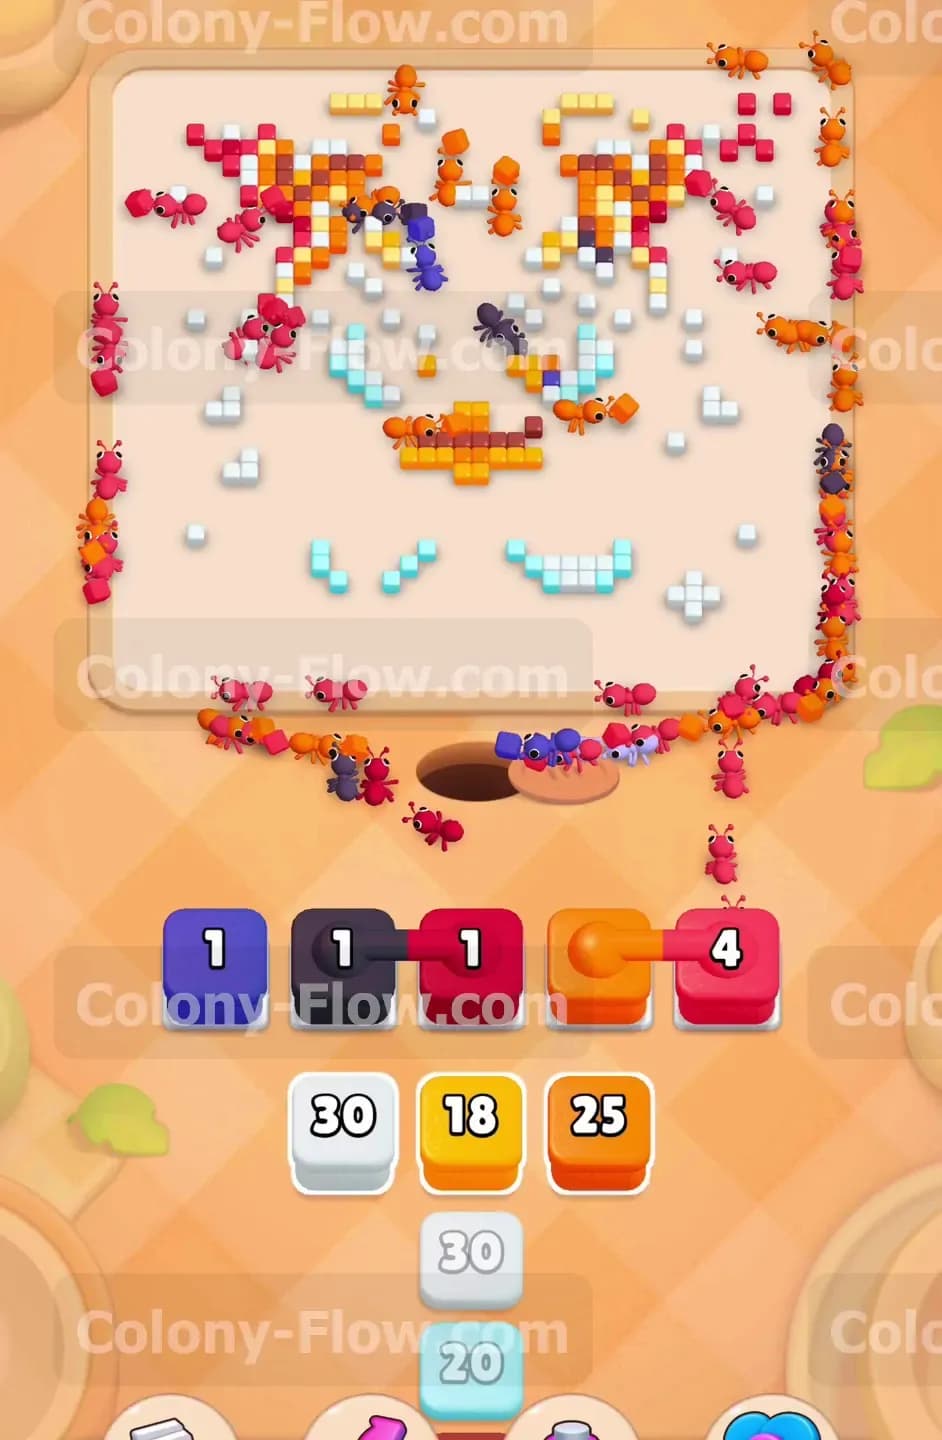
The top half of the pixel art consists of fiery red and orange shapes that extend outward. The swarm travels up the freshly opened sides of the board to reach these top pixels. Locate the large orange and red blocks in your tray. You will find several Connected Boxes linking these two exact colors. Since the ants have a clear path to both the red and orange sections you safely pull these linked boxes into your waiting slots. The ants split up and consume the top left and top right corners simultaneously. Your waiting slots stay completely clear because the paths allow rapid resource delivery for both colors at once.
Step 7: Clean up the final scattered white and light blue pixels
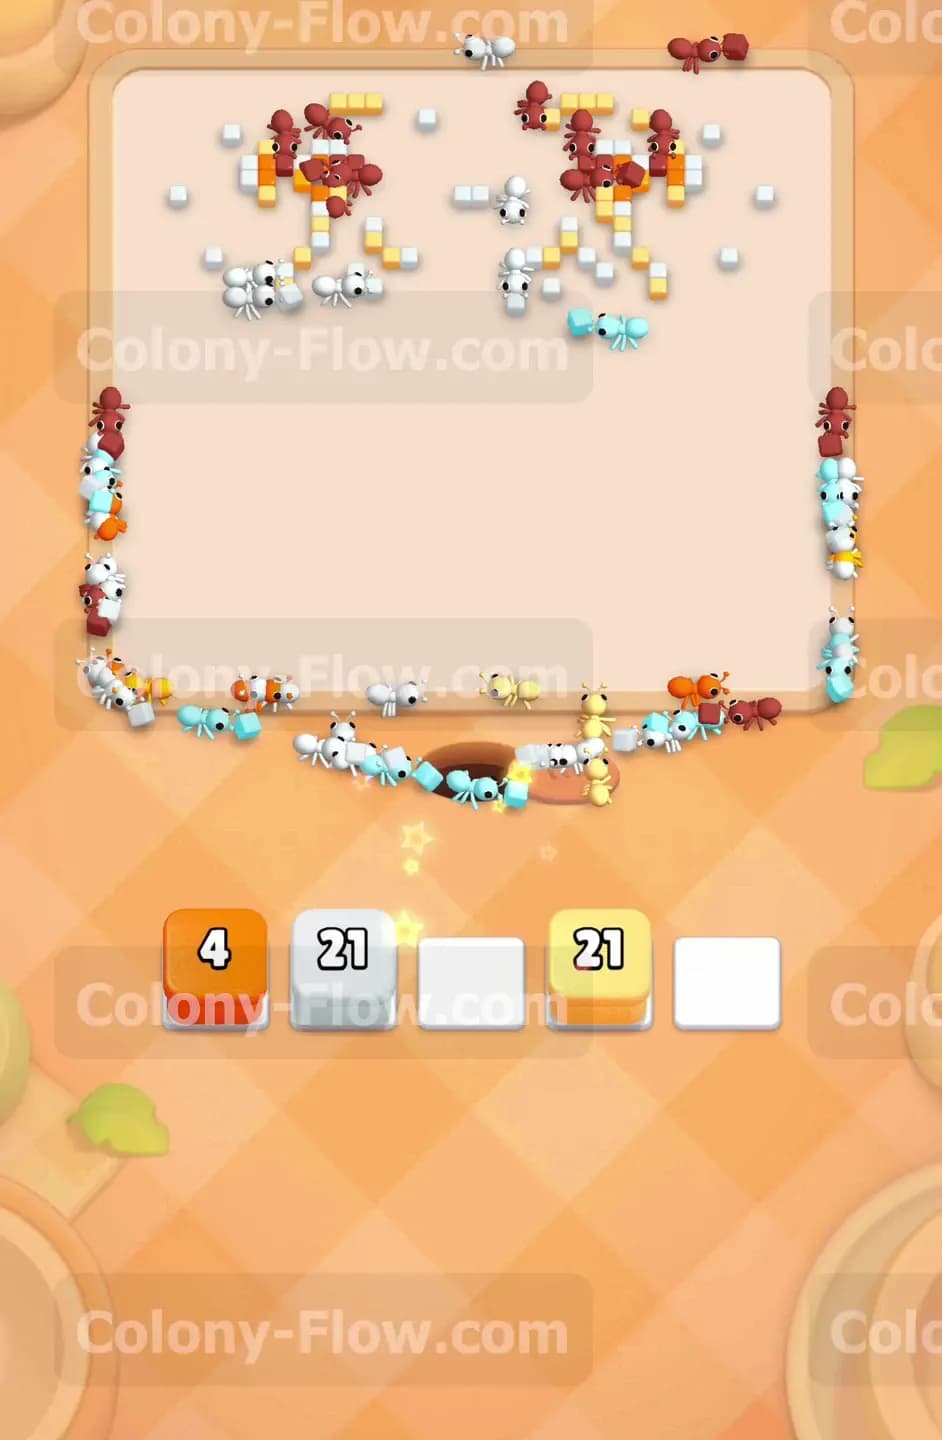
The massive face is mostly gone by this late point in the puzzle. Only a few scattered light blue and white pixels remain near the bottom and middle of the empty board. The tray contains a few small value white and light blue blocks meant for these exact pieces. Pull the light blue blocks first to clear the lower floating pieces. Then pull the white blocks to erase the remaining center dots. Make sure you only pull one block at a time to prevent any sudden unexpected jams. The ants have to travel a bit further to reach these isolated pixels so give them time to finish their routes.
Step 8: Empty the remaining tray pieces to finish the board
You now face a nearly empty board with just a handful of yellow and orange pixels left at the very top. Your tray holds exactly the blocks you need to finish the job. Pull the final yellow and orange pieces into your waiting slots. The ants rush out of the nest hole and consume the last bits of the picture. The numbers on your final blocks hit zero and the tray empties completely. The board clears and you secure the victory screen.
Final Thought
This puzzle demands strict discipline with your tray management and pathing. The Connected Boxes easily ruin your run if you pull them without checking your open paths first. Pay close attention to the order of operations and eliminate those two Hungry Doors immediately to give your swarm room to work. Watch the video above this article if you find any step hard to visualize and need to see the exact ant routes in action.