Colony Flow Level 369 Walkthrough Solution & Guides | How to solve Colony Flow 369

Guide By Liam Stone
Updated on July 18, 2026
The Level 369 solution is right there in the video above, so read on only if you want the extra detail.
Video doesn't match your screen?
Game updates frequently scramble layouts! Try our AI Screenshot Solver first to find your exact board instantly, or report broken guides to our team.
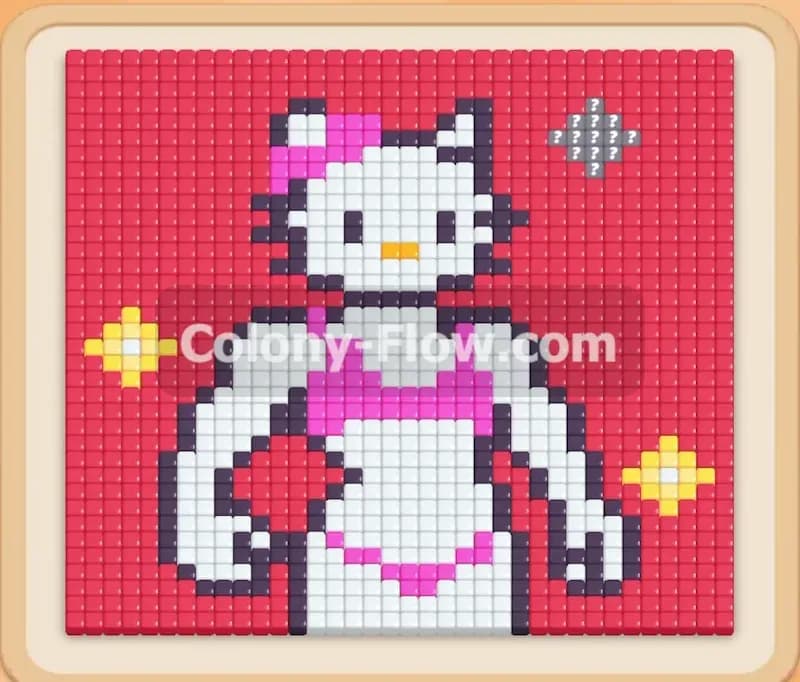
Welcome to Colony Flow Level 369 where you face a massive background that demands your attention right from the start. You see a muscular pixel art character wearing a pink bikini set against a gigantic solid red wall. Clearing this board requires careful slot management to ensure your ants never hit a dead end while they chew through hundreds of red tiles.
Colony Flow Level 369 Overview
What You Are Working With
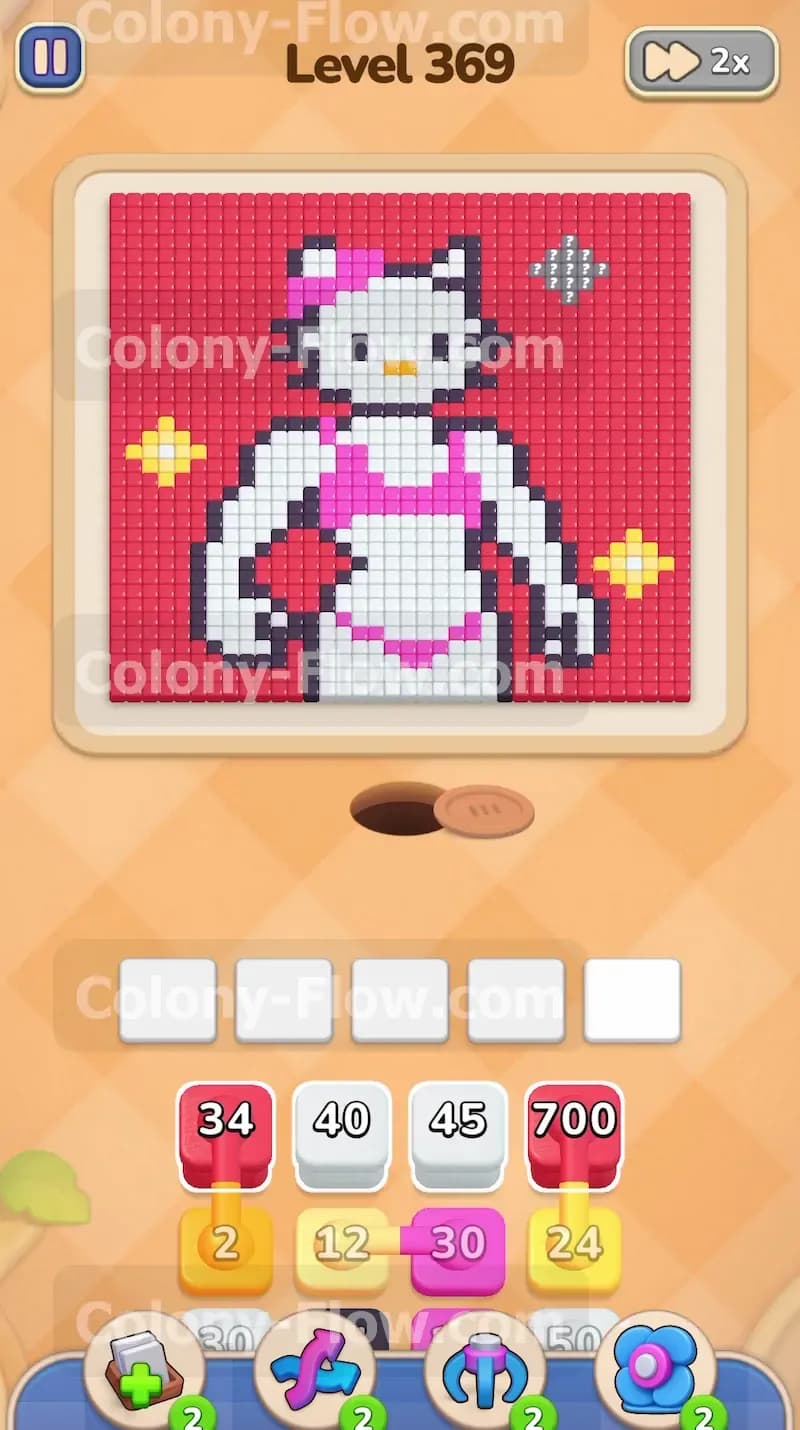
The centerpiece of this level is the pixel art image of a buff character with a white body and a thick black outline. The character wears a bright pink bikini and a pink bow on their head. A tiny orange nose sits in the middle of the face. Several yellow and grey sparks float around the character adding small details to the image. The most dominant feature is the solid red background that fills the entire upper half and sides of the board. Down in your tray you see a daunting Red 700 block waiting for you. You also have a mix of white, yellow, pink, black, and orange blocks with much smaller numbers. The board gives you five empty waiting slots at the bottom. The challenge here comes from that massive red block. It is so big that it will sit in one of your waiting slots for almost the entire game. You only have four other slots to juggle the rest of the colors. If you pull too many big blocks at once you will clog your slots and lose the level before the red background clears.
What It Takes to Clear Level 369 Board
Winning this level means patiently managing the constant drain of the red background while actively clearing the smaller details of the character. You want to start the red block immediately so the ants have plenty of time to work on it without pressure. Then you use the remaining four slots to cycle through the yellow, white, and pink blocks to break down the image. You must clear the bottom edges of the character first to open physical paths to the inner body and the higher sparks. Every move must maintain a clear route for the ants from the nest hole to the target tiles so they never stop moving. You win when the red background vanishes completely and the final white and black tiles of the character face disappear from the board leaving a blank canvas.
Colony Flow Level 369 Step by Step Solution
Step 1: Pull the massive red block to start the background clear.
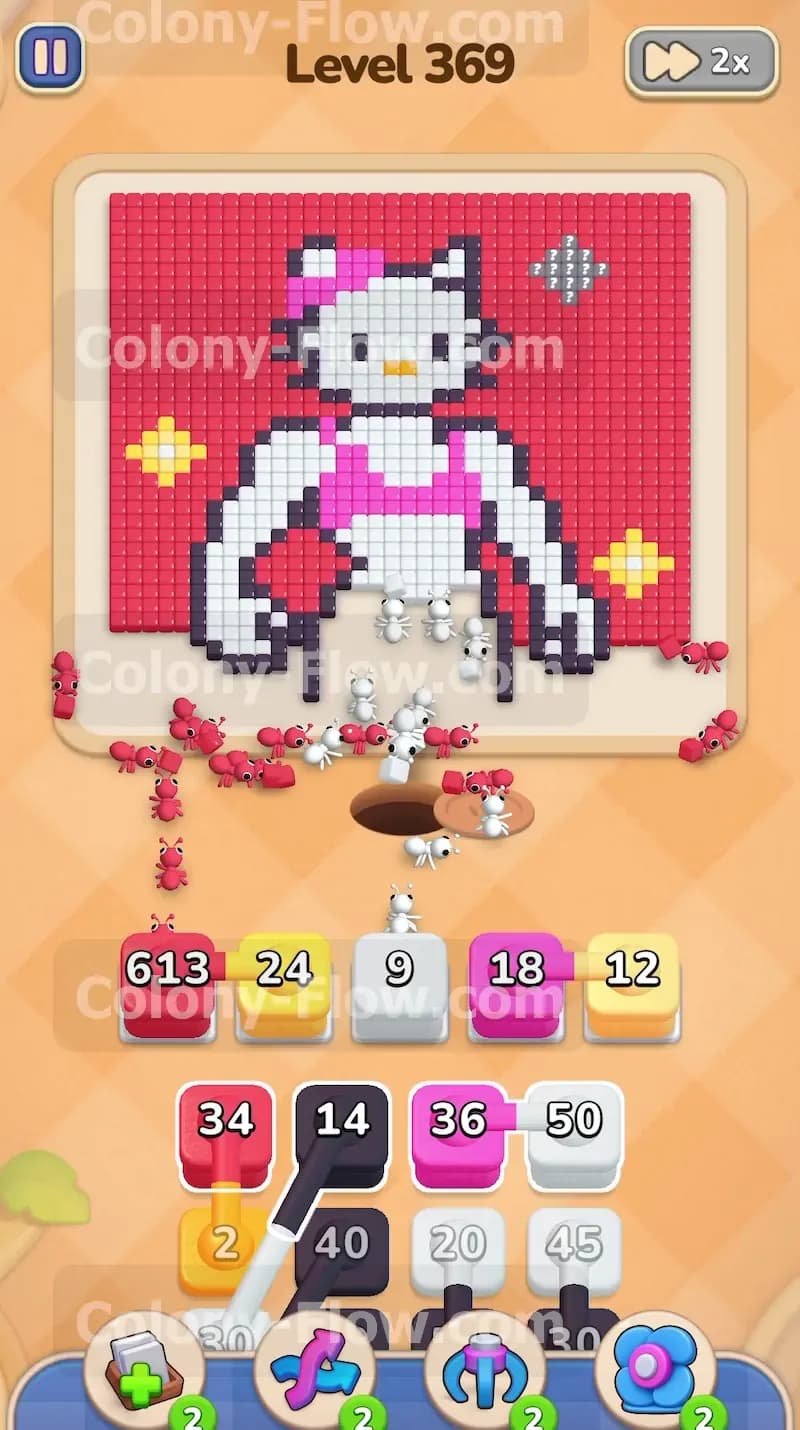
You need to get the biggest block out of the way immediately. Pull the Red 700 block from the tray and drop it into your first waiting slot. A huge stream of red ants pours out of the nest hole and spreads across the entire outer edge of the red background. They start eating the red tiles from the bottom up moving left and right simultaneously. The screen fills with red ants scurrying along the lower borders. This block has a huge number so it will sit in your first slot for a very long time. You must accept that you only have four available slots for the next several moves. Keeping this red stream active is the only way to finish the level before you get stuck with a full tray. The red background frames the entire picture and removing it creates a massive border of empty space.
Step 2: Target the lower white sections of the character body.
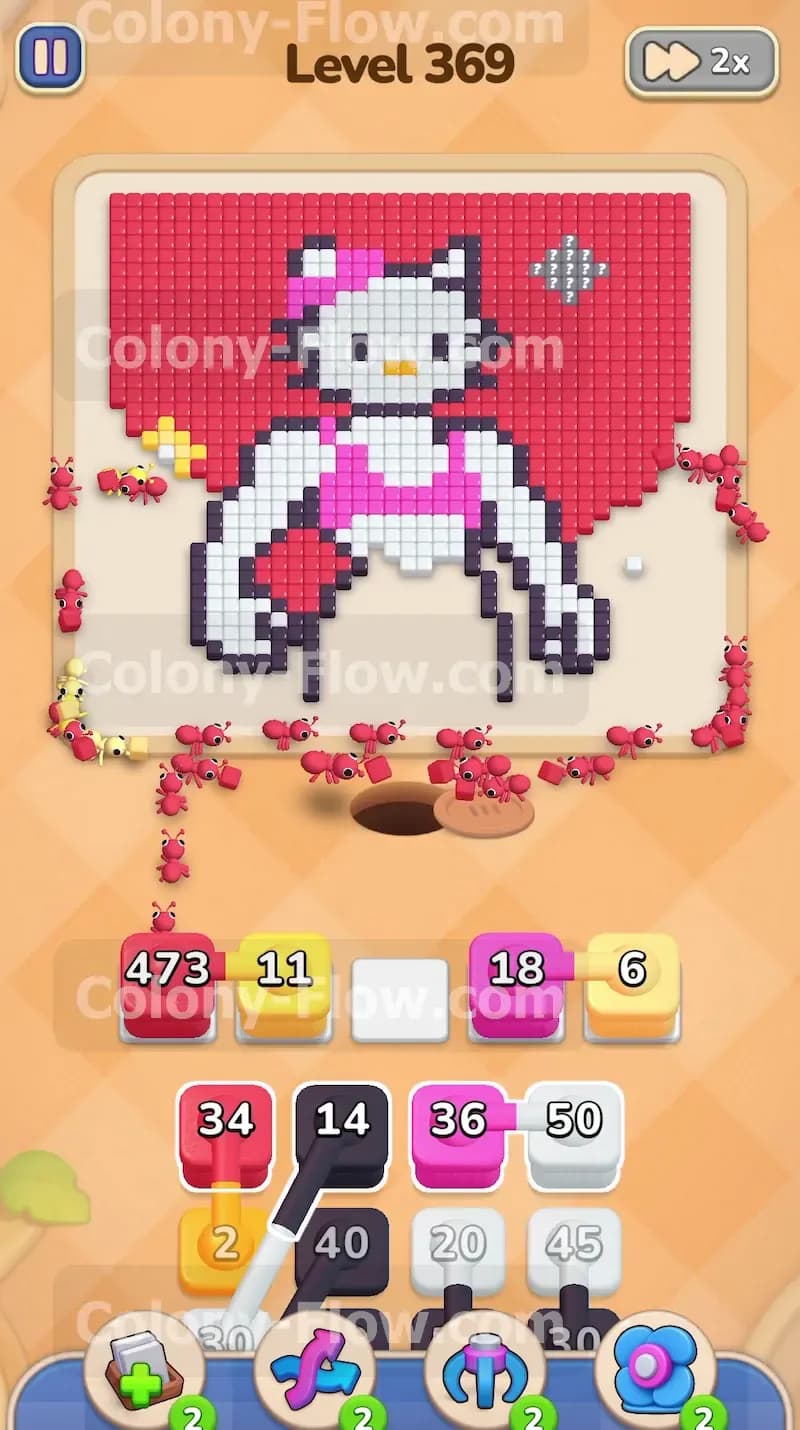
With the red background slowly disappearing you need to open paths through the main figure. Pull the White 45 block into your second slot. The white ants find an immediate path to the white tiles forming the legs and lower torso of the character. Eating these white tiles creates empty space right in the middle of the board. This empty space will serve as an open highway for your ants to reach higher areas later on. The white block counts down much faster than the red block and helps you maintain good flow. You will notice the ants carving out the legs leaving only the black outline standing like an empty shell.
Step 3: Clear the yellow sparks to cycle your tray blocks.
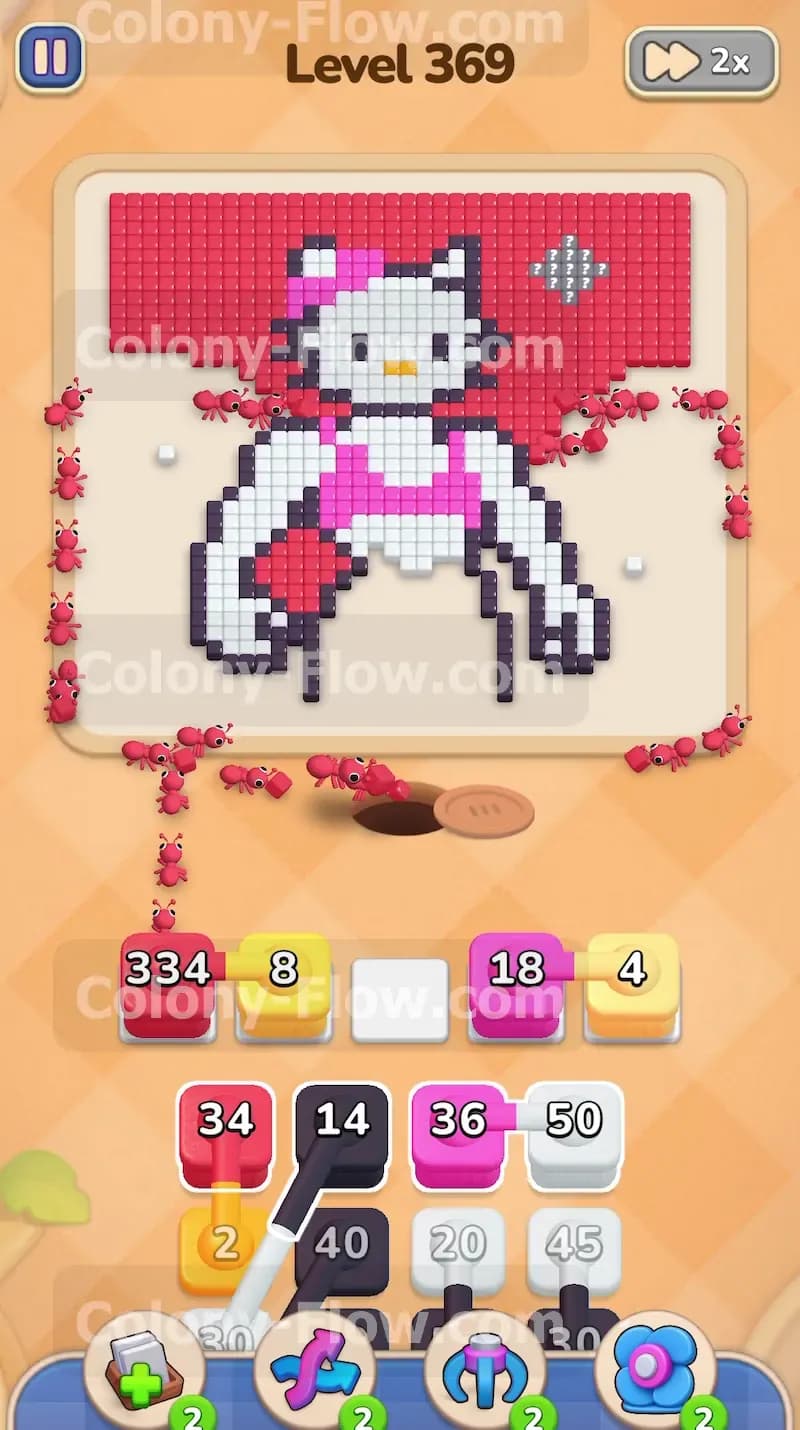
Now you want to tackle the small isolated details to keep your slots moving. Pull the Yellow 24 block and the Yellow 12 block into your third and fourth slots. The yellow ants rush to the yellow sparks floating on the left and right sides of the muscular character. These sparks are relatively small and the blocks will finish quickly. Pulling two blocks of the same color is usually risky but here they target separate distinct areas and have low enough numbers to clear out fast. You want these slots to empty quickly so you can bring in new colors from the tray. The ants chew through the star shaped sparks and remove the bright yellow spots from the red canvas.
Step 4: Start eating the pink bikini to open the torso.
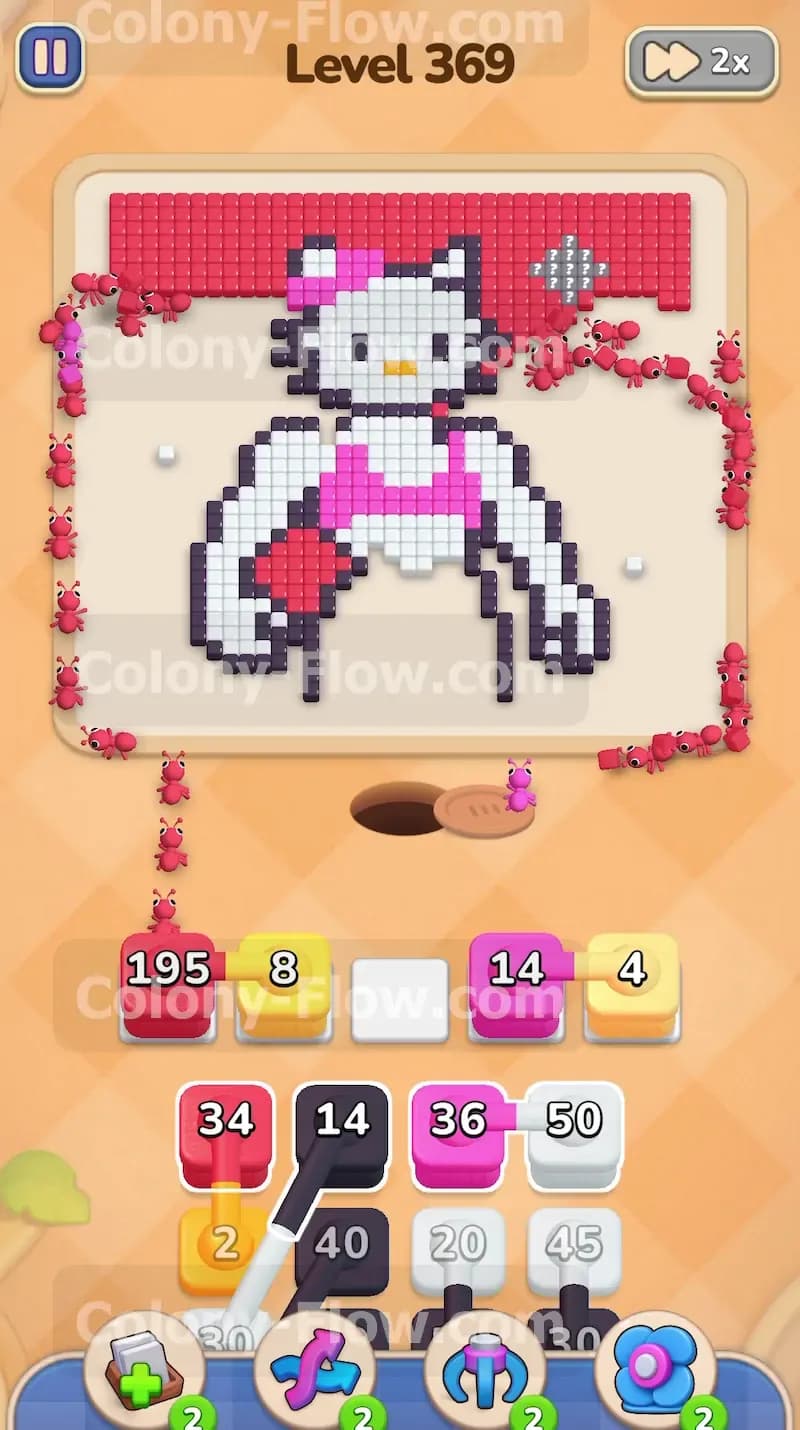
You have one empty slot left and you need to use it wisely. Pull the Pink 30 block into your fifth waiting slot. Your slots are now completely full with Red, White, Yellow, Yellow, and Pink blocks running at the same time. The pink ants attack the pink bikini bottom and the top pieces on the muscular chest. Because you previously cleared the white tiles around the legs the ants have a wide open path straight to the pink tiles. The White 45 block finishes its job right around this time and frees up your second slot. You avoid a jam and keep the board active while hundreds of ants swarm the picture.
Step 5: Let the yellow blocks finish counting down to free up waiting slots.
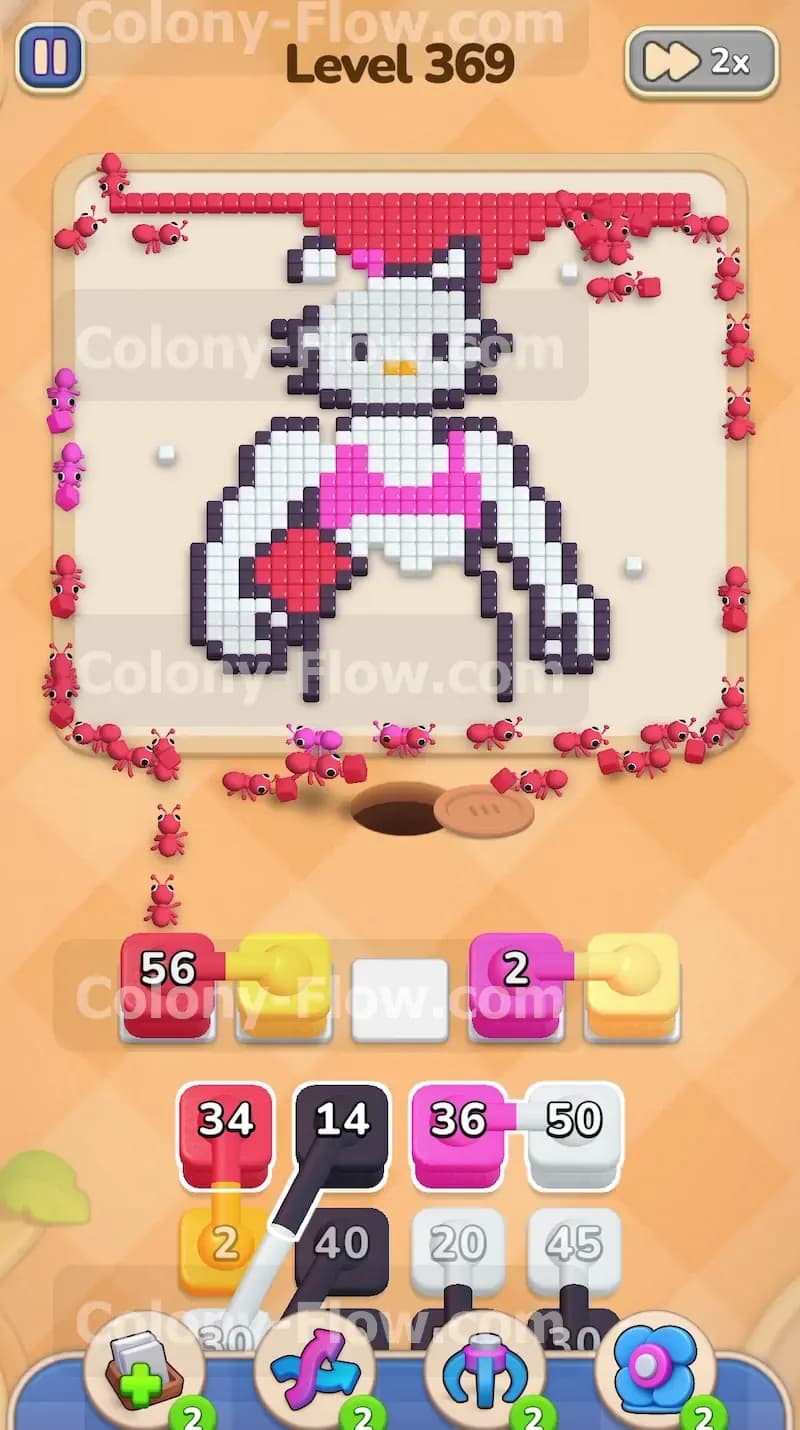
At this point you need to exercise a little patience and let the ants work. The Red 700 block is still draining steadily and is down in the four hundreds. The Pink 30 block is working its way down through the bikini pieces. The two yellow blocks finish their count and vanish from your slots. The yellow sparks are completely gone from the picture leaving empty space behind. You now have three empty slots and a much cleaner board. The red background has retreated significantly from the bottom edges giving your ants plenty of room to maneuver around the outside of the main figure.
Step 6: Attack the thick black outline of the character.
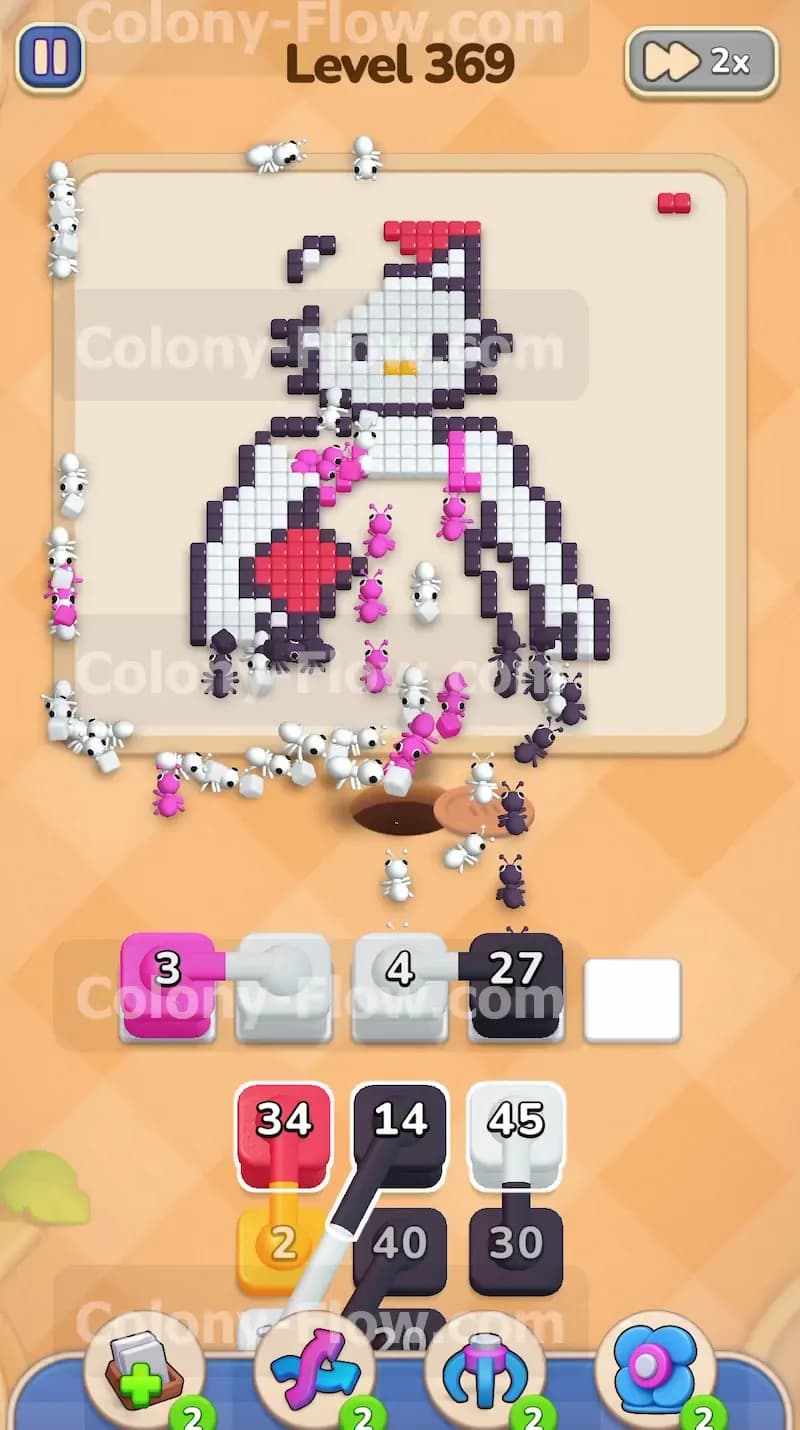
It is time to start breaking down the structure of the figure. Pull the Black 40 block into one of your empty slots. The black ants swarm the heavy black lines that form the muscular arms and the outer shape of the legs. Clearing this black outline is necessary because it acts as a wall protecting the inner white tiles of the upper body. As the ants chew through the black lines they expose fresh white tiles for your next move. The red background continues to shrink in the background while you focus on breaking open this outline. The character shape starts to look fragmented and broken.
Step 7: Clear the upper white body sections.
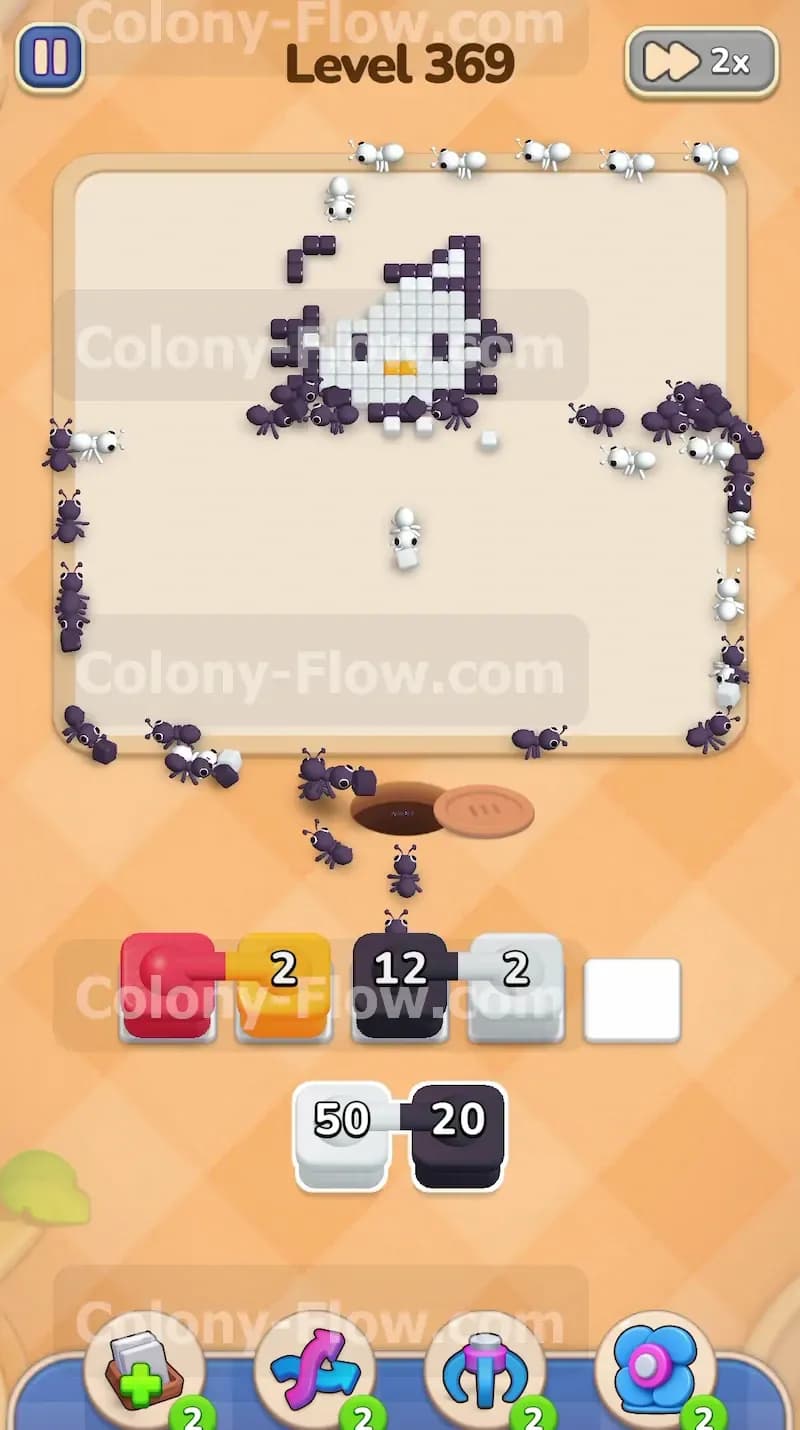
With the black outline broken you can target the rest of the body. Pull the White 50 block from your tray into a waiting slot. The white ants stream up through the empty space left by the legs and attack the chest and muscular arms. Huge chunks of the white body disappear as the ants rapidly eat the tiles. The board looks much emptier now with the character reduced to a head and a few floating arm pieces. Your big Red block is dropping into the double digits. The Pink block finishes and opens another slot. You have complete control of the board flow and your ants have direct access to every remaining tile.
Step 8: Finish the remaining pink details including the head bow.
You still have a few pink tiles left at the top of the character. Pull the Pink 36 block to target the bright pink bow sitting on the head. The pink ants easily march up the cleared body path and eat the bow tiles. Right around this moment the gigantic Red 700 block finally hits zero and disappears from your first slot. The solid red background is completely gone and you only see empty space behind the head. Surviving the massive red block is the hardest part of the level and you just accomplished it. Your slots are now wide open for the final moves.
Step 9: Handle the tiny orange nose detail.
You are now in the final cleanup phase. The face is mostly intact but you need to clear the inner details before finishing the outline. Pull the Orange 2 block from the tray into a free slot. Two orange ants run all the way up to the center of the face and eat the tiny orange nose. This is a very fast move but you must do it before you pull the final white blocks. If you eat all the white around the nose first you will block your own path later and fail the level right at the end.
Step 10: Clear the final white face tiles and the remaining black outline.
Only the head remains on the board surrounded by empty space. Pull the White 45 block and the Black 30 block to finish the job. You also have a small Red 34 block and a Black 14 block in your tray that you will pull as the slots open. Finally pull the last White 50 block and Black 20 block. The white ants clear out the white fill of the face while the black ants chew through the remaining black outline. The red ants take care of the final red tiles that were hidden near the head. The last few tiles vanish and the board is completely empty. You managed your slots perfectly and never let the massive red block cause a jam.
Final Thought
This level tests your patience and your ability to manage a permanent slot occupant. Leaving that massive red block running while you actively juggle the other four slots is the true key to victory. If any part of this written guide feels tricky to visualize please watch the video above this article to see exactly how the ants navigate the board.