Colony Flow Level 527 Walkthrough Solution & Guides | How to solve Colony Flow 527

Guide By Liam Stone
Updated on July 30, 2026
If you're short on time, the video above covers the entire Level 527 solution in a few minutes.
Video doesn't match your screen?
Game updates frequently scramble layouts! Try our AI Screenshot Solver first to find your exact board instantly, or report broken guides to our team.
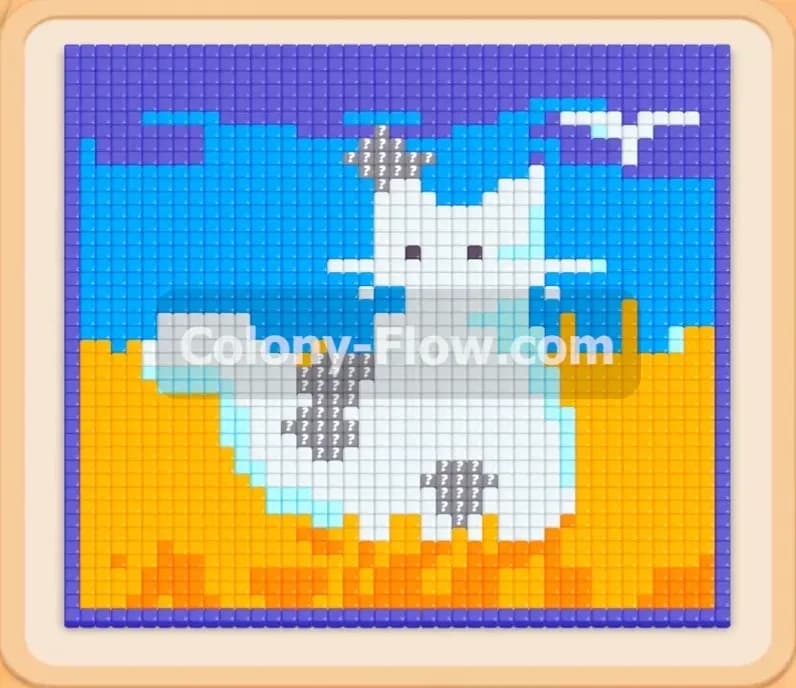
Colony Flow Level 527 gives you a massive pixel art scene to clear and introduces some tricky block mechanics right from the start. I am Liam Stone and I play every single puzzle to help you find the exact path to victory. This stage features a white cat sitting in a bright field under a vast sky. You have to manage your waiting slots carefully here because pulling the wrong color early will jam your board completely.
Colony Flow Level 527 Overview
What You Are Working With
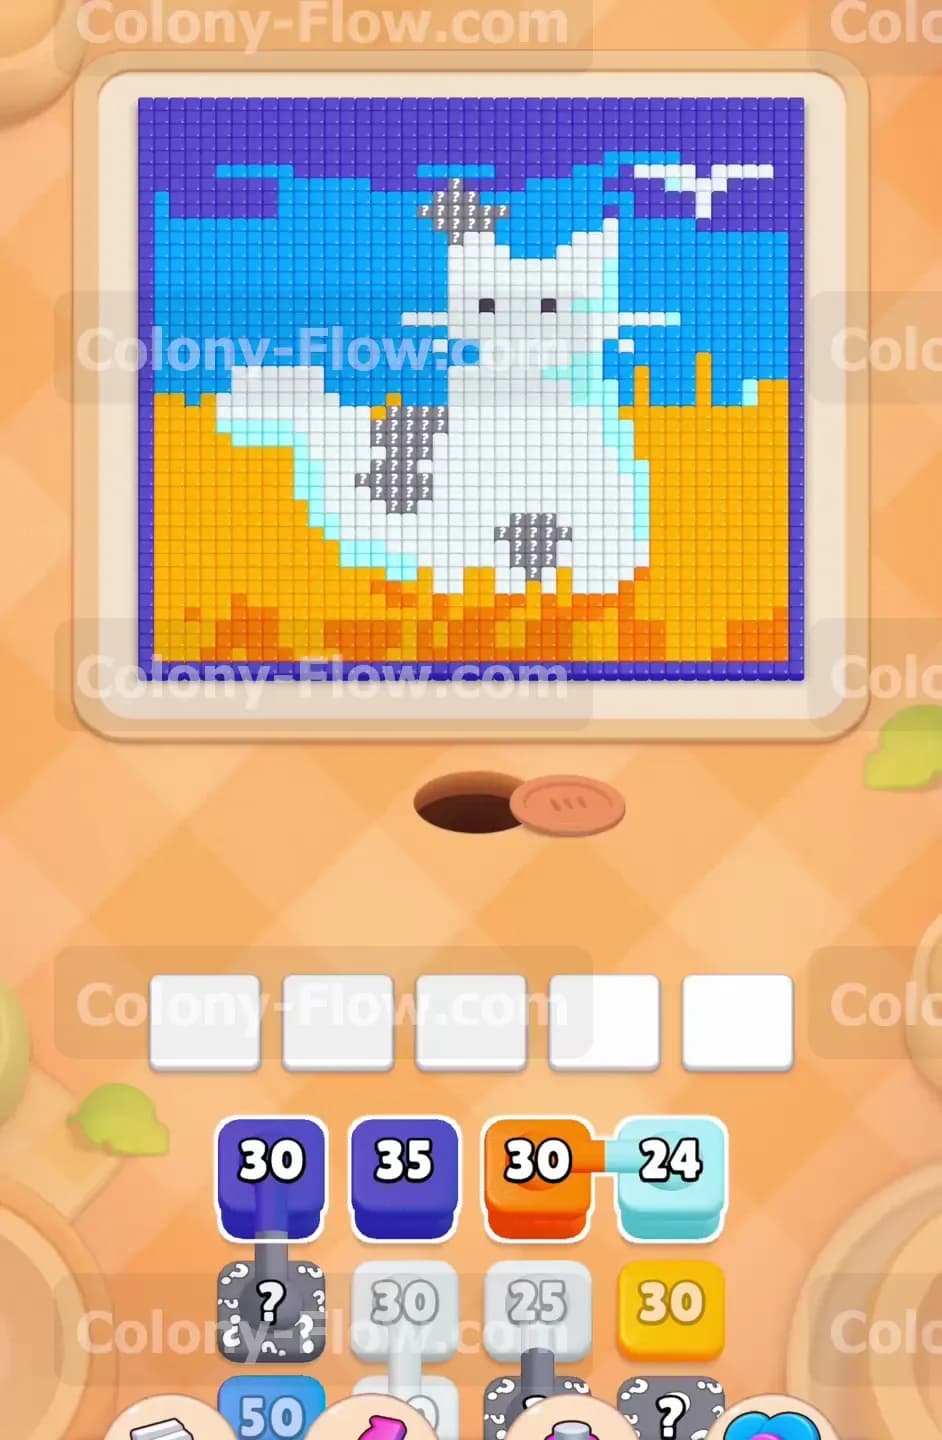
The pixel art for this puzzle features a large white cat sitting squarely in the middle of an orange and yellow field. Behind the cat sits a background split into a light blue lower sky and a dark blue upper sky. The bottom tray gives you an initial front row containing dark blue blocks, orange blocks, and light blue blocks. Behind them sit white blocks, yellow blocks, and hidden boxes marked with question marks. You will also deal with connected boxes later in the tray. Connected boxes are linked together by grey chains and they move up to the waiting slots as a pair. This forces you to dedicate two waiting slots at once. Hidden boxes conceal their true color until you pull them to the top.
What It Takes to Clear Level 527 Board
Clearing this board requires working strictly from the bottom up. The ants enter from the nest hole at the base of the image. The orange and yellow field stands directly in their way and forms a solid wall. You cannot reach the white cat or the blue sky until you clear enough of the field. This creates a severe bottleneck right at the beginning. If you pull dark blue blocks too early, they will sit permanently in your waiting slots because the ants have no open path to reach the dark blue pixels at the top of the picture. Filling your five slots with unusable blocks triggers an immediate loss. You must always maintain an open path for every color you send to the slots.
Colony Flow Level 527 Step by Step Solution
Step 1: Open the bottom edge using orange blocks.
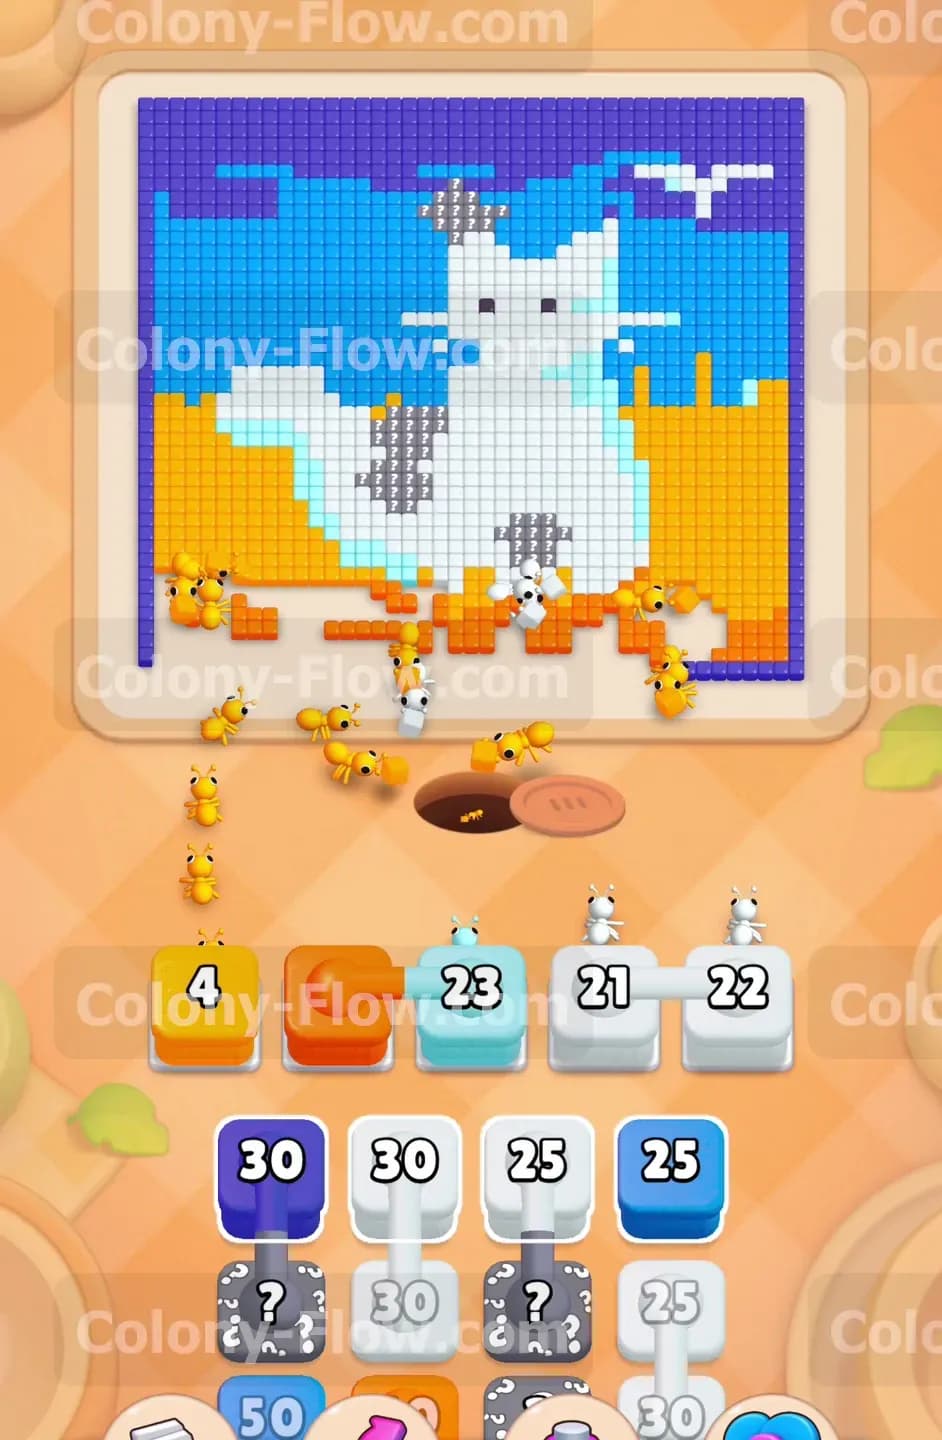
The nest hole sits right under the orange field. Pull the orange block from the front row of the tray to get your ants moving immediately. The ants will stream out of the hole and start eating the bottom edge of the grass. You also have a light blue block in the front row. There are a few light blue pixels touching the outer edge of the grass on the lower right side. Pulling that light blue block gives your ants a second open path to travel along the border. This prevents the initial blocks from jamming your five slots while you wait for the ants to chew a hole through the thick orange pixels.
Step 2: Feed the colony white blocks to clear the cat.
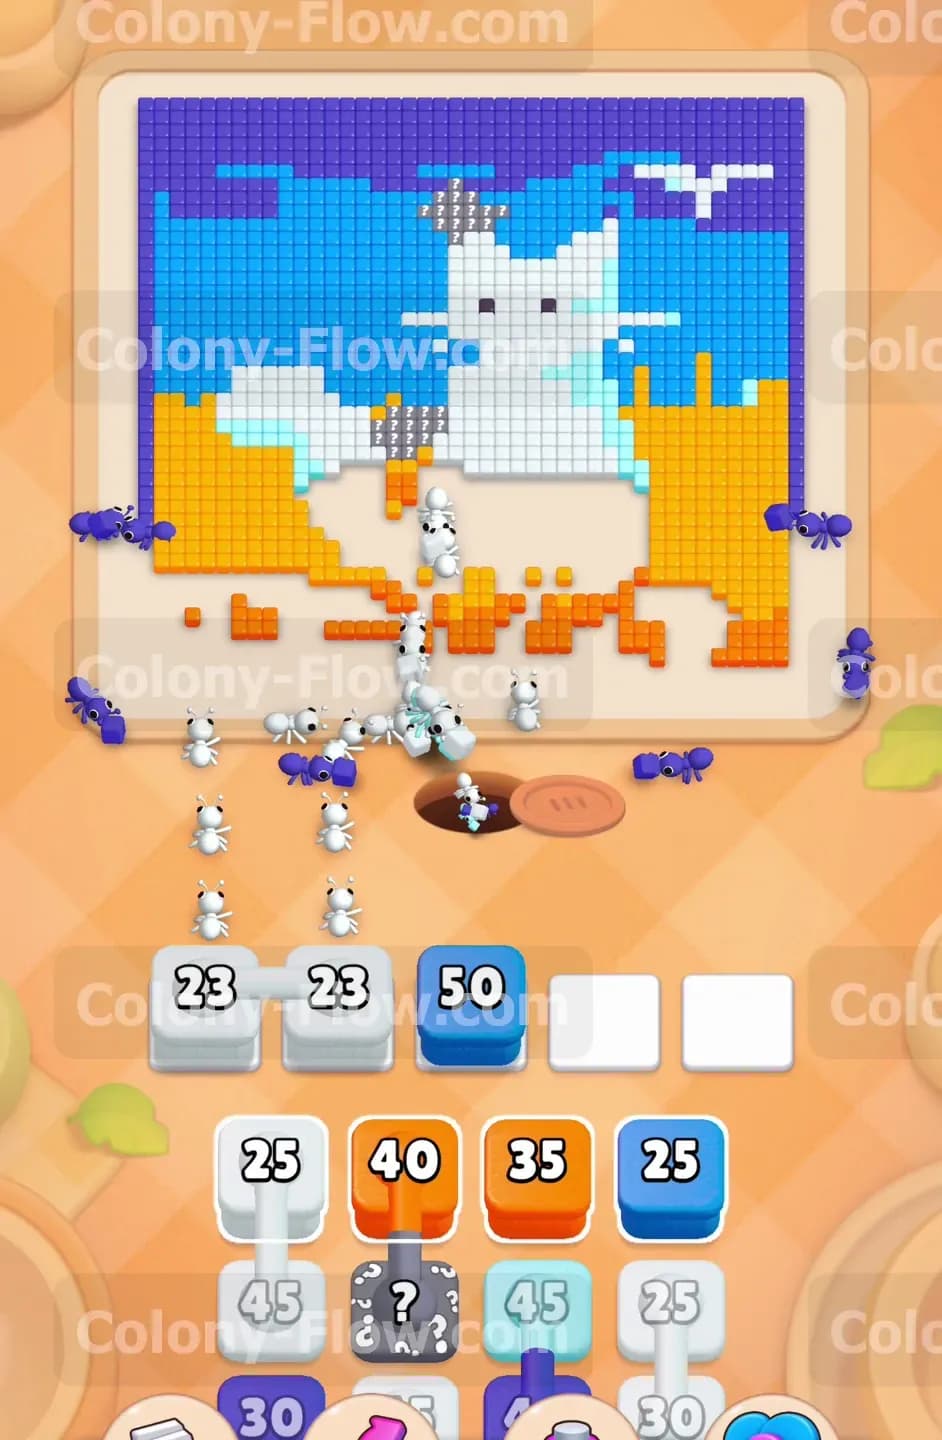
Once the ants eat a hole through the orange grass, the bottom paws of the white cat become exposed. Look at your tray and pull the white blocks into your waiting slots. The numbers on these blocks will count down rapidly as a massive swarm of white ants rushes straight up the middle of the screen. Eating the cat is your main priority because it occupies the entire center of the board and blocks everything else. Removing the white pixels creates a massive empty highway for your ants to reach the left side, the right side, and the sky above. Keep pulling white blocks until the center is mostly empty.
Step 3: Reveal the hidden boxes to access new colors.
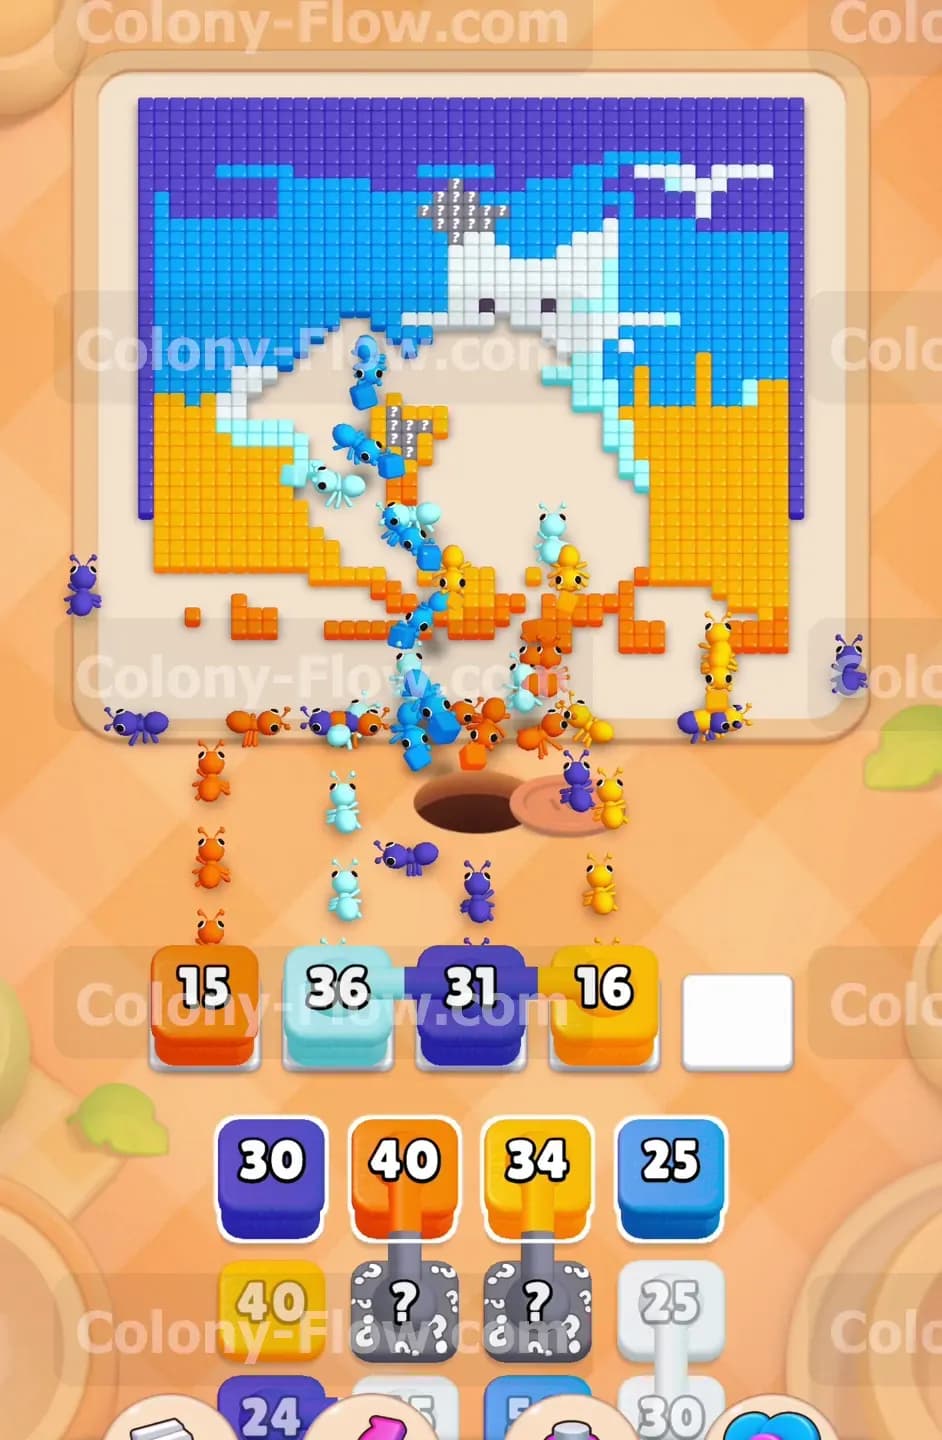
With the front row of white blocks out of the tray, the hidden boxes slide forward into view. Since you now have open paths to the orange grass, the white cat, and the lower sky, it is completely safe to pull a hidden box. Tap the block with the question mark to move it into the slots and reveal its true color. If it turns out to be white or orange, your active ants will consume it instantly. If it is light blue, the ants will march past the cat and eat the lower horizon. Exposing these hidden boxes early keeps your tray moving and prevents you from running out of useful blocks.
Step 4: Deploy light blue blocks for the lower sky.
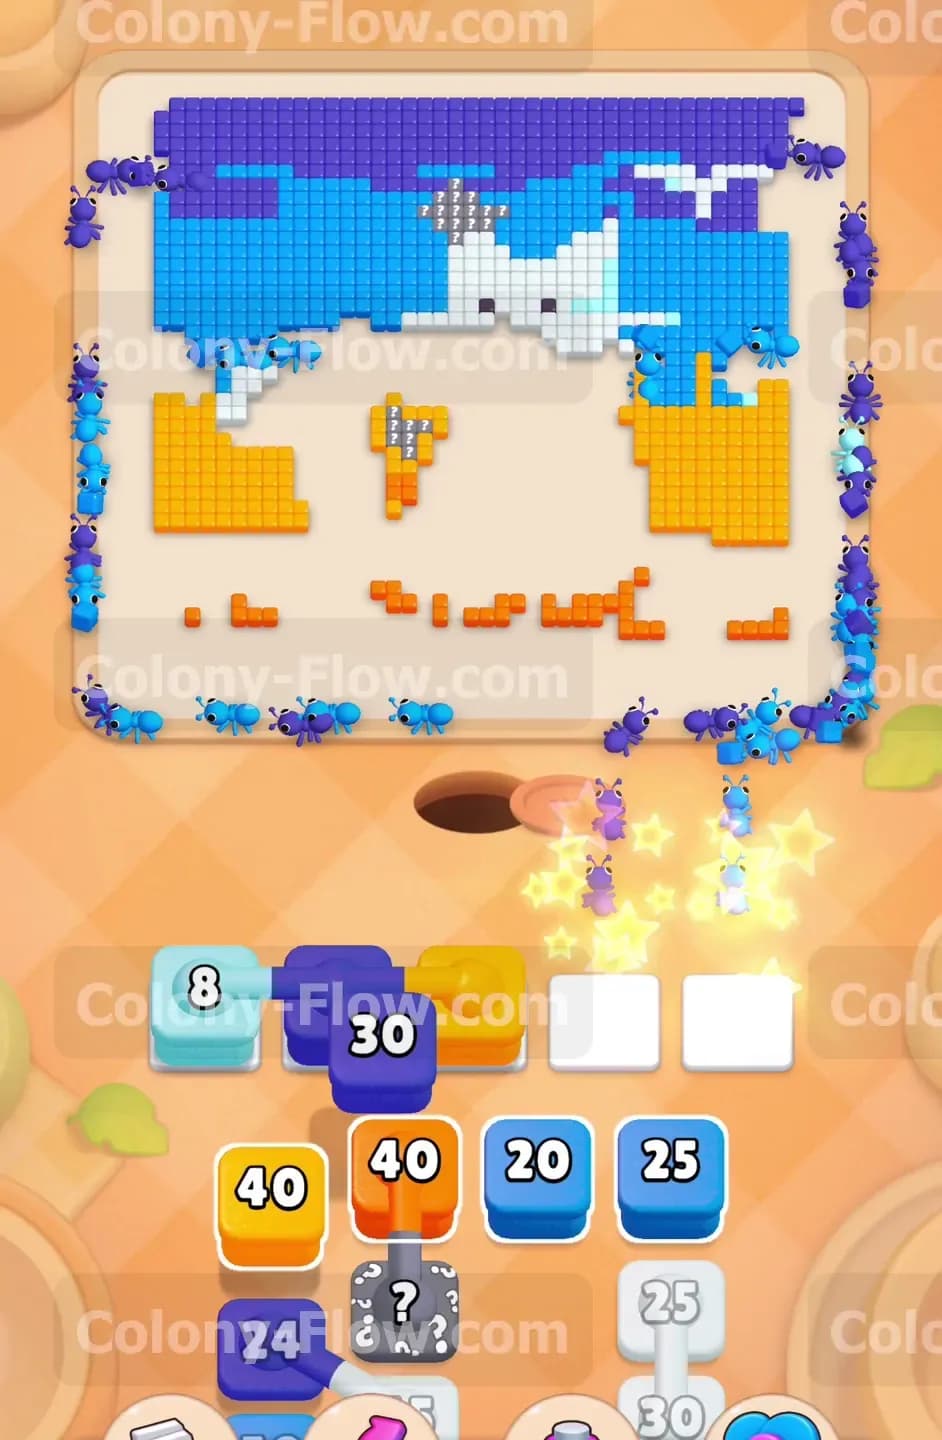
The disappearance of the cat leaves a huge open front along the light blue sky. Pull the light blue blocks from your tray to send ants into this new area. You will see numbers like thirty six and forty two on these blocks. The ants will flood up the middle of the board and spread out horizontally to eat the light blue pixels stretching across the background. Maintain a steady supply of light blue blocks but always keep one or two slots open. You still have leftover pieces of the orange field sitting on the far left and right edges of the board.
Step 5: Pull connected boxes when multiple paths are open.
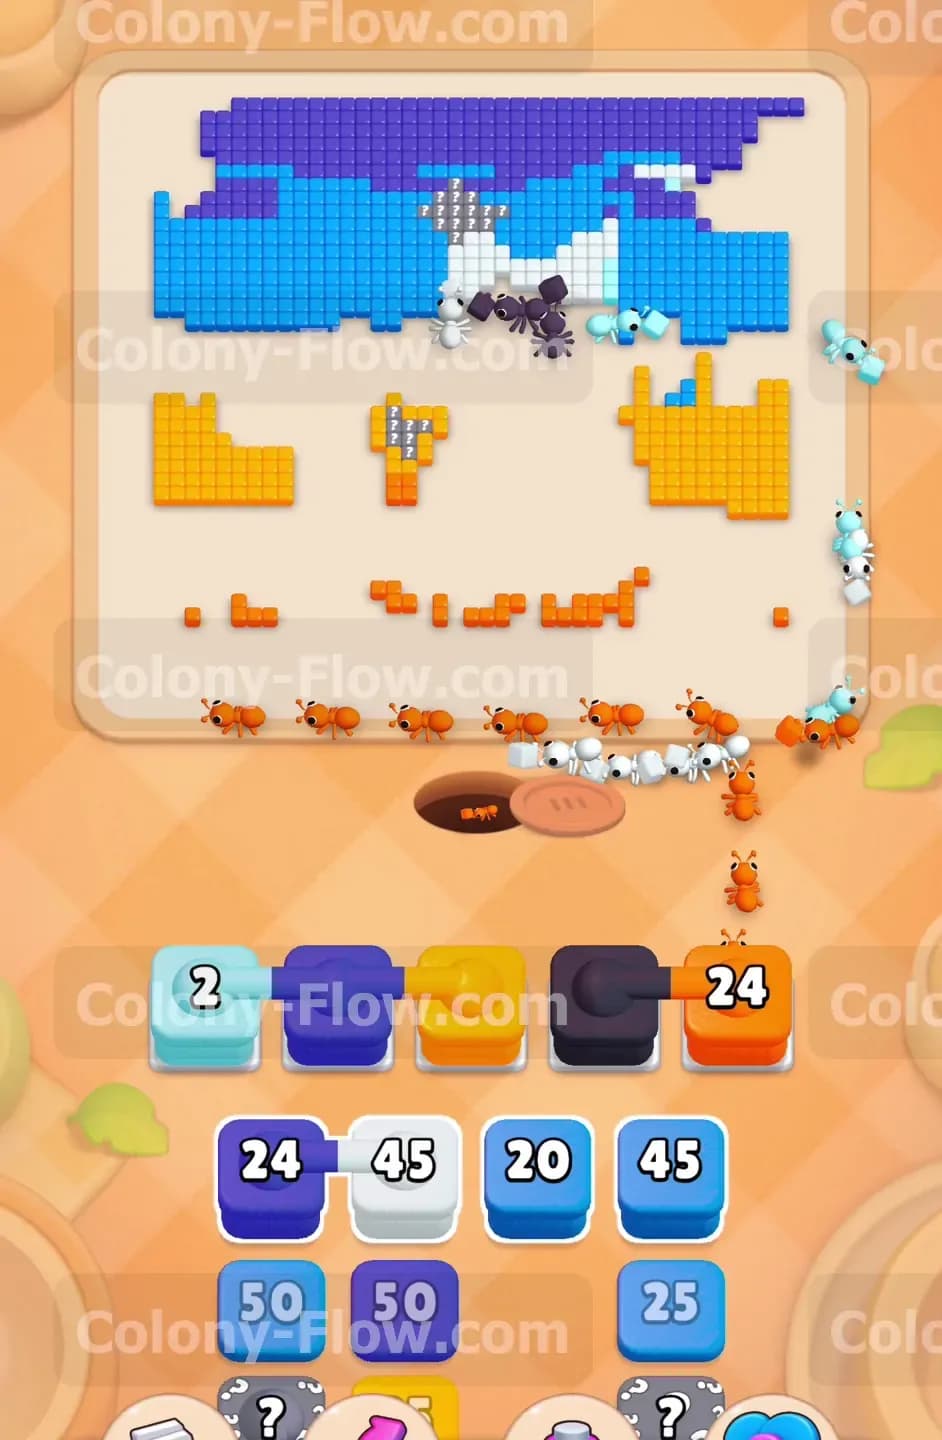
Eventually the tray will present connected boxes linked together by a thick grey chain. When you pull one of these blocks, both blocks jump into your waiting slots simultaneously. One specific pair includes a dark blue block and a yellow block. Before you pull them, you must confirm your ants can physically touch both colors on the board. At this stage the top edge of the light blue sky is mostly gone, exposing the dark blue upper sky. The yellow pixels sit in scattered patches near the bottom corners. Since both paths are clear, you can pull the connected pair safely without risking a dead end in your waiting slots.
Step 6: Clear the remaining orange and yellow field sections.
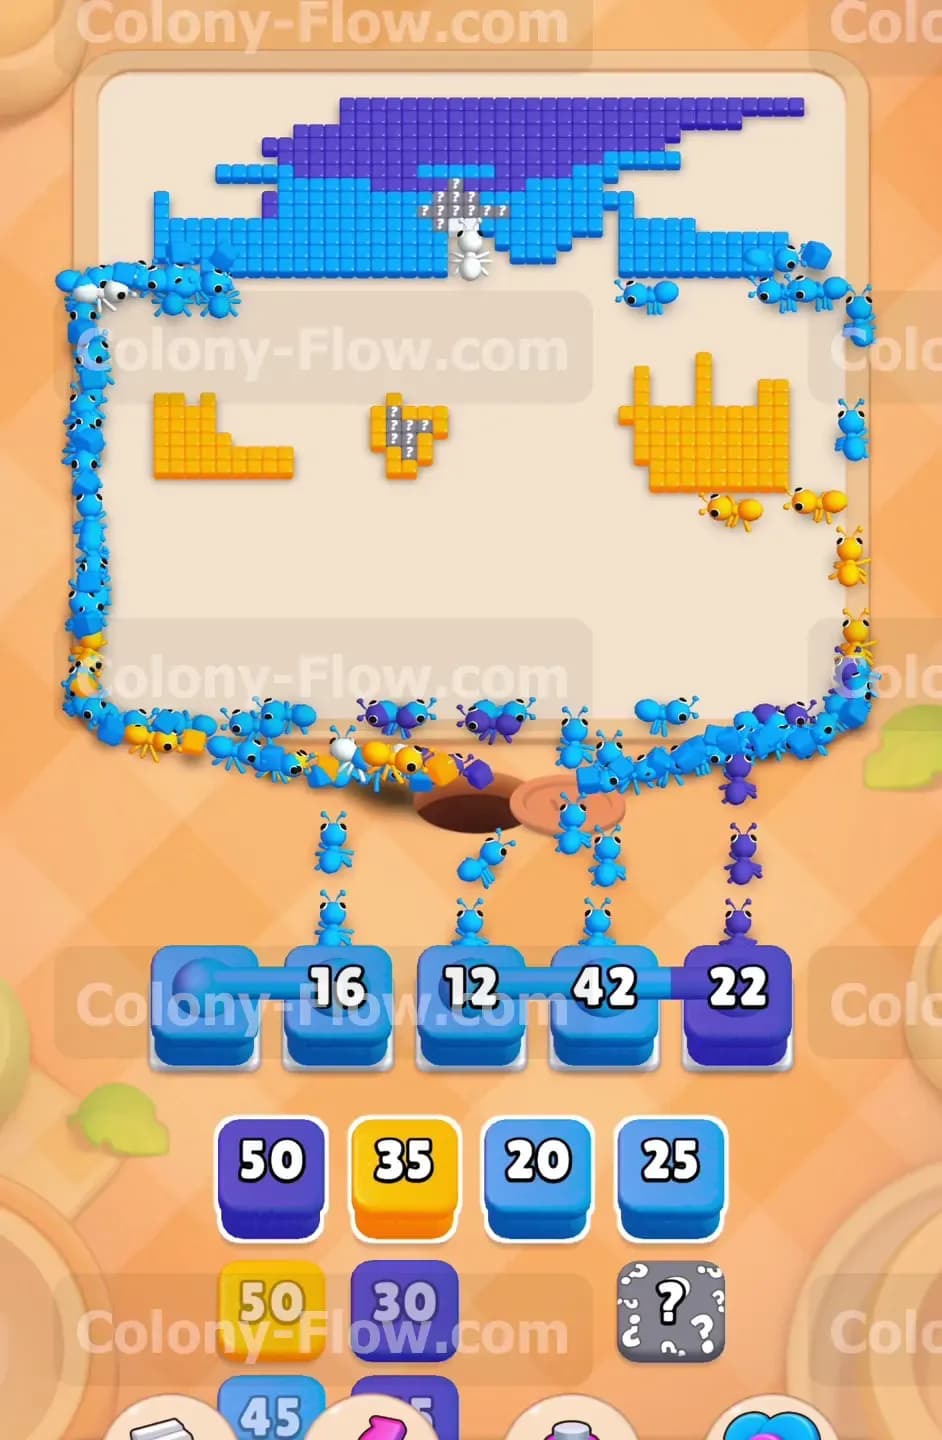
Your board is now totally empty in the center. The leftover orange and yellow pixels are pushed to the extreme left and right sides of the screen. Send your remaining orange blocks and yellow blocks up to the waiting slots. The ants will take a longer time walking from the nest hole all the way to the far edges. Do not panic and pull extra random blocks while you wait for them to travel. Let the ants walk across the empty space and eat the side pixels at their own pace. Patience here prevents a late game jam and keeps your final slots open.
Step 7: Release massive dark blue blocks for the upper sky.
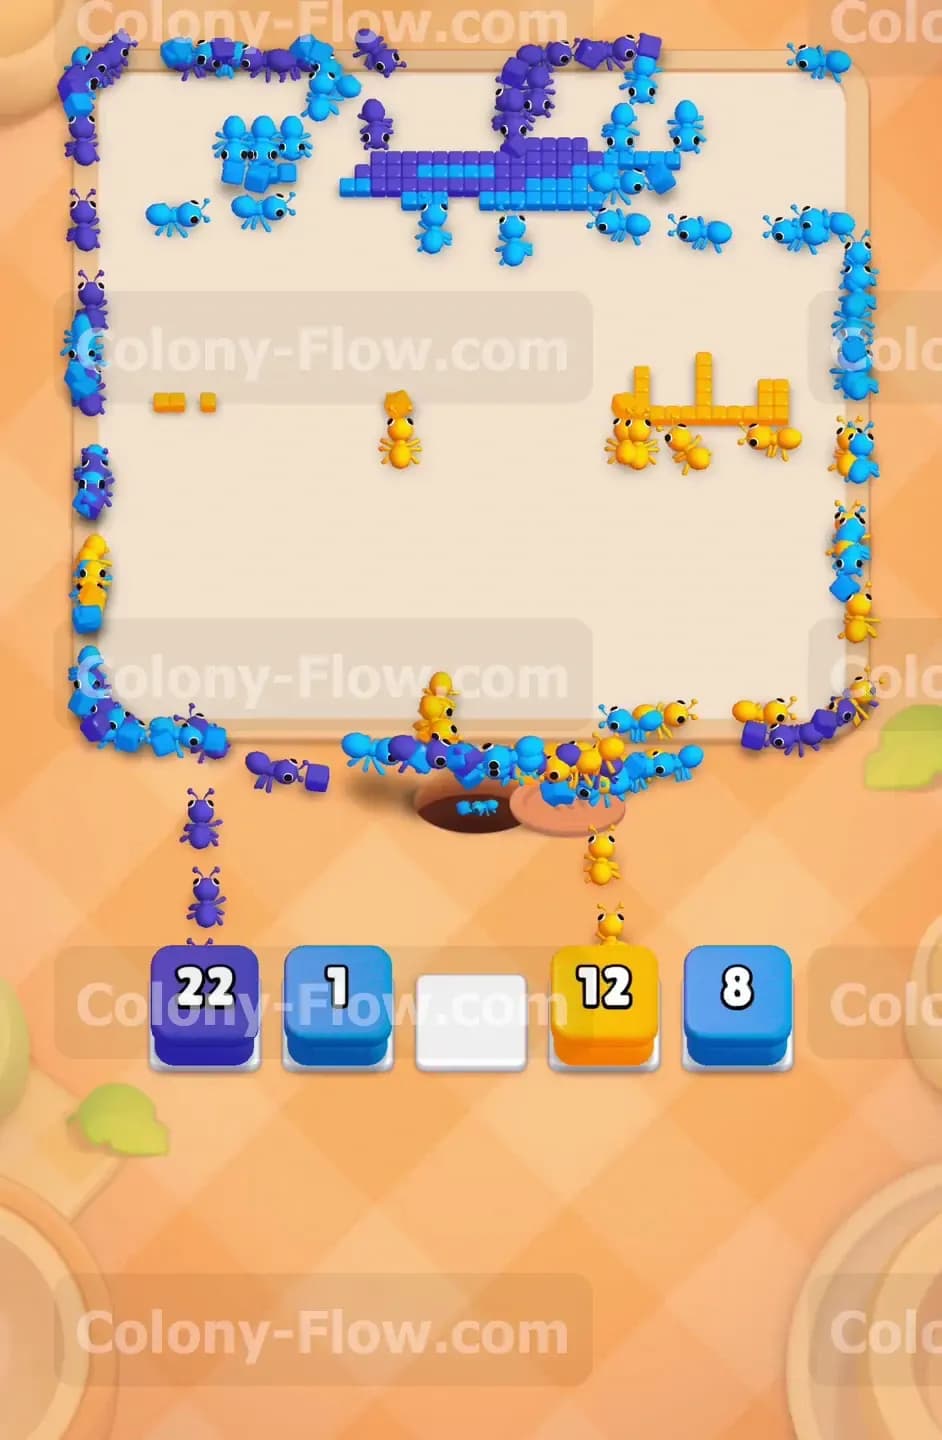
The only major section left is the thick band of dark blue at the very top of the screen. Your tray holds large dark blue blocks with numbers like fifty. Pull them into your slots and watch the action. The ants will march all the way up the screen and swarm the top border in a huge wave. Because the travel distance is so far, the ants will form a long continuous line from the nest to the roof. You can confidently pull multiple dark blue blocks at this stage because the entire top area is one giant open path with no obstructions.
Step 8: Clean up the final scattered pixels around the edges.
The final few moves require total precision. You will have a few single pixels of light blue and dark blue clinging to the outer frame of the picture. Check the exact colors left on the board and match them to the final remaining blocks in your tray. Pull a light blue block with a small number to clear the lower side borders. Then pull a final dark blue block to wipe out the top corners. Once the last pixel vanishes from the screen, the remaining ants will march away and you win the level.
Final Thought
Level 527 tests your ability to read the board and manage your incoming tray. The early block caused by the orange field is the hardest part of the puzzle. Once you break through the center and eliminate the cat, the board opens up beautifully. Just remember to watch out for those connected boxes and never pull them unless you have a guaranteed path for both colors. Take your time and keep your slots clear. Watch the video above this article if you want to see exactly how I timed these pulls to avoid a jam.