Colony Flow Level 840 Walkthrough Solution & Guides | How to solve Colony Flow 840

Guide By Liam Stone
Updated on August 8, 2026
The video above has the full Level 840 walkthrough, so skip the reading if you just want to watch.
Video doesn't match your screen?
Game updates frequently scramble layouts! Try our AI Screenshot Solver first to find your exact board instantly, or report broken guides to our team.
Colony Flow Level 840 presents a fun challenge featuring a singing ghost pixel art design. You will need careful block management to clear the sky background and the wooden stage without jamming your tray slots. I play every level myself and I will show you exactly how to keep your ants moving to beat this board.
Colony Flow Level 840 Overview
What You Are Working With
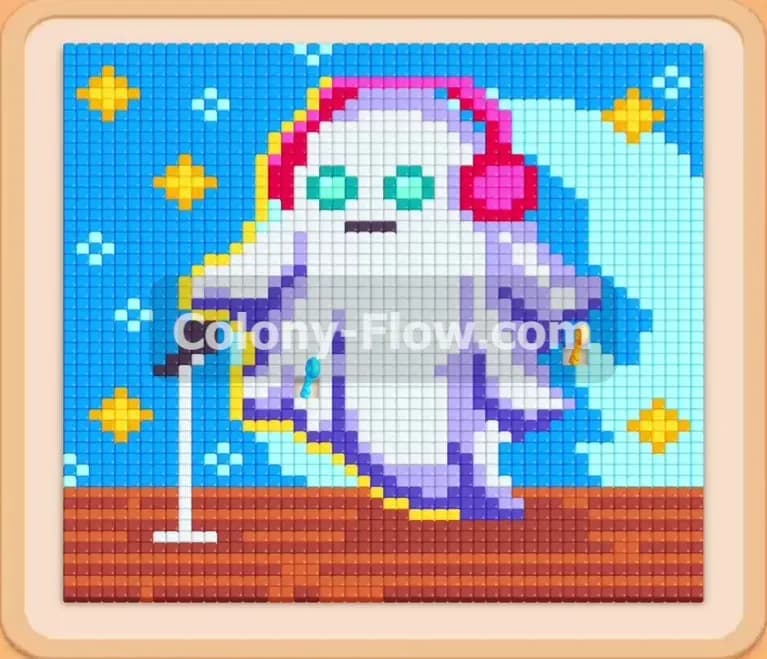
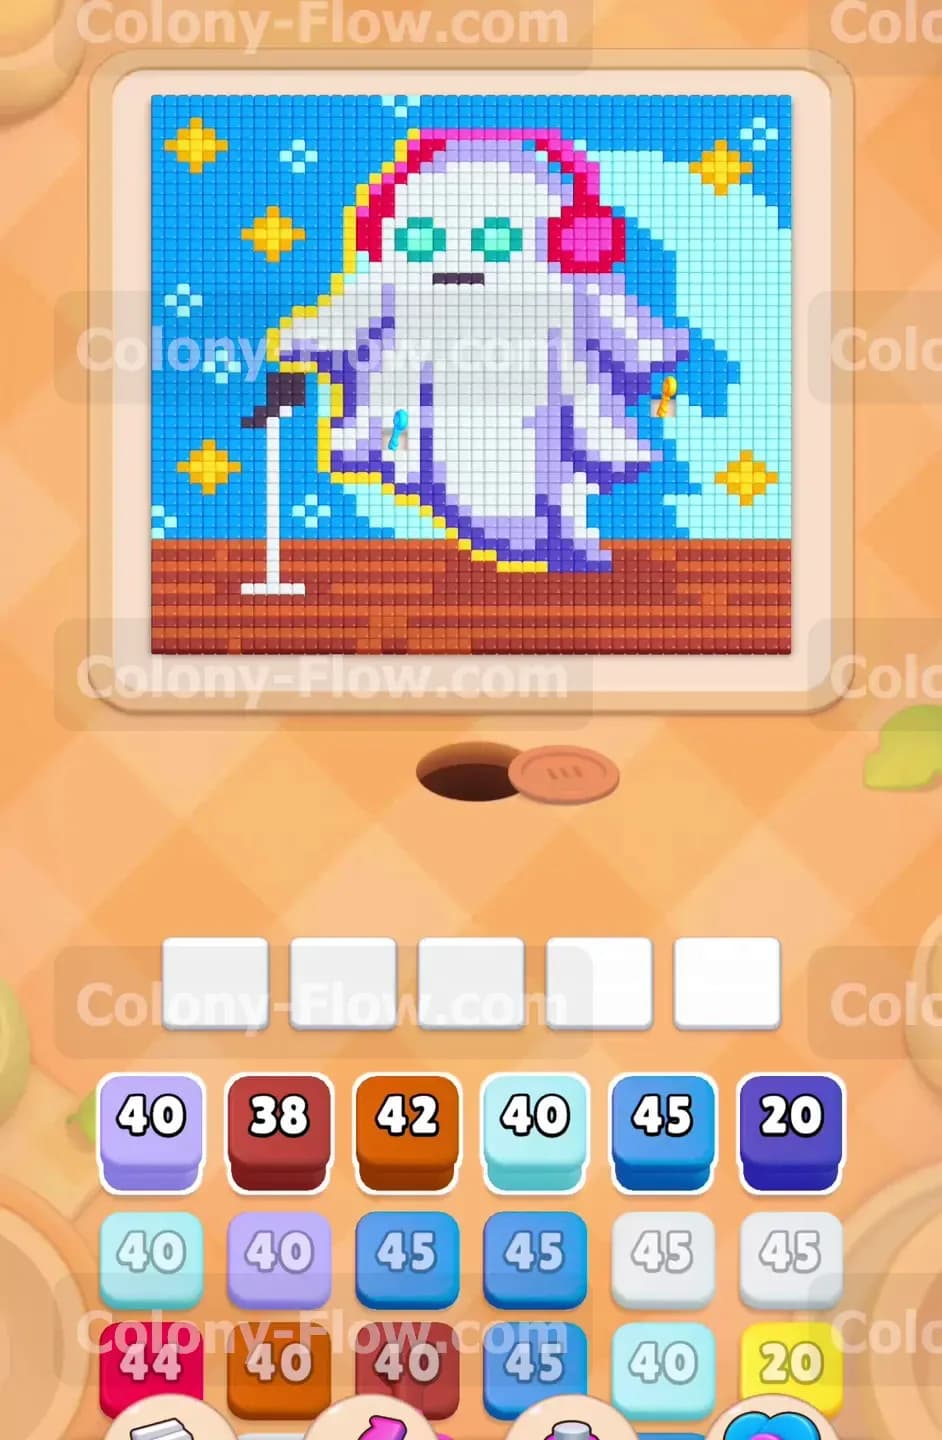
The pixel art picture for this level shows a white ghost wearing bright magenta headphones. The ghost is holding a microphone and standing on a brown wooden stage. The background is a mix of light blue and dark blue sky scattered with bright yellow stars. Your tray holds a large variety of colored blocks with high numbers. You will also deal with special mechanics here. The tray contains connected boxes where two colors are linked together and must be played in sequence. You will also see a lock and key block in your tray. This cyan block has a black keyhole icon and remains stuck until you collect the key from the board by eating specific tiles.
What It Takes to Clear Level 840 Board
You clear this level by directing your ants to eat every single pixel of the ghost picture. The main challenge is managing your five waiting slots at the bottom of the screen. If you pull too many blocks and fill all five slots without an open path to the matching colors on the board you lose the game immediately. You must carefully peel away the outer edges of the blue sky and the brown stage first. This strategy exposes the inner white tiles of the ghost body. You win when the final star is eaten and your ants return to the nest hole.
Colony Flow Level 840 Step by Step Solution
Step 1: Open the left side background to create a safe starting path.
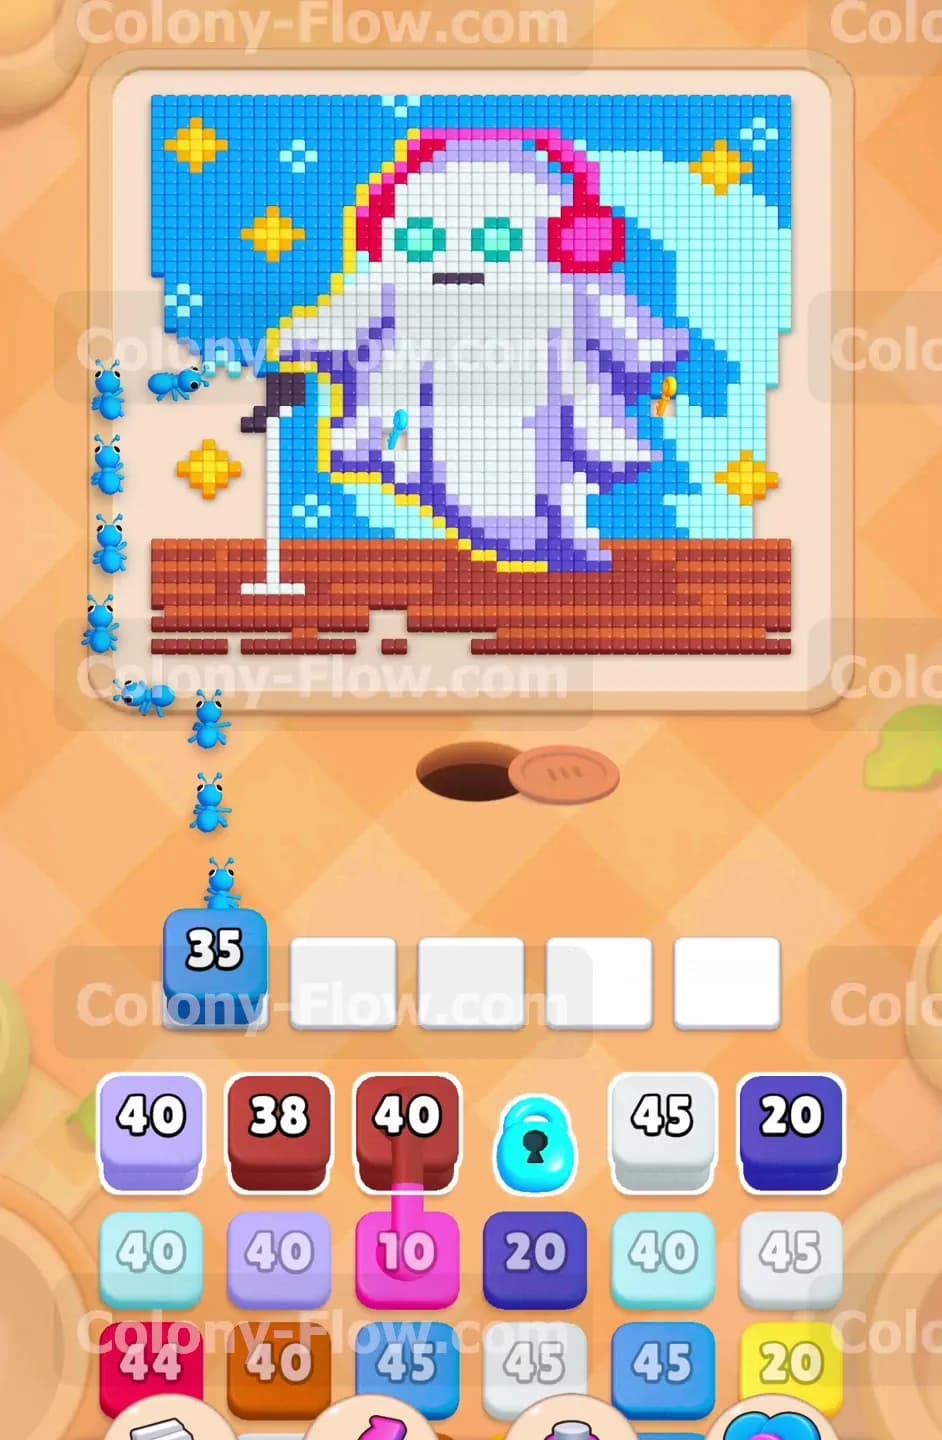
You want to start by attacking the outer edge of the dark blue sky. Pull the dark blue block from the top row of your tray. The dark blue ants will flow out of the nest hole and travel up the left side of the board. They will eat the dark blue vertical border tiles. The block number starts at 45 and will drop to 35 as the ants finish that section. This move is very safe because the left edge is completely open. Your ants will not get stuck and your waiting slots remain perfectly clear.
Step 2: Begin clearing the white ghost body from the bottom corner.
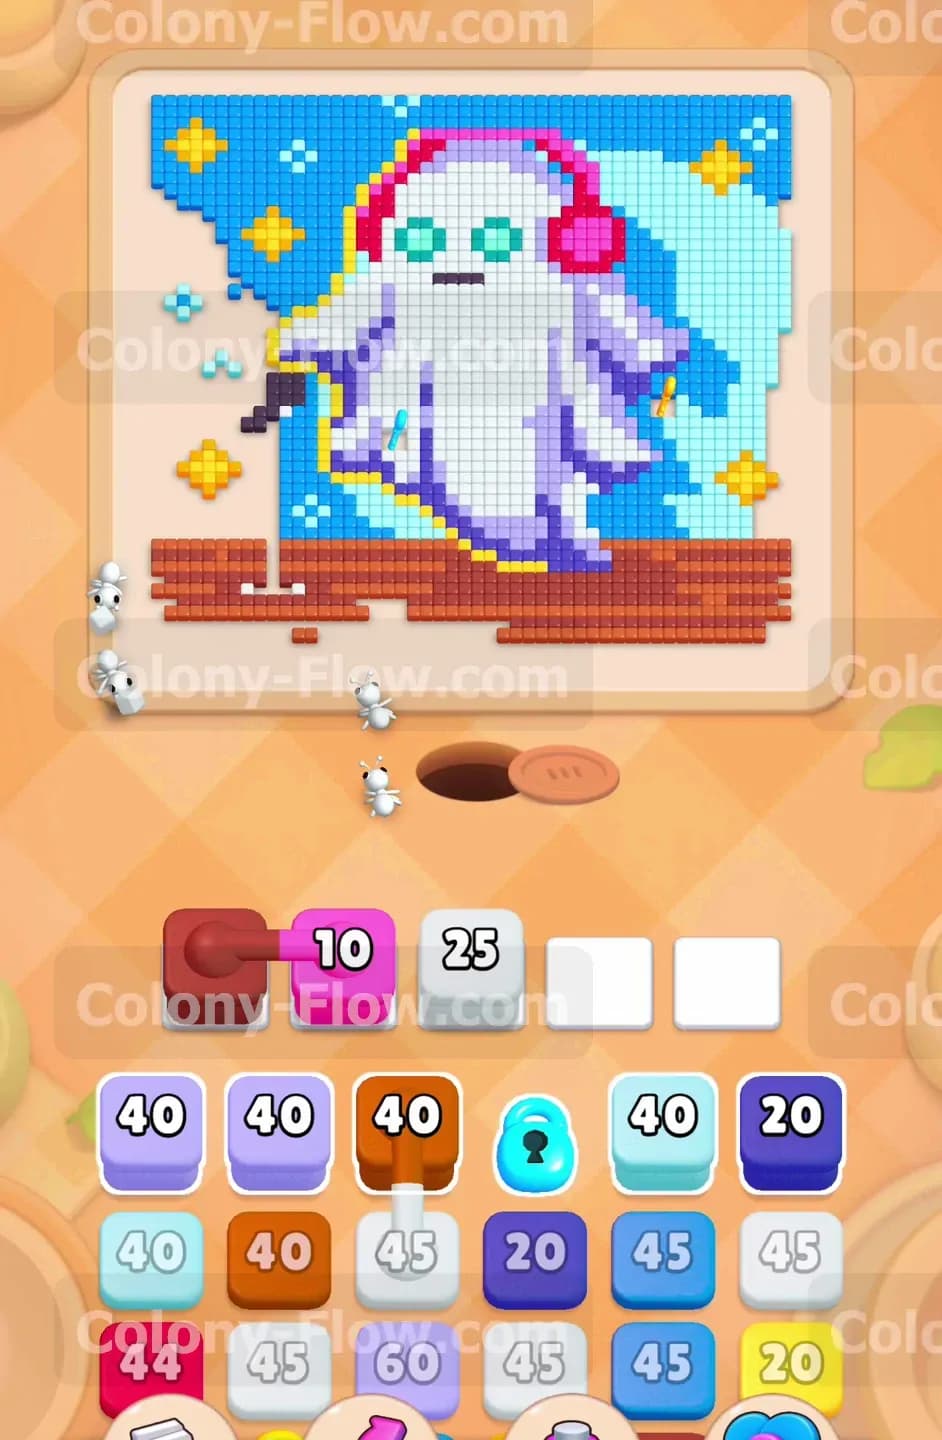
Now that the left side is open you have a clear path to the main subject of the picture. Pull the white block with the number 25 into your tray. The white ants will march straight toward the bottom left edge of the ghost sheet. They will chew away a large chunk of the white pixels. Letting the white ants work early is smart because the ghost takes up a massive portion of the center board. Shrinking the ghost early gives you more room to maneuver around the stage.
Step 3: Play the first set of connected boxes to reach the headphones.
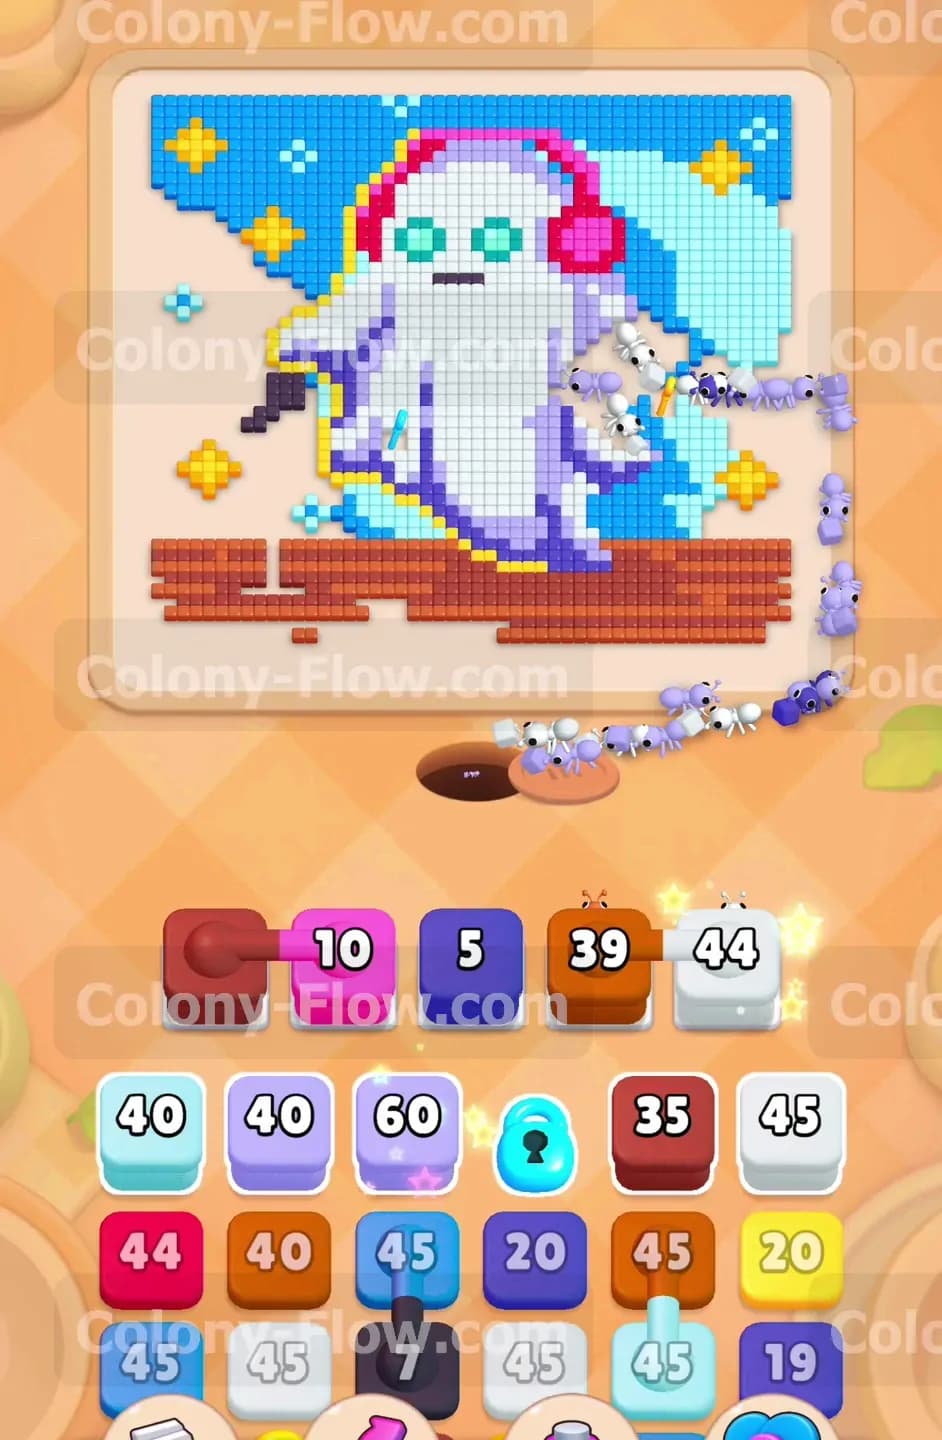
You will see a dark red block connected to a magenta block with the number 10 in your tray. Pull the dark red block into a waiting slot. The dark red ants will rush out to eat the details on the microphone stand and the stage. Once the dark red block reaches zero the attached magenta block automatically activates. The magenta ants will then travel up the board to start eating the bright headphones on the ghost head. You must always make sure both colors have an open path before pulling connected boxes so they do not jam your tray.
Step 4: Break down the right side of the ghost outline.
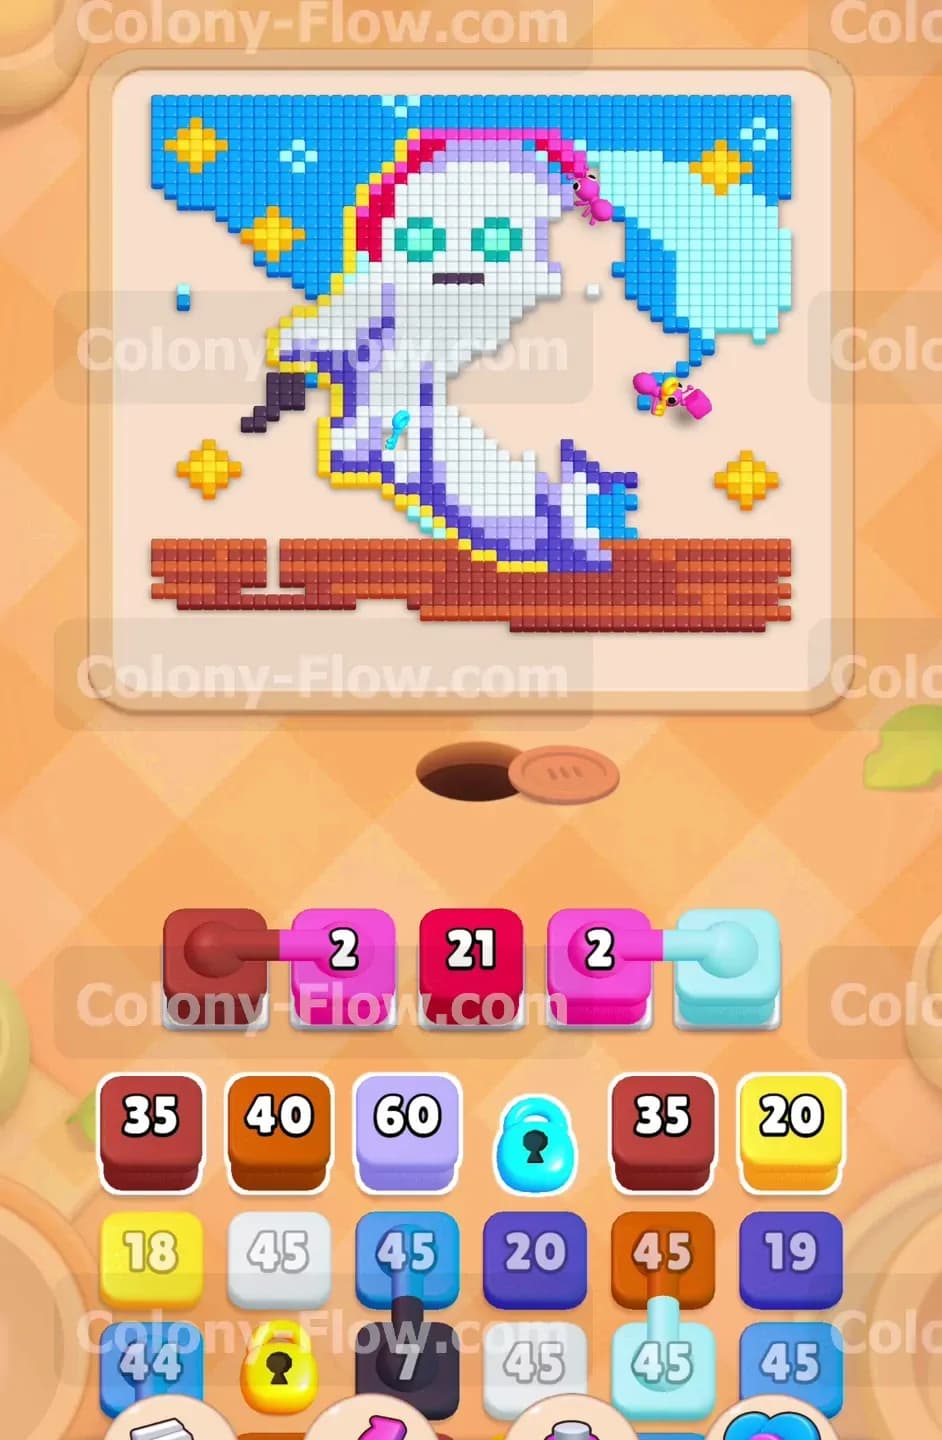
The ghost figure has a thick shadow outline made of light purple tiles. Find the light purple block with the number 40 in your tray and send it down to the slots. The light purple ants will swarm the right side of the ghost and eat away the shadow border. This exposes more of the inner white tiles and the yellow stars on the right side. You need to keep chewing away these border colors to prevent the center of the board from becoming a dangerous dead end.
Step 5: Start dismantling the wooden stage floor.
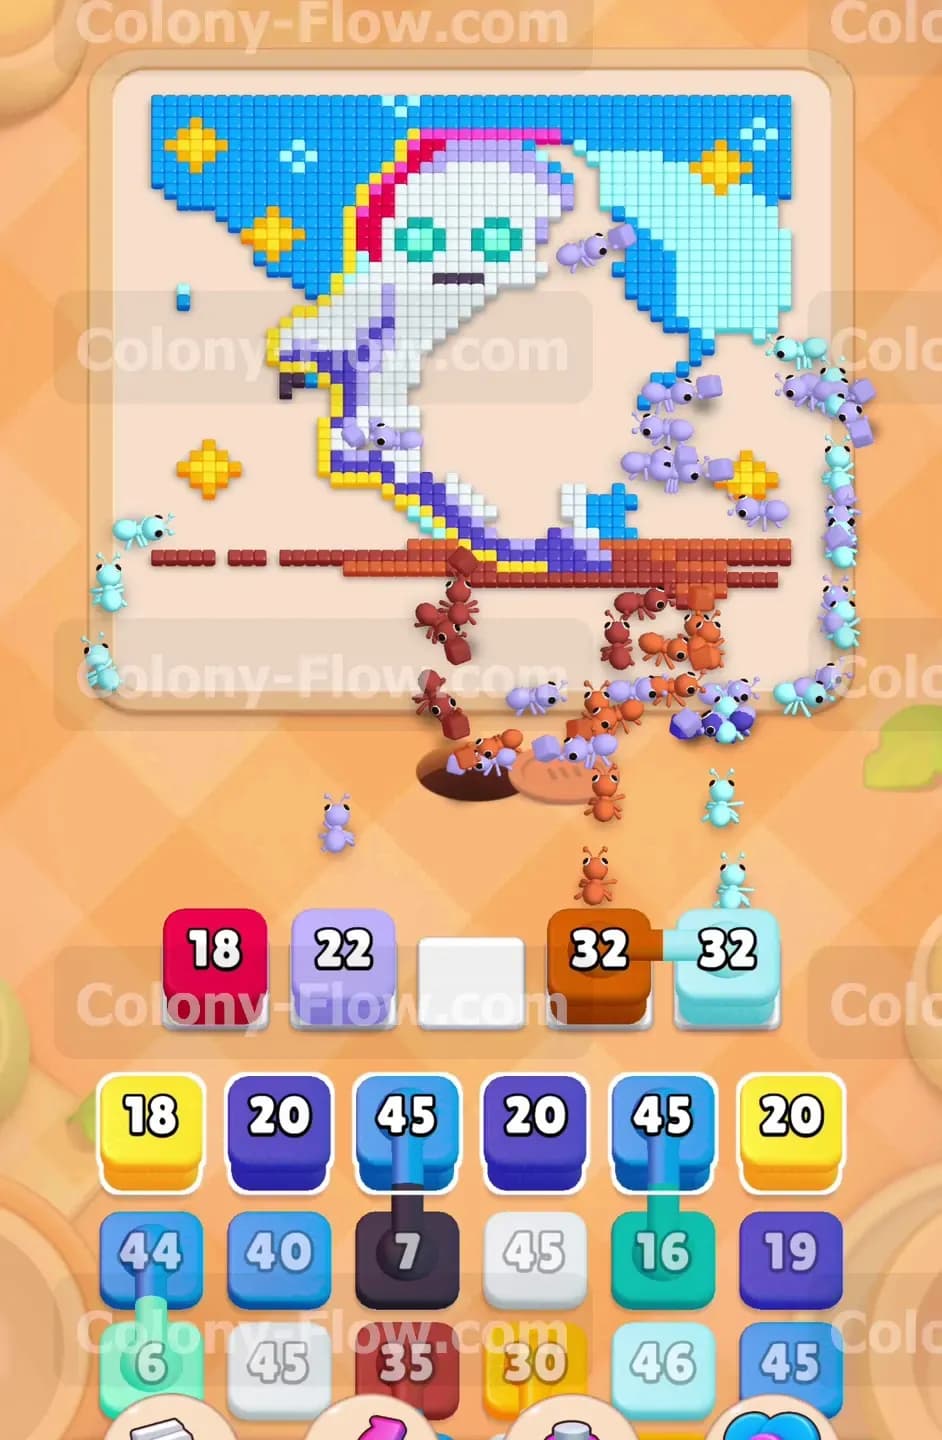
The stage beneath the ghost takes up the entire bottom section of the picture. You need to clear it out to reach the lower stars and open the bottom edge. Tap the orange brown block with the number 39 in your tray. The ants will flood the wooden planks and eat a huge section of the floor. The block count will drop quickly as they clear the orange brown pixels. Getting rid of the stage floor opens up the bottom boundary completely and gives your ants a very short travel distance from the nest.
Step 6: Deploy the second set of connected boxes for the remaining headphones.
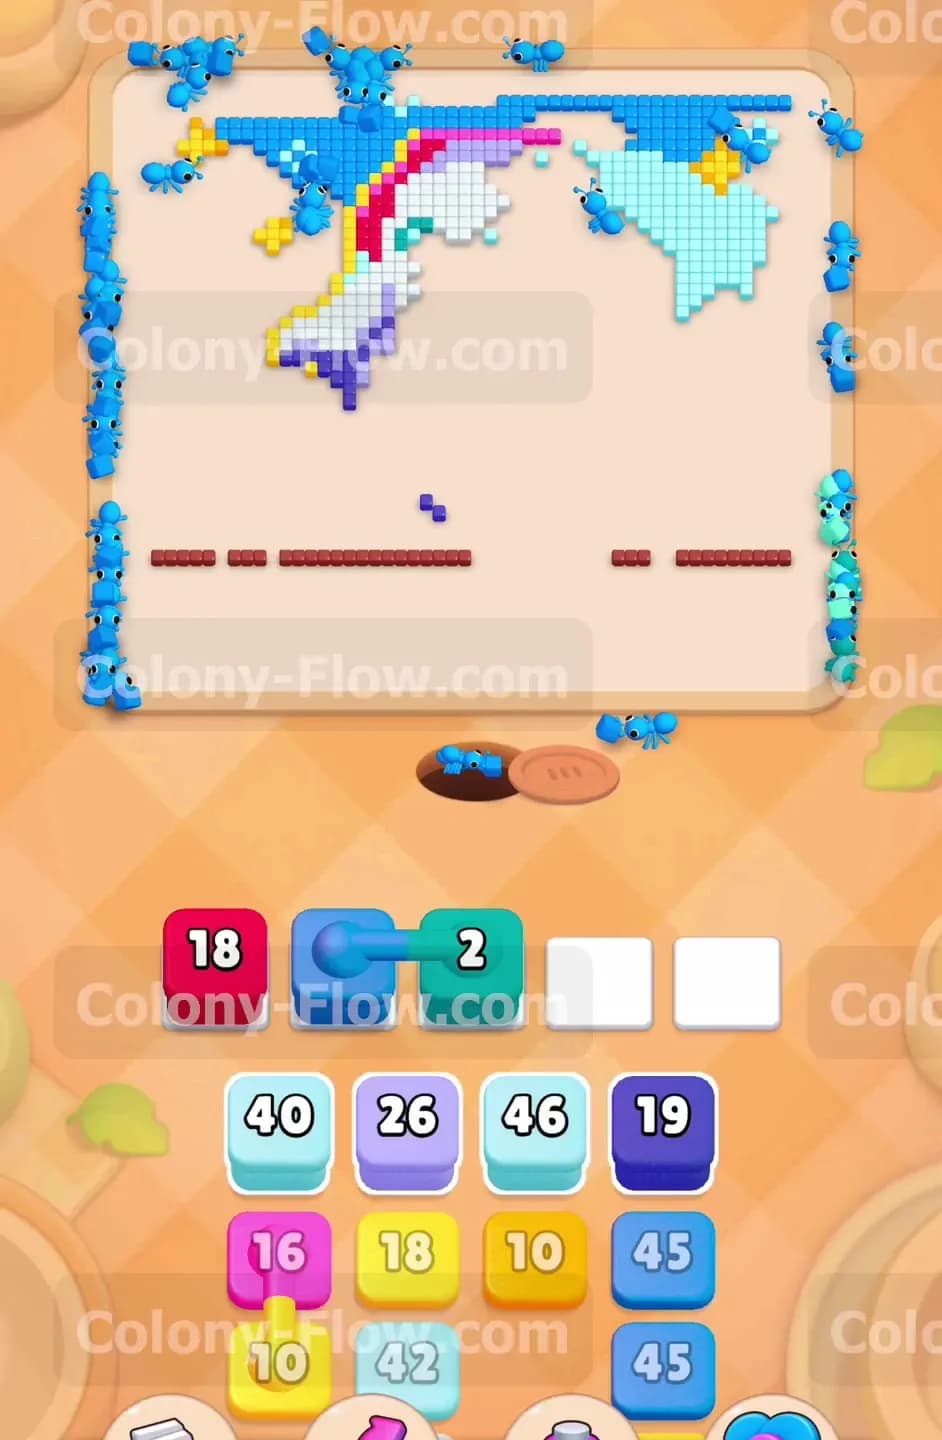
Look at your tray to find a magenta block linked to a cyan block. Pull this pair into your waiting slots. The magenta ants will finish eating the very last pieces of the headphones on the ghost. When the magenta block empties the cyan block takes over immediately. The cyan ants will target the light blue sky pixels near the top of the picture. This is a very efficient move because it finishes one color entirely and immediately starts working on the massive background area without taking up an extra slot.
Step 7: Clear the rest of the ghost outline and the facial features.
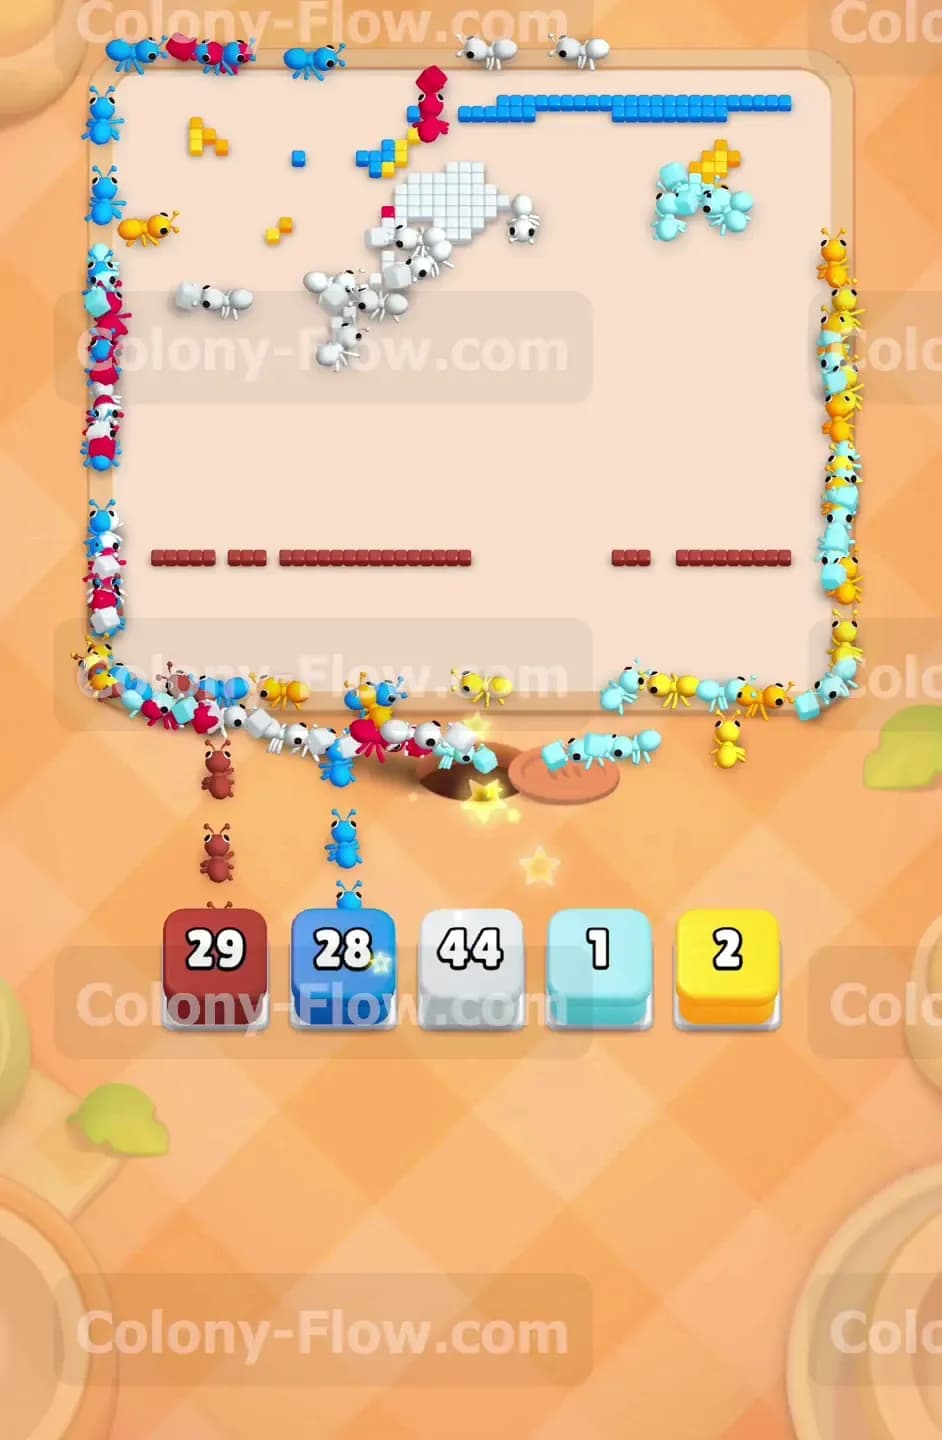
You still have some light purple shadow tiles and dark brown stage tiles blocking your way. Pull the next light purple block and a dark brown block into your tray. The light purple ants will clean up the last bits of the ghost shape. The dark brown ants will finish off the wooden stage planks. You will also need to pull the black block with the number seven to clear the ghost eyes and the microphone handle. By playing these blocks at the same time you strip away the final structural elements of the picture.
Step 8: Unlock the cyan block by collecting the hidden key.
During the previous steps your ants ate specific background tiles that held the hidden key. You will now notice that the lock has vanished from the cyan block in your tray. This block is finally ready to use. Tap the newly unlocked cyan block to drop it into a waiting slot. The cyan ants will rush out to consume a massive chunk of the remaining light blue sky. Waiting patiently for this lock to break is exactly how you avoid filling your slots with unusable blocks earlier in the level.
Step 9: Launch a massive sweep of the upper sky background.
The board is now mostly empty space with large patches of sky left at the top. You have several blue blocks remaining in your tray. Pull a dark blue block and another cyan block into your slots. You will also find a third set of connected boxes featuring a cyan block linked to another cyan block. Pull this pair as well. The ants will travel all the way to the top corners of the board. They will eat huge clusters of the sky background. Watch the numbers on the blocks drop rapidly. You do not need to worry about dead ends anymore because the paths are completely wide open.
Step 10: Clean up the scattered leftover pixels and stars.
You are in the final stretch. The only things left on the board are a few scattered border pieces and the yellow stars. Pull the yellow block with the number 20 from your tray. The yellow ants will quickly eat the stars floating in the empty space. Next pull your final dark red and white blocks. These ants will hunt down the very last stray pixels around the edges of the picture. Once the final pixel disappears the level is complete.
Final Thought
This board tests your patience with connected boxes and locked tiles. By slowly peeling the outer edges and managing your tray space you can easily break the picture down without getting stuck. Please watch the video above this article if any step is hard to follow in text.