Colony Flow Level 1264 Walkthrough Solution & Guides | How to solve Colony Flow 1264

Guide By Liam Stone
Updated on August 12, 2026
The article below explains Level 1264 in detail, but the video above gets you there faster.
Video doesn't match your screen?
Game updates frequently scramble layouts! Try our AI Screenshot Solver first to find your exact board instantly, or report broken guides to our team.
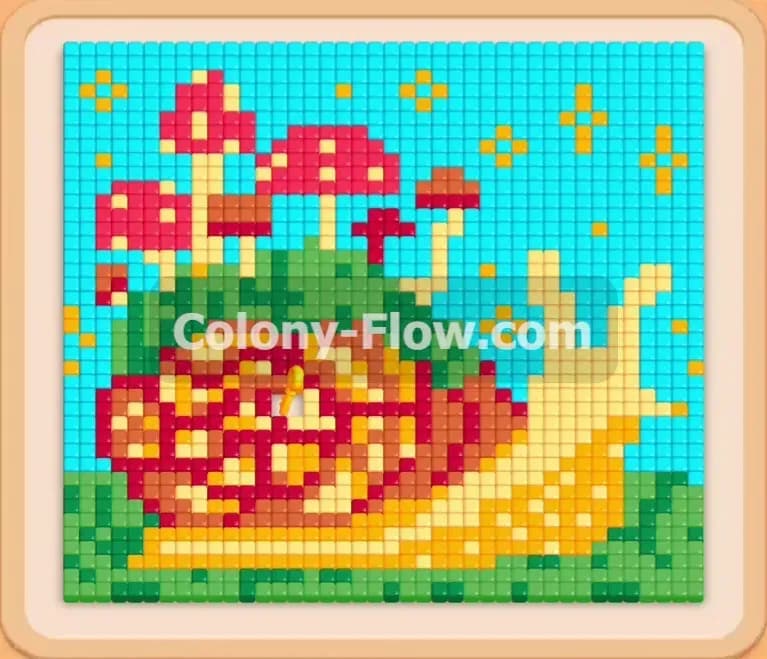
Welcome to Colony Flow Level 1264. I am Liam Stone and I am going to walk you through exactly how to beat this stage. This level features a massive pixel art snail covered in mushrooms and surrounded by sky. You need to manage a deep tray of blocks while keeping your waiting slots clear.
Colony Flow Level 1264 Overview
What You Are Working With
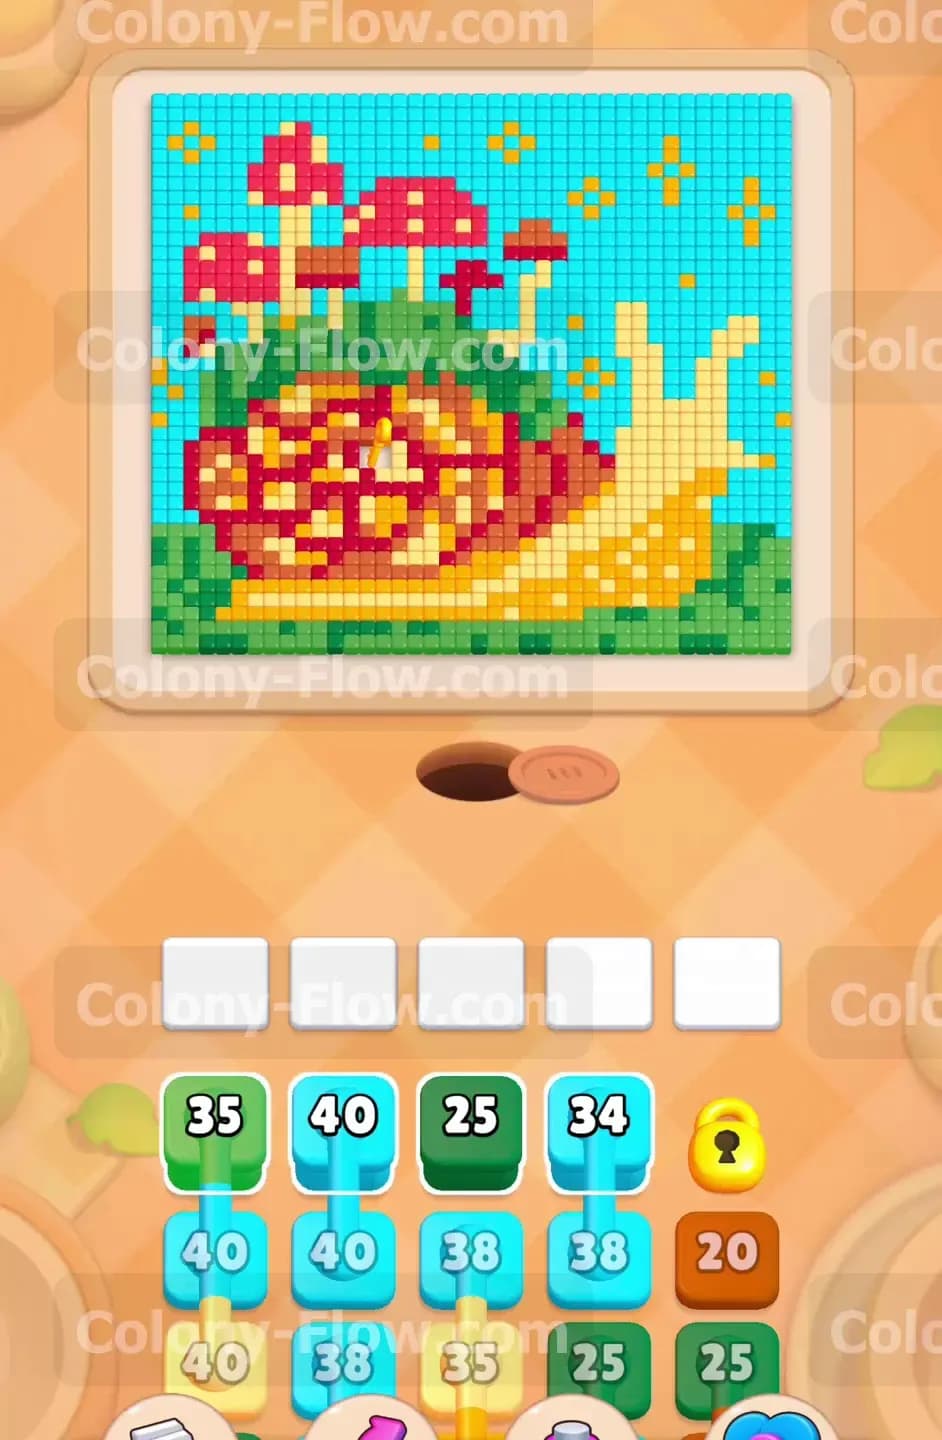
The board displays a beautifully detailed picture of a snail. The snail has a bright yellow body and a massive circular spiral shell constructed out of yellow, brown, and red tiles. Three large red mushrooms with thick green stems grow directly out of the top of the shell. A broad cyan sky fills the entire background above the snail while a thick layer of green grass sits along the bottom edge of the board. The nest hole is located straight down at the bottom center of the screen. Ants pour out of this hole and spread across the open areas to reach the matching color tiles. The ants always take the shortest open route to the target colors.
Your tray holds multiple rows of numbered colored blocks. Some of these blocks are regular single squares that you pull one by one. Others are Connected Boxes, which means two blocks are permanently linked together by a line. When you tap one connected block, the other block automatically comes with it, and they take up two waiting slots at the exact same time. You will also see a Hidden Box marked with a lock icon. This box will not show its true color until you clear enough of the board to make it playable. Managing these special pieces requires careful planning so you do not run out of room in the tray.
What It Takes to Clear Level 1264 Board
Winning this level requires a steady patient pace, working from the outside edges inward. You must start by clearing the massive cyan sky to open up the entire top half of the board. From there you can slowly eat away the green grass and the yellow snail body at the bottom. The core challenge you face is managing the connected boxes. You always need two entirely empty slots to pull a linked pair safely. If you tap a connected pair when you only have one open slot, you will immediately jam the tray and lose the level. You clear the board by managing the big sky sections first and leaving the complex shell and mushrooms for the end, when the ants have completely open routes from all directions.
Colony Flow Level 1264 Step by Step Solution
Step 1: Clear the large outer sections of the cyan sky.
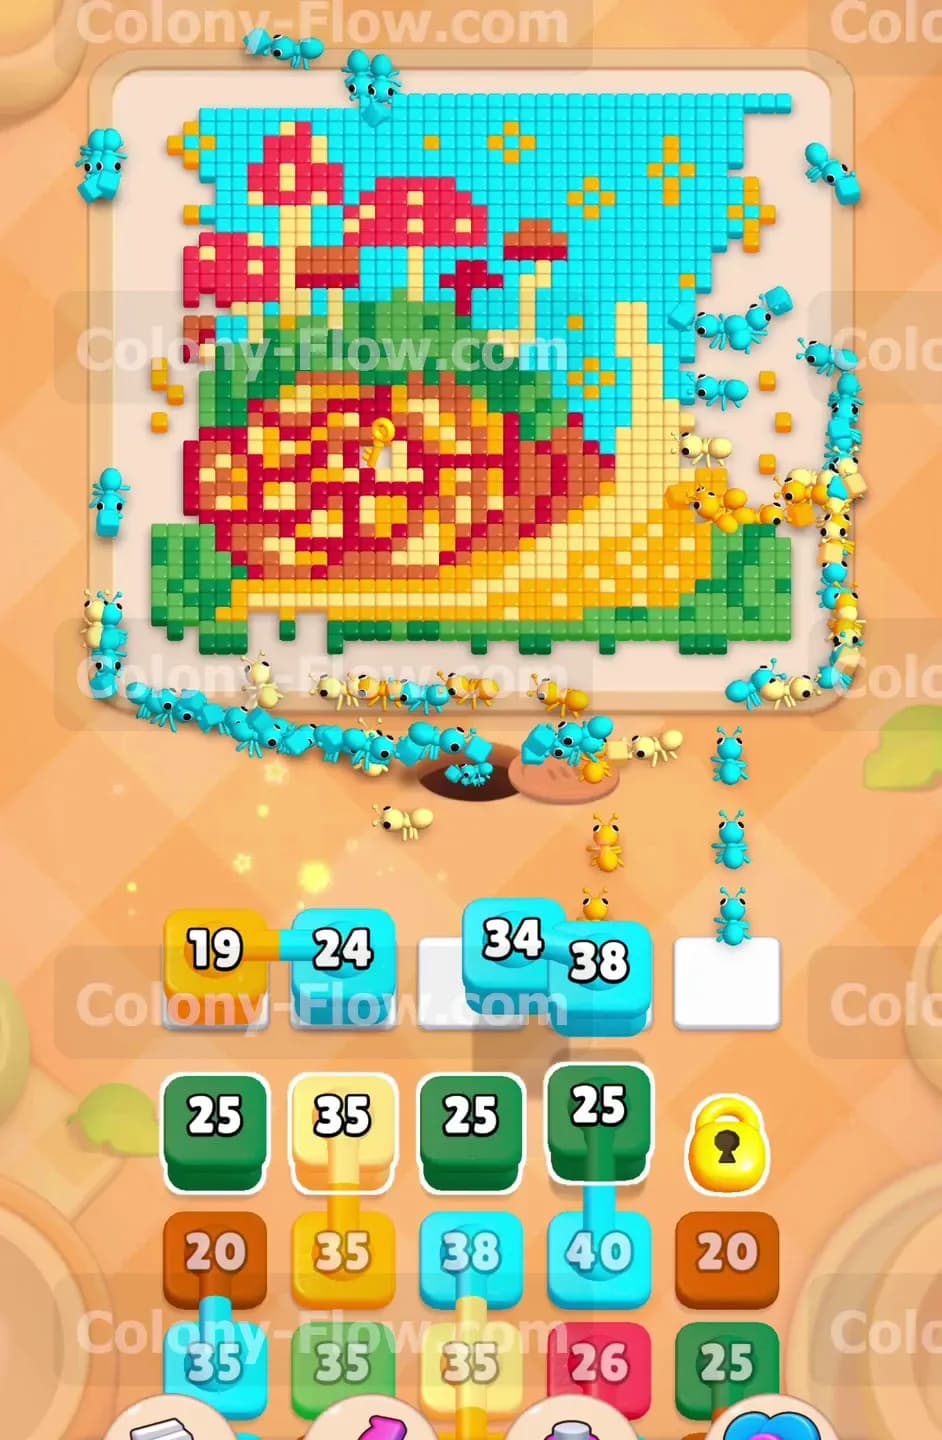
You need to create open space immediately, so start by pulling the largest cyan blocks. Tap the top cyan block in the tray to send it up to the active waiting slots. This specific block holds a massive number forty. The ants will flood out of the nest hole and run straight up the left and right sides of the board to eat the blue sky tiles. Because the sky sits on the very outer edge of the entire picture, the ants have direct instant access to it without navigating any narrow passages or tight corners. Pulling this first huge block guarantees your ants stay busy and keeps your waiting slots moving smoothly. Do not pull anything else from the tray until this number drops down near zero.
Step 2: Pull the first set of connected cyan boxes.
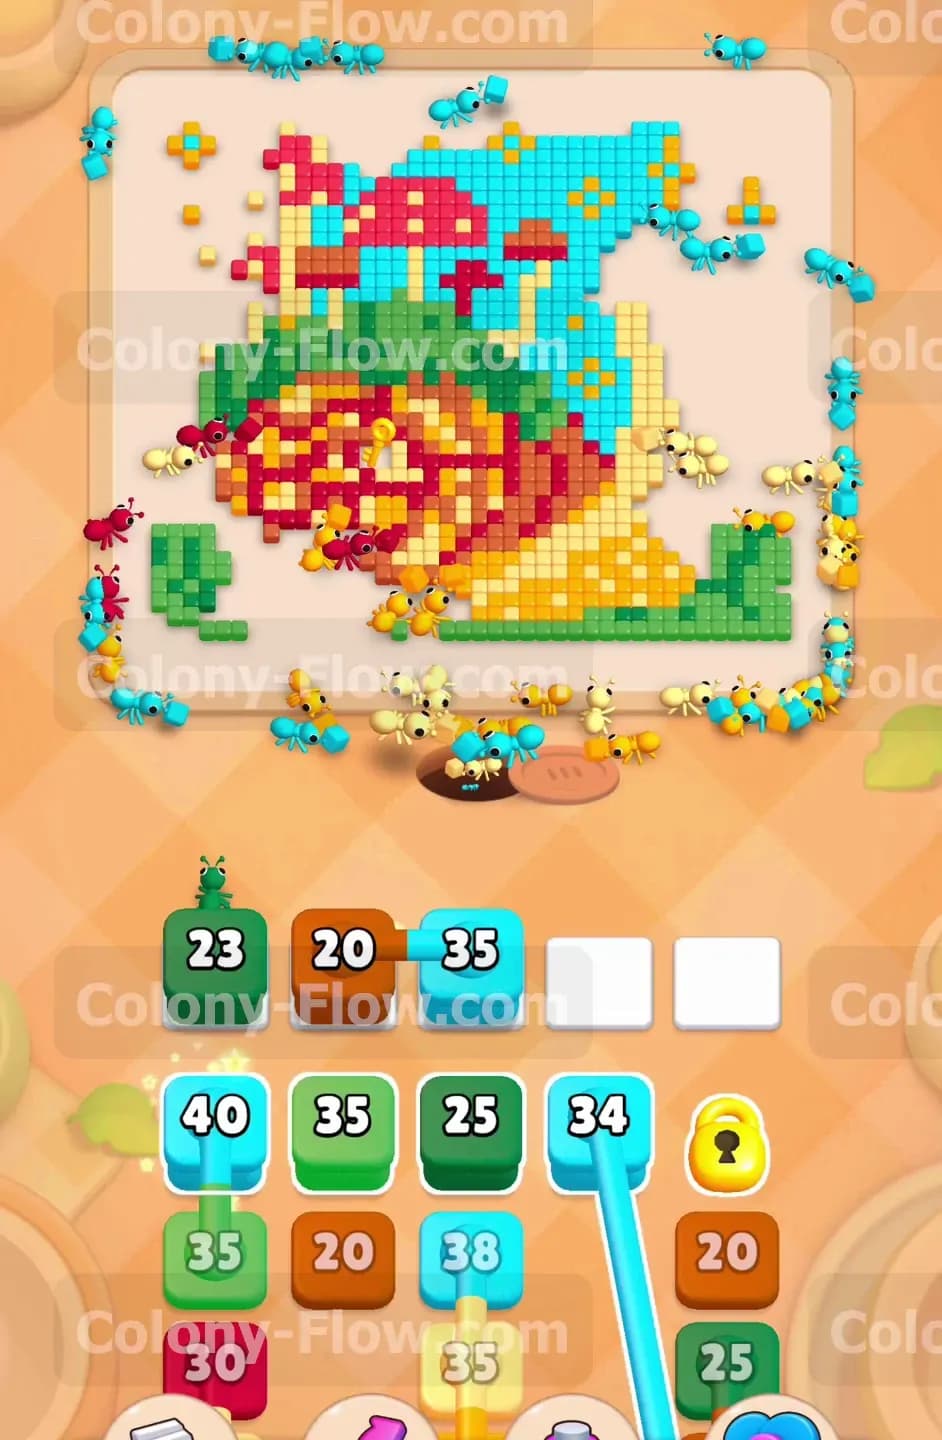
Once the first cyan block finishes, you will spot two linked cyan forty blocks sitting in the tray. These are Connected Boxes. You must physically verify you have two completely empty waiting slots before you tap them. Tap the pair and they will both jump up to the active area together. This drops a combined total of eighty cyan ants onto the board at once. The ants will swarm the top left and top right corners of the sky. The numbers on the blocks will quickly fall to zero as the background vanishes. This massive wave of ants clears out nearly the entire upper background area. Your board opens up completely, which allows your ants to reach the very top of the red mushrooms later on. Keeping the slots open for connected pairs is a mandatory habit you must build here.
Step 3: Begin clearing the green grass along the bottom edge.
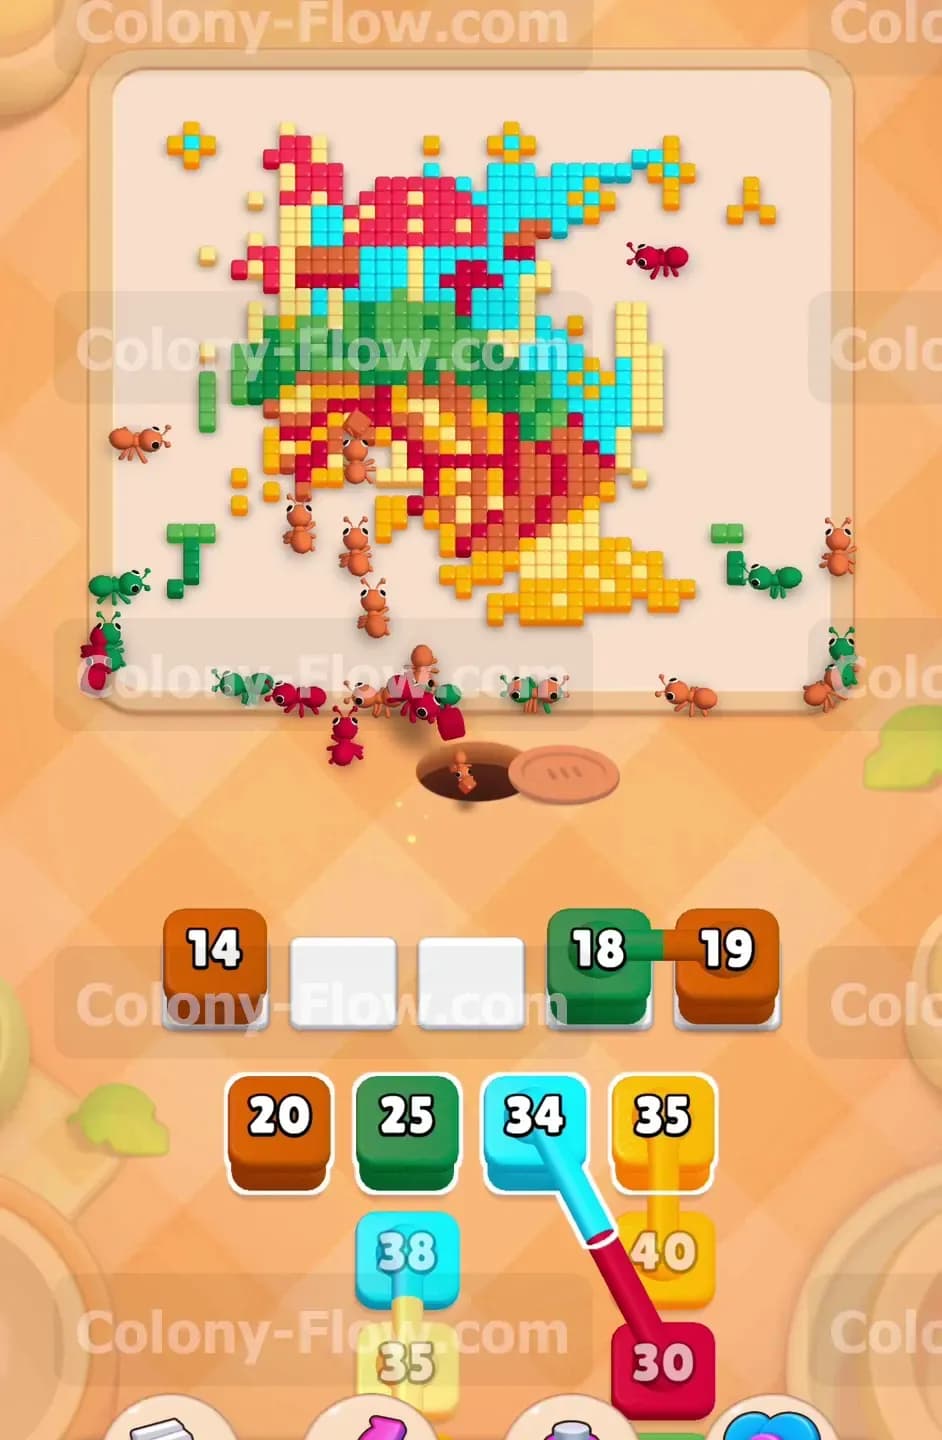
With the top half opening up, you should focus your attention on the bottom of the board. Tap a green thirty five block. The ants will target the bright green grass tiles directly under the snail. This grass forms a solid line straight across the lower edge of the art. Clearing the grass creates a wide flat open path right above the nest hole. A wide path lets many more ants travel simultaneously without bumping into each other and slowing down. You want to maintain this wide highway so your ants can reach the deeper parts of the snail shell later without any traffic delays. Wait for the green block to count down near zero before adding another color to the slots.
Step 4: Open the yellow snail body.
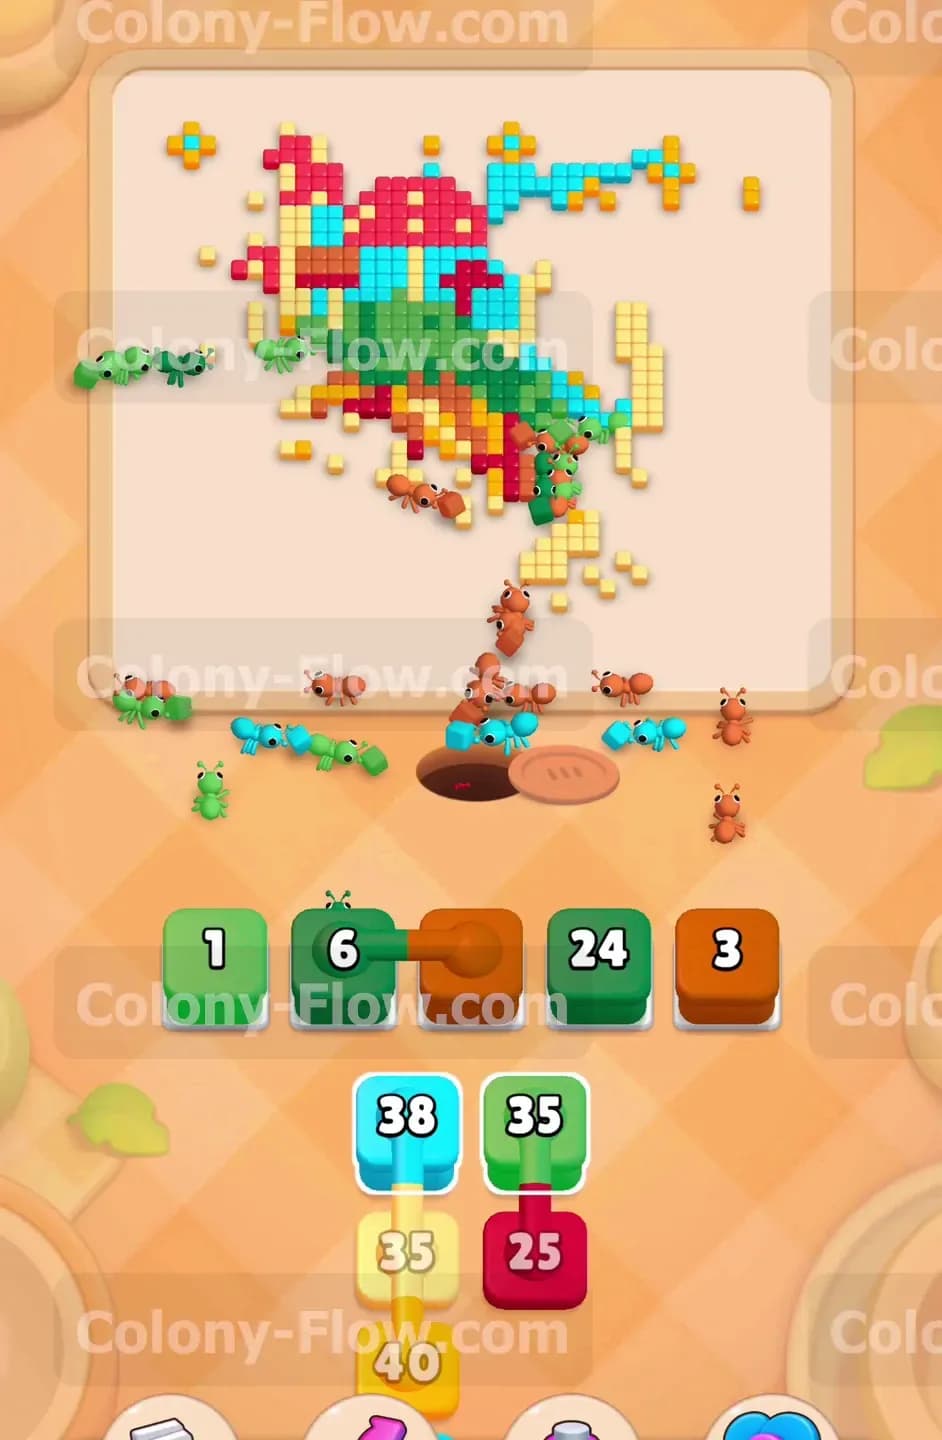
Now that the grass is mostly gone, the bright yellow body of the snail sits entirely exposed. Tap a yellow thirty five block from the bottom tray. The yellow tiles stretch from the head of the snail on the right side all the way back underneath the heavy shell. The ants will flow right into the head and start chewing leftward toward the tail. This clears a huge chunk of the right side of the screen. You now have a totally clear wide path wrapping all the way around the right edge of the picture. This gives your ants multiple angles of attack for the remaining blocks. The yellow block will empty out to zero smoothly because the tiles are directly next to the open space.
Step 5: Reveal and play the hidden box.
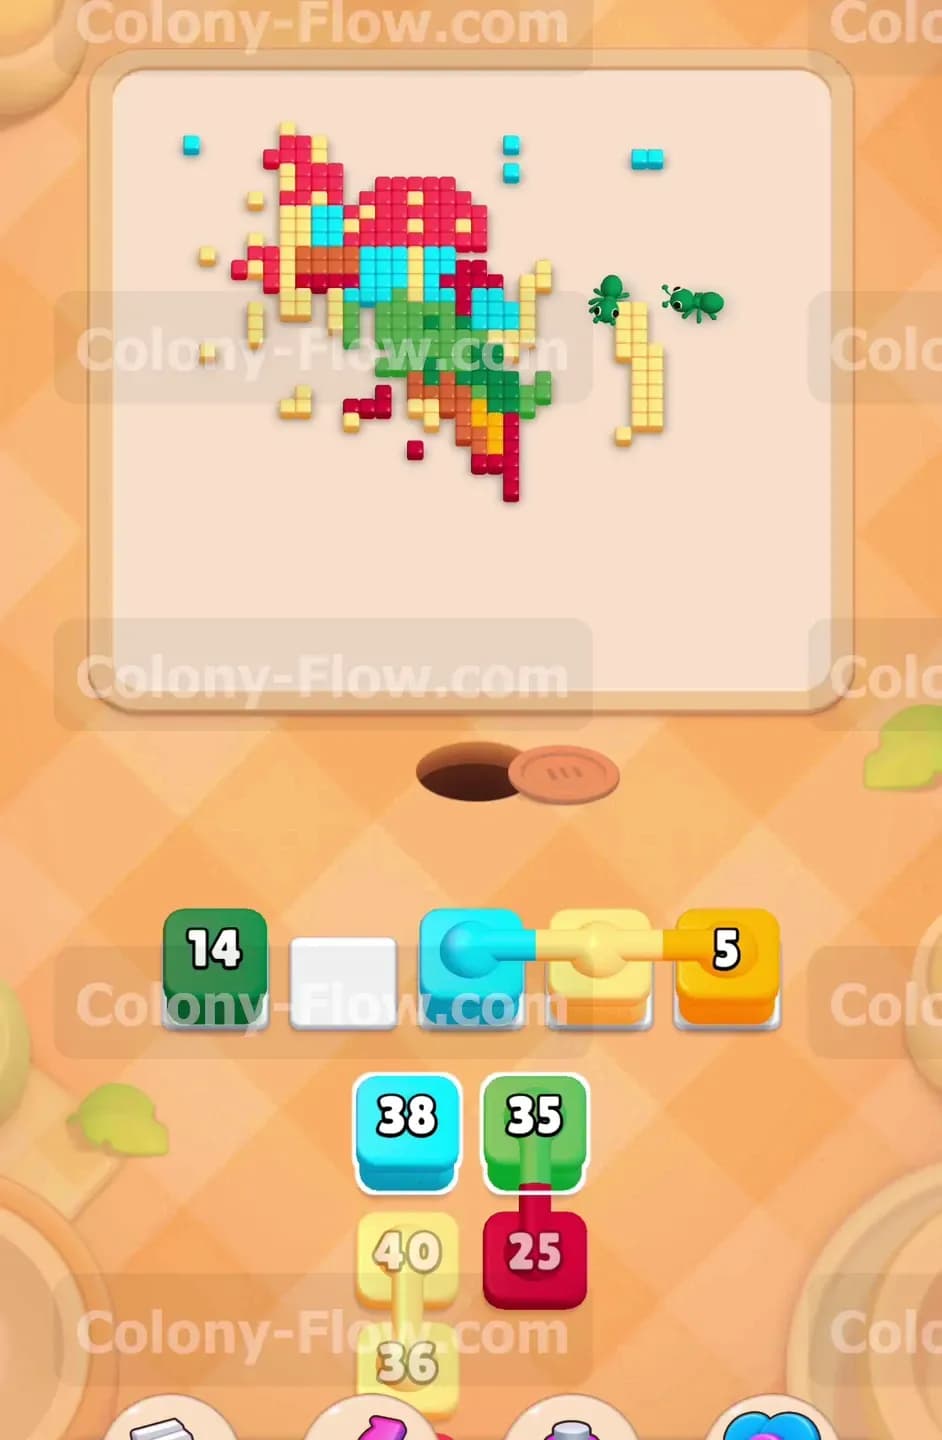
As the tray shifts up, you will see the yellow lock icon turn into a normal playable block. This Hidden Box reveals itself as another yellow block. Tap it to send it up to the waiting slots. The ants will finish off the rest of the snail body and the lighter yellow sections of the inner shell. You might have to pull a smaller yellow nineteen block right alongside it to get every last piece cleared and watch the numbers drop. The entire right side and bottom side of the board are now completely bare and open. Your ants can rush straight from the starting hole to the thick center of the shell in mere seconds.
Step 6: Tackle the second connected cyan pair.
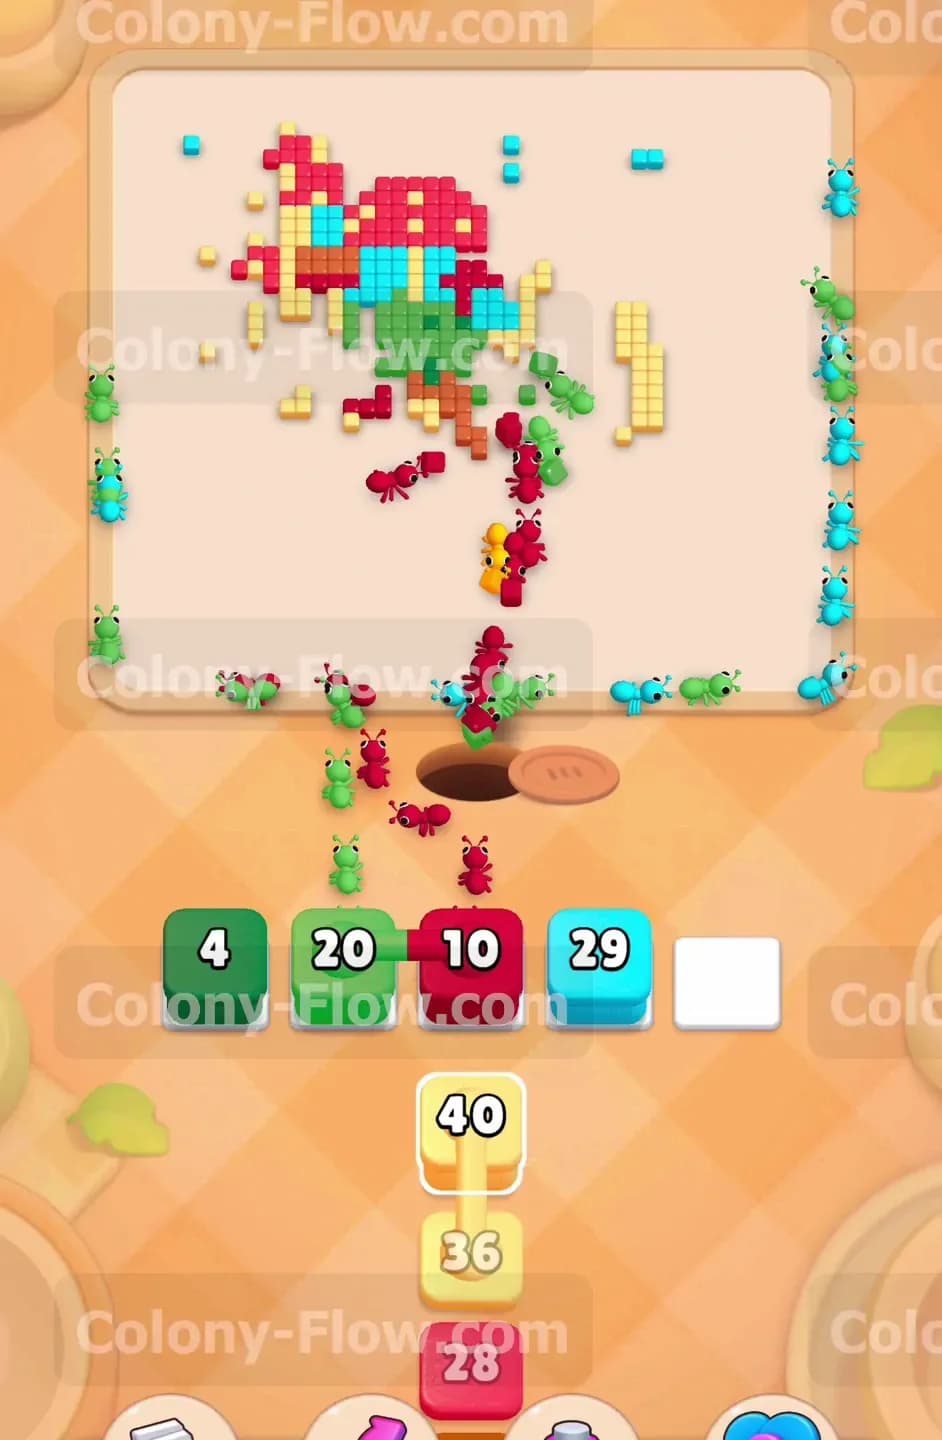
You have another set of connected boxes in the tray featuring a cyan thirty four linked directly to a cyan thirty eight. Make absolutely sure your slots are totally clear and tap them. The ants will hunt down the final remaining sky tiles wedged tightly between the tall red mushrooms. Because you cleared the top and sides so thoroughly earlier, the ants can easily drop down from above to eat these trapped blue pixels. If you had pulled these blocks too early, the ants would have had no clear way to reach those tight spaces and your slots would have jammed. Timing this pull perfectly ensures the board stays fluid and the numbers drop straight to zero.
Step 7: Break into the outer layer of the brown shell.
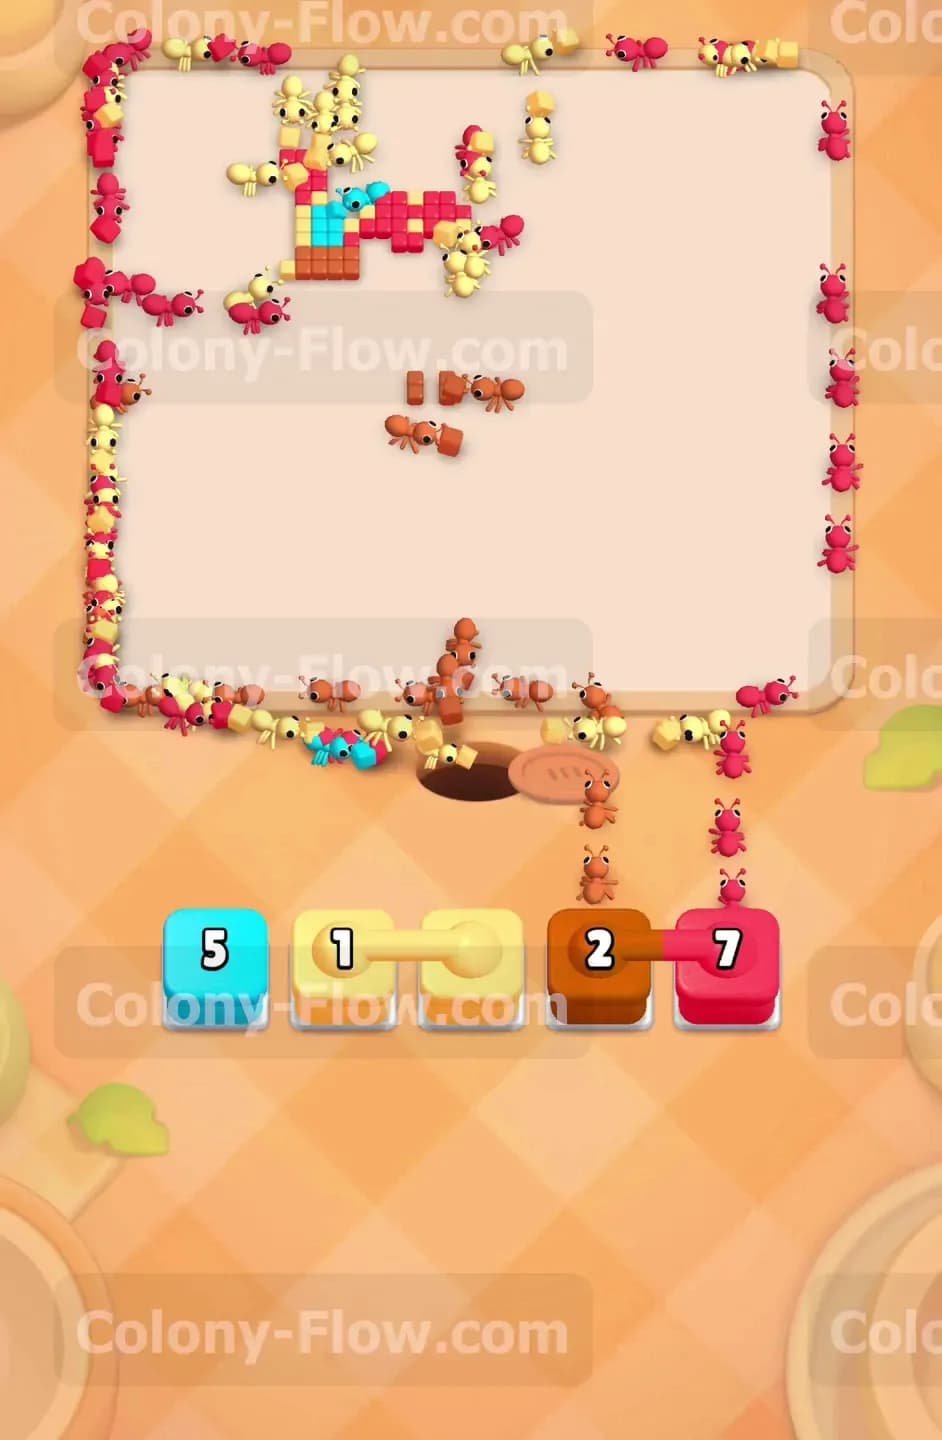
The remaining picture now only consists of the brown and red shell and the mushrooms. Tap a brown twenty block to start breaking down the shell. The brown tiles form the thick heavy outline of the spiral pattern. The ants will march directly into the center of the board. The shell tiles are packed closely together, so the ants will clear them out very quickly. Pulling the brown block now exposes the inner red and yellow tiles of the spiral pattern. You only want one brown block running in the slots at a time to prevent any unexpected tray jams. Keep a close eye on the countdown number and let it reach zero.
Step 8: Clear the red mushroom caps.
Tap a red twenty five block to address the large mushrooms sitting on top of the shell. The ants will run all the way up the open board and attack the large red caps. Since the sky around them is totally gone, the ants spread out wide and eat the caps from all sides at once. This rapid consumption drops the number in your waiting slot down to zero extremely fast. You can comfortably pull a green twenty five block right after to clear the thick green stems underneath the mushrooms. The entire top section of the picture will vanish, leaving only the center spiral of the shell.
Step 9: Manage the mixed connected pairs.
The tray will now present pairs of connected boxes with two entirely different colors. You will see a small green six linked to a brown twenty four. Verify you have two open slots and pull them. The ants will split up into two distinct groups. A small group will finish off the last few green stems while a much larger group attacks the brown shell pieces. This split action is very efficient because the ants are never competing for the same tiles. The board is so empty now that the ants move at top speed. Let both blocks count down to zero to clear your slots completely.
Step 10: Clean up the final scattered pieces.
Your tray holds the final few blocks needed to finish the level. You will see a small green fourteen and a connected pair with a cyan two and a yellow five. Pull the green fourteen first to remove any tiny bits of grass left on the far left side. Then tap the connected pair. The ants will easily find these scattered leftover pixels because there are absolutely no obstacles remaining in their way. The final blocks will drop to zero and clear out in just a few short seconds. The entire picture is totally gone and the remaining ants will return to the nest. You have successfully cleared the board.
Final Thought
Beating this stage is all about controlling the sky first and managing the connected blocks carefully. If you follow the strict order of colors I laid out, you will keep your waiting slots open and never hit a frustrating dead end. Keep your primary focus on the outer edges and slowly work your way into the center shell. Watch the video above this article if you want to see exactly how the connected blocks behave when they jump to the waiting slots.