Colony Flow Level 78 Walkthrough Solution & Guides | How to solve Colony Flow 78

Guide By Liam Stone
Updated on July 11, 2026
Watching beats reading for some players. The video above has the entire Level 78 walkthrough ready to go.
Video doesn't match your screen?
Game updates frequently scramble layouts! Try our AI Screenshot Solver first to find your exact board instantly, or report broken guides to our team.
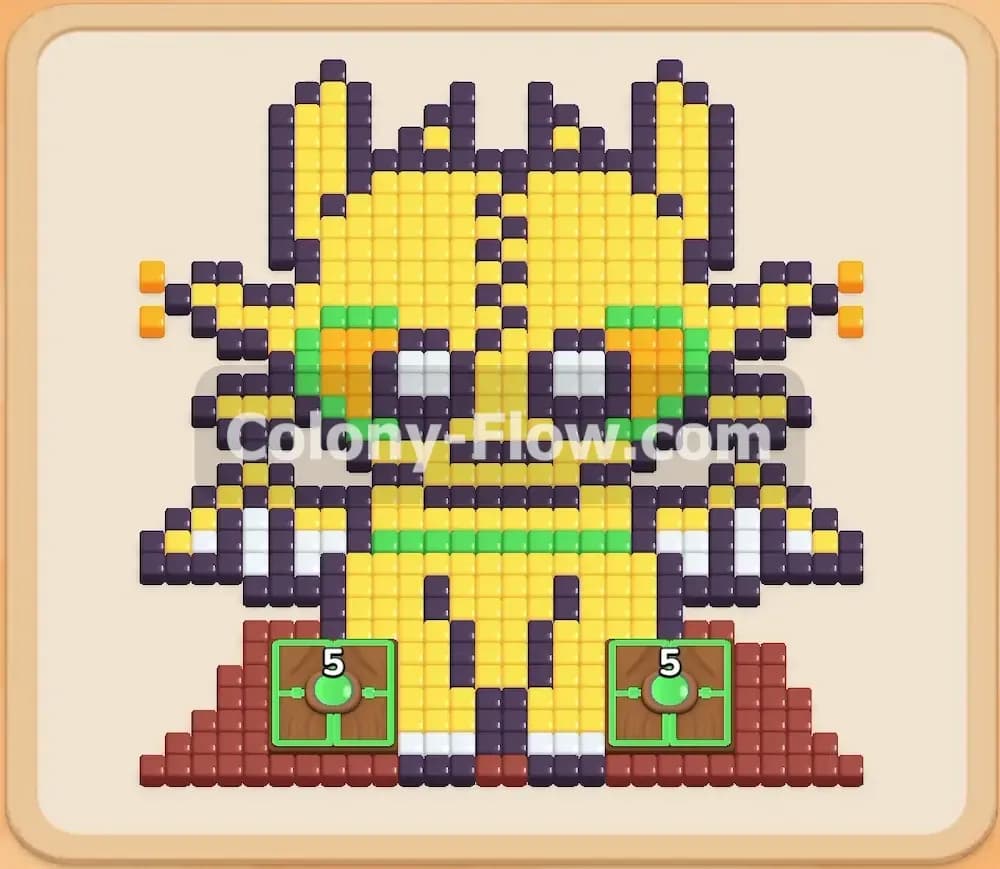
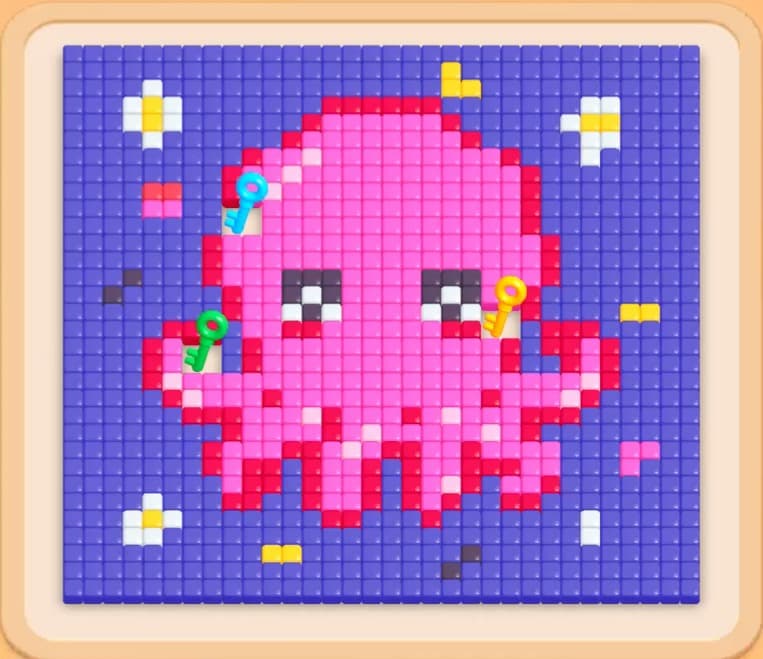
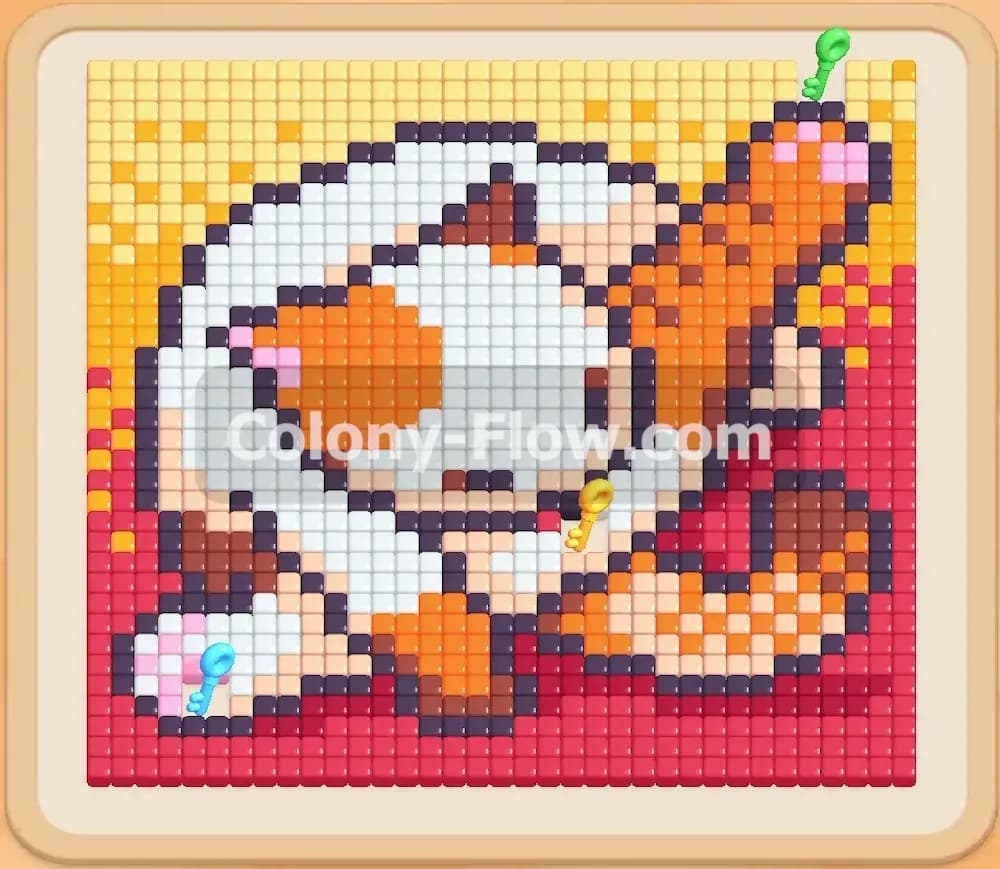
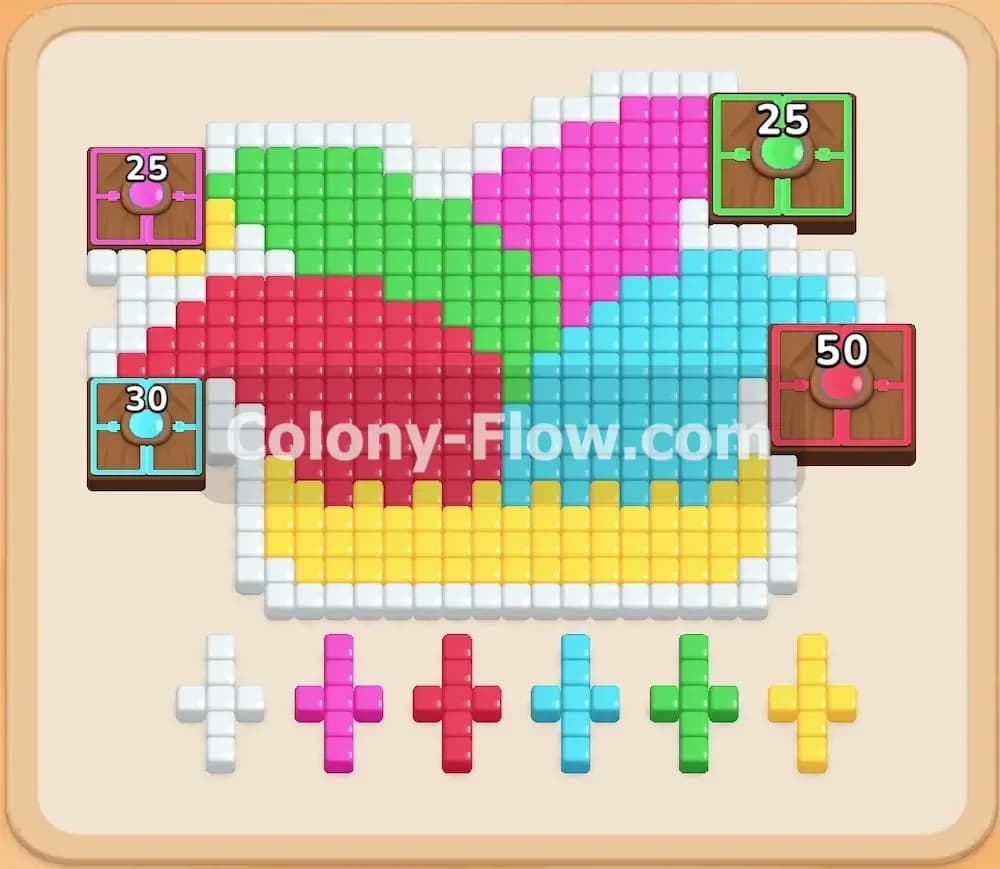
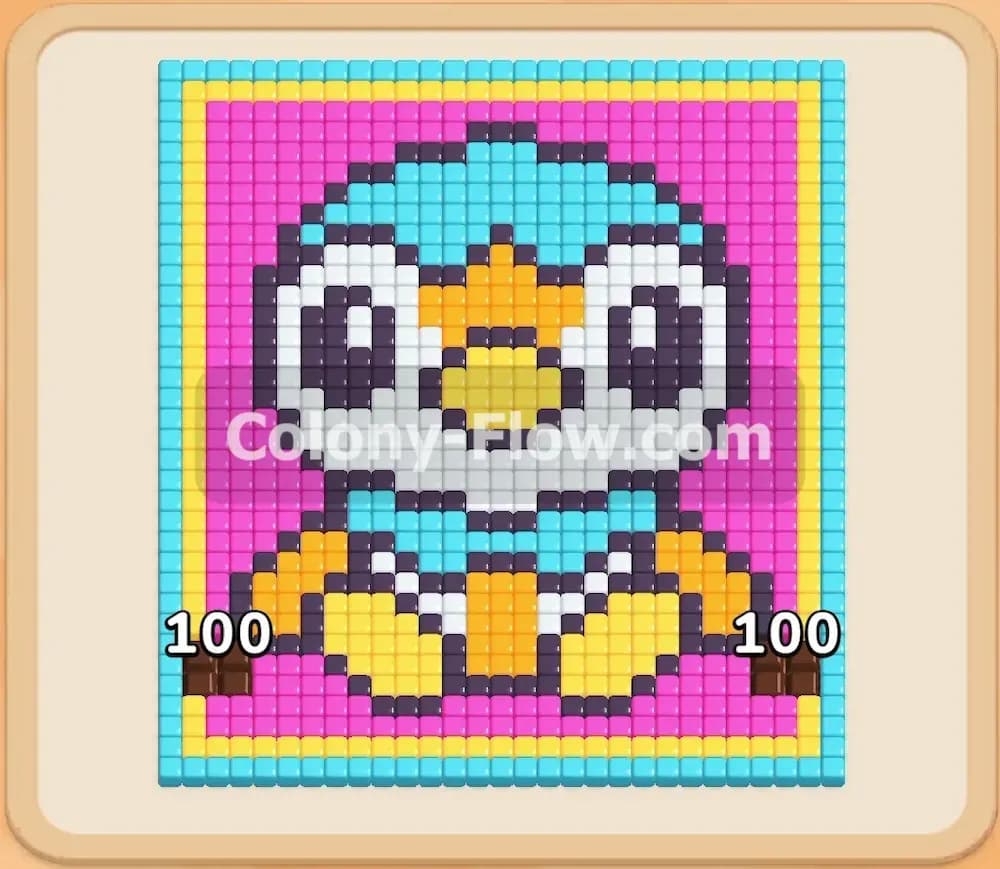
Colony Flow Level 78 features a massive and cute pixel art penguin that takes up nearly the entire board. I found this stage very satisfying to play because the paths open up smoothly if you plan your tray pulls correctly. You get a board packed with bright colors and a deep tray of numbered blocks waiting at the bottom. You will need to manage the swarm from the bottom up to clear the picture without stalling your game.
Colony Flow Level 78 Overview
What You Are Working With
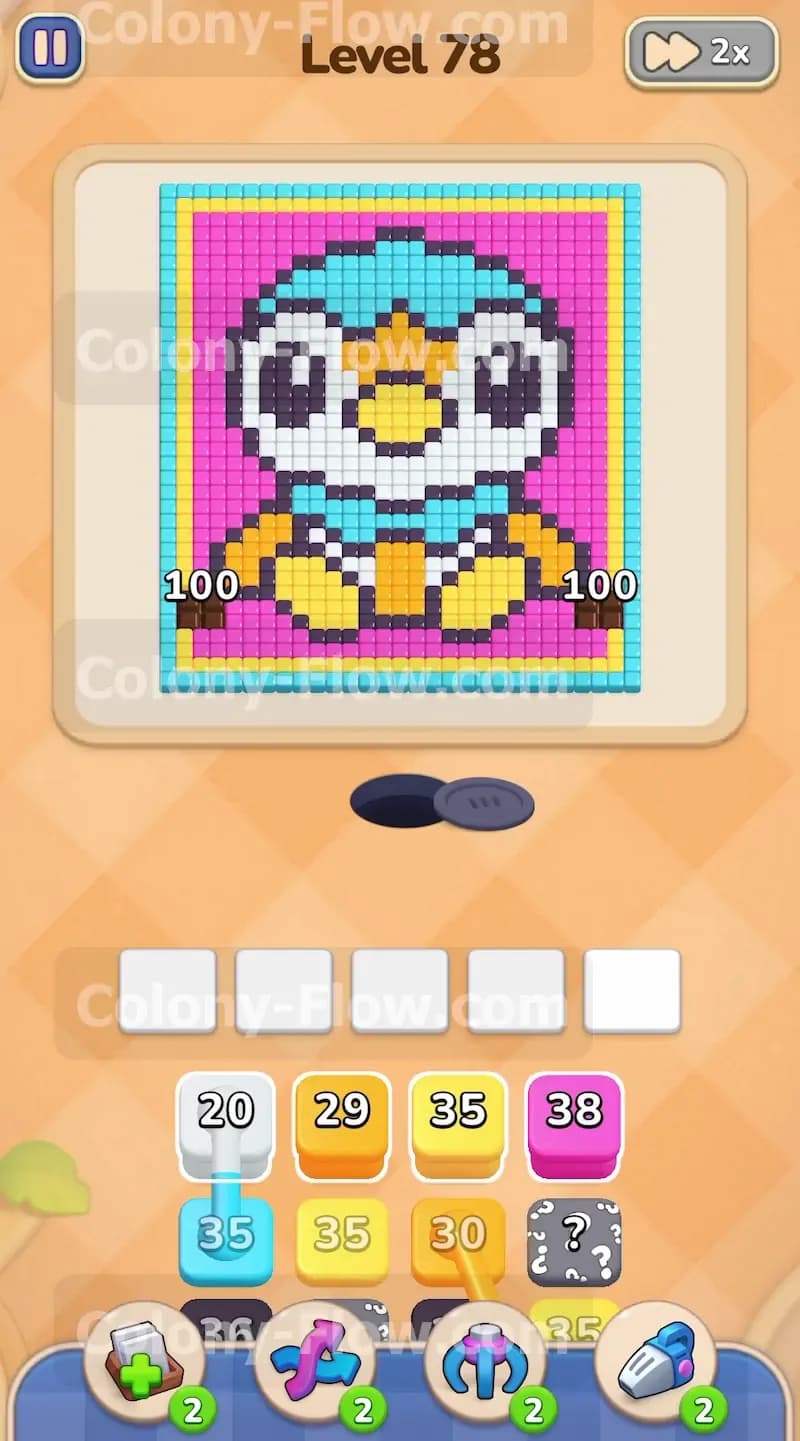
The picture is a large penguin character surrounded by colorful borders. It features a solid pink background with a bright yellow and cyan outer frame. The penguin itself has yellow feet and an orange beak. The main body is cyan with a bright white face and large black eyes. A thick black outline surrounds the whole character. The tray at the bottom is deep and holds high number blocks in cyan, pink, black, yellow, orange, and white. You will also spot special hidden boxes scattered deep in the tray. These gray question mark blocks reveal their true color only after you pull them into an active slot and they find an open path to the board. The nest hole sits right under the center of the picture where the ants begin their journey.
What It Takes to Clear Level 78 Board
You win when the ants eat every single pixel art tile and leave the board completely empty. Your primary goal is protecting your five waiting slots at the bottom of the screen. You must never let these slots fill up with blocks that have nowhere to go. If you fill all five spots and the ants cannot reach their matching color tiles, the board jams and you lose the level instantly. You have to pull blocks in the exact order that matches the available exposed tiles. This strategy opens up new colors gradually and keeps the swarm moving steadily.
Colony Flow Level 78 Step by Step Solution
Step 1: Start the bottom edge by feeding pink and yellow blocks.
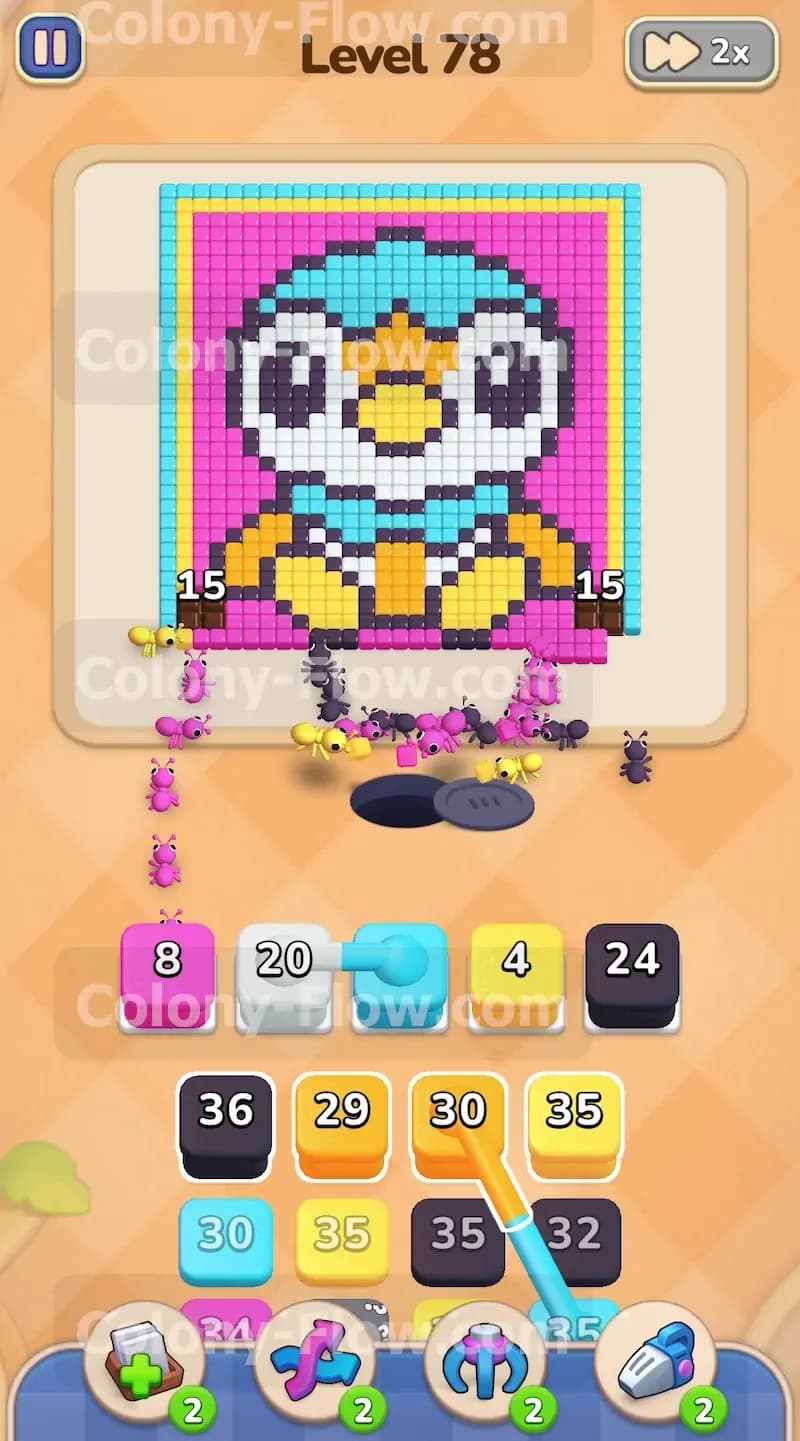
The first moves dictate the pace of the whole board and you need to break the bottom layer immediately. You face a solid bottom row of pink tiles and yellow border pieces right above the nest hole. Pull your first pink and yellow blocks from the tray up into the active slots. The ants will stream out of the nest hole and attack the bottom edges to carve out your initial paths. Once the pink and yellow layers peel back slightly, the black outline and yellow feet of the penguin become accessible. Drag a black block up to start working on the heavy outline. You can also pull an orange block to assist with the feet area. Keep your eyes on the waiting slots at all times. You want at least one or two slots empty right now. Let the yellow and pink numbers tick down while the black ants carve a path toward the inner sections of the picture.
Step 2: Open the center by targeting the cyan bow tie.
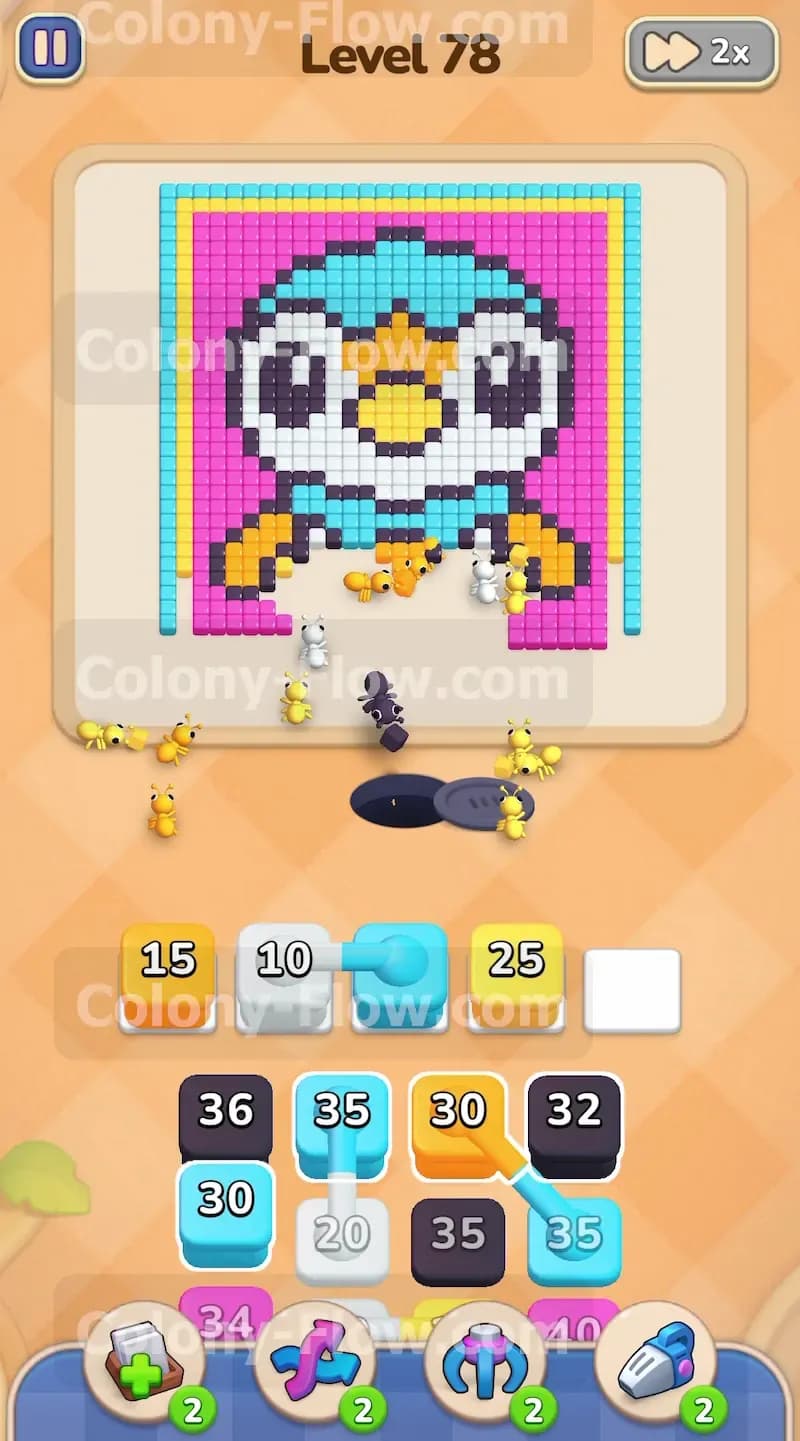
With the bottom edge opening up, the lower middle section is ready for a massive swarm. You will see a large cyan bow tie sitting right under the white face. Pull a heavy cyan block from the tray into your waiting area. You will watch a massive stream of cyan ants rush out of the nest and chew right through the middle. This move is excellent because it drastically clears out the lower half of the character body and exposes the sections above it. I recommend pulling a white block into the queue right now as well. The white face tiles sit directly above that cyan bow. Bringing the white block up early ensures it is ready the moment the cyan ants expose the bottom of the face. Managing the queue like this prevents any sudden jams and keeps the action flowing without any delays.
Step 3: Devour the black outline and the wide pink background.
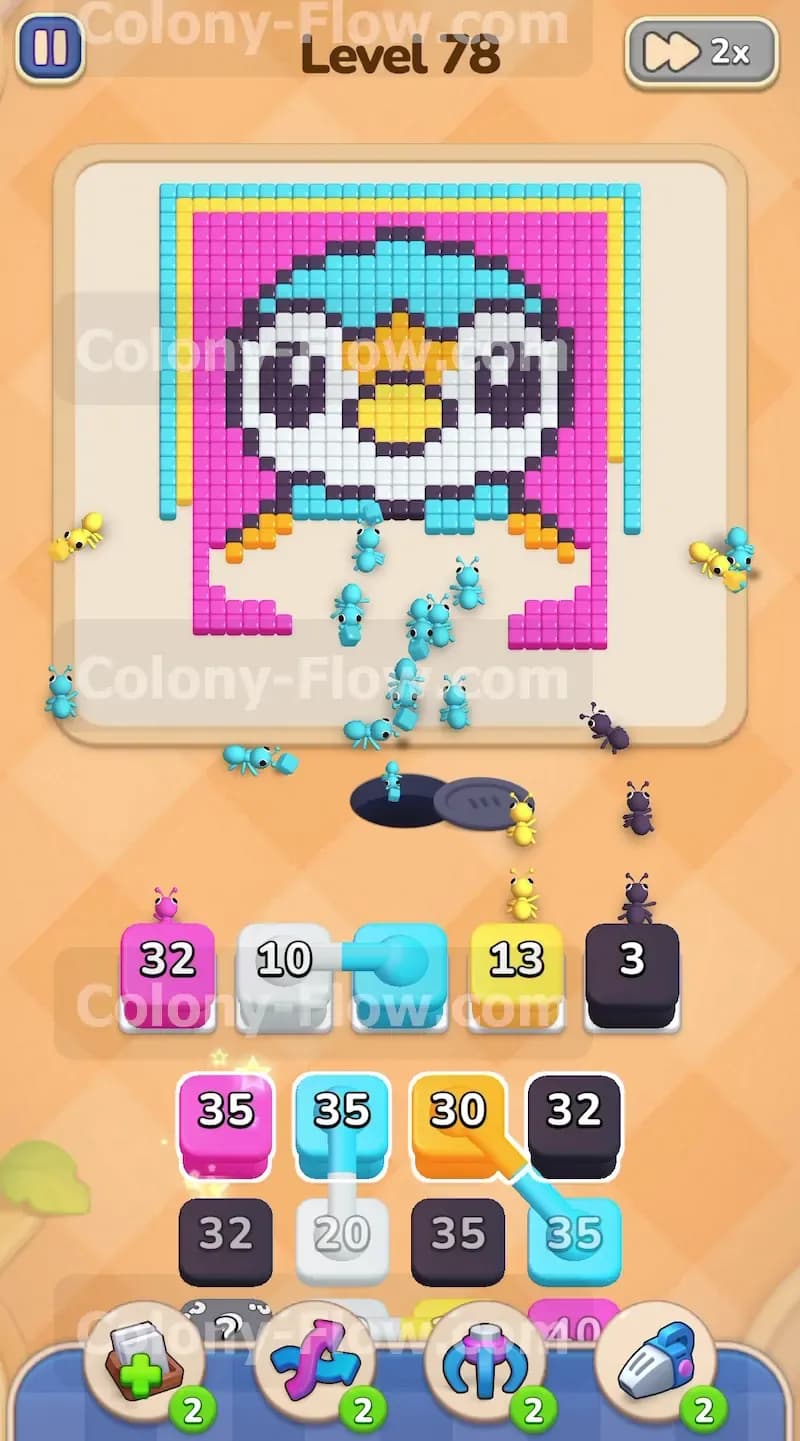
The bottom half of the penguin disappears entirely by this point. Your open paths now branch sharply outward toward the left and right sides of the board. The pink background makes up a massive portion of the remaining picture on these outer edges. You must pull several large pink blocks into the active slots to keep those side paths shrinking. At the exact same time, you need to pull another black block to continue eating away at the thick black outline. This outline curves up around the body and acts as a rigid wall protecting the upper face. Balancing your pink and black tray pulls is the secret to surviving this phase. If you pull too many pink blocks at once, you run a huge risk of filling all five waiting slots and stalling the game completely. Feed the board one pink block and one black block at a time. Watch the tiny ants march in long continuous lines up the left and right sides of the screen.
Step 4: Push into the white cheeks and the bright yellow beak.
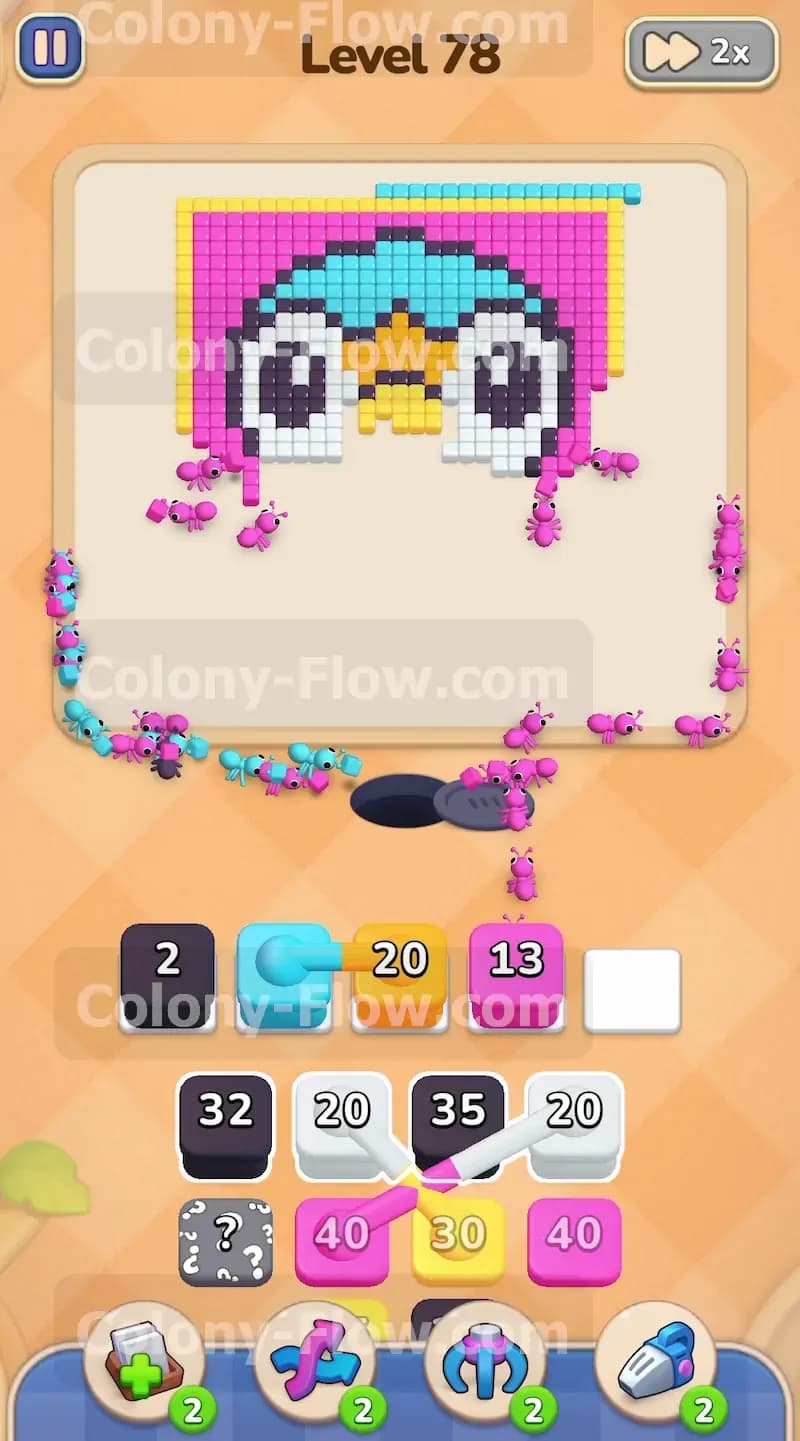
The white block you staged in your tray earlier finally pays off right here. The white ants swarm the bottom edge of the face and begin eating into the wide cheeks. Reach down into the tray and pull another heavy white block to maintain this aggressive momentum. The penguin face is extremely wide and requires a massive amount of white ants to clear out. You will also notice the bright yellow and orange beak tiles becoming fully exposed right between those white cheeks. Drag an orange block and a yellow block up into your slots to start chewing through the beak section. The background pink tiles continue to drop away steadily as you deploy more pink blocks from the lower tray. You are managing three distinct active zones right now. You have ants working the left side, the right side, and the center face all at once. Keep shifting your attention back and forth between the shrinking board and your available tray blocks. Always guarantee the specific color you select has a direct open path to its matching tiles before it leaves the tray.
Step 5: Finish the large eyes and test a hidden box.
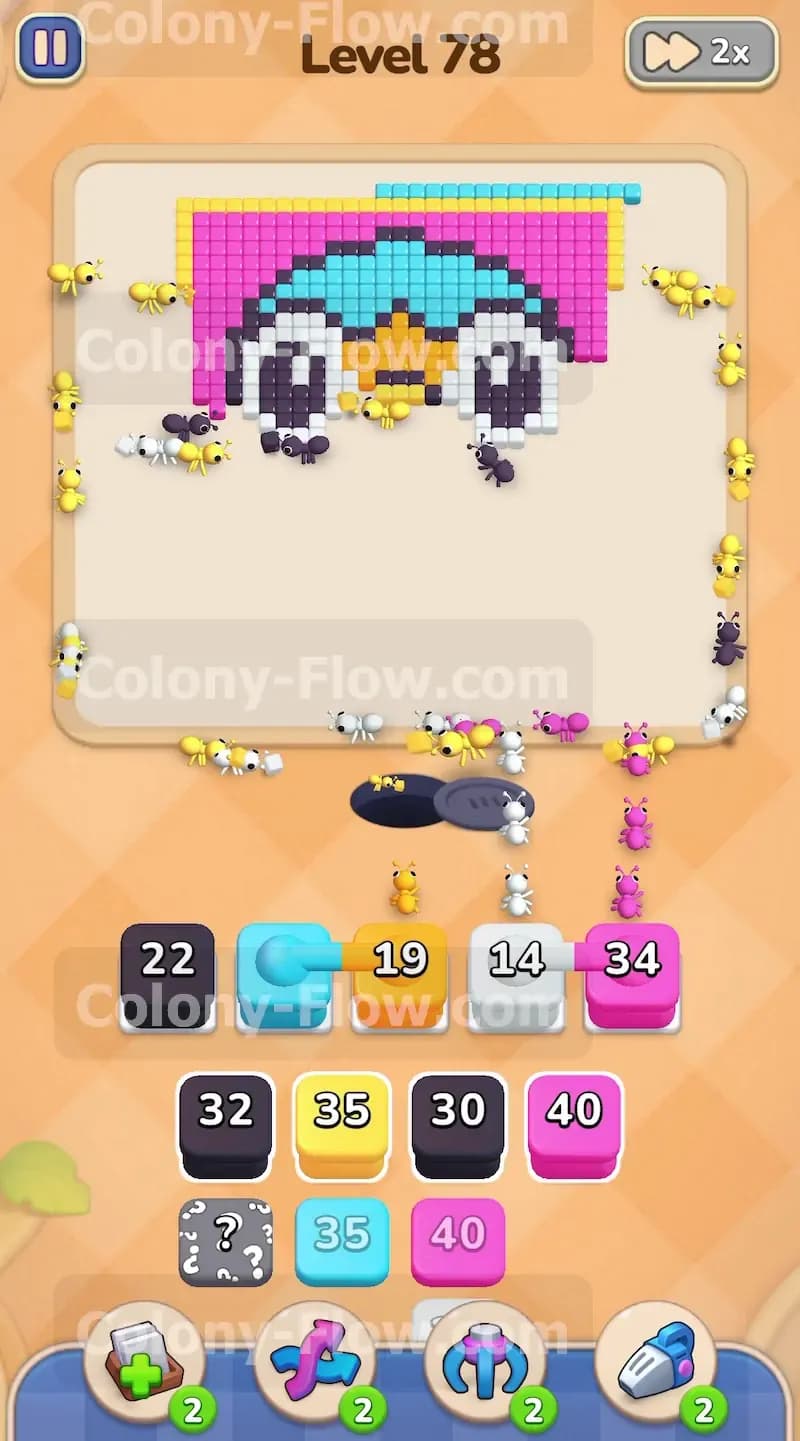
You are now staring at the top half of the face and those huge round eyes. The eyes consist of black tiles completely surrounded by white tiles. Pull another large black block to send a fresh wave of ants into the eye centers. Add one more white block to clean up the rest of the face area. The board feels much smaller now but the danger of jamming is actually higher because you have fewer exposed colors to choose from. This is a great time to pull one of the hidden boxes from your tray. Since you have multiple colors exposed across the face and the side borders, the hidden box is highly likely to find a valid match. Pulling a hidden box when only one path is open is dangerous because a wrong color will jam your queue permanently. Do not pull any cyan blocks yet because the top of the head is still blocked by the black outline and the white face. Wait patiently for the black and white ants to finish their job entirely.
Step 6: Clear the top head and the final border pieces.
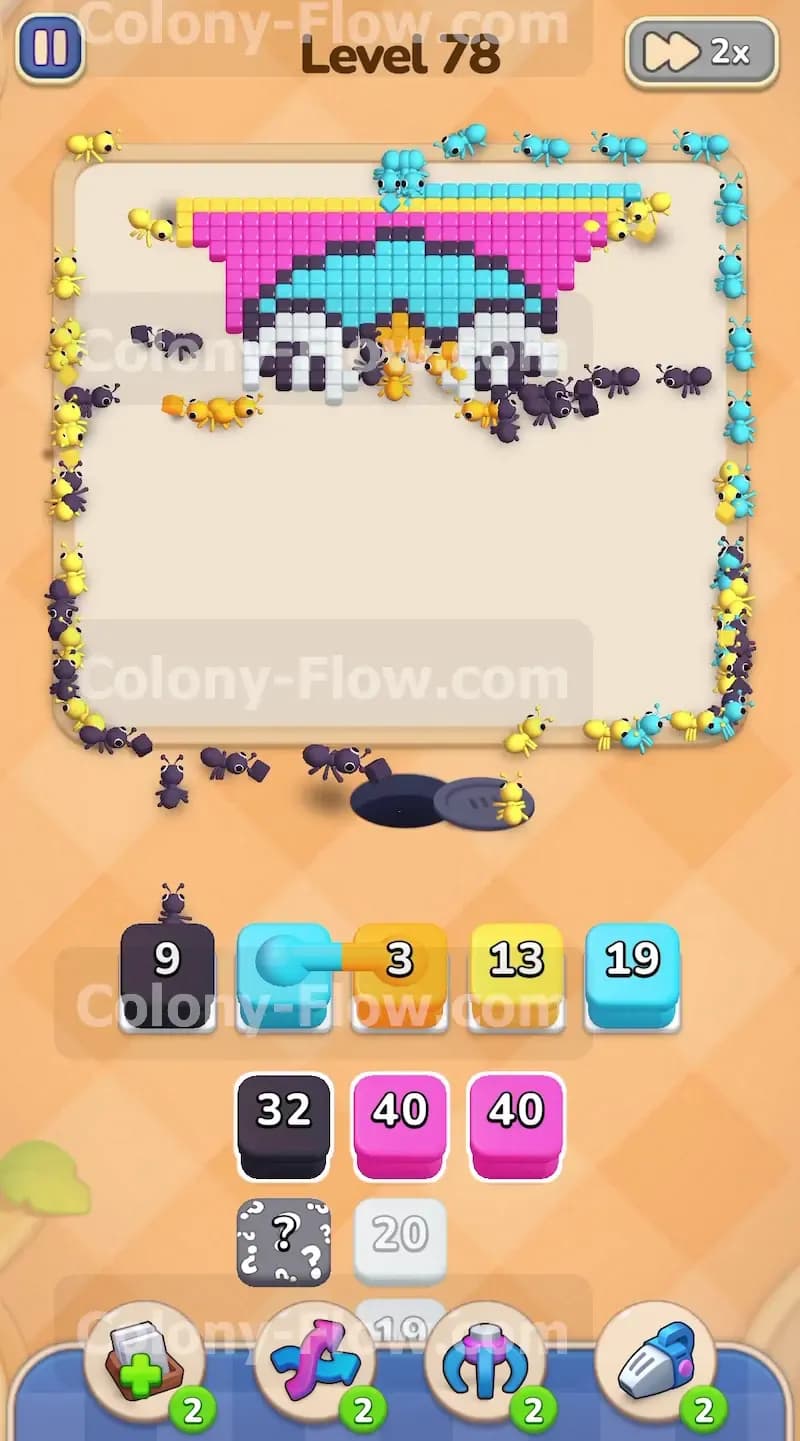
Only the top section remains on the board. You need to clear the cyan top of the head and the outer yellow and cyan borders. Reach into your tray and pull the largest cyan blocks you have left. The cyan ants will flood the top of the board and consume the rounded head rapidly. Finally, pull the remaining yellow blocks to clear out the very last outer rim pieces. The final ants will scurry around the top edge to finish off the border. The picture vanishes completely and the screen clears. You have successfully managed a very crowded board without dead ending your active slots.
Final Thought
Colony Flow Level 78 tests your patience and your queue management skills from start to finish. The key strategy is never rushing the tray pulls and always matching your blocks to the lowest exposed layers. Take your time and let the ants finish eating before you stack the active slots with new colors. You can always watch the video above this article if you want to see exactly how these moves look in motion. Keep your paths open and enjoy the puzzle.