Colony Flow Level 399 Walkthrough Solution & Guides | How to solve Colony Flow 399

Guide By Liam Stone
Updated on July 19, 2026
The article below explains Level 399 in detail, but the video above gets you there faster.
Video doesn't match your screen?
Game updates frequently scramble layouts! Try our AI Screenshot Solver first to find your exact board instantly, or report broken guides to our team.
Welcome back to another puzzle guide. Today you will conquer Colony Flow Level 399. This board features a fun pixel art character that looks like a classic leprechaun. You will need to dig through massive blocks and manage your waiting slots carefully to avoid a game over.
Colony Flow Level 399 Overview
What You Are Working With
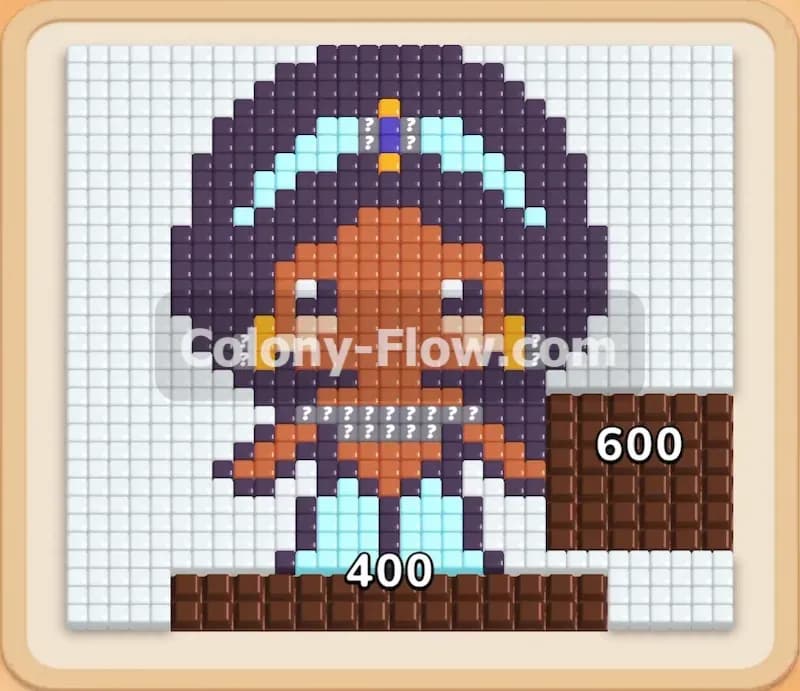
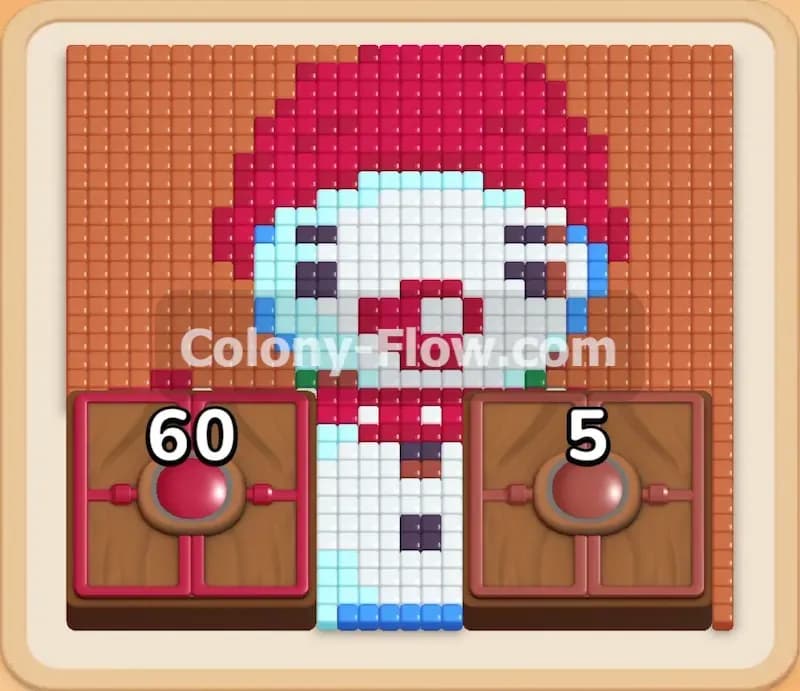
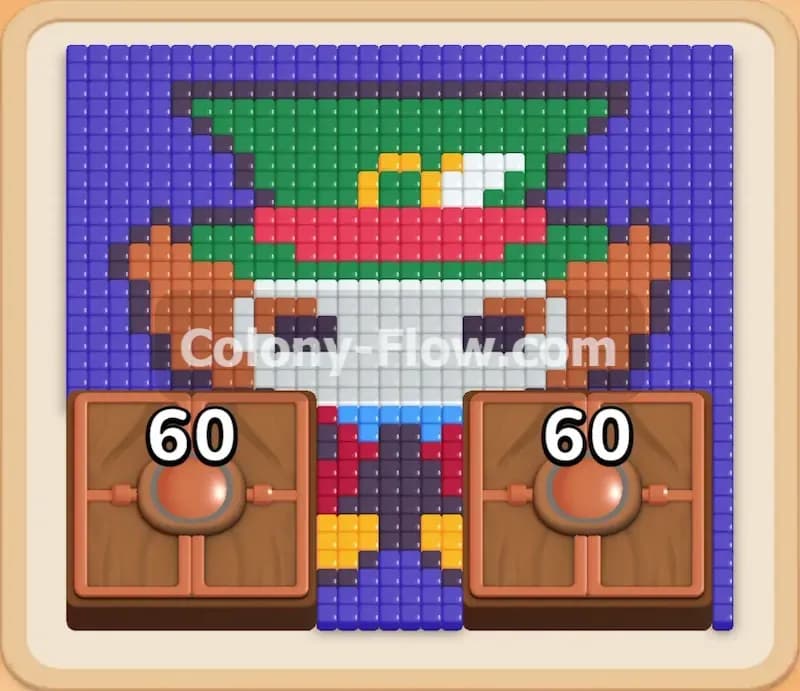
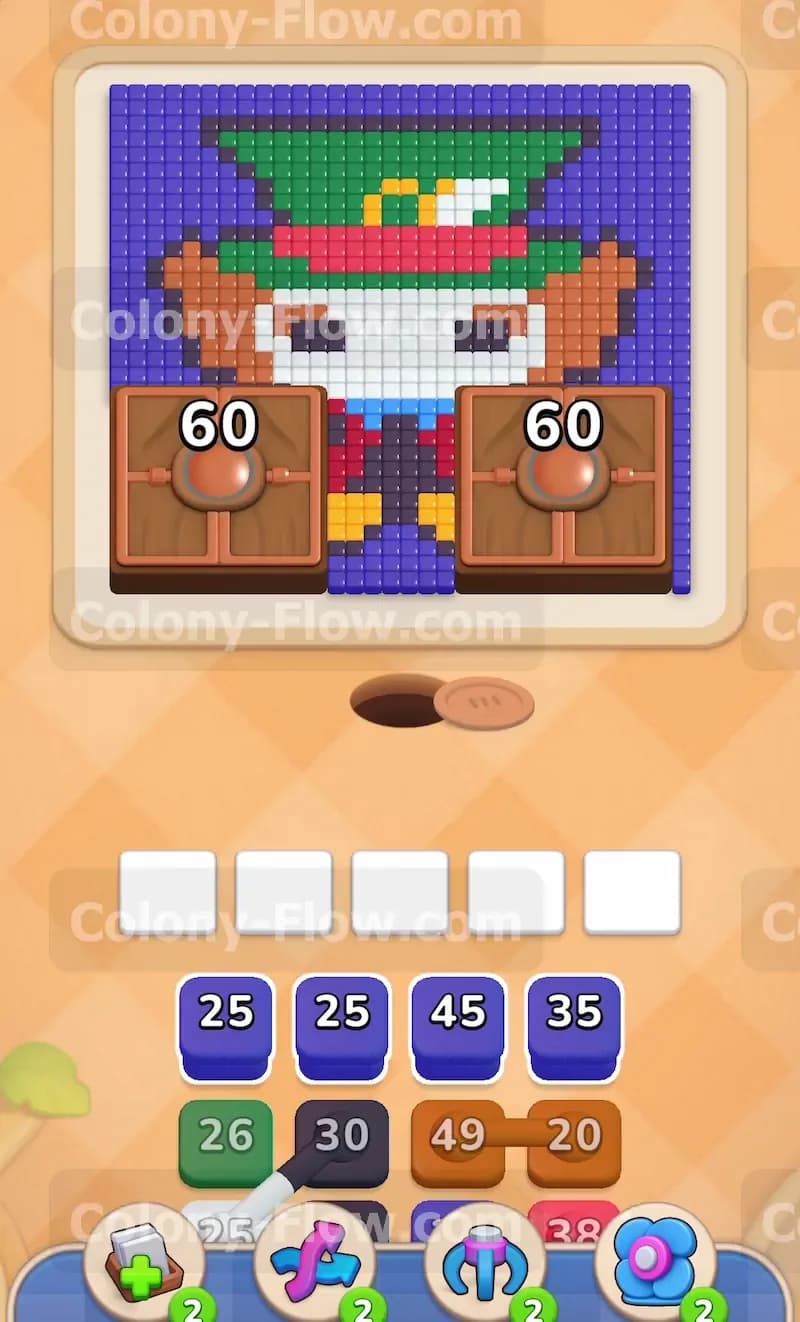
The picture at the top of your screen shows a colorful character face. You see a green hat with a gold buckle at the very top. Below the hat is bright orange hair framing a white face. A red and black bowtie sits at the bottom near the chin area. A dark blue background surrounds the entire character on the left, right, and top edges. The most obvious obstacles are two massive brown structures covering the lower half of the character. Each brown structure displays a high number counting down from sixty. Your tray at the bottom holds a layered mix of blue, green, black, orange, and brown numbered blocks. You have five empty waiting slots sitting exactly above the tray.
What It Takes to Clear Level 399 Board
You win this level when your ant colony completely eats every single pixel of the picture. You pull numbered blocks from the tray into your five waiting slots to deploy the ants. The ants match the exact color of the block and travel along open paths to eat matching food tiles. If you fill all five waiting slots with blocks that have no open path to their matching colors, the board jams. When the board jams and no ants can move, you lose the level instantly. You must always maintain at least one open path so the slots keep emptying and the ants keep working.
Colony Flow Level 399 Step by Step Solution
Step 1: Clear the bottom blue border to open your first paths.
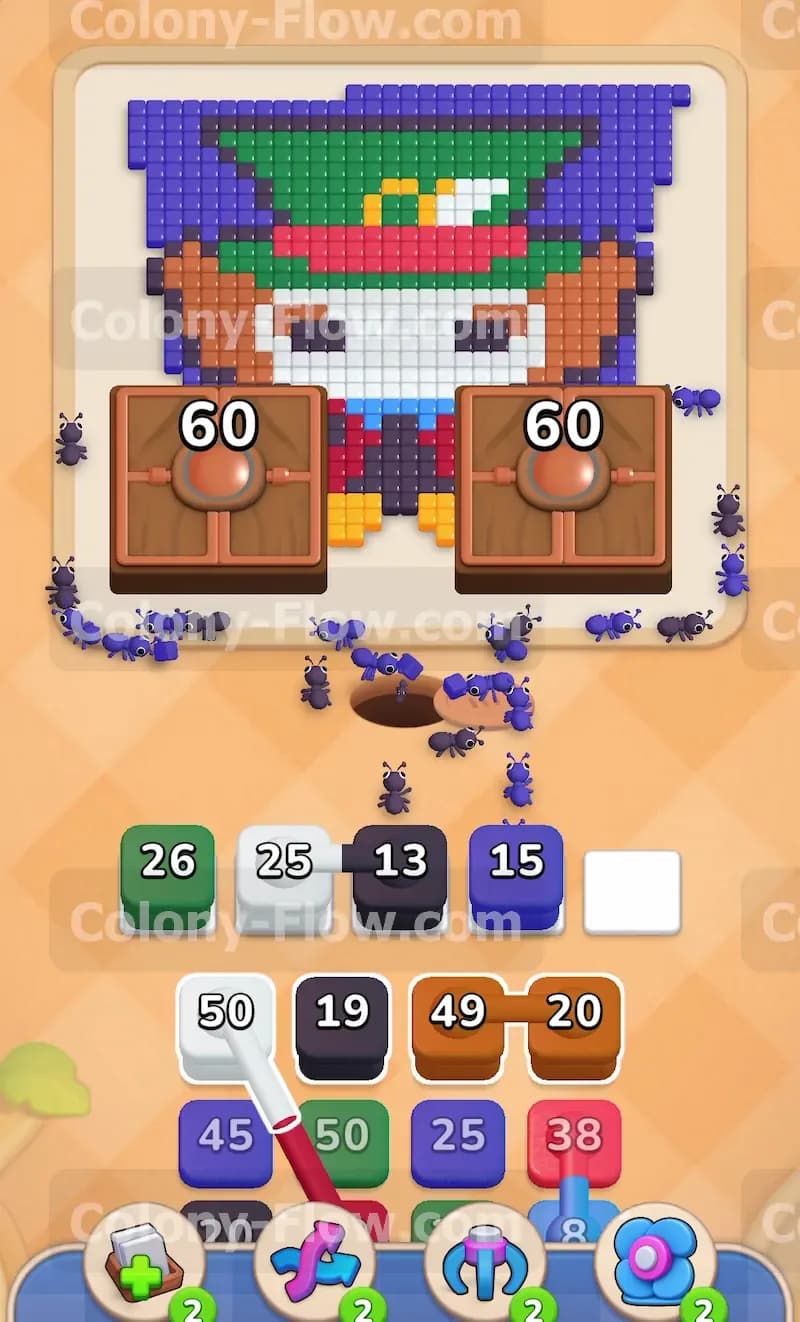
You begin the level by looking at the very bottom edge of the pixel art. A layer of dark blue background tiles sits directly above the nest hole and blocks access to the rest of the picture. Tap the blue blocks in your upper tray row to pull them into your waiting slots. Blue ants will immediately stream out of the nest hole and march toward the bottom blue edge. As the blue ants eat these tiles, the numbers on your blue blocks will count down quickly. Clearing this bottom blue border is mandatory because it creates a wide open path to the massive brown structures sitting just above it. Do not pull any other colors until the blue ants carve out this opening completely.
Step 2: Pull top tray blocks to reveal the brown numbers.
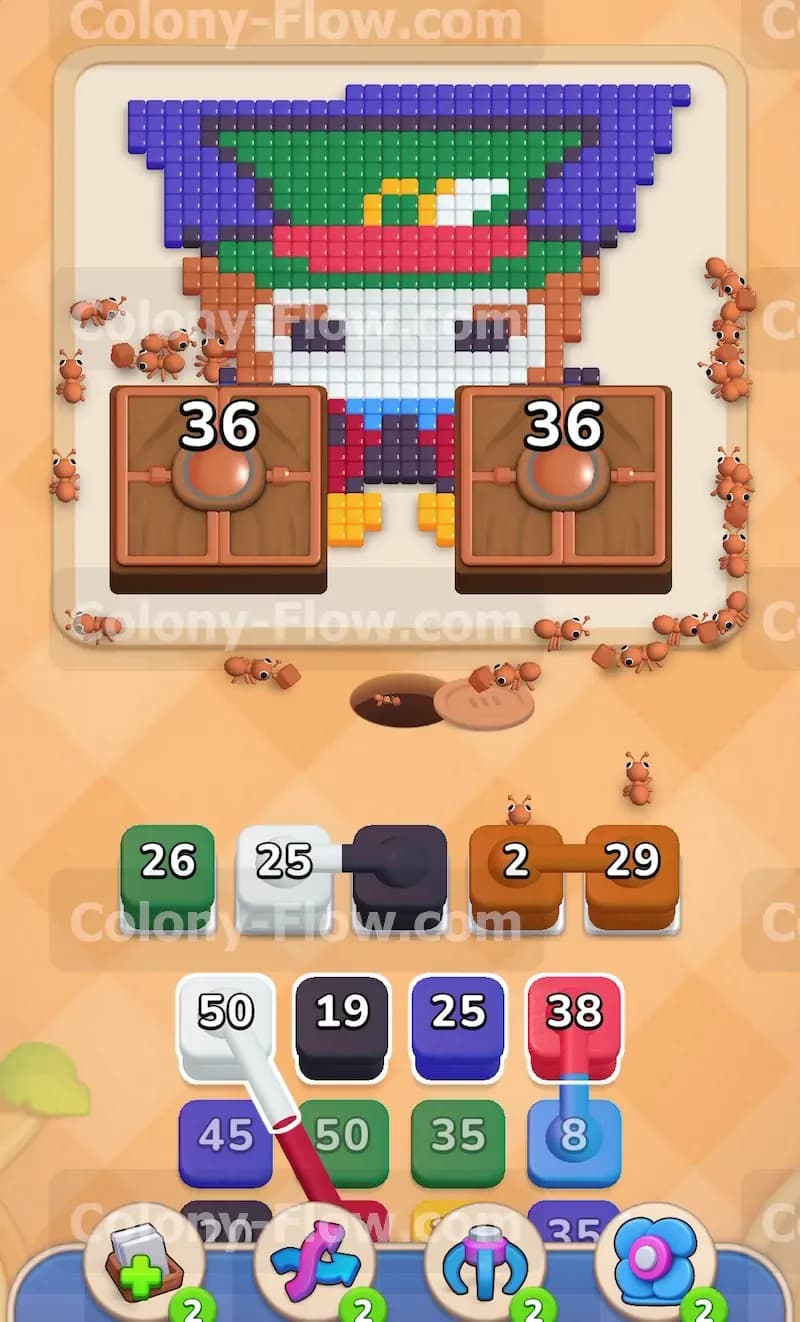
With the bottom blue border completely cleared out of the way, you now have physical access to the large brown structures. However, you do not have any brown blocks available in the top row of your tray at this very moment. You must pull the blocks currently sitting in the top row to expose the brown blocks hidden underneath them. Tap the green block, the white block, and the black block to move them from the tray into your waiting slots. These blocks will sit in the slots and wait patiently because the green hat, the white face, and the black bowtie are still physically blocked by other colored tiles. This specific action fills three of your five precious slots. You must be extremely careful not to pull any more blocked colors right now. Moving these initial blocks out of the way successfully reveals a large orange block and a large brown block sitting in the tray below.
Step 3: Deploy brown ants to attack the massive structures.
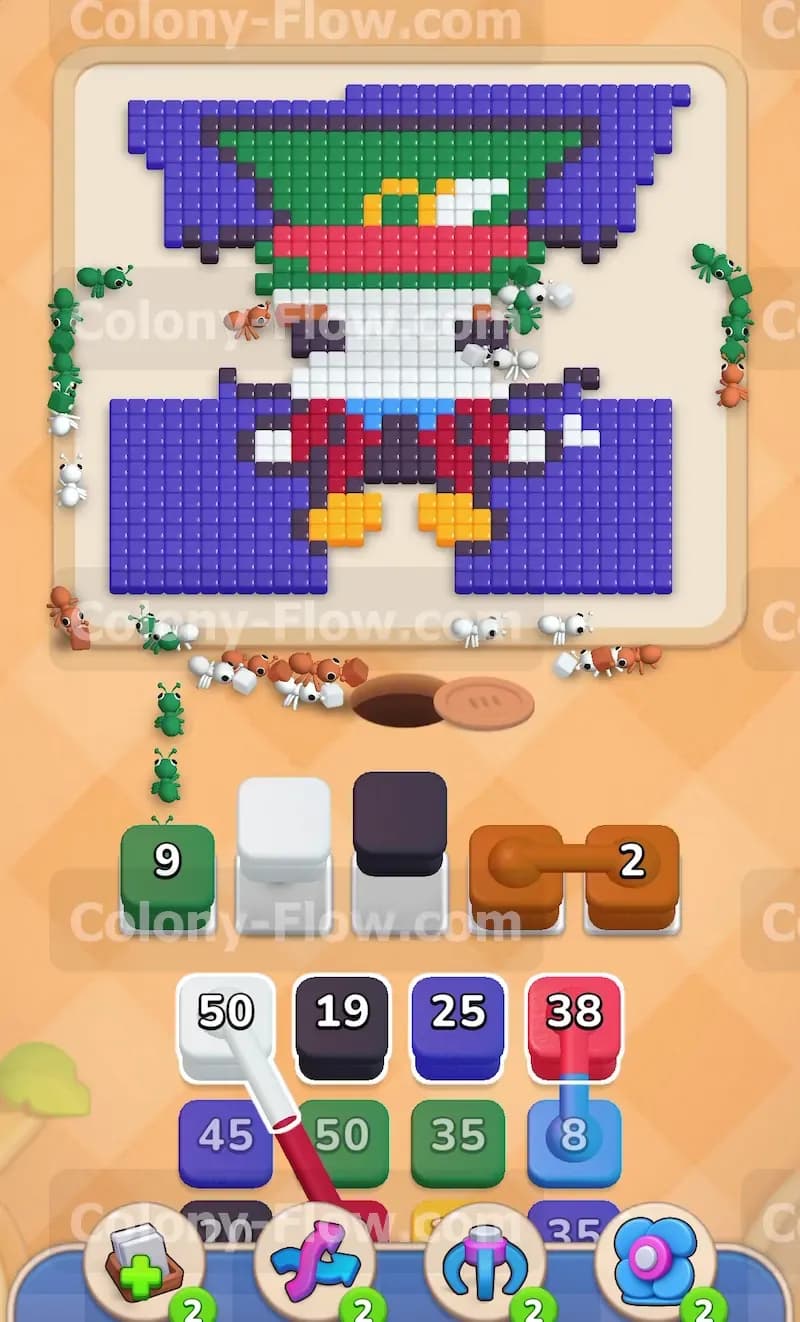
Now that you have finally exposed a brown block in the tray, you can start clearing the biggest obstacles on the entire board. Tap the brown block to send it up to your fourth waiting slot. Because you cleared the bottom blue border earlier, the brown ants now have a direct and open path to the large brown structures. The brown ants will stream out of the nest hole and begin chewing heavily away at the massive blocks. You will see the number on the brown structures visually drop from sixty all the way down to thirty six. This process takes a large volume of ants to complete. Keep feeding brown blocks from the tray into your slots whenever they become available to sustain the continuous attack. Your waiting slots will stay completely safe from jamming as long as the brown ants continue to work on the board.
Step 4: Send orange ants to tackle the bright orange hair.
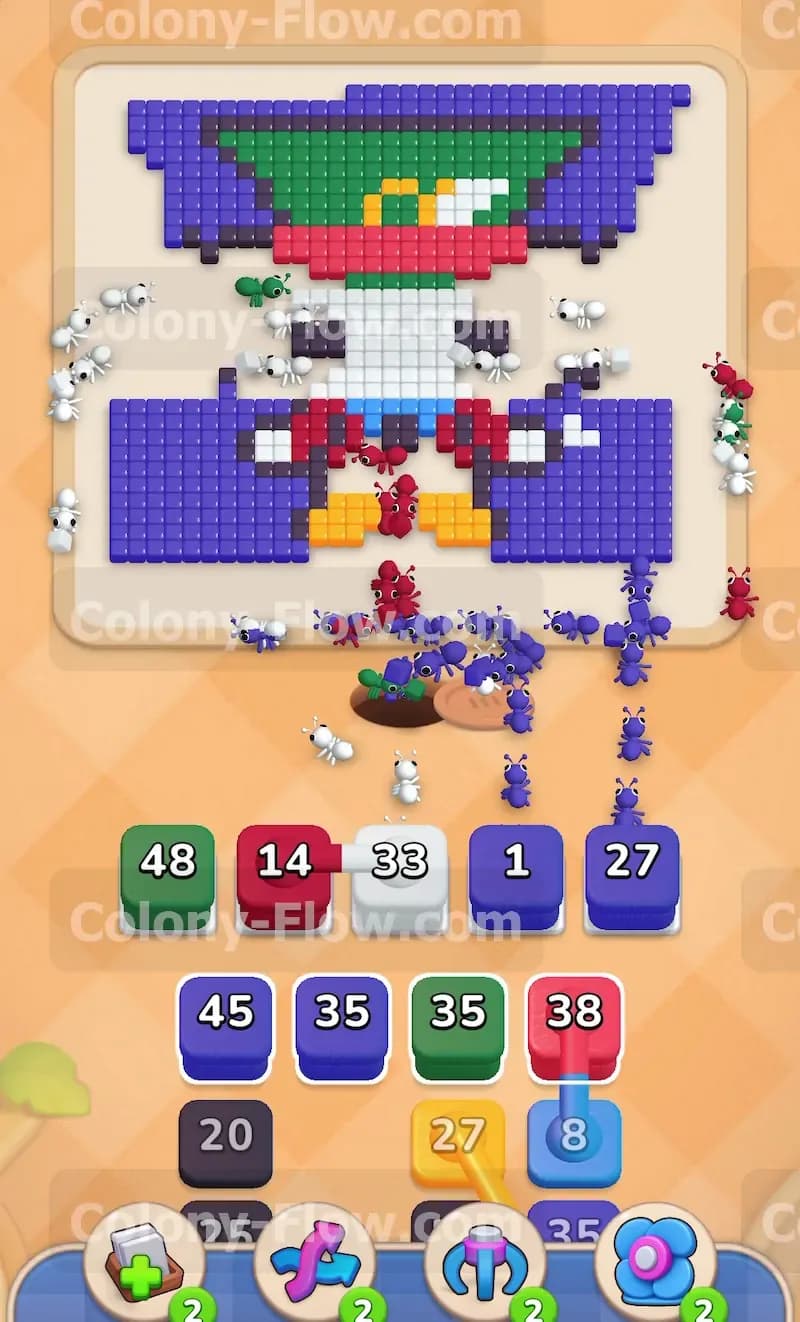
While the brown ants are busy breaking down the large brown structures, you can start working on the extreme left and right sides of the picture. The orange hair located on the sides of the character is completely exposed and ready to be cleared. Tap the large orange block in your tray to pull it into your fifth waiting slot. Orange ants will pour directly out of the nest hole and split up to attack both sides of the orange hair simultaneously. This dual assault is a great way to maximize your board progress without wasting time. The orange ants and the brown ants will work on the board at the exact same time. This constant flow of moving ants keeps your waiting slots emptying steadily and ensures you are constantly reducing the total tile count on the board.
Step 5: Finish off the brown structures to expose the center.
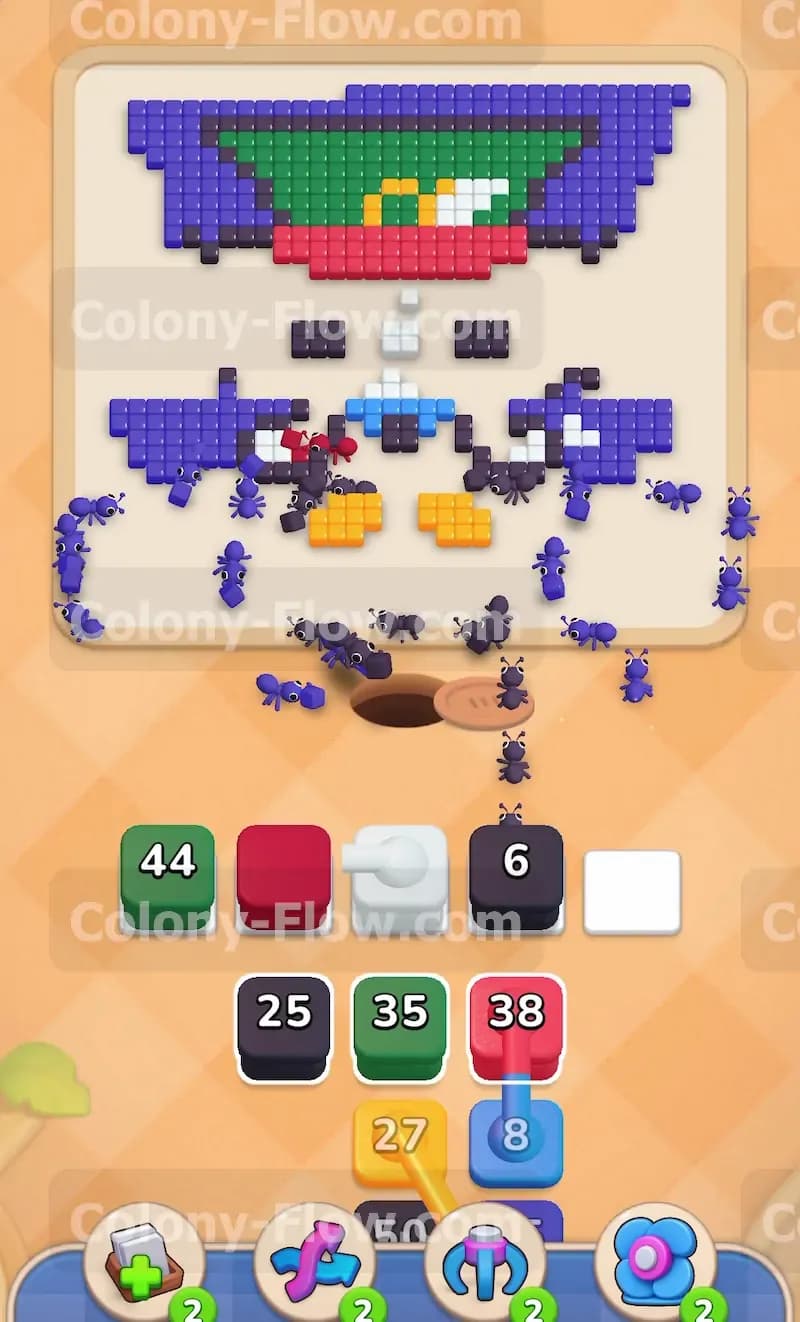
You must completely remove the large brown structures before you can ever access the central face and the lower bowtie. Look closely at your tray and find any remaining brown blocks buried there. Tap them to send them up to the active waiting slots. The fresh wave of brown ants will march directly up the center path and eat the last remaining hit points on the tough brown structures. Watch the numbers on the screen drop down to zero. When the brown structures finally vanish completely, the entire center area of the board opens up for business. This major clearing action reveals the white face and the red and black bowtie. The destruction of the brown structures also creates valid travel paths for the blocks that have been sitting patiently in your waiting slots since the beginning of the level.
Step 6: Allow the waiting blocks to unleash their ants.
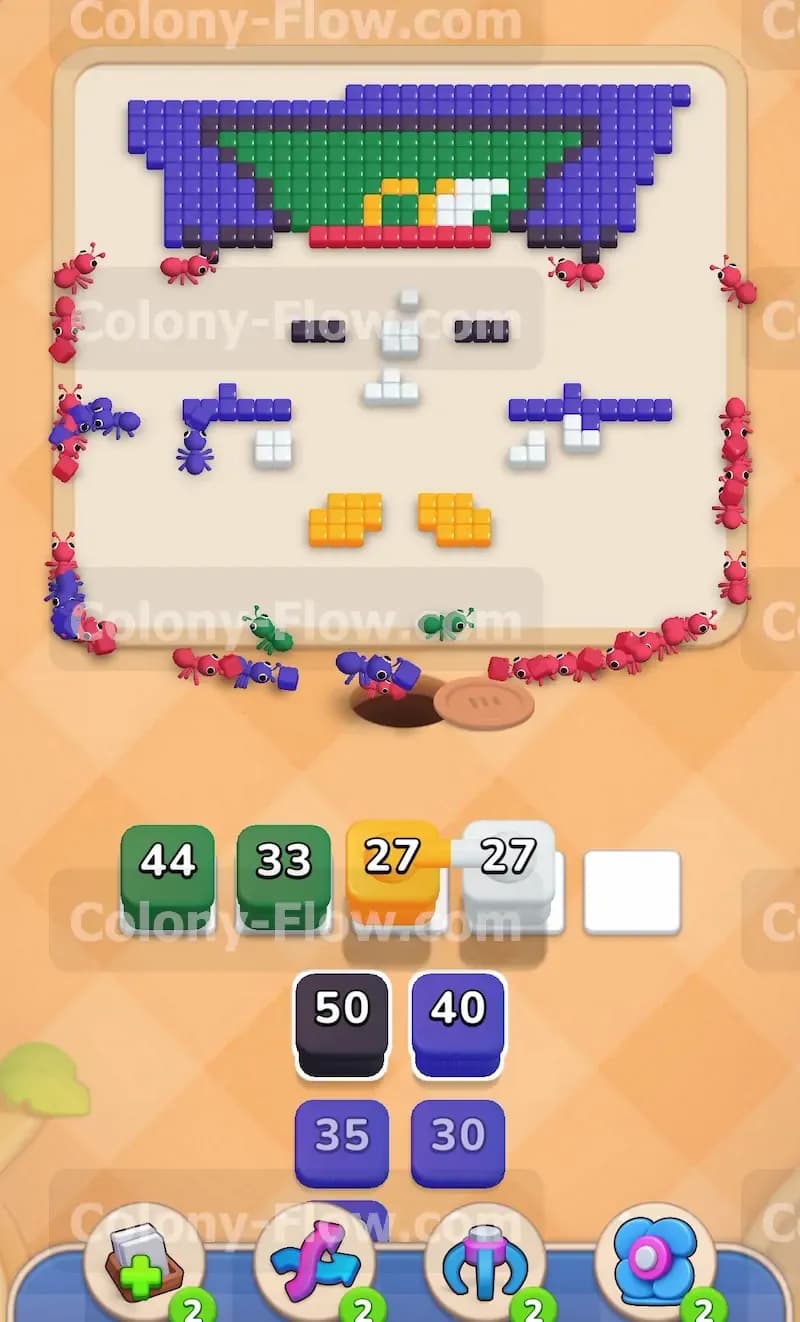
The exact moment the brown structures disappear, the green, white, and black blocks sitting in your waiting slots will automatically activate without you doing anything. Green ants will rush aggressively past the face area and start eating the green hat at the very top of the picture. White ants will swarm the white pixels making up the central face of the character. Black ants will dive straight into the black details of the bowtie located right below the face. You do not need to pull any new blocks for this massive wave to happen. Just watch the screen as your previously stuck blocks finally empty out onto the board. This completely clears out your waiting slots and gives you plenty of safe room to pull new blocks from the lower tray for the final stages of the level.
Step 7: Deploy red ants to clear the central bowtie.
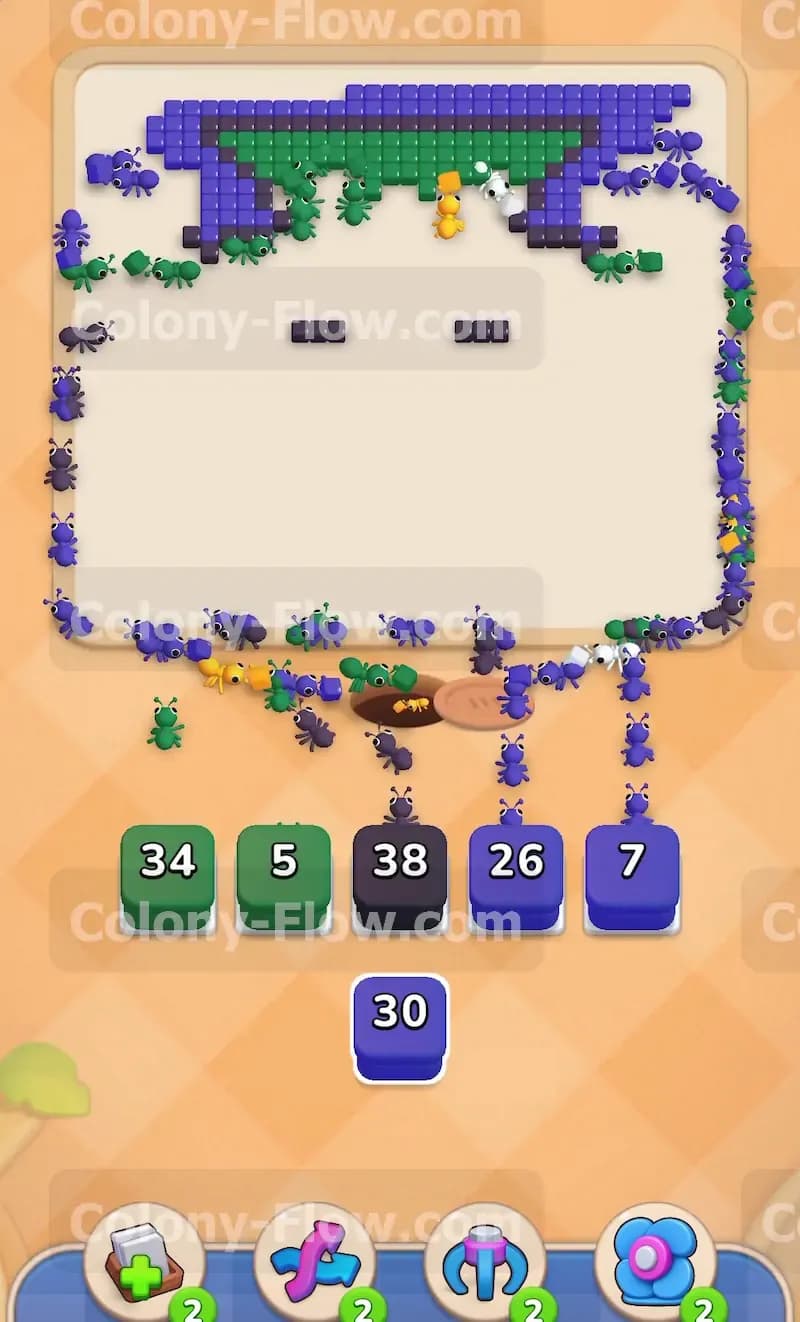
With your waiting slots empty, you can focus on the remaining details in the center of the picture. The red parts of the bowtie are now completely exposed and waiting to be cleared. Tap the red blocks in your tray to bring them up into the open slots. Red ants will stream out of the nest hole and eat the red pixels located near the bottom center of the character. You want to clear the bowtie early so the ants have a very short travel distance. The red blocks will count down rapidly because the bowtie is relatively small compared to the rest of the picture. This action keeps your board very clean and prevents any central obstacles from blocking your ants later in the level.
Step 8: Send another green wave to finish the hat.
The green hat at the top of the character is very large and requires a second wave of ants to completely clear from the board. Tap the remaining green blocks in your tray to pull them into your waiting slots. Green ants will travel all the way up the sides and the center to reach the top edge of the board. They will aggressively eat away the wide brim and the tall crown of the green hat. Because the hat is located at the very top of the screen, the ants take longer to travel there. You must account for this travel time and avoid filling your other slots too quickly while the green ants make their long journey up the board.
Step 9: Unleash the final blue wave to clear the background.
Look at the tray to find your last large blue blocks. The dark blue background tiles still surround the left, right, and top edges of the character. Tap the blue blocks to deploy a massive wave of blue ants. The blue ants will split into multiple streams and march up the extreme left and right sides of the screen. They will chew through the dark blue pixels, stripping away the background entirely. This is usually the largest remaining color group on the board at this stage. Make absolutely sure the blue ants have clear paths along the edges before you pull the final blue blocks so they do not jam your waiting area.
Step 10: Collect the yellow hat buckle to complete the picture.
Only a few small details remain on the board at this point. Look at the top center of the picture where the hat sits. You will see a small cluster of yellow pixels representing a gold hat buckle. Find the yellow block buried deep in your tray and tap it to pull it into a waiting slot. Yellow ants will run all the way up to the top of the board and consume the yellow pixels. The yellow block has a small number on it, so this action will finish very quickly. Once the yellow buckle is gone, the picture will be completely empty. The final ants will finish their paths and you will win the level.
Final Thought
This level requires patience and a strict focus on opening the correct paths. The massive brown structures can easily trick you into jamming your board if you pull colors out of order. Always prioritize the bottom blue border to establish a solid pathway before touching anything else. If you struggle to visualize the exact sequence of block pulls, simply watch the video above this article to see the timing in action.