Colony Flow Level 555 Walkthrough Solution & Guides | How to solve Colony Flow 555

Guide By Liam Stone
Updated on August 1, 2026
If you want to skip straight to the solution, watch the video above covering Level 555.
Video doesn't match your screen?
Game updates frequently scramble layouts! Try our AI Screenshot Solver first to find your exact board instantly, or report broken guides to our team.
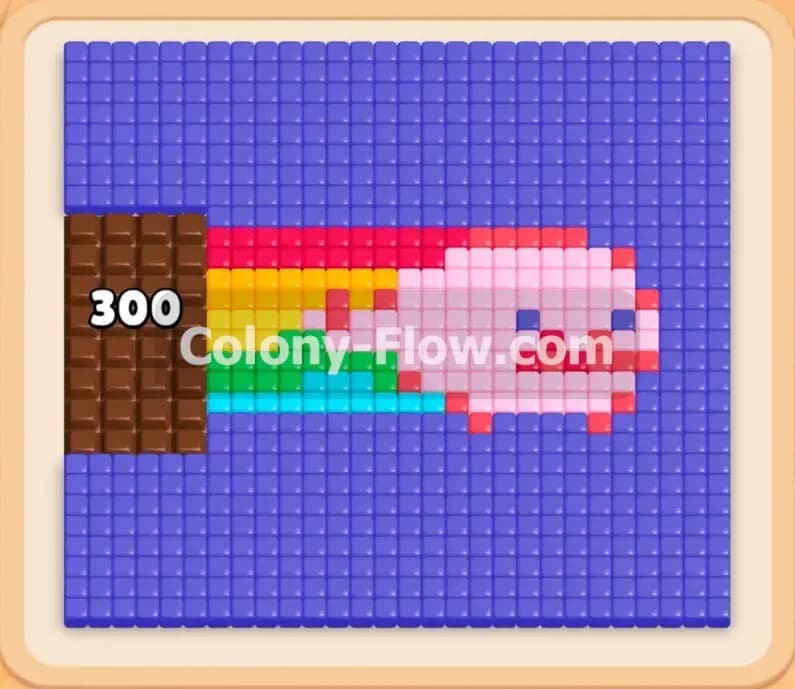
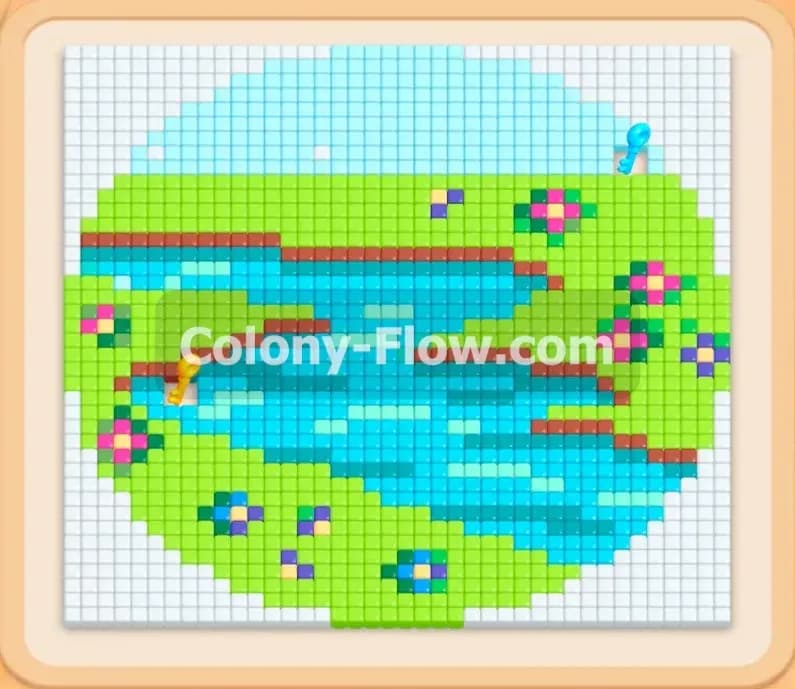
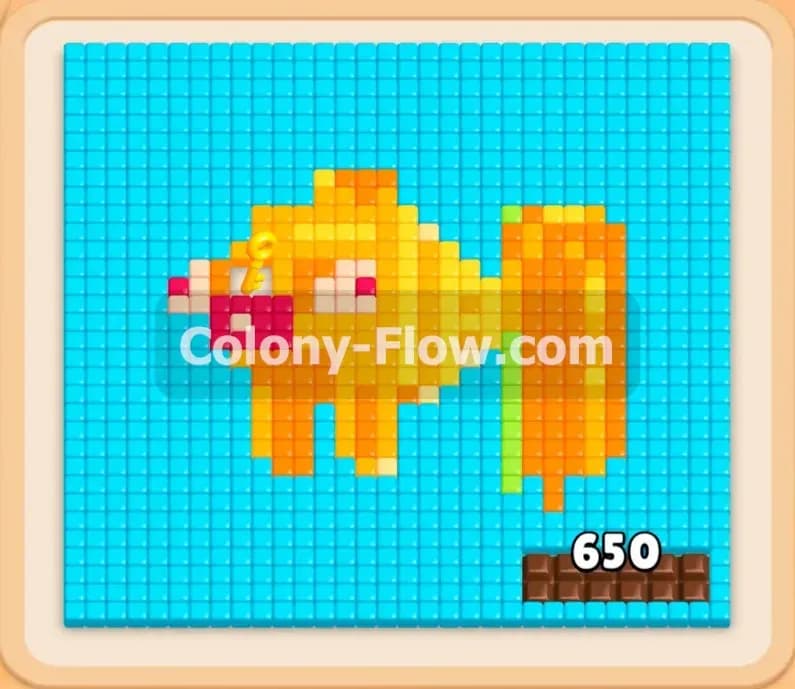
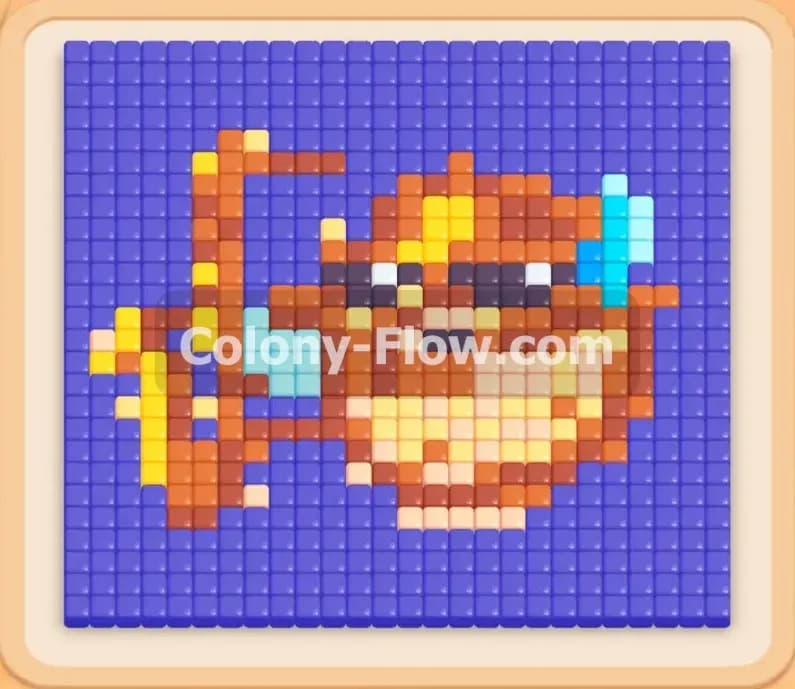
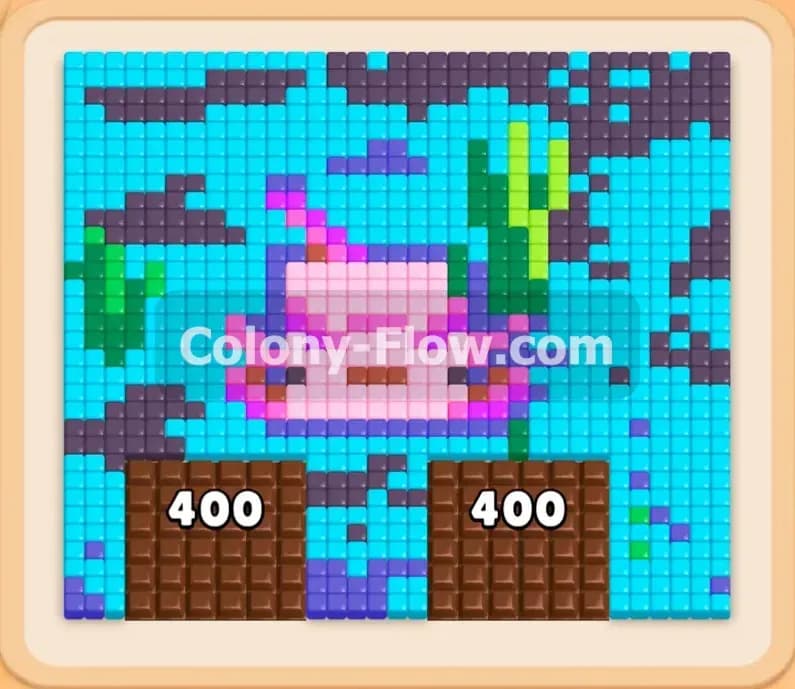
Level 555 of Colony Flow puts your pathing skills to the test with a massive underwater picture. You must clear a pink axolotl surrounded by green seaweed and dark rocks while managing a giant chocolate barrier. The challenge comes from balancing your five waiting slots as you slowly chip away at the blockers.
Colony Flow Level 555 Overview
What You Are Working With
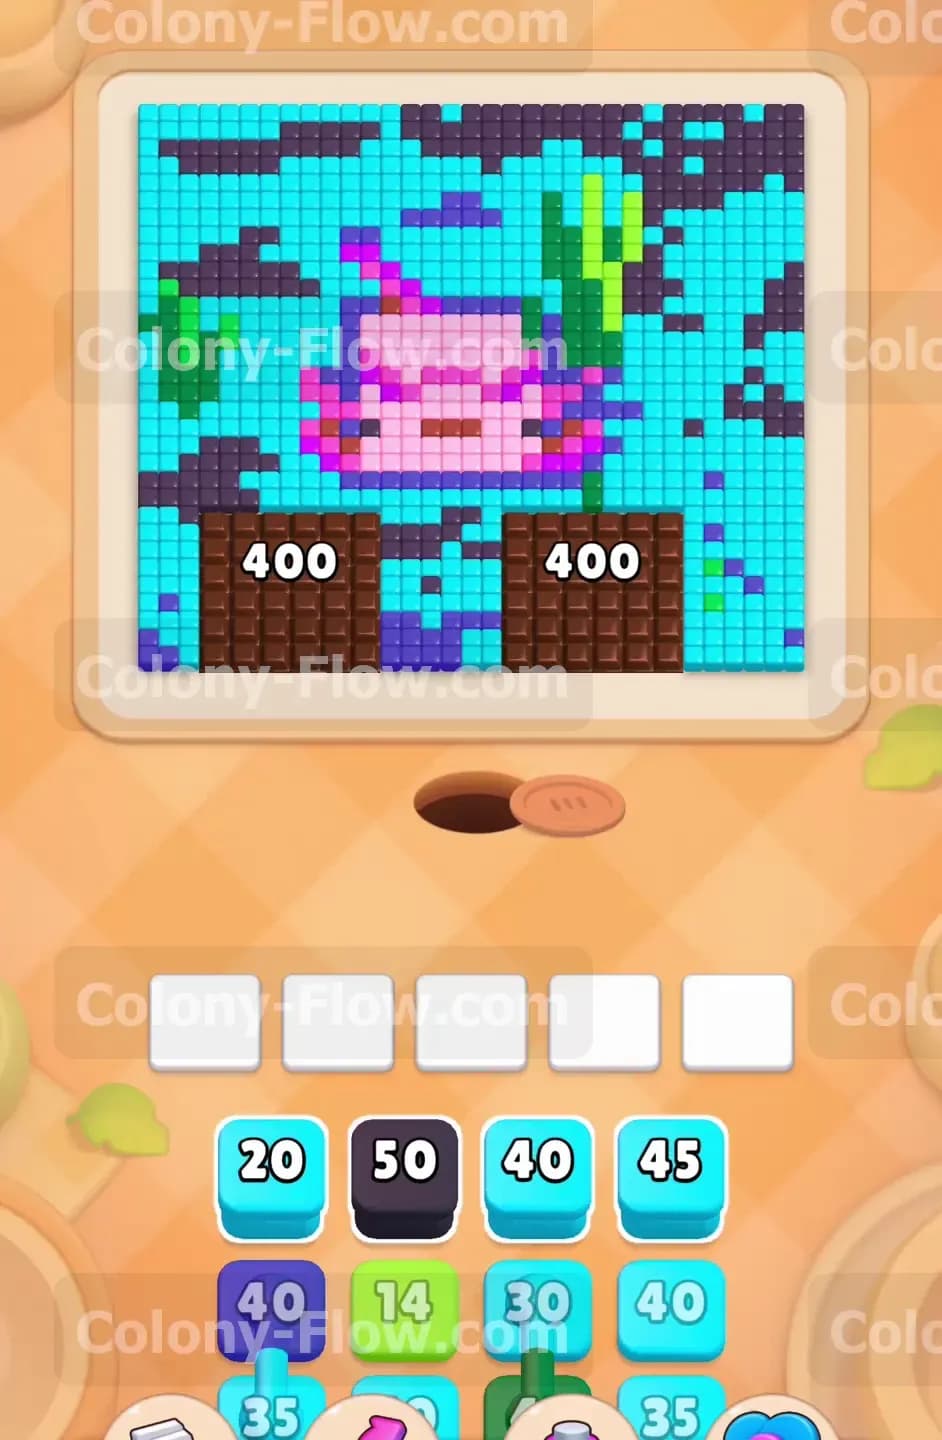
Level 555 presents a vibrant pixel art picture of a pink character swimming underwater. The scene includes light blue water tiles, green seaweed stalks, and dark rock formations. Two huge chocolate blocks dominate the bottom of the board. Each chocolate block displays the number 400. These chocolate barriers physically cover the food tiles beneath them. You cannot clear the bottom tiles until you completely destroy the chocolate. The tray at the bottom provides various colored number blocks. You will use cyan, black, purple, green, pink, and dark red blocks. You will also encounter connected boxes in your tray. Connected boxes link two different colored blocks together. Both colors must have an open path to move forward.
What It Takes to Clear Level 555 Board
Winning this level requires you to manage the massive chocolate blocks while clearing the outer picture. The chocolate blocks do not have a dedicated color block in the tray. Instead the chocolate takes damage when your active ants travel past them. Every ant that bumps into the chocolate reduces its number. You must strategically pull outer colors like cyan and black to keep a steady flow of ants hitting the chocolate. You lose the level if you fill all five waiting slots with blocks that cannot find a path. You must pay special attention when you pull the connected boxes. If one half of a connected box lacks a clear path, the entire block gets stuck in your waiting slots. You clear the board by breaking the chocolate completely and eating every single exposed tile.
Colony Flow Level 555 Step by Step Solution
Step 1: Start with the outer cyan water tiles to begin chipping away the chocolate
You begin this level facing a huge wall of light blue tiles representing water. Two giant chocolate blocks sit at the bottom of the picture right above the nest hole. Each chocolate block requires 400 ants to break. The chocolate completely covers the bottom food tiles. You must play standard colored blocks to spawn your ants. As the ants travel to their matching food tiles they will eat away at the chocolate blocks blocking their path. You pull the Cyan 20 block and the Cyan 40 block from the tray. The cyan ants flood out of the nest and start eating the light blue water tiles on the outer edges. They also take a huge bite out of the chocolate barriers as they pass by.
Step 2: Deploy the dark blue blocks to clear the rock formations
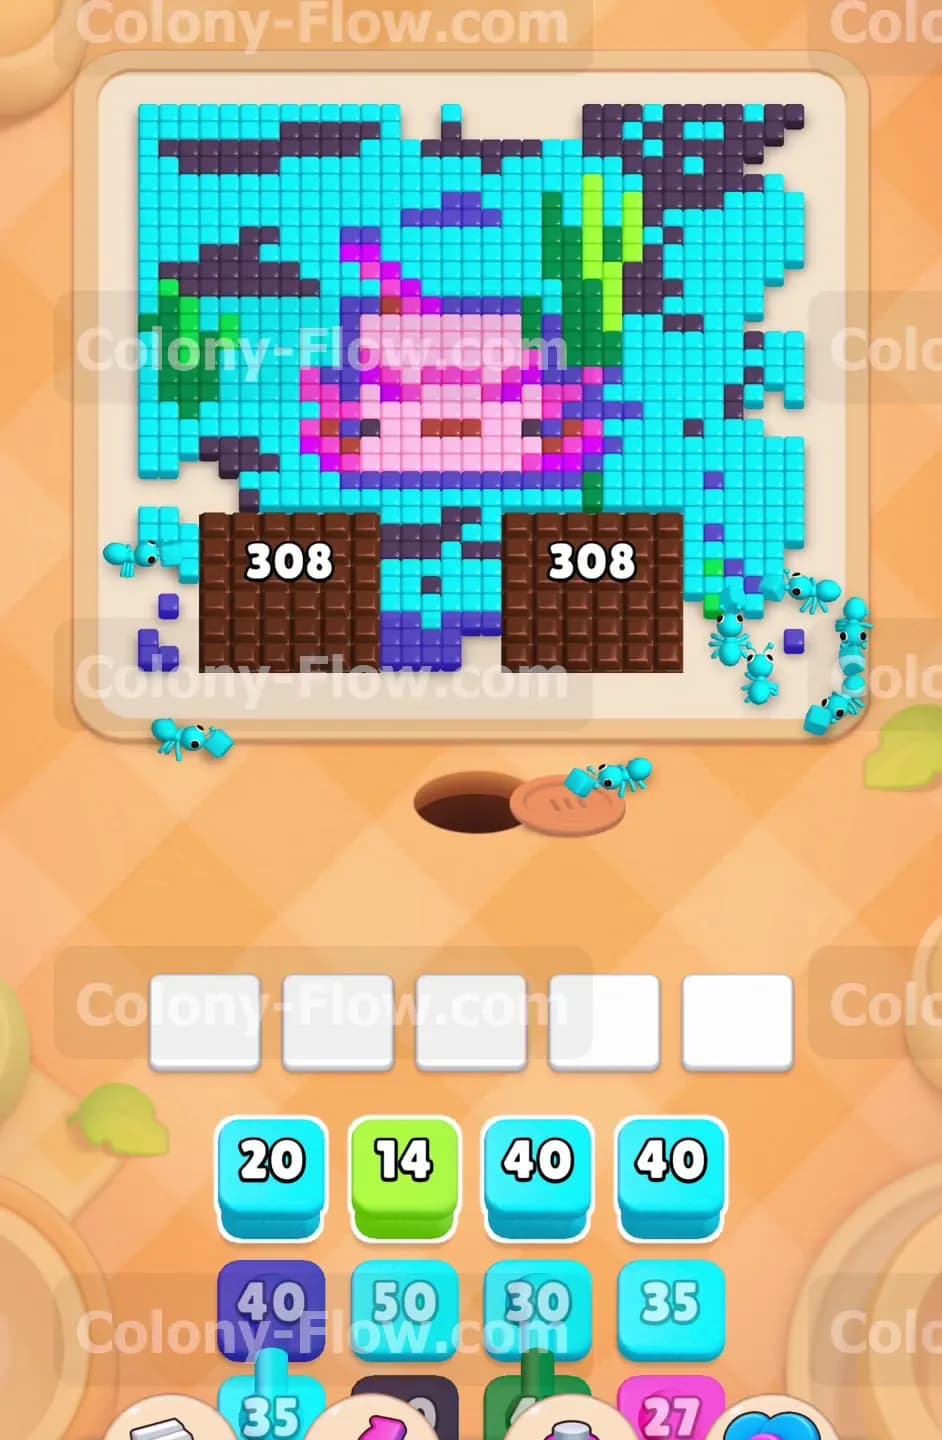
With the water tiles receding slightly you gain a clear path to the dark rock formations on the right side. You select the Black 50 block and the Purple 40 block from your tray. The dark ants march out and head straight for the rocky areas. This move clears a large portion of the right side background. Because these ants must navigate around the chocolate blocks to reach the rocks they reduce the chocolate count down to 308. You must always make sure you do not fill all five waiting slots while you wait for these long travel times to finish. Keep the paths clear and let the dark ants finish their job.
Step 3: Target the green seaweed sections on both sides of the board
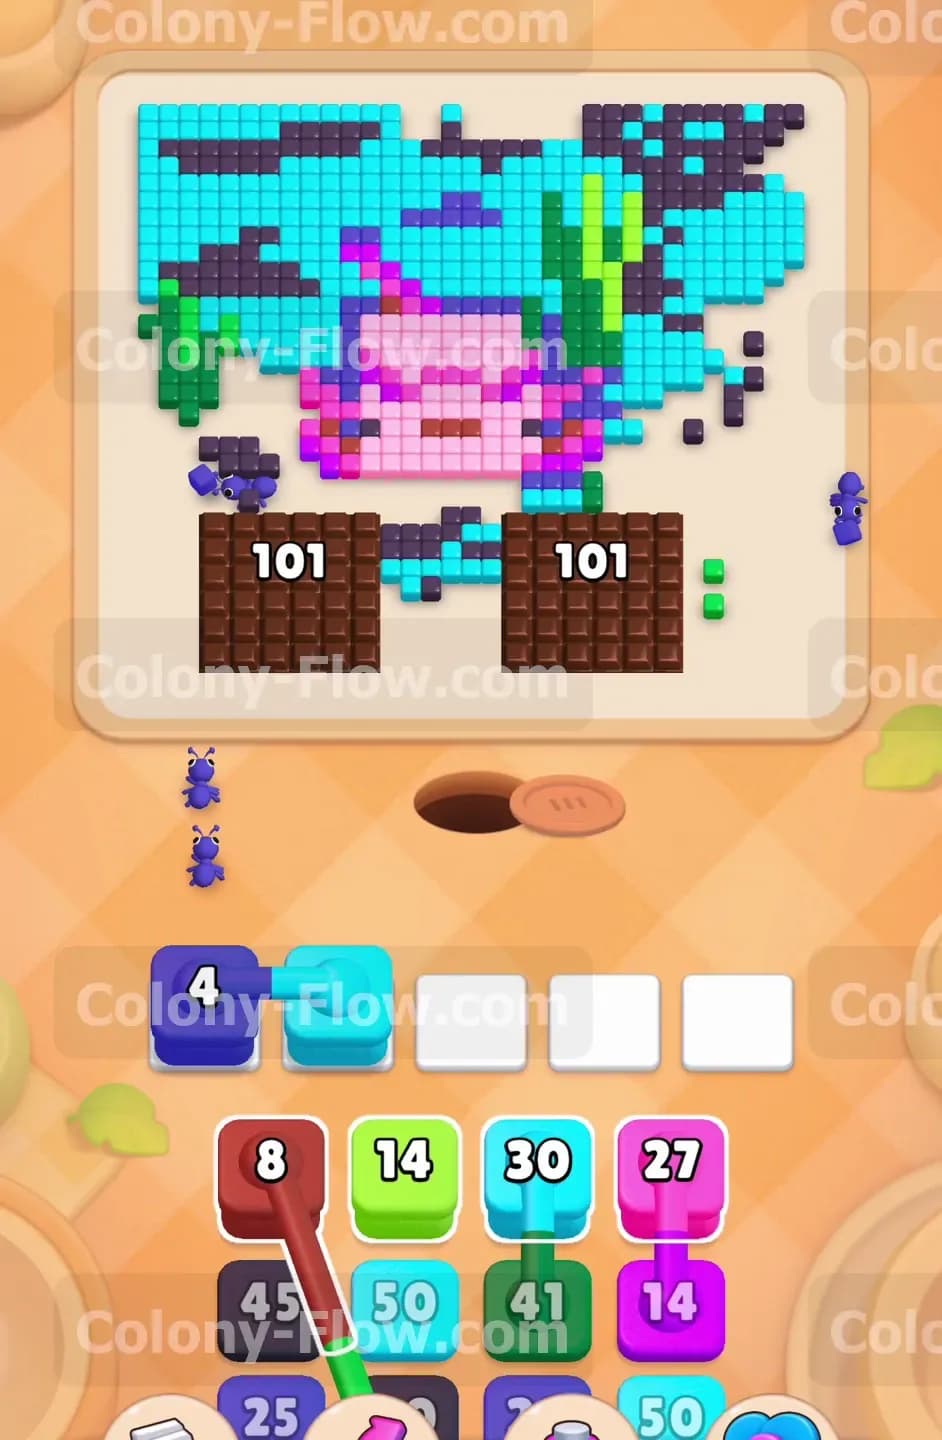
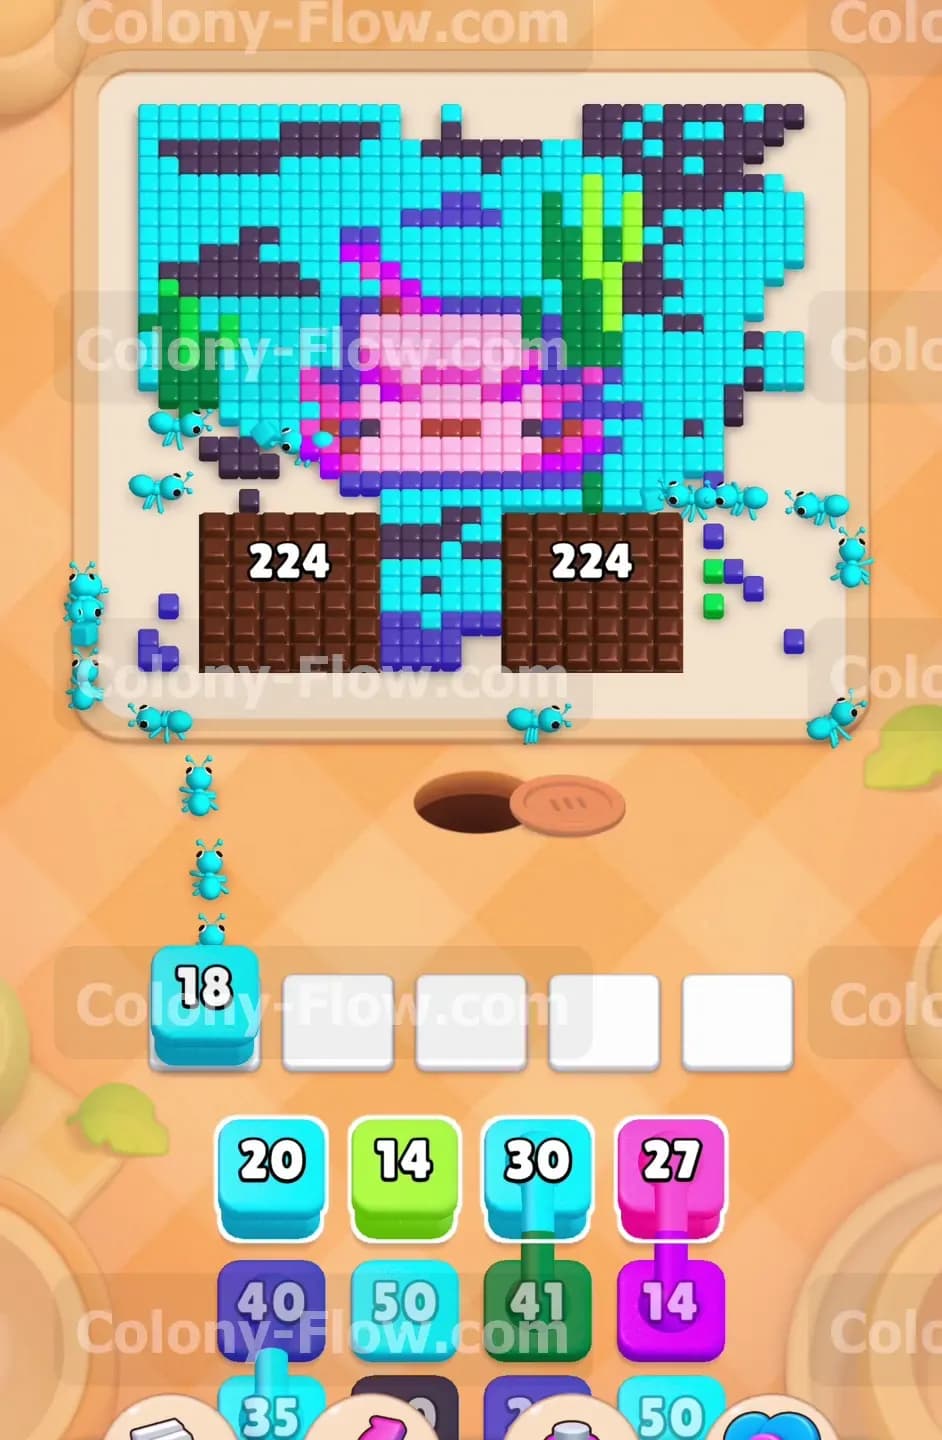
The picture features tall green seaweed stalks rising through the water. You need to clear these plants to open up the middle space. You pull the Green 14 block and the Green 41 block from the bottom row of your tray. The green ants split up and devour the seaweed on both sides of the main character. The constant stream of ants passing through the bottom area continues to wear down the chocolate. You will see the chocolate numbers drop to 224 during this phase. Leaving wide open paths for the green ants ensures your waiting slots remain empty. The board starts to look much more manageable.
Step 4: Handle the first connected boxes carefully to avoid jamming the slots
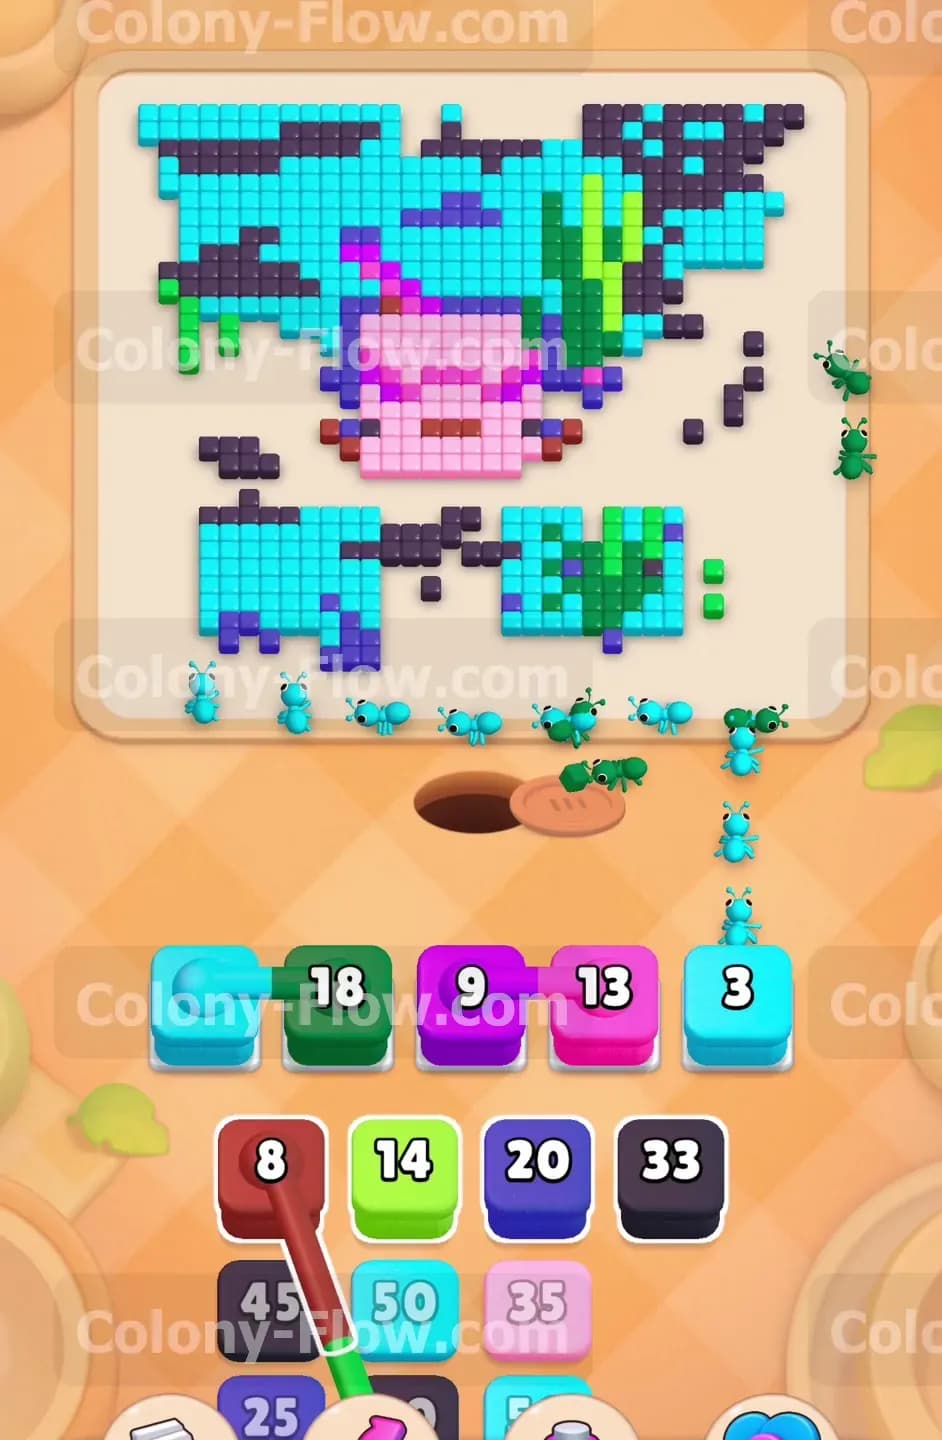
Connected boxes present a major risk because they take up space in your waiting slots until all parts of the group find a valid path. You pull the Purple 4 block connected to the Cyan 18 block from your tray. You must ensure both colors have exposed food tiles on the board before you make this play. The cyan water tiles and the purple rock tiles are both currently open. The connected block drops into the waiting slots and immediately activates. The ants clear their respective colors smoothly. This action reduces the heavy chocolate barriers down to 101. Your careful planning prevents a fatal jam in the waiting area.
Step 5: Shatter the remaining chocolate barriers to expose the lower picture
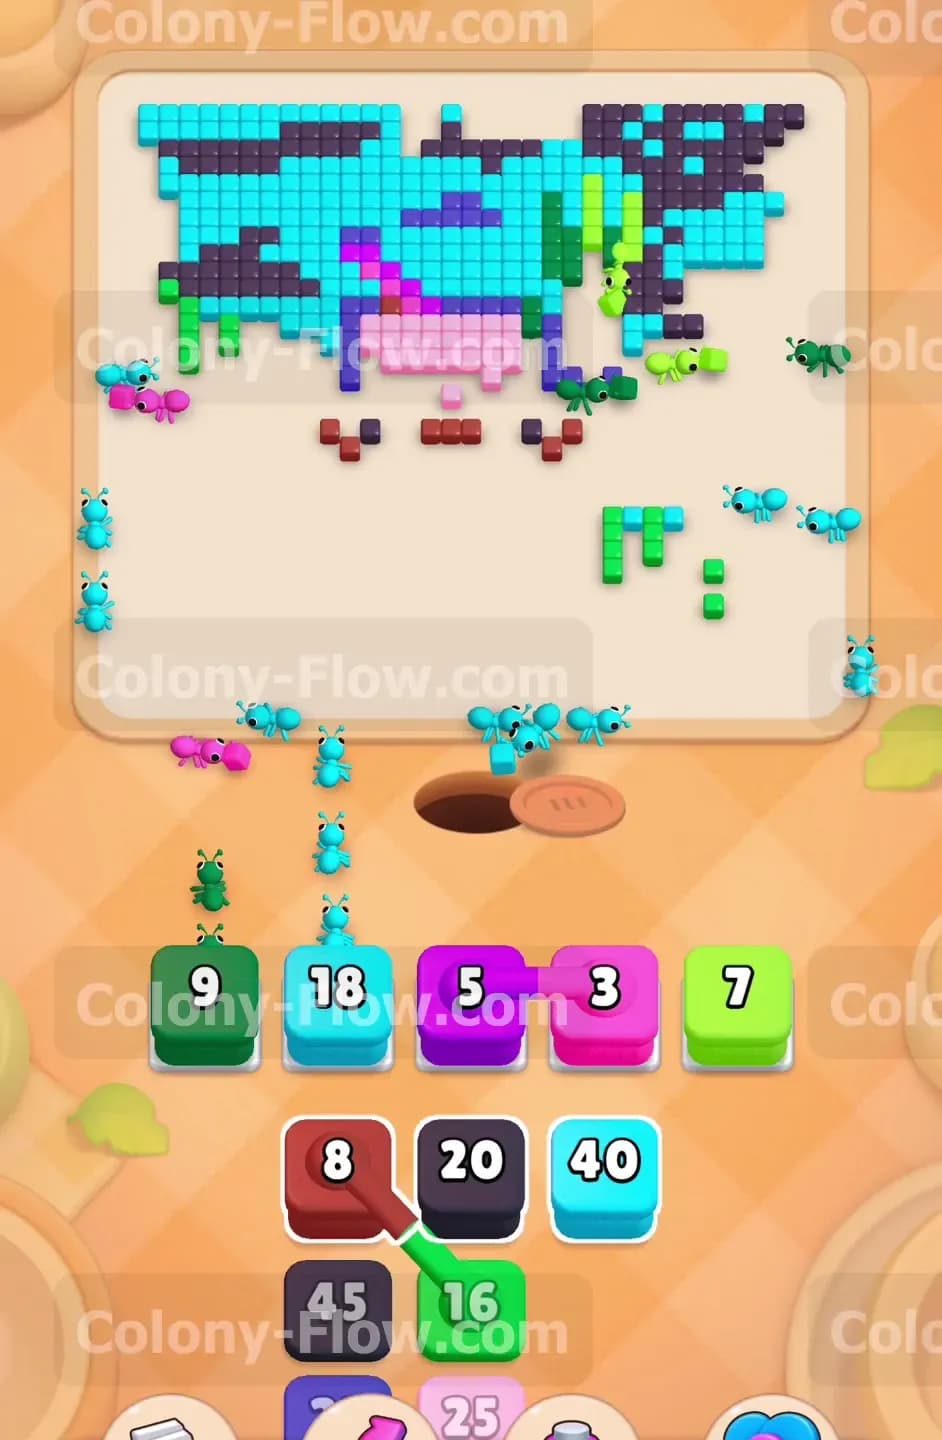
The chocolate blocks are almost gone but they still hide the bottom section of the puzzle. You need just a few more ants to travel past them to break them entirely. You play the Cyan 30 block and the Cyan 35 block to clear more water tiles around the outer edges. The fresh stream of light blue ants finishes off the last 101 points of the chocolate. The brown chocolate barriers completely shatter and vanish from the board. This final push reveals the hidden bottom water tiles and the lower body of the pink character. You now have full access to the entire puzzle board.
Step 6: Clear the newly exposed bottom water tiles
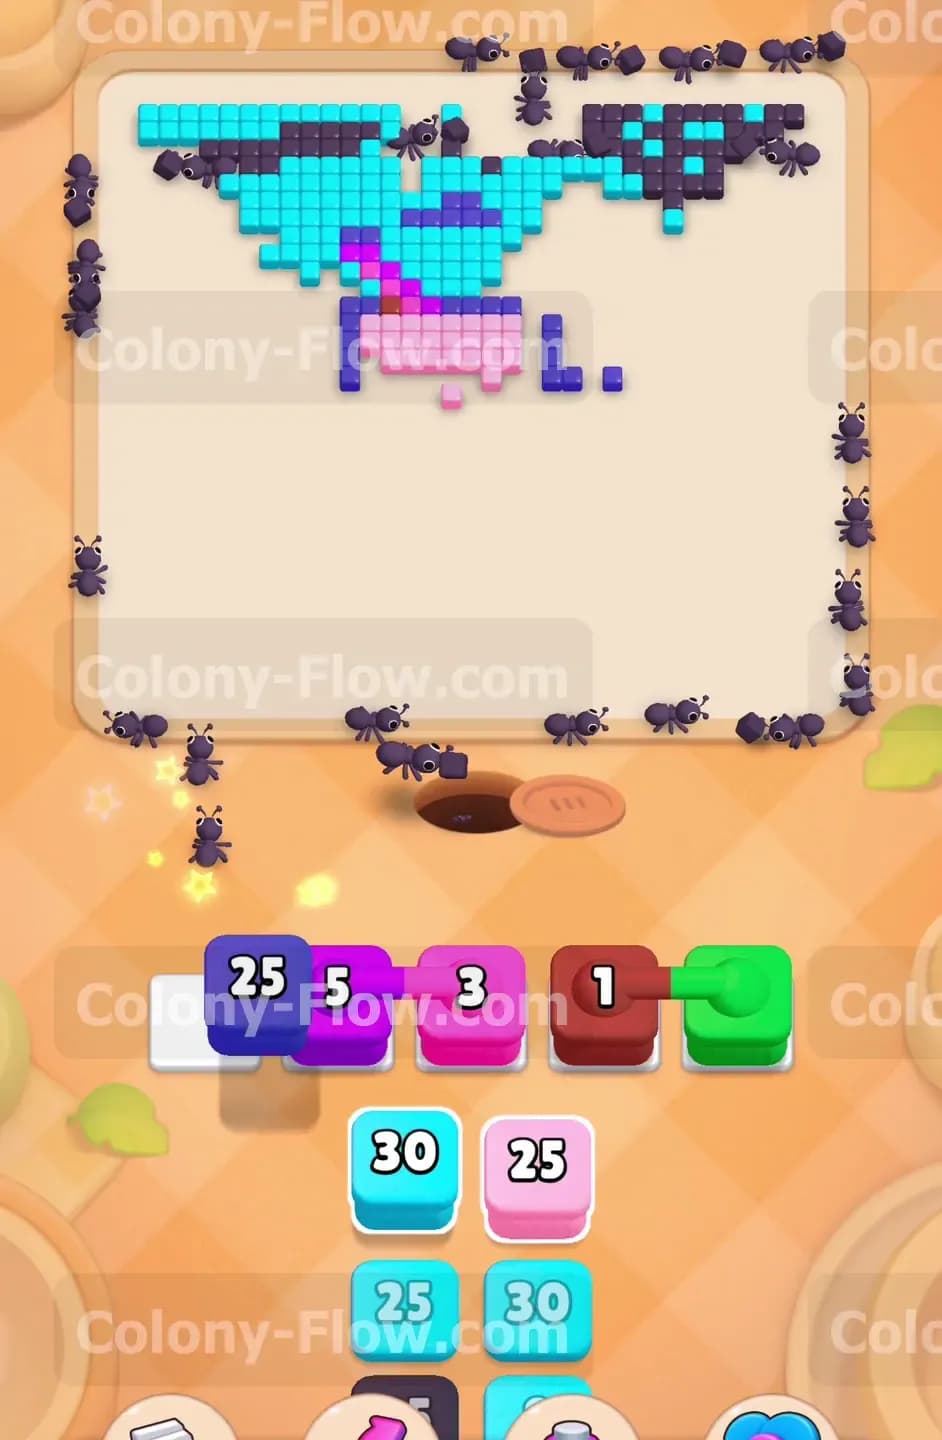
Now that the chocolate is completely out of the way you can access the food tiles that were hidden underneath. You pull the Cyan 50 block to send a massive swarm of ants to the newly exposed bottom area. The ants quickly consume the light blue tiles directly above the nest hole. This creates a wide open entry point for the rest of the puzzle pieces. Clearing these bottom tiles helps you because it gives future ants a much shorter travel distance. Your tray slots will empty much faster now that the central blockage is gone.
Step 7: Begin clearing the pink axolotl body in the center
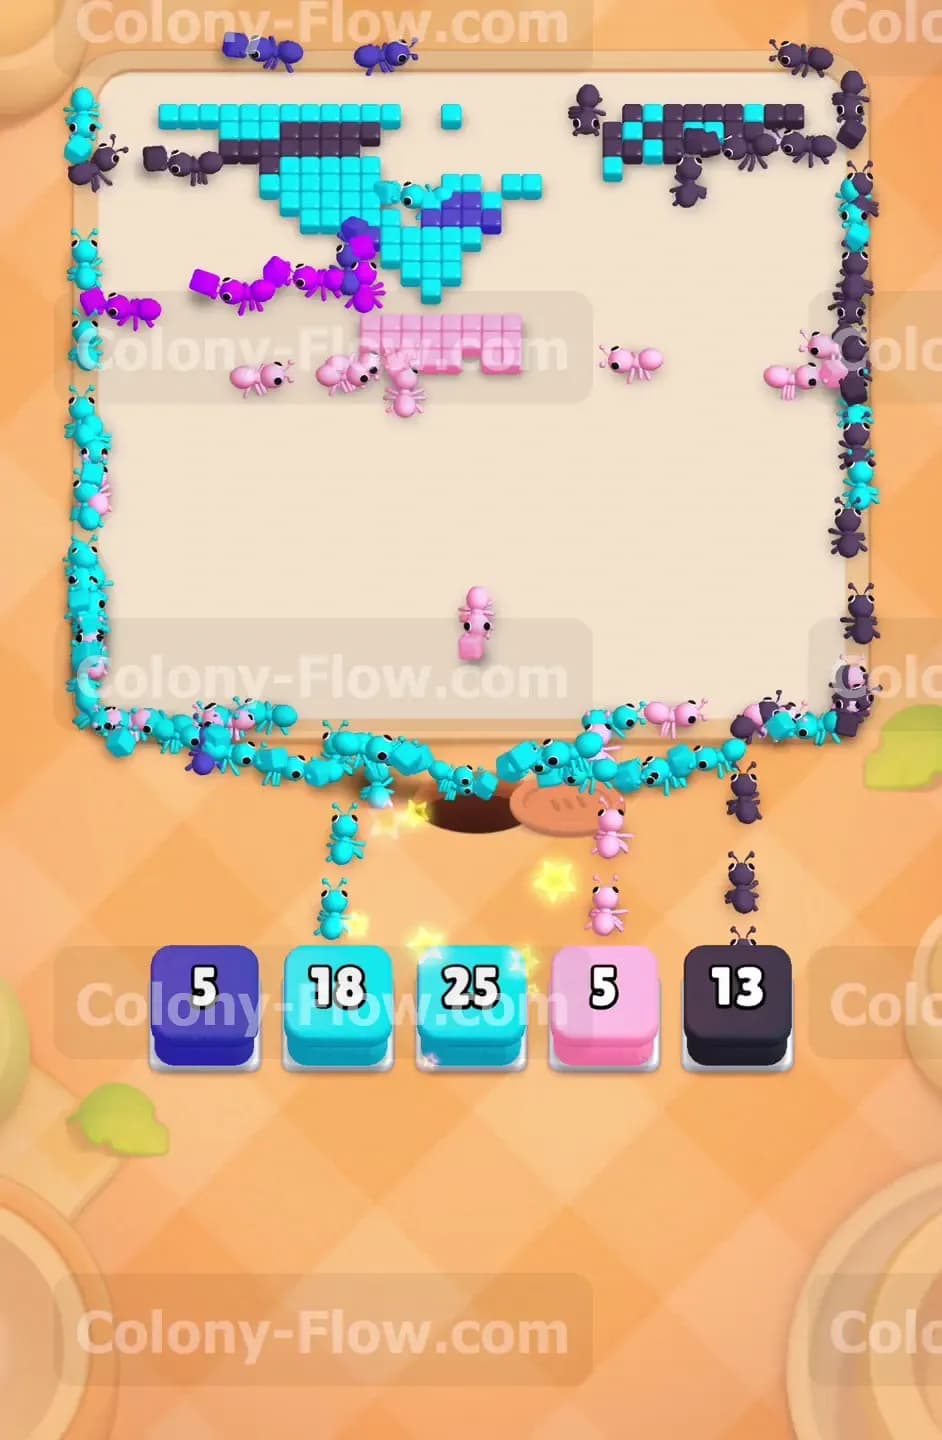
The main character of the picture is now fully accessible and ready to be cleared. You pull the Pink 27 block and the Magenta 14 block from your tray to start targeting the animal. The pink ants march straight up the middle and eat the face and body sections. You also play the Pink 9 block and the Magenta 13 block to maintain your forward momentum. You must clear the center body pieces before you can easily reach the outer details of the character. The board feels much more open now and you have plenty of room to maneuver.
Step 8: Deploy the second set of connected boxes for the dark details
Another connected box pair appears in your active tray. This one features a Dark Red 8 block connected to a Dark Grey 45 block. You check the board and see that the dark red gills and the dark grey rocks at the bottom are fully exposed. You pull this connected pair into your waiting slots with complete confidence. The dark red and dark grey ants rush out and clear these specific detailed areas. The connected blocks vanish from your waiting area quickly because you planned the exact path perfectly. You keep full control over your five slot limit.
Step 9: Clear the remaining top right dark rock tiles
The top right corner of the picture still retains a large cluster of black and dark blue rocks. You pull the Black 33 block and the Black 20 block to send ants to this distant corner. The black ants have a very long walk up the right side of the board. You must wait patiently for them to finish before you pull too many other heavy blocks. Overloading the board now creates a massive risk of filling your five waiting slots and losing the level. Keep a close eye on the travel times and let the dark rocks vanish before proceeding.
Step 10: Finish the main character and the final connected boxes
Only a few scattered pieces of the pink animal remain on the board. You find one last connected group waiting in your tray. You pull the Purple 25 block connected to a Green block to clear the remaining plants and rocks. You also pull the Pink 5 block and the Magenta 3 block to finish the animal. These small numbers send quick bursts of ants to clear the final pink pieces and the remaining green seaweed parts. The main character is now completely removed from the board. You only have a sparse outline of water tiles left to deal with.
Step 11: Sweep up the remaining cyan tiles to win the level
The only food tiles left on the board are a thin layer of light blue water tiles at the very top edge. You pull your final Cyan 30 block and Cyan 25 block from the tray to complete the puzzle. The light blue ants stream out of the nest hole and run all the way to the top border. They consume the very last tiles of the picture in one final push. The board is now completely empty and free of all tiles. The ants return safely to the nest hole and you successfully complete the level.
Final Thought
Level 555 demands careful planning around the massive chocolate blocks and the tricky connected boxes. You must always maintain an open path for your ants to avoid jamming your waiting slots. If you find any of the connected box moves confusing you can always watch the video above this article. The visual guide will help you time your block placements perfectly and keep your tray completely clear.