Colony Flow Level 309 Walkthrough Solution & Guides | How to solve Colony Flow 309

Guide By Liam Stone
Updated on July 17, 2026
The video above shows the complete Level 309 solution in real time, so you can skip straight to watching if you want.
Video doesn't match your screen?
Game updates frequently scramble layouts! Try our AI Screenshot Solver first to find your exact board instantly, or report broken guides to our team.
Welcome to Colony Flow Level 309. This board presents a very fun pixel art picture for you to solve. You will instantly recognize the famous video game plumber dominating the screen. I play every single level to find the safest routes and I am going to share my exact winning strategy with you. I will walk you through how to clear this board without getting your waiting slots jammed. Following these specific moves will keep your ant colony moving and guide you to a clean victory.
Colony Flow Level 309 Overview
What You Are Working With
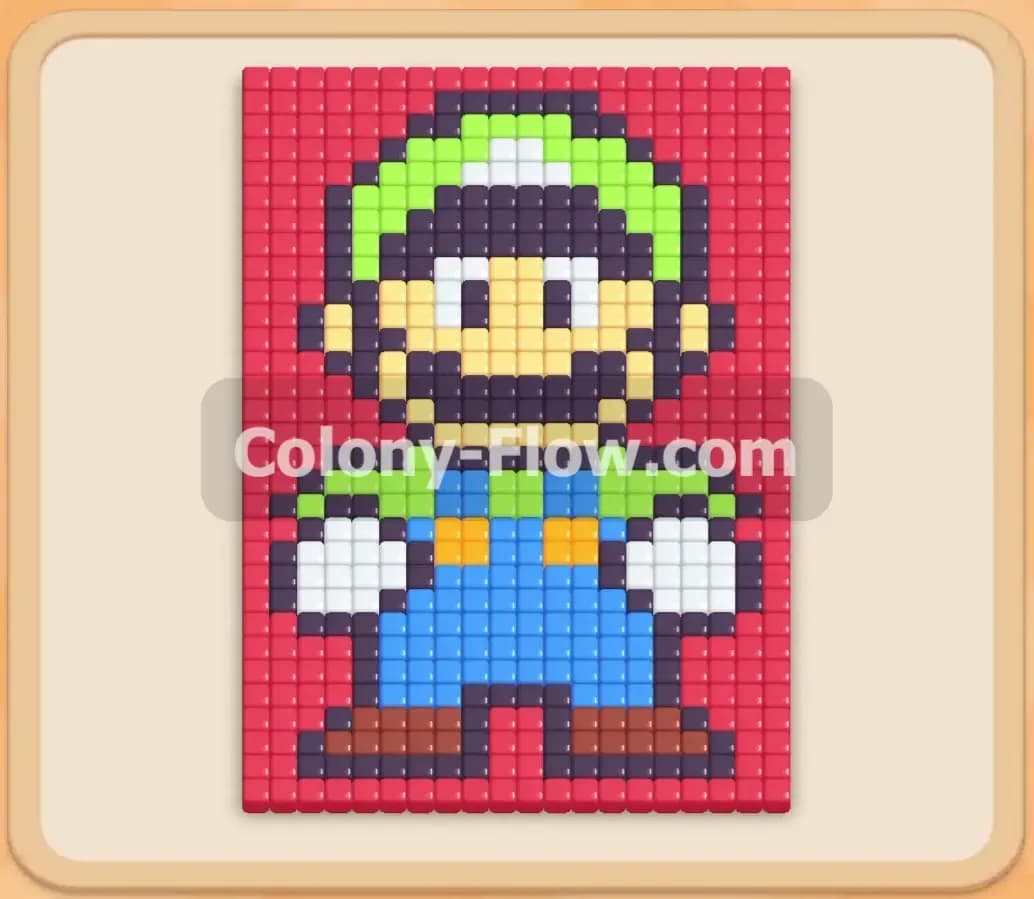
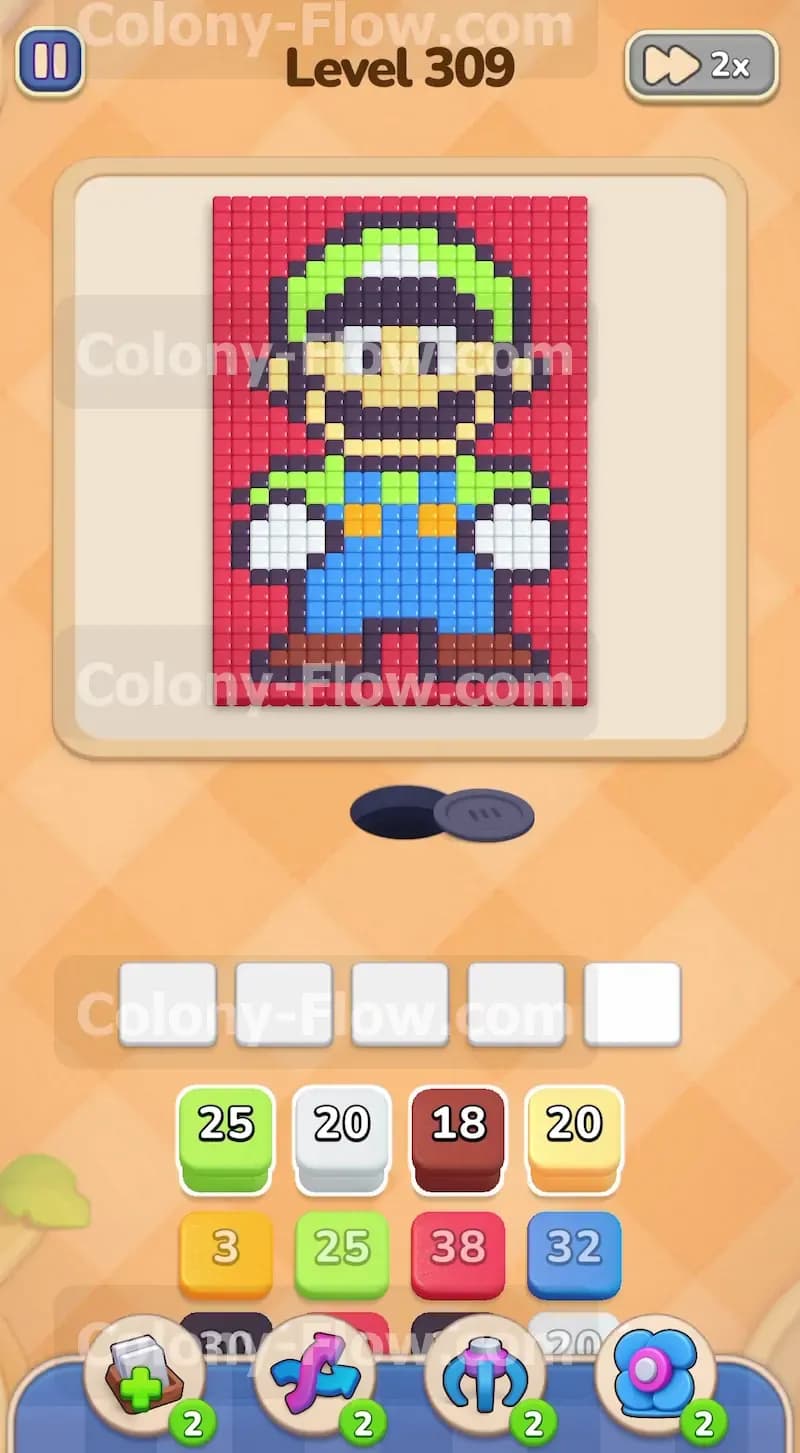
The top of your screen displays a large pixel art character made of several distinct colors. A solid red background frames the entire picture. The character has brown shoes resting right at the bottom edge. Blue overalls make up the main lower body. Two small yellow buttons sit on the chest of the overalls. Large white gloves rest on the left and right sides of the body. The upper half features a beige face with a prominent black mustache. White eyes sit above the nose. A large green hat covers the top of the head. A thick black outline traces the entire character and defines all the inner details. The nest hole sits exactly below the picture. The bottom of your screen holds a tray filled with numbered colored blocks. You have a huge variety of colors to manage including green, white, brown, beige, yellow, red, blue, and black. Every block has a specific number printed on it. This number tells you exactly how many tiles that block will clear.
What It Takes to Clear Level 309 Board
You win the level when your ant colony completely eats every single pixel art tile on the board. You achieve this by pulling the colored blocks from the tray into your five waiting slots. The ants will emerge from the nest hole and travel to the matching colored tiles. The number on the block counts down as the ants leave the nest. The core challenge is managing your five waiting slots. You lose the game instantly if all five slots fill up with blocks that have no open path to their target colors. Every single move you make must keep at least one active path open. This ensures your slot numbers keep ticking down and freeing up space. I will show you how to layer your moves so your ants always have a clear road ahead of them.
Colony Flow Level 309 Step by Step Solution
Step 1: Open the bottom edge by clearing the shoes and lower background
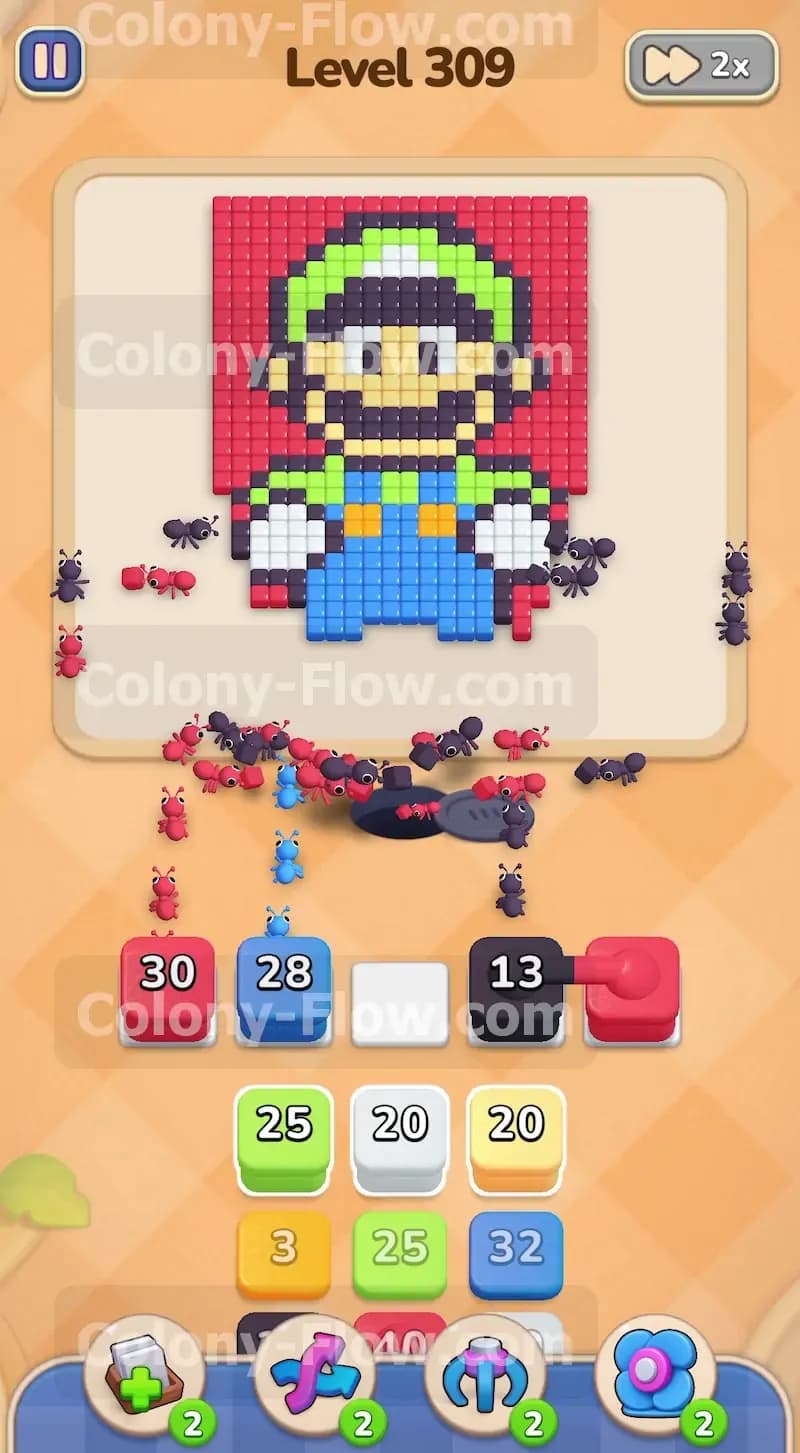
Start by pulling the 18 brown block into your first waiting slot. The brown tiles create the shoes right at the bottom of the picture. They sit completely exposed to the nest hole. Pull the 38 red block into your second slot right after you play the brown block. The red ants will stream out of the nest and split into two groups. They will head for the extreme bottom left and bottom right corners of the background. The brown ants will finish eating the shoes very quickly. The 18 brown block will count down to zero and disappear from your waiting slots. This leaves plenty of empty room in your tray for the next moves. Playing colors that sit right on the exposed bottom edge is always the safest way to start a board.
Step 2: Start clearing the main body by attacking the blue overalls
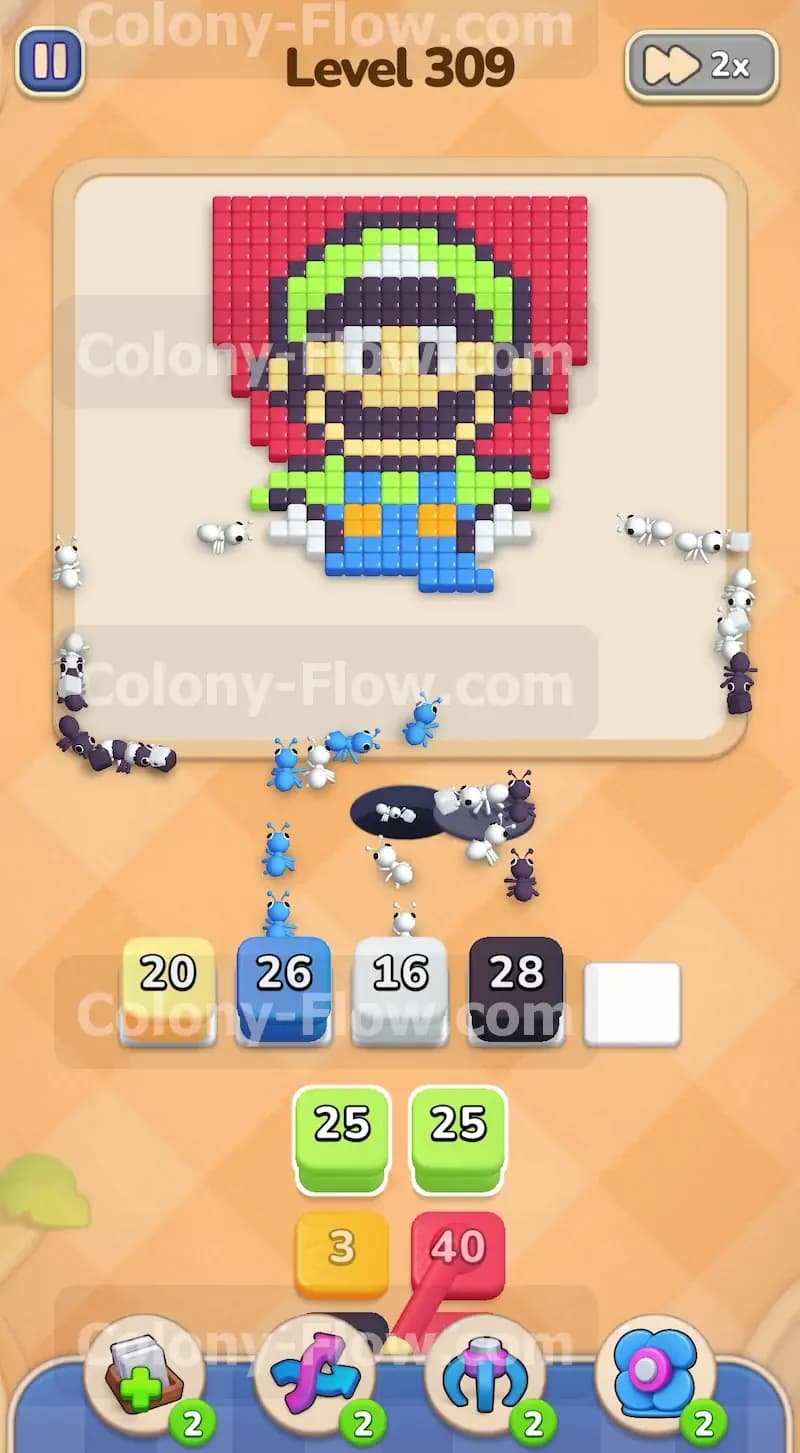
You now have a massive empty space where the shoes used to be. Pull the 32 blue block into your third waiting slot. The blue ants have a wide open path to reach the legs of the overalls. They will march straight up from the nest hole and begin eating away the large blue section in the center of the board. The red ants from your earlier move are still working hard on the outer background edges. Your slots are perfectly safe right now because both the red block and the blue block are actively counting down. The blue section covers a lot of space so this 32 block will take a little while to clear completely. Just let the ants do their work and watch the numbers drop.
Step 3: Access the side details by bringing in the black and white blocks
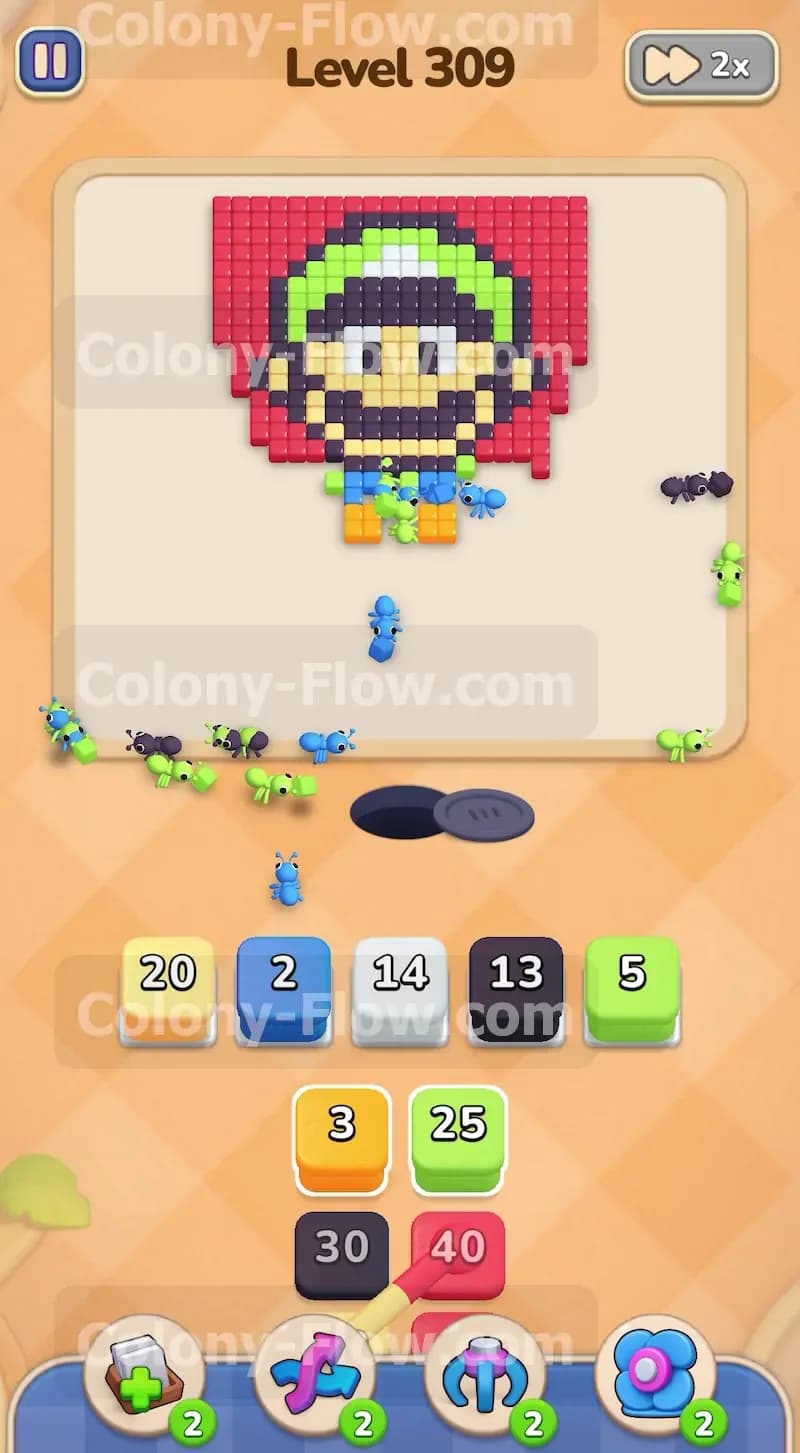
Now you can start peeling away the outer lines and the hands. Pull the 30 black block into an open slot. Pull the 20 white block into another open slot right behind it. The black ants will immediately target the dark outlines wrapping around the legs and the lower body. The white ants will travel up the left and right sides to eat the thick white gloves resting on the edges of the overalls. You now have a highly active board with red, blue, black, and white ants all moving at the same time. Keep a close eye on your five waiting slots. Because you opened the bottom path first every single color has a valid route to its target. None of your blocks will get stuck and the numbers will keep draining.
Step 4: Move up into the face by activating the beige skin tiles
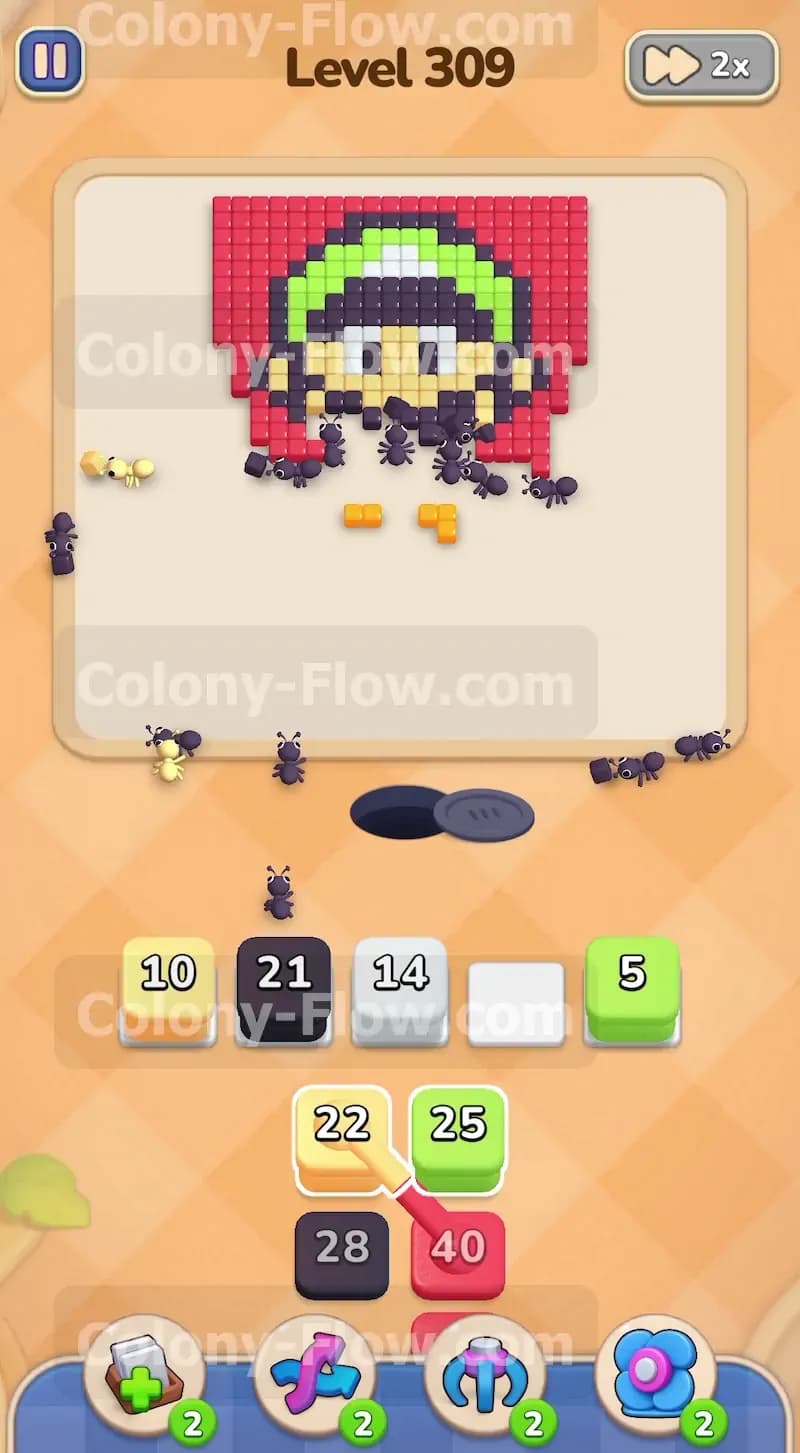
The blue overalls will start to vanish and open a wide vertical path right up the center of the character. Pull the 20 beige block into your tray. The beige ants will rush up through this new middle space and start eating the bottom of the chin. They will spread out across the cheeks and the lower face area. At this exact moment your first white block and your first black block are dropping into the single digits. The white gloves are almost completely cleared from the board. The black ants are eating their way up the side outlines and moving toward the center mustache. Your slot management is looking great because you are timing the new blocks with the clearing of the old ones.
Step 5: Clear the overall buttons by pulling the yellow block
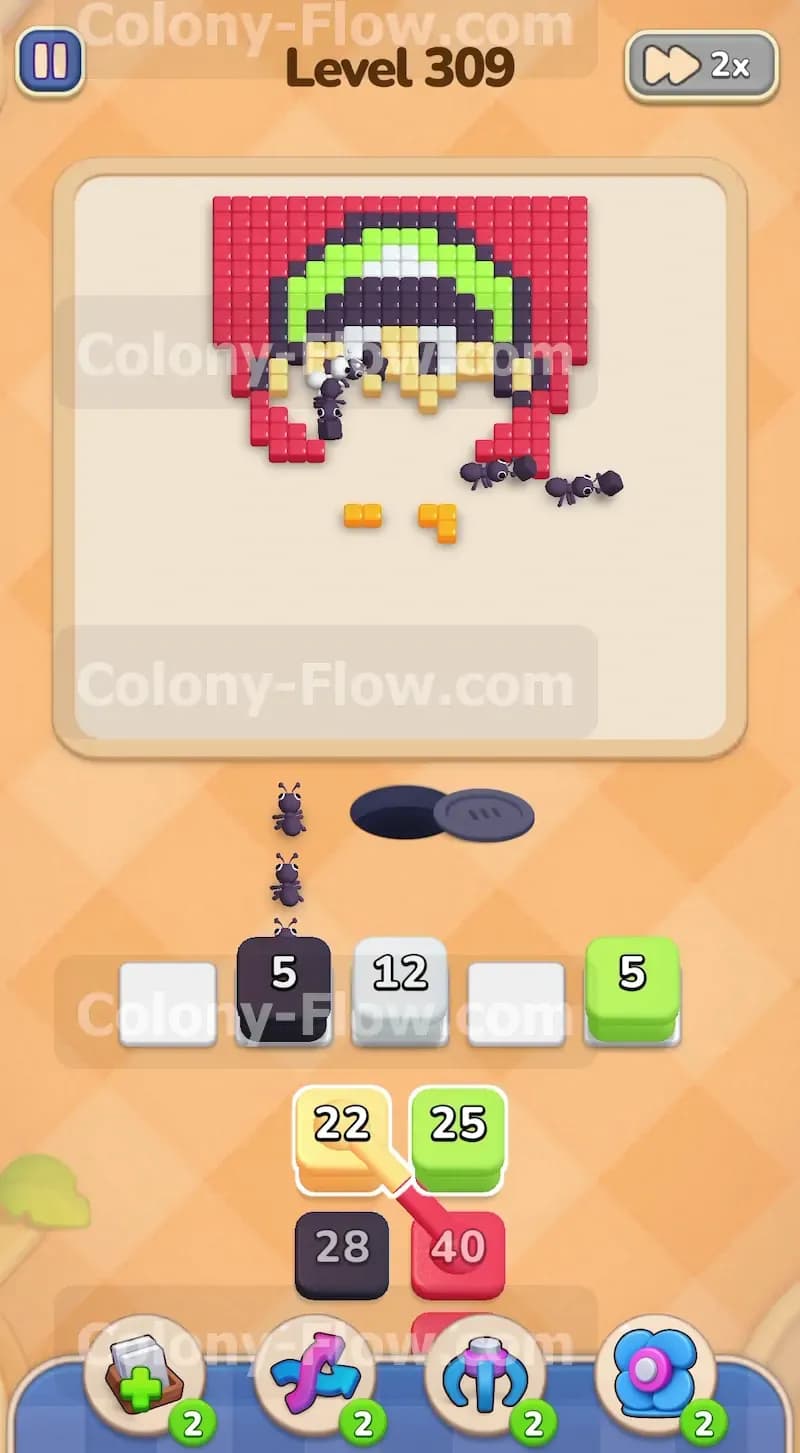
Look closely at the chest area of the character. You will see two tiny yellow tiles acting as buttons on the blue overalls. Find the 3 yellow block in your tray and pull it into a waiting slot. This is an incredibly fast move. The yellow ants will sprint up the board and instantly eat those two small tiles. The 3 yellow block will drop to zero and vanish from your slots almost as soon as you pull it. Taking care of these small detail blocks early prevents them from getting buried behind other colors later. This quick action frees up a slot immediately and keeps your board flowing with zero delays.
Step 6: Attack the upper head by bringing in the first green block
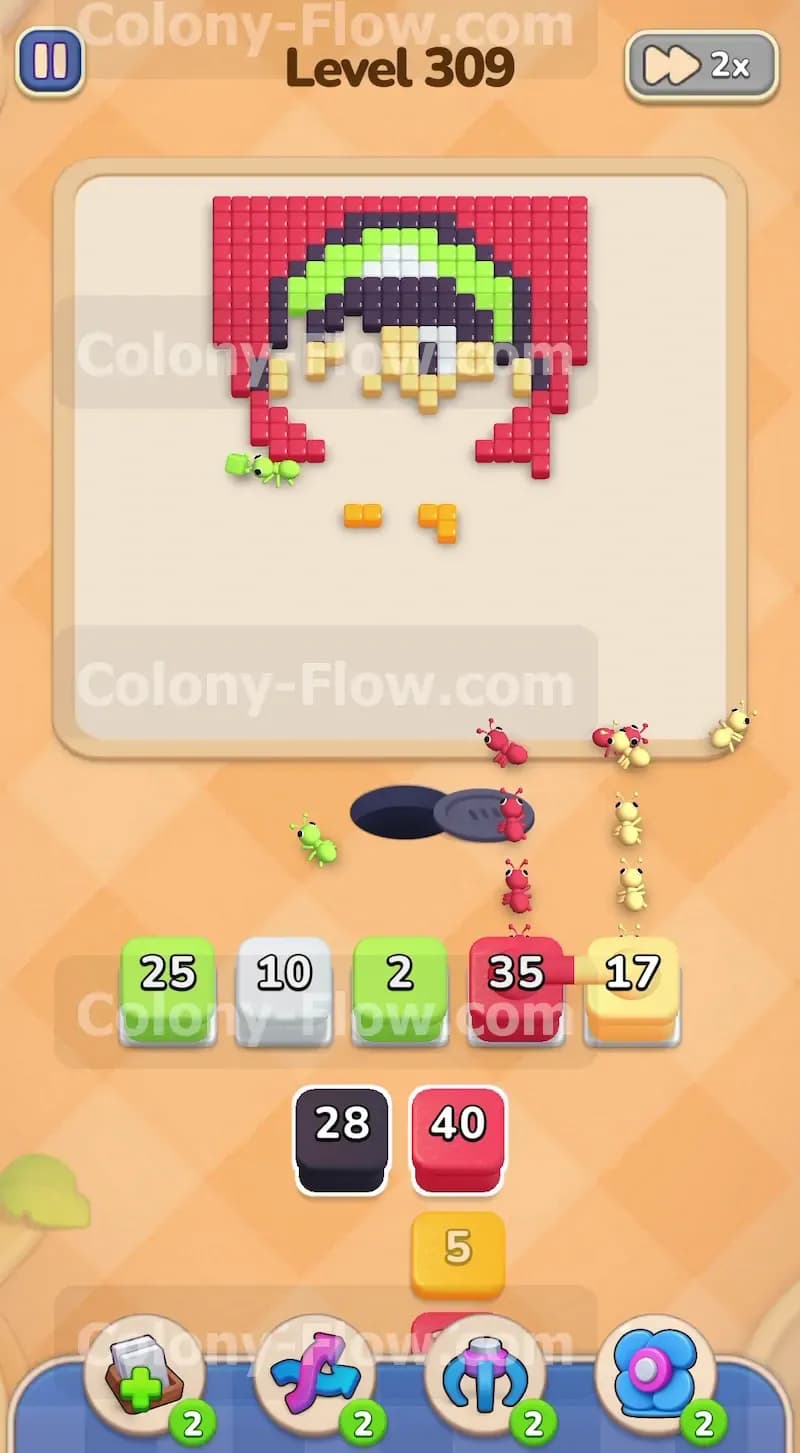
The top half of the character consists mostly of a large green hat. Pull the 25 green block into your newest open slot. The green ants will follow the vertical paths carved out by the beige ants and the black ants. They will travel all the way up to the lower edges of the hat and begin clearing the green tiles. By now your original blue block will hit zero and leave the tray. Your beige ants are still working hard on clearing the rest of the face. You have successfully transitioned your ant colony from the bottom of the picture to the top without blocking any paths or risking a jam.
Step 7: Finish the facial features and the mustache
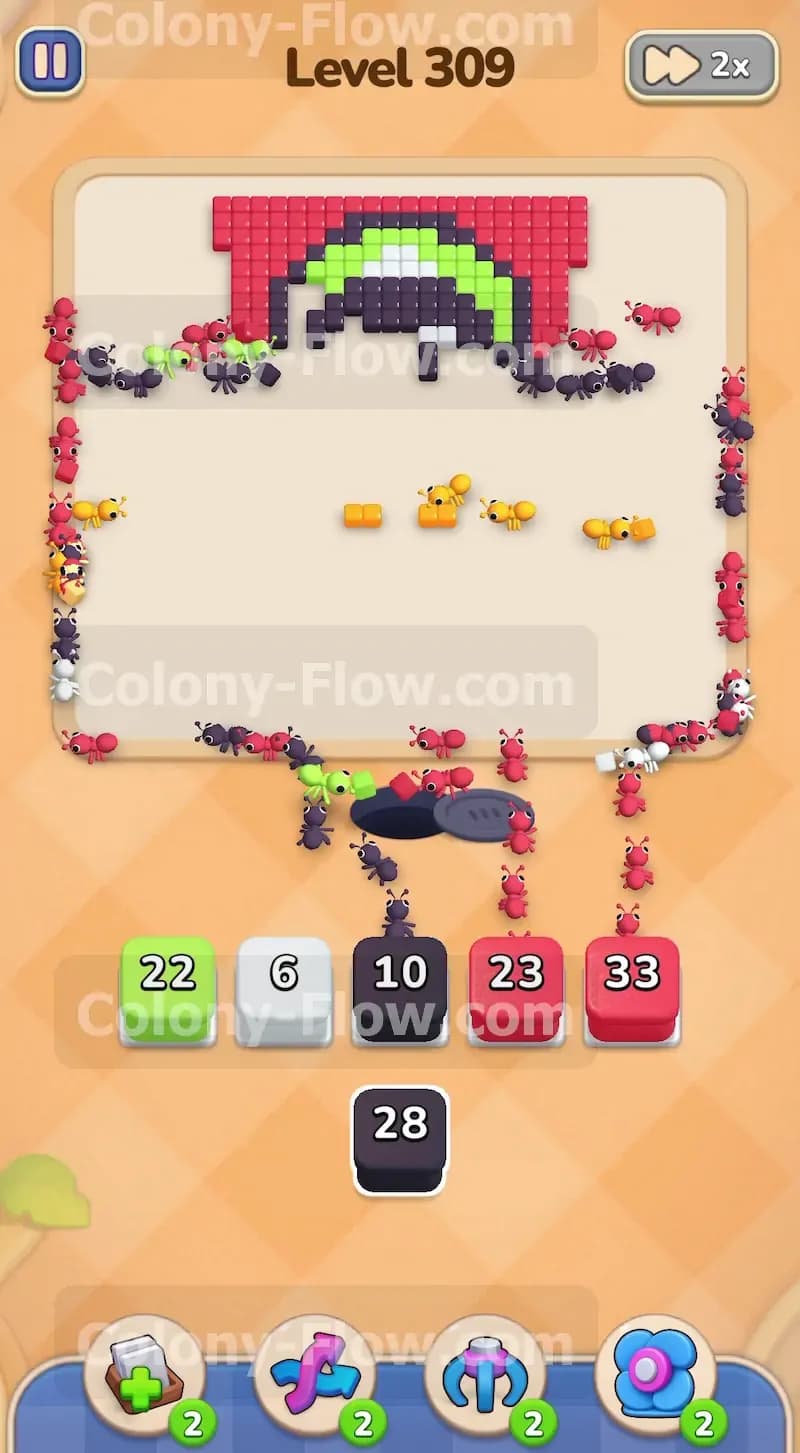
It is time to clean up the details in the middle of the face. Pull the second black block from the tray into an open slot. This block holds the number 28. The black ants will swarm the large mustache located right under the nose. They will also finish the black outlines surrounding the eyes and the sides of the head. Pull the second white block into another empty slot. The white ants will climb up to target the eyes and the round white emblem sitting on the very front of the green hat. The entire face area will clear out completely. This leaves just the top dome of the hat and the upper red background sections to deal with.
Step 8: Clear the upper background by sending out more red ants
You must now focus on the massive red border surrounding the upper head. Pull the large 40 red block into your slots. The red ants will travel up the extreme left and right sides of the board where the previous red ants cleared the way. They will begin eating away the thick red corners framing the hat. This is a very large block so it will occupy one of your slots for quite a while. Because these red tiles sit on the outer edge this path will remain permanently open no matter what else you play. You never have to worry about the red block jamming your tray.
Step 9: Finish the hat and win the board
You are now looking at the final remaining tiles on the screen. Pull your last 25 green block into the tray to finish the top dome of the hat. Pull your last few small blocks from the tray to clean up the final black outline tiles and the remaining top red corners. The ants will swarm the top edge of the screen and eat the final pixels. Watch your waiting slots empty out one by one as the blocks hit zero. Once the very last tile disappears from the picture you win the board.
Final Thought
Beating this level requires careful timing and good spatial awareness. Managing the flow from the shoes up to the hat keeps your paths wide open. If you ever feel lost on a specific move I highly recommend you watch the video above this article. The video will show you the exact timing and pathing in motion so you can easily replicate my winning strategy.