Colony Flow Level 105 Walkthrough Solution & Guides | How to solve Colony Flow 105

Guide By Liam Stone
Updated on July 16, 2026
The video above walks through Level 105 in full, so feel free to skip the written steps below.
Video doesn't match your screen?
Game updates frequently scramble layouts! Try our AI Screenshot Solver first to find your exact board instantly, or report broken guides to our team.
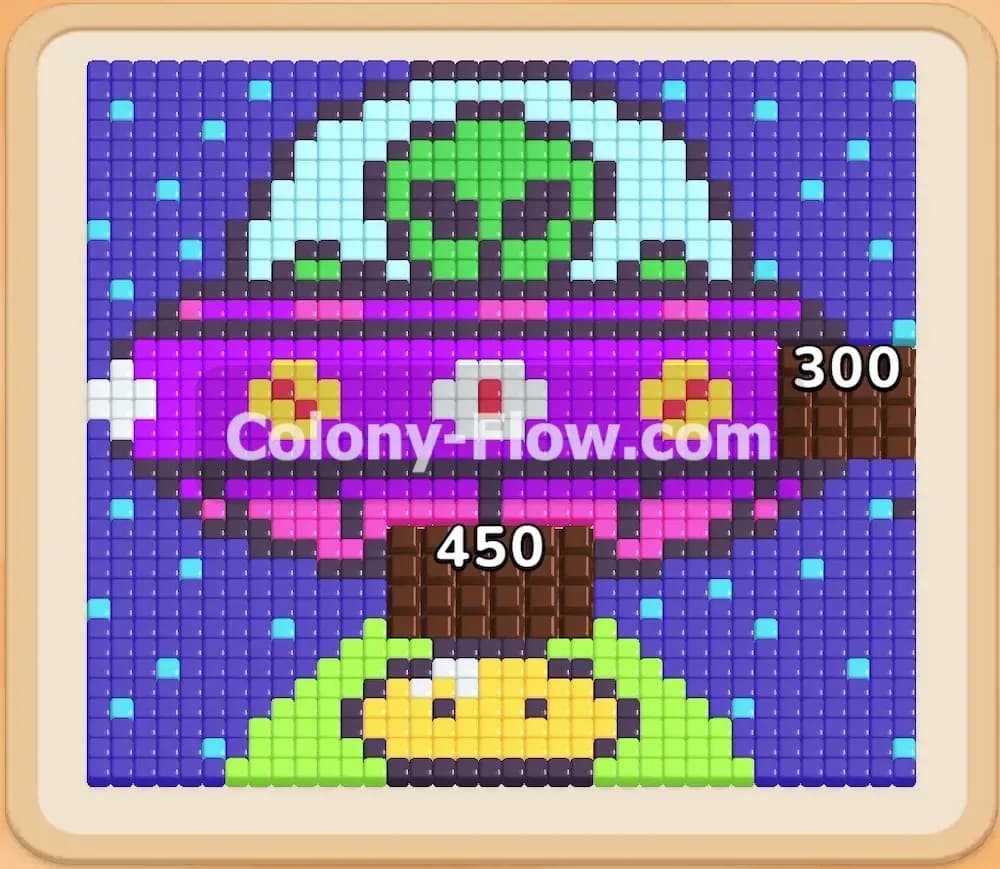
Colony Flow Level 105 throws you right into deep space with a massive pixel art alien spaceship. You have huge chunks of color to clear and some very tricky grouped blocks in your tray that can easily ruin your run. I played this level myself and found the best route to keep the ants moving without jamming the board. Keep your waiting slots managed properly and you will tear this flying saucer apart piece by piece.
Colony Flow Level 105 Overview
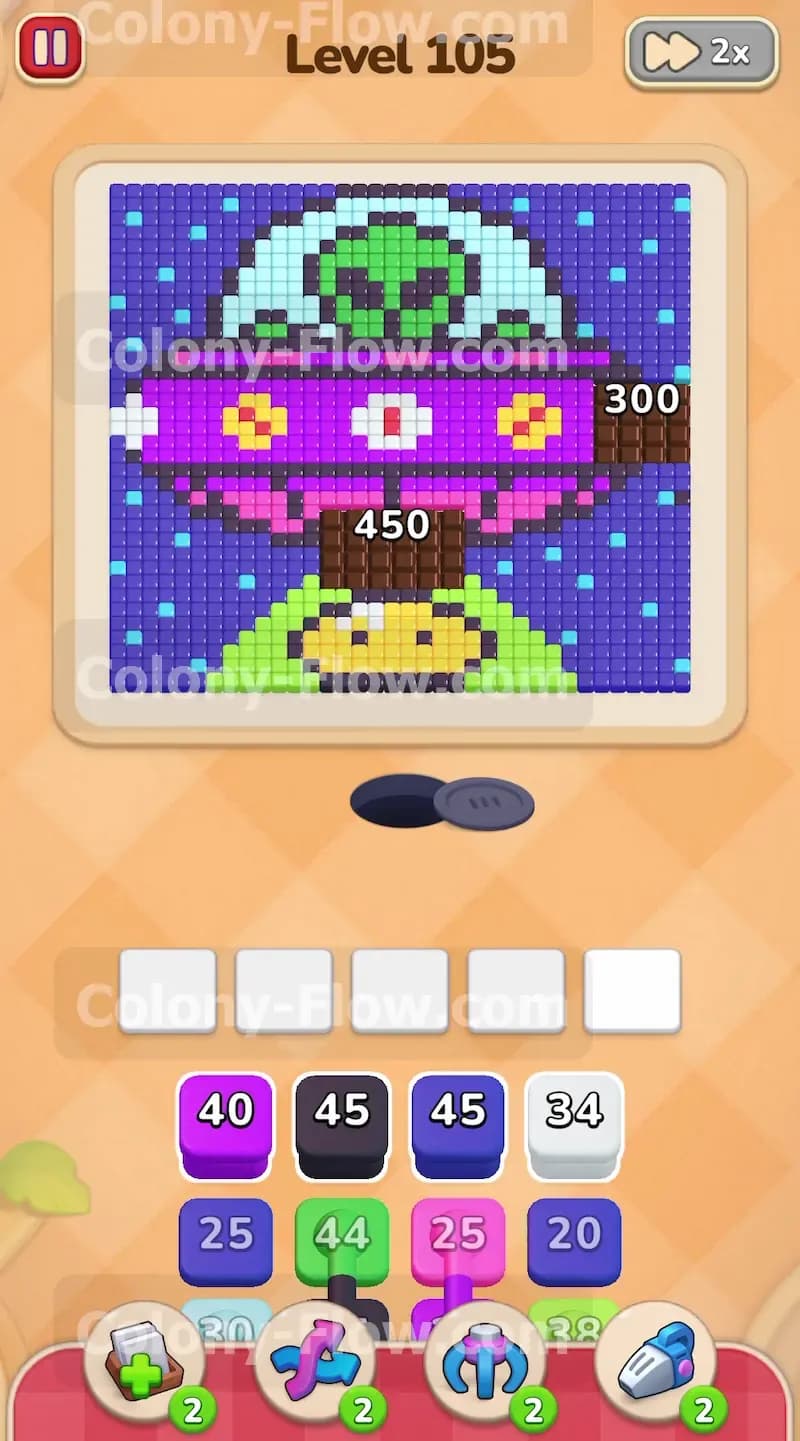
What You Are Working With
The pixel art for this board features a green alien flying a giant UFO over a green planet. The spaceship has a massive purple hull and a thick brown base structure sitting underneath it. The alien passenger sits inside a cockpit outlined in black and highlighted with white. The entire scene floats in a starry outer space sky made of a deep dark blue background mixed with tiny light blue and yellow star tiles.
Your tray at the bottom of the screen holds the numbered blocks you need to feed your colony. You will see standard single blocks in purple, black, white, and dark blue. You will also deal with special connected boxes. These connected boxes have visible physical lines linking two or more colors together in your tray. When you select a connected group every block in that chain moves into your waiting slots at the exact same time.
What It Takes to Clear Level 105 Board
You win the level when the ants eat every single pixel on the board and return to their nest. You lose if you fill all five of your waiting slots with colors the ants cannot reach. The dark blue space background completely wraps around the spaceship and blocks access to the inner details. You must punch a hole through the outer space layer on one side of the board to give your colony a continuous working path. Managing your five waiting slots is the absolute core of your strategy here. You must always guarantee that at least one block in your waiting area matches an open tile on the board so the numbers keep ticking down and the slot eventually empties.
Colony Flow Level 105 Step by Step Solution
Step 1: Open the left side of the purple spaceship hull
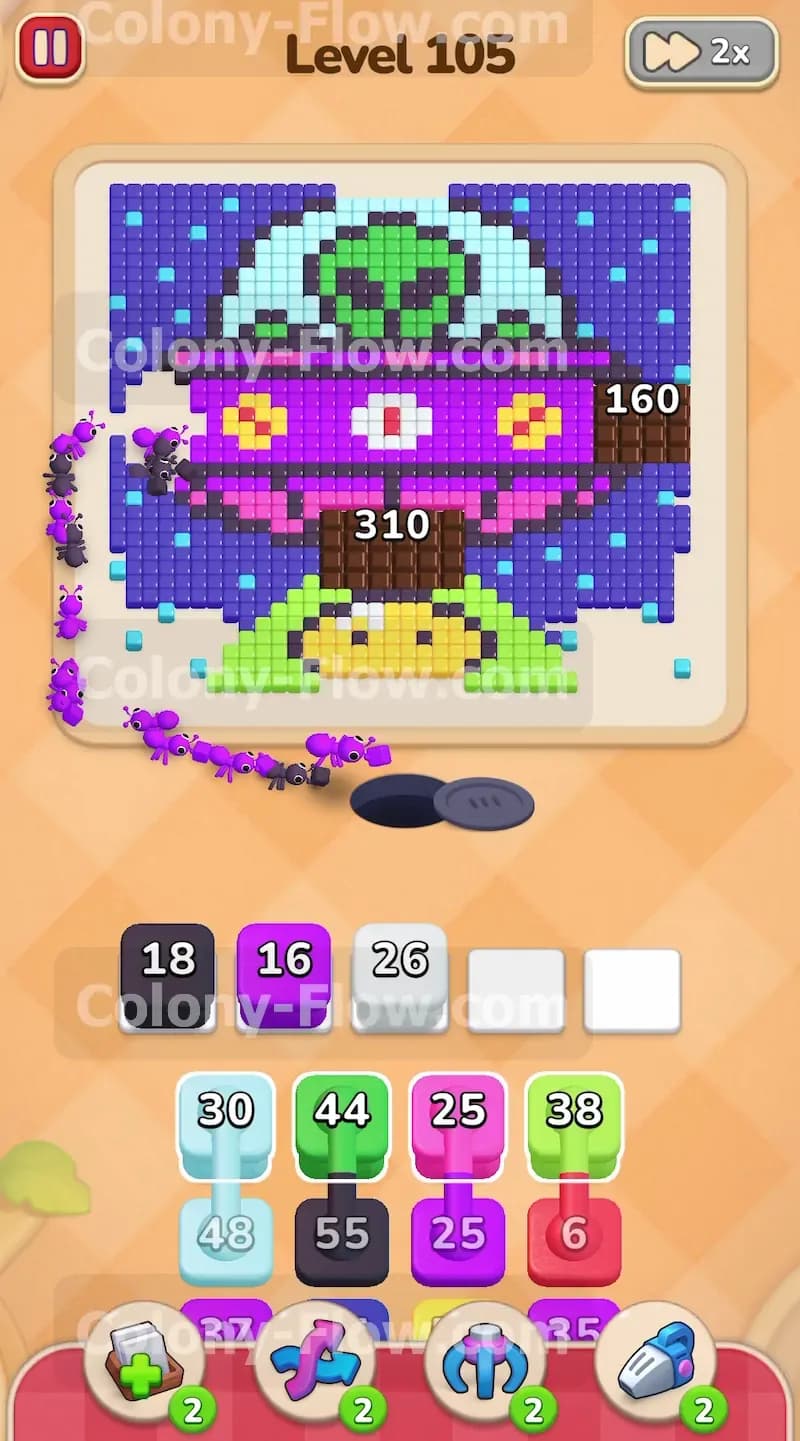
Start the level by targeting the outer edge of the UFO on the left side of the board. Tap a purple block and a black block from your tray to get the colony moving. The purple hull contains hundreds of tiles so getting an early start on it is crucial for a smooth run. The ants will march out of the nest and immediately start eating the dark space tiles and the exposed purple edge. This action creates a small but vital gap on the left side of the board. Leaving this open path on the left is the foundation for your entire run because it gives the ants a massive surface area to chew on while you line up your next moves.
Step 2: Bring up white and pink blocks for the hull details
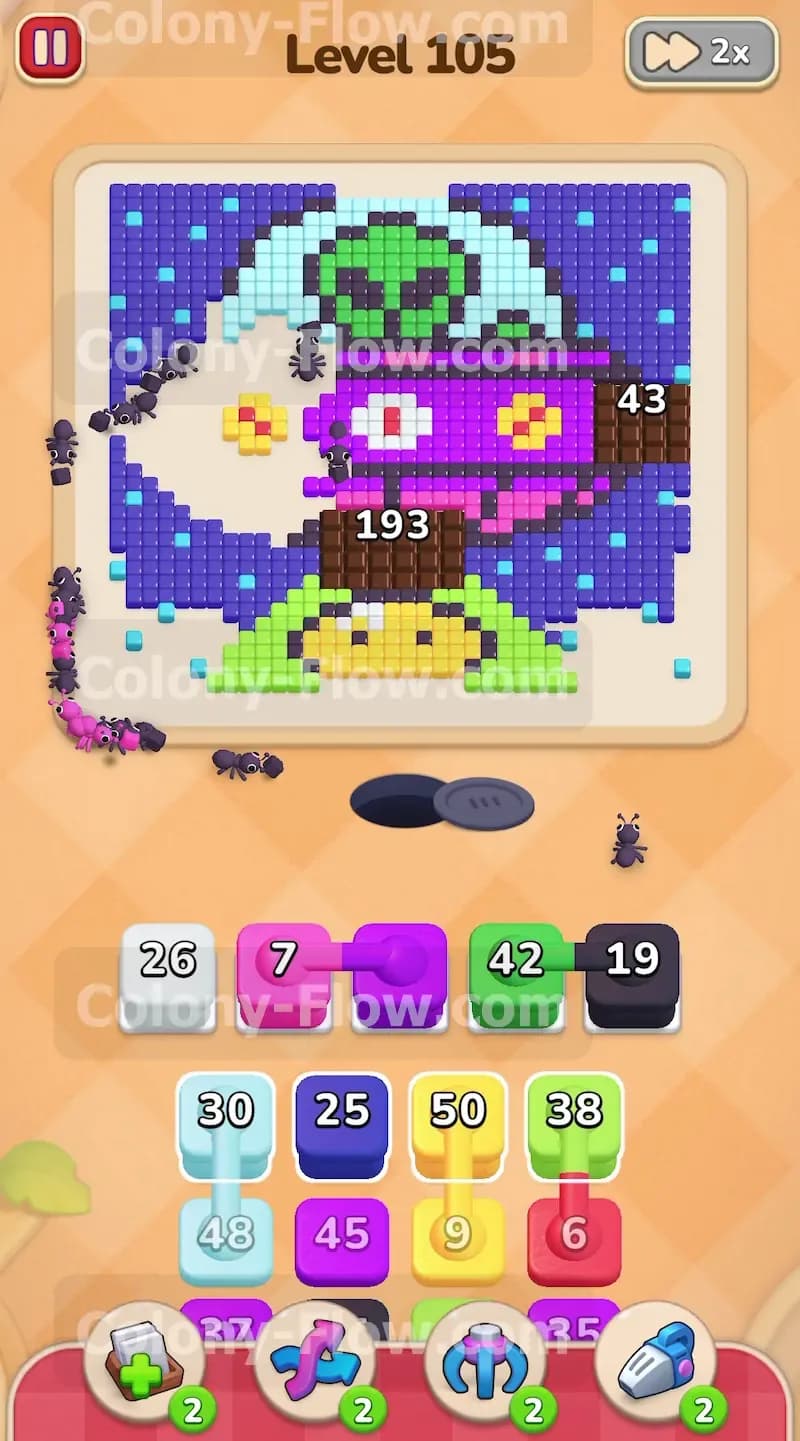
The UFO contains several small design details including white lights and a bright pink horizontal stripe. Once the ants chew deep enough into the purple section they will expose these inner colors. Pull a white block and a pink block into your waiting slots as soon as you see the purple tiles thinning out. You want these detail colors sitting ready in the slots the exact moment the ants uncover the matching pixels. If you wait too long the ants will run out of available purple tiles and stop moving entirely. Keeping the white and pink blocks queued up ensures your colony never runs out of work and your slots never back up.
Step 3: Attack the massive brown base structure
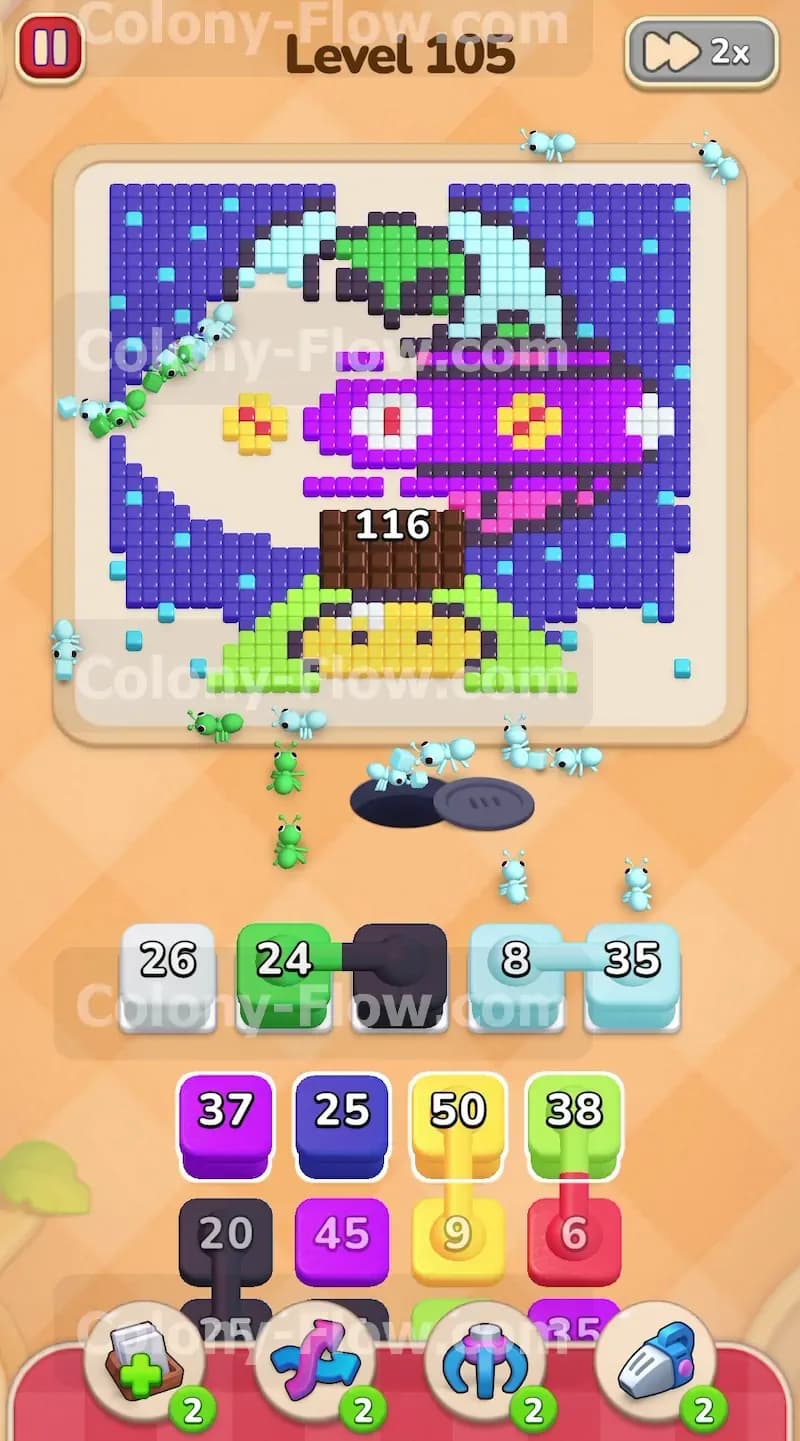
Look at the bottom of the UFO where the brown tiles form a thick lower platform. This section holds hundreds of pixels and requires a massive amount of ant traffic to dismantle. You need to maintain a steady supply of blocks to clear it without ignoring the rest of the ship. Tap the black and light blue blocks in your tray to clear the space around the platform first. Once the dark background recedes enough the ants can swarm the brown base. Keep a close eye on your waiting slots during this phase. Do not overload your slots with tiny detail colors while the ants are busy chewing through the huge brown platform. Let them reduce the huge brown number steadily.
Step 4: Uncover the green planet and the alien passenger
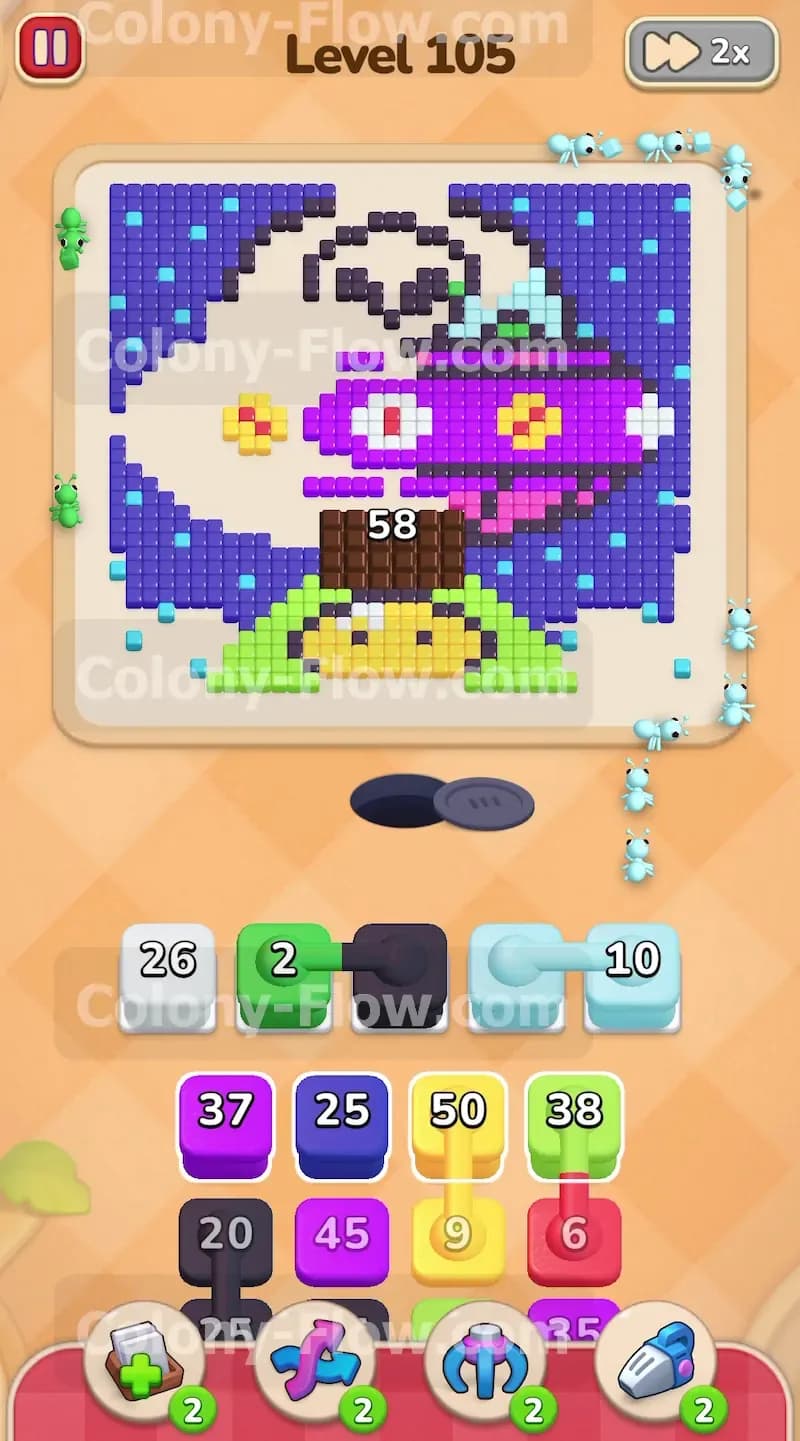
As the left side of the ship disappears the lower green planet and the alien inside the cockpit become fully accessible. Your tray will offer green and light green blocks at this stage. Tap these green blocks to send your colony after the alien face and the planet surface. The ants will naturally split their attention between the remaining brown base tiles and the new green tiles. Creating this dual path prevents your waiting slots from jamming. If one color temporarily runs out of open borders the ants simply shift their focus to the other available color. This keeps the blocks in your slots counting down and clearing out space for new pulls.
Step 5: Pull the connected boxes to clear the stars and ship details
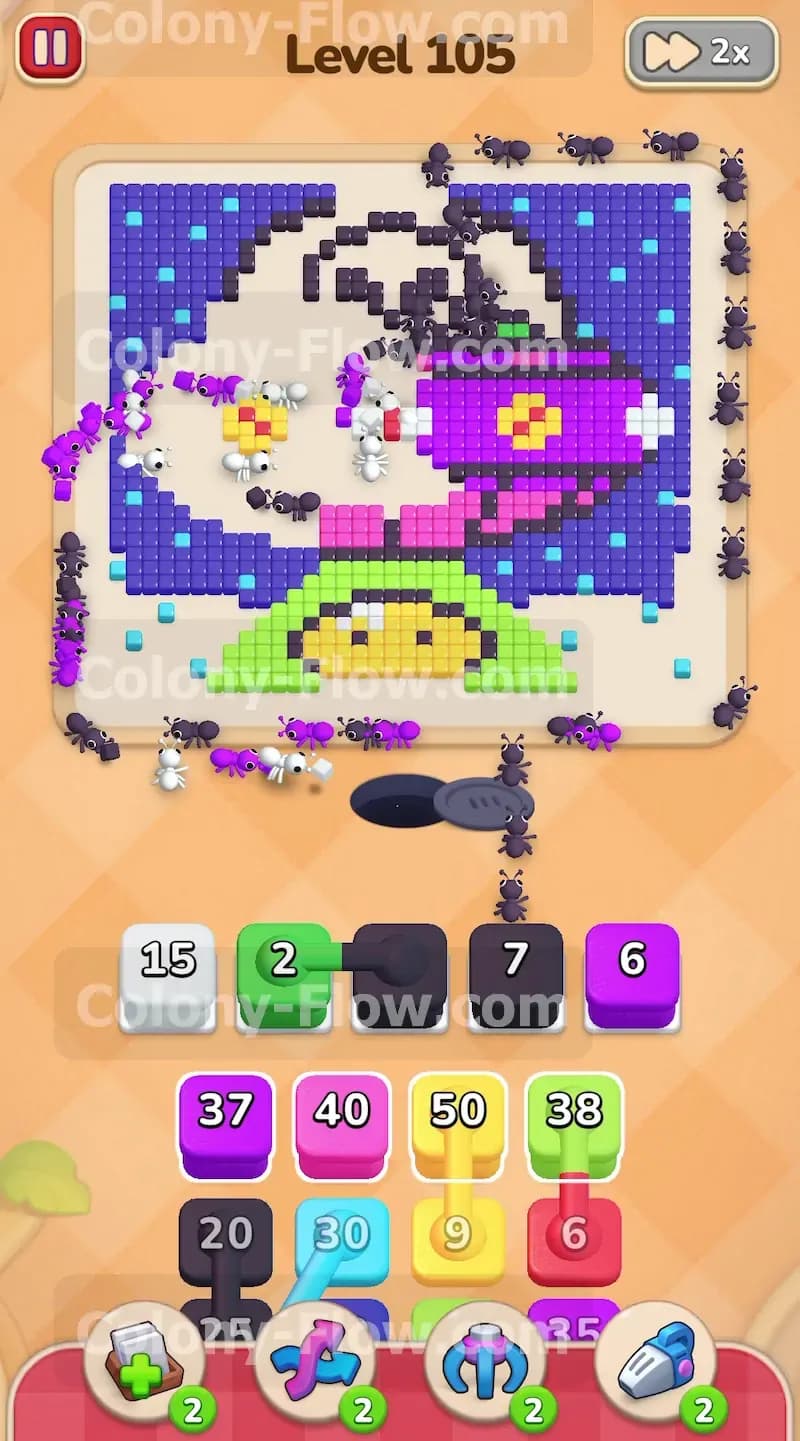
You will soon notice the connected boxes sitting in your tray waiting to be played. One group links a yellow block with a light green block and a red block. You must handle these linked boxes with extreme caution because they move as a single unit and will instantly consume multiple waiting slots. Before you tap this specific group you must verify that the yellow stars and the red ship details are fully accessible on the open board. Look closely at the remaining pixels. Once you confirm the ants can touch the yellow and red tiles go ahead and pull the connected group. The colony will quickly dismantle these remaining details and free up those slots right away.
Step 6: Deploy light blue blocks for the outer glow
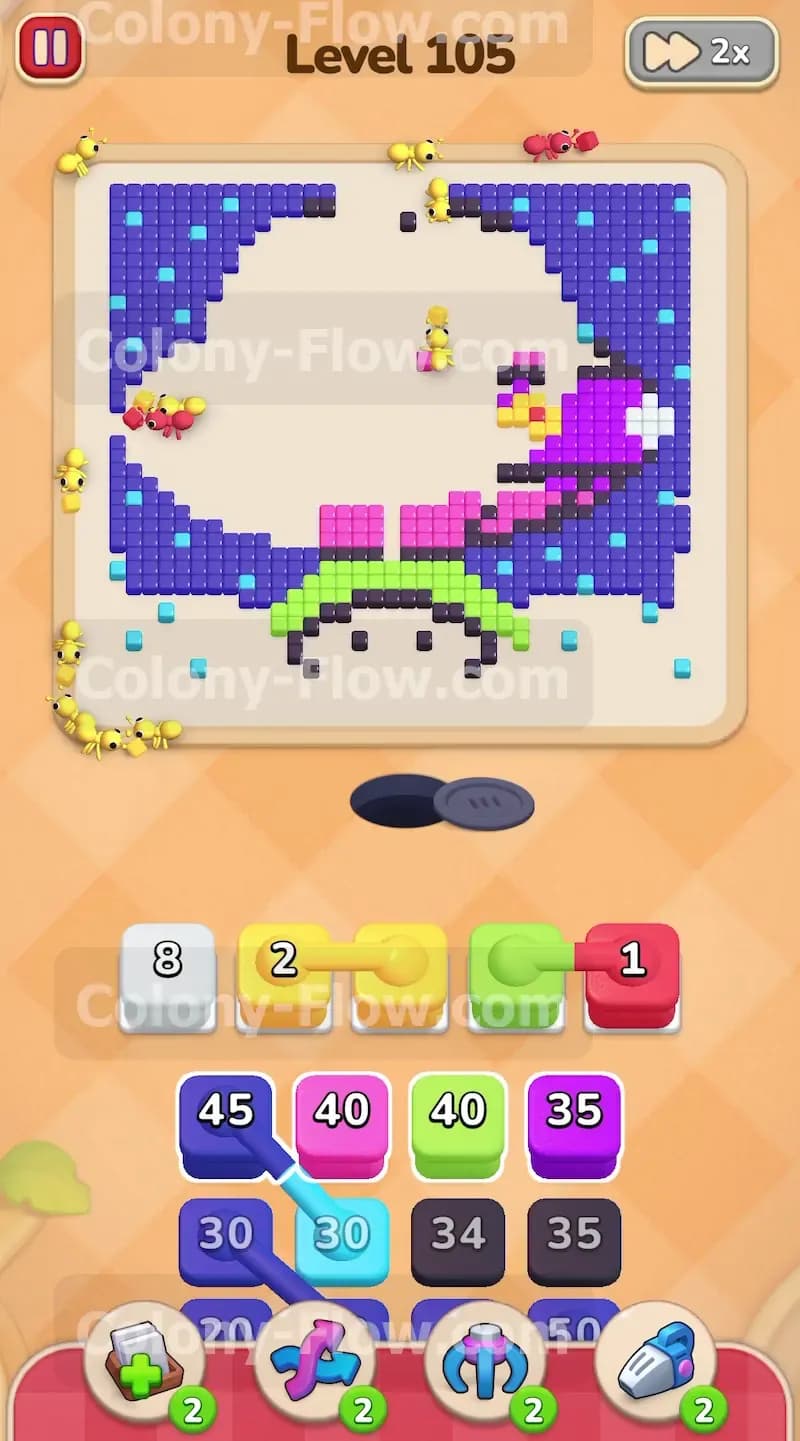
The entire spaceship features a glowing light blue outline that traces the hull and the cockpit. As you dismantle the inner pieces of the ship this outline breaks into separate floating fragments. You need to pull light blue blocks to clean up these loose pieces. Make sure you only tap a light blue block when you have at least two empty waiting slots available. You want to leave room for a dark blue block so the ants can continue clearing the space background at the same time. Balancing the light blue outline cleanup with the dark blue background cleanup keeps your colony moving smoothly and prevents any accidental dead ends.
Step 7: Flood the board with dark blue blocks to finish the level
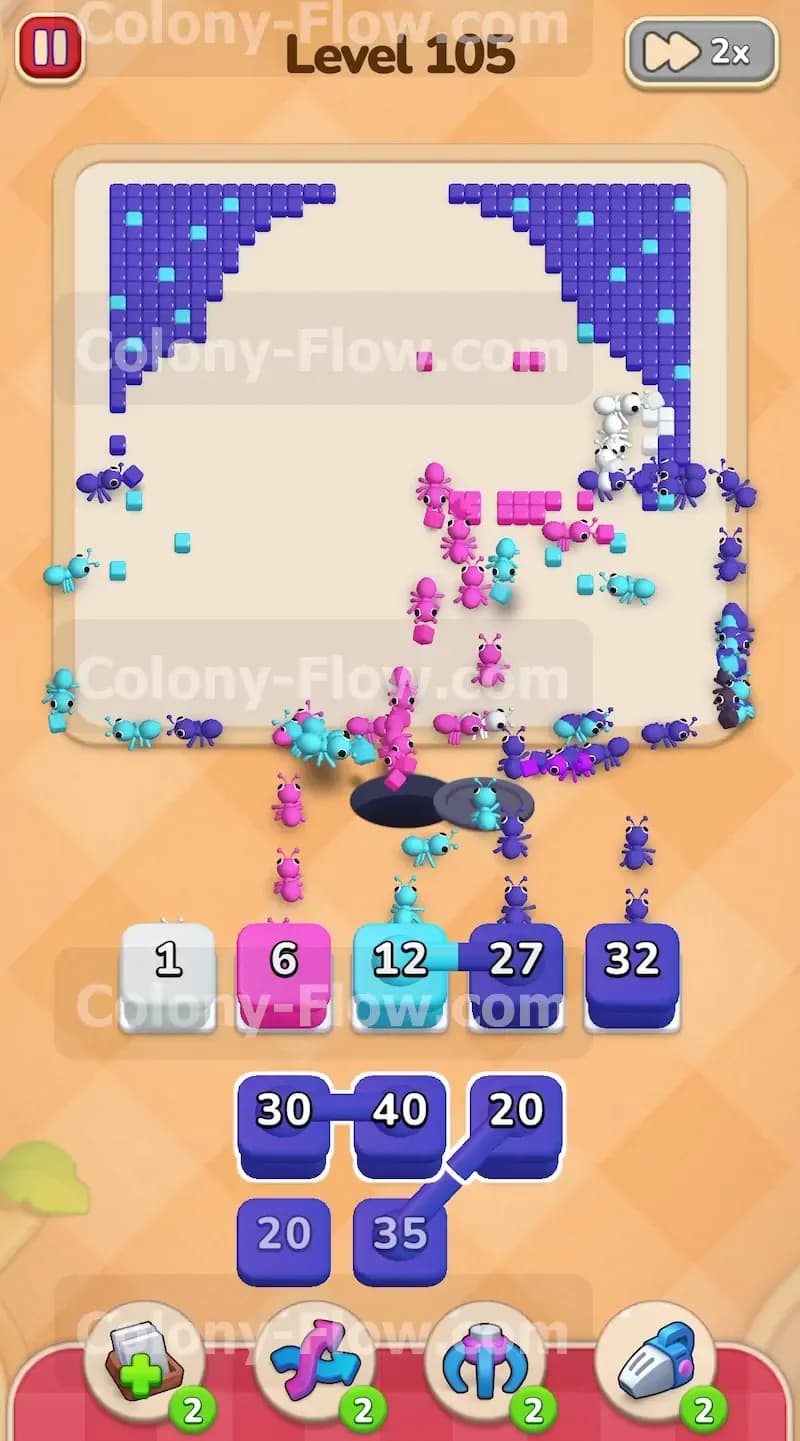
The final phase of the level is all about sweeping up the dark blue space background. The spaceship is mostly gone and only a huge field of dark blue pixels remains on the right side of the screen. Your tray will be completely full of connected dark blue boxes at this point. Since the board is completely open you have nothing to fear regarding traffic jams. Tap the connected dark blue groups and fill your waiting slots entirely with dark blue. The ants will flood the right side of the screen and eat the remaining background tiles in one massive wave. Watch them sweep the final pixels away and carry them down the hole to complete the board.
Final Thought
Level 105 tests your patience and your ability to plan around those tricky connected boxes. Taking down the massive purple hull early makes the rest of the board much easier to manage. Just remember to always verify you have an open path before you pull a linked group of blocks into your waiting slots. Check out the gameplay video above this article if any step is hard to follow in text and you want to see exactly how I timed my moves.