Colony Flow Level 367 Walkthrough Solution & Guides | How to solve Colony Flow 367

Guide By Liam Stone
Updated on July 18, 2026
The video above breaks down Level 367 visually, so skip the text below if you'd rather watch.
Video doesn't match your screen?
Game updates frequently scramble layouts! Try our AI Screenshot Solver first to find your exact board instantly, or report broken guides to our team.
Colony Flow Level 367 presents a massive pixel art picture that takes intense patience and careful tray management to dismantle. I played this exact board several times to find the absolute safest route through the maze of colorful tiles. Dealing with the giant outer boundaries can easily trap a careless player. Follow my precise moves below to clear the screen without ever jamming your waiting slots.
Colony Flow Level 367 Overview
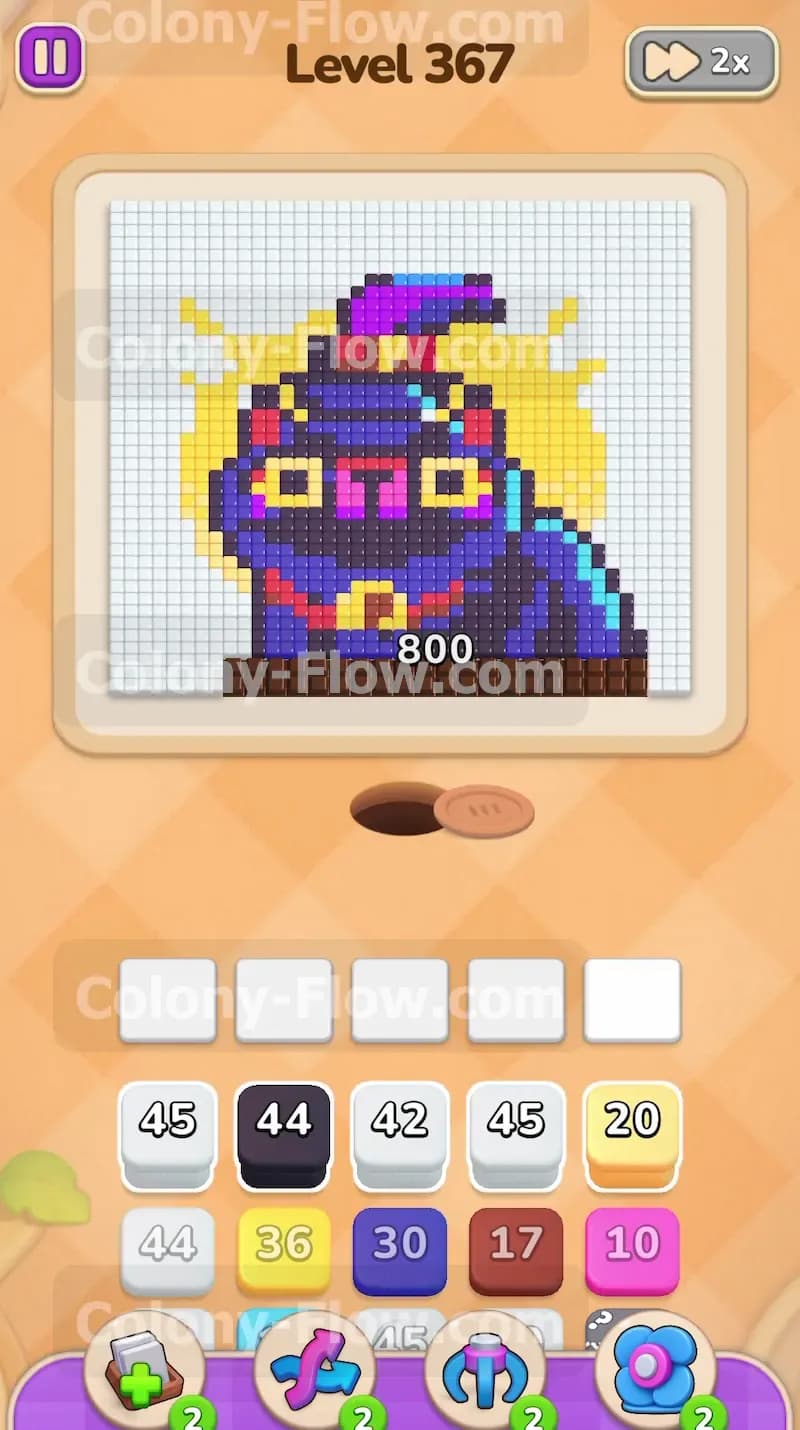
What You Are Working With
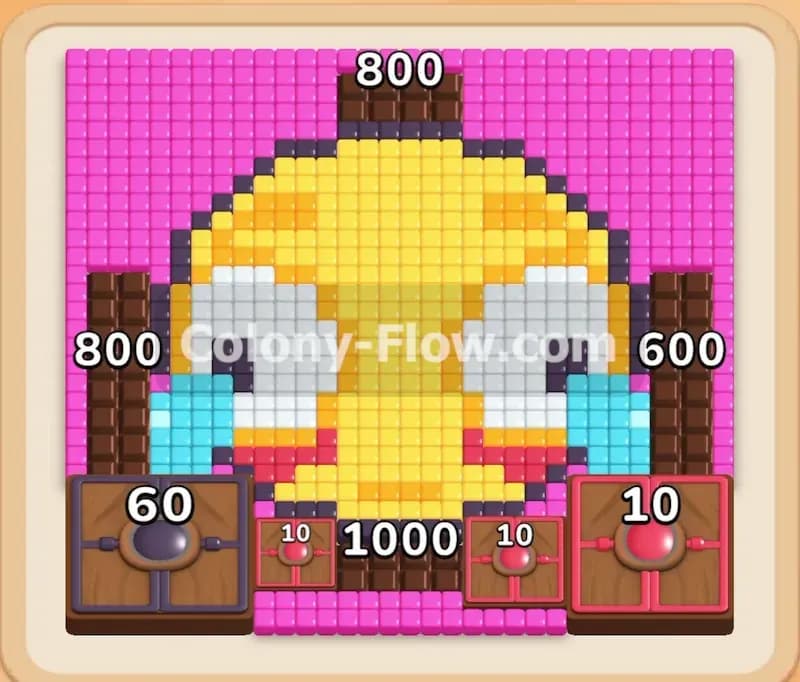
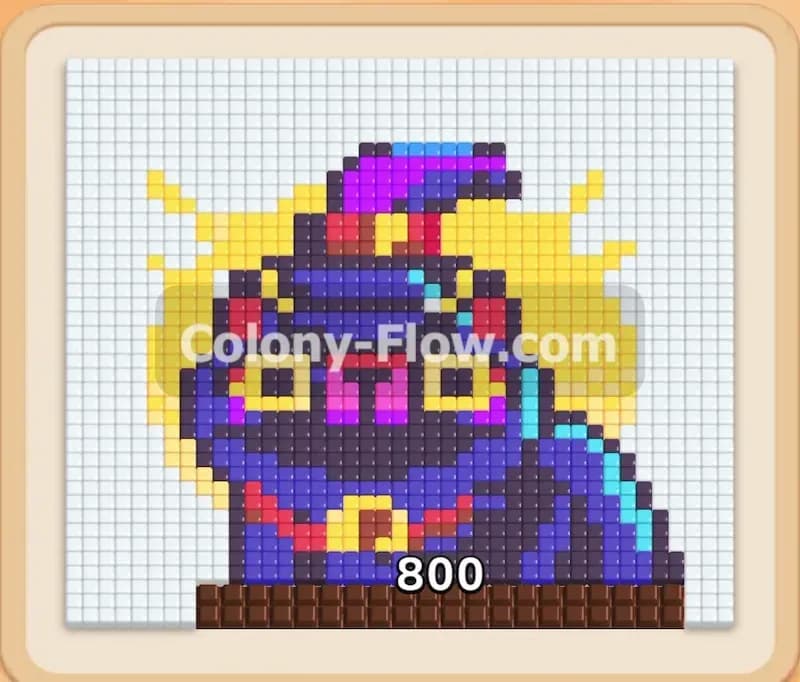
The pixel art picture for this puzzle is a stylized wizard cat character. The cat wears large square pink glasses and a classic pointed wizard hat in bright purple. The feline sits comfortably on a thick brown floor base against a brilliant yellow circular moon background. Surrounding this entire colorful centerpiece is a massive sea of stark white background tiles. These white tiles form a solid wall that completely blocks access to the cat from the outside edges. Looking down at your tray you will see a large collection of heavy numbered blocks. You start with massive white blocks numbering in the forties to match the huge background. You also face two specific special mechanics on this board. A hidden box sits at the bottom right side of your tray waiting to reveal its true color later in the run. You also have connected boxes linking two different colors together with a silver chain. Pulling one of these chained boxes automatically pulls the other one into your tray. You must ensure the ants can reach both colors safely or you risk dead ending the entire board.
What It Takes to Clear Level 367 Board
To beat this specific board you have to carve through the heavy outer white background first. The white tiles lock down the yellow circle and block the outer edges of the cat figure. Your main goal involves feeding your worker ants just enough white blocks to expose the inner colors without filling all five waiting slots. The waiting slots dictate your survival. If you tap a color the ants cannot reach yet that block sits dead in the slot. When you fill all five slots with unreachable colors the board jams and you instantly lose the run. You win the game when every single pixel tile is completely gone and the entire ant colony returns safely to the nest hole.
Colony Flow Level 367 Step by Step Solution
Step 1: Clear the massive outer white background borders entirely.
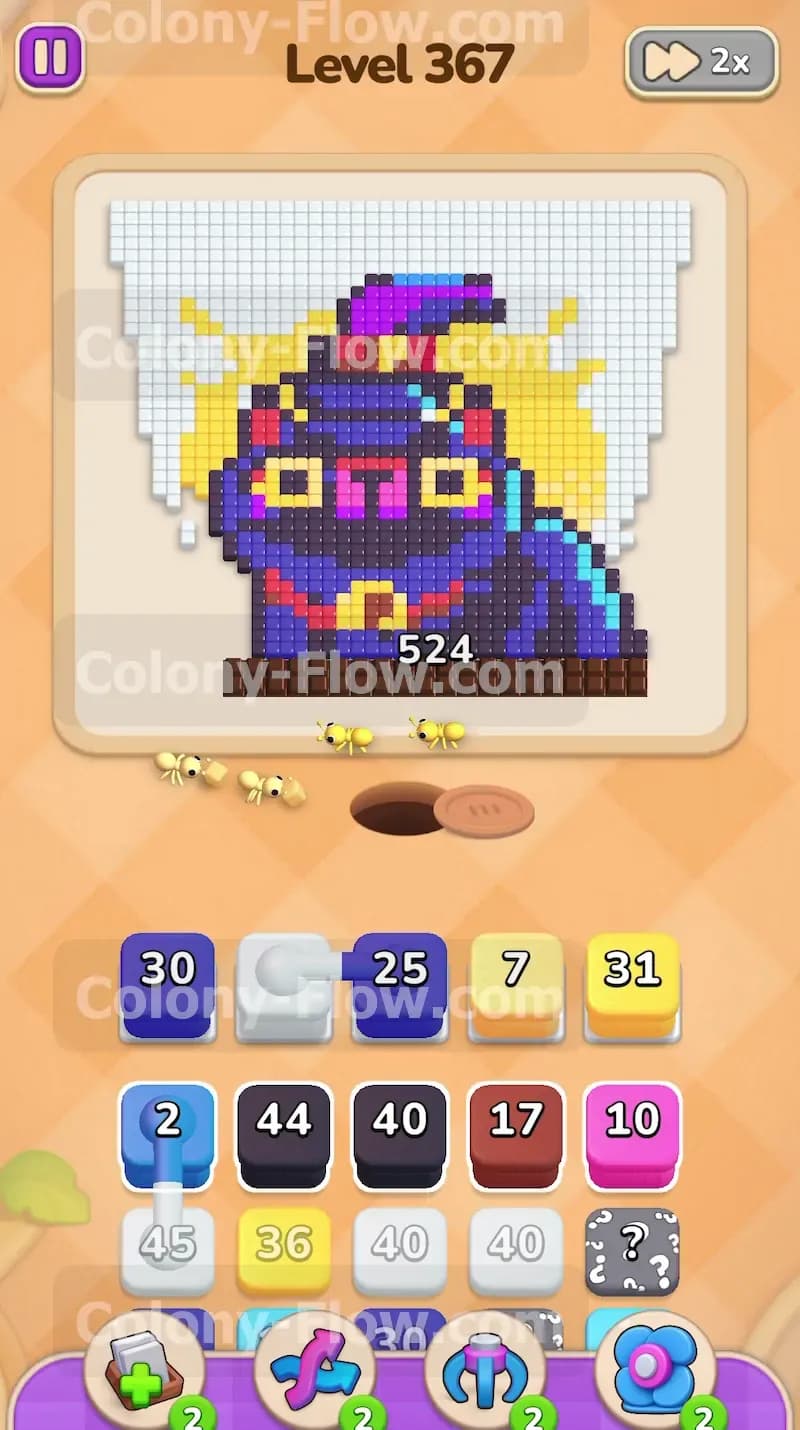
Start the run by pulling the large white blocks from your lower tray. The entire outer edge of the pixel art is composed of these basic white tiles. Tap the white forty five block and watch the colony swarm the top left corner of the board. The ants will march out of the central hole and begin chewing away the massive white border one tile at a time. Follow up immediately with the white forty two block to start clearing the right side of the canvas. Do not touch any of the brightly colored blocks yet. The ants need a completely clear open path to the white tiles without any traffic jams. Keep feeding white blocks into your waiting slots until the bright yellow background and the very tip of the purple hat become fully exposed to the open board. You will see the numbers on your white blocks drop rapidly as the swarm consumes the boundaries.
Step 2: Chip away the yellow background behind the wizard cat.
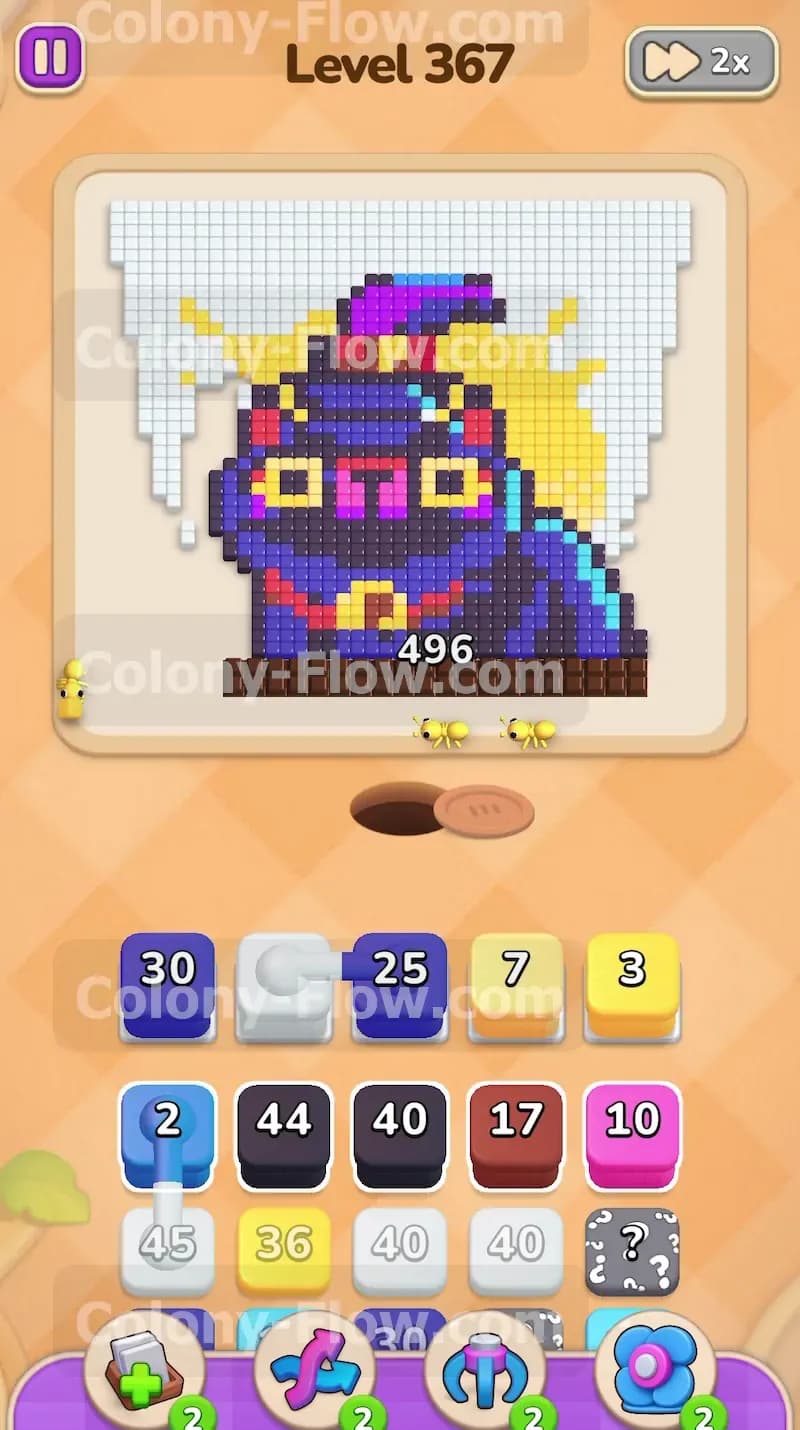
Once the white borders recede enough you finally gain access to the yellow tiles. Tap a yellow block to move it up into your active waiting slots. The ants will change direction and stream toward the yellow circle surrounding the head of the cat. Pulling a yellow thirty one block clears a massive chunk of this upper background area. You must monitor your five waiting slots incredibly closely right here. Only pull a second yellow block if the first one finishes counting down and vanishes. Keeping your slots empty guarantees you always have room to pivot if a path gets suddenly blocked by a strange tile formation. The yellow tiles will vanish quickly revealing the solid black outlines of the cat head.
Step 3: Attack the purple wizard hat and the thick brown floor base.
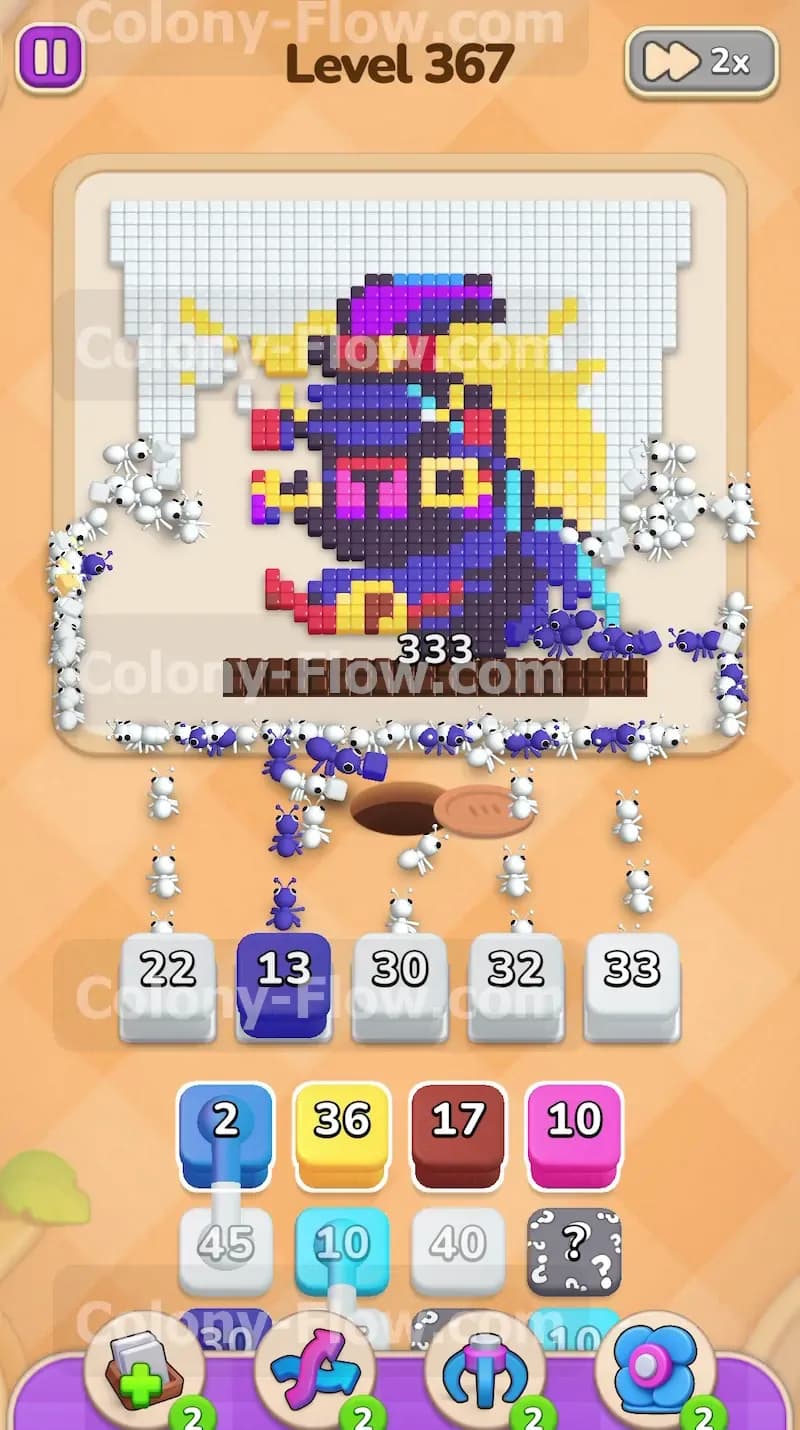
Now you have multiple open fronts to work with. The purple hat at the top and the brown base at the bottom are both fully exposed to the colony. Tap a purple thirty block to send a dedicated swarm to the top portion of the cat. At the exact same time pull a brown seventeen block to let another group of ants chew through the floor under the character. Splitting the colony between the top and bottom edges keeps the flow moving incredibly fast. The numbers on your blocks will drop steadily as the ants eat their way inward from both ends of the picture. Dealing with the brown base early prevents it from blocking access to the lower body of the cat later on.
Step 4: Manage the chained connected boxes with extreme caution.
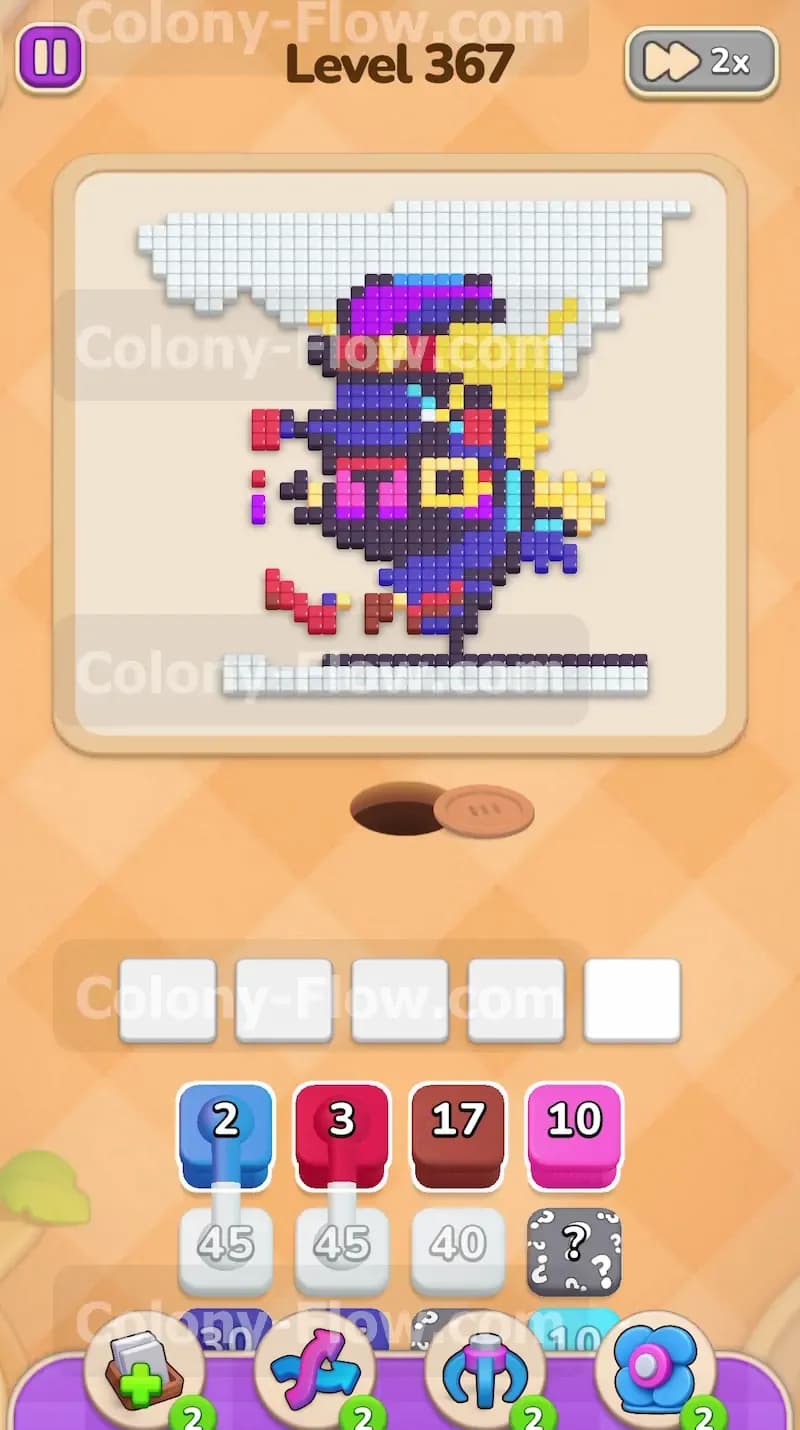
You will eventually notice two blocks linked together in your lower tray area. One is a light blue block and the other is a yellow block. Because they act as connected boxes pulling one automatically drags the other straight into your active waiting slots. This action takes up two precious slots instantly. Before you tap either of them look closely at the board and verify that the ants have a clear unblocked path to both the light blue tiles and the yellow tiles. Once you confirm the paths are open send the ants to clear these chained blocks right away. Getting them out of your tray slots prevents a fatal board jam and keeps your momentum going forward.
Step 5: Reveal the hidden box color safely.
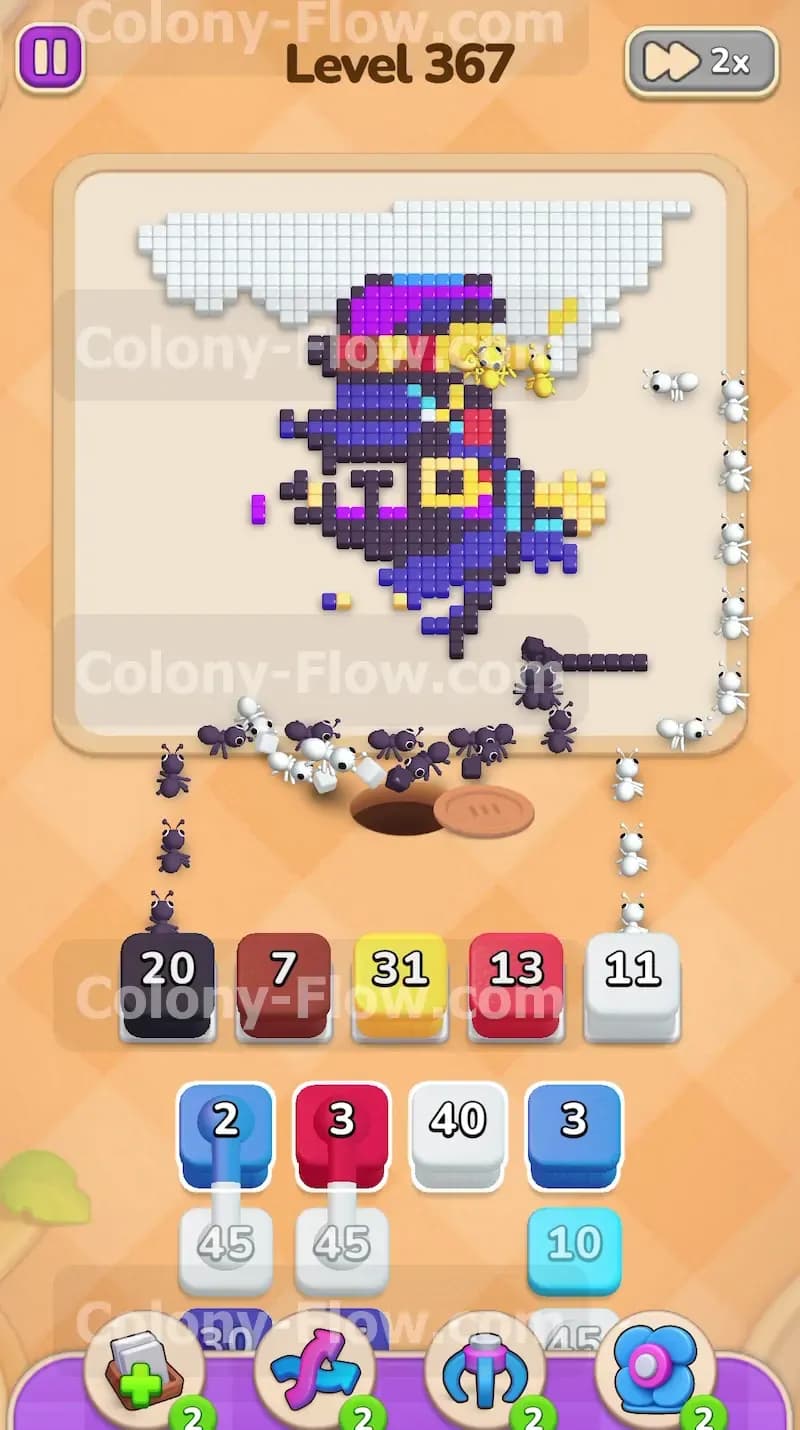
A mysterious hidden box sits in the lower corner of your tray showing only a large question mark. By this point in the level you have exposed enough of the inner cat body to handle almost any color safely. Tap the hidden box to pull it up and reveal its true underlying color. If it turns into a black block you have plenty of black outline tiles readily available. If it turns into a dark blue block the main cat body is wide open for consumption. Send the ants to clear whatever color finally appears. Resolving the hidden box early in the mid game removes a major unknown variable from your remaining strategic moves.
Step 6: Hollow out the dark blue main cat body.
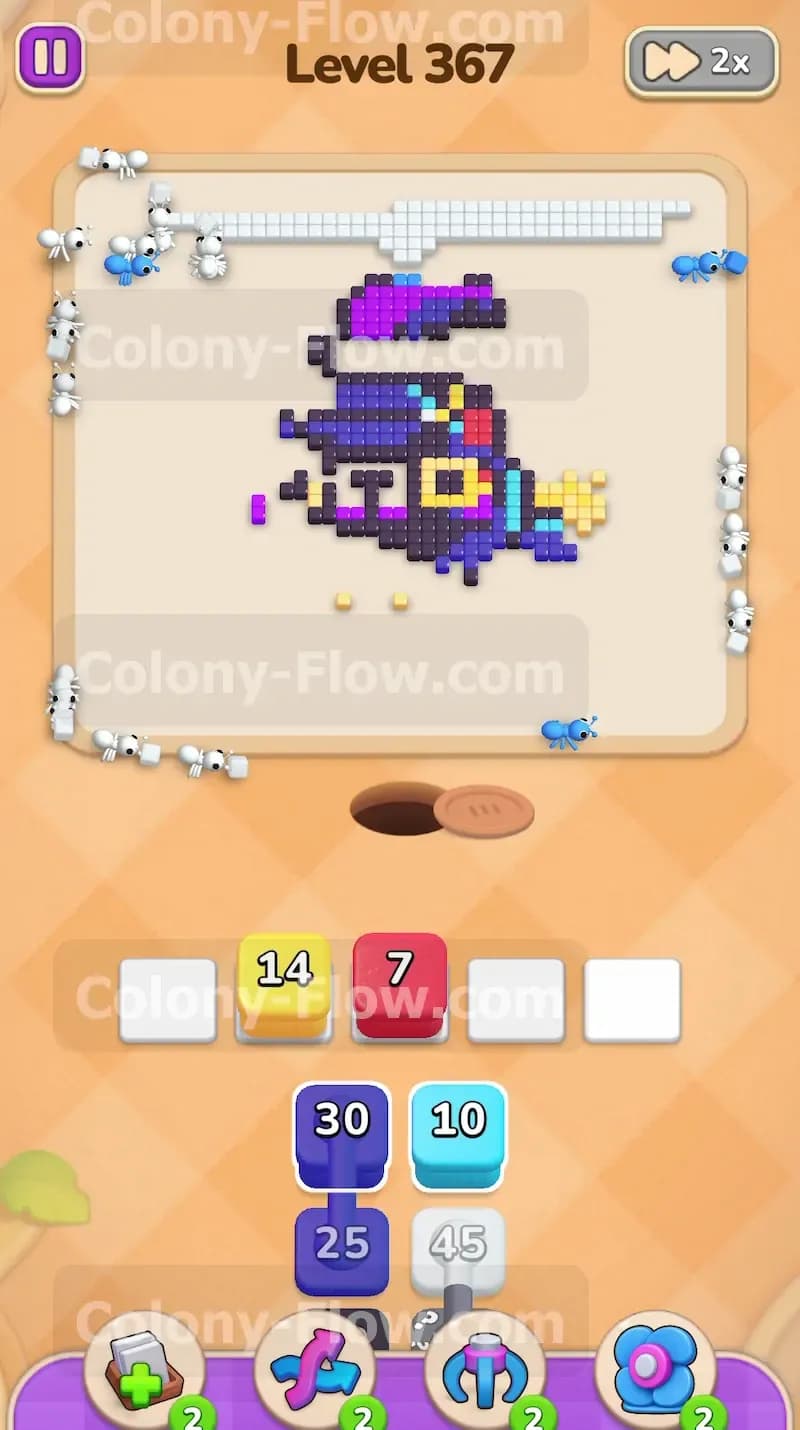
The vast bulk of the cat figure consists of dark blue tiles. Pull the large dark blue twenty five block into the open slots. The ants will march straight into the center of the furry figure. As the dark blue tiles vanish the inner structure of the cat begins to break apart into smaller fragments. You will definitely notice the path branching into several different complex directions. Always keep a close eye on the remaining numbers on your active blocks. When the dark blue block empties pull another one to maintain the steady pressure. Never let the worker ants sit idle while you have wide open paths ready for eating.
Step 7: Clear the bright pink square glasses and facial features.
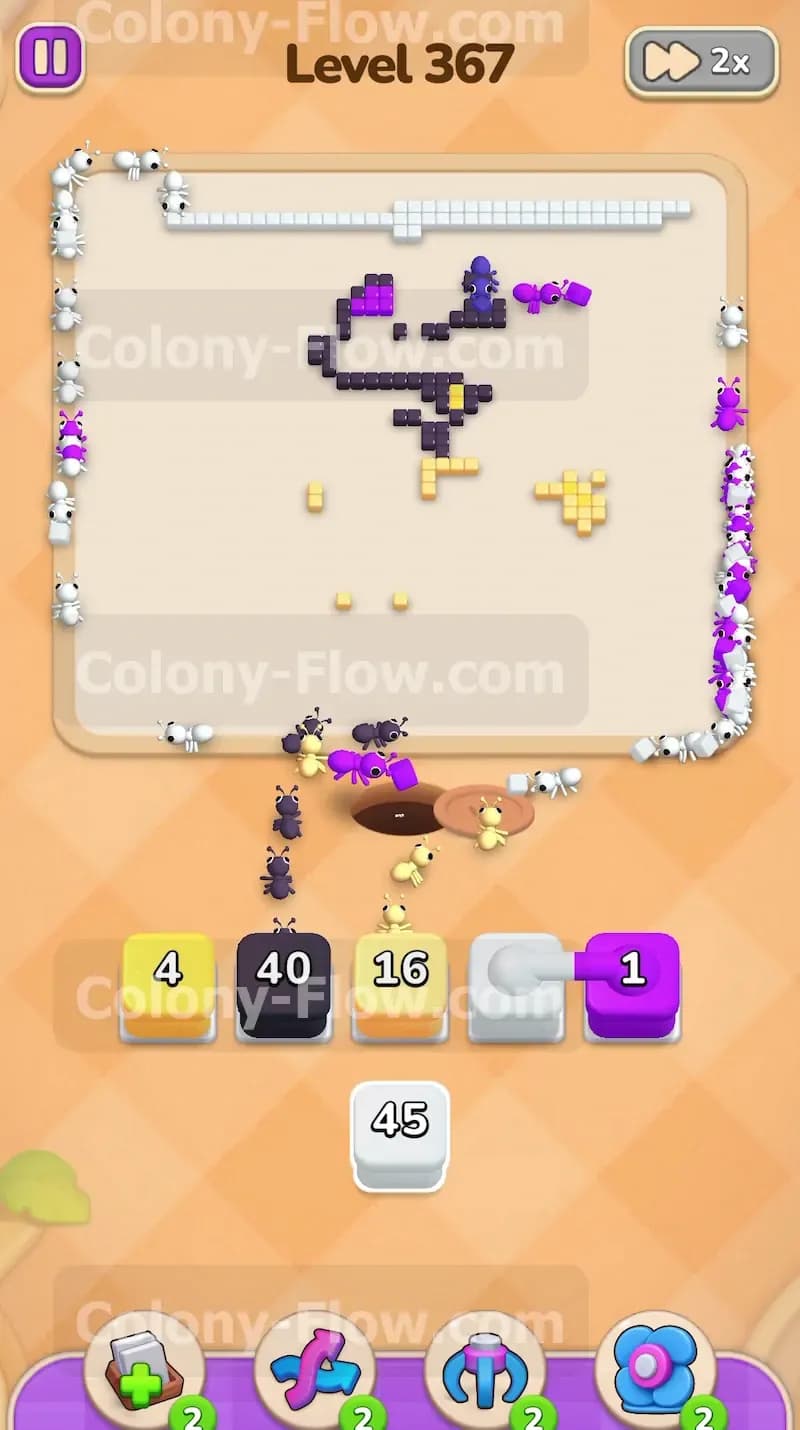
The bright pink tiles making up the funny square glasses are now completely exposed and vulnerable. Tap a pink ten block to dispatch a small fast group of ants to the center of the cat face. The pink tiles require very few moves to clear entirely. Once the glasses disappear the thick black outline tiles become isolated and easy to reach. Tap a black forty block to let the colony sweep through all the remaining structural lines of the drawing. The picture will look very fragmented and broken down at this late stage. Make absolutely sure you only pull colors that perfectly match the surviving fragments on the board.
Step 8: Clean up the final isolated color patches to win.
Only a few scattered pixel tiles remain on the empty board now. You will see small isolated clusters of yellow and a few stray purple tiles leftover from the pointy hat. Look down at your tray and pull the exact numbers needed to finish them off completely. A yellow sixteen block will clean up the very last pieces of the background circle. A tiny purple one block takes care of the final hat pixel. The board is incredibly open right now so pathing is no longer an issue at all. Just match the final straggling colors and watch the colony carry the last puzzle pieces away to victory.
Final Thought
Beating this board requires excellent timing and strict slot management from start to finish. Rushing the connected boxes or opening the hidden box too early will absolutely ruin your run. Take it slow and always let the ants finish their current meals before you clutter your tray with new demands. If you find yourself getting stuck on a specific tricky section please watch the video above this article. Seeing the moves play out in real time makes it much easier to understand the rhythm and flow.