Colony Flow Level 1004 Walkthrough Solution & Guides | How to solve Colony Flow 1004

Guide By Liam Stone
Updated on August 8, 2026
Watch the video above for a faster look at how Level 1004 gets solved.
Video doesn't match your screen?
Game updates frequently scramble layouts! Try our AI Screenshot Solver first to find your exact board instantly, or report broken guides to our team.
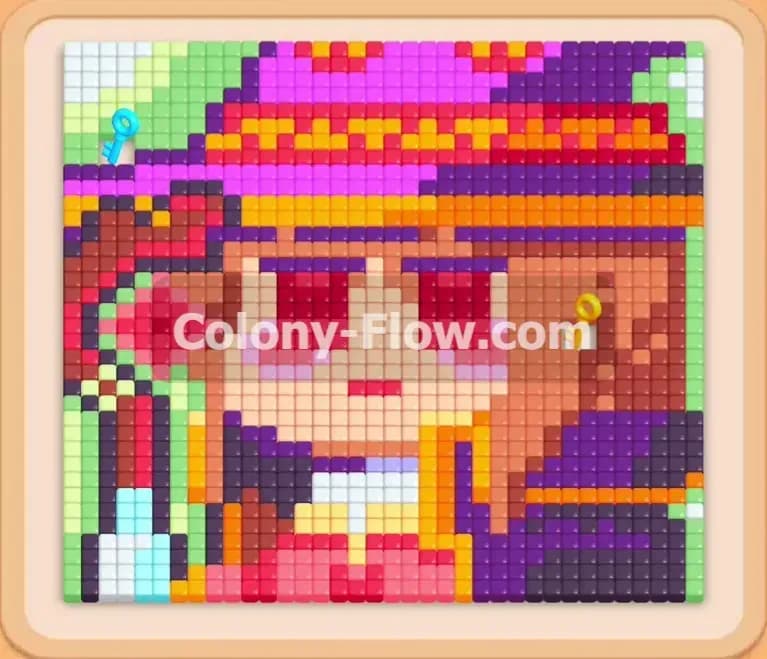
Colony Flow Level 1004 drops you into a detailed pixel art portrait of a girl wearing a brightly colored hat. You need to dismantle this picture piece by piece by feeding the right colored ants onto the board. This board demands careful pathing because the layout easily traps ants if you open the wrong sections too early. We will break down exactly how to route your colony safely from start to finish.
Colony Flow Level 1004 Overview
What You Are Working With
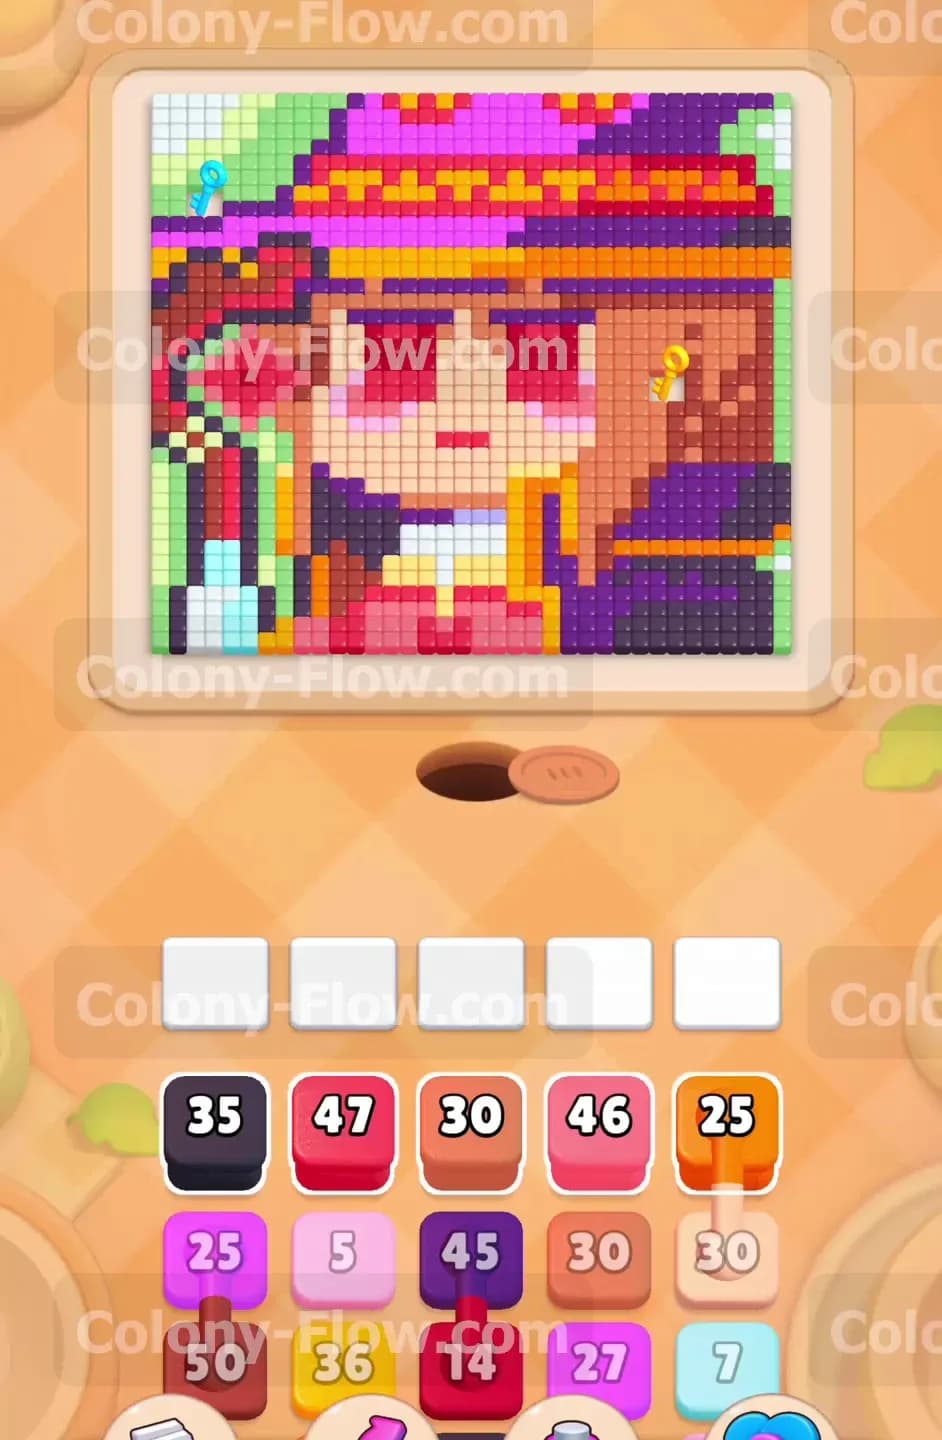
The board features a large central portrait made of dark purple borders, a massive red and pink hat, brown hair, a yellow and white shirt, and some green background accents on the left. Your tray starts packed with high number blocks including a 35 dark purple block, a 47 red block, and a 46 light pink block. A single golden key rests on the right side of the board buried in the brown hair section. This key links to a locked yellow block sitting in your tray. Later in the level you will encounter connected boxes in your tray. These linked blocks move as a pair and require clear paths for both colors at once.
What It Takes to Clear Level 1004 Board
You win when every single pixel tile vanishes and all the ants finish their work. You lose if you fill all five waiting slots at the top of your tray and none of those active ants can reach their matching colors. Your primary goal is carving out open routes from the bottom nest hole up into the dense pixel art. You must clear the right side first to grab the golden key and unlock your tray. Every move must maintain an open path so your slots never jam and trigger a dead end.
Colony Flow Level 1004 Step by Step Solution
Step 1: Clear the dark outer border and reach the key on the right side.
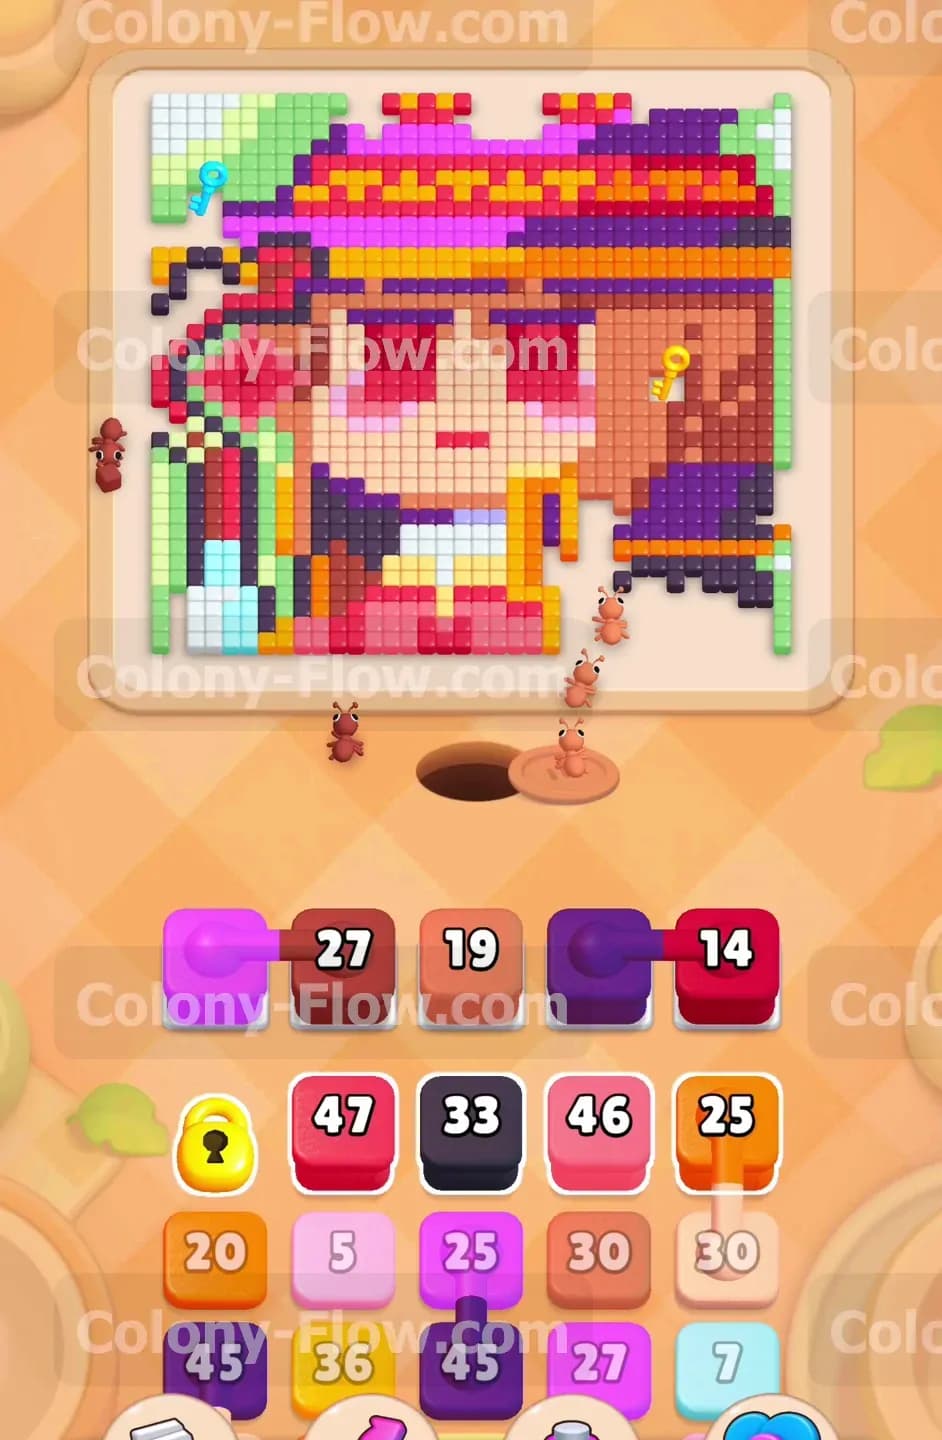
Start by pulling the 35 dark purple block and the 25 orange block into your empty waiting slots. The dark purple ants will immediately stream out of the nest hole and attack the bottom right border of the portrait. Once that outer wall falls the orange ants can climb up into the right side of the hair. This clears a massive chunk of the right side and opens a direct path to the golden key. You need this key immediately because the locked yellow 20 block acts as a roadblock for other useful colors in your tray. Watch your waiting slots closely and only pull a new block when these first ants finish their work.
Step 2: Strip away the lower shirt and face outlines to widen the main path.
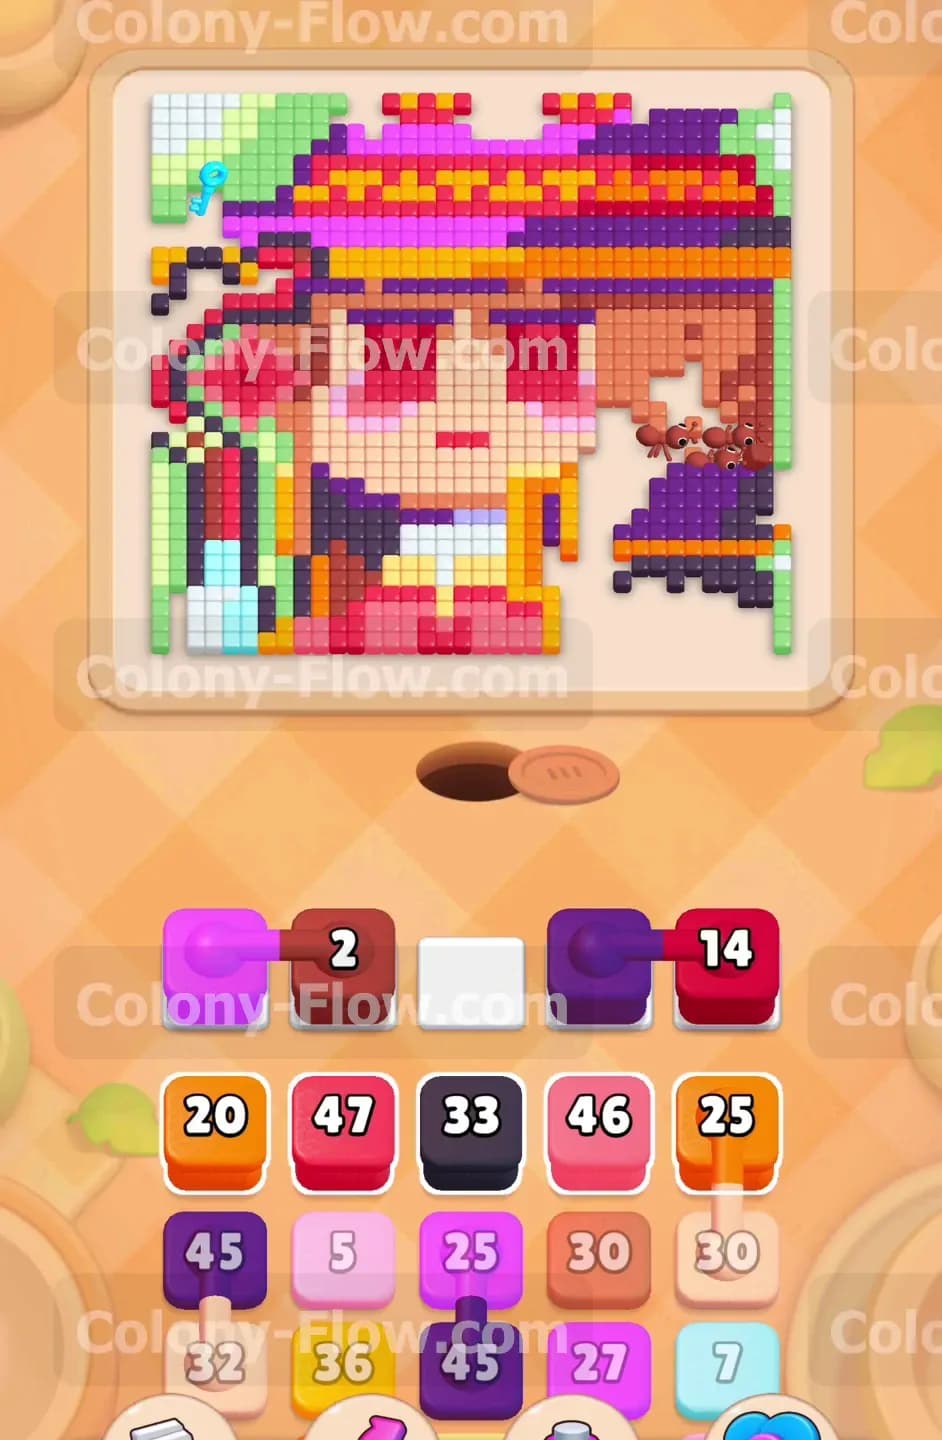
Once you grab the key the yellow block unlocks and frees up space in your tray. Now you can pull the 27 magenta block, the 19 orange block, and the 14 purple block into the active slots. The magenta ants will eat away the bottom section of the girl's shirt near the nest hole. The purple ants march into the lower layers of the hat brim. These moves strip away the solid bottom barrier of the picture. Your colony now has a wide open space to travel upward without getting stuck behind tight corners.
Step 3: Unleash the high capacity red and pink blocks into the hat.
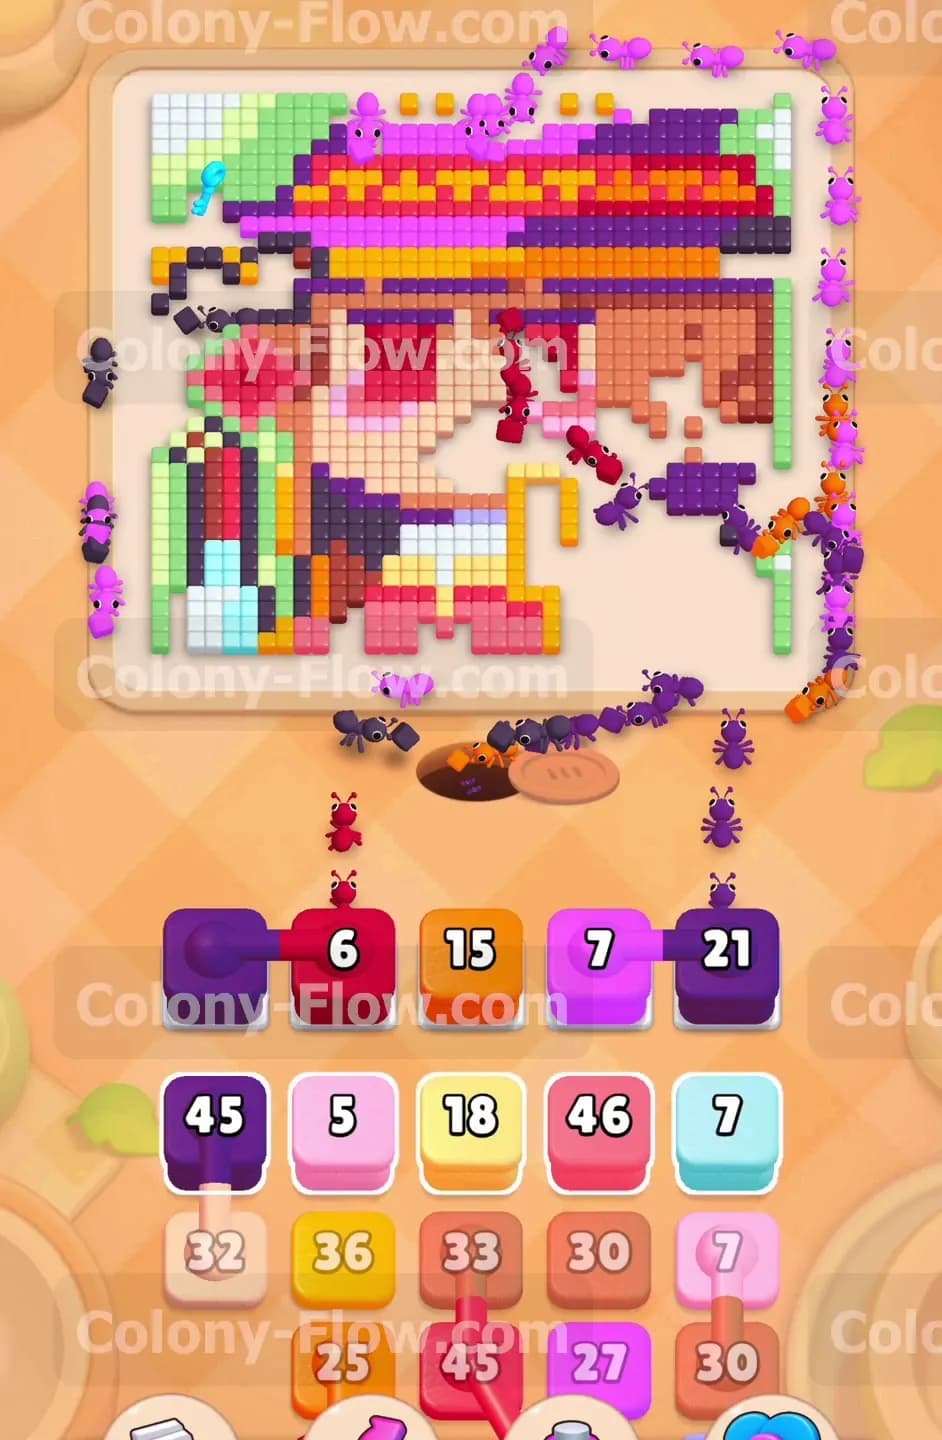
The center of the hat contains a massive cluster of red and pink tiles. Pull the 47 red block and the 46 light pink block into your tray slots. These large numbers mean the blocks will sit in your waiting area for a long time as the ants spawn. You must balance them with smaller blocks to avoid a jam. Watch the ants swarm the center of the hat and carve out a large cavity in the middle of the board. This hollow area is perfect for routing ants to the top corners later on in the level.
Step 4: Manage the first set of connected red boxes in your tray.
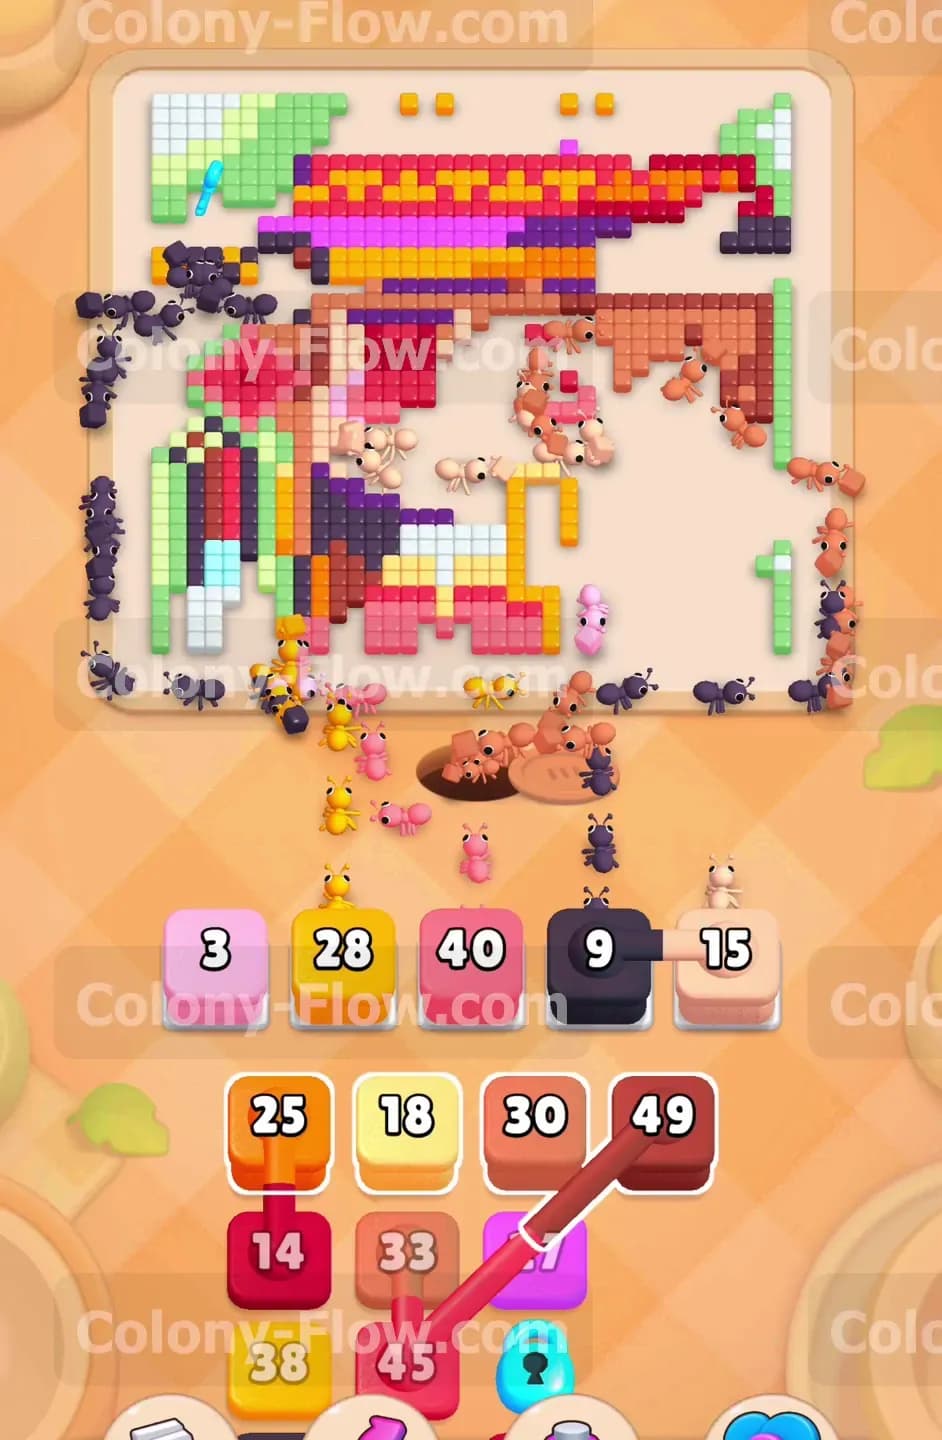
As you pull more blocks from the tray you will expose a set of connected boxes. You will see a 14 red block linked directly to a 33 dark red block. You cannot use one without the other taking up a slot. Before you pull these linked blocks make absolutely sure the board has open red and dark red tiles exposed at the same time. If you pull them too early they will sit in your waiting slots and block two valuable spaces indefinitely. Wait until the center hat cavity opens up fully to pull these connected boxes safely.
Step 5: Clear the second set of connected boxes to hollow out the hat completely.

Immediately after the first connected set you will find another pair. This time a 13 dark red block connects to a 49 dark red block. The logic remains exactly the same as the previous move. Ensure you have plenty of dark red tiles exposed along the top edges of the hat before pulling them. Because both blocks target the same color the ants will form a massive single file line stretching from the nest hole all the way up to the top of the board. Let this long sequence finish completely before pulling anything else so your slots stay clear.
Step 6: Break down the left side green accents and the remaining shirt.
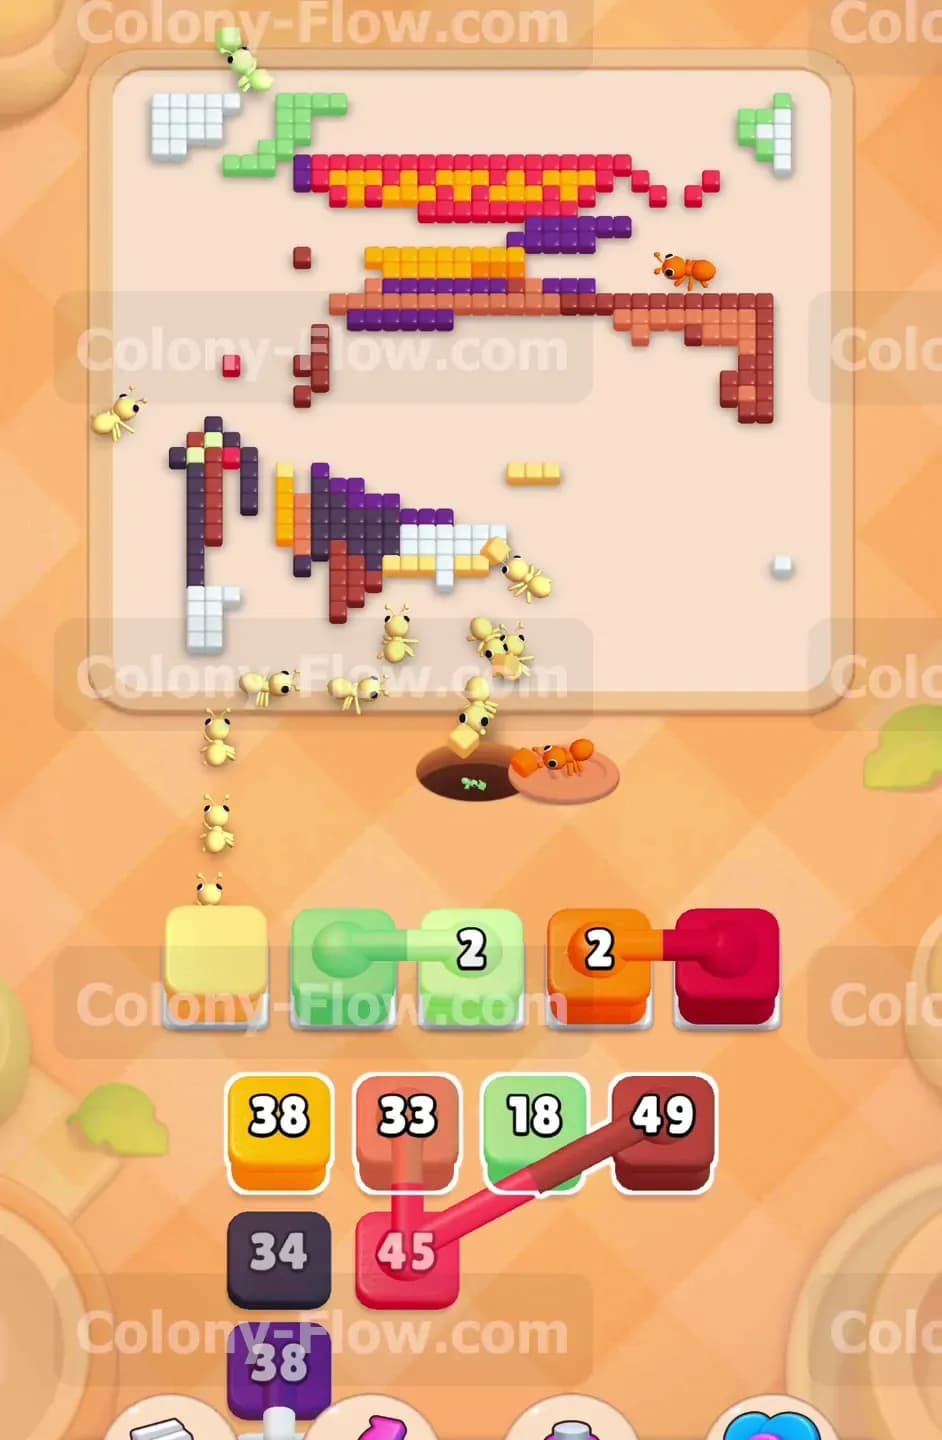
The left side of the portrait features green and light blue tiles. Leave these alone until the center and right side are mostly clear. Now pull the green blocks and the light green blocks into the slots. The green ants march up the left edge and consume the vertical column of tiles. By waiting to do this you ensure the green ants do not bump into the red ants working the center. This keeps traffic flowing smoothly out of the nest hole and prevents any blockages.
Step 7: Clear the top hat brim with the yellow and orange blocks.
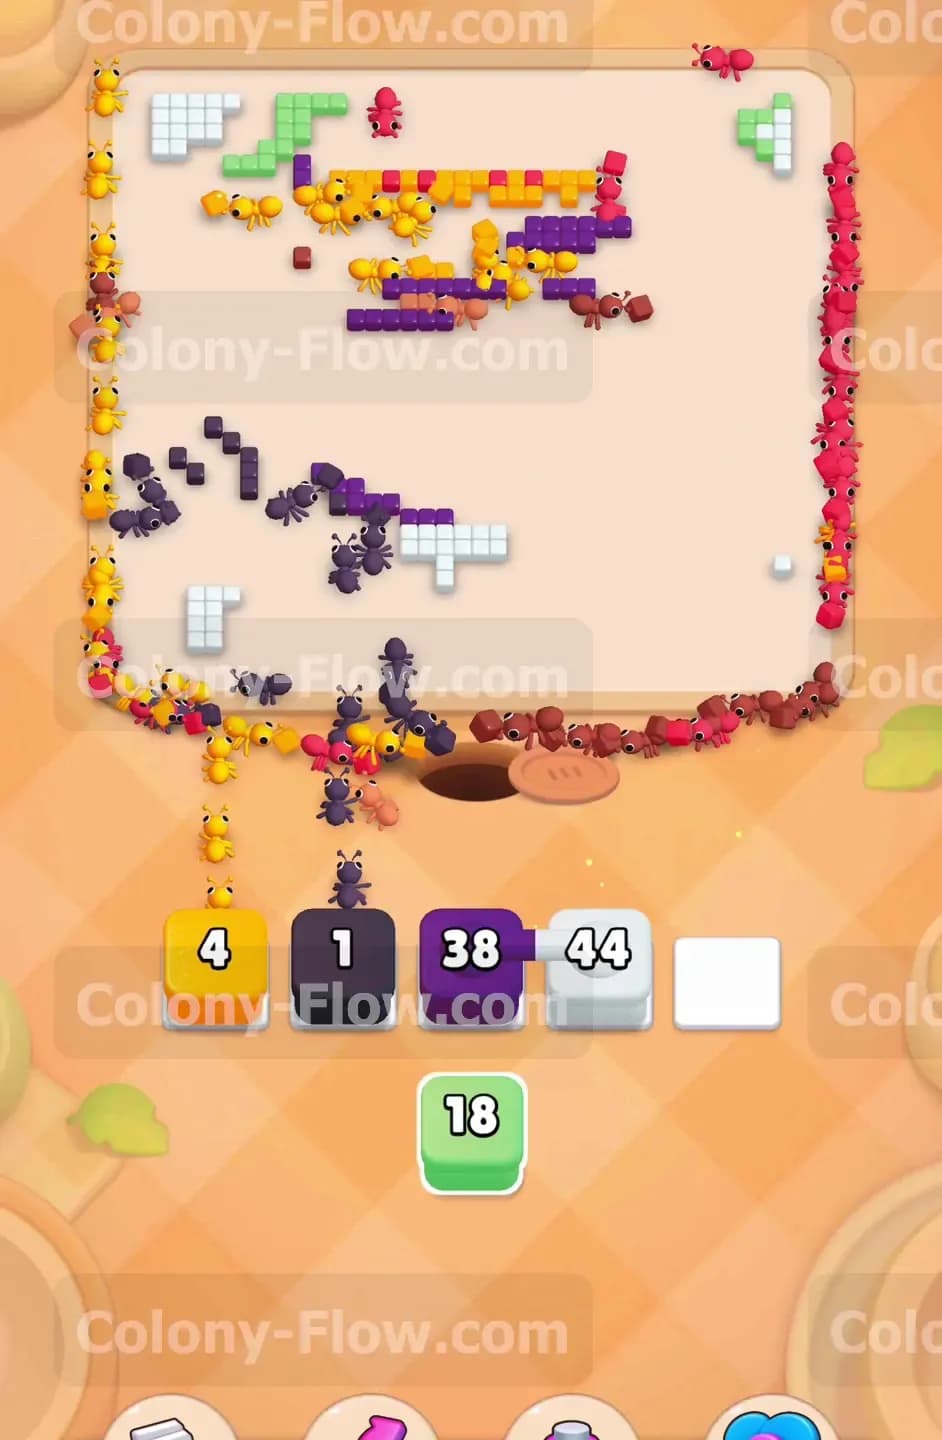
With the face and bottom sections gone only the top heavy hat brim remains. You will need your 18 yellow block and your 25 orange block to finish this section. Pull them into the active slots and watch the ants travel all the way up the cleared center space. They will spread out along the very top edge of the board. Since the physical path is very long it takes a few moments for the blocks to count down. Do not panic and pull more blocks right now. Let the yellow and orange ants finish their journey so your slots stay clean.
Step 8: Clean up the final scattered fragments around the edges.
The board is now mostly empty space with a few scattered tiles on the far left and right edges. Your tray will show a large 44 white block and a 38 dark purple block. Pull these final blocks into your waiting slots along with any remaining single digit blocks. The white ants will target the remaining tiles on the top left. The dark purple ants will wrap all the way around the vast empty board to hunt down the final outer border pixels on the right. Once these blocks hit zero the board is clean and the level is beat.
Final Thought
Level 1004 tests your patience with high number blocks and connected boxes. The key to winning is managing your five waiting slots and never pulling a large block until you see a guaranteed clear path on the board. Watch the video above this article if any step is hard to follow in text.