Colony Flow Level 49 Walkthrough Solution & Guides | How to solve Colony Flow 49

Guide By Liam Stone
Updated on July 10, 2026
Skip ahead to the video above if you want to see Level 49 solved without reading the full article.
Video doesn't match your screen?
Game updates frequently scramble layouts! Try our AI Screenshot Solver first to find your exact board instantly, or report broken guides to our team.
Welcome to Colony Flow Level 49. I am Liam Stone and I am ready to help you clear this beautiful shell and pearl picture. This stage gives you a massive block of background color right away but hides a few tricks in the tray below. You have to balance your moves perfectly to avoid filling your five waiting slots and losing the game. Let us dive right in and get these ants moving across the board.
Colony Flow Level 49 Overview
What You Are Working With
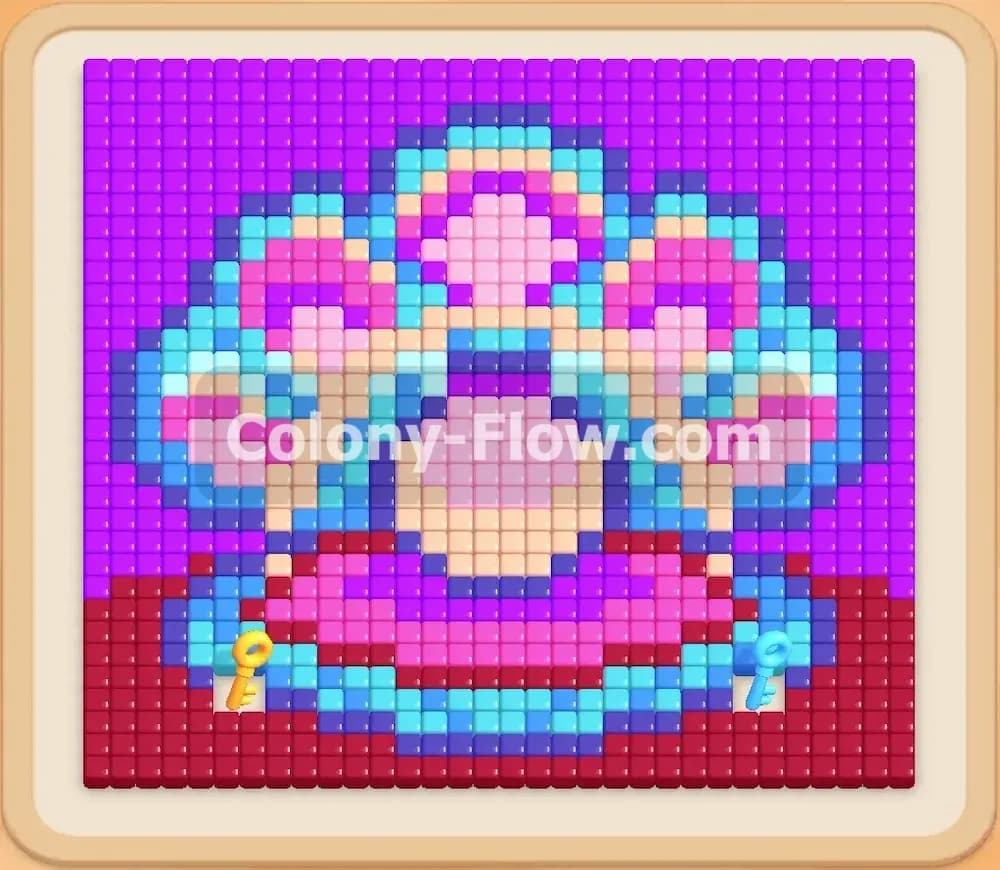
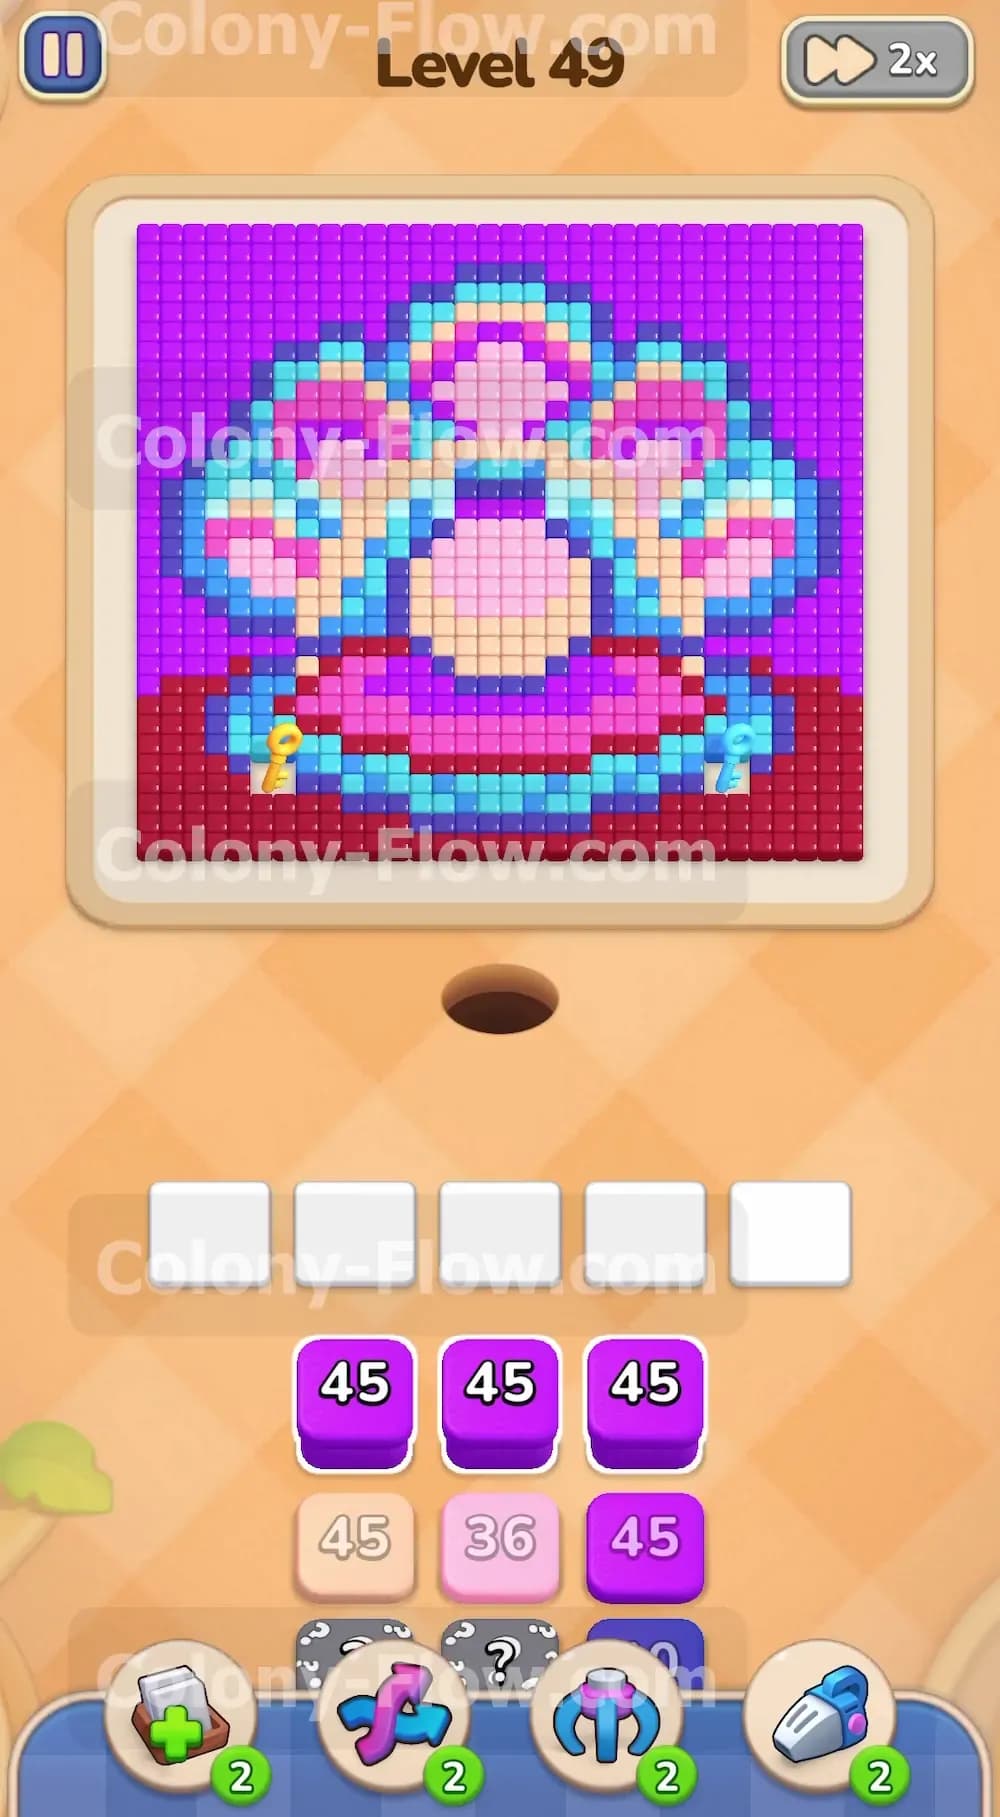
The puzzle board features a large pixel art picture of an open shell holding a round pearl. The entire background is filled with solid purple tiles spanning from the top edge to the bottom. The shell rests on a thick dark red base at the bottom of the screen. The shell itself has layers of light blue tiles on the outside followed by pink and magenta tiles on the inside. Right in the very center sits a large peach colored pearl.
You will notice a yellow key resting directly on the left side of the dark red base. This tells you the Lock and Key mechanic is active in this level. Looking down at your tray you will see multiple locked blue blocks waiting for that key. You also have a Hidden Box covered by a large question mark sitting in the middle of your tray rows. You will not know what color that hidden box holds until it finds a clear path to open. Your top row starts completely filled with three massive Purple 45 blocks blocking the way for everything else.
What It Takes to Clear Level 49 Board
Winning this level requires you to open up the board from the outside moving inward. You must clear the massive purple background first to give your ants room to travel along the outer boundaries. From there you need to prioritize the dark red base. Eating away those dark red tiles allows your ants to grab the yellow key and open up your options.
Grabbing that yellow key is your primary goal because it unlocks the blue blocks trapped in your tray. Without those blue blocks your five waiting slots will eventually fill up with unplayable colors resulting in a dead end. Once you unlock the tray you can systematically feed the pink and magenta layers followed by the light blue edges. Finally you will reveal the hidden box and use the last remaining purple and dark red blocks to wipe the board completely clean. The game ends when every single pixel art tile is gone and your ants return safely to the nest hole.
Colony Flow Level 49 Step by Step Solution
Step 1: Clear the outer purple background to open up the board
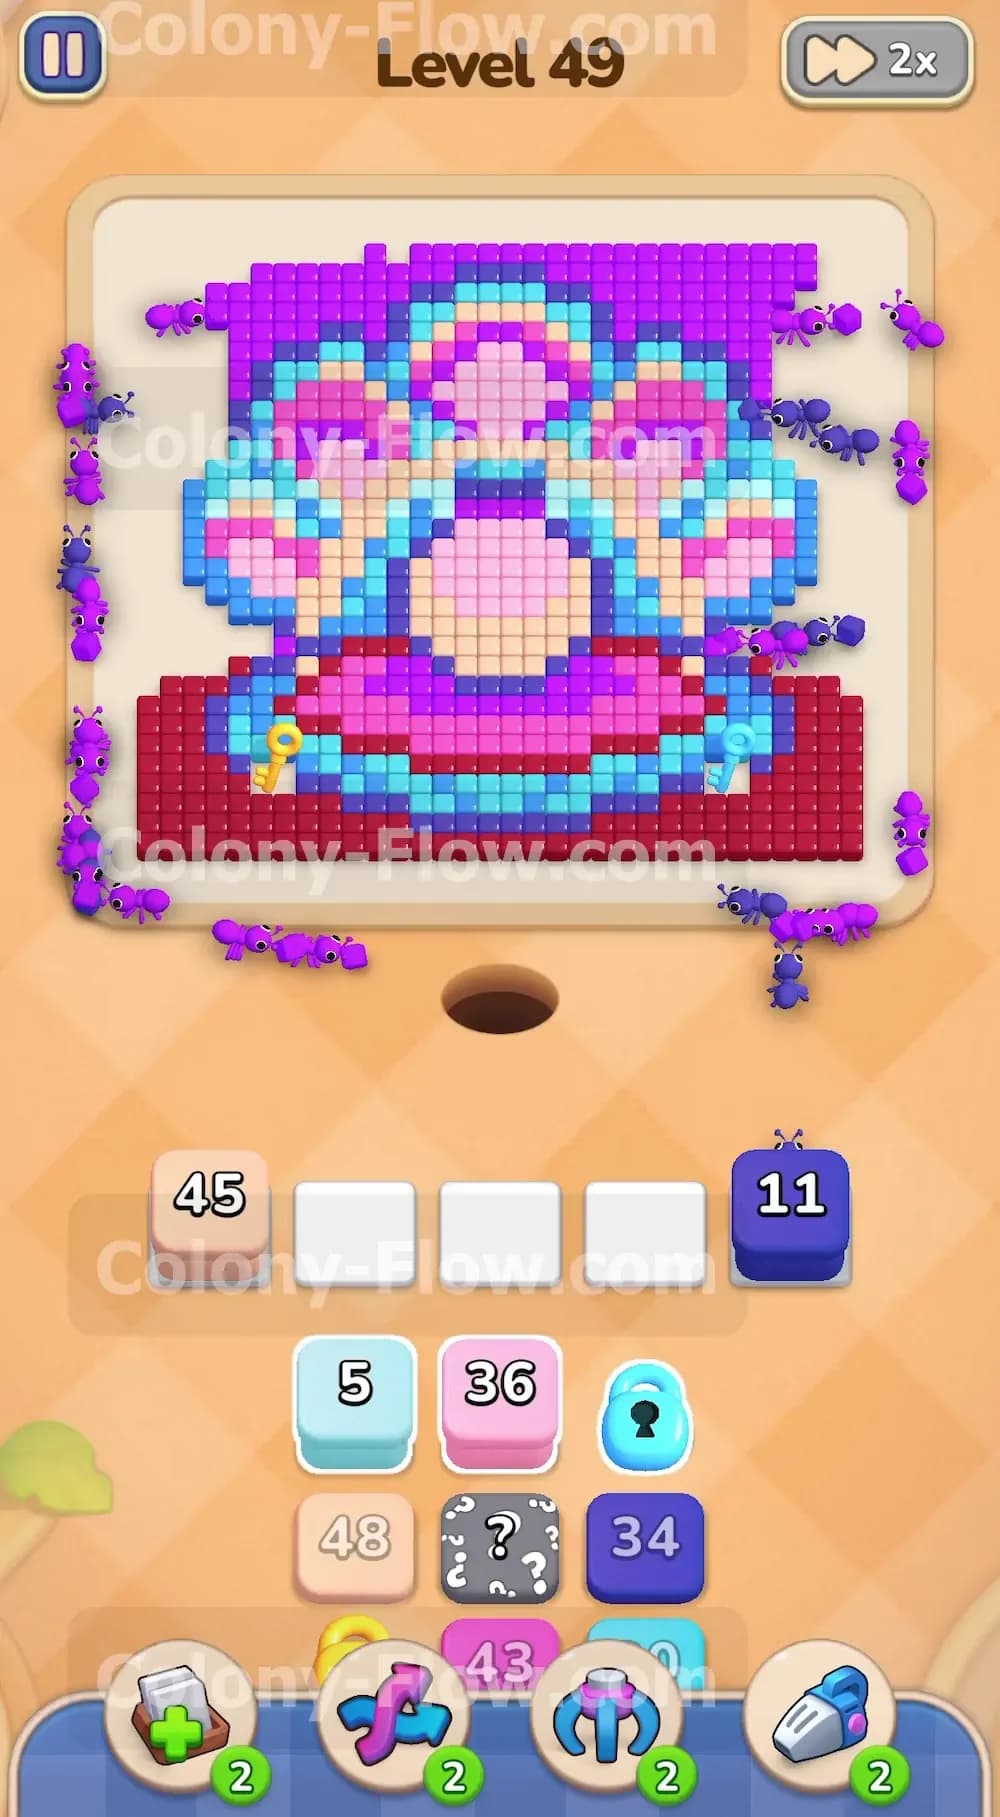
You begin the level staring at three big Purple 45 blocks sitting in your tray. Tap all three of them immediately to move them into your five waiting slots. The purple ants will stream out of the nest and take the long way around the shell to reach the massive purple background. This action eats away the outer edges of the picture and creates multiple access points for the inner shell colors. Giving your colony a wide open path early on is the best way to prevent a traffic jam in your waiting slots later in the level. Let the purple ants do their heavy lifting and watch your tray reveal the next set of required colors.
Step 2: Start on the peach pearl and dark red base
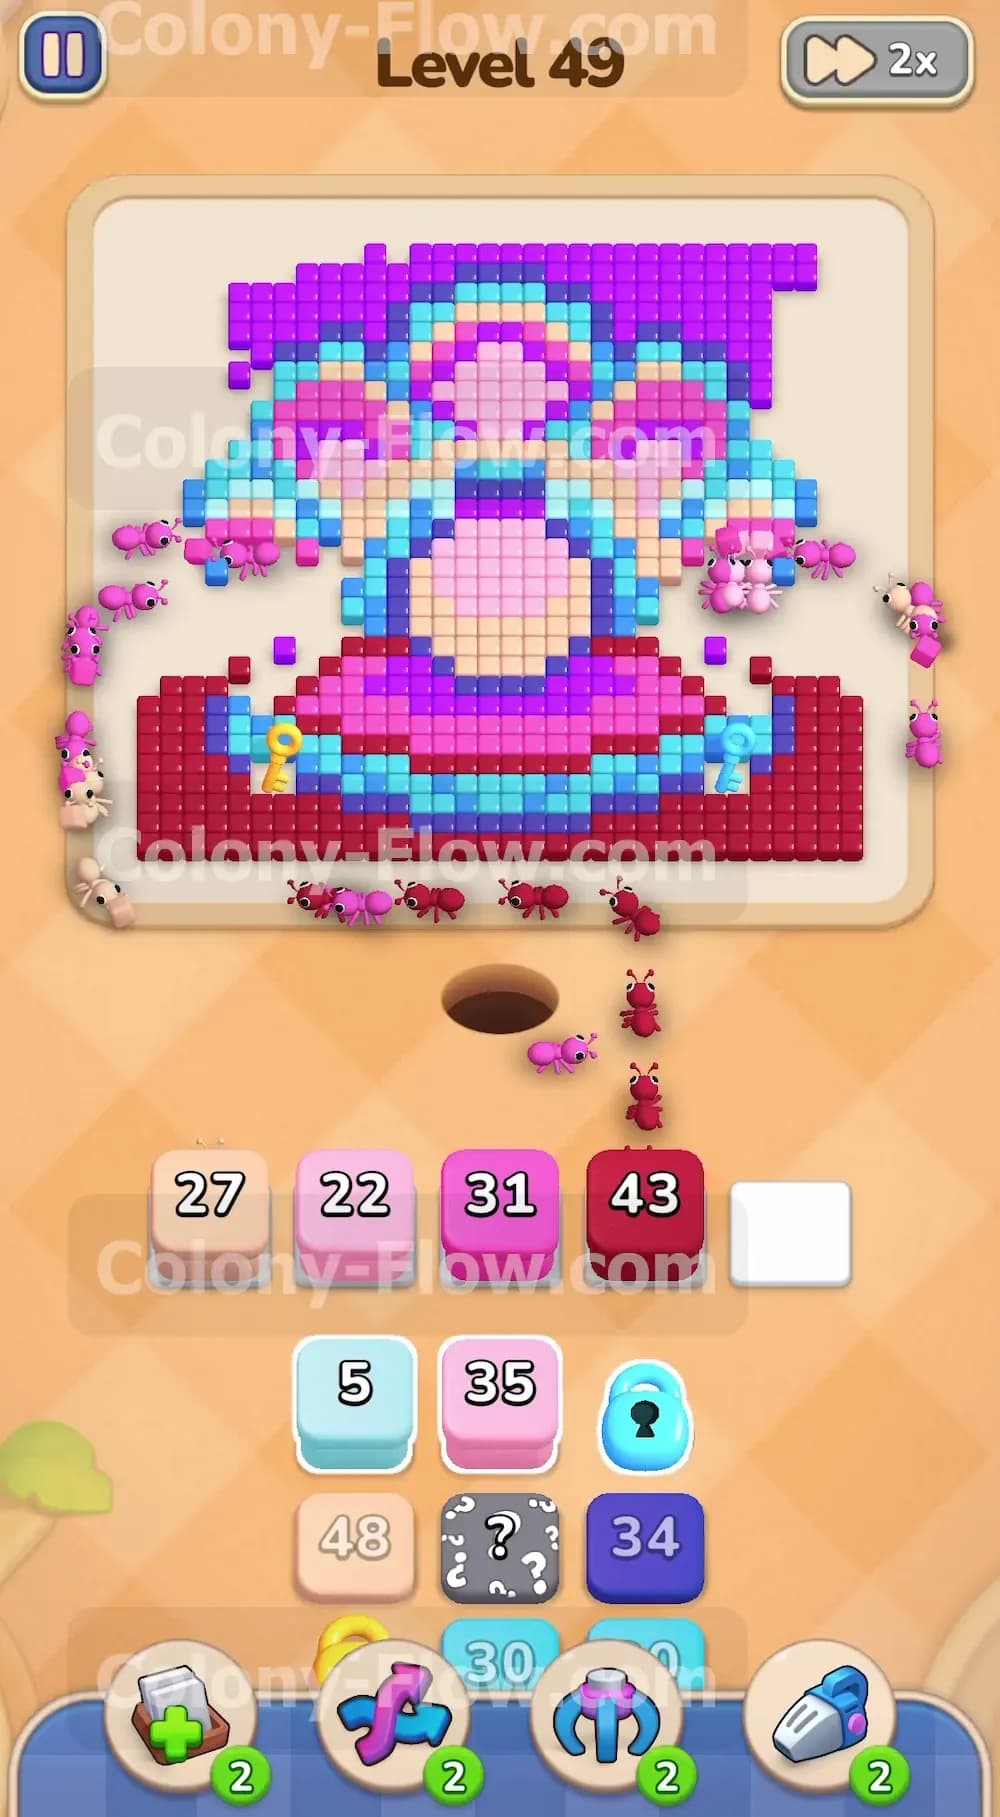
Once the purple blocks clear out of the tray you will see a Peach 45 block and a Pink 36 block appear. Tap the Peach 45 block to send a fresh stream of peach colored ants straight into the center pearl. You also need to look for a dark red block to pull into your waiting slots. The dark red base at the bottom of the picture holds the yellow key you desperately need. Getting your ants started on the dark red base early ensures they will reach that key before your tray completely locks up with unusable colors. Keep an eye on your five waiting slots and make sure you do not pull too many colors at once without an open path.
Step 3: Work on the pink and magenta shell layers
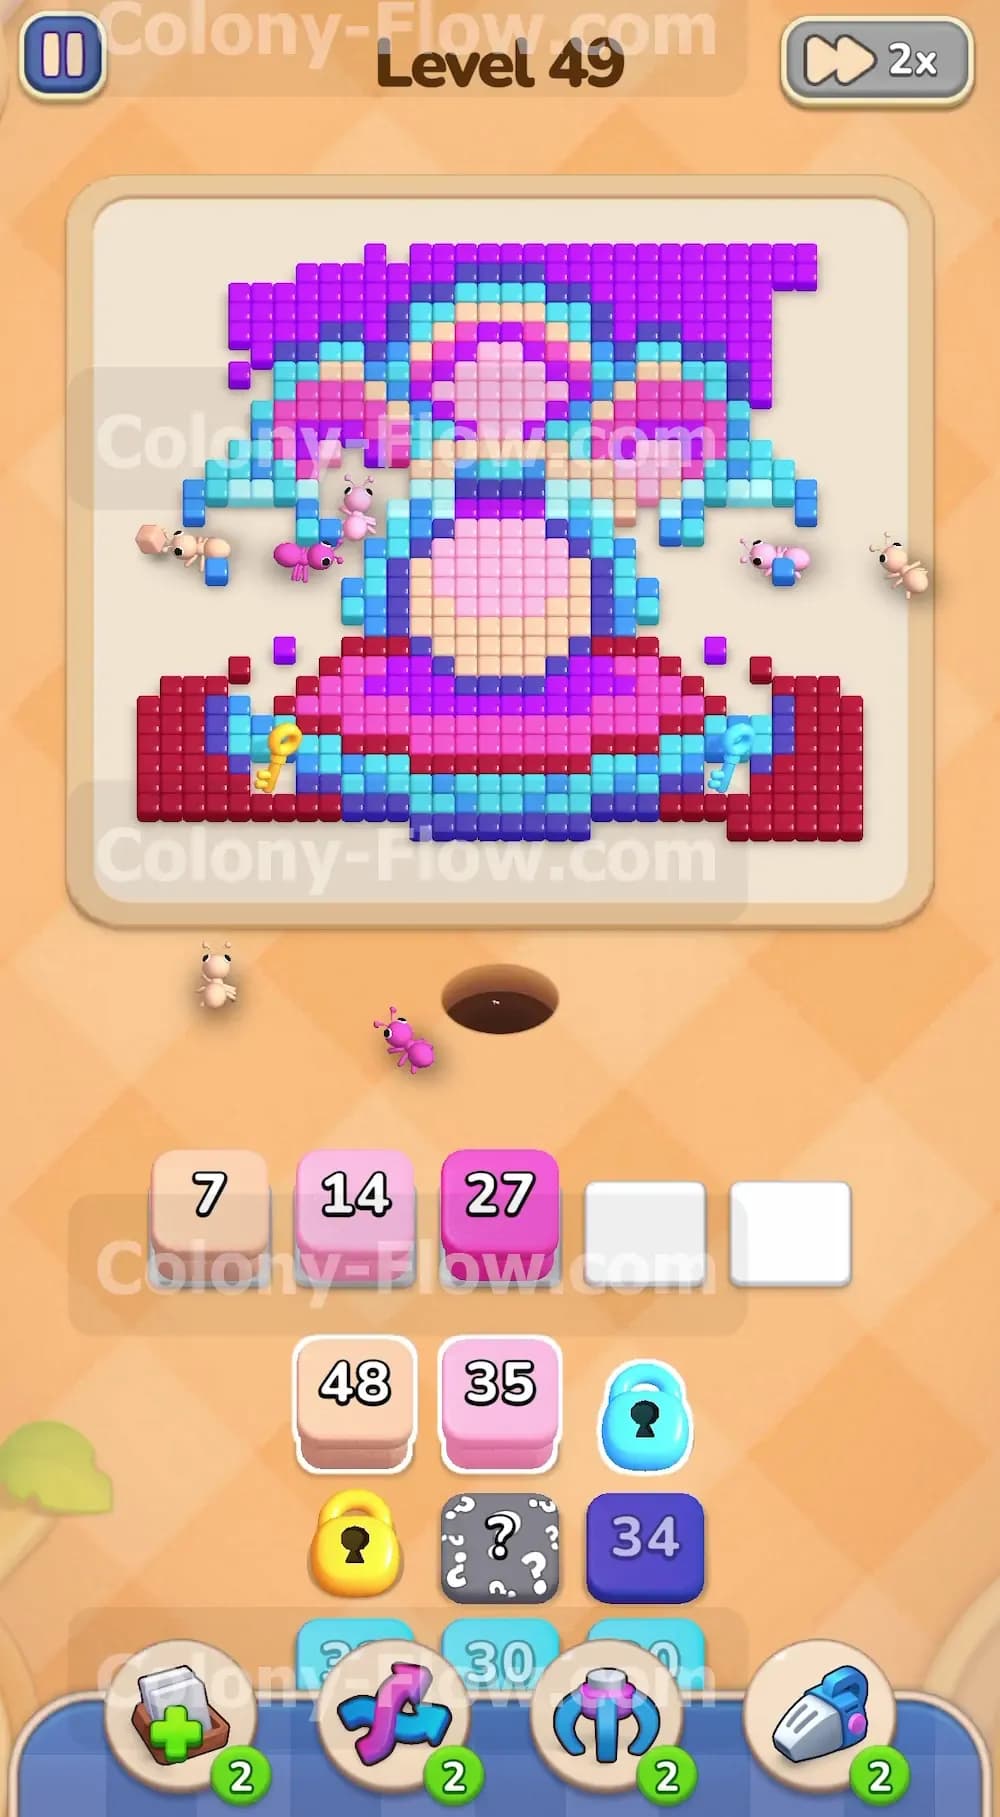
With the peach and dark red ants moving steadily you can now start pulling the pink and magenta blocks. The inner shell layers require a large volume of ants to clear away completely. Tap the Pink 36 block and any available magenta blocks to keep the paths flowing smoothly. Your waiting slots will look incredibly busy right now with peach pink magenta and dark red blocks all counting down together in a tight space. This is actually a very safe position because every single block has an open path to the board. The ants will weave around each other perfectly without getting stuck or causing a fail state.
Step 4: Collect the yellow key and unlock the tray
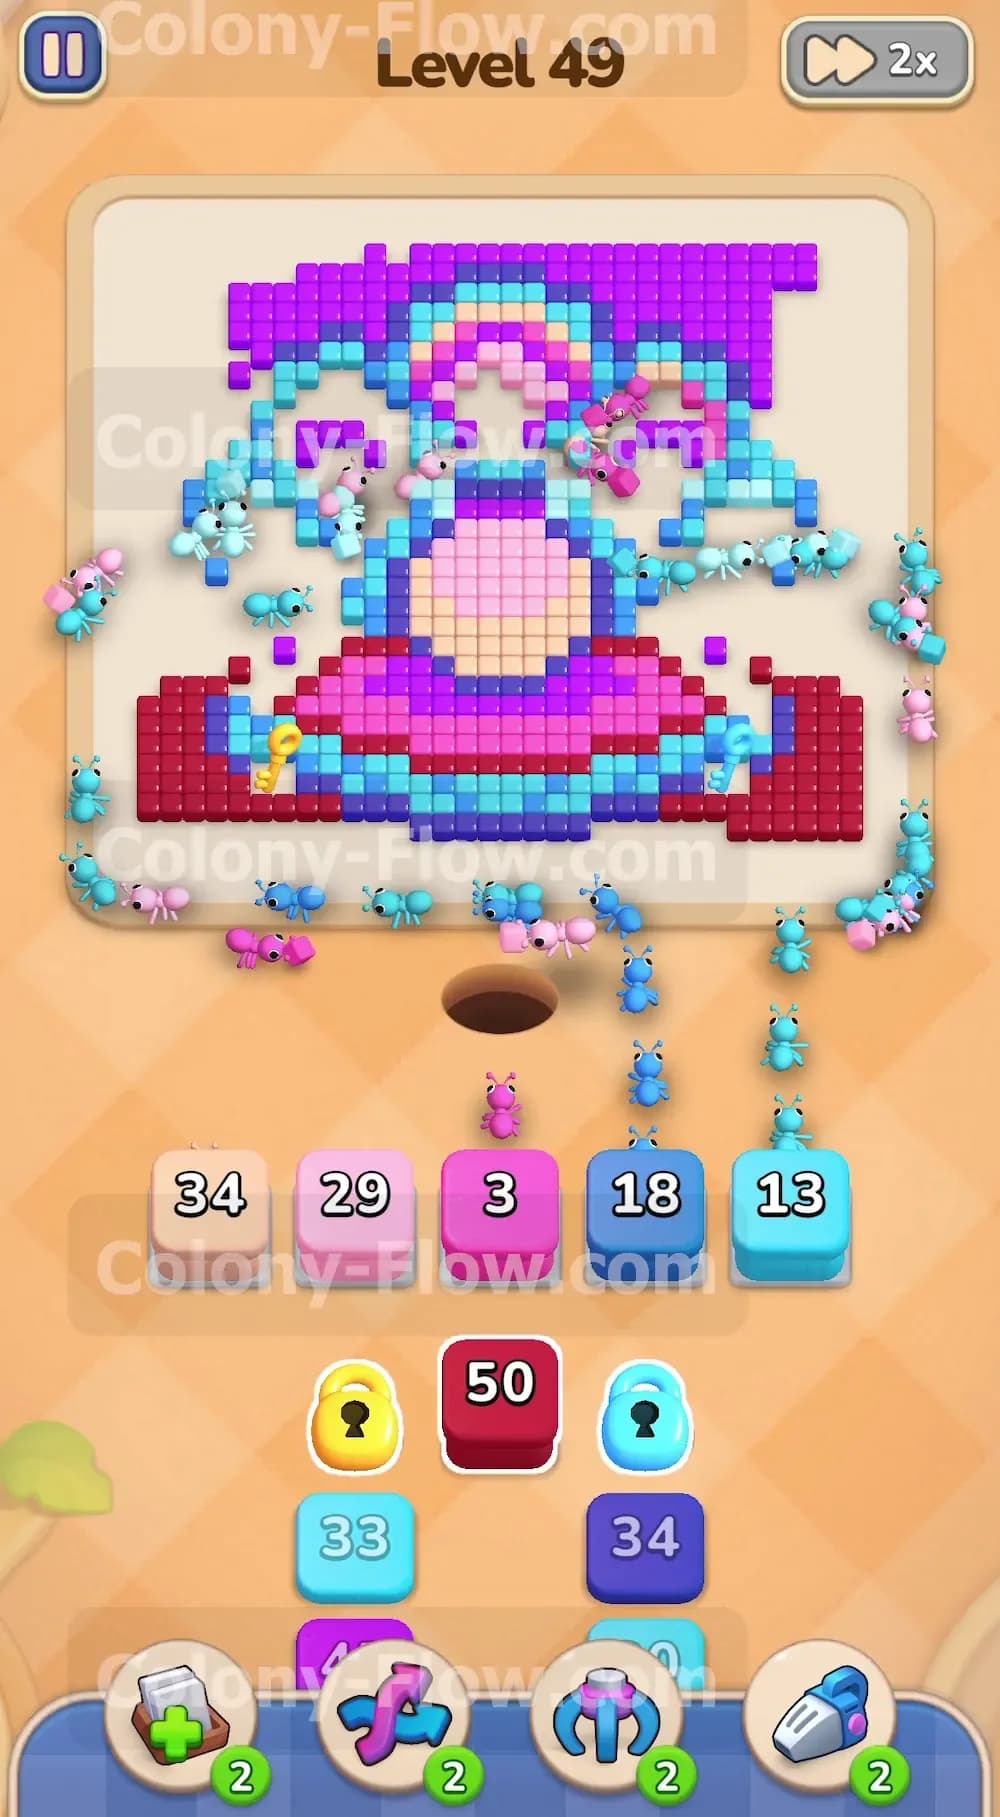
Watch the dark red ants closely as they chew their way through the bottom left corner of the base. They will eventually eat the exact tile holding the yellow key. The moment they collect the key the locked blue blocks and locked yellow blocks in your tray will spring open. This is a huge relief because those locked blocks were acting like a wall preventing new colors from sliding down into view. Having the locks removed frees up your entire tray space and gives you immediate access to the exact colors you need for the outer shell layers.
Step 5: Deploy the light blue and dark blue ants
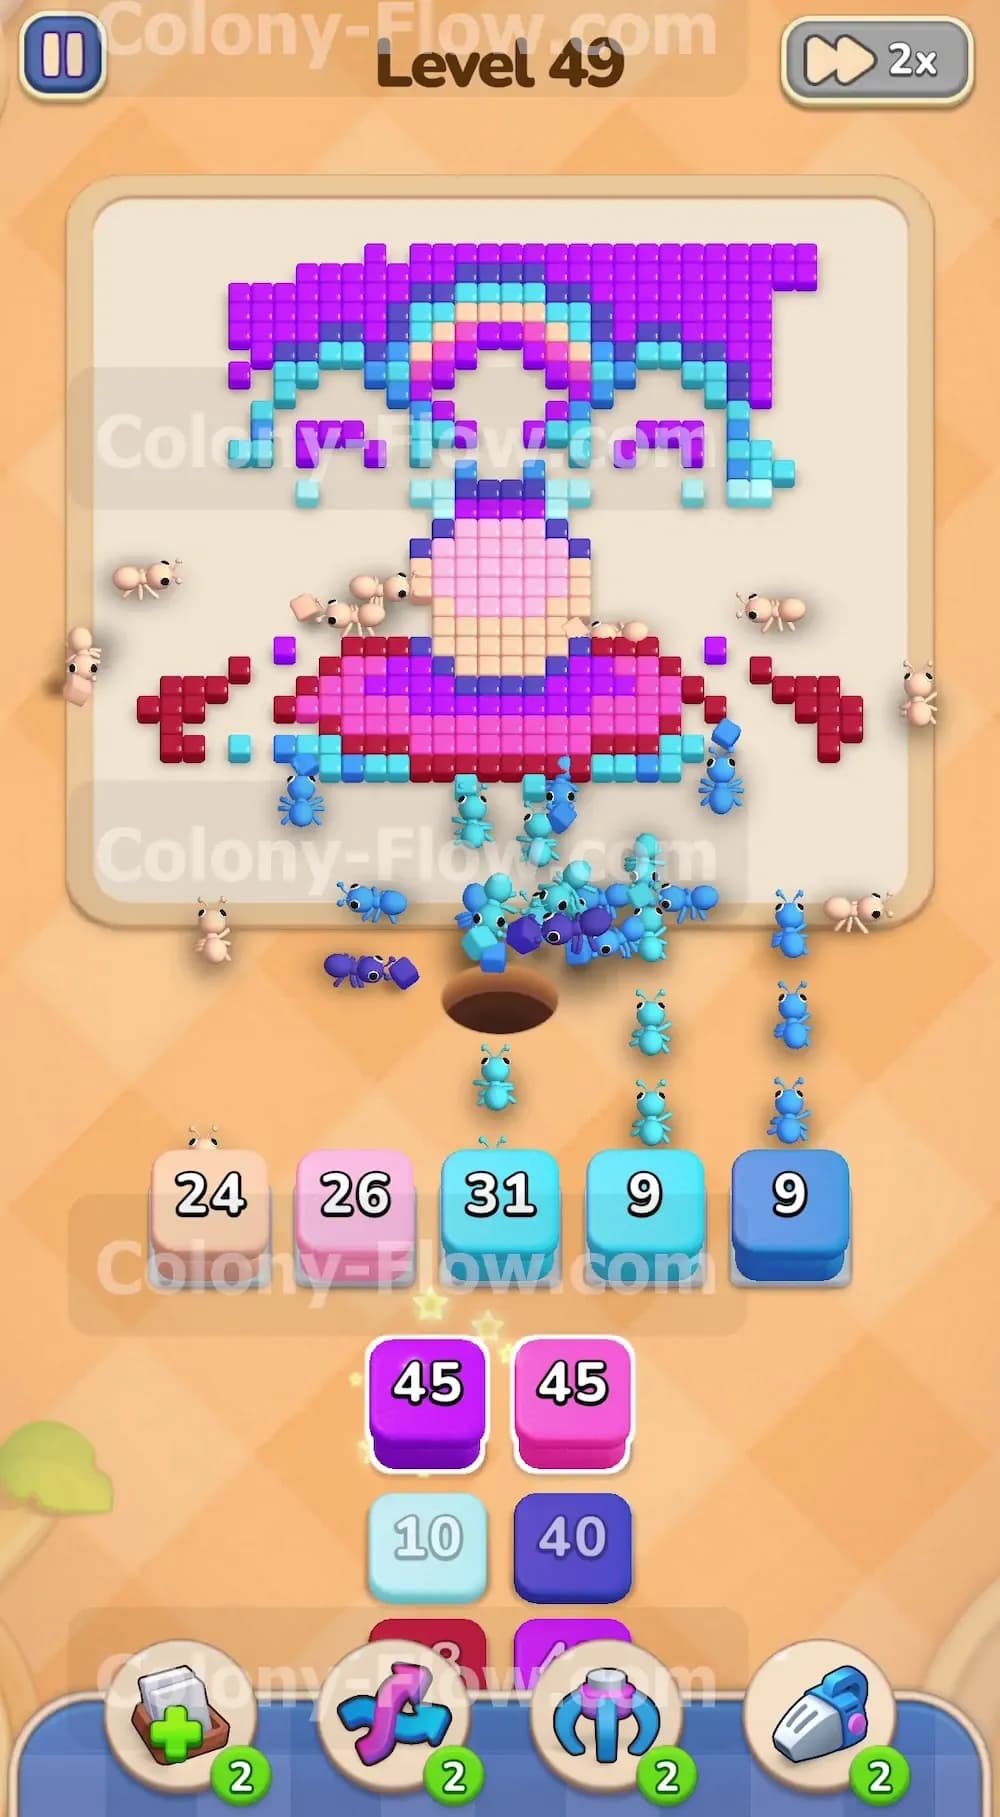
Now that the blue blocks are completely free you can pull them into the waiting slots along with the light blue blocks. Tap the Blue 34 block and the Light Blue 5 block to send your colony swarming over the edges of the shell design. You will see light blue ants attacking the top curves of the shell while dark blue ants clear the bottom accents above the base. Your five waiting slots will continue to drain smoothly because you opened up so many distinct paths during the first few steps. Keep pulling any matching blue or pink blocks that appear in the tray to keep the momentum going strong.
Step 6: Reveal the hidden box and finish the remaining tiles
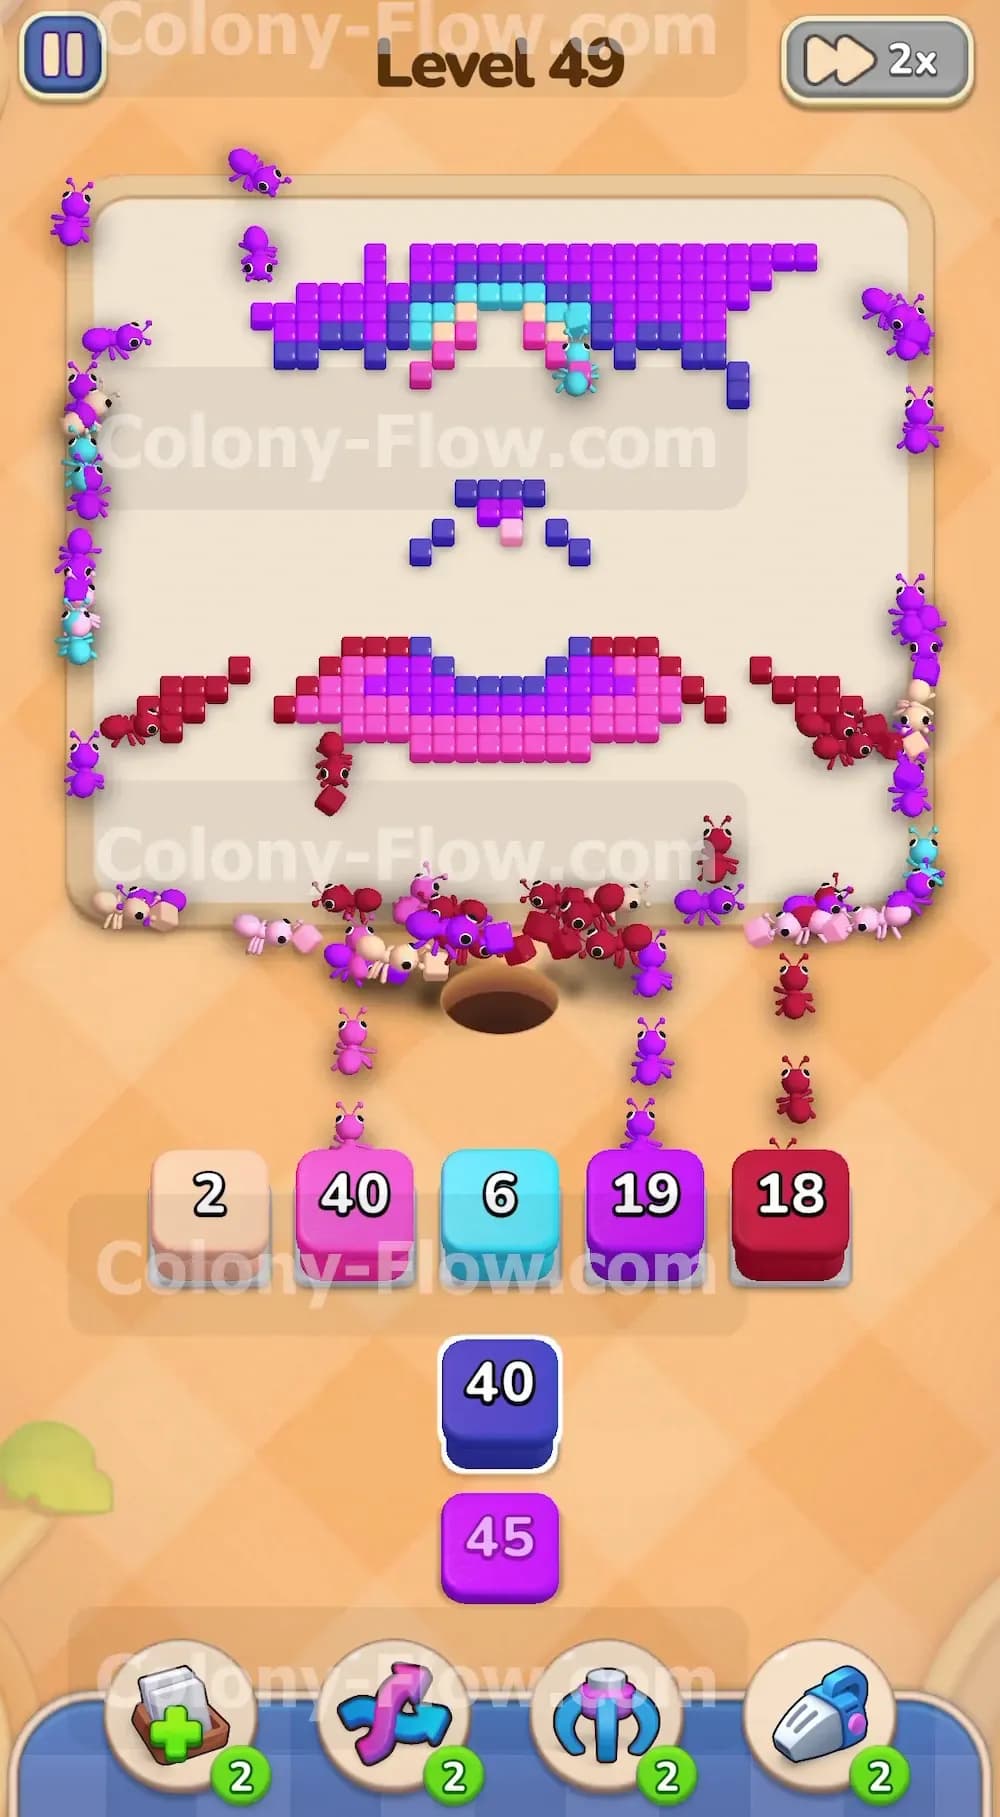
As you clear the blue and light blue tiles the hidden box in your tray will finally activate. The question mark disappears and reveals a new block you absolutely need for the final cleanup phase. At this point the board is mostly empty with just a few scattered background and base colors left. Pull the newly revealed block along with the final Purple 45 and Dark Red 50 blocks that slide down into the tray. The ants will easily find their way to the last remaining tiles on the board. Watch the numbers on your blocks count down to zero as the beautiful shell picture completely vanishes from the screen.
Final Thought
Clearing this beautiful shell picture feels incredibly rewarding once you nail the timing of that yellow key. Managing the massive purple background early makes all the difference in keeping your waiting slots empty and your ants moving freely. You always want to prioritize unlocking trapped tray blocks before pulling unnecessary colors into your active row. I highly recommend you watch the video above this article if any specific step feels hard to follow in text. Seeing the exact moment the ants grab the key will help you master the flow and beat the entire board.