Colony Flow Level 934 Walkthrough Solution & Guides | How to solve Colony Flow 934

Guide By Liam Stone
Updated on August 8, 2026
The article below breaks down Level 934 in detail, but the video above shows the whole thing if you'd rather watch.
Video doesn't match your screen?
Game updates frequently scramble layouts! Try our AI Screenshot Solver first to find your exact board instantly, or report broken guides to our team.
Colony Flow Level 934 gives you a fantastic pixel art turtle to clear but packs a massive challenge right at the very top of the screen. You have to actively feed a huge hungry door while carefully managing tricky connected blocks in your bottom tray. I played through this entire level myself and found the exact perfect sequence to keep the ants moving without ever jamming your waiting slots.
Colony Flow Level 934 Overview
What You Are Working With
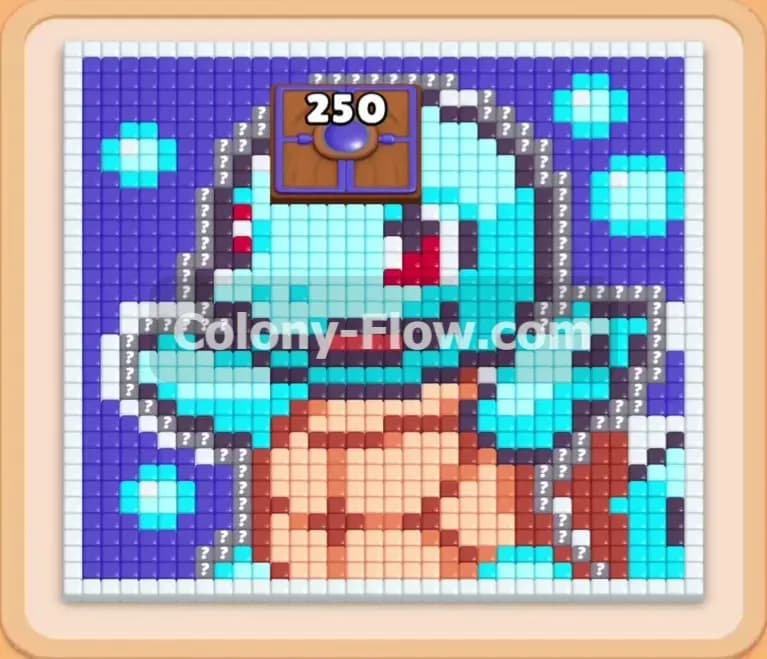
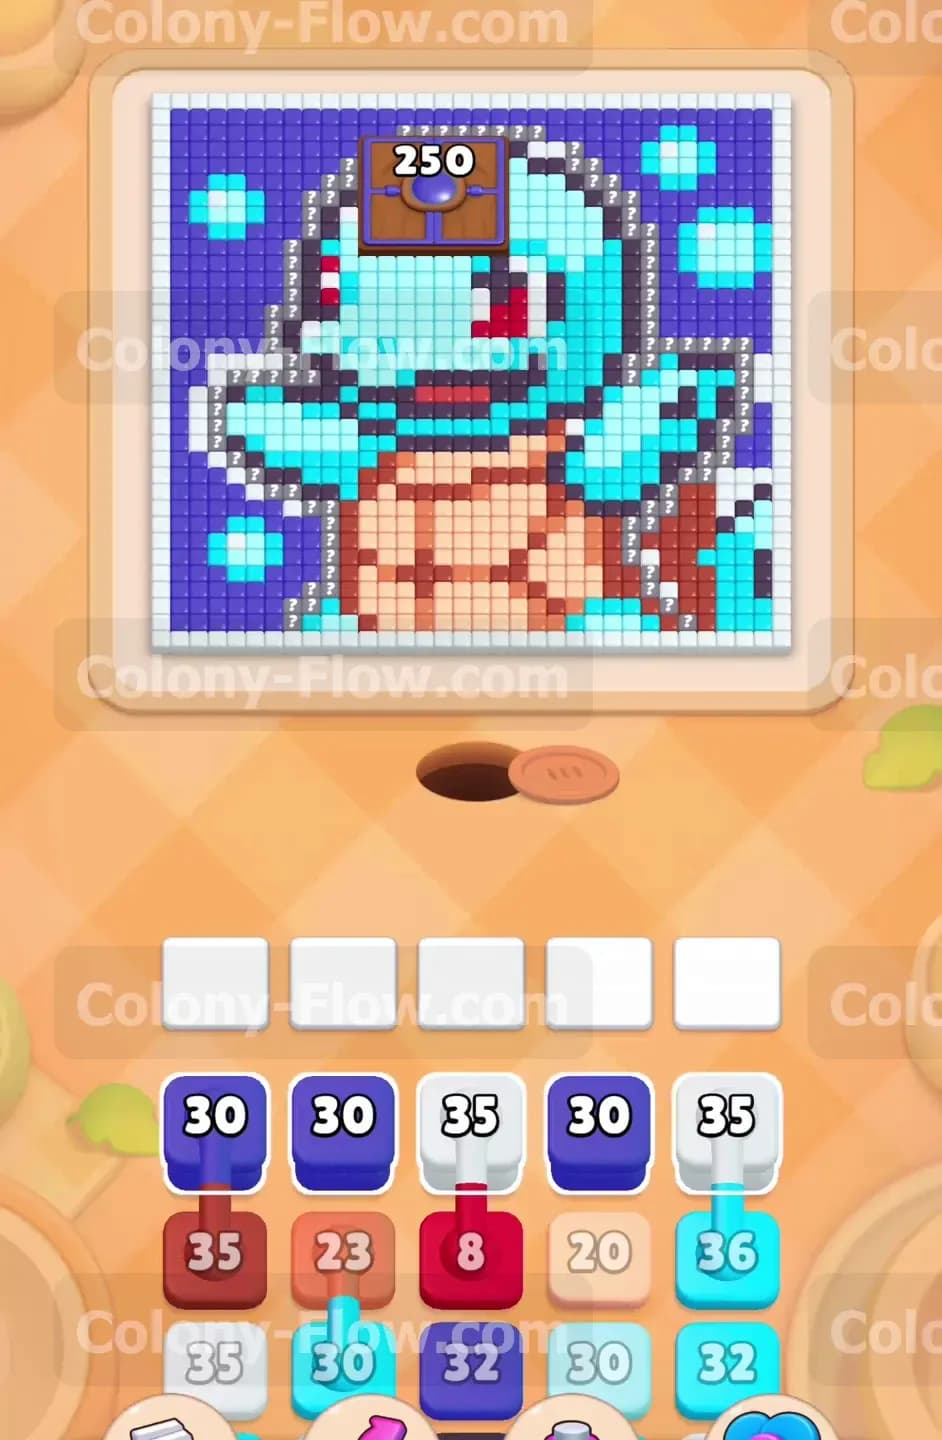
The pixel art picture showcases a fantastic blue water turtle floating underwater. The design features a dark blue background populated with bright white bubbles. The turtle itself boasts light blue skin alongside a tan shell and bright red eyes and cheek spots. At the very top of the head sits a giant hungry door demanding exactly 250 colors to open. Your bottom tray holds massive numbered blocks like 30 and 35. You will also face tricky connected boxes that permanently link two or three different colors together. These linked blocks require extra caution because they clear as a single massive group.
What It Takes to Clear Level 934 Board
You win this level by systematically clearing every single food tile to feed the hungry door and drop its counter to zero. You absolutely lose the round if you fill all five waiting slots with blocks that have no valid open paths to food tiles. This dead end scenario remains your biggest constant threat. Every single colored block you pull from the tray must have a totally clear route for the ants to reach the matching color on the board above. You have to perfectly balance clearing the easy outer tiles with digging into the center shell so your slots stay wide open and active.
Colony Flow Level 934 Step by Step Solution
Step 1: Open up the outer edges by playing the white blocks first
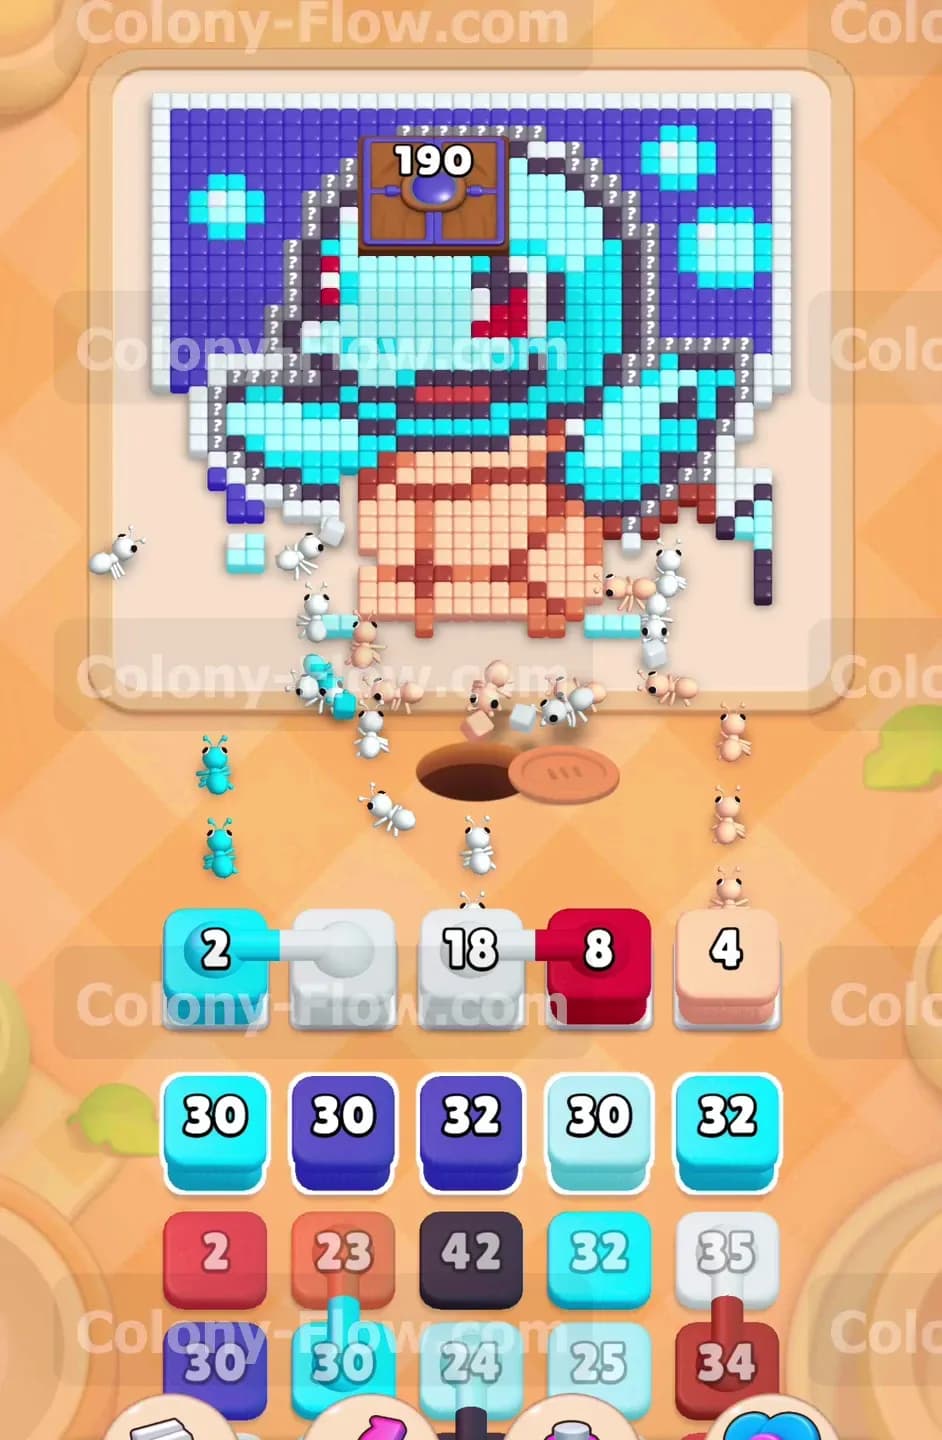
Start your game by pulling the white 35 block from your tray. The ants stream out of the nest hole and immediately head for the white border and the bubbles floating in the background. Clearing these white tiles first acts as a smart opening move. It beautifully exposes the outer edges of the dark blue background and prevents your ants from bottlenecking near the starting area. Your waiting slots remain perfectly empty and clear because the white tiles sit completely exposed on the outside of the design. This creates excellent starting momentum and immediately chips away at the hungry door counter. You establish a strong foundation for the entire puzzle by focusing on the borders right away.
Step 2: Clear massive background sections using the dark blue blocks
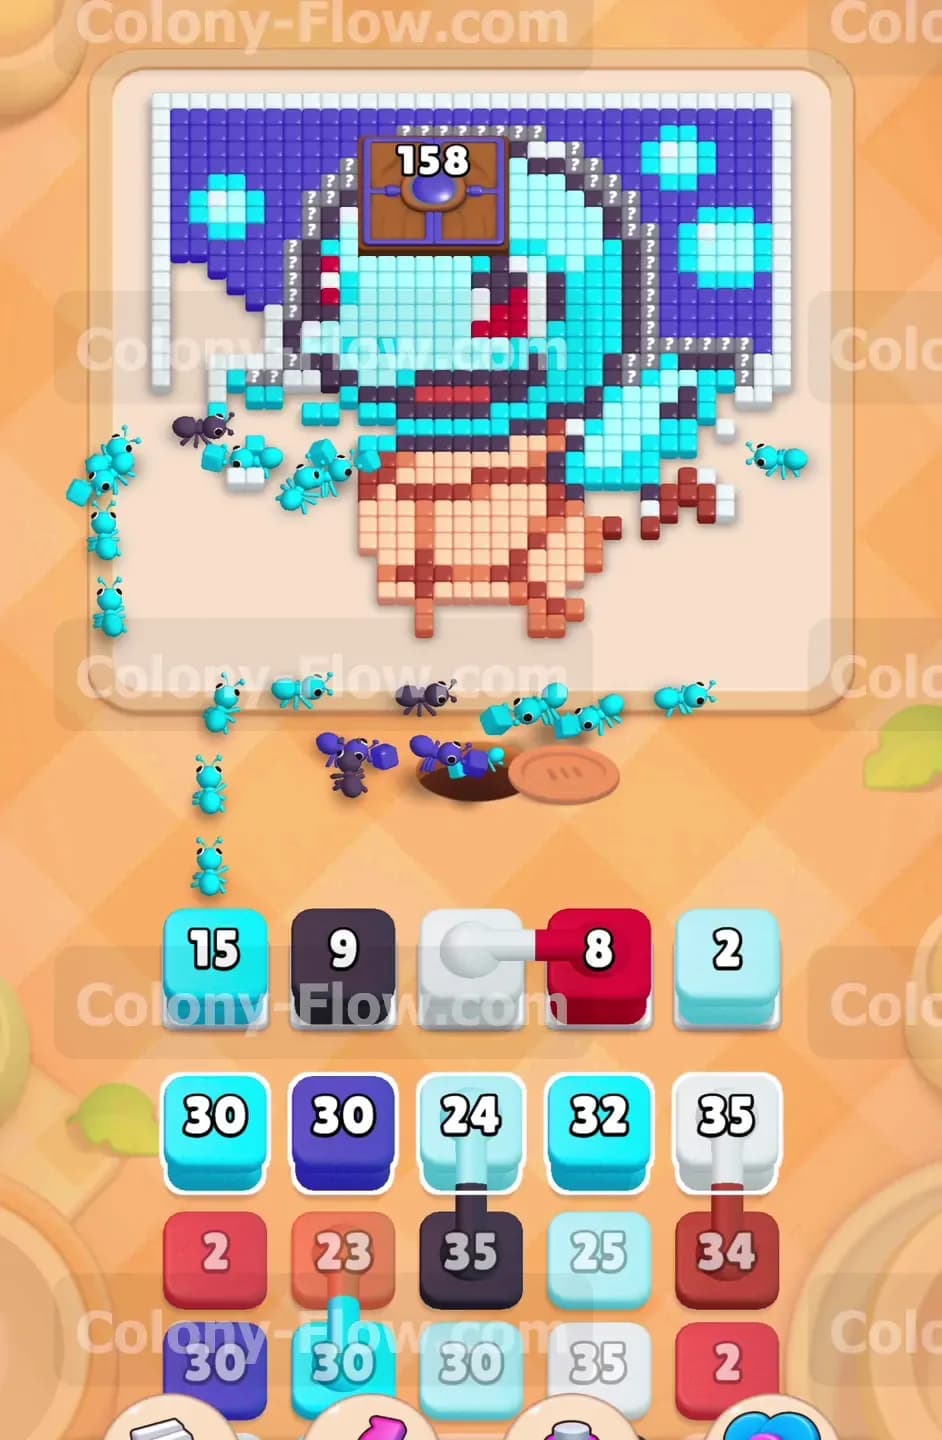
With the white border partially gone you can safely unleash the dark blue 30 blocks. Pull two of them into your waiting slots simultaneously. The ants rush to the top and sides of the board to devour the deep blue background surrounding the turtle. The dark blue area covers a huge portion of the puzzle so removing it gives your ants wide open paths to reach the inner details of the head and arms. Getting the background out of the way early ensures you never get blocked out of the top sections later in your run. The hungry door counter drops rapidly as the ants chew through dozens of background tiles. You maintain absolute control over the board state.
Step 3: Play the first connected block to hit the red details
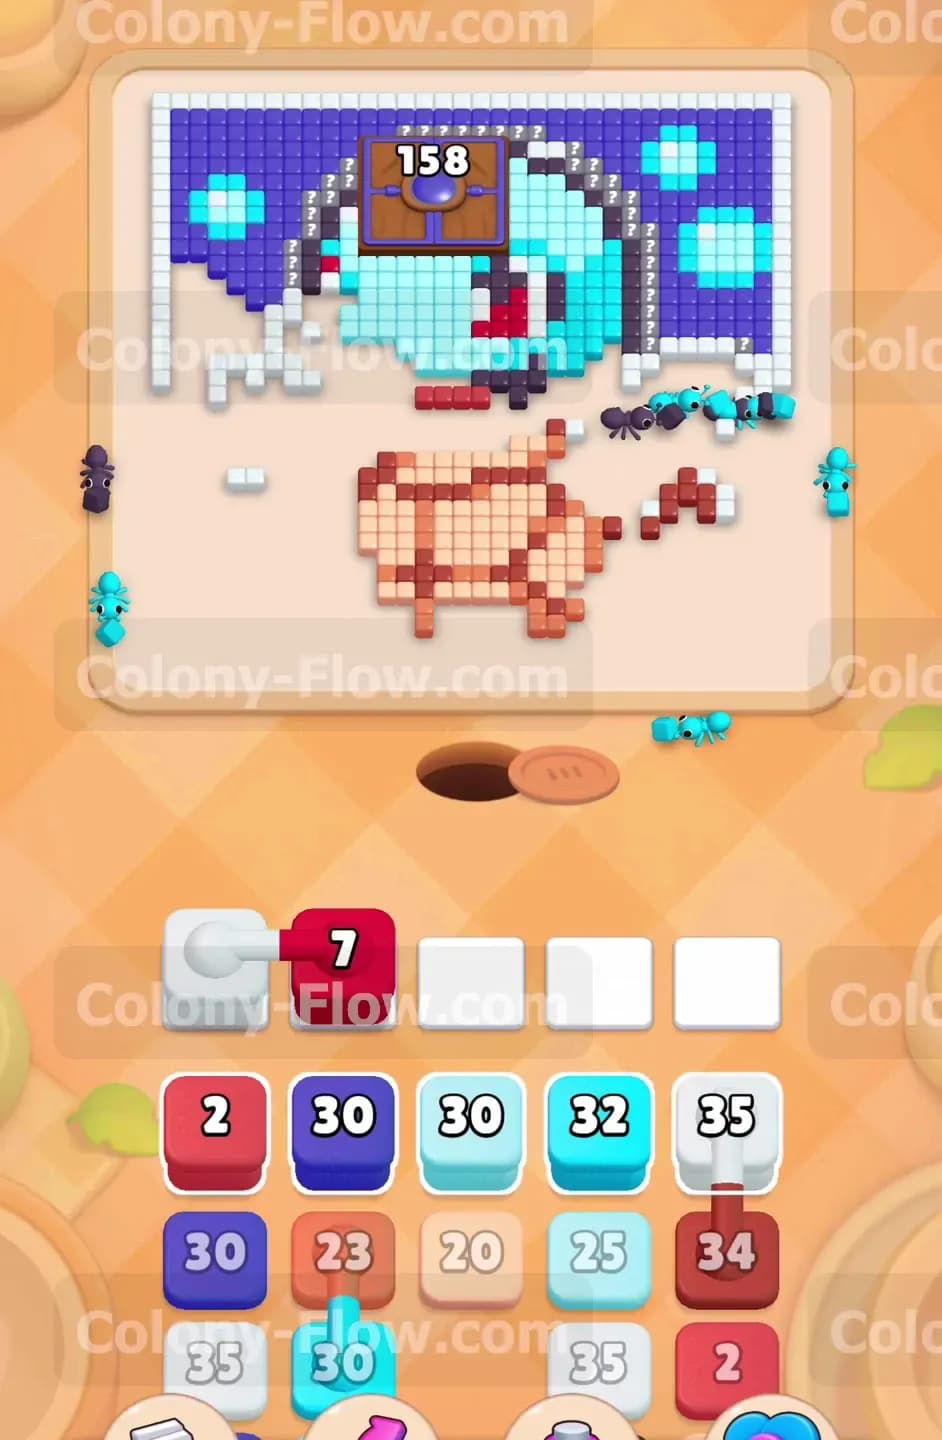
Your tray now reveals a connected box linking a white 18 block and a red 8 block. You must verify that open paths exist to both the white bubbles and the red cheeks before you pull it into a slot. The white border remains open from your first move and the massive dark blue clear successfully exposed the red eyes. Pull the connected block into play right now. The ants divide their attention perfectly between the remaining white bubbles and the bright red spots on the turtle face. Handling connected boxes early keeps them from cluttering your tray when board space gets tight. This prevents unexpected slot jams.
Step 4: Dig into the central shell with the tan blocks
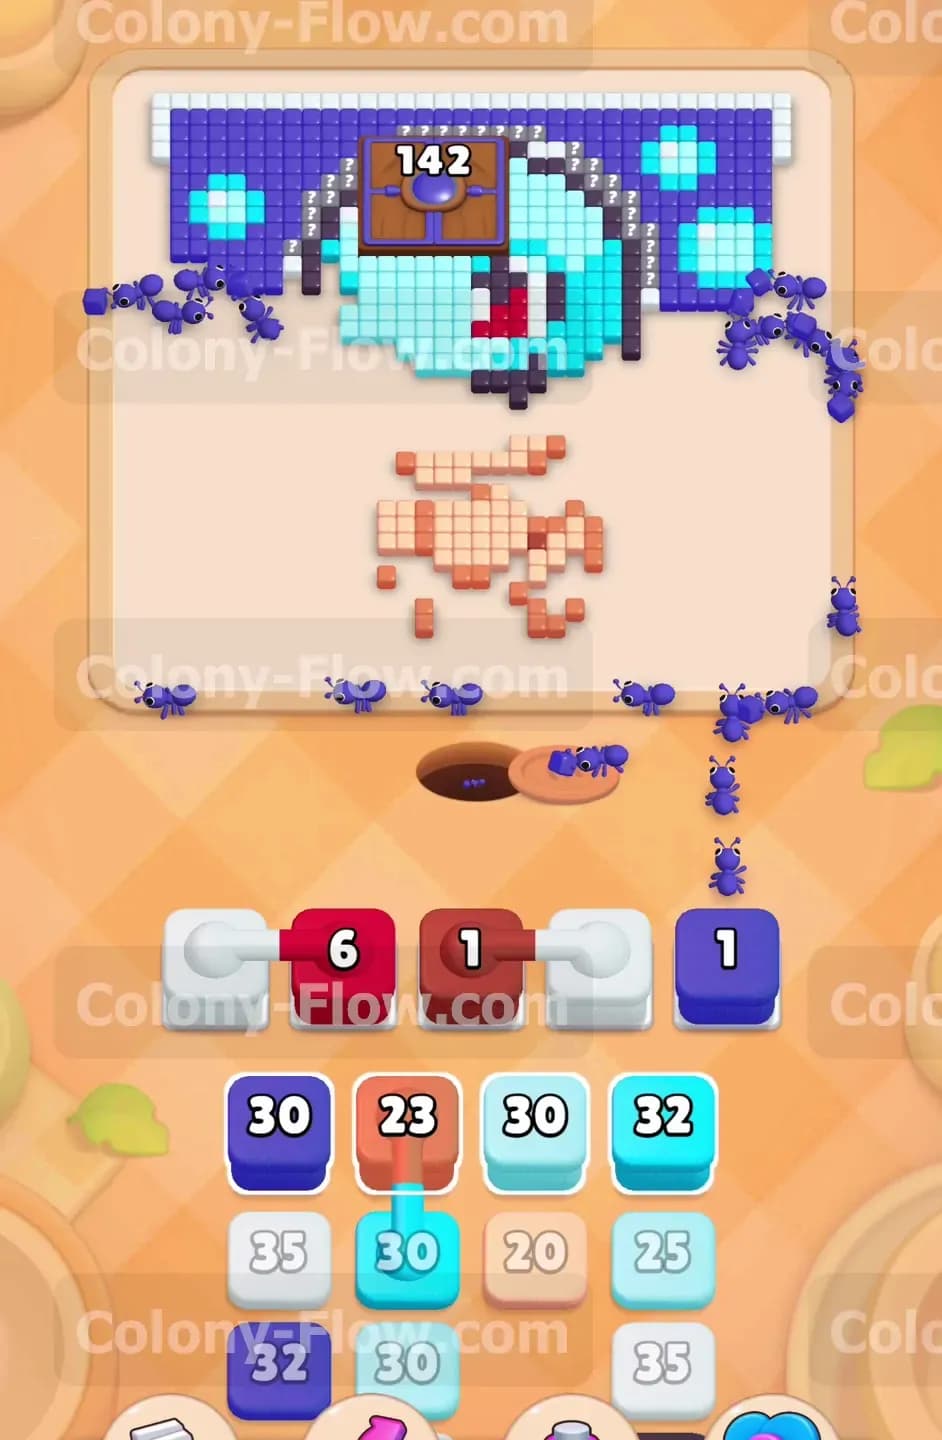
Now you need to open up the lower half of the turtle body to create better access. Pull the tan 23 block from your tray to target the front of the shell. The ants march straight up the middle and begin taking apart the large tan grid piece by piece. Clearing the shell creates a massive empty hole right in the center of the pixel art. This new empty space acts like a fast highway for your working ants. They can travel straight through the middle of the board to reach the hungry door at the top without getting stuck navigating around the crowded outside edges. Your waiting slots stay totally clear during this smooth operation.
Step 5: Bring down the light blue blocks for the main body
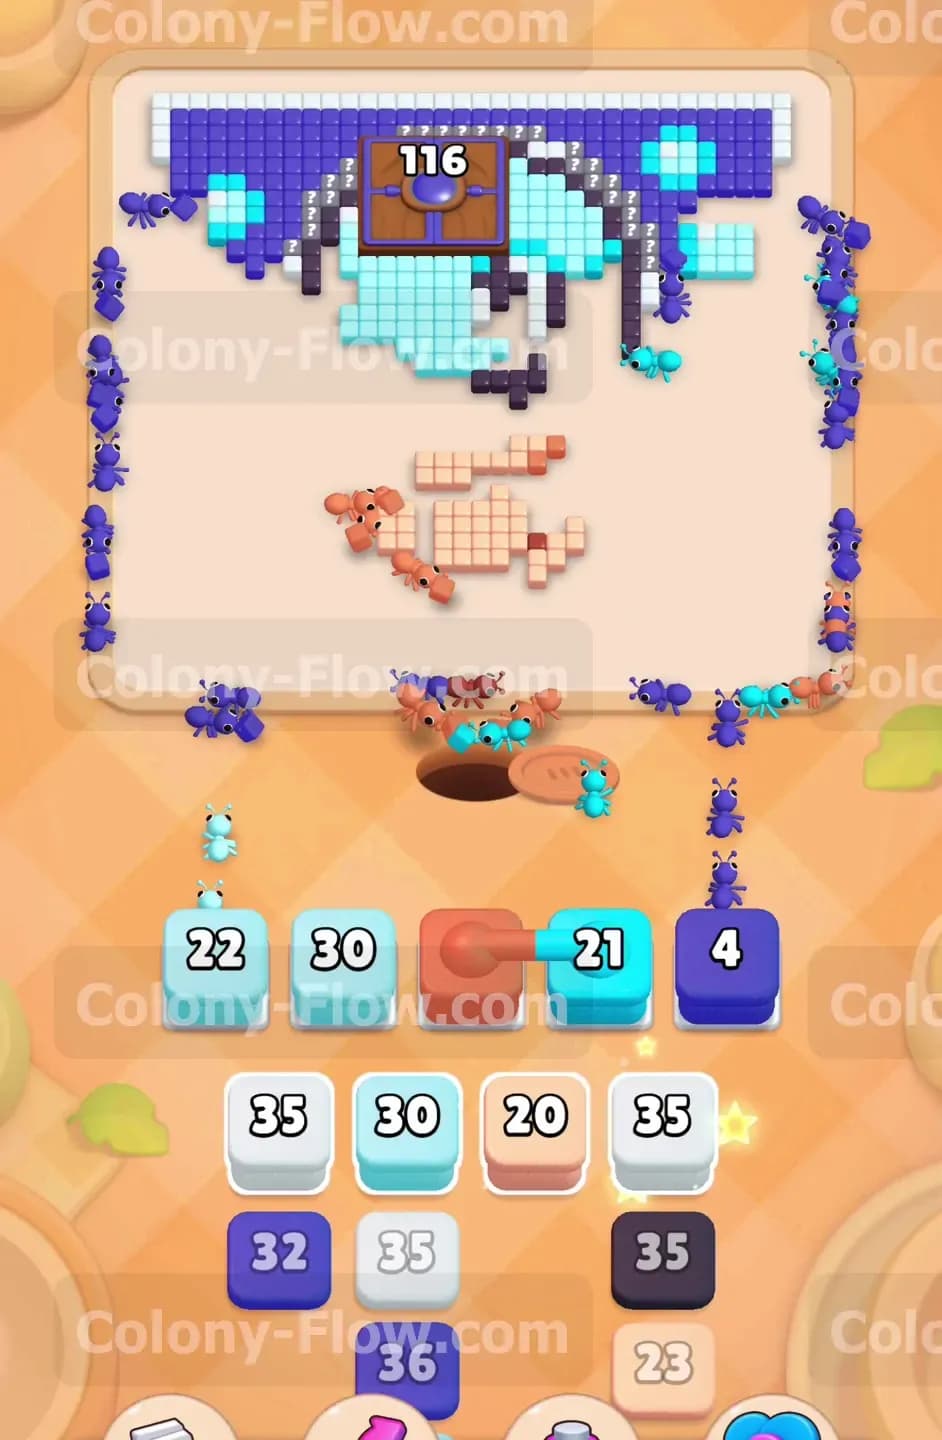
The main turtle skin requires heavy lifting so pull the light blue 30 and light blue 32 blocks next. Your ants flood the board to eat the thick arms and the entire outline of the head. The skin tiles are incredibly abundant and easily accessible thanks to your earlier work on the background and the tan shell. Watching the ants clear this much color in one huge wave is extremely satisfying. More importantly this massive clear forces the hungry door counter to drop below 150. Your waiting slots stay completely safe because the light blue tiles cover such a vast and open area across the screen.
Step 6: Target the outlines using the dark gray blocks
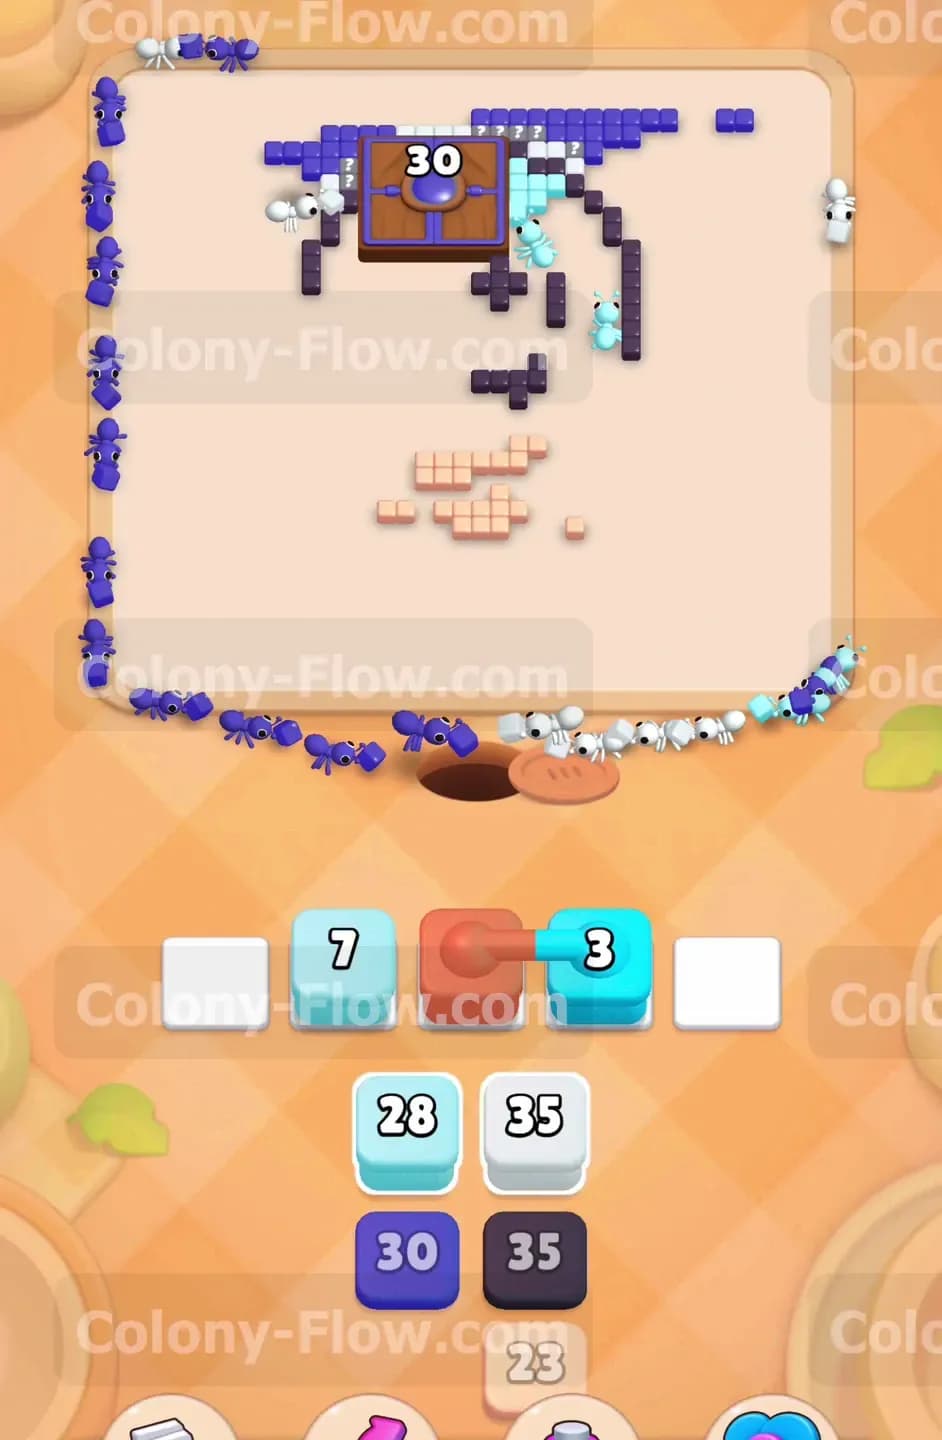
You will soon spot a large dark gray 42 block appearing in your active tray. This specific color makes up the thick outline around the turtle body and the inner shell details. Pull it into a waiting slot and watch the ants climb up your freshly cleared center highway. They quickly begin dismantling the dark gray lines. Outlines can be highly dangerous because they snake through other solid colors and cause pathing issues. However you already cleared the tan shell and the light blue skin surrounding them completely. The ants have absolutely zero trouble reaching every single dark gray tile. The board opens up even further.
Step 7: Carefully manage the triple connected box
The game throws a very tricky triple connected block into the mix featuring white and red and light blue sections. You absolutely cannot afford a dead end scenario here. Take a close look at the board and confirm you have tiny fragments of white bubbles and red eye tiles and light blue skin still available to eat. Once you are totally certain that open paths exist for all three colors you can pull the block. The ants neatly branch out and clear all three colors at once. Surviving this demanding triple block represents a major victory and keeps your slots flowing perfectly toward the end game.
Step 8: Attack the hungry door directly with the brown connected blocks
The hungry door counter falls rapidly but you must clear the specific colors touching it to finish the job. A connected block linking a brown 21 and a light blue 4 appears at the bottom. Pull this block to send ants directly to the top of the head. The brown tiles sit right underneath the hungry door mechanism. Clearing them opens the final pathways into the lock. The giant door counter drops down near the double digits as the ants devour the brown sections. You maintain complete mastery over the five waiting slots by pacing these tricky connected pulls exactly when the paths open up.
Step 9: Finish off the remaining skin and background tiles
Only scattered patches of solid color remain on the mostly empty board now. Pull the final light blue 28 block and the dark blue 30 block from the tray. The ants fan out to clean up the top right corner and the leftover background pieces hanging around the edges. The hungry door counter plummets all the way down to 30. The board looks virtually empty and provides maximum visibility. You have plenty of room to operate and zero risk of jamming your waiting slots at this late stage. The clear and direct paths allow the ants to finish their designated meals in absolute record time.
Step 10: Clear the final tray items to complete the picture
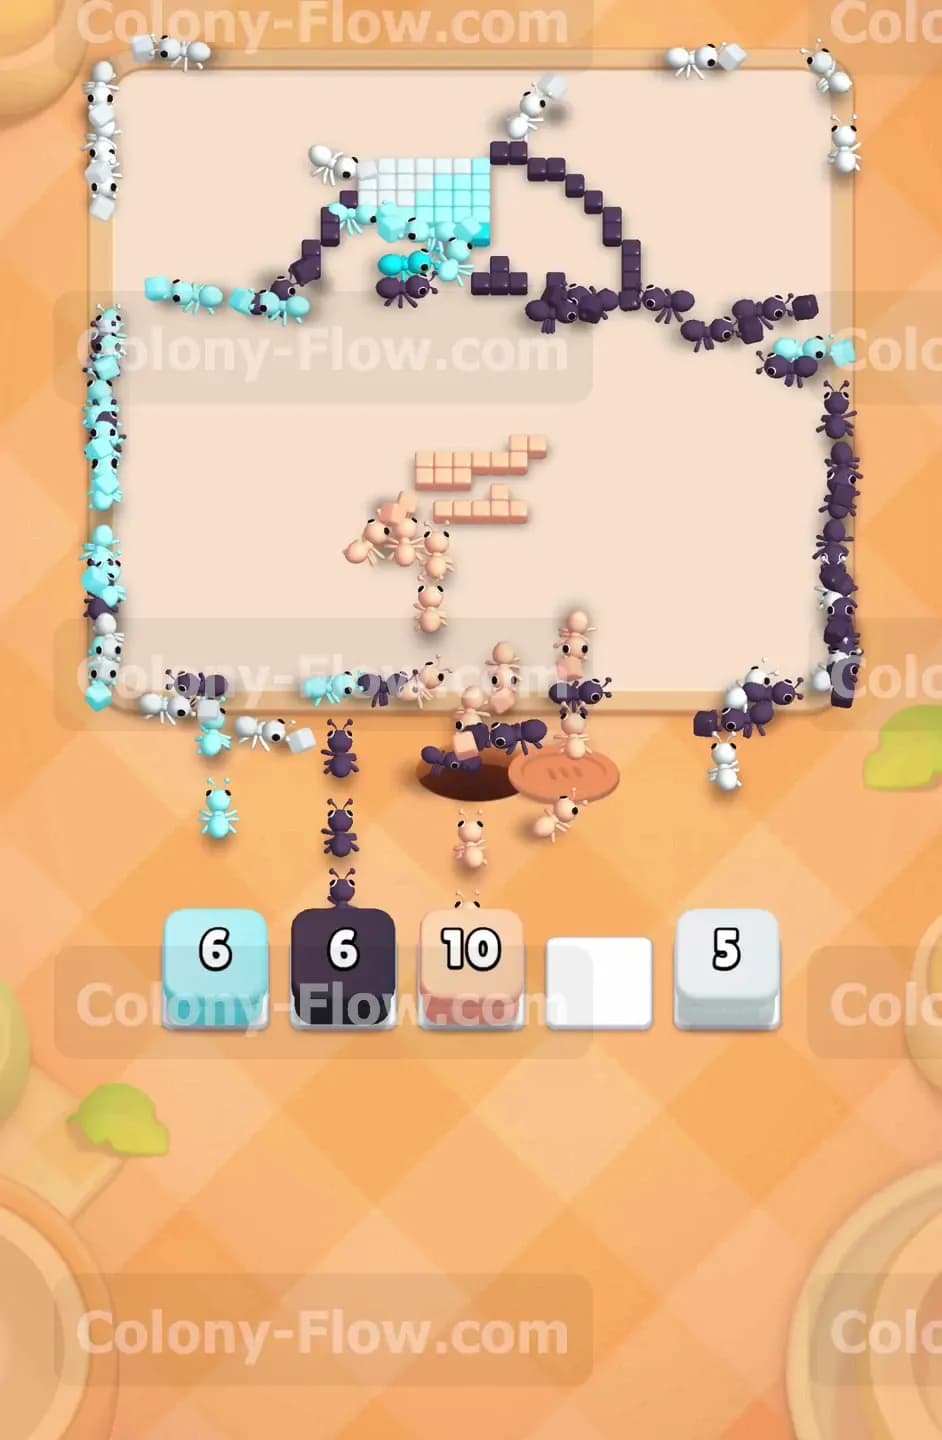
The hungry door finally pops open and vanishes from the top of the screen completely. You only have a few small numbered blocks left in your tray including a dark gray 6 and a tan 10. Pull every remaining block into your open slots without any hesitation. The ants easily sweep up the last few loose tiles making up the bottom of the shell and the tiny feet. The screen clears completely and you win the round. You maintained flawless slot management from start to finish and absolutely destroyed a very demanding puzzle.
Final Thought
Colony Flow always offers a brilliant mix of color matching and pathfinding and this specific level proves how deeply important true strategy really is. Keeping your waiting slots empty requires thinking two full steps ahead especially when those massive connected boxes show up. Be sure to watch the video above this article if you want to see exactly how the ants navigate the trickiest sections of the board.