Colony Flow Level 579 Walkthrough Solution & Guides | How to solve Colony Flow 579

Guide By Liam Stone
Updated on August 1, 2026
Some readers just want to watch. The video above covers Level 579 from start to finish.
Video doesn't match your screen?
Game updates frequently scramble layouts! Try our AI Screenshot Solver first to find your exact board instantly, or report broken guides to our team.
Welcome to Colony Flow Level 579. I am Liam Stone and I play every single puzzle to figure out the best way to win. This specific board presents a massive obstacle right at the very beginning that completely stops your ants from reaching the main picture. I will walk you through exactly how I clear this board step by step so you can manage your tray space and beat the level too.
Colony Flow Level 579 Overview
What You Are Working With
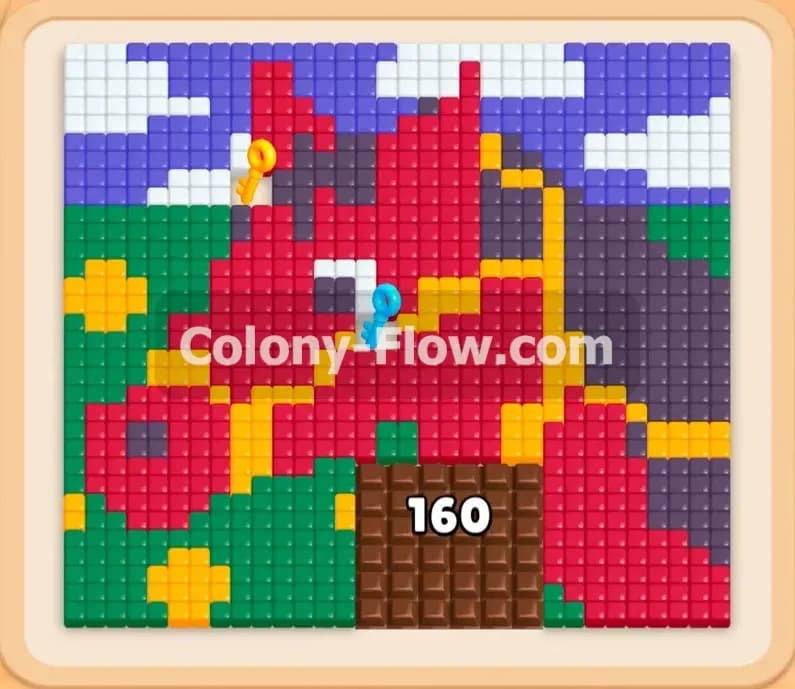
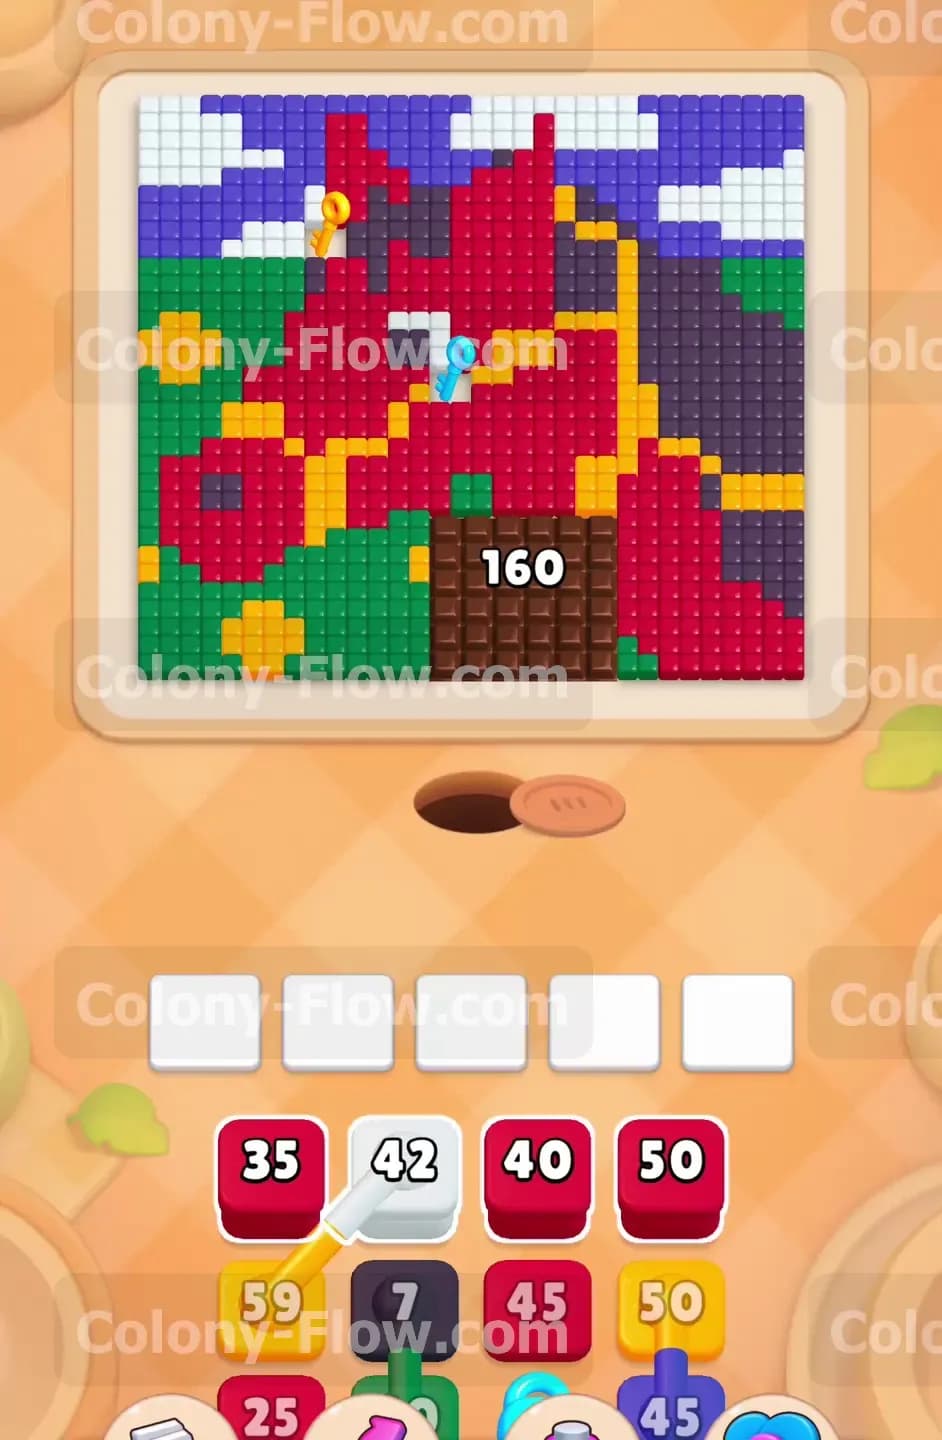
When you first load into the board you see a large piece of pixel art. The picture shows a red horse head looking toward the left side of the screen. The horse wears yellow tack gear and has a yellow mane. Behind the horse on the left sits a solid green landscape. Behind the horse on the right is a dark grey landscape. The sky above is built from white cloud tiles and blue sky tiles.
At the very bottom of the board directly above the ant nest hole sits a giant brown chocolate tile. The chocolate tile has a massive 160 counter on it. This chocolate completely blocks the paths to the green and dark grey tiles. You will also notice two keys resting on top of the red horse tiles. A yellow key sits near the top left. A blue key sits near the top right. Down in your tray you have a light blue lock that blocks several blocks from entering the game. You also have connected blocks where a yellow block and a white block are stuck together.
What It Takes to Clear Level 579 Board
To win this level you must completely clear every tile from the screen without filling your five waiting slots. The five waiting slots are your primary danger zone. When you tap a block from the bottom it moves into a slot and sends ants out to the board. If the ants cannot reach their matching color the block stays in the slot. If all five slots fill up with trapped blocks you lose the game immediately.
Your main goal is breaking the giant chocolate block first. You have to feed red blocks into the slots so the red ants eat the tiles around the chocolate. Eating adjacent tiles destroys the chocolate. Once the chocolate breaks you will open paths to the rest of the board. You then focus on gathering the yellow and blue keys to unlock the rest of your tray. You keep the slots flowing by clearing the center of the board first and working your way out to the edges.
Colony Flow Level 579 Step by Step Solution
Step 1: Focus purely on the red blocks to attack the massive chocolate wall.
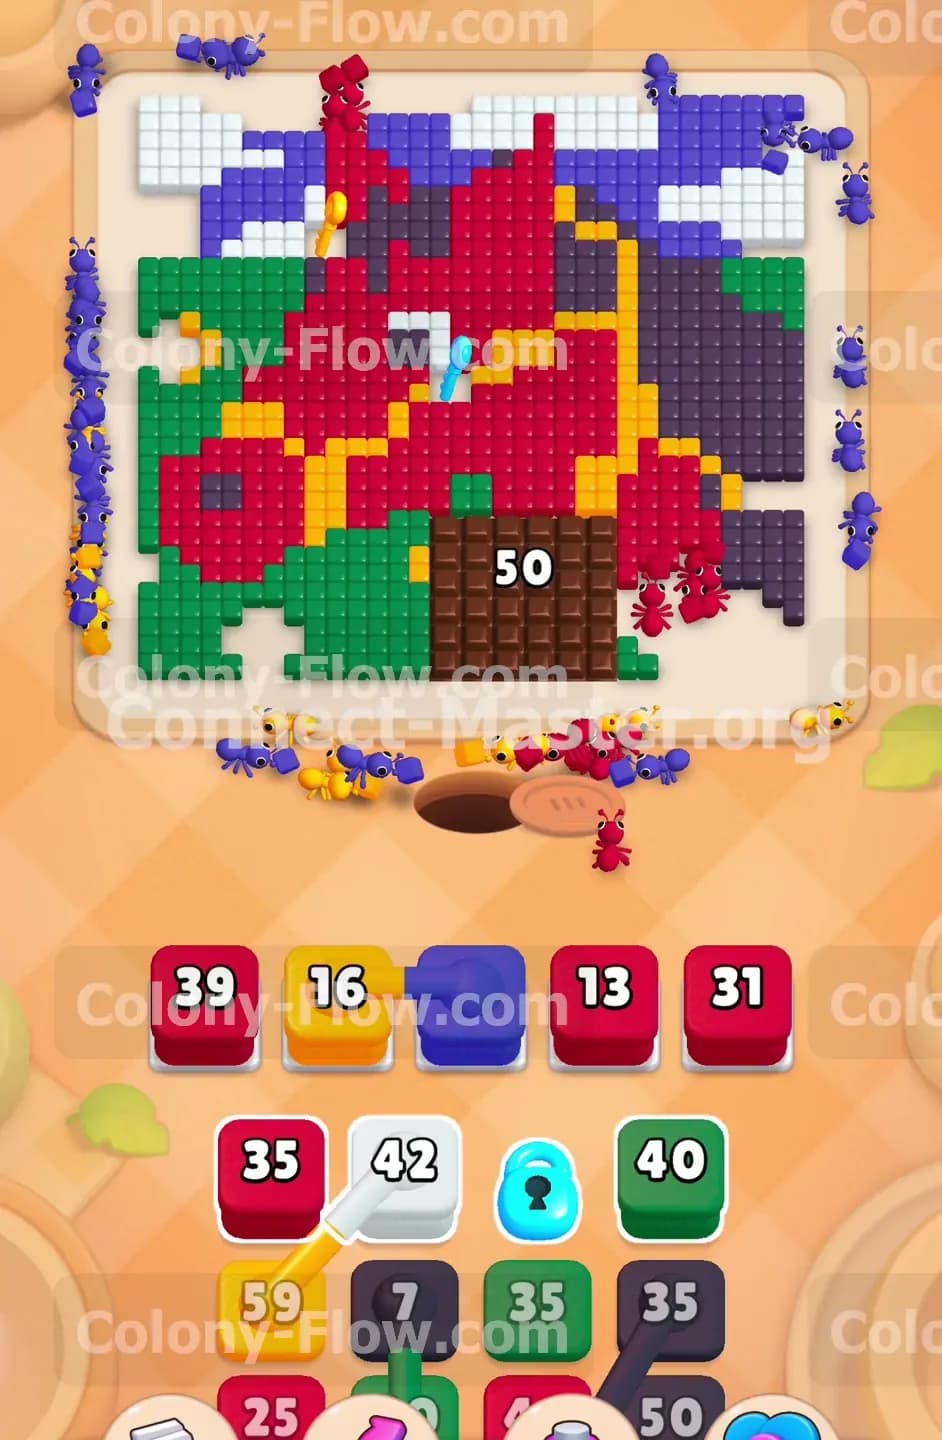
Start by pulling the red 35 block into your tray. Follow it immediately with the red 40 block and the red 50 block. The ants will stream out of the bottom nest hole and hit the chocolate barrier. Because they cannot walk through the chocolate they will run along the edges and attack the red tiles of the horse right above it. The chocolate starts with a 160 counter. Every time an ant eats a red tile touching the chocolate the chocolate takes damage. The chocolate tile number drops rapidly from 160 down toward 50 as the red ants swarm the lower section. The numbers on your red tray blocks count down to zero as the ants empty out. You must sustain this swarm by pulling more red blocks as they appear in the tray. Keep a close eye on your five waiting slots. Do not pull any white or yellow blocks yet. The paths to the white and yellow tiles are completely blocked by the chocolate and the red tiles. If you pull them they will sit in your slots and cause a fatal jam.
Step 2: Break the chocolate completely to open the bottom of the board.
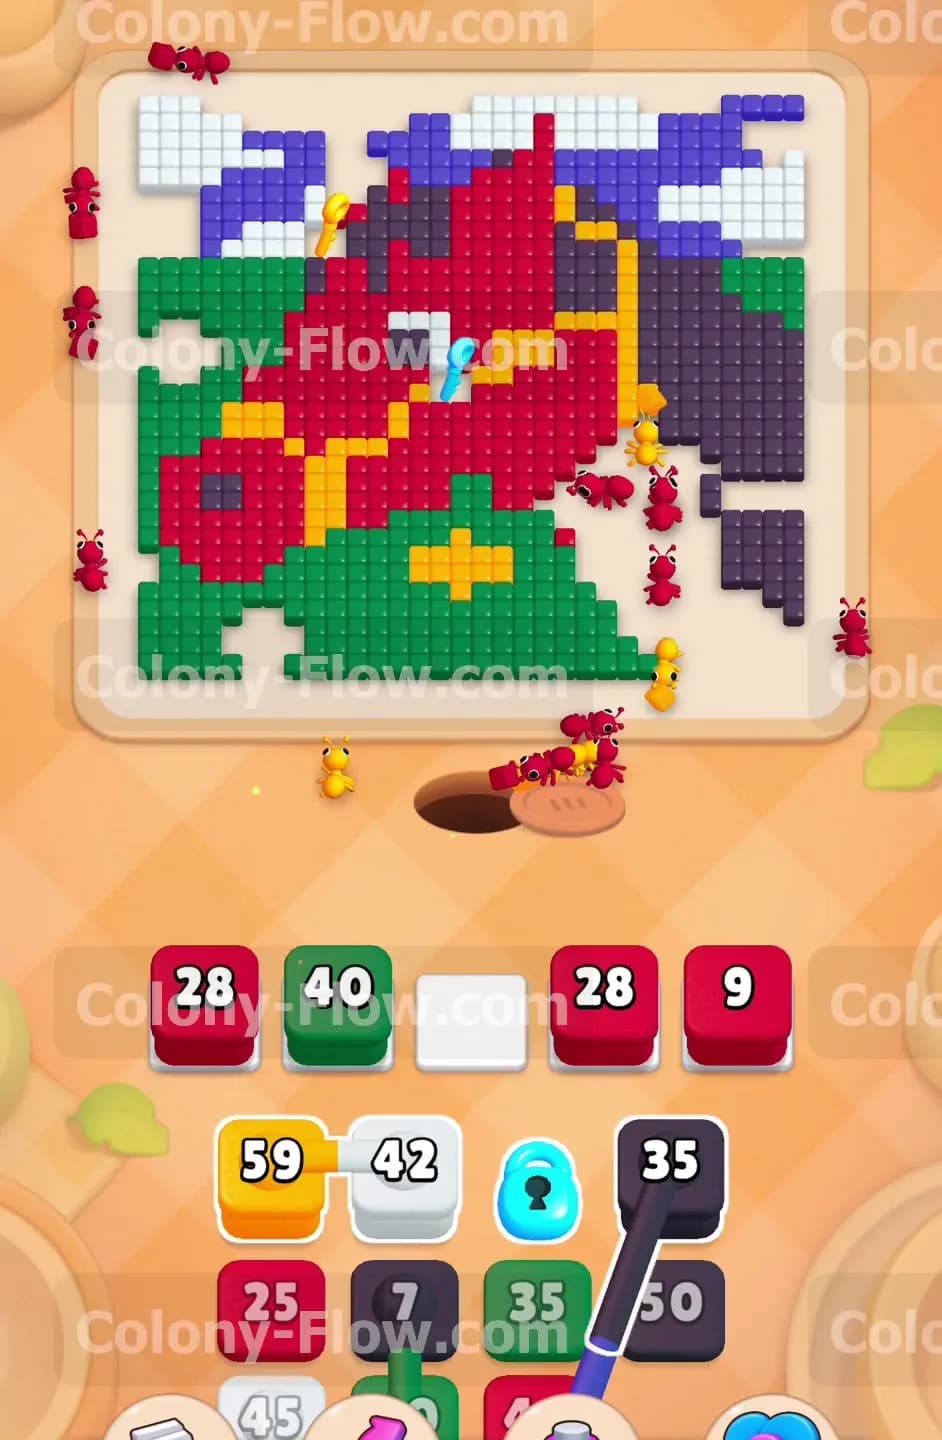
Keep pulling red blocks until the chocolate shatters and opens the board. The chocolate counter drops to 50 and then vanishes completely as the red ants swarm the area. Breaking the chocolate reveals the bottom green tiles and the dark grey tiles. Now you have a wide open path right up the center of the screen. Pull the red 39 block followed by the red 13 block and the red 31 block. The numbers on these blocks drop to zero as the red ants march straight up the newly opened middle path. They fan out and devour the thickest part of the red horse head. Your waiting slots will cycle incredibly fast here because the paths are wide open and the red tiles are very close to the nest hole. Keeping the center path wide prevents any traffic jams later in the level. Do not get distracted by the green tiles yet because you still need to secure the keys.
Step 3: Push the red ants higher to grab the yellow and blue keys.
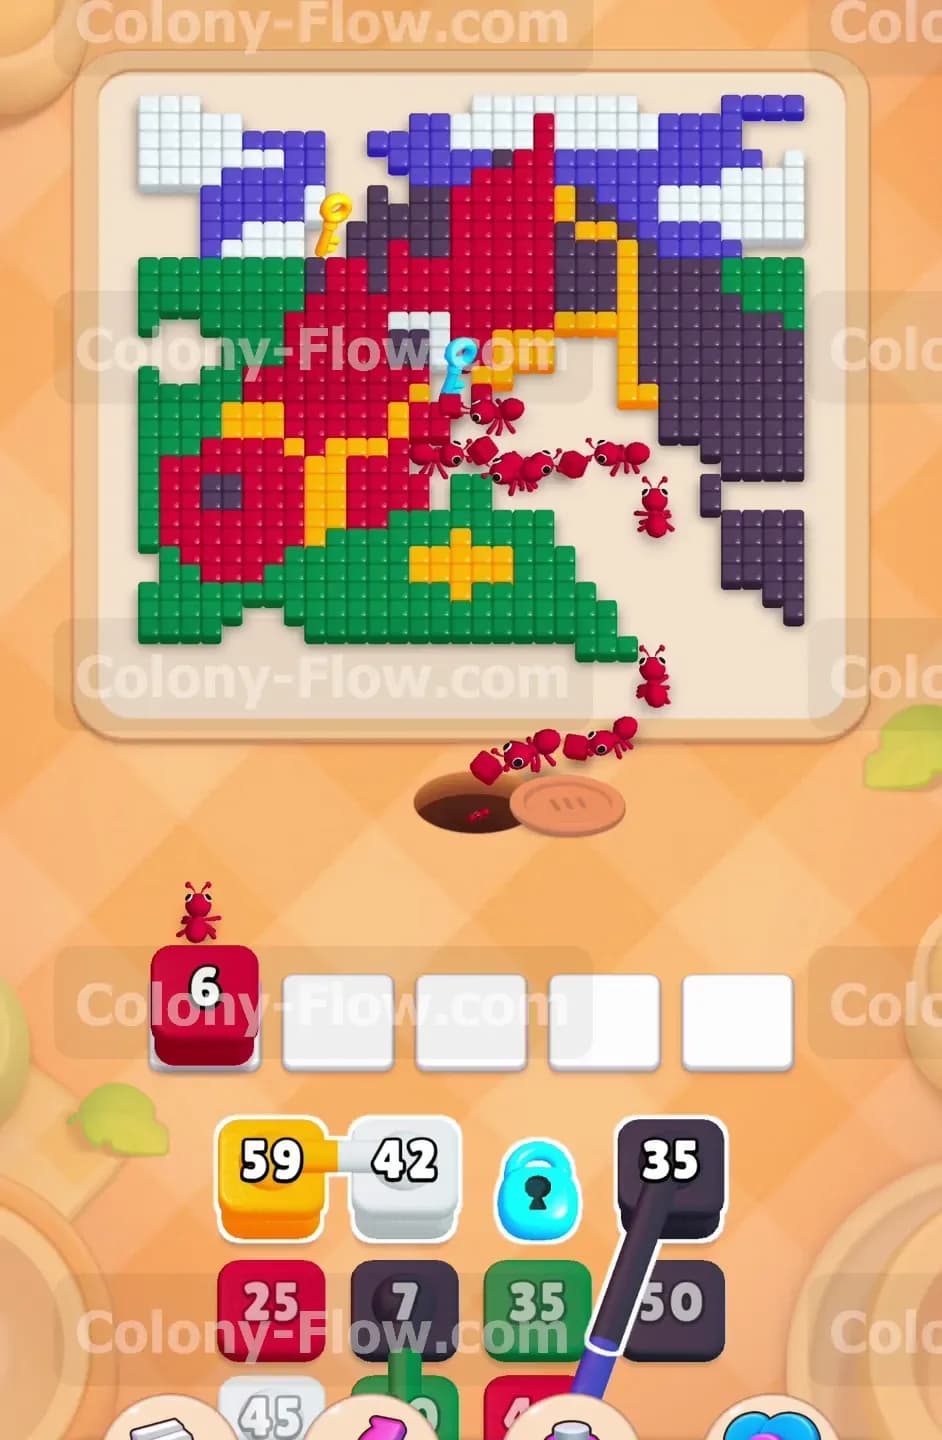
Bring up the red 28 block and the red 9 block. The red 28 block and the red 9 block count down to zero as the red ants climb all the way to the top left and top right sections of the horse head. You need them to eat the specific red tiles sitting underneath the two keys. Watch the ants reach the yellow key on the left side. As they eat the tiles the yellow key drops directly down into your tray. The swarm does the exact same thing for the blue key on the right side. Collecting both keys automatically opens the light blue lock sitting in your tray. You now have full access to the hidden blocks that were trapped behind that lock. The board is now extremely open in the center giving your future ants plenty of room to move.
Step 4: Deploy the connected yellow and white blocks to clear the top sections.
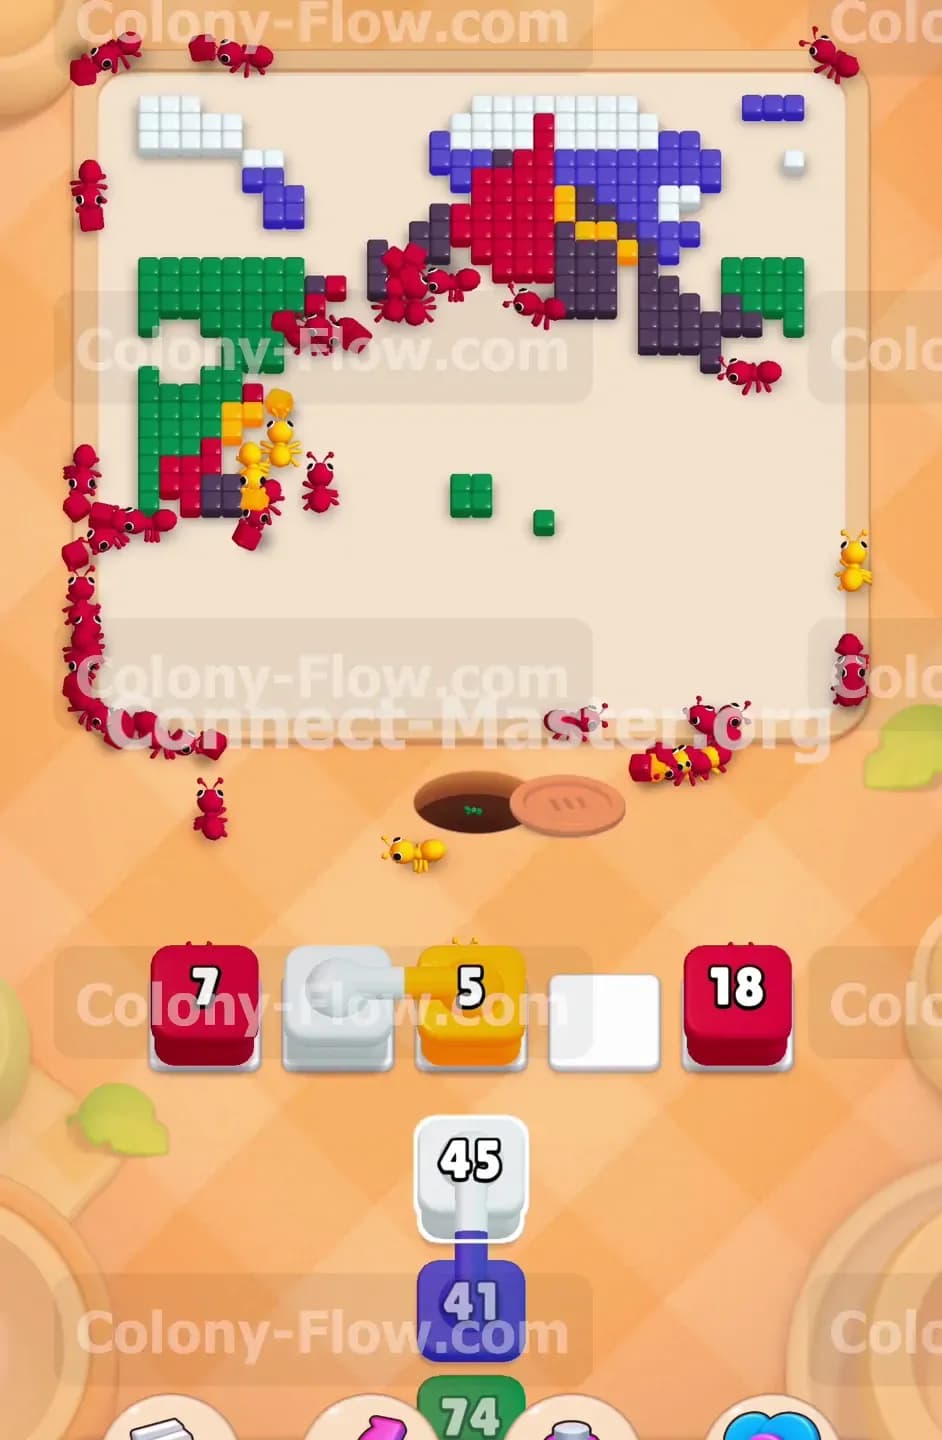
You will see a yellow 59 block physically tied to a white 42 block in your tray. Because they are connected you cannot pull them separately. Tapping either one pulls both into your waiting slots at the exact same time. You must make sure you have at least two empty slots before you touch them. These high numbers count down to zero as the massive swarm leaves the tray. Once pulled the yellow ants run up the left side to eat the horse mane and bridle. The white ants run all the way to the top left corner to eat the white clouds. Since the red horse body is entirely gone the center of the board is completely empty. The ants have zero trouble reaching their targets. They clear out a huge portion of the upper picture very quickly.
Step 5: Send out the green and dark grey blocks to clean up the background.
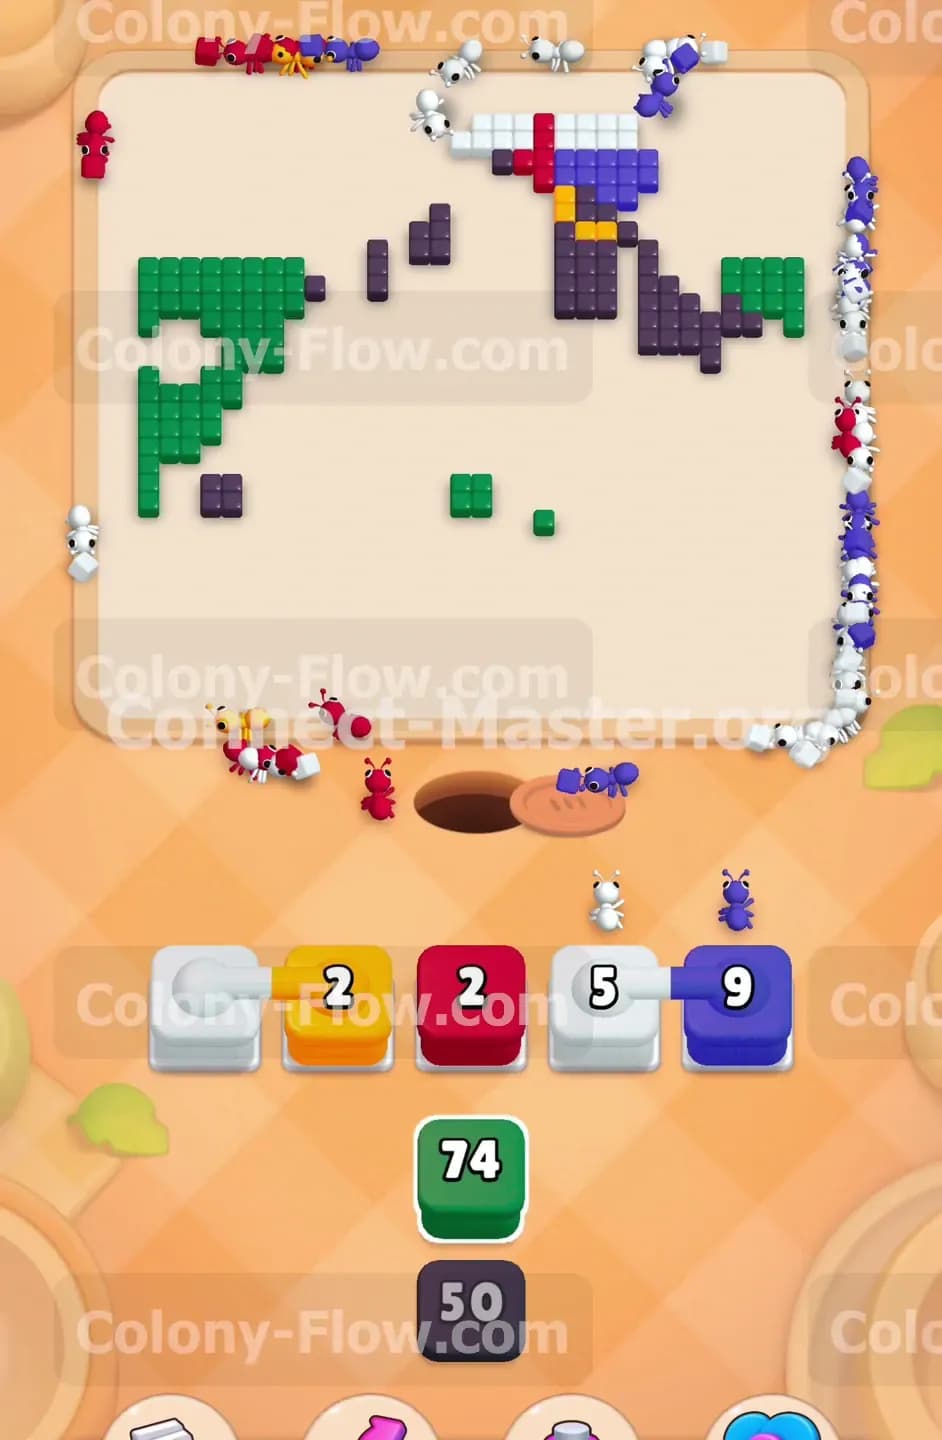
Pull the green 40 block and the dark grey 35 block into your waiting slots. The green 40 block and dark grey 35 block numbers reduce to zero as the ants march. The green ants march over to the left side and begin eating the green landscape. The dark grey ants march to the right side and start clearing the dark grey ground. Next pull the white 13 block and the yellow 30 block. These numbers also drop to zero as the ants finish off the last remaining bits of the yellow mane and the white clouds. You have a massive amount of open space on the board now. You can pull blocks in almost any order as long as their matching colors are exposed on the edges. Just always verify that the target color has a clear open path before you tap the block so your waiting slots stay clear.
Step 6: Finish the sky and the final ground tiles to win the game.
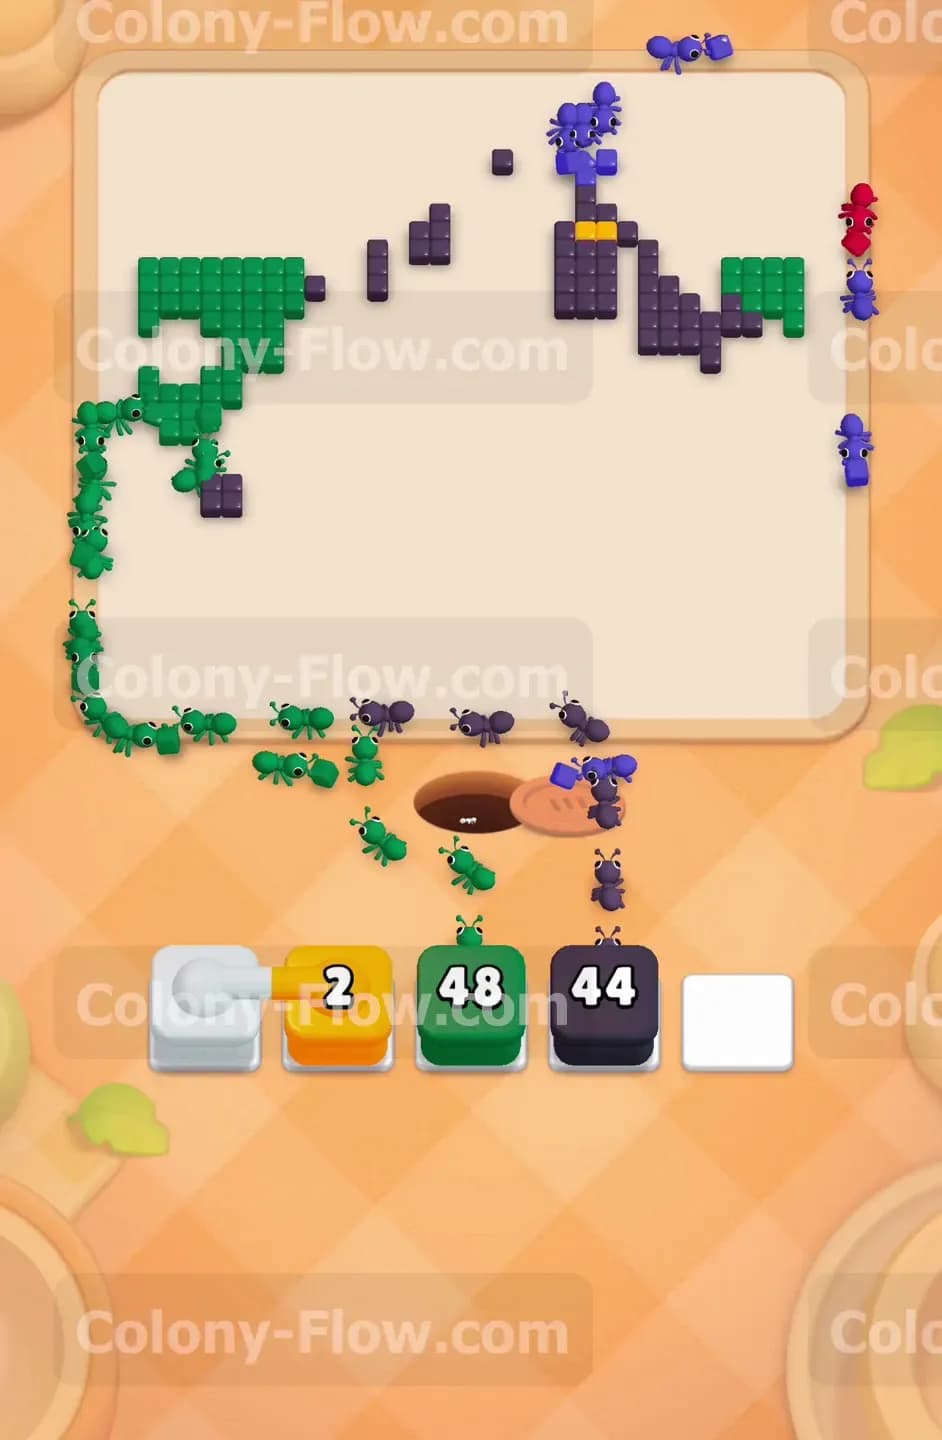
The board is down to just a few scattered sections hugging the outer walls. Pull the white 45 block and the blue 41 block. The numbers count down to zero as the white and blue ants run all the way up the right side to finish off the sky picture. Pull the green 74 block and the dark grey 50 block. Follow up closely with the green 48 block and the dark grey 44 block. The numbers on these large blocks drop quickly to zero as the long paths consume the ants. The remaining ants will wrap around the far left and far right edges of the board to eat the final green and dark grey tiles. Your waiting slots will empty out completely as the very last ants leave the screen. The picture disappears and you win the level.
Final Thought
This board really tests your patience early on with that giant chocolate barrier. Just remember to focus entirely on the red blocks at the start and never crowd your waiting slots with unplayable colors. Keep the center clear and the rest of the board falls apart easily. I hope this walkthrough helps you clear the level without any trouble. Please watch the video above this article if any step is hard to follow in text. Seeing the exact ant movements on screen can really help you understand the timing of the connected blocks.