Colony Flow Level 173 Walkthrough Solution & Guides | How to solve Colony Flow 173

Guide By Liam Stone
Updated on July 12, 2026
Some readers just want to watch. The video above covers Level 173 from start to finish.
Video doesn't match your screen?
Game updates frequently scramble layouts! Try our AI Screenshot Solver first to find your exact board instantly, or report broken guides to our team.
Welcome to Colony Flow Level 173 where you face a massive colorful creature shape made of dense pixel art. This specific board looks incredibly packed tight right from the start. You need careful block management to carve paths without jamming your tray. Every wrong pull sits in your limited waiting slots and pushes you closer to a loss. Let me walk you through exactly how to take this puzzle apart piece by piece and keep your ants moving freely.
Colony Flow Level 173 Overview
What You Are Working With
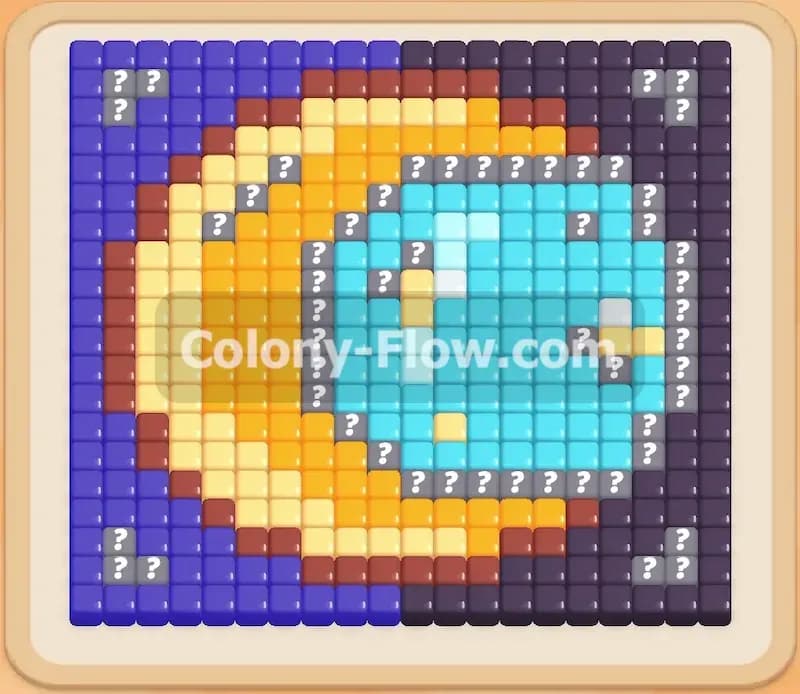
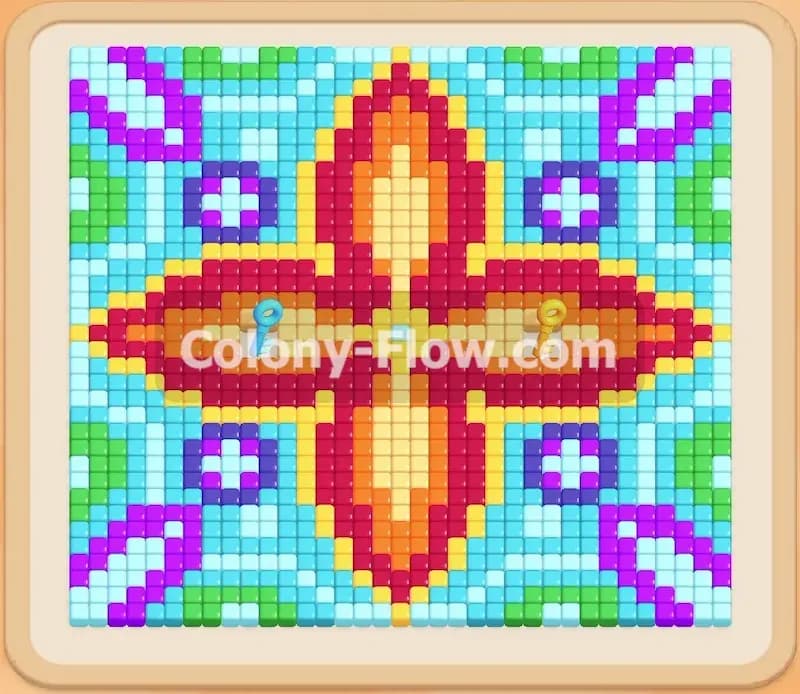
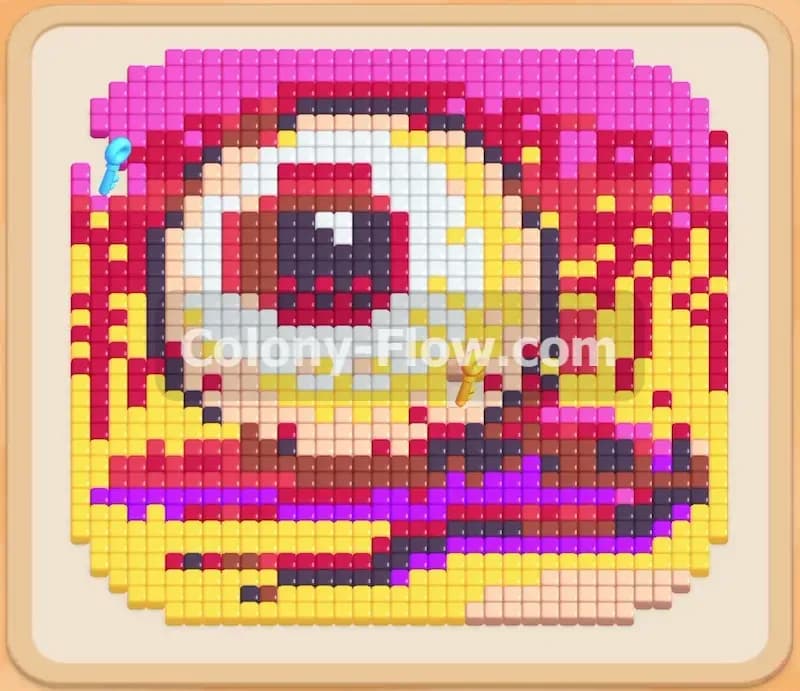
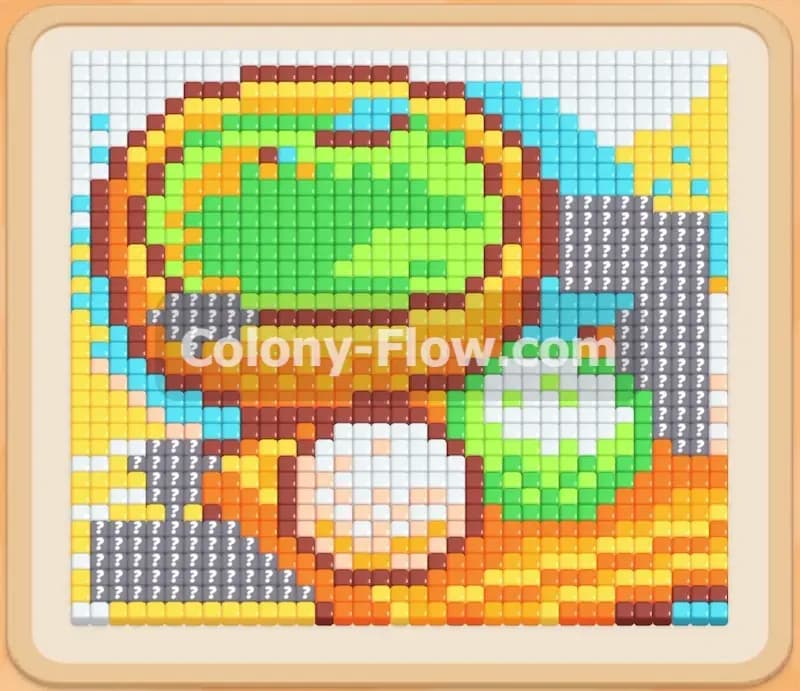
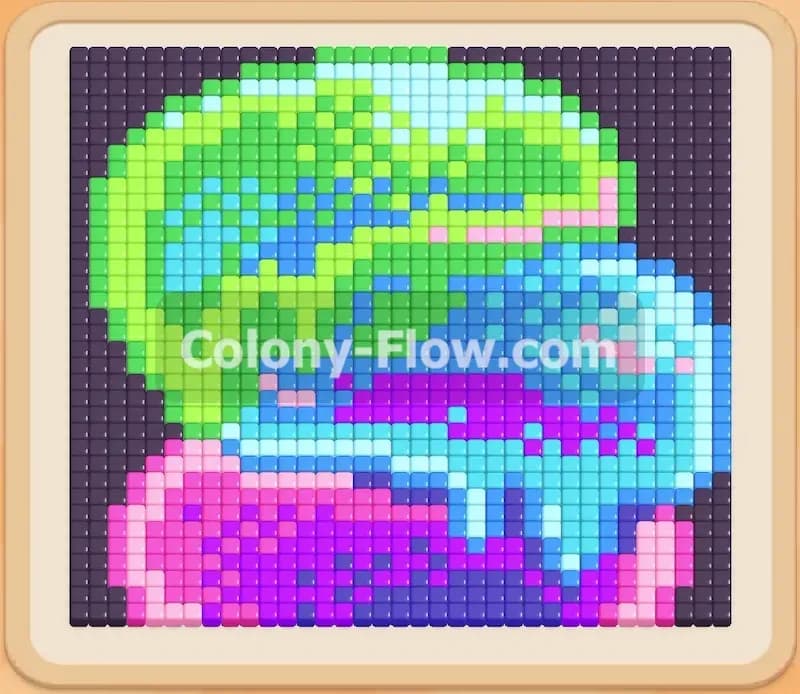
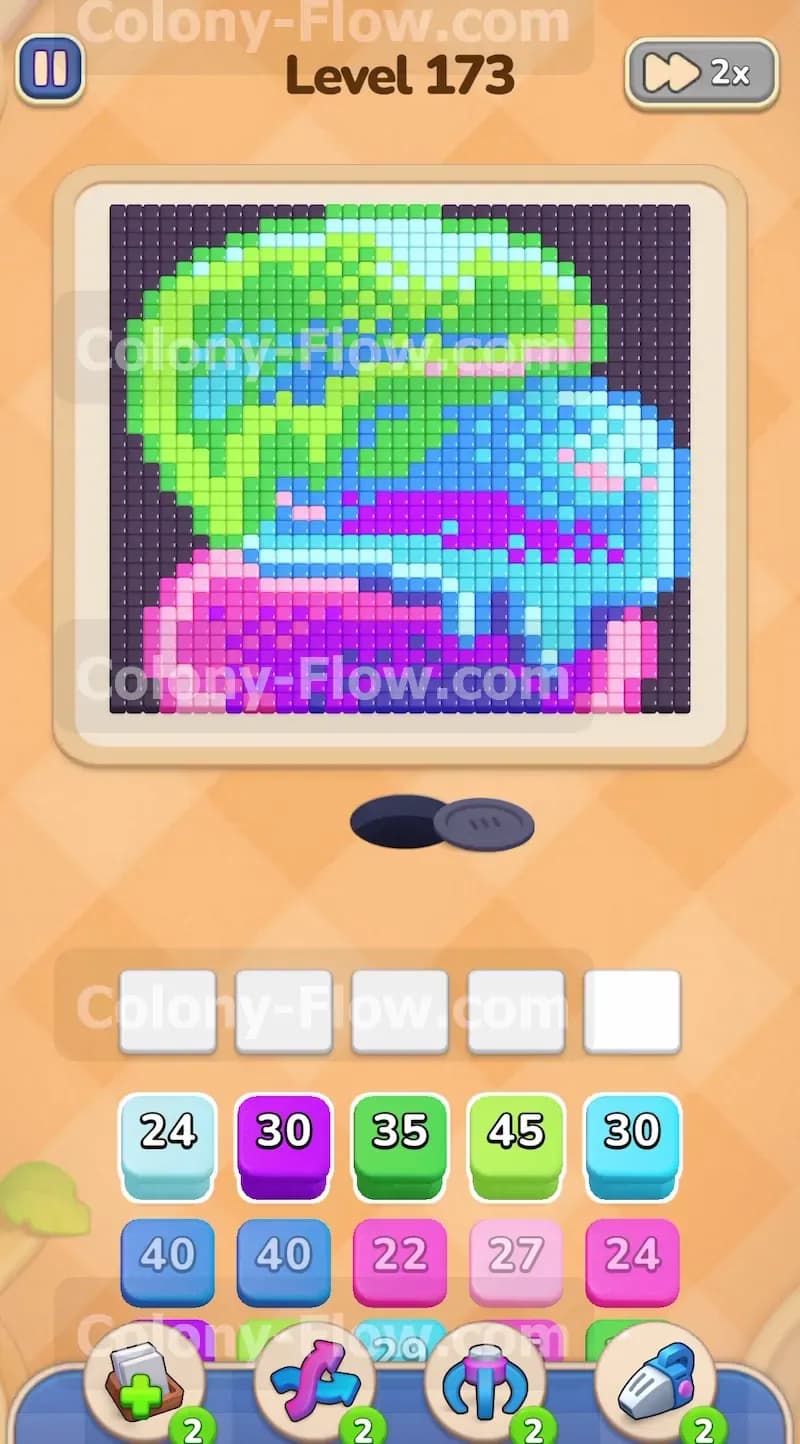
The pixel art puzzle features a large creature shape dominating the entire center of the board. You see a massive bright green section at the top left area. A sweeping light blue water shape covers the middle right side. The bottom section consists of bright pink on the left and rich purple in the lower middle. Dark blue and black tiles form the thick outlines separating these colorful sections. Your starting tray holds light blue, purple, green, and pink blocks. You have five waiting slots to manage at the bottom of your screen. The ants wait inside the central nest hole until you pull a block to give them a job.
What It Takes to Clear Level 173 Board
Clearing this level requires you to peel the image from the outside edges inward. You must open paths around the top and the right sides first. The dense inner tiles stay locked away completely until you remove the outer layers of green, pink, and light blue. You win when you successfully sequence the blocks to constantly feed your ants without ever filling all five slots at once. Every move must uncover a new section of the picture to keep the colony moving. If you pull a color that has no exposed tiles, that block sits in a waiting slot forever. You lose the level if all five slots fill up with blocks that have no active paths. You must maintain a steady rhythm of opening a path and sending the right color ants into that exact path.
Colony Flow Level 173 Step by Step Solution
Step 1: Open the outer boundaries using light blue and green blocks.
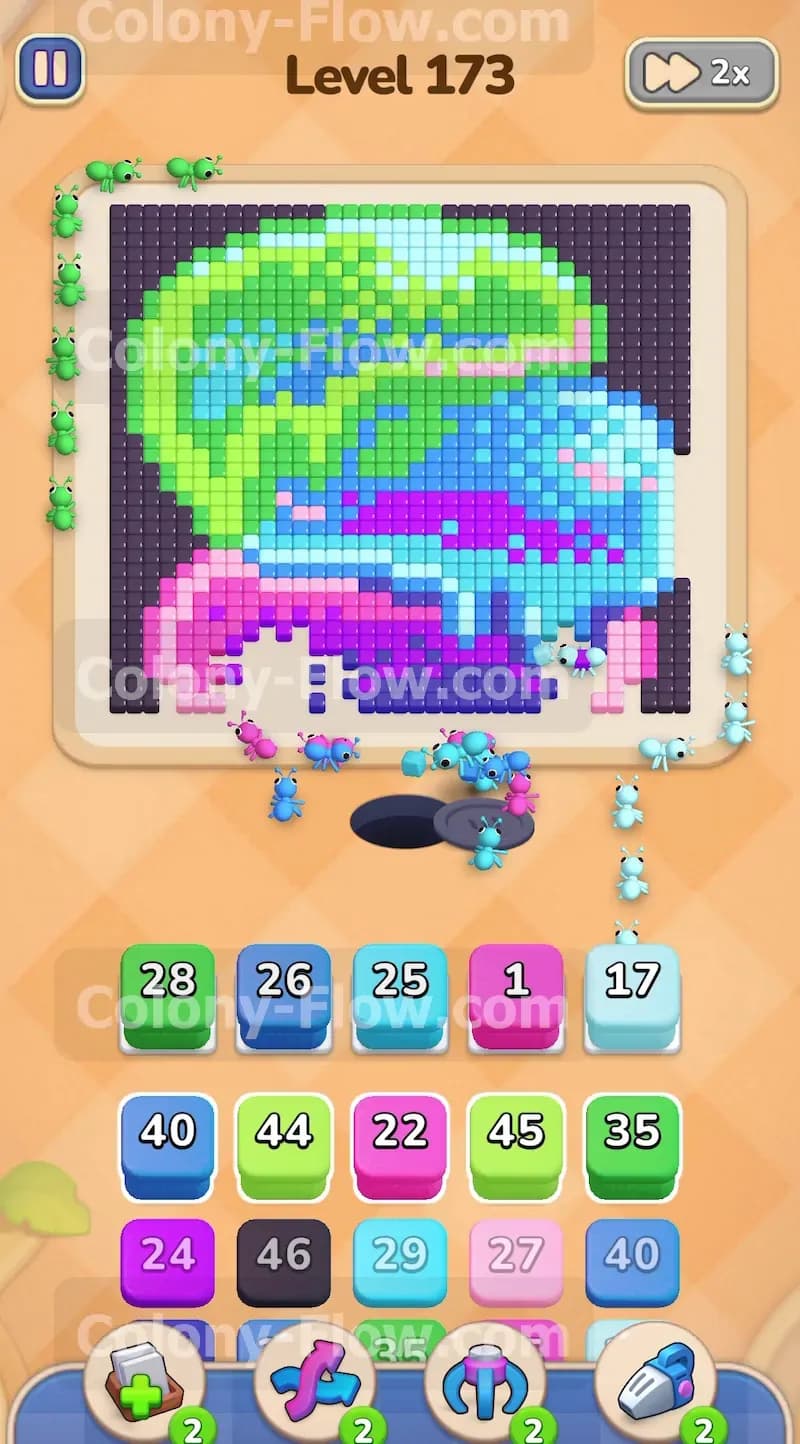
You need to get your ants moving immediately to prevent a slot jam right out of the gate. Look at your starting tray and pull the first light blue block into the waiting slots. Pull the first light green block right after it. The light blue ants stream over to the right side of the board to start eating the outer edge of the thick water shape. The green ants head straight up and begin chewing on the top border of the massive green head area. Pulling a pink block next sends a new wave of ants to the bottom left corner. This initial wave establishes three completely separate working zones. Keeping multiple zones active at once guarantees your ants always have accessible food and your slots empty out constantly.
Step 2: Carve deeper into the right side light blue section.
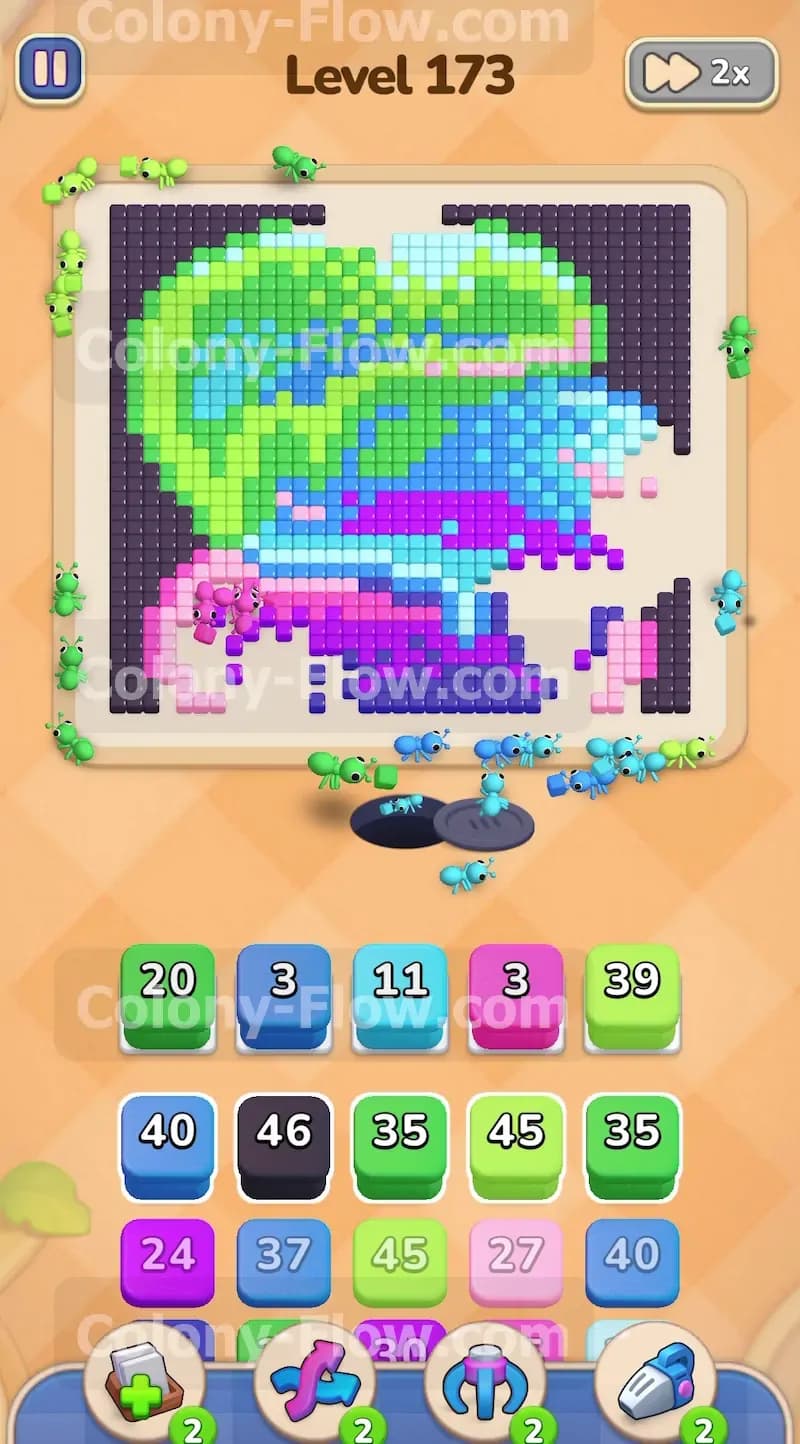
The right side of the picture holds a very thick cluster of light blue and cyan tiles. Pull the next available light blue blocks from your tray into the active slots. These ants join the group already working on the right edge. They chew much deeper into the water shape and begin exposing the inner dark blue outline underneath. You must keep this right side path completely clear and active. If you neglect the right side, the light blue blocks in your tray will pile up in your waiting area and ruin your run later on. Watch the numbers on your blocks drop rapidly as the ants successfully clear those outer right pieces. Your tray opens up nicely as these blocks finish their countdowns and vanish.
Step 3: Clear the bottom left pink corner to open the lower board.
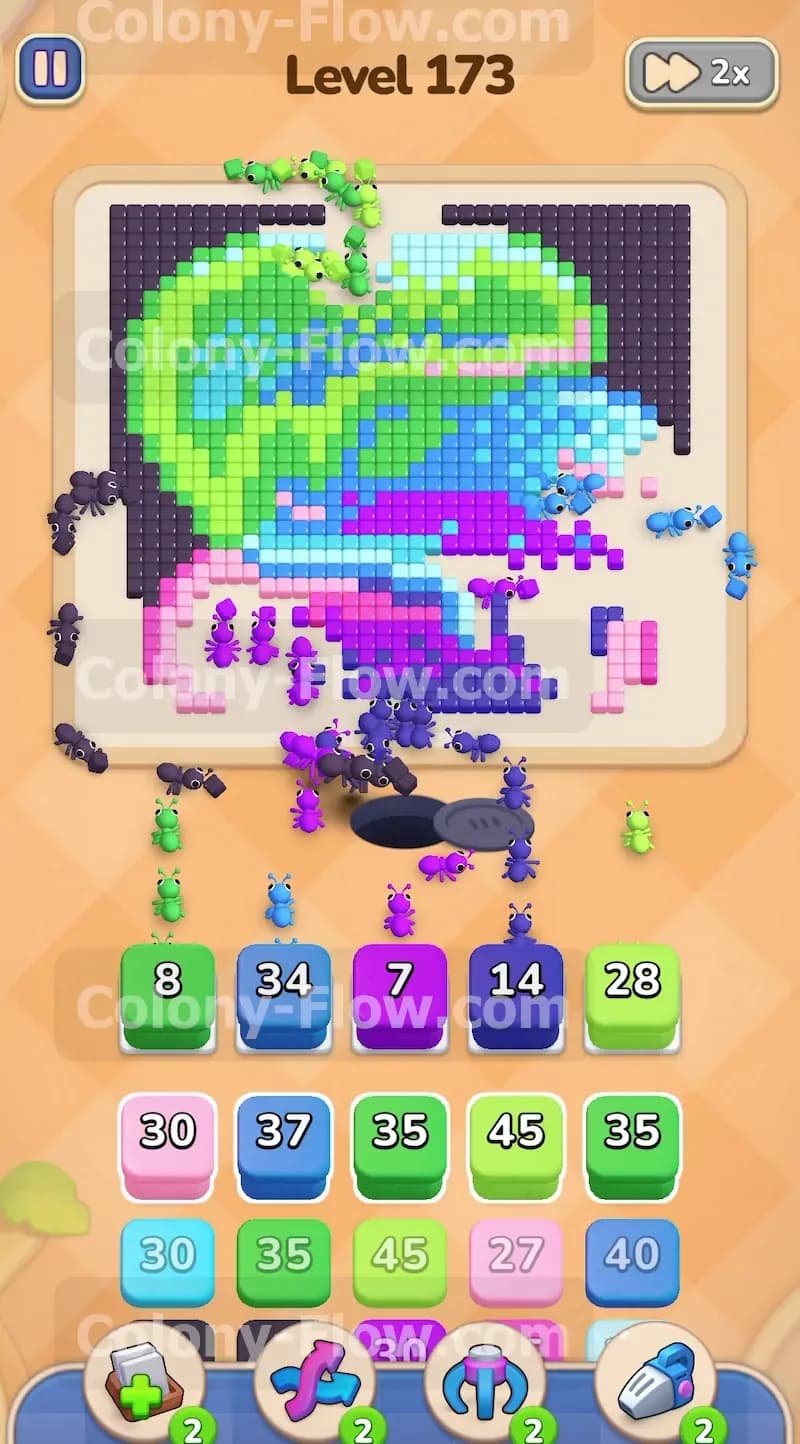
Shift your attention down to the lower left side where the pink tiles cluster heavily. Pull another pink block from your tray to send a fresh wave of ants down to that bottom area. These ants eat away the thick pink layer and gradually reveal the inner dark tiles and the dense purple section sitting right next to it. Leaving this pink section intact for too long creates a dead end at the bottom of the board. By hollowing out the bottom left early, you create a wide open highway for your ants to reach the lower middle section. You keep your waiting slots completely safe by ensuring these pink ants never run out of open targets. The pink block numbers drop away quickly because the outer corner is fully exposed.
Step 4: Deploy dark blue blocks to break the middle barrier lines.
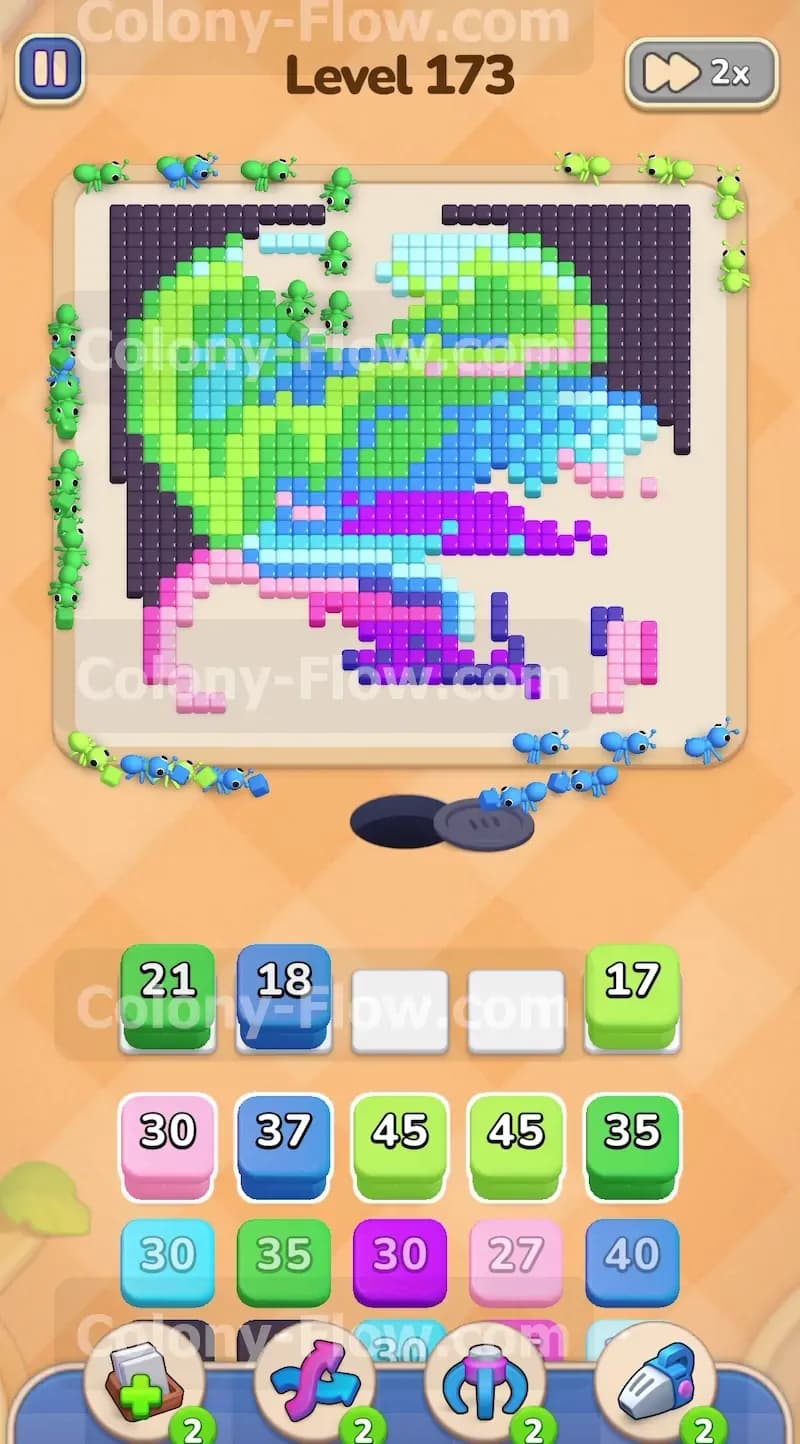
The outer sections are now thin enough to expose the thick dark blue structural lines separating the different colors. Pull a dark blue block into your active waiting slots. The dark blue ants will march straight into the gaps you just created on the right side and the bottom left side. They attack the thick borders surrounding the lower half of the creature shape. Breaking these dark blue lines is required for reaching the deep purple tiles trapped directly in the middle. Your waiting slots remain totally safe here because the dark blue ants have multiple entry points from the paths you opened during the previous steps. The barrier crumbles fast when attacked from two sides at once.
Step 5: Send purple ants to dismantle the lower middle section.
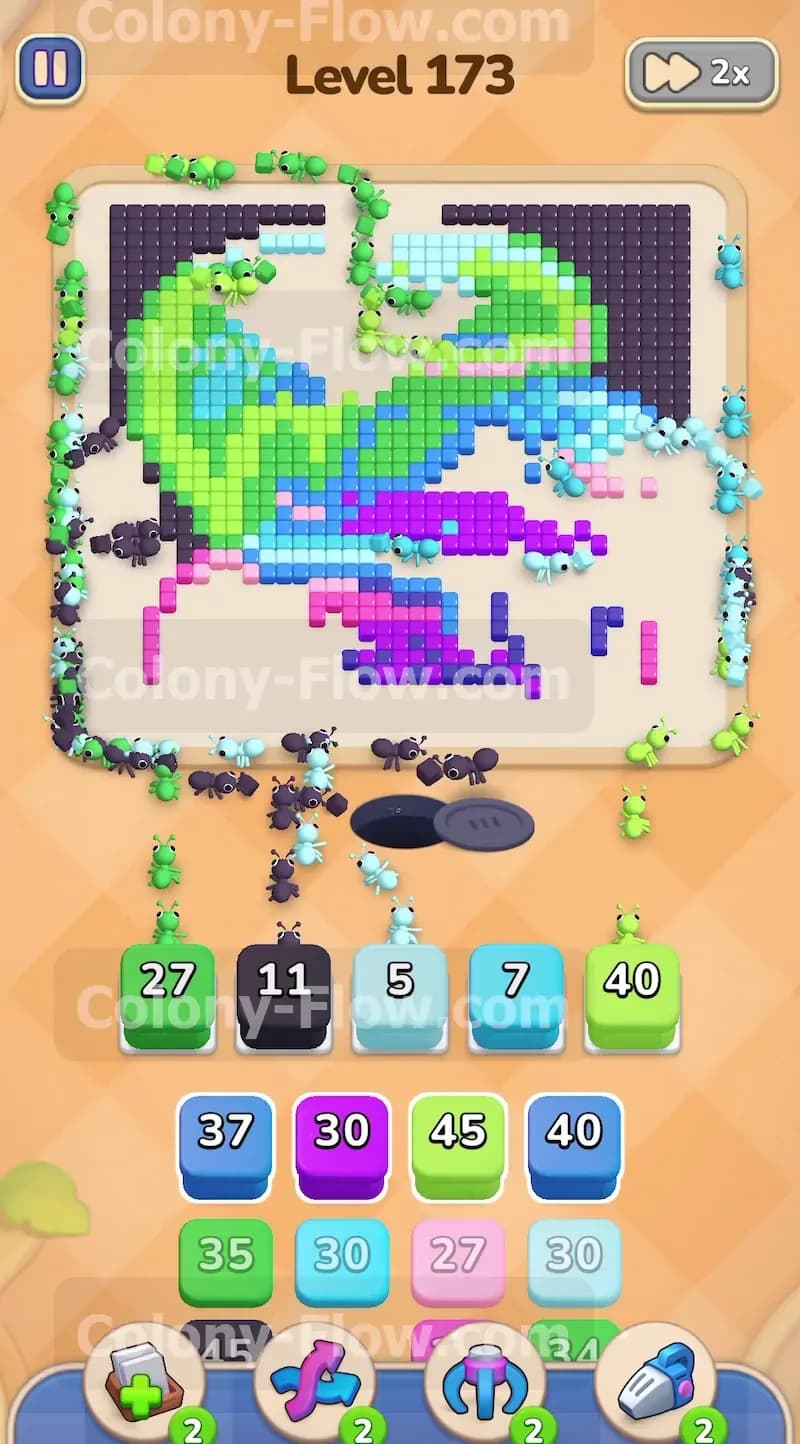
With the dark blue barrier successfully broken, the rich purple tiles in the lower center are completely defenseless. Pull a purple block from your tray. The purple ants flow straight through the newly opened bottom gap and swarm the purple cluster. They eat away the bulk of the lower body piece by piece. You will notice the numbers on your purple blocks drop very quickly right here. The dense shape of the purple tiles allows many ants to eat at the exact same time. This rapid clearing speed is exactly what you want to keep your slots open and ready for the next wave of blocks. The center of the board becomes a massive empty space as the purple section disappears.
Step 6: Maintain a steady flow of green blocks for the top left bulk.
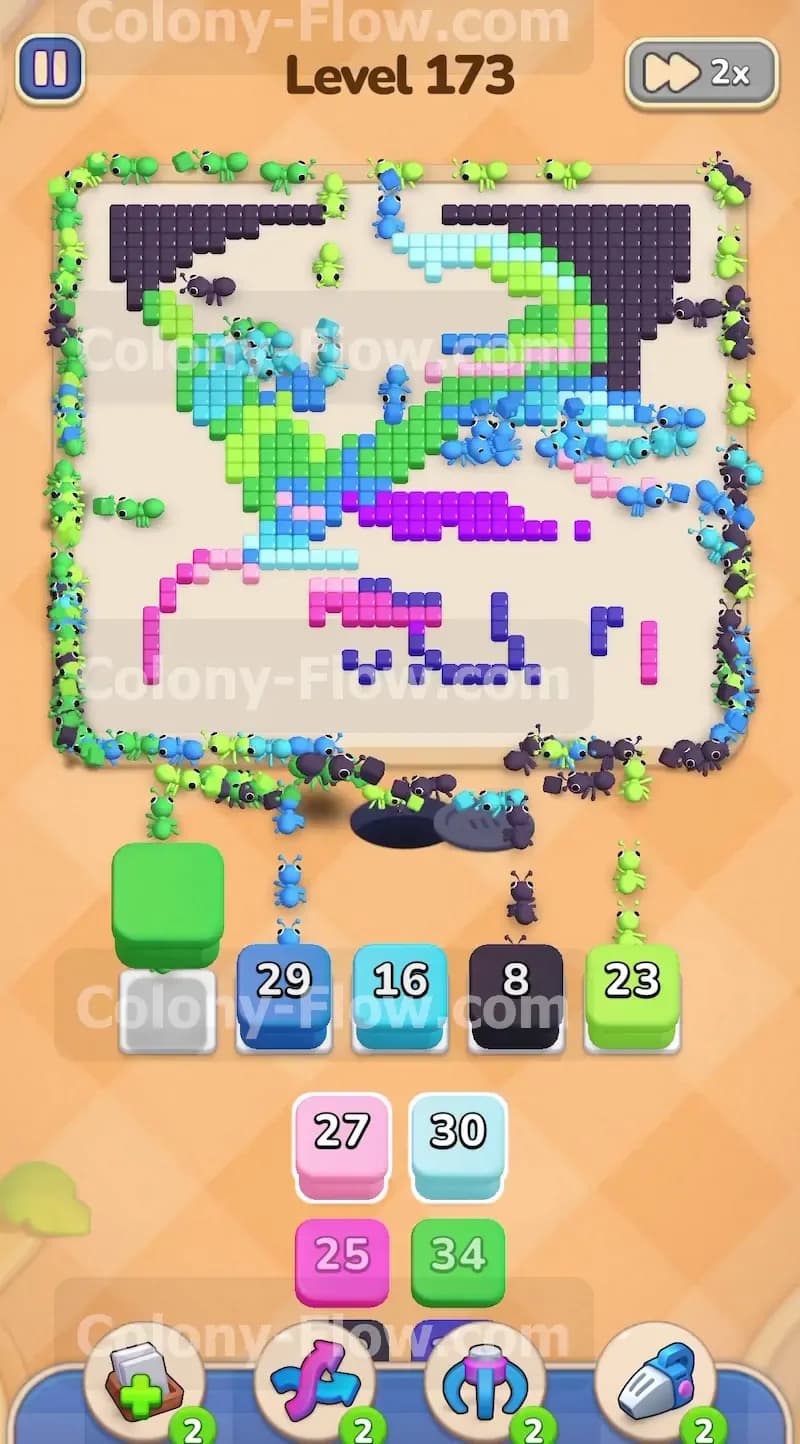
The bright green section at the top left is massive and takes a very long time to clear out completely. You absolutely cannot ignore it while working on the bottom sections. Pull another light green block to reinforce the ants working up top. These green ants continue chewing down the huge rounded top section. You want to constantly chip away at this green mass throughout the entire middle phase of the level. Alternating between pulling green blocks and pulling blocks for the bottom sections perfectly balances the board. This balanced strategy ensures no single color dominates your waiting slots and causes an unexpected loss. The green area slowly shrinks down to a manageable thin outline.
Step 7: Unleash black ants to hollow out the deep inner skeleton.
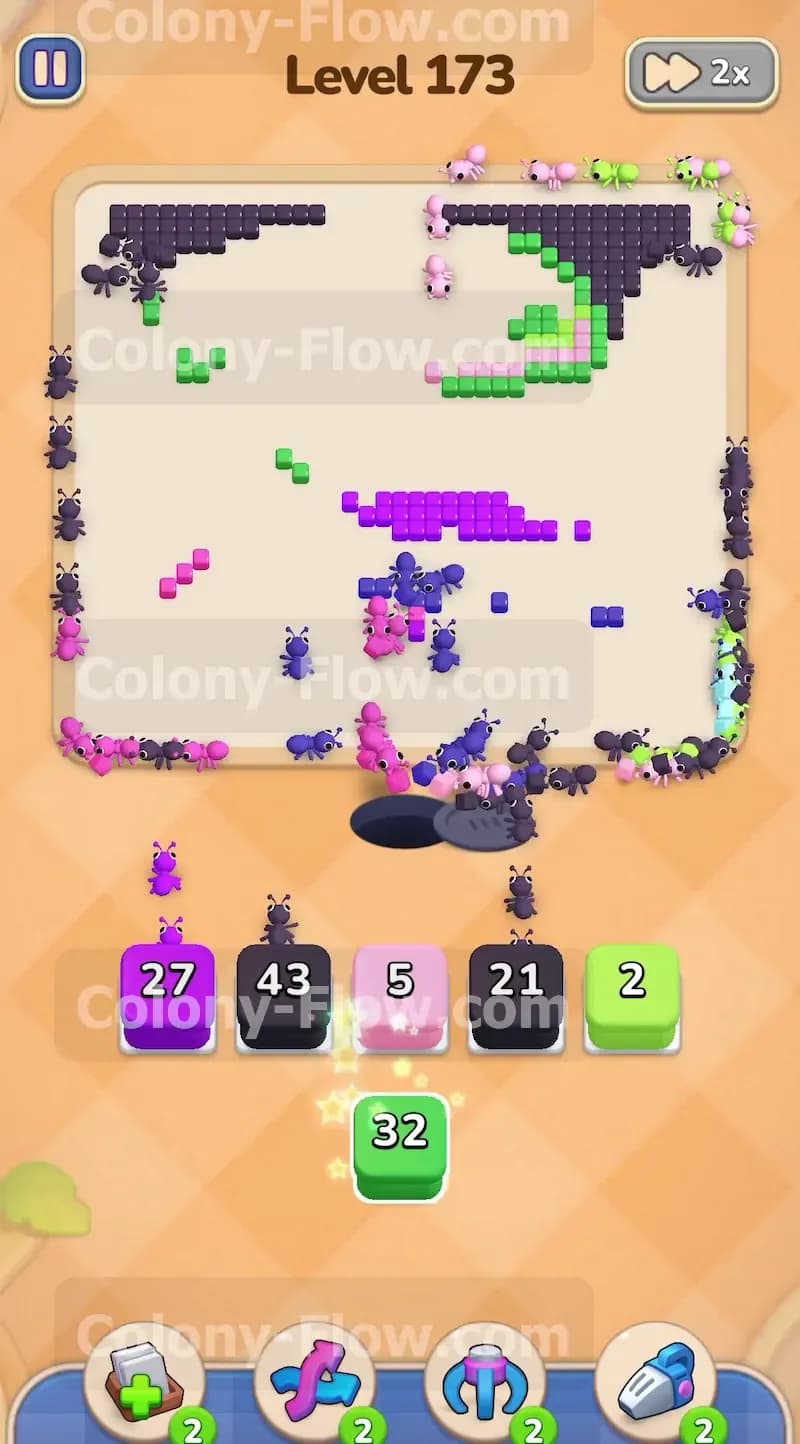
The picture is now mostly stripped down to its core outlines. Thick black and very dark purple tiles make up the deepest inner skeleton of the shape. Pull the black blocks from your tray to send the darkest ants directly into the middle of the board. They will follow the cleared paths straight into the center and devour the remaining thick borders. The board looks quite empty at this point with ants streaming wildly through the large open white spaces. Your slots are incredibly safe right now because nearly every single remaining tile has a fully exposed edge. The black ants easily find their targets and empty out your active slots fast.
Step 8: Send the remaining cyan blocks to finish the right side.
A few straggling colors remain untouched on the right side. Pull your remaining cyan and light blue blocks from the tray. These ants sprint across the massive open space to target the final fragments of the water shape. The path is completely clear so these ants reach their destination almost instantly. Clearing these pieces completely removes the right side structure from the board. Your tray is now getting very close to completely empty. The open board gives every ant maximum speed to their final destination.
Step 9: Mop up the scattered remaining tiles across the board.
You are down to the final scattered fragments of the entire picture. A few disconnected pink, black, green, and purple tiles remain scattered near the outer edges and the very center. Pull your final few pink, black, and green blocks into the waiting slots. The ants will quickly run across the vast empty board to snatch up these completely isolated pieces. Because the board is entirely open now, every single ant finds its target instantly without any delay. The numbered blocks empty out of your waiting slots in mere seconds. You watch the final few pixel tiles vanish and the level completes successfully.
Final Thought
Colony Flow Level 173 tests your ability to juggle multiple sides of a dense picture at once. Keep peeling the outer layers evenly and you will never face a blocked path or a jammed tray. Balancing your block pulls keeps the ants moving and the board clearing smoothly. Watch the video above this article if any step is hard to follow in text.