Colony Flow Level 163 Walkthrough Solution & Guides | How to solve Colony Flow 163

Guide By Liam Stone
Updated on July 12, 2026
The Level 163 walkthrough video above shows every step, so feel free to skip the article and watch instead.
Video doesn't match your screen?
Game updates frequently scramble layouts! Try our AI Screenshot Solver first to find your exact board instantly, or report broken guides to our team.
Colony Flow Level 163 presents a massive pixel art word spelling out LOVE. You must peel away thick borders and manage tricky connected boxes to feed your colony without running out of space. I will show you exactly how to clear this board from the outside in so your waiting slots never jam.
Colony Flow Level 163 Overview
What You Are Working With
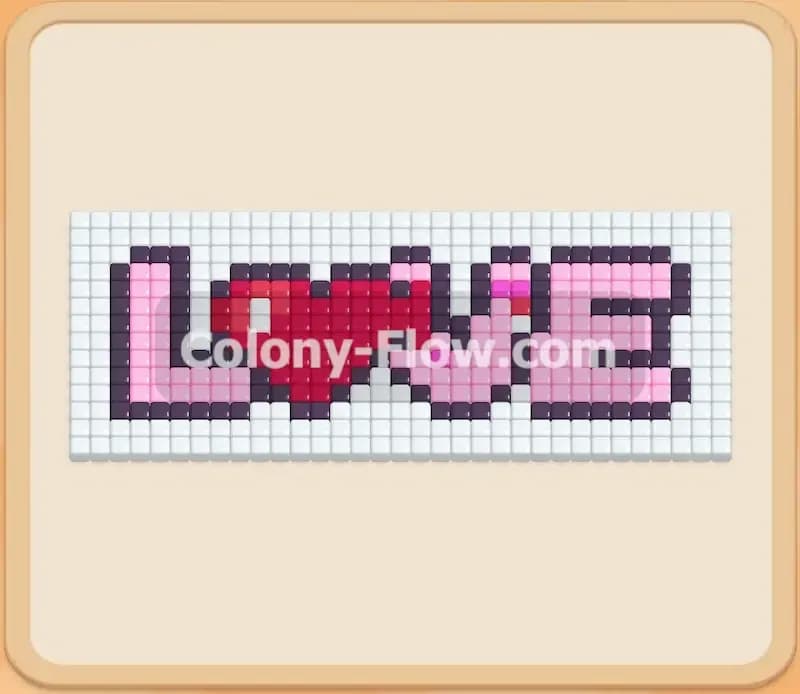
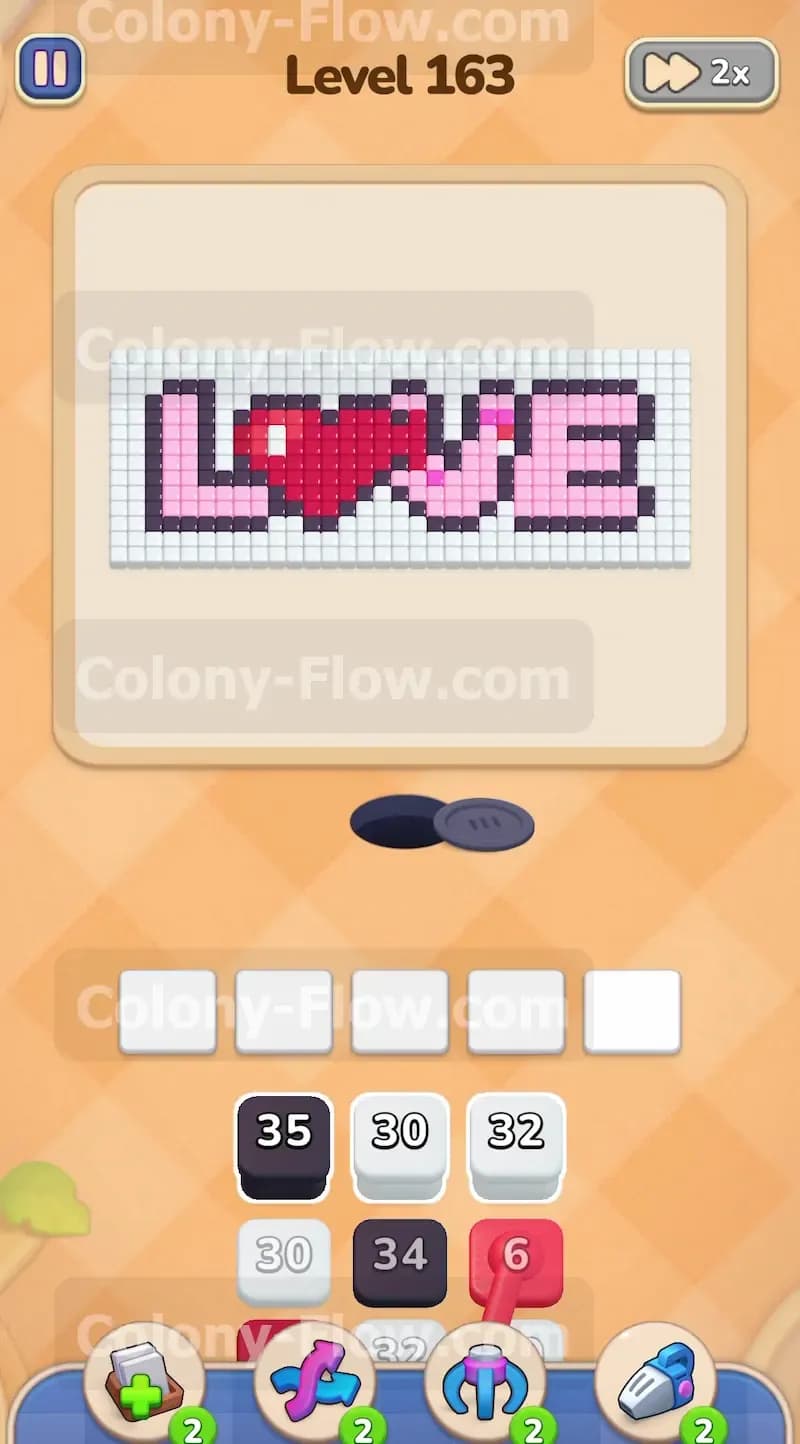
The puzzle board features a large rectangular grid completely filled with tiles that spell out the word LOVE in capital letters. The background consists entirely of white tiles. Every letter features a thick black outline that separates the inner colors from the white background space. The letters L, V, and E are filled with solid pink tiles. The letter O is special because the inside is shaped like a bright red heart.
Your tray at the bottom holds the numbered blocks you need to pull to feed your colony. You will see massive blocks like a Black 35 and a White 32 right at the top of the pile. As you dig deeper into the tray, you will uncover smaller pink and red blocks. This level also features connected boxes. You will spot a Red 1 block and a Red 6 block linked directly together. Connected boxes move as a single unit and will drop into multiple slots at once. You must plan for them so they do not overwhelm your available tray space.
What It Takes to Clear Level 163 Board
Winning this level requires a strict approach where you work from the outside borders toward the center. You cannot clear the pink letters or the red heart until you break through the heavy black outline. You cannot reach the black outline until you clear away enough of the white background. The absolute core mechanic of Colony Flow is managing your five waiting slots. When you pull a block from the tray, it sits in a slot while the ants run out to eat the matching colored tiles.
If you pull a pink block before the pink tiles are exposed, those ants will have nowhere to go. The block will just sit in your slot and refuse to count down. If you make this mistake too many times, all five slots will fill up. When the slots fill up and no ants can move, you lose the level instantly. You must always verify that a color has an open path on the board before you pull it from the tray. Keeping one slot completely free at all times is the best way to guarantee a win.
Colony Flow Level 163 Step by Step Solution
Step 1: Open the outer background and borders to prevent early jams
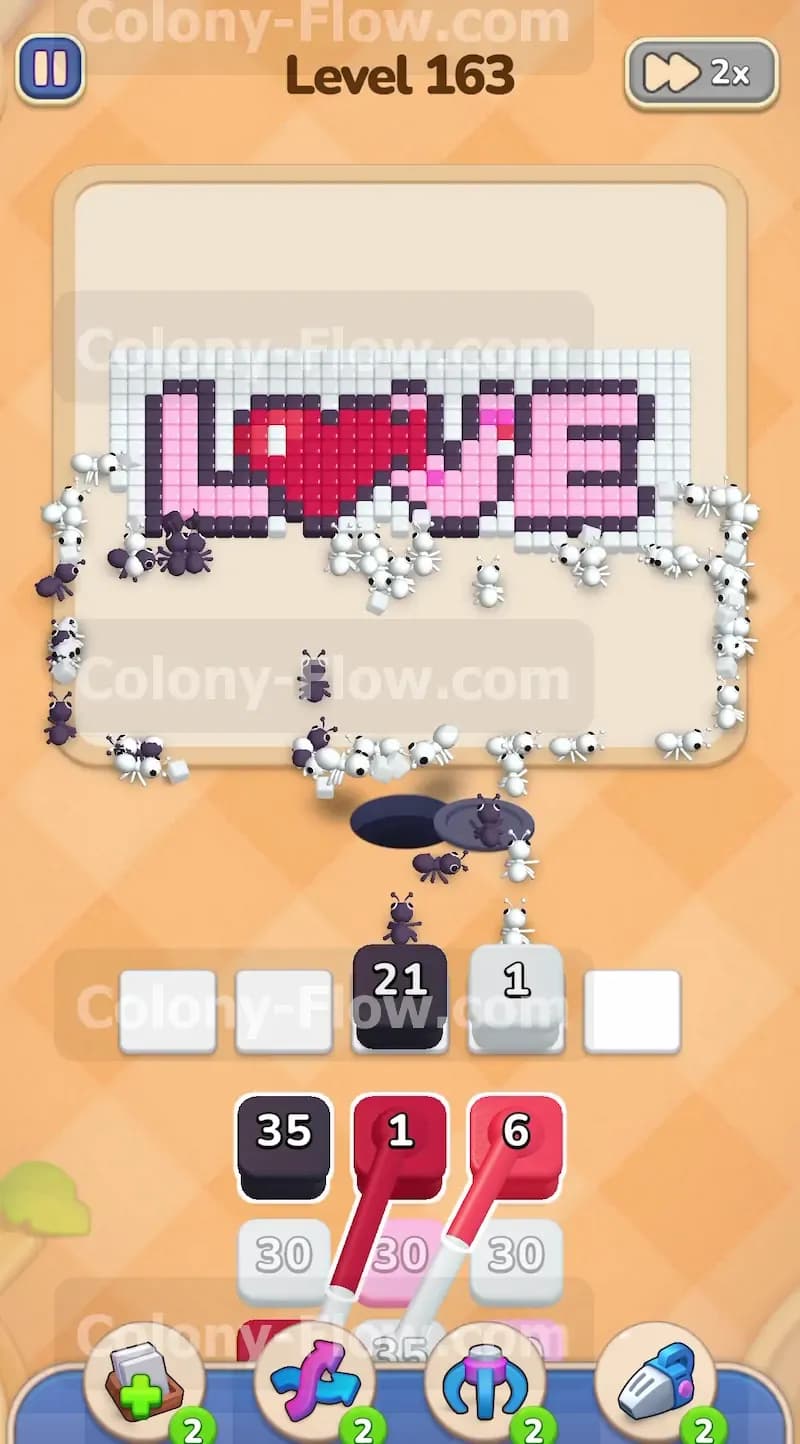
Your very first move sets the tone for the entire level and determines whether you have enough room to operate. The top row of your tray offers a White 32 block and a Black 35 block. The white tiles make up the entire outer background of the board while the black tiles form the thick outline around every single letter. Pull the White 32 block into your first waiting slot. A massive stream of white ants will pour out of the nest hole and run along the outer edges to eat the background. Pull the Black 35 block right next to it. The black ants will target the top and bottom borders of the letters. This double move strips away the outer protective shell of the pixel art. It gives your colony a massive surface area to work with and keeps your remaining three slots completely empty. Your ants have a clear path to their food and your slots will never jam.
Step 2: Continue stripping the background to expose the inner letters
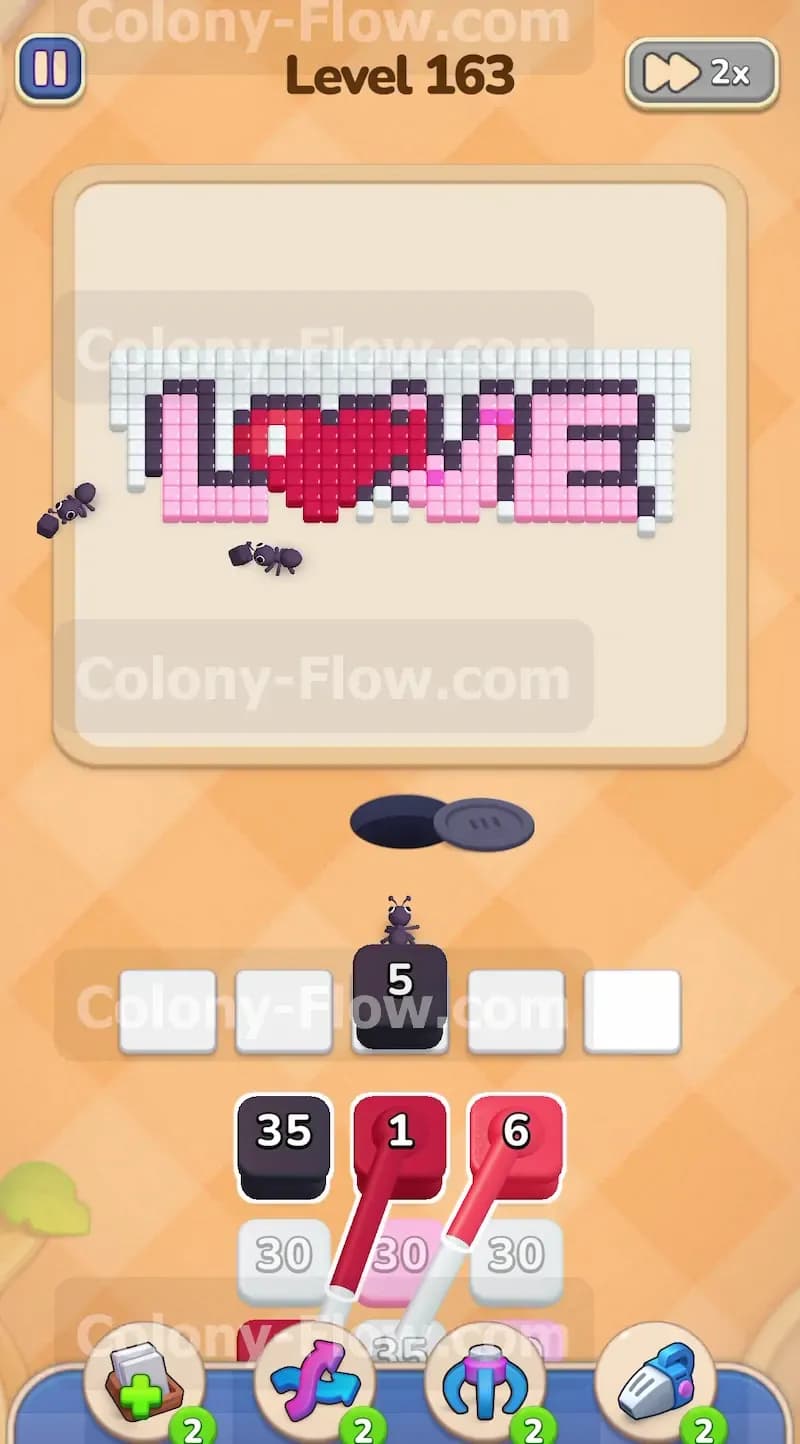
Once the first wave of ants finishes their work, the numbers on your initial blocks will hit zero and the blocks will vanish. Look at the next layer of your tray to find a White 30 block and a Black 34 block. Pull both of these into your newly opened slots. The white ants will continue eating their way into the tight crevices between the letters. They will clear the spaces between the L and the O as well as the V and the E. The black ants will follow right behind them to dismantle the vertical black outlines. You need these vertical borders gone before you can safely pull the inner colors. Do not touch any pink or red blocks yet because those inner tiles are still trapped behind the remaining black borders. If you pull a pink block right now, it will permanently clog one of your slots. Patience is your best tool here.
Step 3: Clear the connected red boxes once the heart is exposed
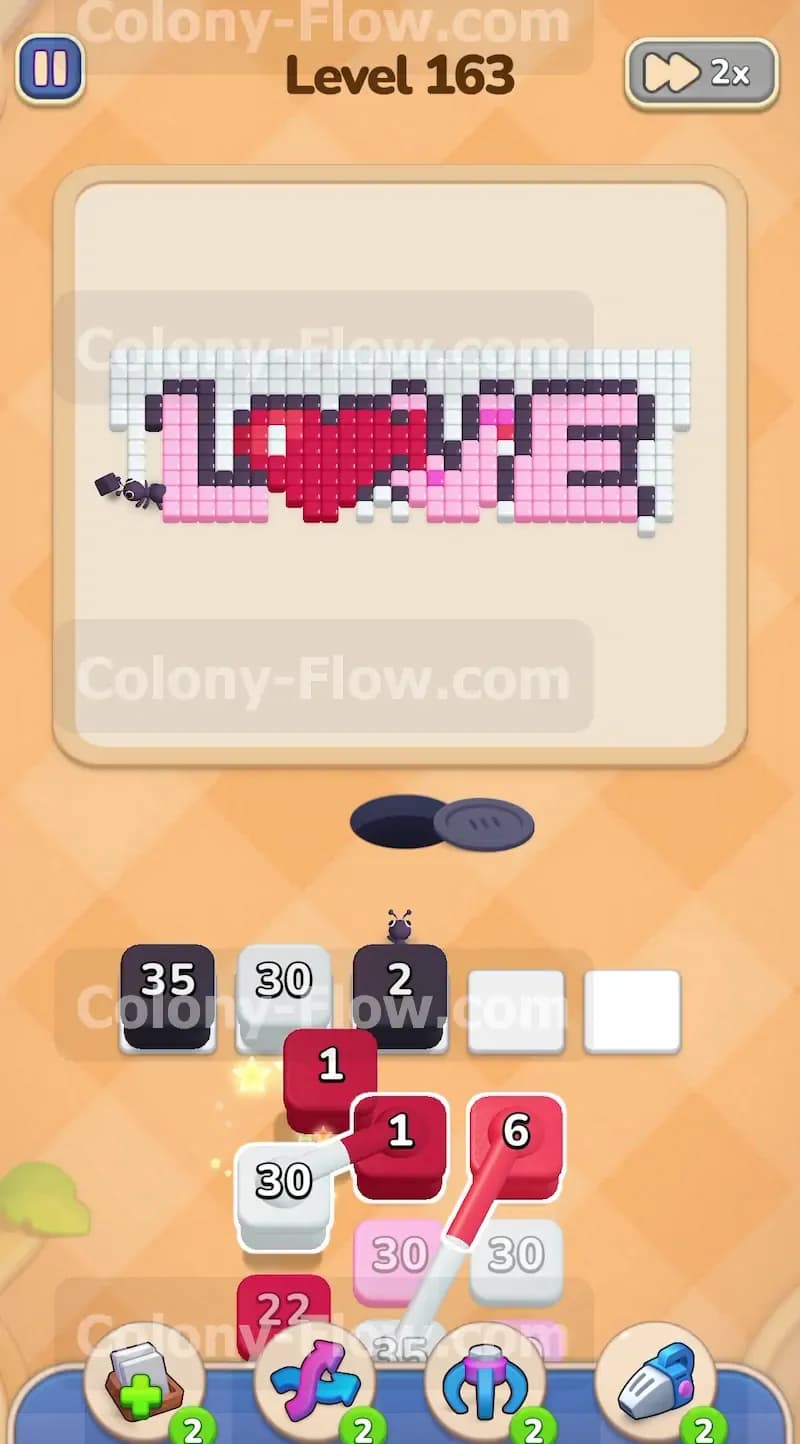
As the black outline around the letter O begins to break apart, you will finally have a clear path to the red heart. Now is the exact right time to handle the tricky connected boxes in your tray. You will see a Red 1 block linked directly to a Red 6 block. Because they are connected, clicking either one will pull them both into your waiting slots simultaneously. This instantly consumes two of your five available spaces. Make absolutely sure the black ants have opened a wide enough gap to the red tiles before you click them. When you pull the connected red boxes, the red ants will quickly rush in and eat the outer edges of the heart shape. The small numbers on these blocks mean they will count down very fast. They will clear out of your slots in seconds and give you your precious space back.
Step 4: Send pink ants into the main letters to clear the thick fills
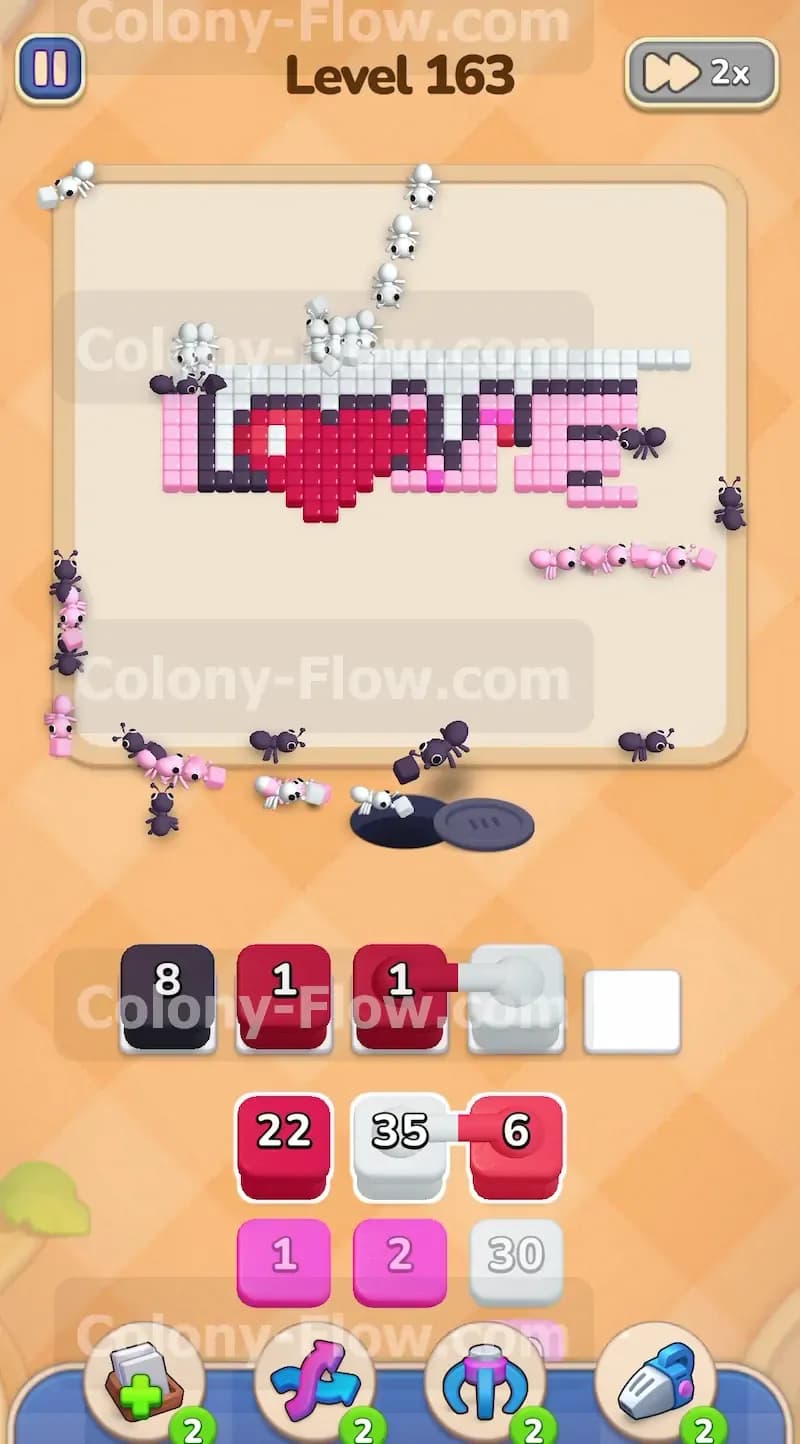
With the black outlines heavily damaged and the red heart shrinking, the pink fills of the letters L, V, and E are totally vulnerable. Your tray will reveal a massive Pink 28 block alongside a smaller Pink 6 block. Pull the Pink 28 block into your first empty slot. A huge swarm of pink ants will flood the board and chew through the thickest sections of the letters. The board will change rapidly as the pink tiles disappear. Keep a close eye on your ant streams during this phase. You will notice the pink ants slowing down if they hit a solid wall of black tiles. Pull a Black 26 block from the tray to keep the black outline shrinking ahead of the pink ants. This constant balancing act ensures your colony never stops moving and your slots stay open.
Step 5: Clean up the remaining background and broken border fragments
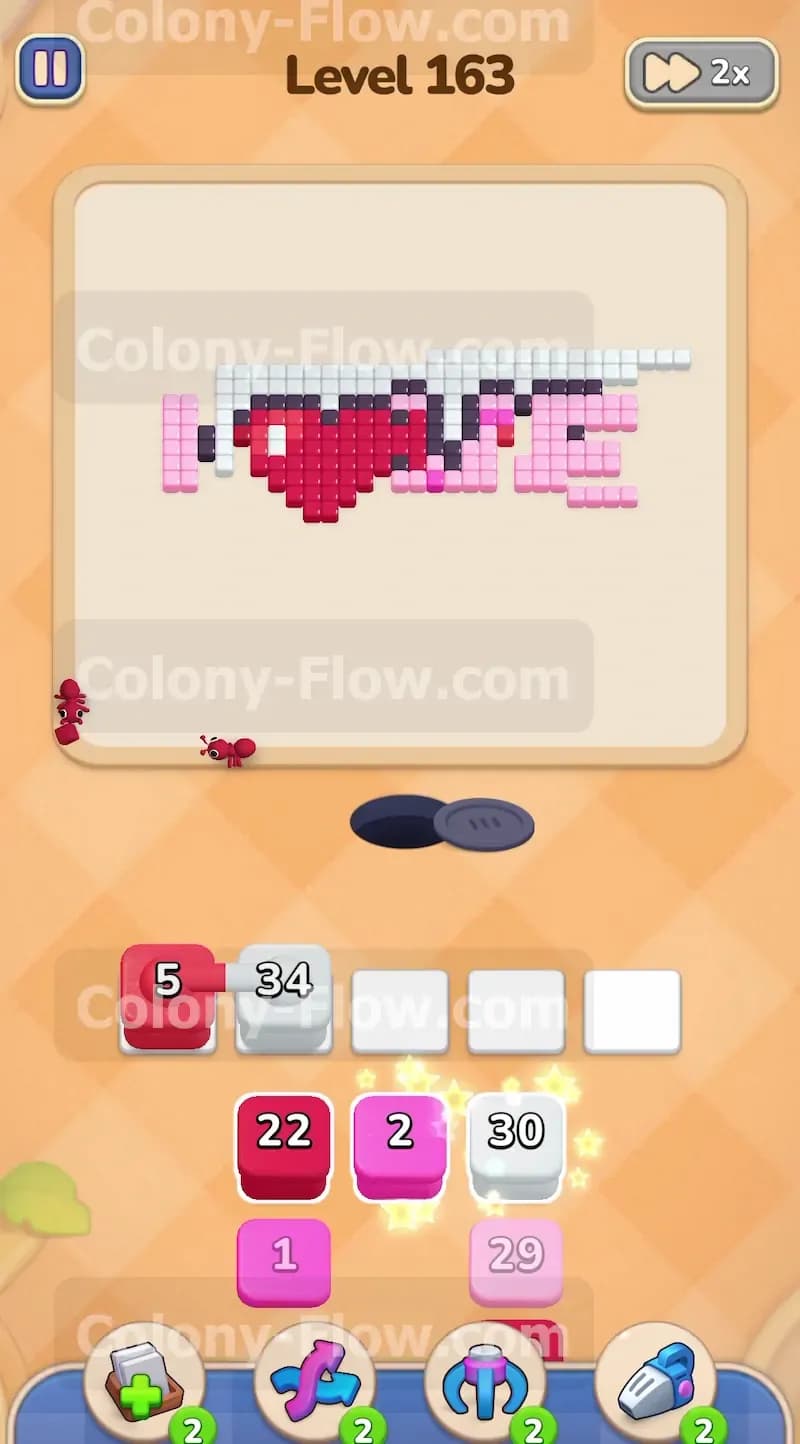
The pixel art is now mostly destroyed but you still have scattered tiles all over the lower half of the board. You will see a White 25 block and a Black 8 block deep in the lower sections of your tray. Pull the White 25 block to send ants after the isolated white background tiles near the bottom corners. Pull the Black 8 block to finish off the very last pieces of the black outline. You must manage your slots carefully during this cleanup phase. Sometimes a white tile is trapped behind a single pink tile. If your white ants stop moving, do not pull another white block. Instead look for a small pink block to clear the blockage. Always leave one slot empty to act as a safety buffer. This simple habit completely prevents a devastating late game jam.
Step 6: Finish the red heart and the final scattered letter pieces
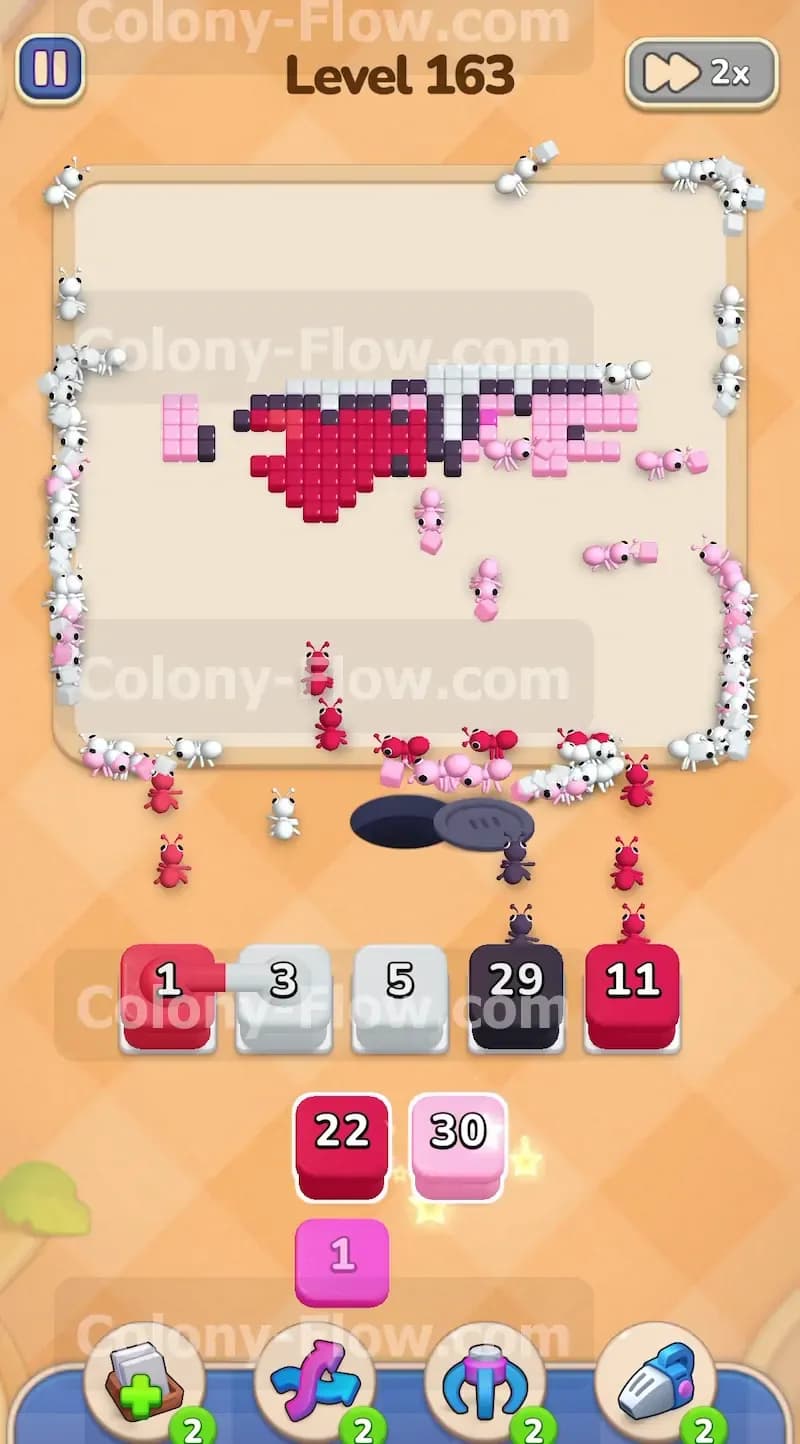
You are now on the final stretch of the level with only a handful of tiles remaining. The tray holds your last few blocks including a large Red 22 and several smaller blocks like a Pink 11 and a White 30. The red heart inside the O is the largest solid shape left on the board. Pull the Red 22 block to send a final massive wave of red ants right into the center of the heart. As the red tiles vanish, pull the Pink 11 block to mop up the very last pieces of the L and the E. Finally pull the White 30 block to clear the absolute last background tiles on the screen. The ants will swarm the remaining tiles from all sides. The numbers on your blocks will drop to zero and the board will be completely clean.
Final Thought
Colony Flow Level 163 tests your patience and your ability to manage your limited tray space. The connected boxes add a fun twist but the real challenge is holding back those inner colors until the black outline is fully broken. If you take your time and clear the board from the outside in, you will never have to worry about filling up your slots. Please watch the video above this article if any step feels hard to follow in text. Watching the ant streams in motion can really help you understand the perfect timing for each block.