Colony Flow Level 967 Walkthrough Solution & Guides | How to solve Colony Flow 967

Guide By Liam Stone
Updated on August 8, 2026
The video above shows the complete Level 967 solution in real time, so you can skip straight to watching if you want.
Video doesn't match your screen?
Game updates frequently scramble layouts! Try our AI Screenshot Solver first to find your exact board instantly, or report broken guides to our team.
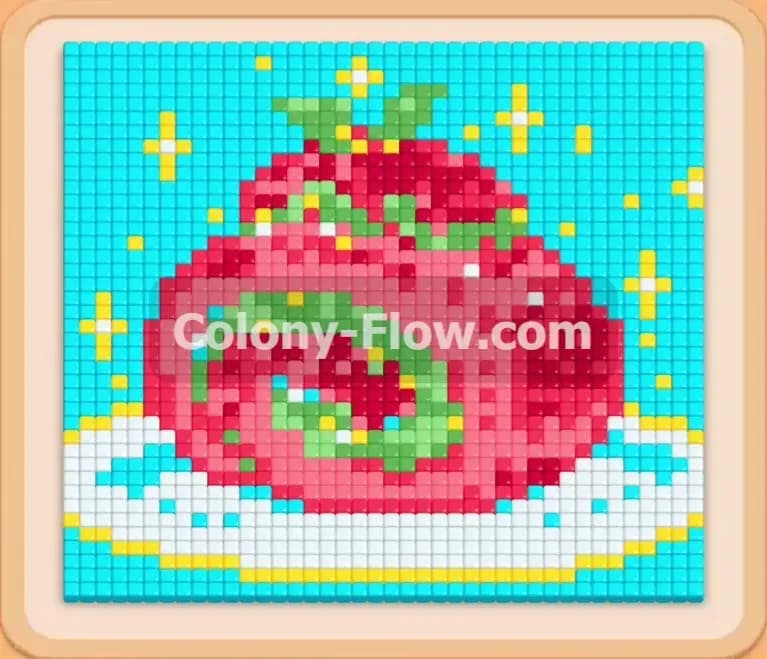
Colony Flow Level 967 presents a delightful dessert puzzle that demands careful sequence planning from the very first move. You face a large strawberry cake resting on a bright plate surrounded by a starry sky background. The path starts quite narrow and requires precise block pulls to avoid a complete dead end. I play every single level myself and I want to share exactly how I beat this board. I will walk you through my exact strategy to dismantle this puzzle safely without ever jamming the waiting slots.
Colony Flow Level 967 Overview
What You Are Working With
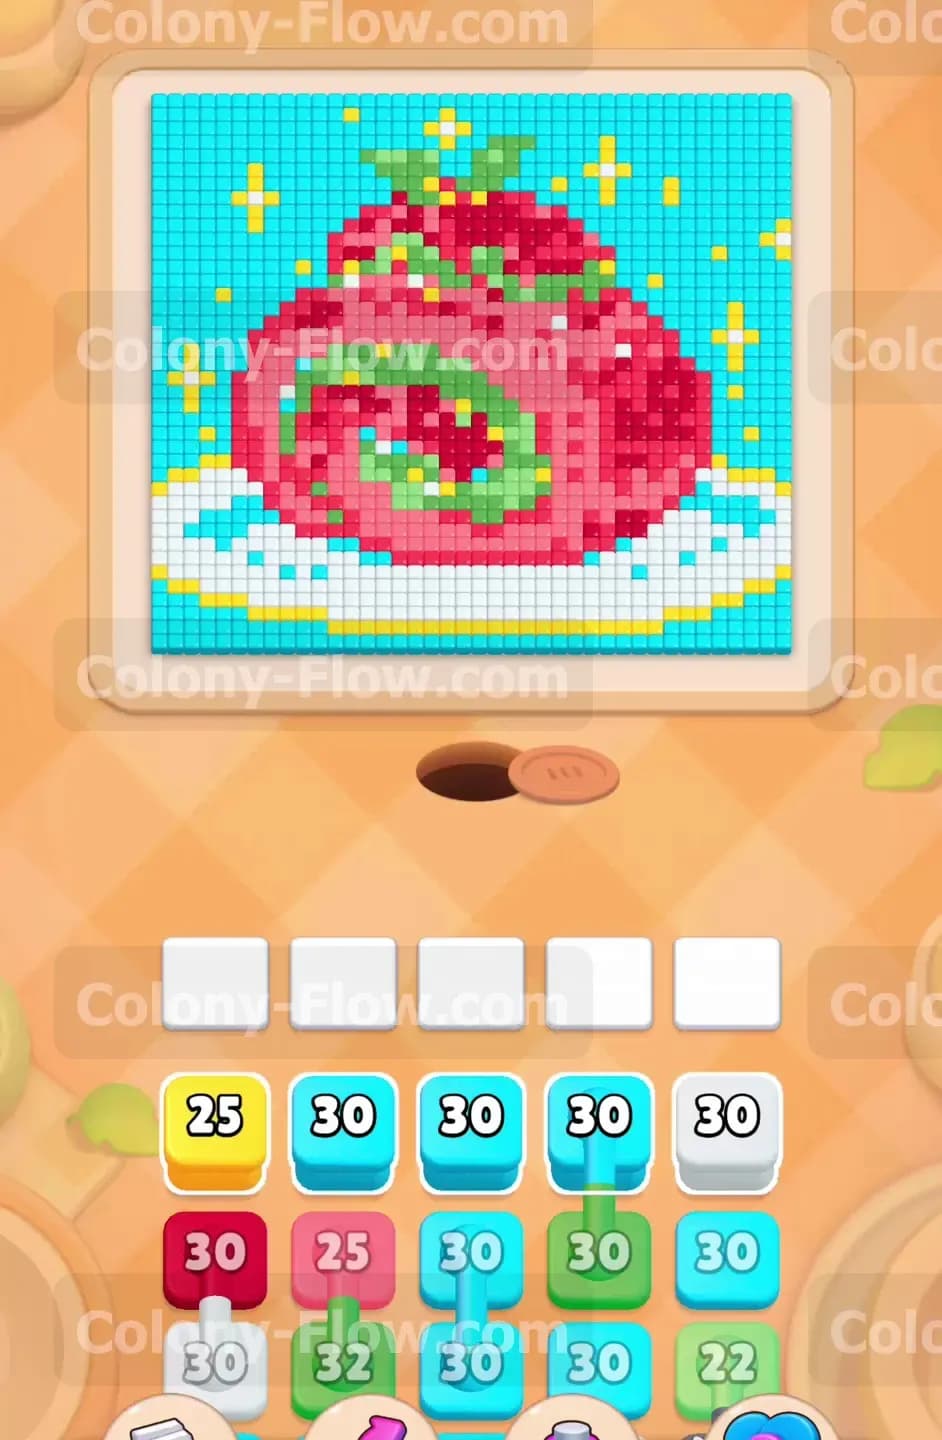
The main picture displays a massive colorful piece of strawberry cake sitting on a bright white plate. The cake consists of dark red outer boundaries, bright red middle sections, and lighter pink inner layers that look like soft filling. Green leaves sit right at the top and scattered inside the fruit as small details. The entire dessert is framed by a solid light blue background dotted with bright yellow stars. You pull numbered blocks from the tray at the bottom of your screen to send ants of matching colors to these exact tiles. The tray contains many single blocks of white, light blue, pink, red, green, and yellow. You will also encounter Connected Boxes hidden deeper in the block pile. These connected blocks pull together into the waiting slots as a single unit and must all find open paths to clear.
What It Takes to Clear Level 967 Board
Winning this level requires you to consume every single pixel art tile of the cake picture without filling up your five waiting slots with blocks that have nowhere to go. The board begins with the solid white plate completely blocking access to the cake and the background above it. You must eat through these bottom obstacles first to open up multiple routes for the other colors. Managing your wait slots becomes the true test of your skill when the Connected Boxes appear in the tray. Because you pull multiple colors at once you have to guarantee that every single color in the linked chain has a clear path to its target tile. Keeping paths open at all times ensures your ants never stop moving and your wait slots never fill up completely.
Colony Flow Level 967 Step by Step Solution
Step 1: Clear the white plate to open initial access to the cake.
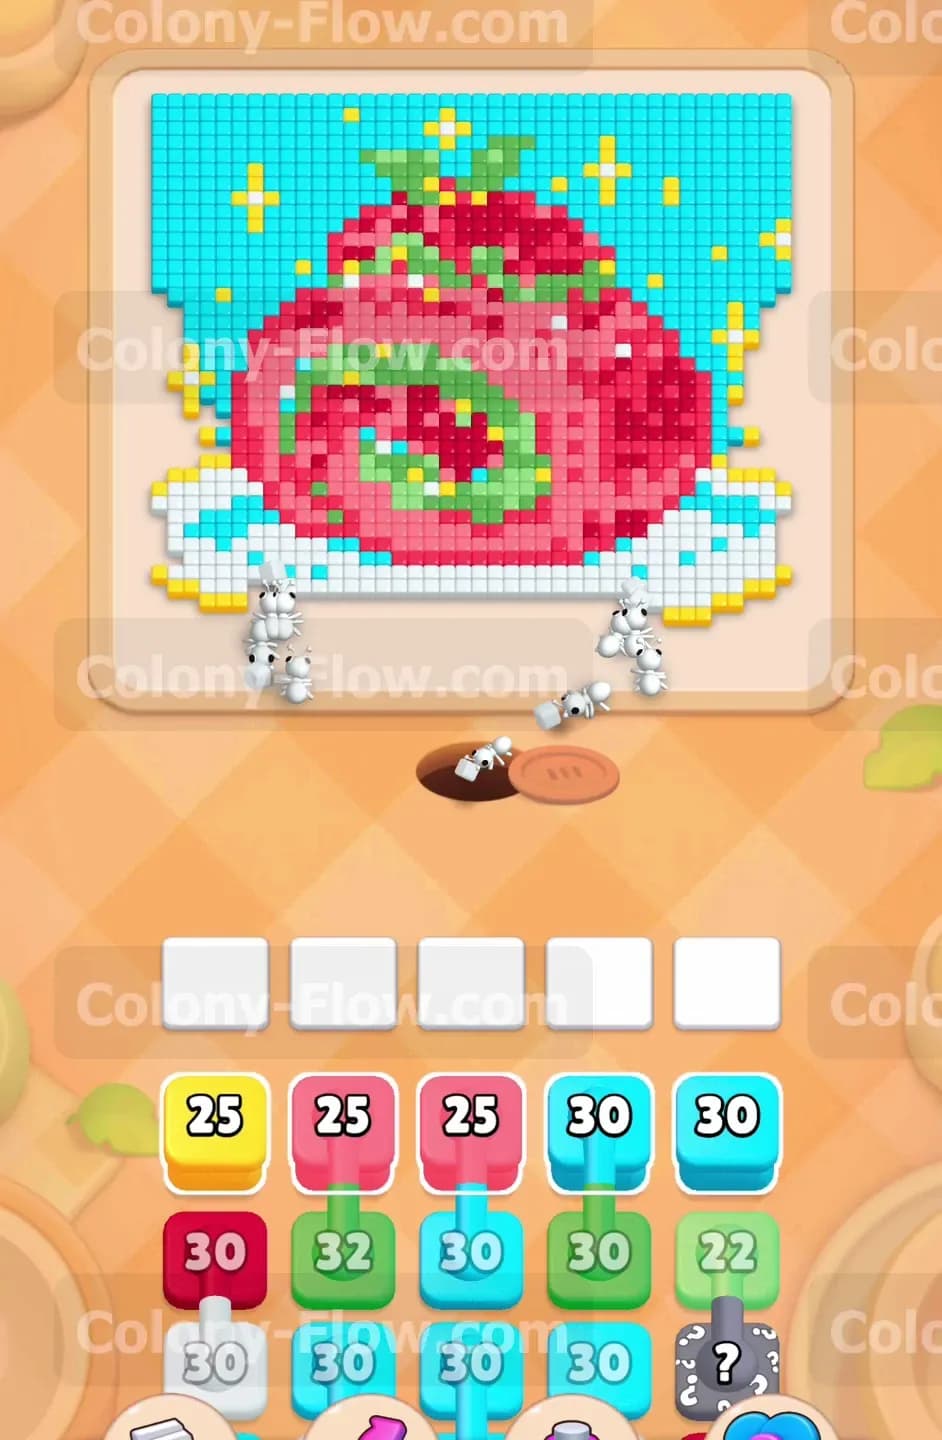
You start by focusing on the only accessible tiles right above the nest hole at the bottom of the screen. Pull a white block from the tray to send white ants directly to the bottom edge of the plate. The ants march up through the nest and begin eating the white tiles from the bottom up. This action creates a wide empty space at the base of the board. You watch the numbers on the white block tick down quickly as the ants consume the plate piece by piece. Clearing this bottom section is completely necessary because the cake and the background tiles are hidden behind the solid white boundary. You keep the slots empty and safe by letting the white ants finish their job before you pull too many other colors from the tray.
Step 2: Pull the first set of connected pairs to reach the outer cake edges.
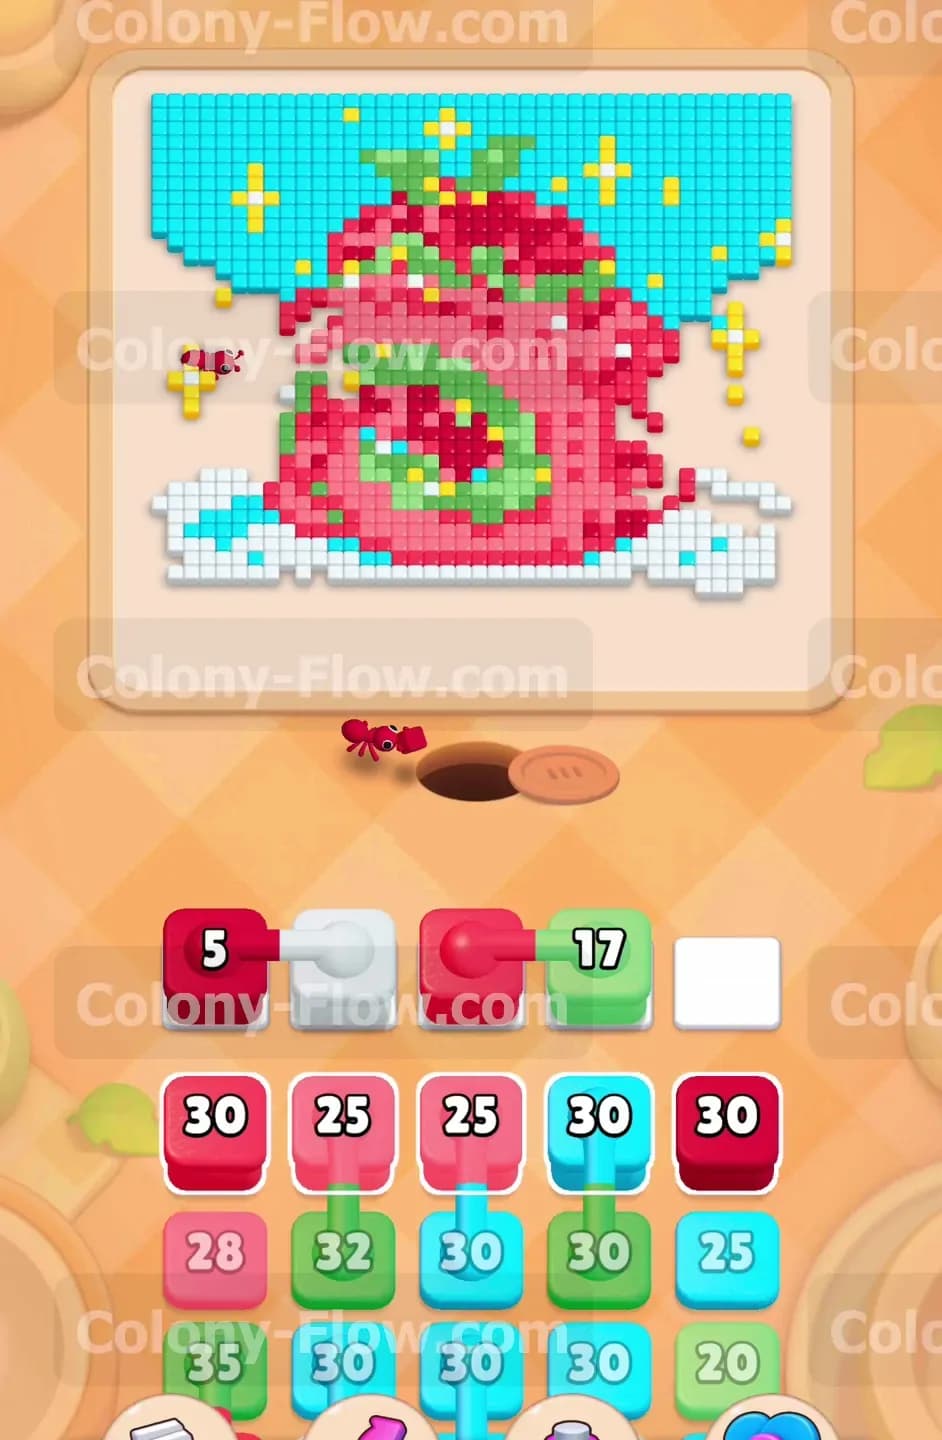
With the plate mostly gone you now have clear paths to the dark red edges of the cake and some of the lower green leaves. You pull two sets of Connected Boxes into your wait slots right now. One pair links a dark red block and a white block. The other pair links a red block and a green block. You now have four of your five slots filled so the tension rises significantly. Dark red ants rush out to tackle the thick outer edge of the strawberry. Red ants target the bright red sections on the left side of the dessert. Green ants easily find paths to the scattered leaf tiles embedded in the cake. The remaining white ants clean up the last few corners of the plate. You watch the block numbers drop as each ant successfully picks up a piece of the food and clears the way. Because you waited for paths to open properly all four colors find valid targets and prevent a board lock.
Step 3: Send light blue and pink ants to hollow out the middle layers.
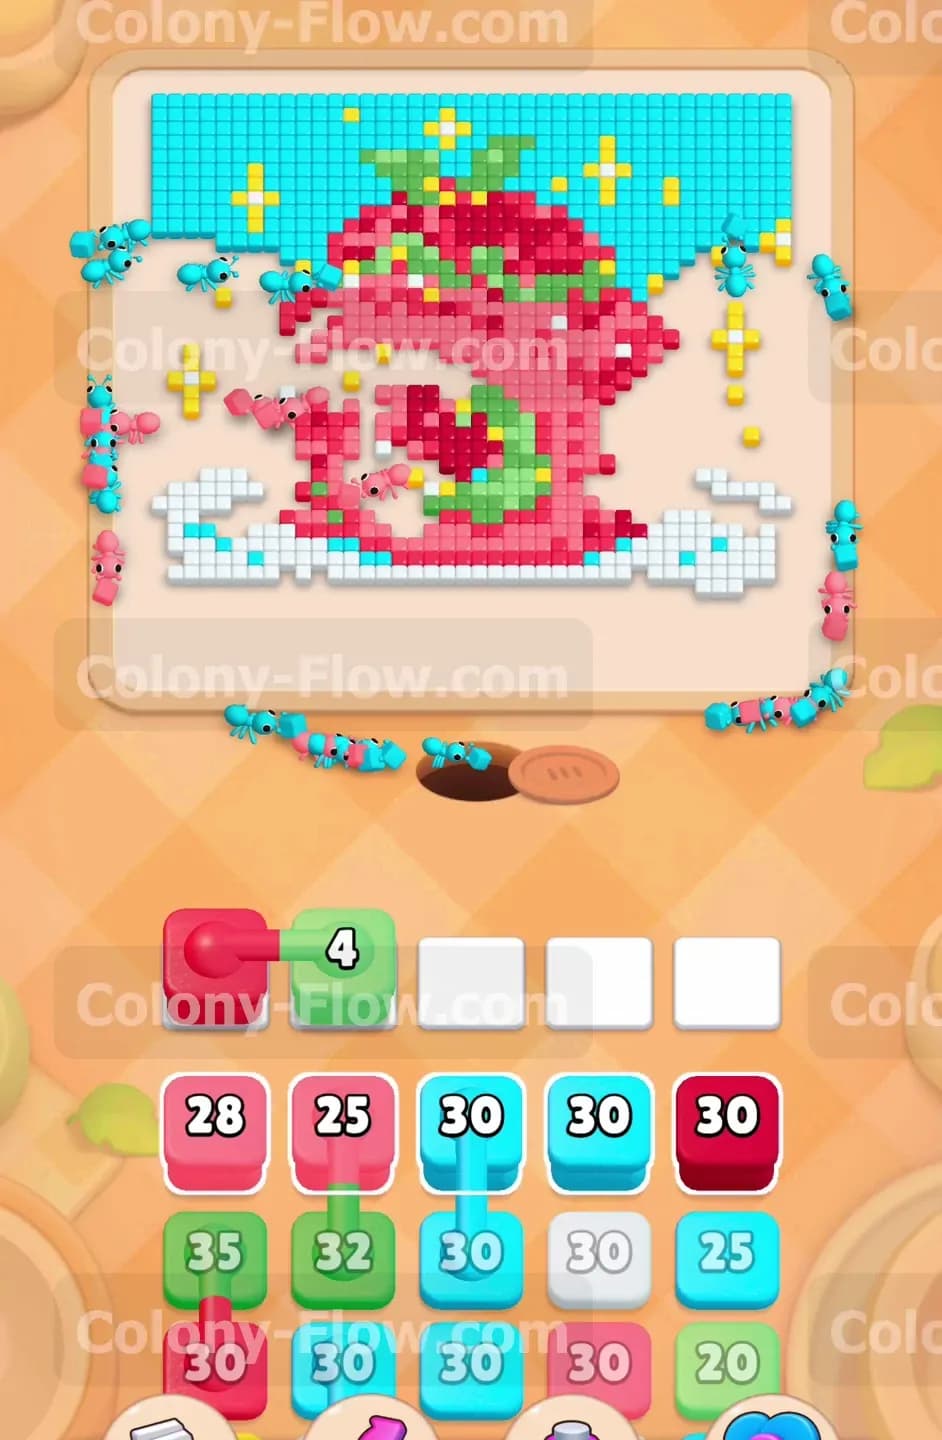
The dark red and red ants carve deep into the cake and expose the lighter pink layers hidden inside. Their precise eating also opens wide access to the light blue background on both the left and right sides of the main picture. You pull single light blue and pink blocks from the tray to take advantage of these new openings. Light blue ants surge around the sides of the cake and begin eating massive chunks of the sky background. Pink ants march directly into the center of the cake to clear the soft inner filling layers. The numbers on the light blue blocks drop rapidly as the ants find a huge uninterrupted space to eat. You watch the numbers on the pink blocks drain quickly as the ants find plenty of valid targets clustered together. The board opens up significantly and your wait slots stay perfectly clear because the ants have plenty of room to operate freely.
Step 4: Deploy the massive five block chain carefully.
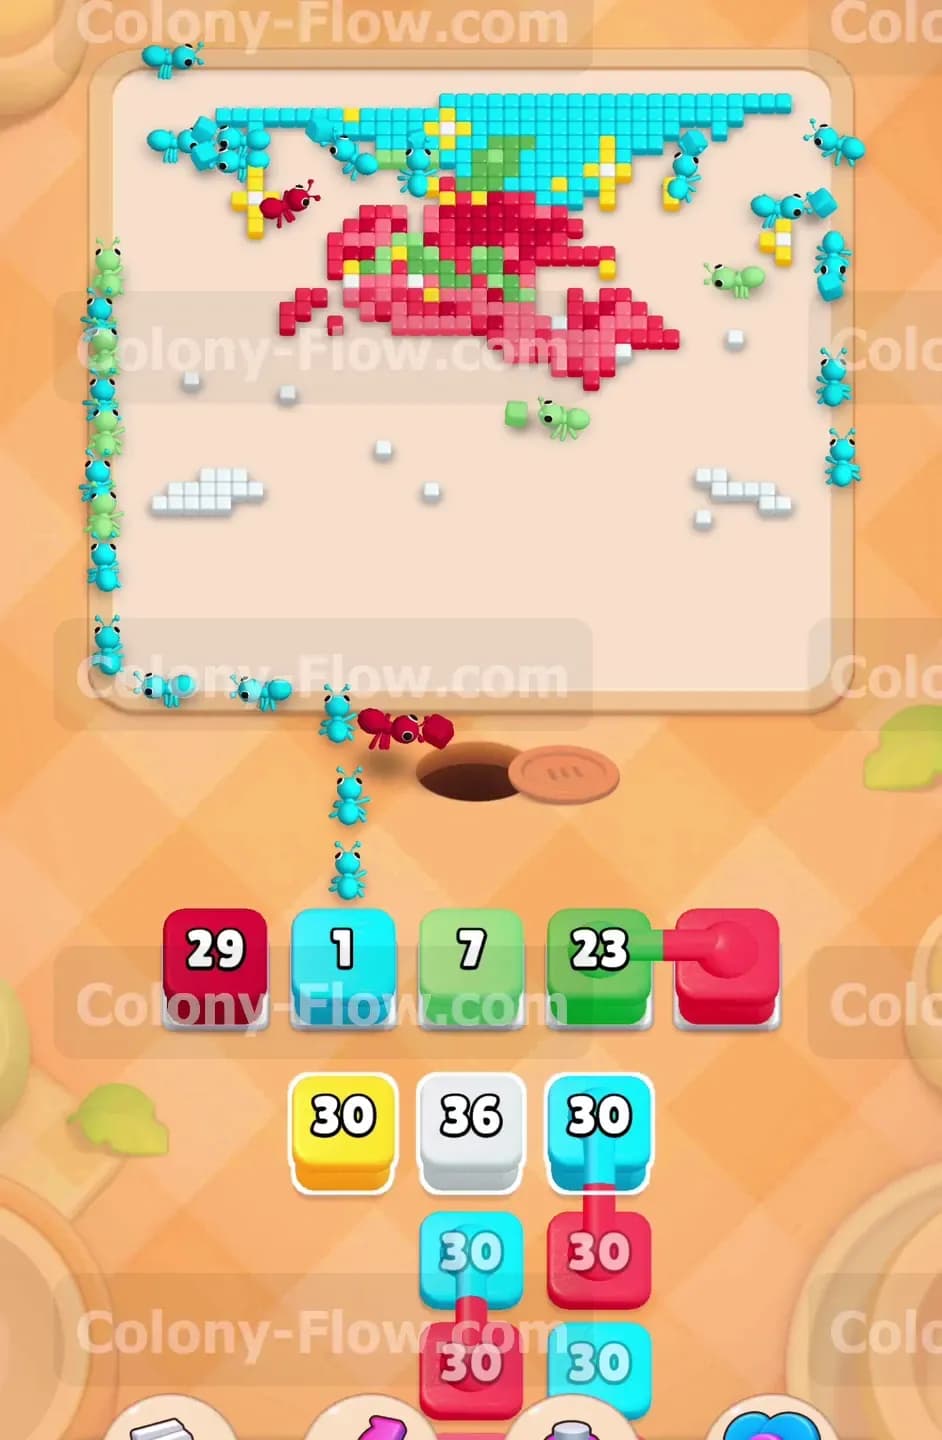
A massive chain of five Connected Boxes rises to the top of your tray as you clear the earlier blocks. This huge chain links a dark red block, a light blue block, a green block, a red block, and another dark red block. Pulling this group fills all five of your wait slots instantly in a single move. You pull this chain only after the previous ants have cleared enough physical space on the board to guarantee clear paths for all five colors at once. The light blue ants immediately target the top section of the background. Green ants rush to the fresh leaves at the very top of the strawberry. The dark red and red ants split up to finish the remaining pieces of the fruit body. Every single color in the slot finds a target immediately so the block numbers drop steadily and you avoid the fatal dead end rule completely. This sequence demonstrates exactly why you must clear the blocking tiles early on.
Step 5: Clean up the yellow stars and the final remaining details.
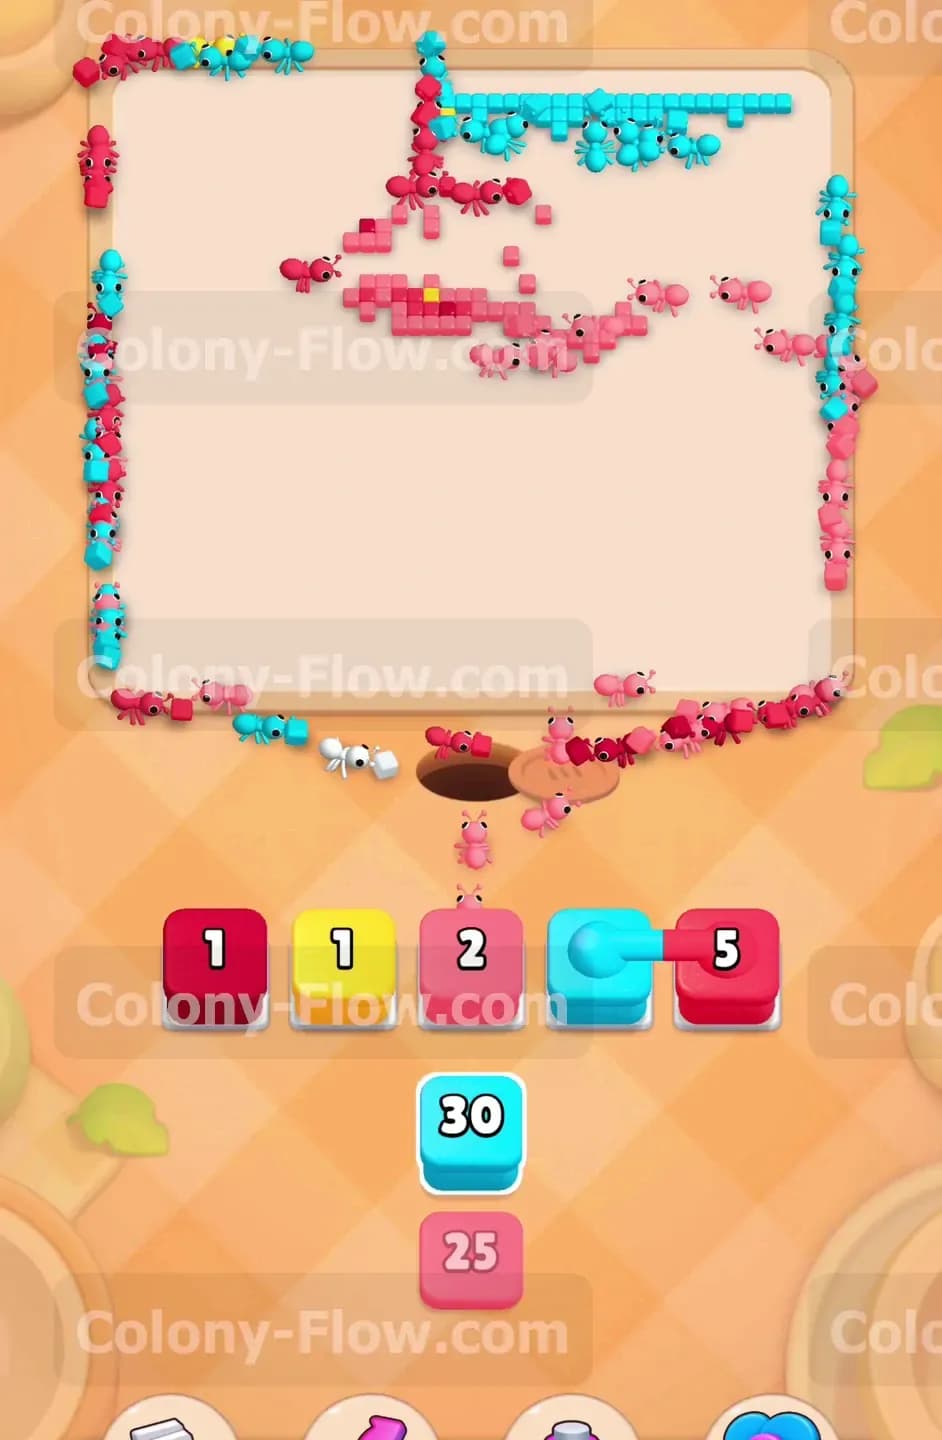
The massive connected chain eventually clears out of the slots and leaves you with an almost empty board. A few yellow stars float entirely alone in the open space at the top. Small isolated clusters of pink, light blue, and red tiles remain scattered around the extreme edges of the picture. You pull a yellow single block from the tray to send ants straight after the stars. You then pull the final pink, light blue, and red single blocks to handle the last few stragglers. The ants traverse the empty space rapidly since no obstacles remain in their way. You watch the final tiles vanish from the screen one by one. The board is completely cleared and you officially win the level.
Final Thought
This puzzle really tests your patience and your ability to read the board state before pulling any connected chains from the tray. Managing the five block chain is easily the most dangerous moment of the whole level but opening wide paths early makes it completely safe. I highly recommend that you watch the video above this article if you want to see the exact timing of these specific block pulls in action.