Colony Flow Level 1117 Walkthrough Solution & Guides | How to solve Colony Flow 1117

Guide By Liam Stone
Updated on August 12, 2026
If you'd rather see it than read it, the video above walks through Level 1117 from start to finish.
Video doesn't match your screen?
Game updates frequently scramble layouts! Try our AI Screenshot Solver first to find your exact board instantly, or report broken guides to our team.
Welcome to Colony Flow Level 1117. This puzzle presents a vibrant potted cactus picture made of tiny colored tiles. You need to carefully manage the limited space in your waiting slots while matching the right tray blocks to the open paths on the board. I will walk you through exactly how to clear this board without getting stuck.
Colony Flow Level 1117 Overview
What You Are Working With
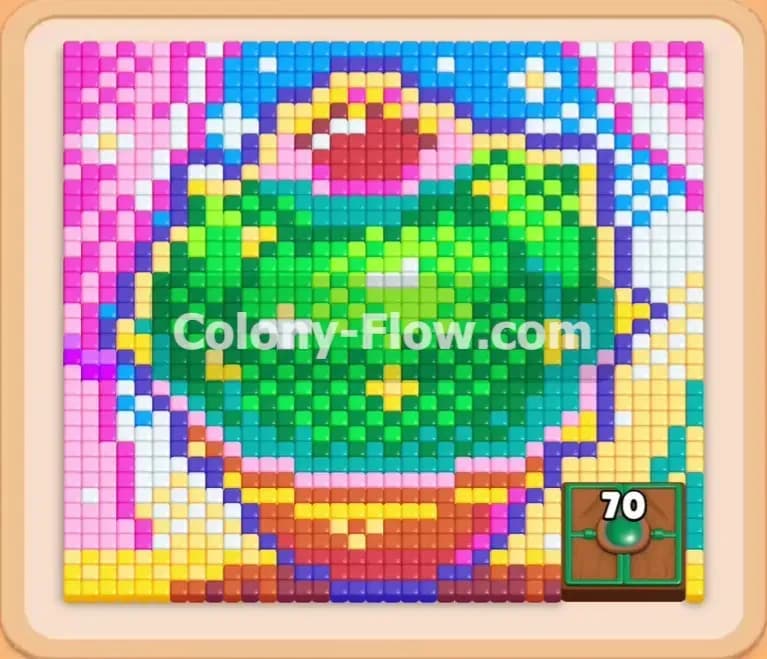
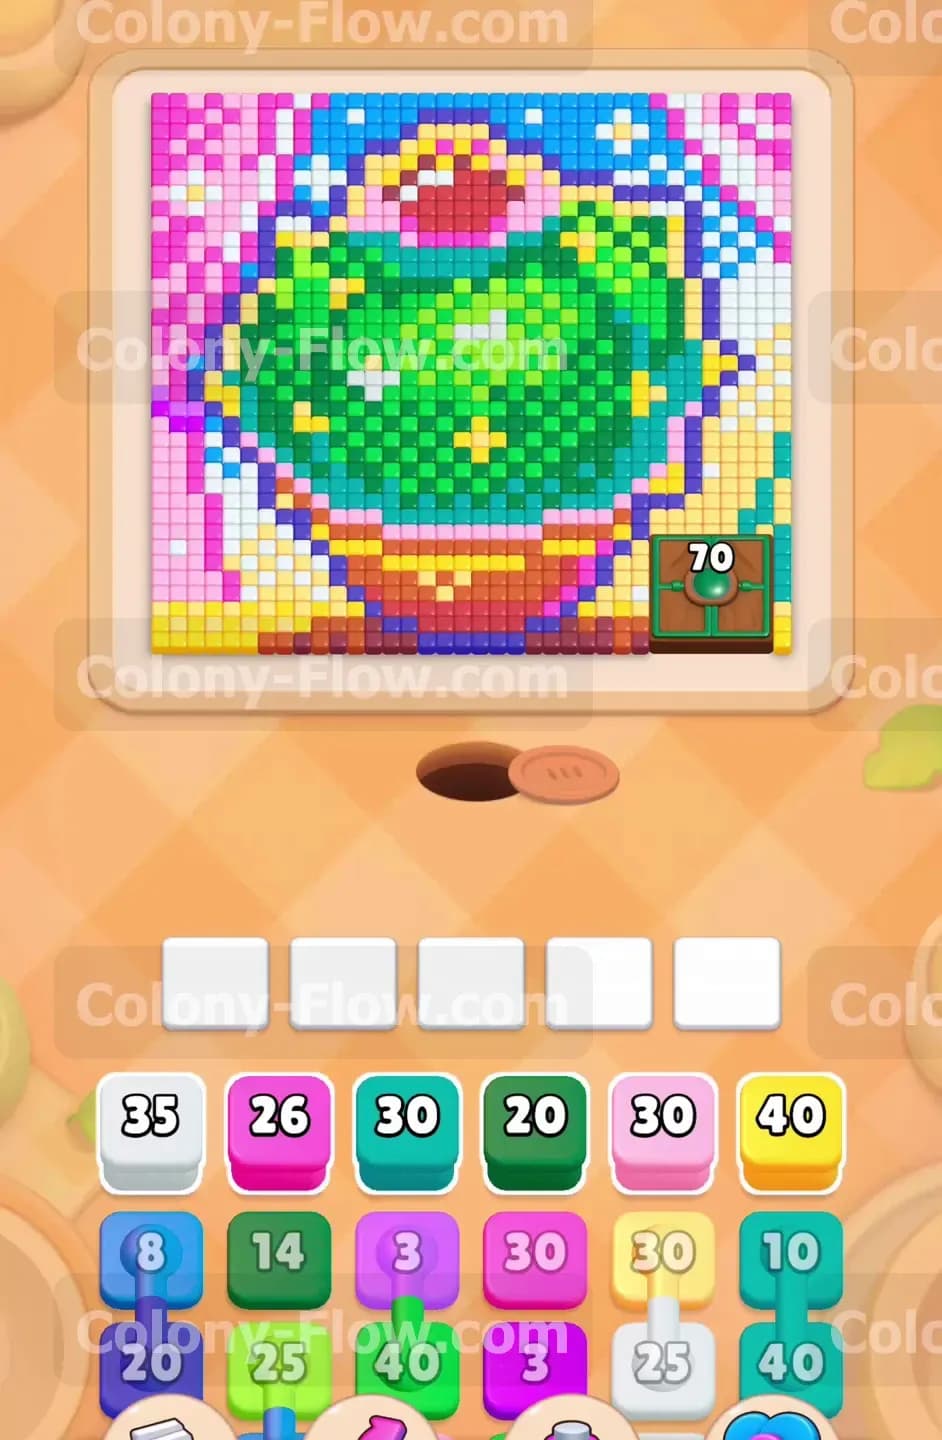
The board displays a large pixel art image of a bright green cactus sitting in a brown pot. A bright pink flower sits beautifully on top of the cactus. The background features a detailed mix of yellow, white, blue, and cyan geometric patterns. At the bottom right corner of the cactus picture rests a special green Hungry Door. This door displays the number 70 and requires a massive influx of green ants to satisfy its appetite. If you fail to feed this door the exact number of green ants, the puzzle remains locked.
You also have a tray packed with numbered colored blocks located at the very bottom of your screen. Many of these blocks feature Connected Boxes. The Connected Boxes mechanic links multiple colored blocks together with a thick visible line. When you pull one of these blocks, every single connected block moves into your waiting slots simultaneously. This forces you to dedicate multiple slots to a single decision, which drastically reduces your margin for error. The central nest hole sits directly below the main picture. All your colorful worker ants will stream out of this single hole and march rapidly toward their matching food tiles.
What It Takes to Clear Level 1117 Board
Winning this level means clearing every single pixel art tile from the screen and satisfying the green Hungry Door completely. You start by chipping away at the outer background colors like yellow, pink, and white to expose the inner plant sections. You must constantly watch your five waiting slots. The core challenge revolves exclusively around these five spaces. Pulling a large set of Connected Boxes too early will completely fill your slots. If all five slots fill up and no ants can reach their matching colors on the board, you immediately lose the level.
Your strategy must focus on keeping at least one valid path open at all times. You want the ants to flow continuously from the nest hole to the picture. You achieve this by peeling the puzzle back layer by layer. You clear the outer edges first, then break down the inner borders, and finally dismantle the core cactus structure. Timing your block pulls ensures your slots never jam and your ants never reach a dead end.
Colony Flow Level 1117 Step by Step Solution
Step 1: Clear the outer yellow and pink edge tiles on the left side
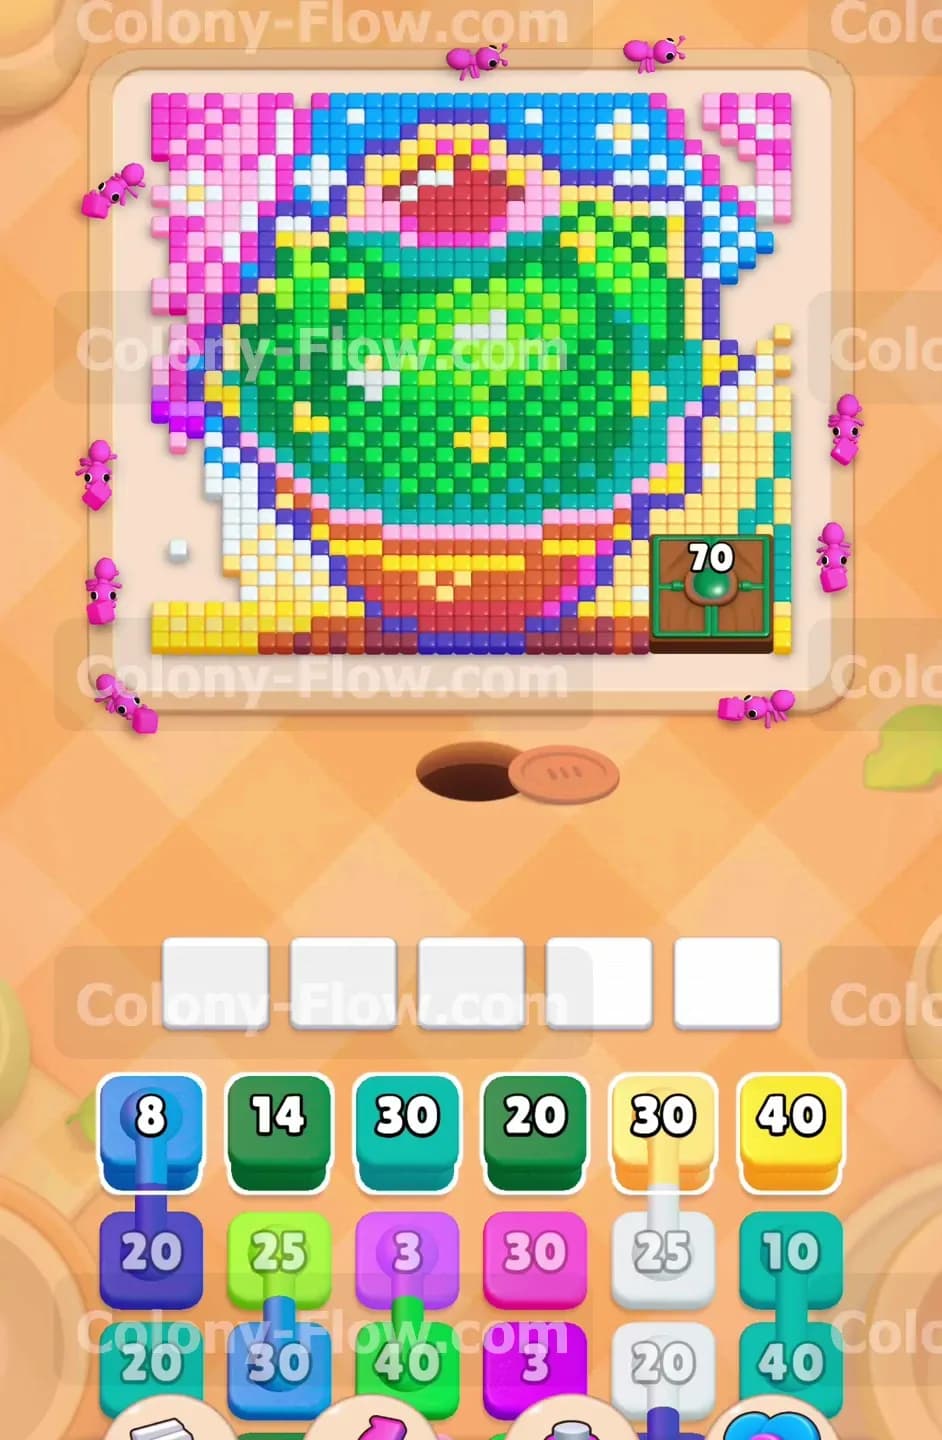
You must begin by tackling the most accessible outer layers of the picture. The left side of the board features a thick border of yellow tiles and an inner layer of pink tiles. Look at your tray and locate the yellow block containing the number 40. Pull this block into your slots. The yellow ants will immediately pour out of the nest hole and travel up the left side of the board to devour the yellow border. Next, locate the pink block containing the number 26 and pull it into your slots. The pink ants will follow the path the yellow ants just opened and begin eating the pink tiles. This action clears a massive chunk of the left side and opens up the board beautifully. Your waiting slots remain completely safe because both the yellow and pink ants have immediate unblocked access to their target tiles.
Step 2: Remove the top right blue and white background patterns
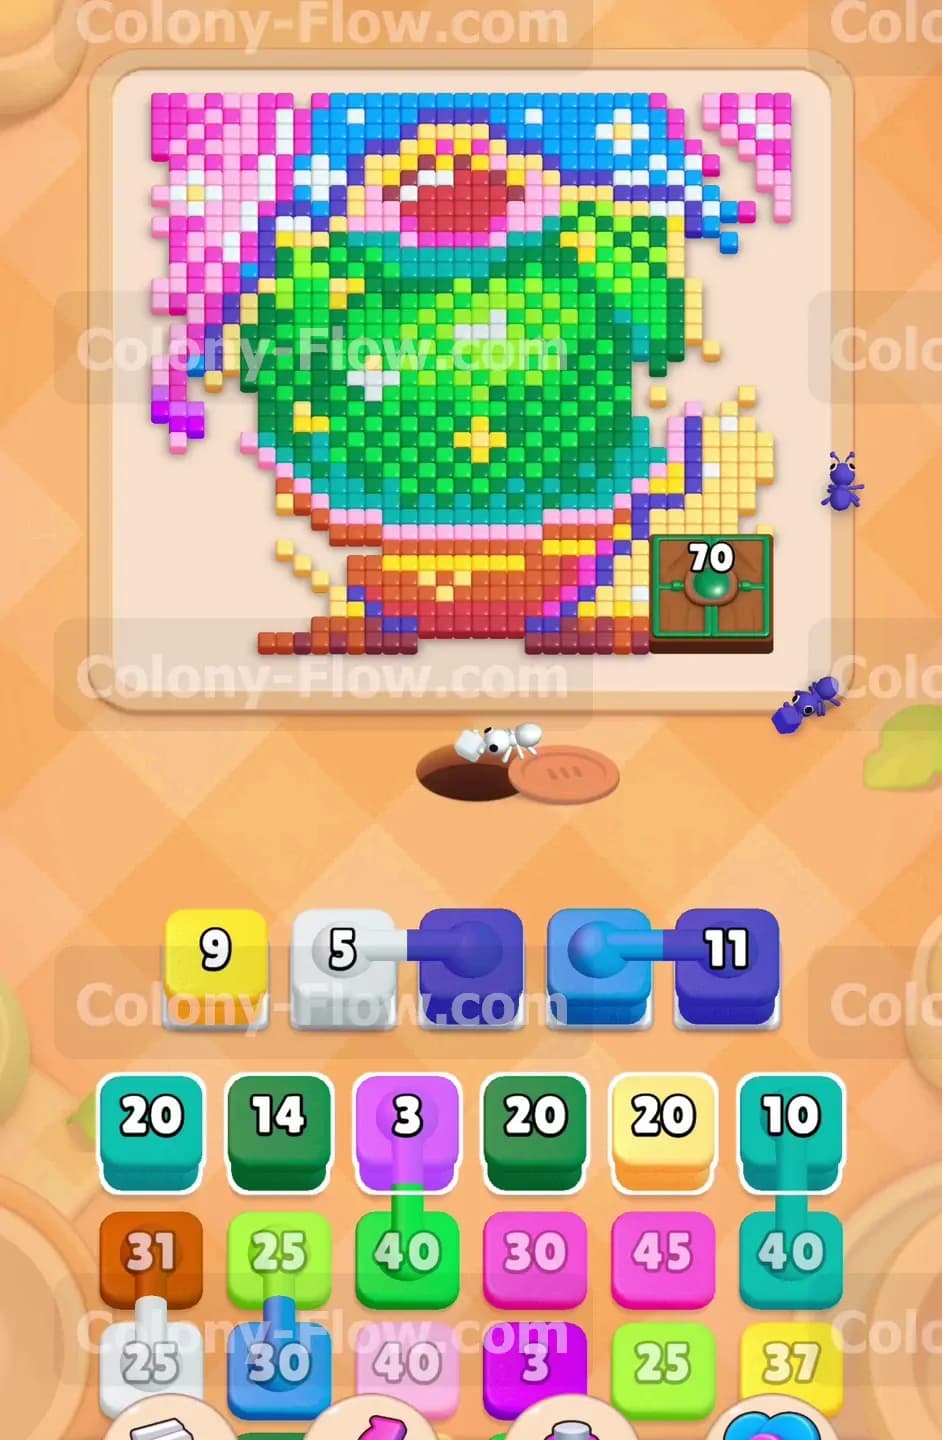
Shift your attention to the right side of the board. The top right corner consists of intricate blue and white pixel patterns. In your tray you will notice several Connected Boxes containing white and blue blocks. Selecting one of these pulls the whole chain into your slots. Choose the connected set featuring the white 5 block and the blue 11 block. Because the right side path remains wide open, the blue and white ants can rush directly to the top right corner without any delay. They will dismantle the blue and white tiles rapidly. You will also pull the yellow 9 block into your slots to clean up a small pocket of remaining yellow pieces near the bottom right edge. The ants coordinate perfectly and clear the top right quadrant without clogging your five available spaces.
Step 3: Strip away the final top left corner background colors
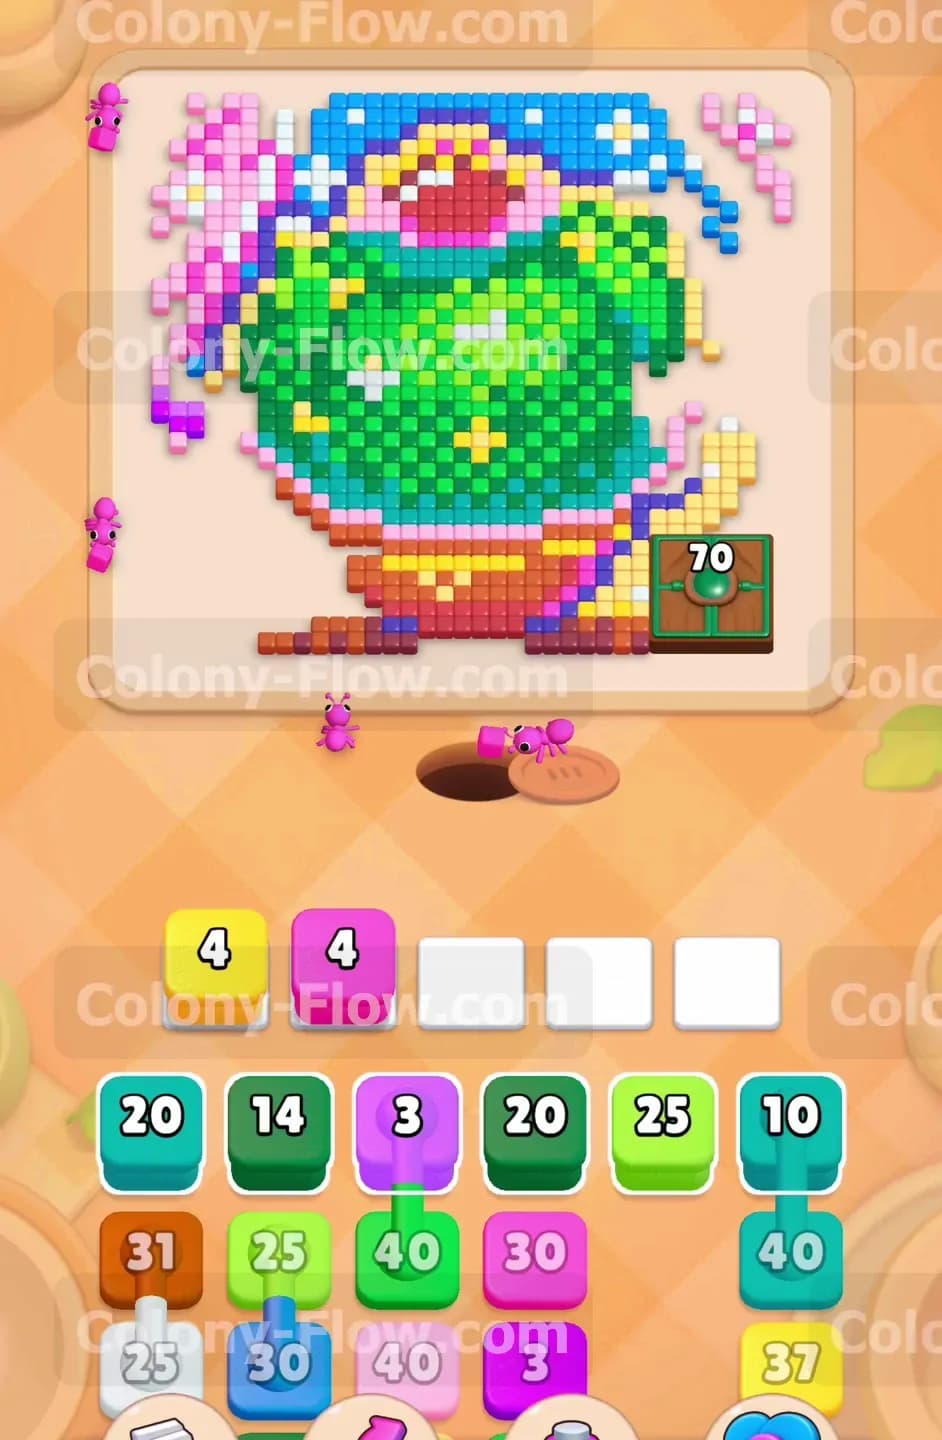
Now you need to finish off the remaining background elements before you can attack the main cactus. Look closely at the top left corner where some stubborn pink and yellow tiles still linger. Find the yellow block with a 4 and the pink block with a 4 in your tray. Pull these blocks into your waiting slots. The yellow and pink ants will march all the way up the left side of the screen to consume those final scattered corner pieces. Clearing these background colors is mandatory. These outer tiles physically block the paths leading to the inner plant. By stripping away these final outer layers, you create a wide open board state. The next wave of ants will have plenty of room to maneuver and reach the center.
Step 4: Dismantle the massive green cactus and open the Hungry Door
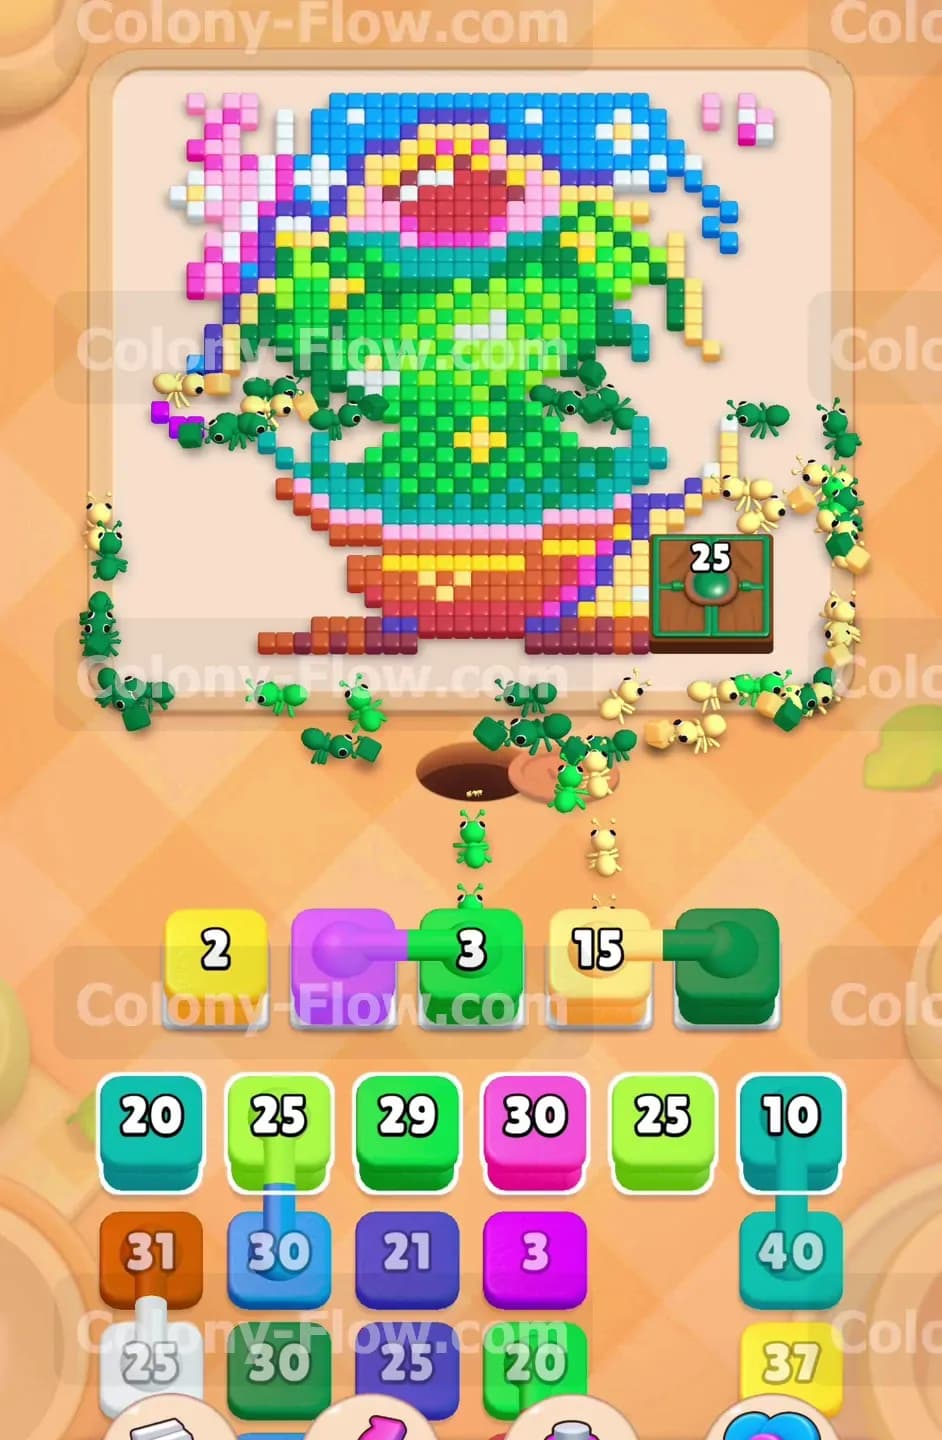
The board is now perfectly primed for a massive assault on the main green cactus body. The solid green tiles form the largest single color group on the entire screen. You also have that green Hungry Door sitting on the lower right side of the plant demanding exactly 70 green ants. Look down in your tray for the large green blocks. Many of these green blocks belong to sets of Connected Boxes. Pull the green 15 block and its connected partners into your empty slots. A giant swarm of green ants will immediately surge out of the central nest hole. They will flood the middle of the board, eagerly eating the green cactus body tiles from the bottom up. A very large portion of these green ants will feed directly into the green Hungry Door. Watch as the requirement number on the door rapidly counts down to zero. The door pops open loudly and the entire green center vanishes from the screen in one satisfying sweep.
Step 5: Peel away the inner cyan and dark blue outline borders
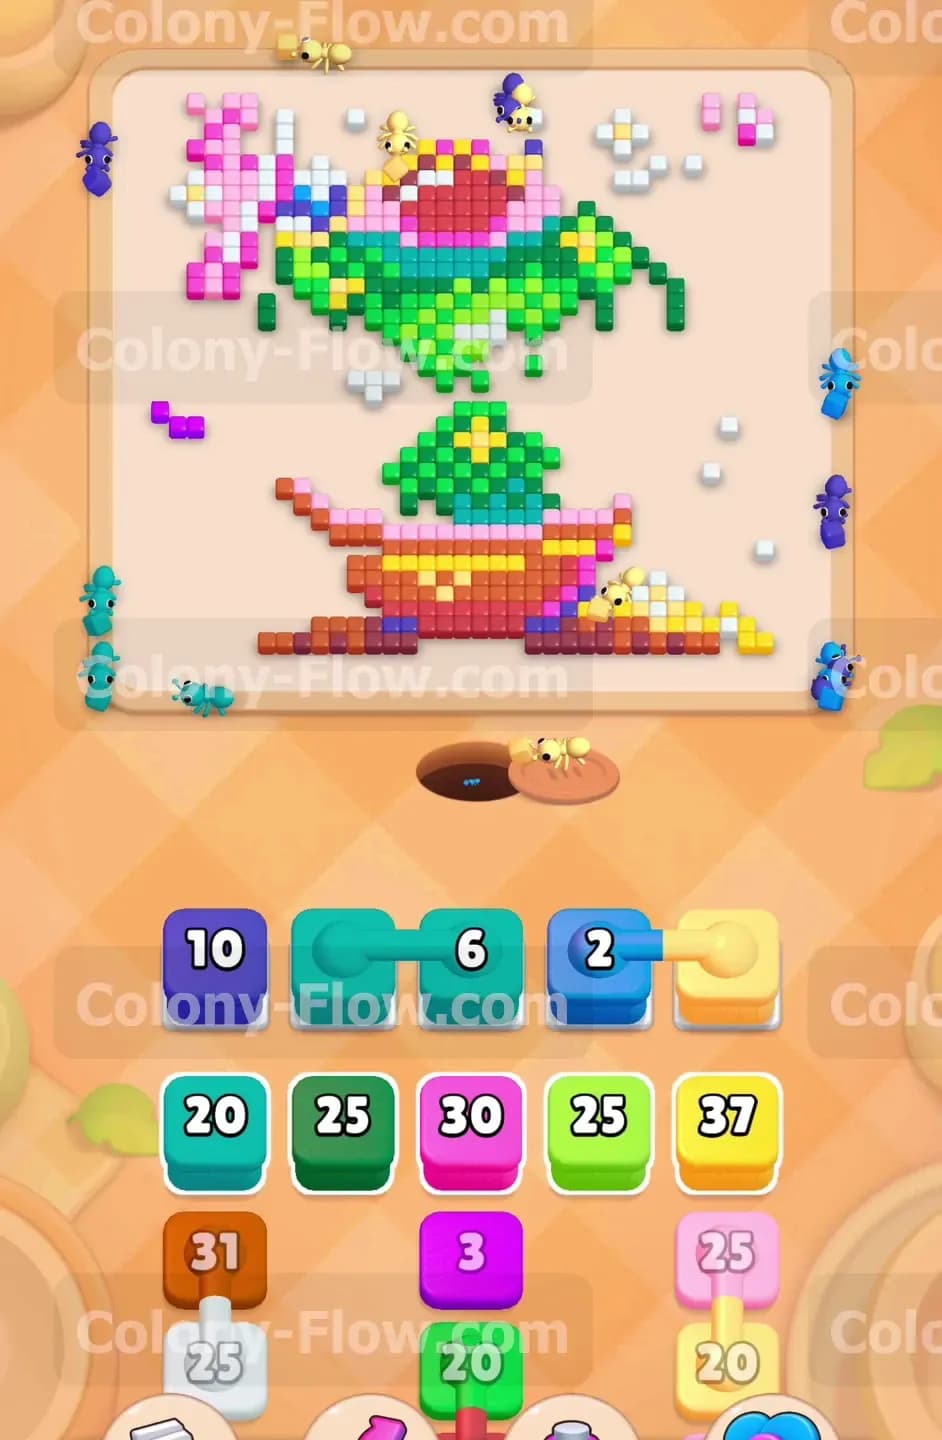
With the giant green cactus completely out of the way, you expose the thin outlines that originally separated the plant from the background. These inner outlines consist primarily of cyan, dark blue, and light yellow tiles. Pull the dark blue 10 block, the cyan 6 block, and the connected blue 2 block from your tray into your waiting slots. The paths are entirely clear now. The dark blue and cyan ants take the absolute shortest routes straight to the center of the screen. They dismantle the inner outlines with extreme efficiency. Your waiting slots remain completely safe during this phase because the board is mostly empty. The ants face zero obstacles and process their blocks instantly.
Step 6: Eliminate the large pink flower at the top of the board
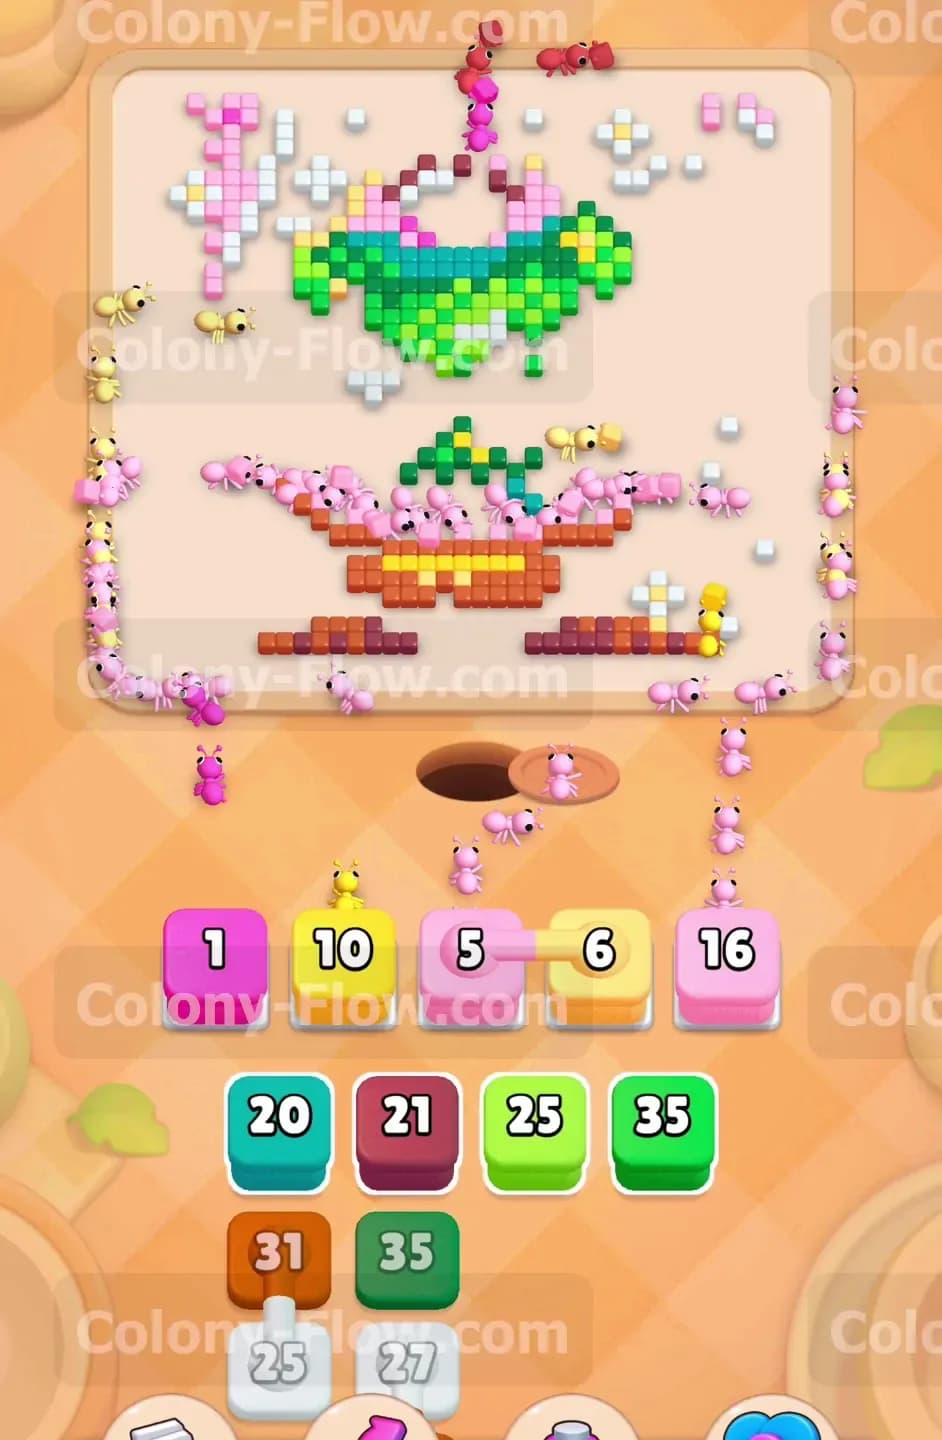
Only the top pink flower and the bottom brown pot remain on the screen. Focus your attention on the bright pink flower sitting at the very top. You will find several pink blocks in your tray right now, such as a 16 block, a 6 block, a 5 block, and a 1 block. Pull all of these pink blocks into your slots. You will also pull the yellow 10 block. The pink ants will march straight up the middle of the empty screen to devour the large flower petals. The yellow ants will clean up the scattered yellow star accents located near the base of the flower. This action completely clears the upper half of the board. You must make sure you do not pull any brown blocks yet. The pink ants need time to finish their long journey to the top, and pulling brown early would just clog your limited slots.
Step 7: Consume the brown pot and finish the level completely
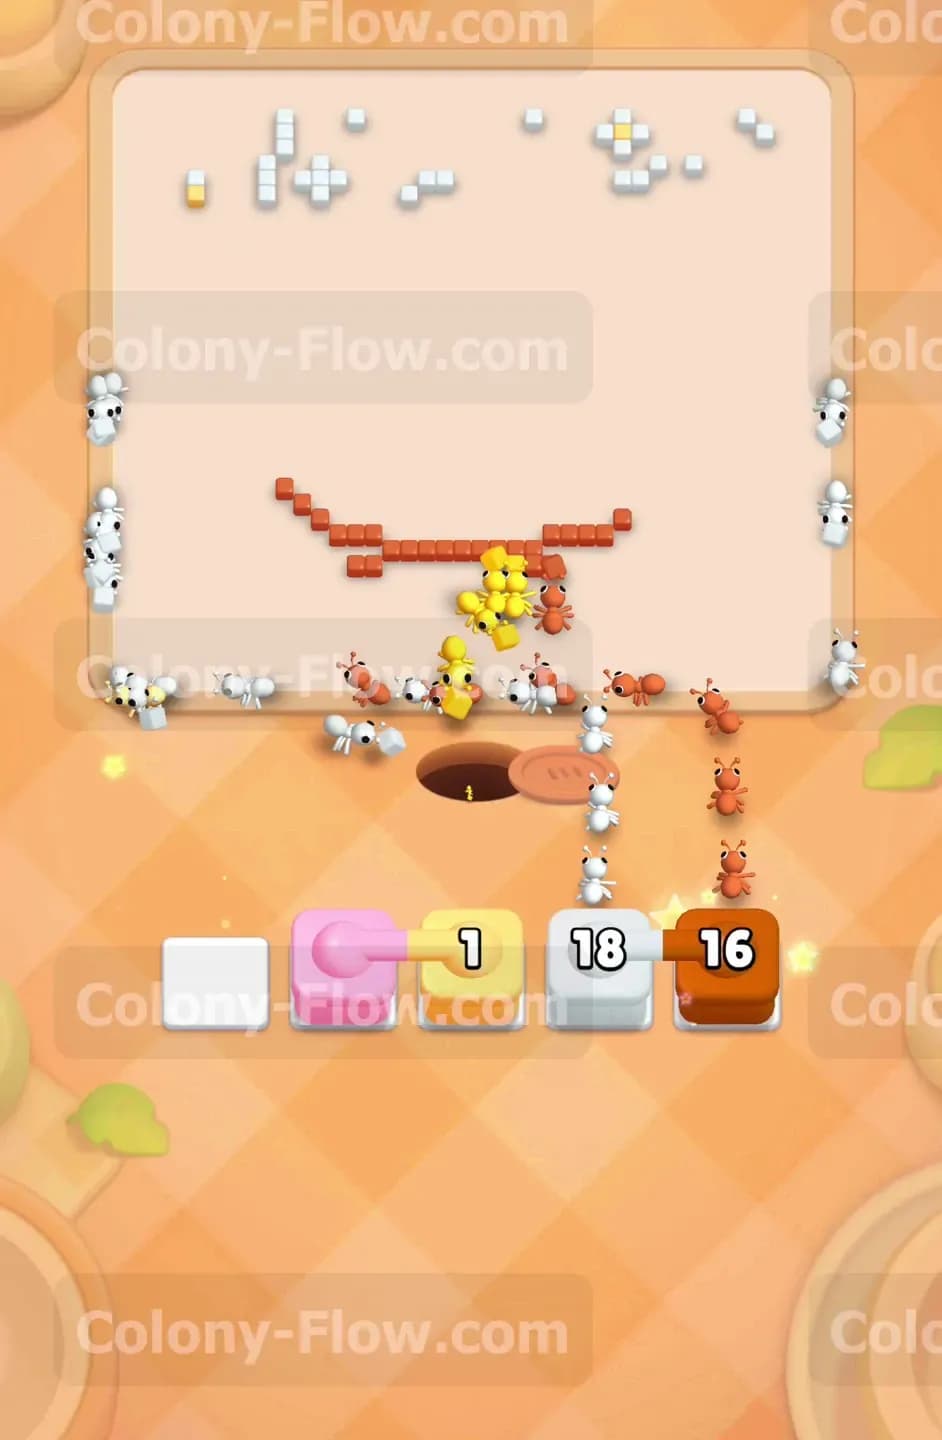
The absolute final stretch involves destroying the brown pot at the very bottom of the screen. Look for the brown 16 block in your tray. This brown block is connected to a light yellow 18 block via the Connected Boxes mechanic. Pull this final connected set into your remaining slots. The brown ants will rush out of the nest hole and quickly consume the entire solid pot structure. The light yellow ants will grab the very last scattered light yellow tiles floating just above the pot base. The final few white ants will clear the tiny remaining white specks. Once the last brown tile disappears into an ant mouth, the board is officially empty and you beat the level.
Final Thought
Beating this puzzle requires patience and careful slot management. You must respect the order of operations by peeling the background away before touching the central cactus. Pulling Connected Boxes at the wrong moment is the easiest way to lose. If any move in this written guide feels confusing or hard to picture, I highly encourage you to watch the video above this article to see exactly how I handle the waiting slots in real time.