Colony Flow Level 77 Walkthrough Solution & Guides | How to solve Colony Flow 77

Guide By Liam Stone
Updated on July 11, 2026
The article below breaks down Level 77 in detail, but the video above shows the whole thing if you'd rather watch.
Video doesn't match your screen?
Game updates frequently scramble layouts! Try our AI Screenshot Solver first to find your exact board instantly, or report broken guides to our team.
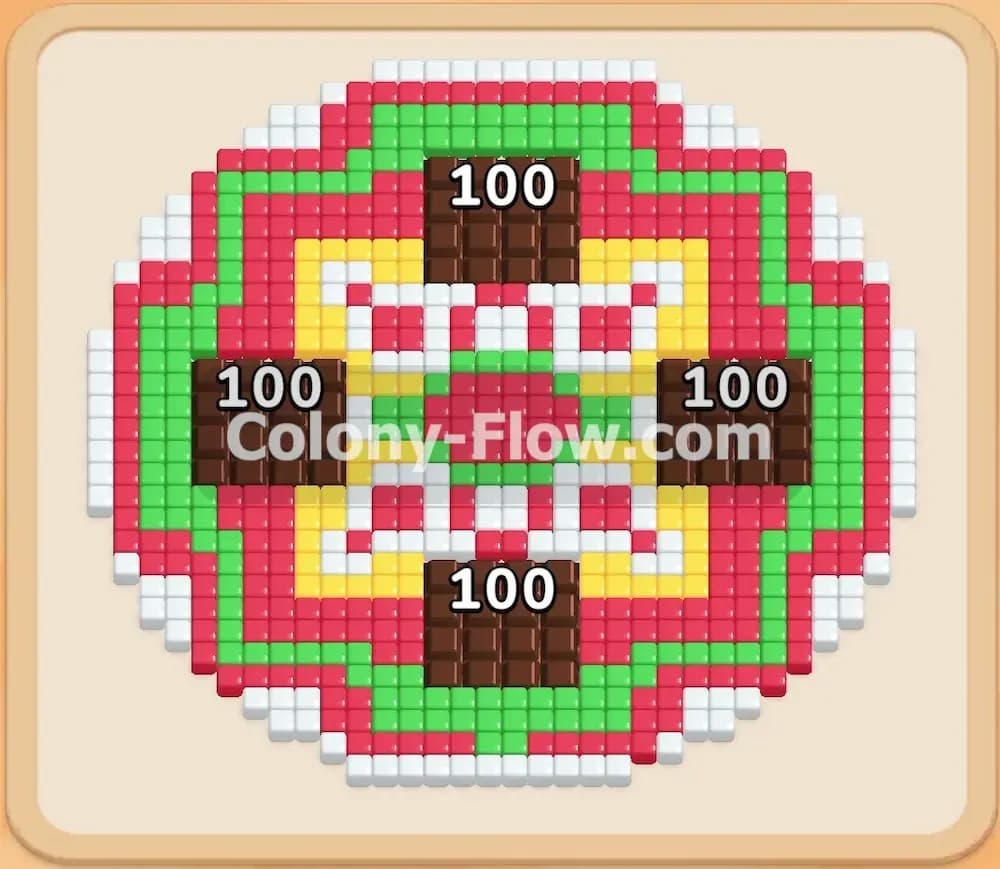
Welcome back to another puzzle guide. Colony Flow Level 77 throws a massive circular pattern at you right from the start. Four thick chocolate blocks cover the exact center of the board and demand your immediate attention. I will walk you through exactly how I clear this board without getting stuck.
Colony Flow Level 77 Overview
What You Are Working With
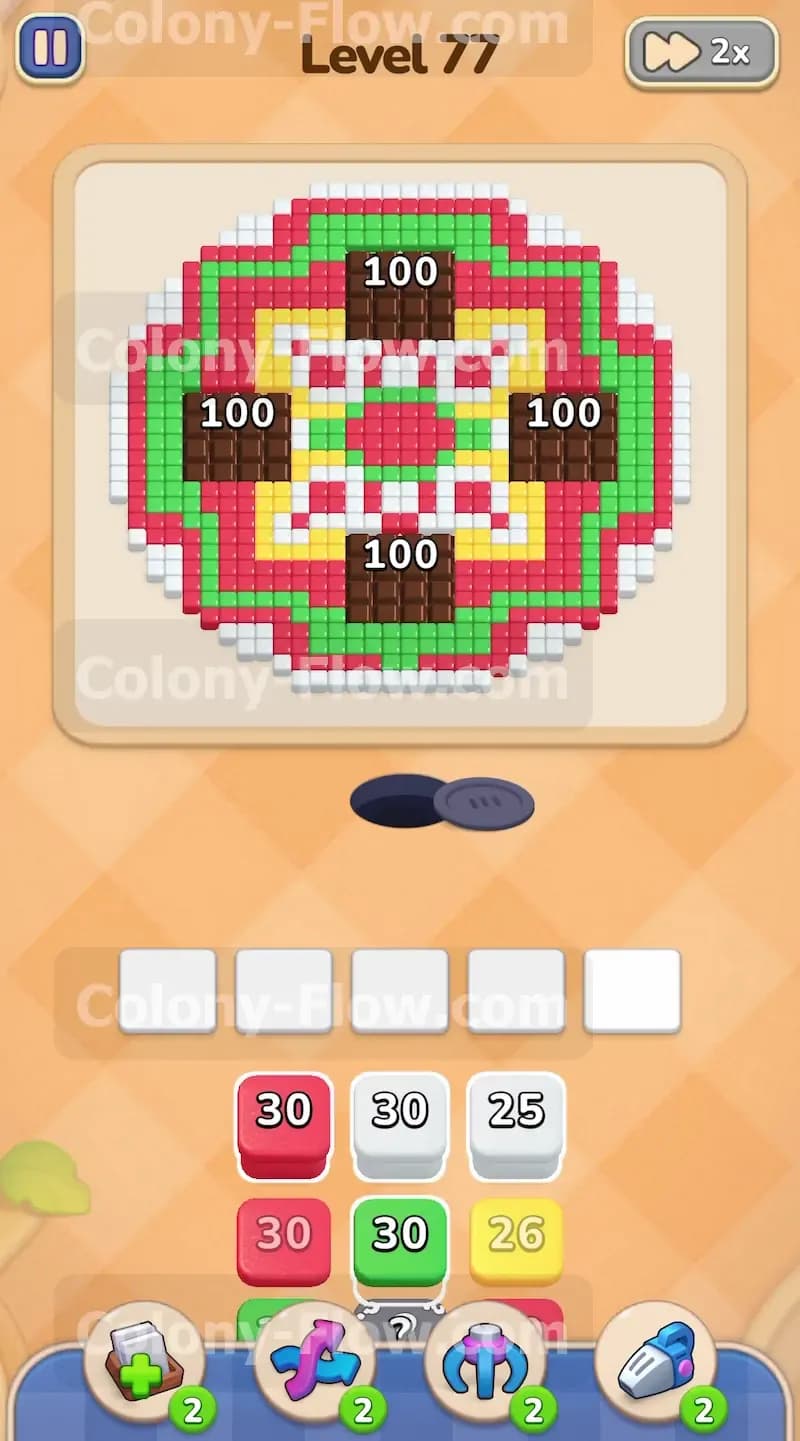
The board features a large circular design made of white, red, green, and yellow food tiles. Right in the middle sit four heavy chocolate blocks. Every chocolate block starts with a count of 100. They completely hide the food tiles underneath them. You also have standard numbered blocks in your tray ranging from 20 to 30. Later in the level a few hidden boxes show up in the tray. These hidden boxes display a question mark instead of a color. They keep their color a secret until they have an open path to move forward. You must plan around these hidden elements to keep your board moving smoothly.
What It Takes to Clear Level 77 Board
You win this level by breaking all the chocolate and eating every single colored tile on the screen. You lose if you fill all five waiting slots at the bottom of the screen while no ants have an open path to the food. You must break through the outer rings to create multiple paths for your ants. You also need to chip away at the heavy chocolate blocks early. Delaying the chocolate destruction will completely jam your waiting slots later. Keeping a steady flow of ants moving to multiple areas of the board is your top priority.
Colony Flow Level 77 Step by Step Solution
Step 1: Pull white and green blocks to attack the outer border and the chocolate
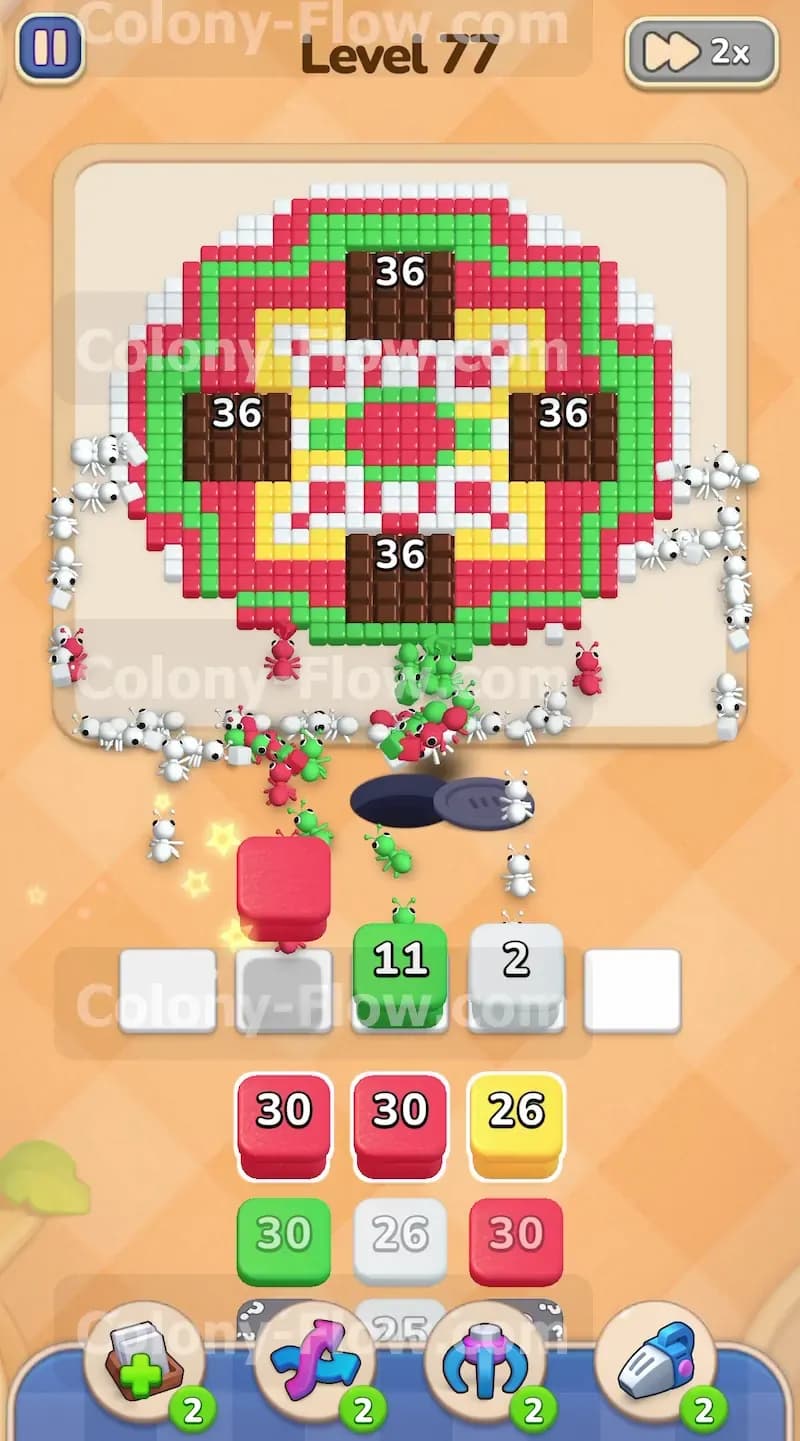
The level starts with the ants having access to the outer white ring and a direct path up the middle to the chocolate. Pull a white block from the tray to send ants around the outer perimeter. Then pull a green block into your waiting slots. The green ants will march straight up the center path and begin eating the bottom chocolate block. The number on the chocolate will rapidly drop as the ants chew through it. You want to get this process started immediately to avoid a traffic jam later in the level. Do not pull a yellow block yet because the yellow tiles are trapped inside the pattern. A yellow block would sit uselessly in your waiting slot and restrict your space.
Step 2: Introduce red blocks to clear the second ring
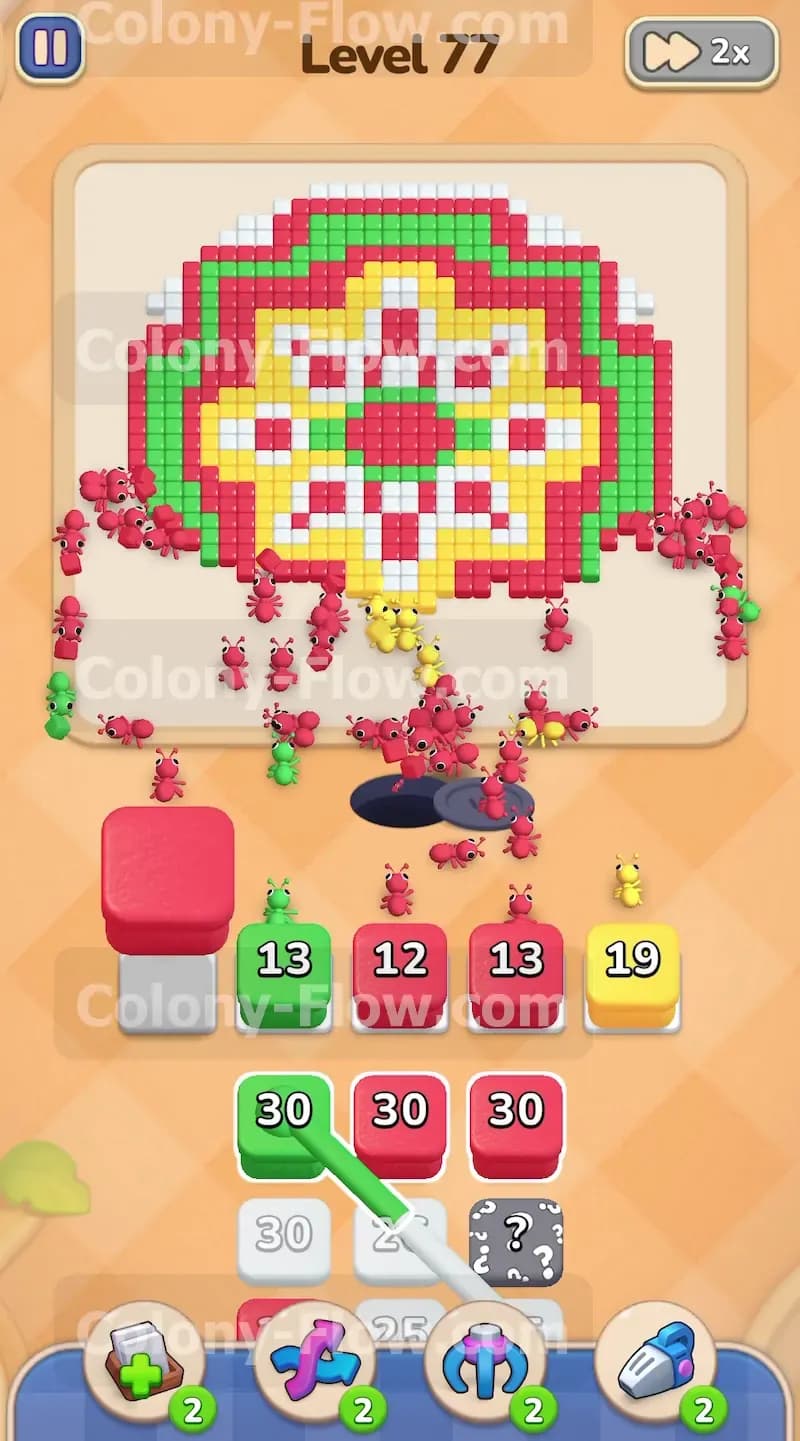
Once the white ants clear enough of the outer ring they expose the red ring right behind it. Pull a red block from the tray. The red ants will split up and travel up both the left side and the right side of the board. They will aggressively eat away the outer red border. At the same time you should pull another block to keep pressure on the central chocolate. You will watch the chocolate numbers drop from 100 down into the thirties. You have to keep a steady flow of ants hitting that central mass. If you ignore the chocolate you will run out of exposed colored tiles on the outside very quickly.
Step 3: Destroy the final chocolate blocks to reveal the inner pattern
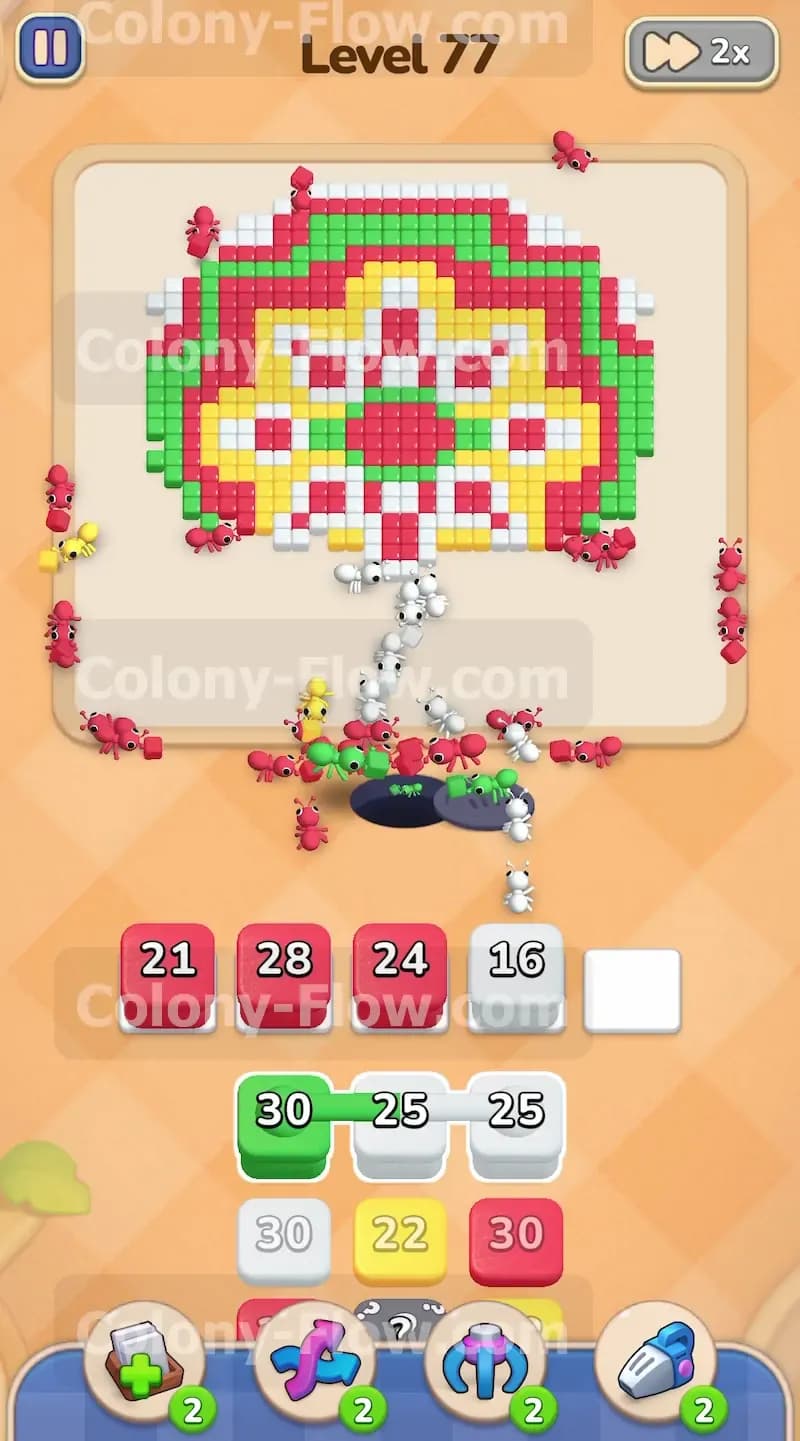
Keep sending ants straight up the middle path to finish off the brown obstacles. Once the numbers on the chocolate blocks hit zero they shatter and disappear from the screen. This action reveals the true core of the circular design. You will see a beautiful geometric star pattern made of red, green, yellow, and white tiles. Exposing this inner core is your primary goal for the first half of the level. Now your ants have many more targets to choose from. This prevents your five waiting slots from filling up because you suddenly have open paths for almost any color in your tray.
Step 4: Pull green blocks to consume the large outer green ring
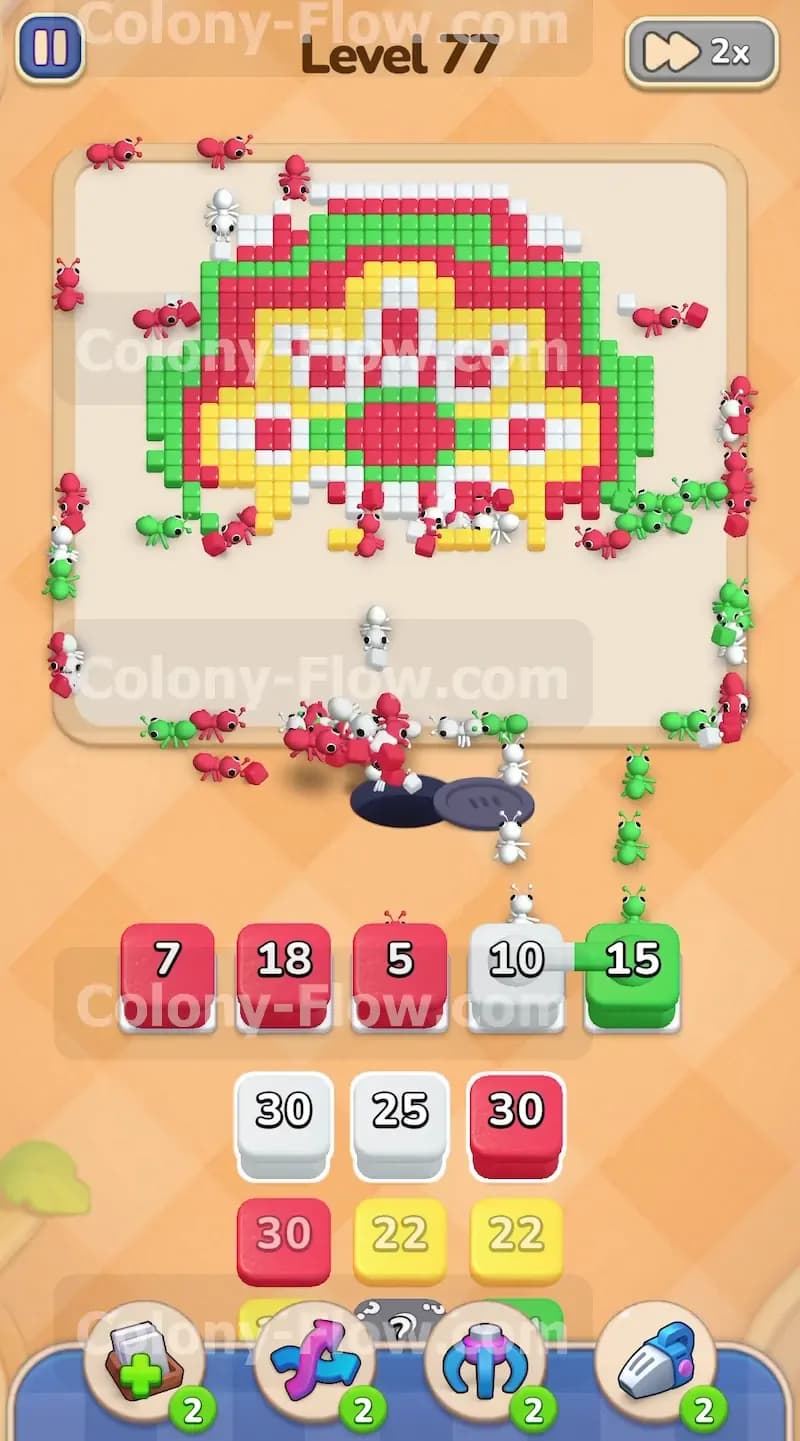
The outer red border disappears completely and leaves the thick green ring fully exposed. Pull a green block into your waiting slots. The green ants will flood the perimeter and eat the large green circle. During this phase a hidden box appears in your tray. A hidden box shows a question mark instead of a color. It will reveal its true color only when you pull it into a slot and it finds a valid path. Do not pull the hidden box into your waiting slots yet. Leave it in the tray until you clear more of the board. You need maximum flexibility in your waiting slots right now. Pulling a hidden box blindly is a massive risk that can end your game.
Step 5: Send red and yellow ants into the exposed lower half of the core
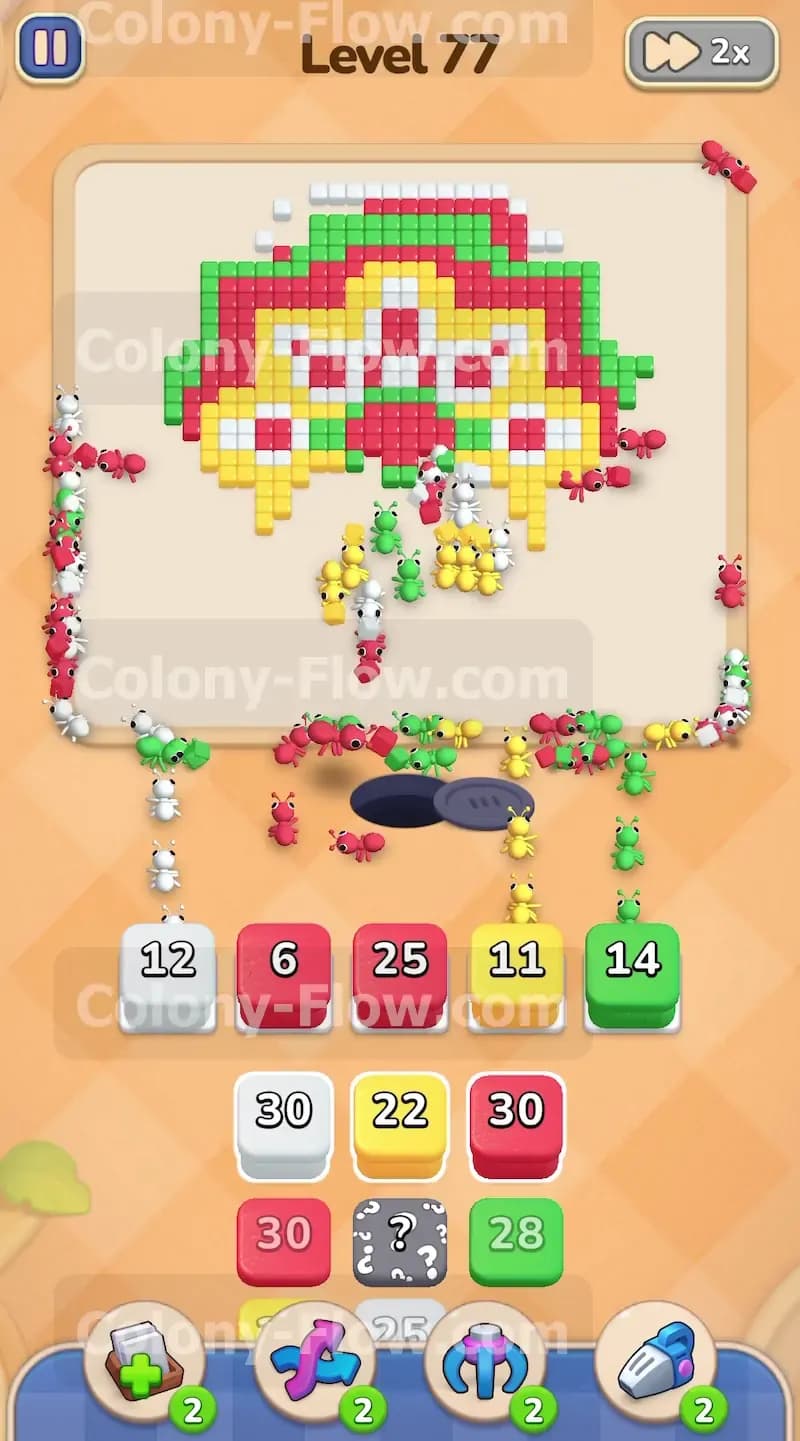
The green ring starts to vanish and opens up the bottom section of the central pattern. This area contains a mix of yellow and red tiles arranged in small petals. Pull a yellow block and a red block from the tray. The ants will dive directly into the intricate central pattern. Watch your waiting slots closely here. You might have three or four slots filled with partially used blocks. Always make sure the color you pull next has at least one accessible tile on the board. The red and yellow ants will carve out the entire bottom half of the core design and leave plenty of empty space near the nest hole.
Step 6: Activate the hidden box and clear the remaining white sections
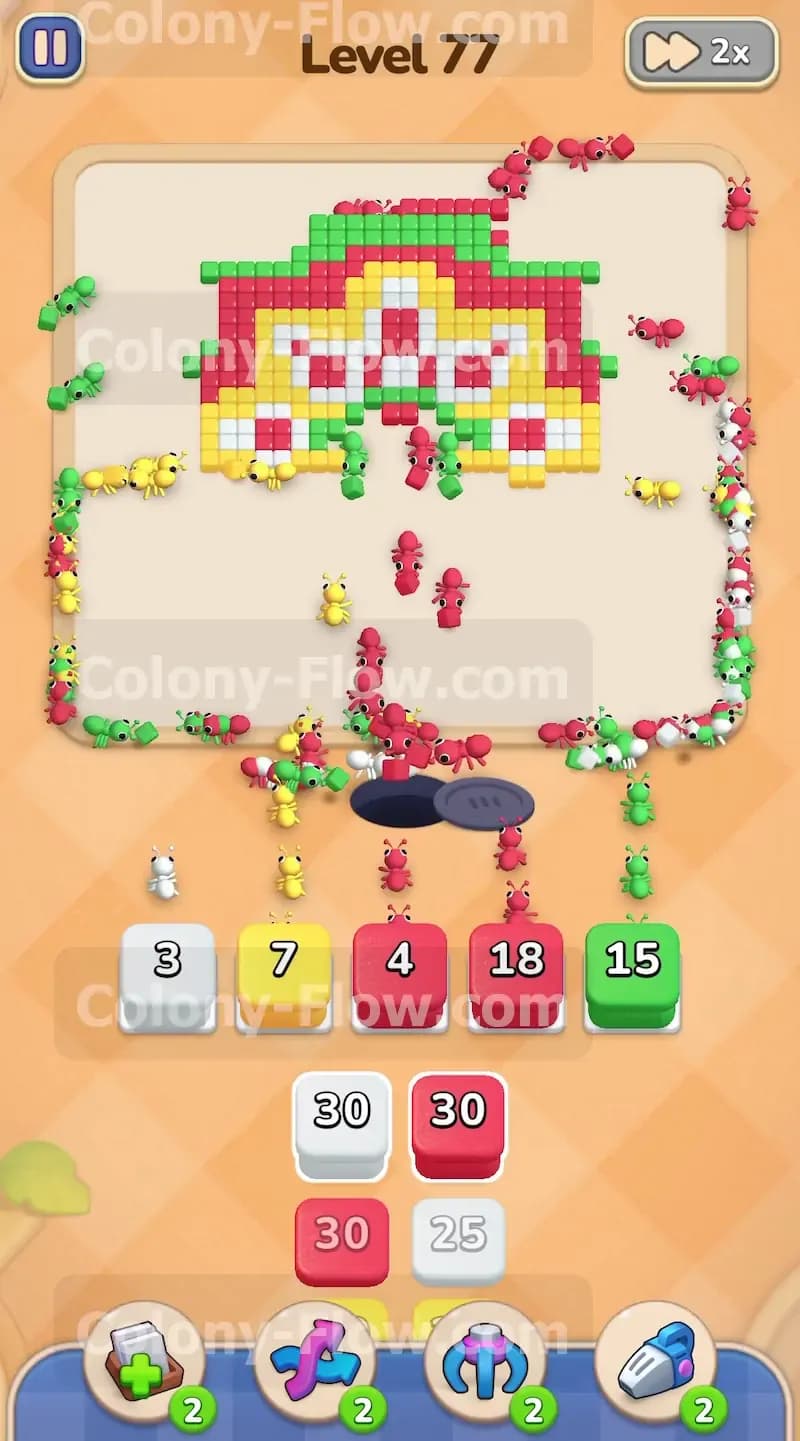
Now that you have carved a large open area in the bottom of the pattern you can safely pull the hidden box. Drag it up to the waiting slots. The box reveals its color and immediately sends ants to the corresponding tiles on the board. Pull a white block to clean up the remaining white shapes inside the core. The board gets much less crowded at this point. The ants do not have to walk all the way around the outside perimeter anymore. They just march straight up from the nest hole directly to their targets. They will consume the white tiles very quickly and clear out the middle of the screen.
Step 7: Manage your queue while clearing the upper petals
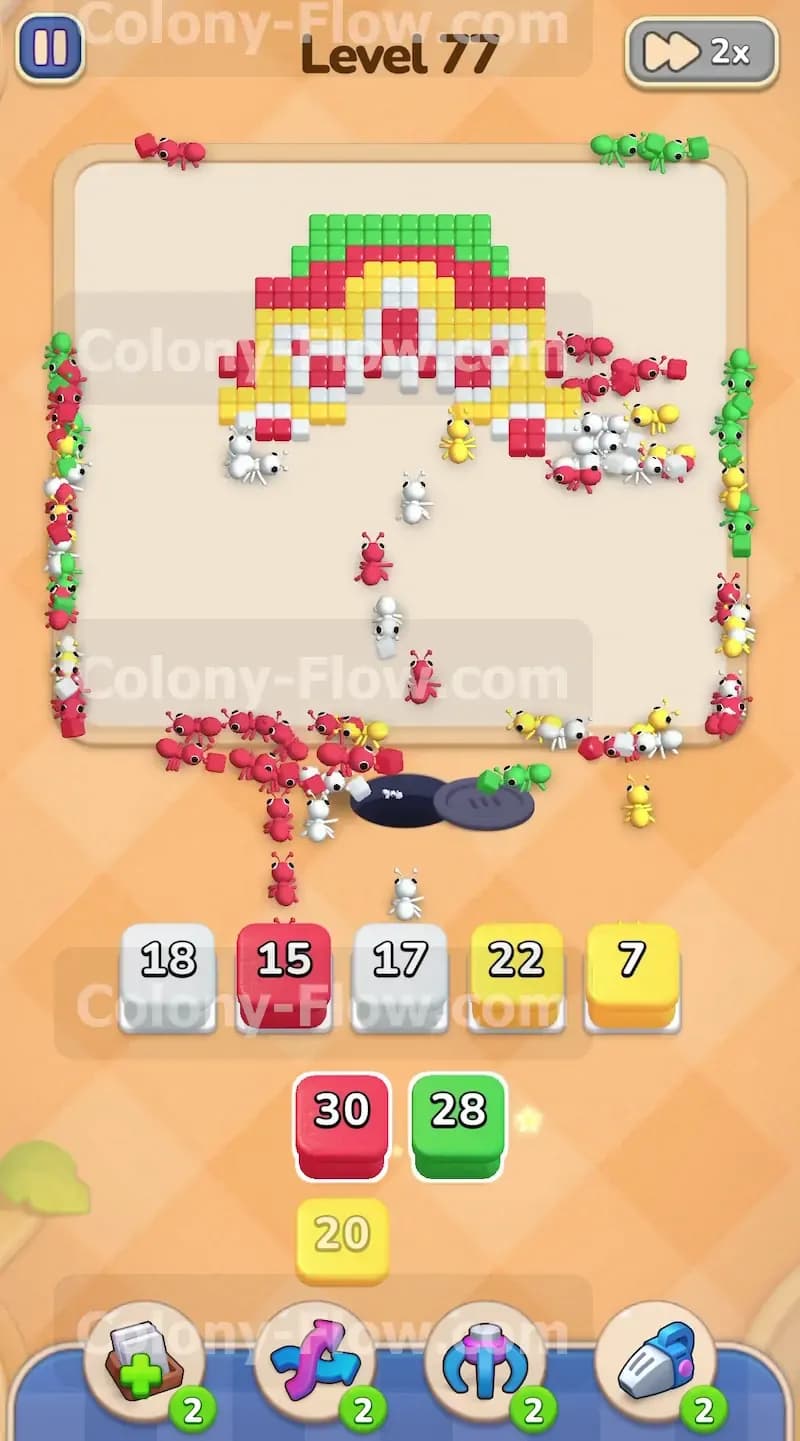
The lower half of the board is completely empty now. The ants turn their attention to the upper half of the inner star pattern. This section holds more red and yellow tiles. Pull the corresponding red and yellow blocks from your tray. The travel distance for the ants is slightly longer now because they have to walk past the empty bottom half to reach the top. This means the blocks will sit in your waiting slots for a few extra seconds while the ants make the journey. Do not panic and pull extra blocks. Let the ants travel and let the block numbers count down naturally. Patience here ensures you keep an open slot available for emergencies.
Step 8: Clear the final top section of the board
Only the top quarter of the circular design remains. You will see a small arch of green, red, and yellow tiles sitting at the very top of the screen. Look at your tray and select the exact colors you need to finish the job. Pull a green block to finish the final green arc. Pull a red block to eliminate the final red sections. Finally pull a yellow block to clear the remaining yellow dots. Keep your eye on the five waiting slots just in case. You still lose if you fill them with the wrong colors even this late in the game. Only pull blocks that perfectly match the tiles left on the screen. The ants will finish the last few tiles and you will win the level.
Final Thought
Level 77 tests your ability to balance breaking obstacles in the center with clearing rings on the outside. Managing the 100 count chocolate blocks early is the only way to open enough paths for the second half of the board. If any of these text descriptions are hard to follow I encourage you to watch the video above this article. The video shows every single block pull and ant movement exactly as I described them here. Keep your paths open and those slots clear.