Colony Flow Level 361 Walkthrough Solution & Guides | How to solve Colony Flow 361

Guide By Liam Stone
Updated on July 18, 2026
Want the shortcut? Watch the video above for the full Level 361 solution.
Video doesn't match your screen?
Game updates frequently scramble layouts! Try our AI Screenshot Solver first to find your exact board instantly, or report broken guides to our team.
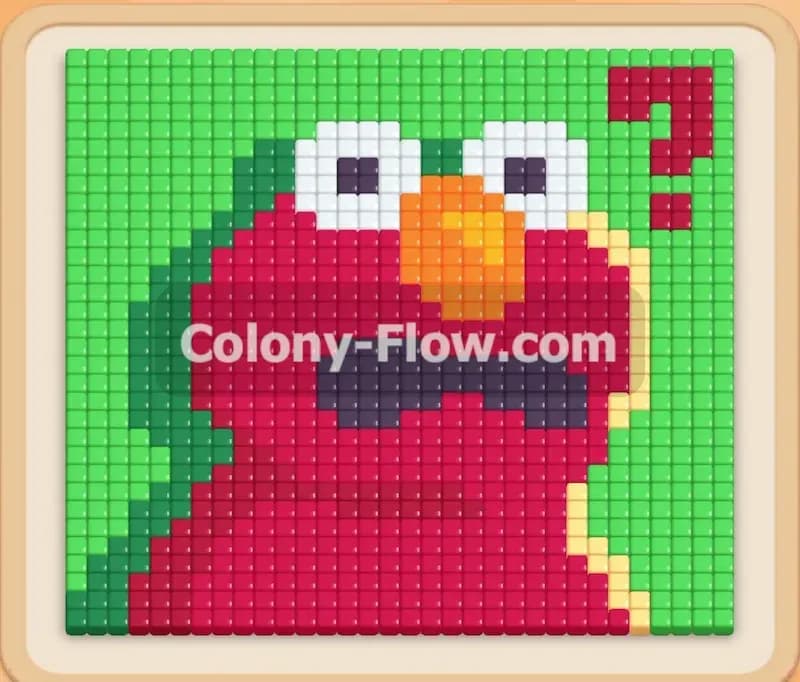
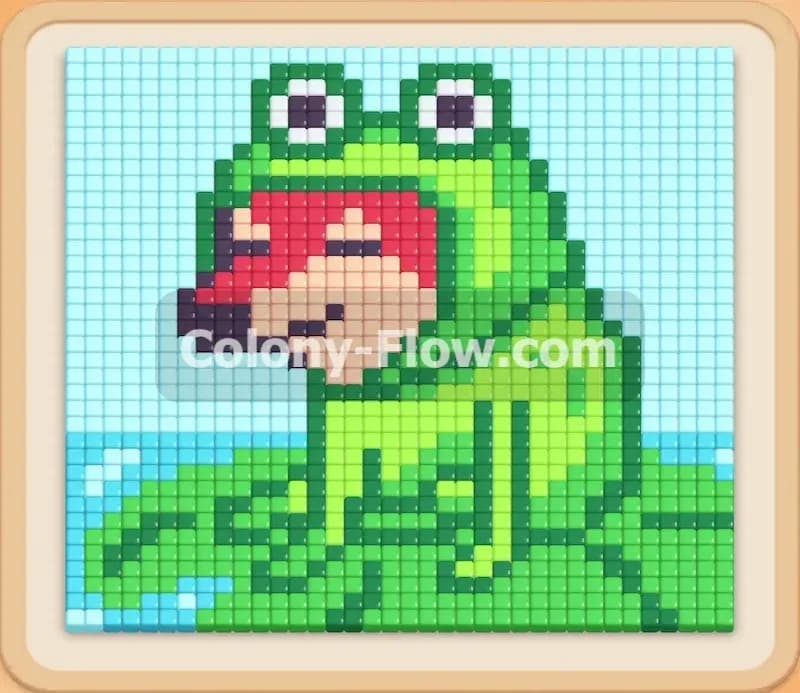
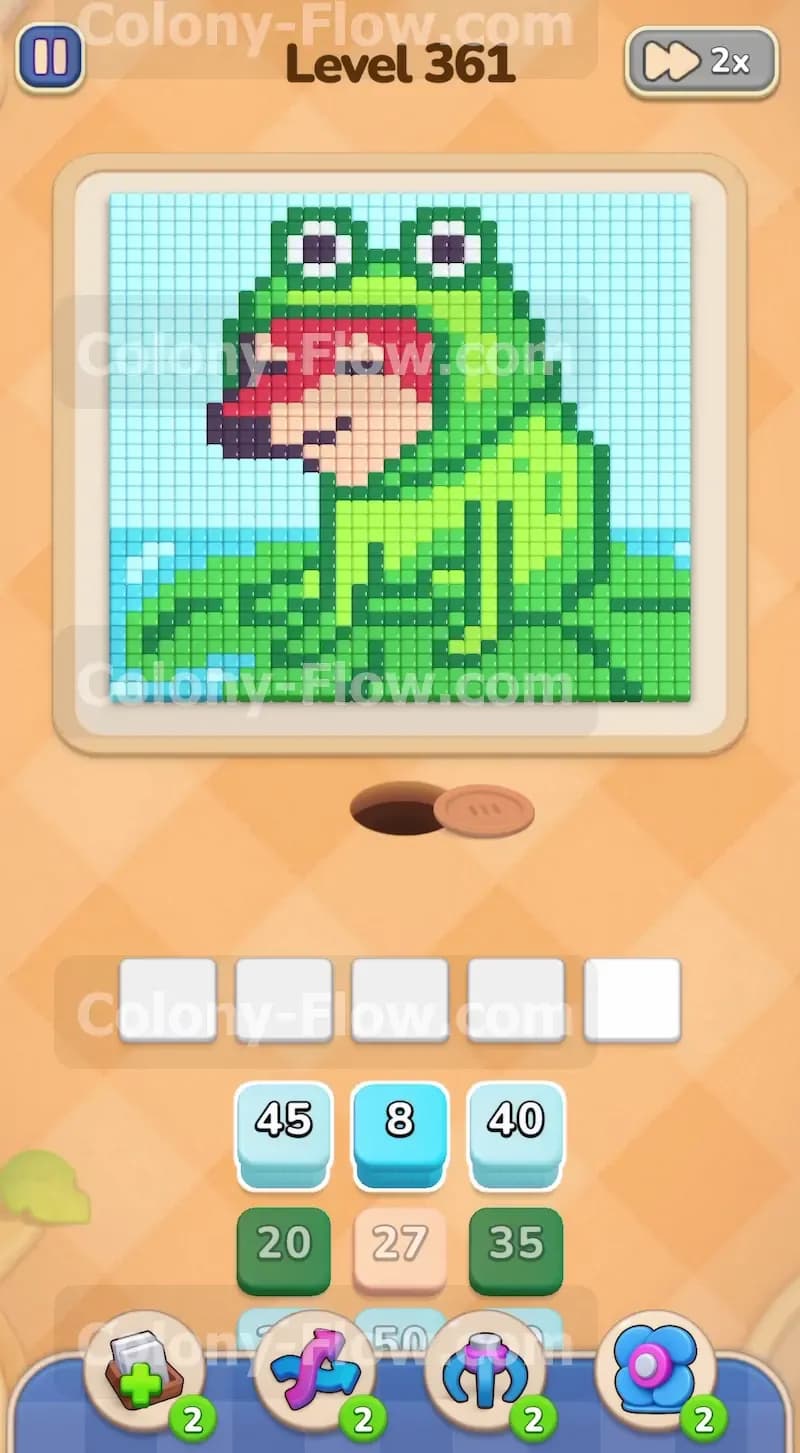
Welcome to Colony Flow Level 361. This puzzle features a large green frog character wearing a frog hat with a face peeking out from the mouth. The board is packed with different colors for the ants to clear. You need to manage your tray space carefully because there are several connected boxes waiting for you. Pulling the wrong block will jam your waiting area and cost you the game.
Colony Flow Level 361 Overview
What You Are Working With
The picture shows a funny character sitting on a large green lily pad. A peach colored face looks out from the open red mouth of a green frog suit. The frog suit has big white eyes with black pupils resting on top of the head. The entire character sits against a bright light blue sky background. Down in your tray you have single numbered blocks and special connected boxes. Connected boxes are groups of two or more numbered blocks held together by small pipes. When you tap one block in a connected group, the whole group moves up into the waiting slots at the exact same time. This takes up a lot of room very quickly. The board only gives you five waiting slots to hold active colors.
What It Takes to Clear Level 361 Board
Winning this level means guiding your ant colony to eat every single colored pixel on the screen. The ants pour out of a nest hole at the bottom of the board and travel along the open paths to find the colors matching your active blocks. You lose the level if you fill all five waiting slots with colors the ants cannot reach. A filled up tray with no open paths creates a dead end. Your main goal is keeping at least one valid path open at all times. You clear the outer sky first to reveal the edges of the frog. Then you carefully chip away at the hat, the face, and the lily pad. Managing the connected boxes is the hardest part. You must ensure you have enough empty slots before you tap any linked pieces.
Colony Flow Level 361 Step by Step Solution
Step 1: Clear the outer background sky to make room in your waiting slots
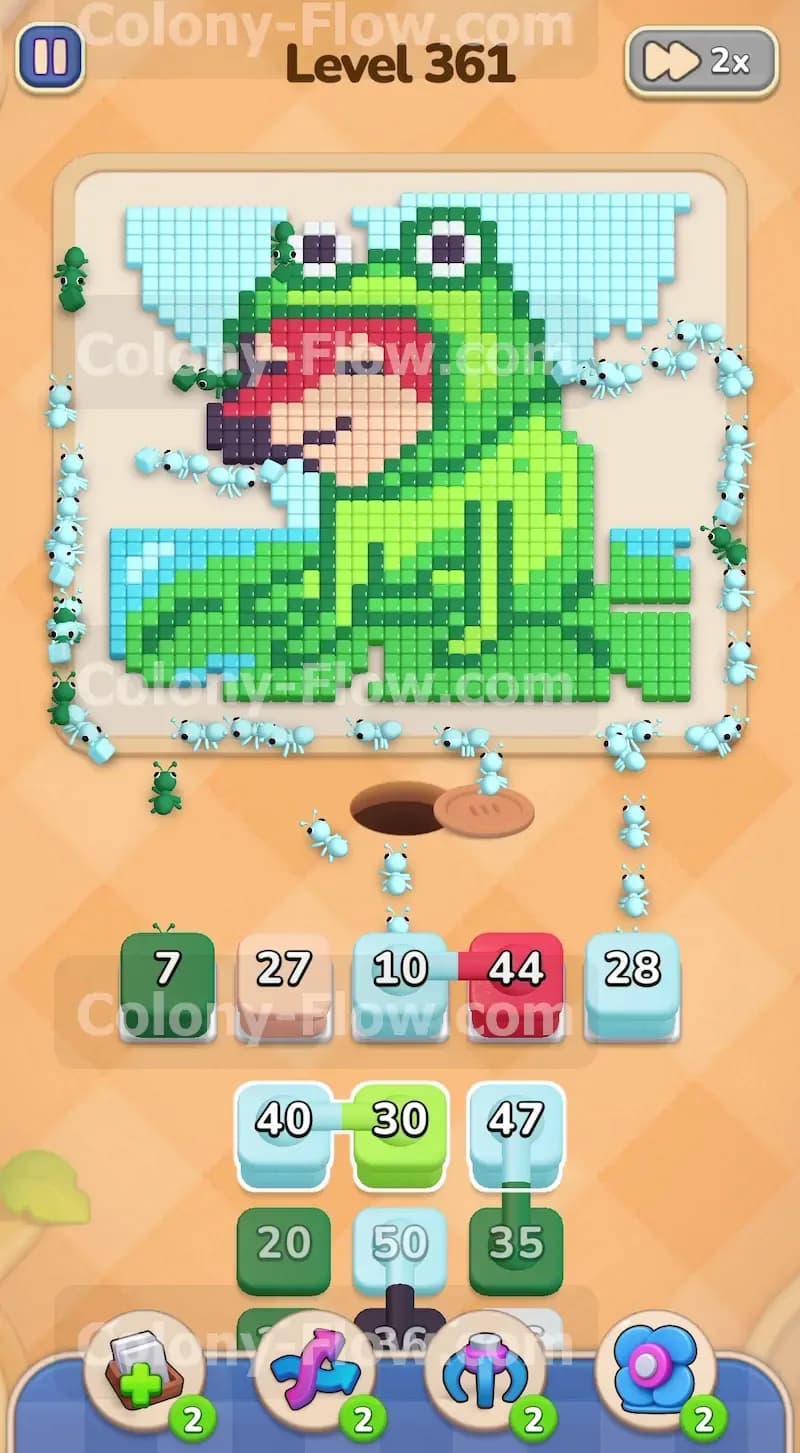
Start the level by focusing entirely on the light blue background sky. Tap the separate light blue blocks in your tray to move them into the waiting slots. The ants will emerge from the nest and stream around the outside of the frog to eat the sky pixels. You have several single light blue blocks with large numbers like 45 and 40 available right away. Pulling these blocks up gets the ants working on the huge outer perimeter. Watch the numbers on the blocks count down as the ants consume the pixels. The blocks will vanish from your slots once the numbers hit zero. This first wave of clearing removes the outer border and exposes the green edges of the frog suit. Do not touch any other colors until the first few light blue blocks completely disappear.
Step 2: Bring up the first pair of connected boxes to start on the green hat
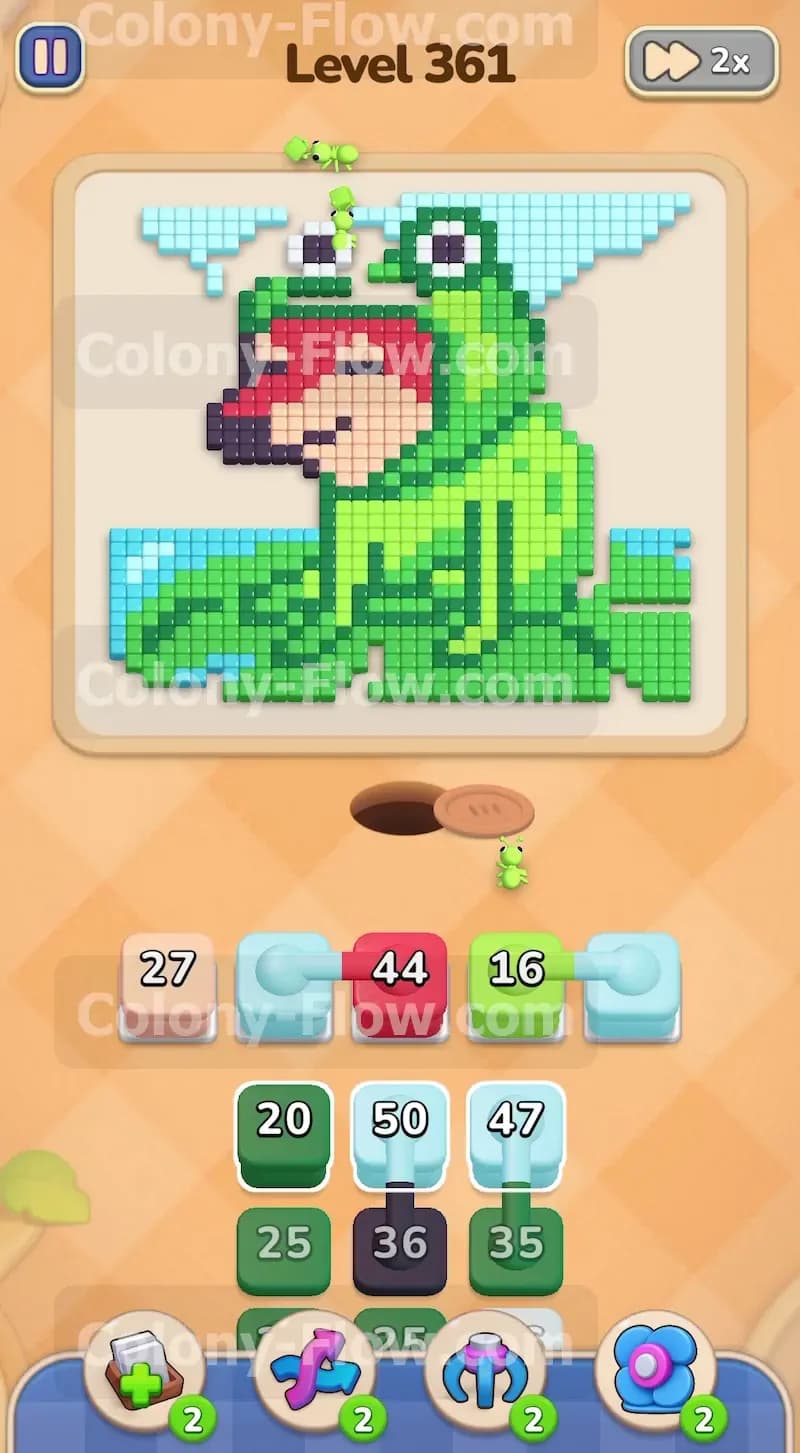
Your tray contains a pair of connected boxes linking a light blue block to a light green block. You must wait until you have two completely empty slots next to each other. Tap the linked pair to bring both blocks up at the same time. The light blue block will command the ants to finish off the remaining sections of the sky. The light green block will send the ants to the top of the frog hat. The ants will begin chewing away the light green pixels forming the top edge of the head. Getting the green parts moving is essential for reaching the inner face. Leaving this connected pair in the tray too long will stall your progress.
Step 3: Break through the red mouth and the dark brown nose
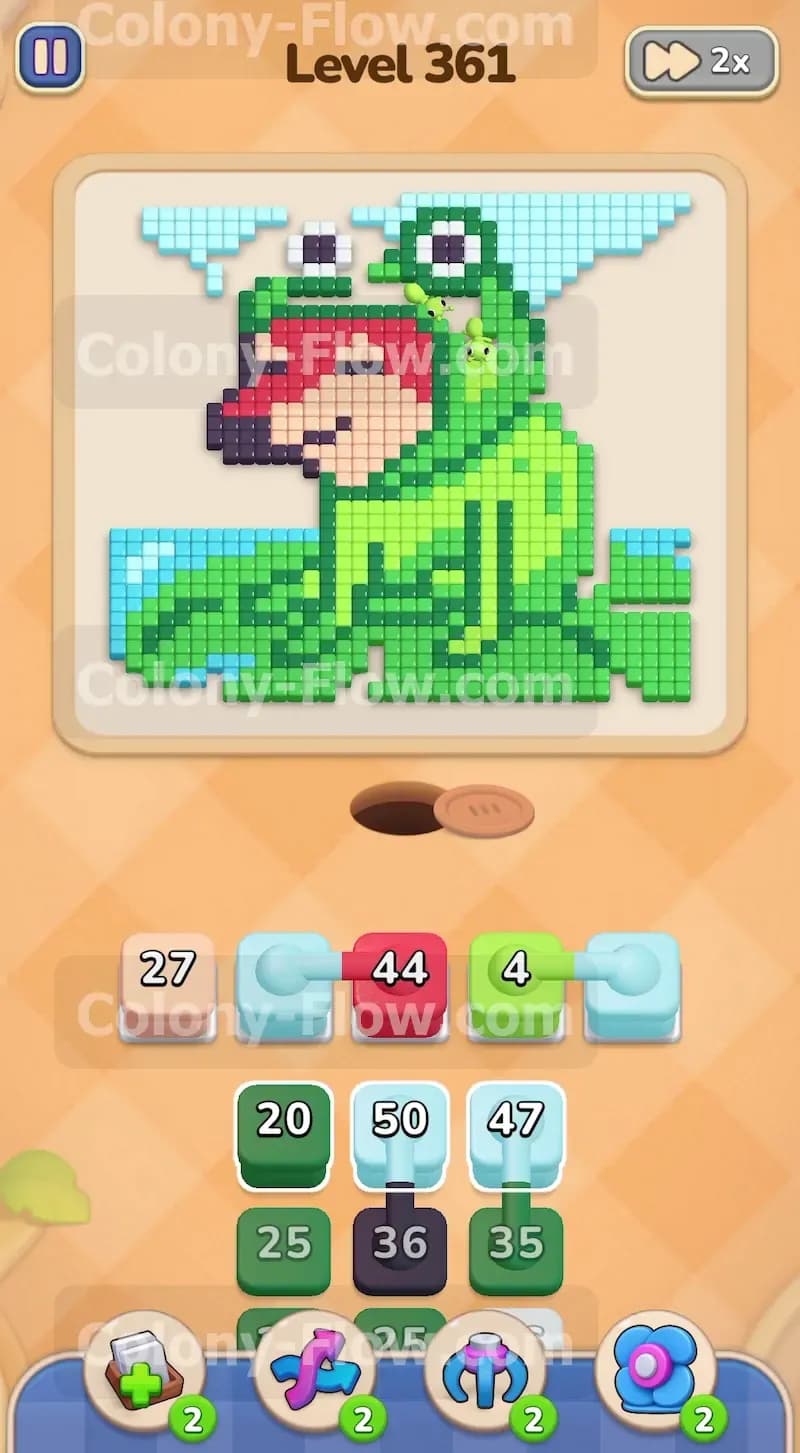
As the ants eat away the top layers of the green hat, the red pixels of the open mouth become exposed. You will see a pinkish red block with a 44 in your tray. Bring this red block into an empty waiting slot. The ants will rush in and clear the thick red border wrapping around the peach face. You also need to clear the nose. Look for the dark brown block in your tray and pull it up when you have a free spot. The dark brown pixels stick out sharply on the left side of the face. Clearing the red mouth and the brown nose removes the protective wall around the inner skin. This gives the ants a direct path straight into the middle of the picture.
Step 4: Send the peach block to completely clear the inner face
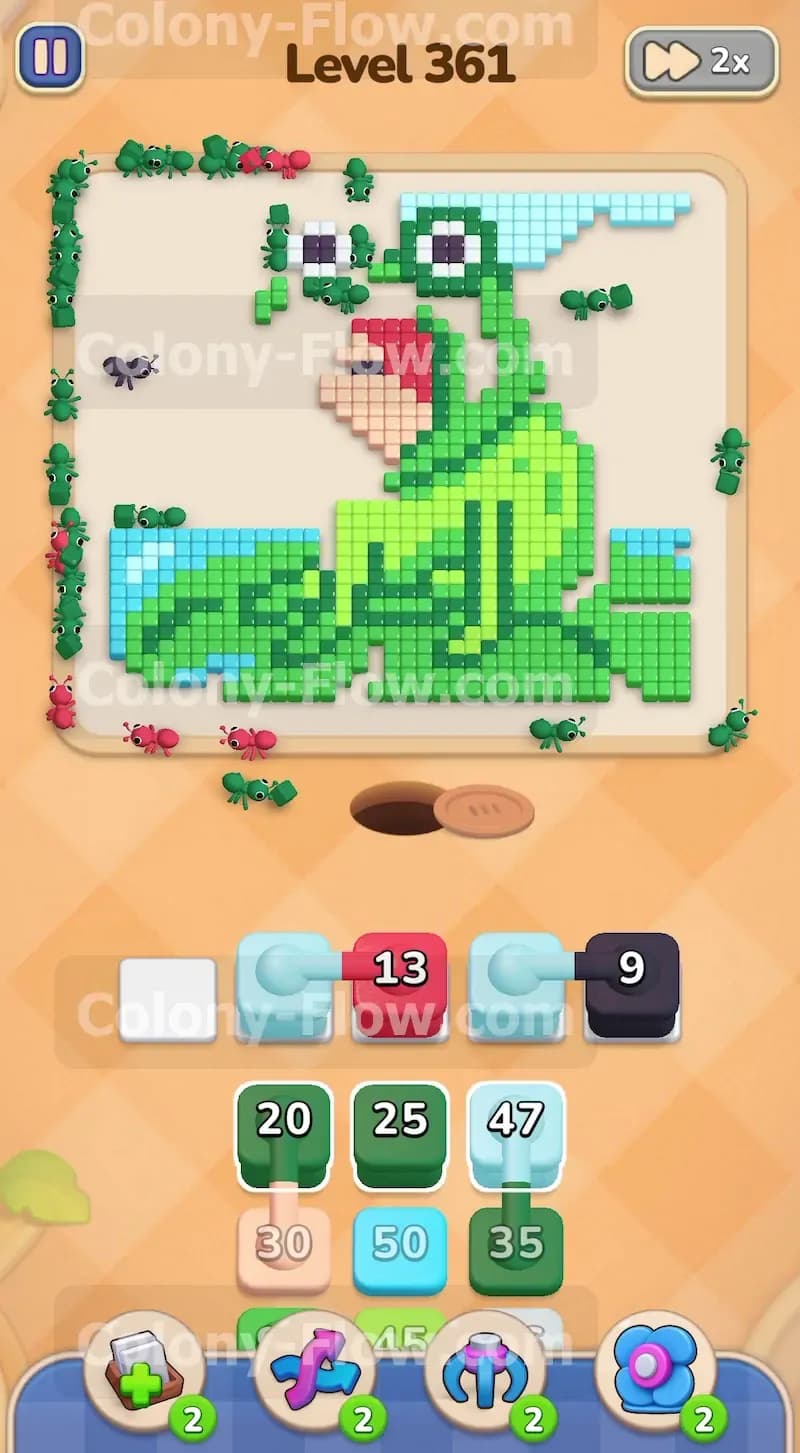
The face inside the frog suit consists entirely of peach colored pixels. You have a peach block in your tray holding the number 27. Pull this block up as soon as the red and brown blocks finish their work. The ants will dive right into the center opening and consume the peach face in one massive swarm. Eating the face creates a huge empty space right in the middle of the board. This central gap is highly beneficial. It allows the ants to travel much faster across the board to reach the other side of the frog. Make absolutely sure you do not pull the peach block too early. If you bring it up before the red mouth clears, the ants will have no path to the face. The peach block will just sit in your waiting slot and risk jamming your board.
Step 5: Tackle the big white and black eyes sitting on the hat
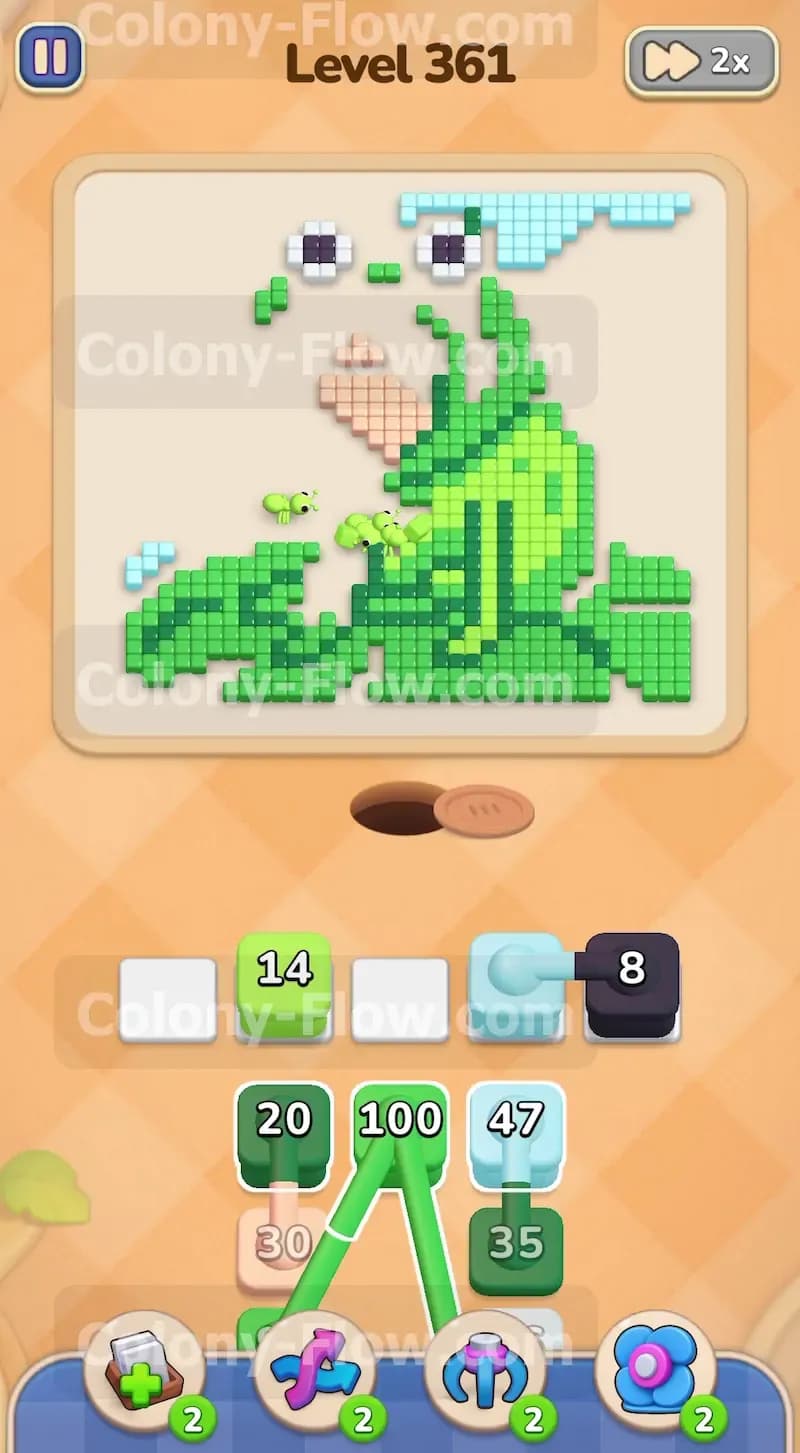
The top of the frog hat features two large round eyes. These eyes use white pixels for the outside rings and black pixels for the inner pupils. You will find another set of connected boxes in your tray that link light blue blocks to black blocks. Wait for the ants to finish the surrounding green pixels to fully expose the bottom edge of the eyes. Pull up the connected blocks when you have the necessary slot space. The ants will travel to the top and eat the black pupils. You will also find the required blocks to clear the remaining white eye pixels. Removing the eyes flattens the top of the board entirely. This leaves only the massive green body and the lily pad at the bottom.
Step 6: Prepare your slots for the massive three part connected green box
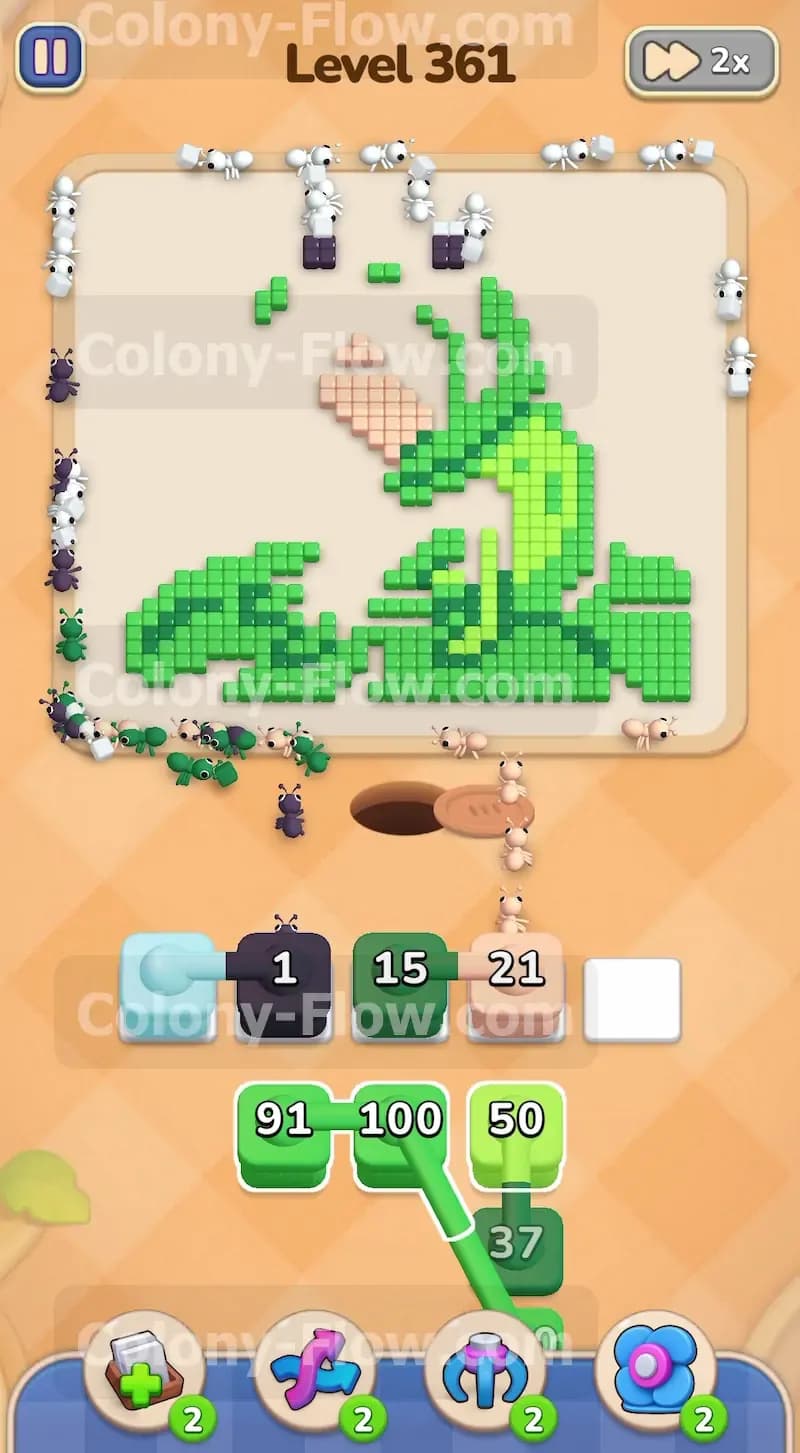
Now you face the most challenging obstacle of the level. Deep in your tray sits a huge set of three connected boxes. This set links a light green block to another light green block and a dark green block. The numbers on these blocks are extremely high. Pulling this group requires three empty slots at the exact same time. Look at your waiting area and exercise patience. Let the ants finish their current tasks completely. Do not tap any new single blocks until three slots clear out simultaneously. Once you have the room, tap the massive connected group. The ants will swarm the main body of the frog and the dark green sections of the lily pad. The high numbers on these blocks will sustain a huge feeding frenzy across the entire bottom half of the screen.
Step 7: Clean up the final scattered green pixels on the lily pad
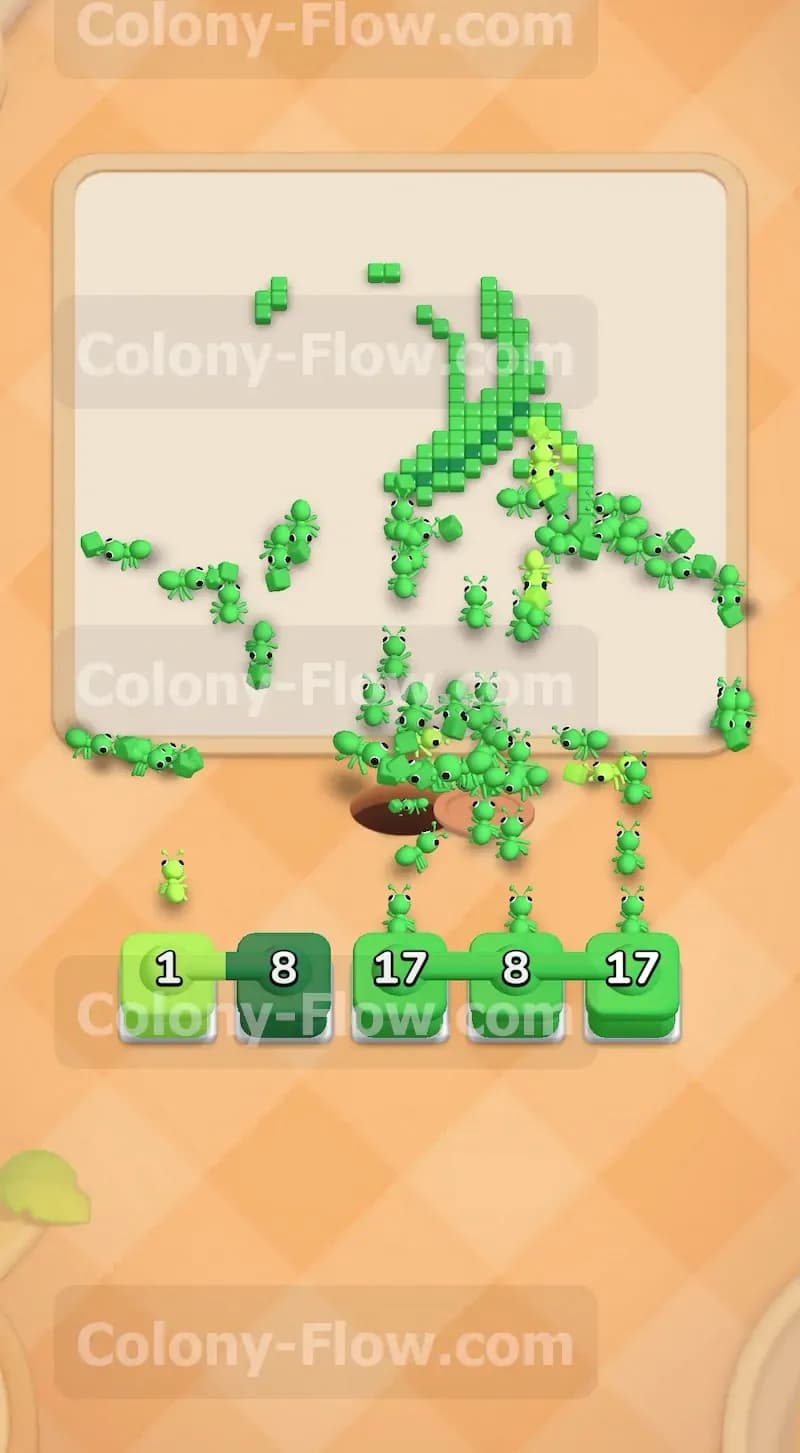
The giant connected blocks will take out the vast majority of the frog body and the lily pad. However, a few scattered green pixels will remain around the bottom edges and the legs. Your tray holds several smaller green blocks for this exact purpose. You will see a light green block with a 1, a dark green block with an 8, and a few others holding small amounts. Pull these final blocks up into your open slots. The ants will split up and hunt down the last remaining pixels on the lily pad. The picture will shrink down to absolutely nothing as the ants finish their meal. Keep your paths open and watch the board empty out completely.
Final Thought
Completing this puzzle requires perfect timing with your connected boxes. You must always plan your slot space before tapping any linked group in the tray. Managing the five slots is the true test of your skill here. If you ever feel stuck on managing that massive three part connected block, take a breath and review your sequence. Watch the video above this article to see exactly how to time your moves and clear the board.