Colony Flow Level 478 Walkthrough Solution & Guides | How to solve Colony Flow 478

Guide By Liam Stone
Updated on July 29, 2026
The video above shows you how to clear Level 478 without needing to read a single step below.
Video doesn't match your screen?
Game updates frequently scramble layouts! Try our AI Screenshot Solver first to find your exact board instantly, or report broken guides to our team.
Welcome to Colony Flow Level 478. You are up against a large pixel art monkey puzzle today. Managing your five waiting slots is your biggest hurdle because the board forces you into tight corners early on. I will show you exactly how to feed your colony and break this board wide open without getting stuck.
Colony Flow Level 478 Overview
What You Are Working With
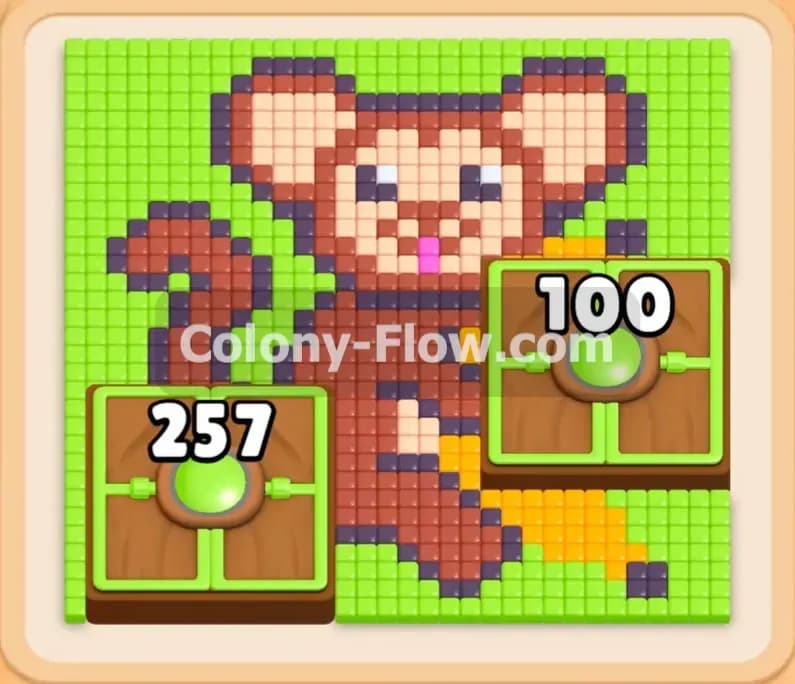
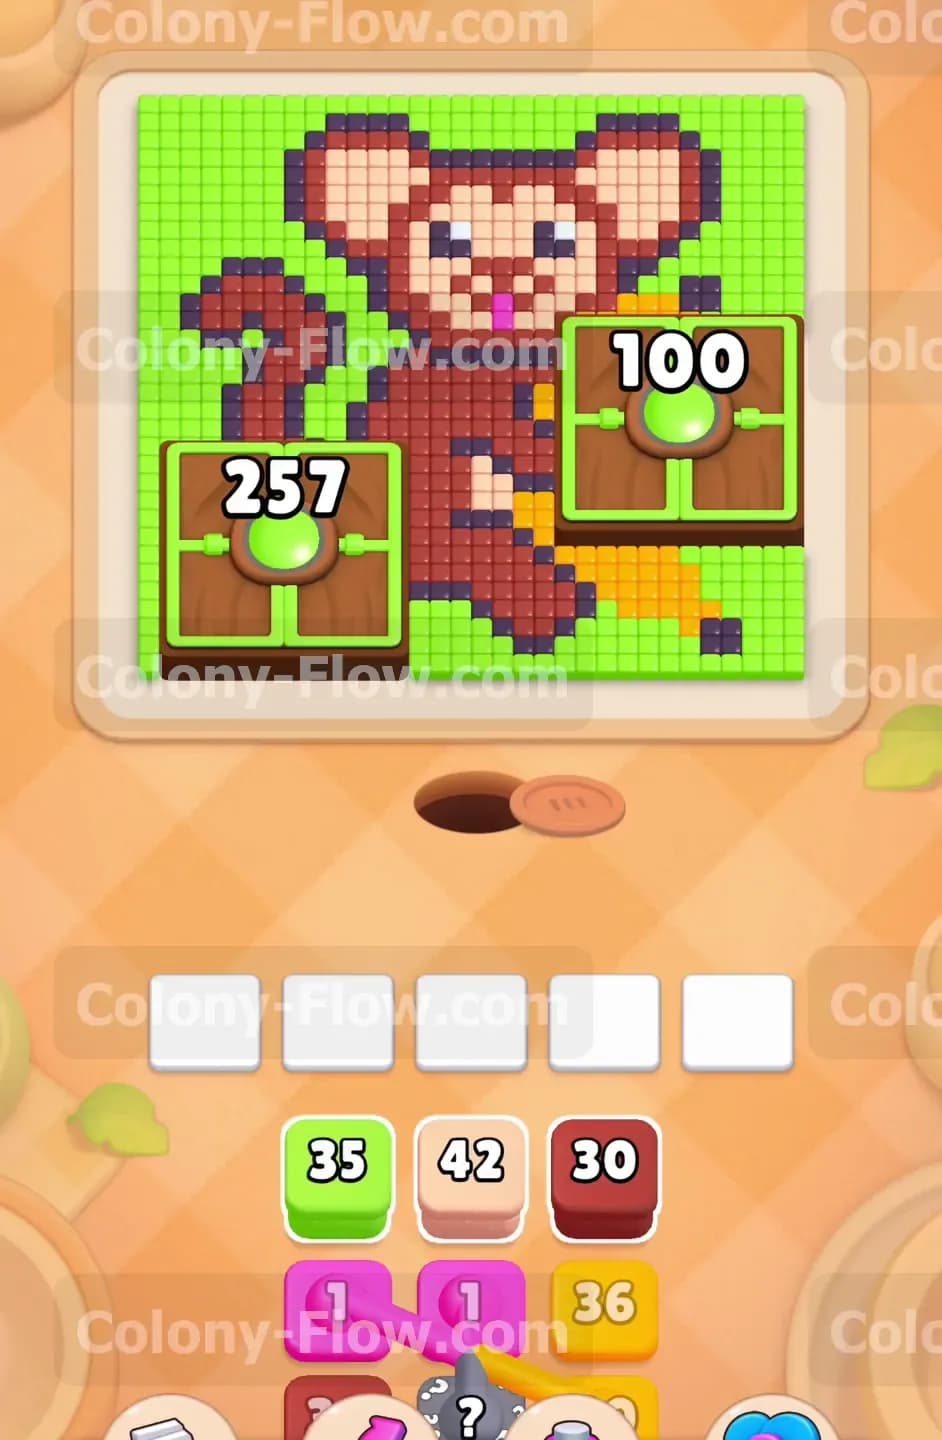
Let us look at the board. You have a pixel art monkey sitting on a solid green background. The monkey features a dark red body and a curling tail. The face and belly are a light peach color. Thick black outlines separate the different sections. You will also see yellow accents on the hands and feet plus a bright pink tongue in the center of the face. The main obstacles are the two Hungry Doors sitting on the green background. The left door requires 257 ants to open and the right door needs 100 ants. Down in your tray you have standard numbered colored blocks along with two special elements. You have a connected block combining pink and yellow. You also have a grey hidden box with a question mark on it.
What It Takes to Clear Level 478 Board
You win this level when the entire picture is eaten and both Hungry Doors are completely satisfied. The key to winning is balance. You must alternate between clearing the monkey pieces to open new paths and feeding the green background blocks into the Hungry Doors. If you ignore the green background your tray will fill up with green blocks and you will lose. If you pull the connected block before the pink tongue is open you will jam a slot permanently.
Colony Flow Level 478 Step by Step Solution
Step 1: Clear the bottom right corner to establish your initial pathways
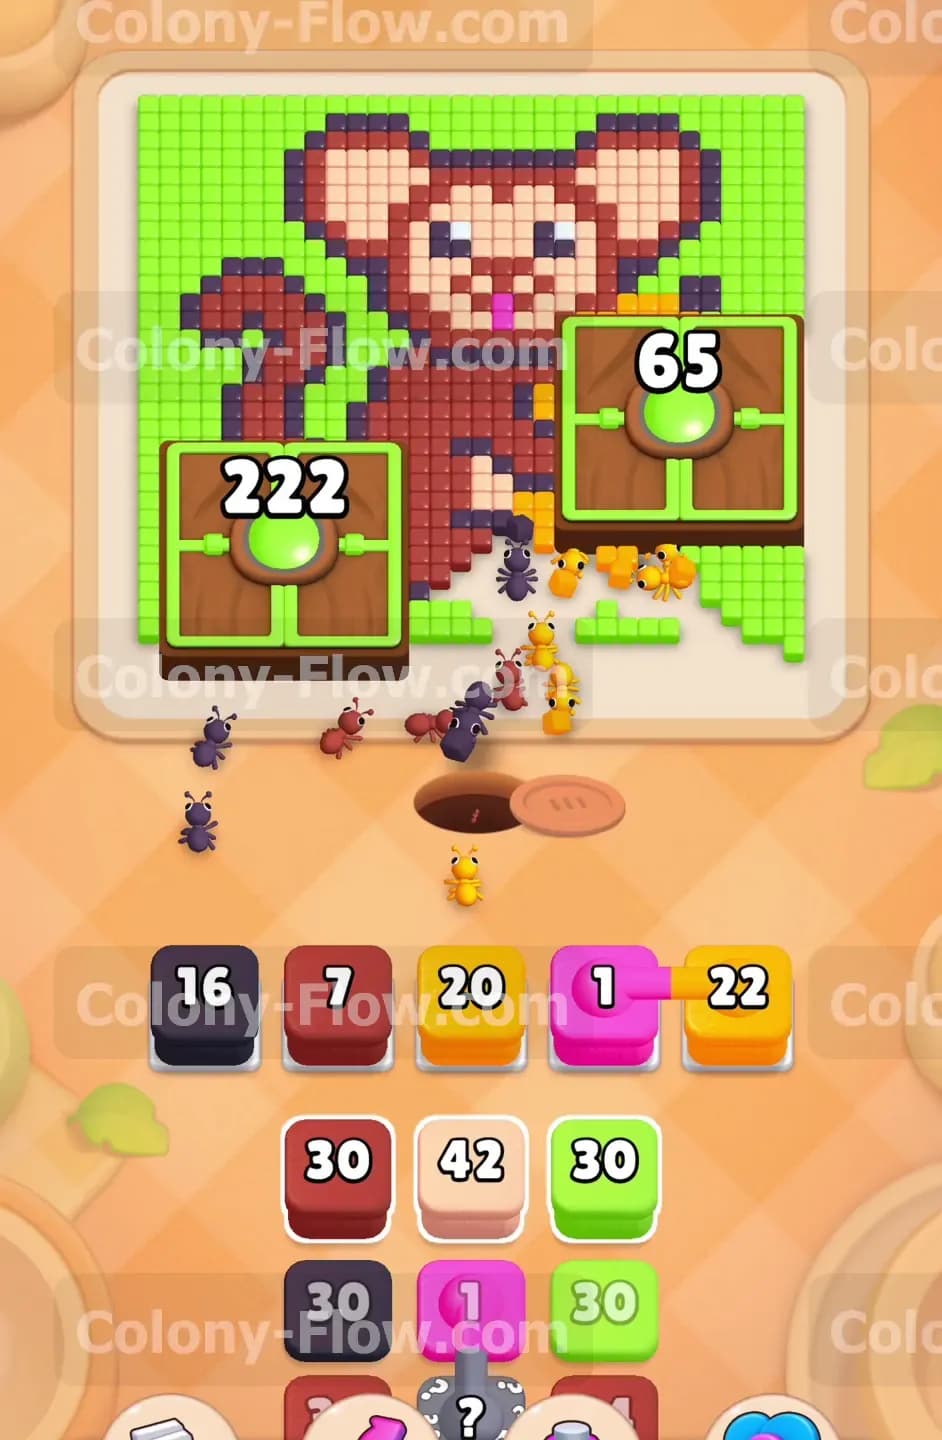
Start the level by pulling the light green block and the yellow block from your tray. The ants stream out of the nest and head straight for the bottom right corner of the picture. They eat the yellow pixels forming the monkey foot and chew away the surrounding green background. This is a critical opening move because it creates a wide open space for your ants to travel. You need this physical space cleared so the ants can reach the dark red pixels forming the lower body. Your waiting slots remain safe because the ants immediately process these first two blocks.
Step 2: Feed the right Hungry Door to keep your green blocks cycling
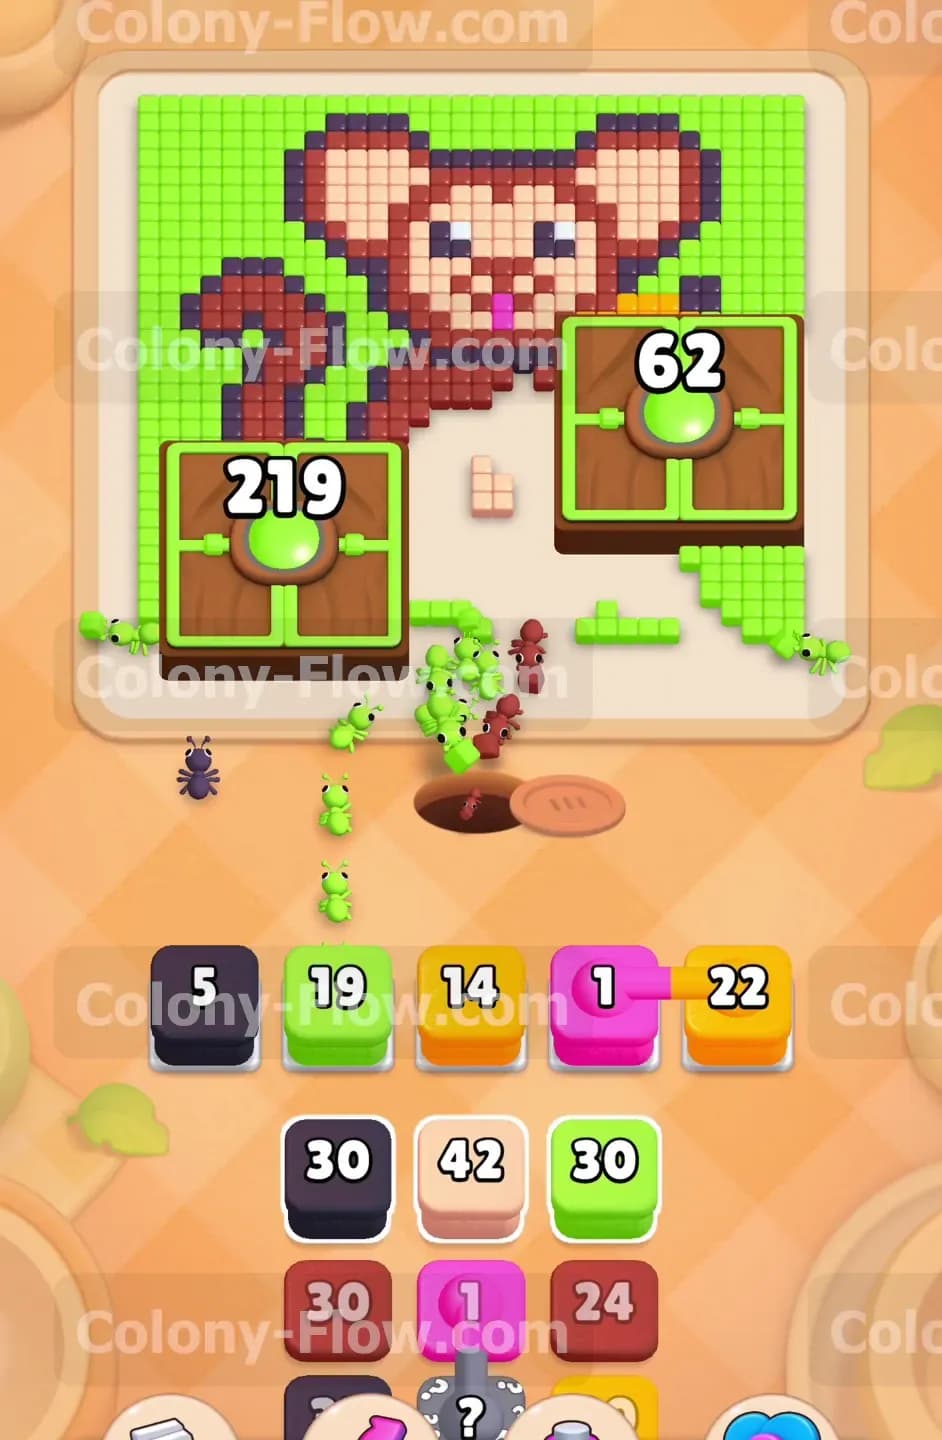
The right Hungry Door requires 100 ants before it will vanish. You must start chipping away at this massive number right now. Pull the next light green block into your tray. The ants march up the right side of the board and pour into the door. The number on the door drops from 100 down to 65. Doing this early prevents light green blocks from backing up in your tray. You always want to send green ants toward the doors whenever you have an open path to the background.
Step 3: Attack the dark red lower body to open the center
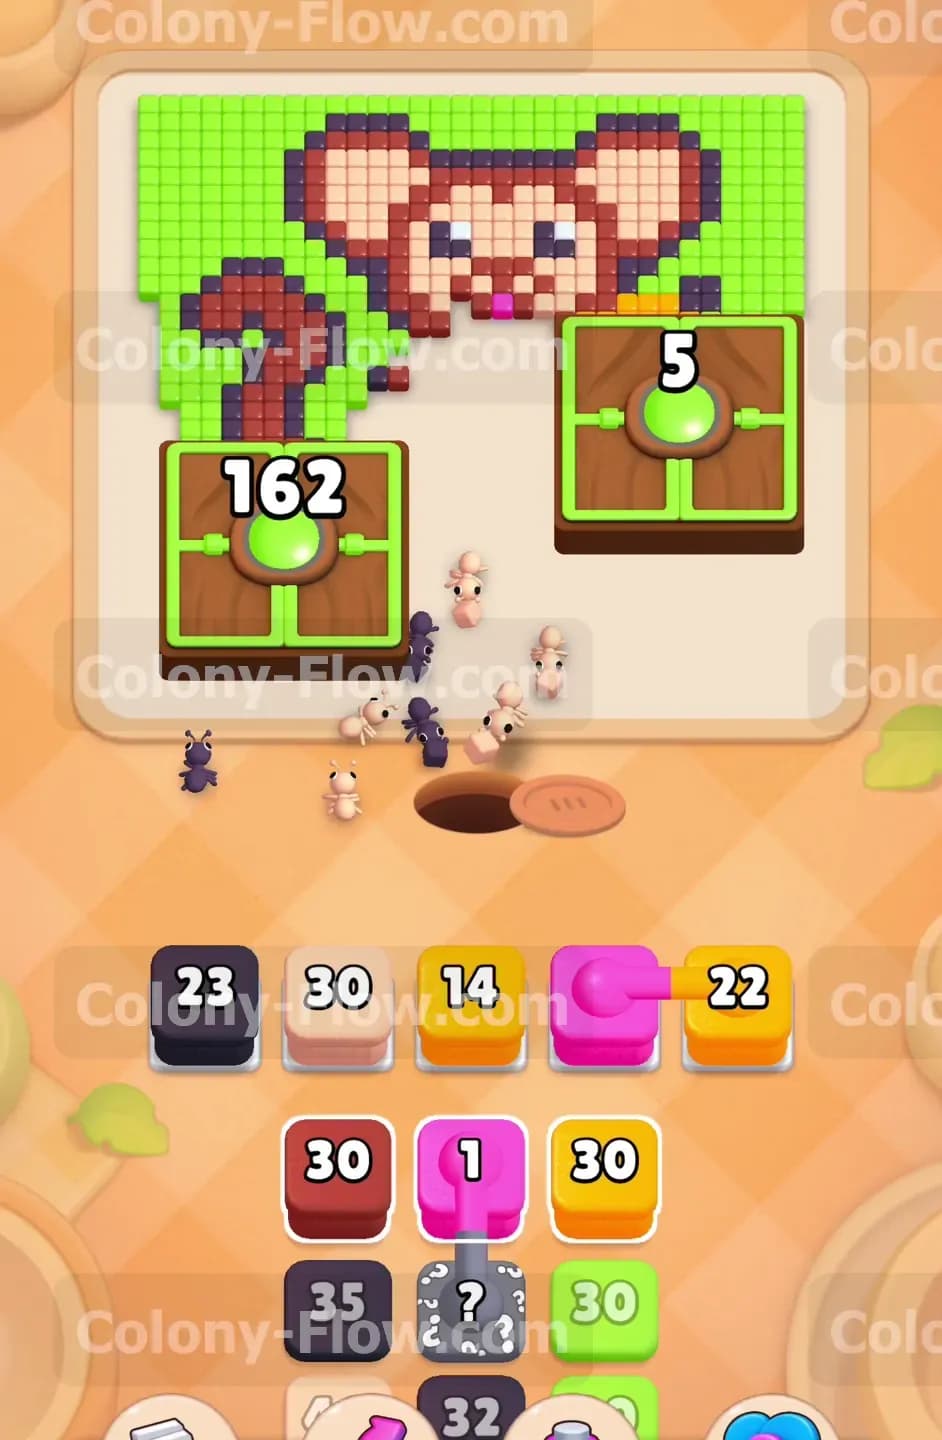
With the right foot gone you now have a direct line to the dark red pixels making up the monkey legs and lower torso. Pull the dark red block into an empty slot. The ants flood into the red section and clear a huge chunk of the lower body. The block number ticks down to zero and frees up your tray slot. This move exposes the bottom edge of the peach colored belly. You must always expose the next color inward before you pull that color into your tray.
Step 4: Push into the peach belly and clear the inner yellow accents
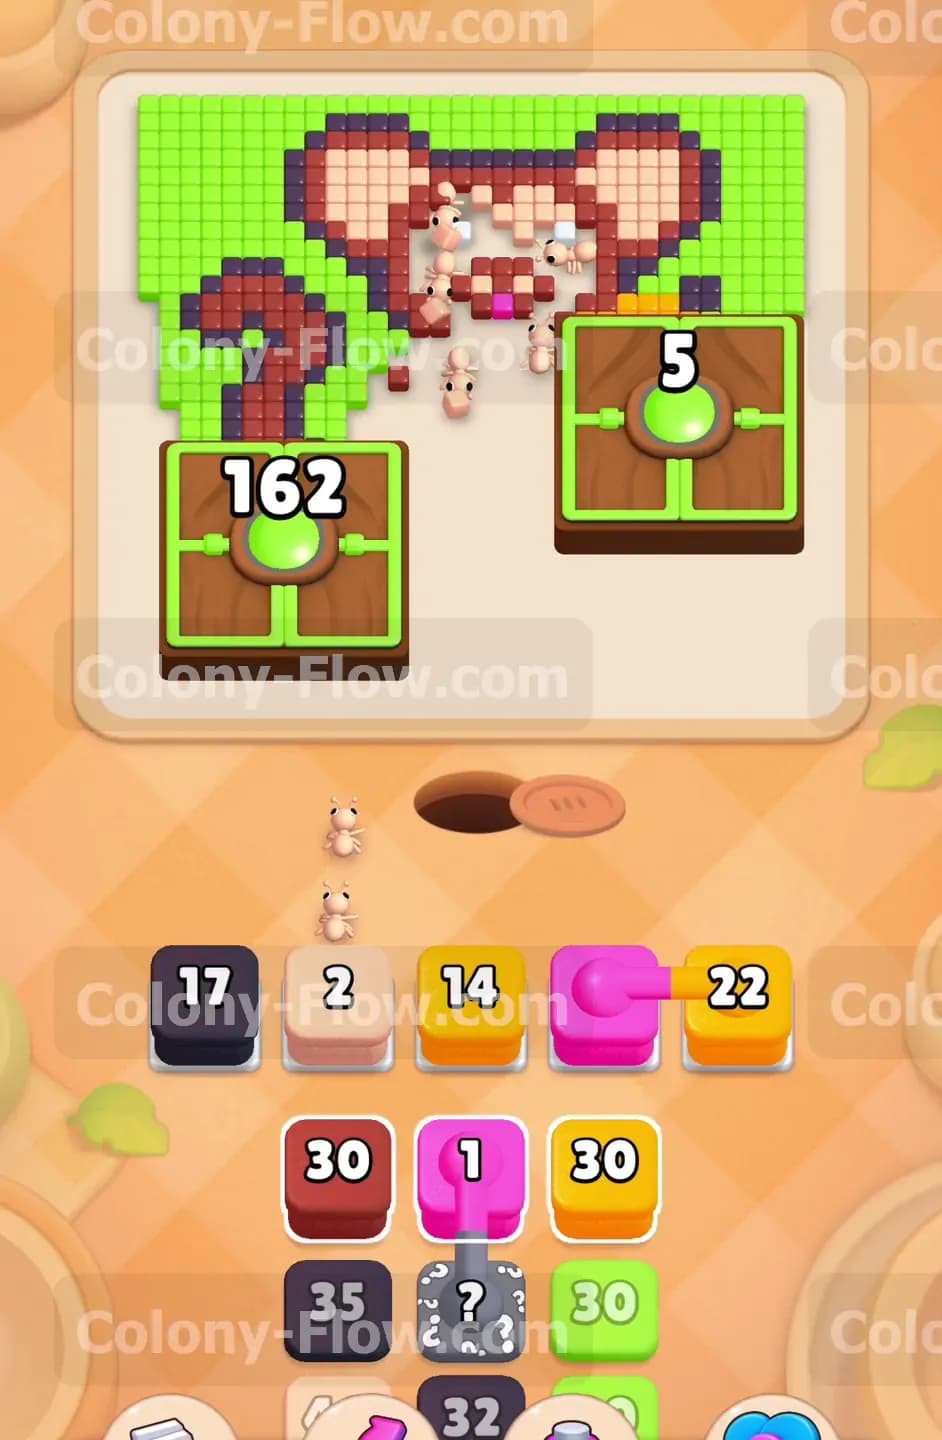
Now that the belly is exposed you can pull the large peach block from your tray. The ants swarm the center of the monkey and eat away the light brown pixels. This reveals the yellow pixels forming the hands in the center of the chest. Pull the yellow block next. The ants quickly consume the hands. By clearing the belly and hands you split the remaining picture into two distinct halves. You have the head up top and the tail on the left. Your tray remains clear because you sequence the colors perfectly from the outside going in.
Step 5: Break down the black outlines around the lower half
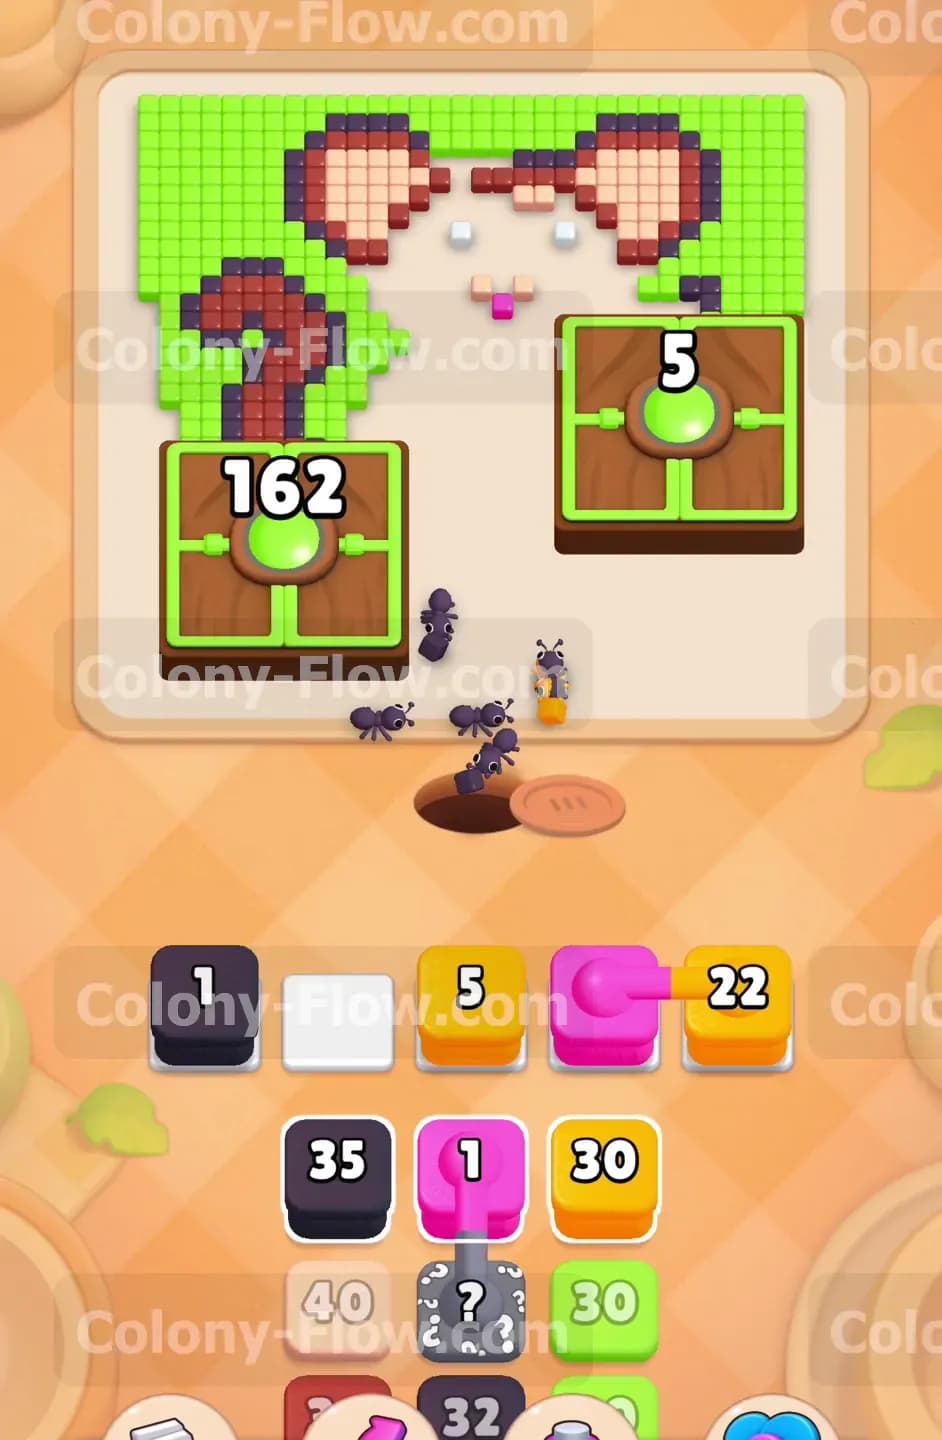
The heavy black outlines block your access to the left side of the board. Pull the black blocks into your tray to send the colony after these borders. The ants eat the lines separating the legs and the tail. Removing these borders connects the empty spaces on the board. A connected empty space means your ants will travel much faster to their destinations. This keeps your waiting slots cycling quickly. Faster travel times mean a lower chance of jamming your tray when things get crowded.
Step 6: Clear the peach face to expose the hidden pink tongue
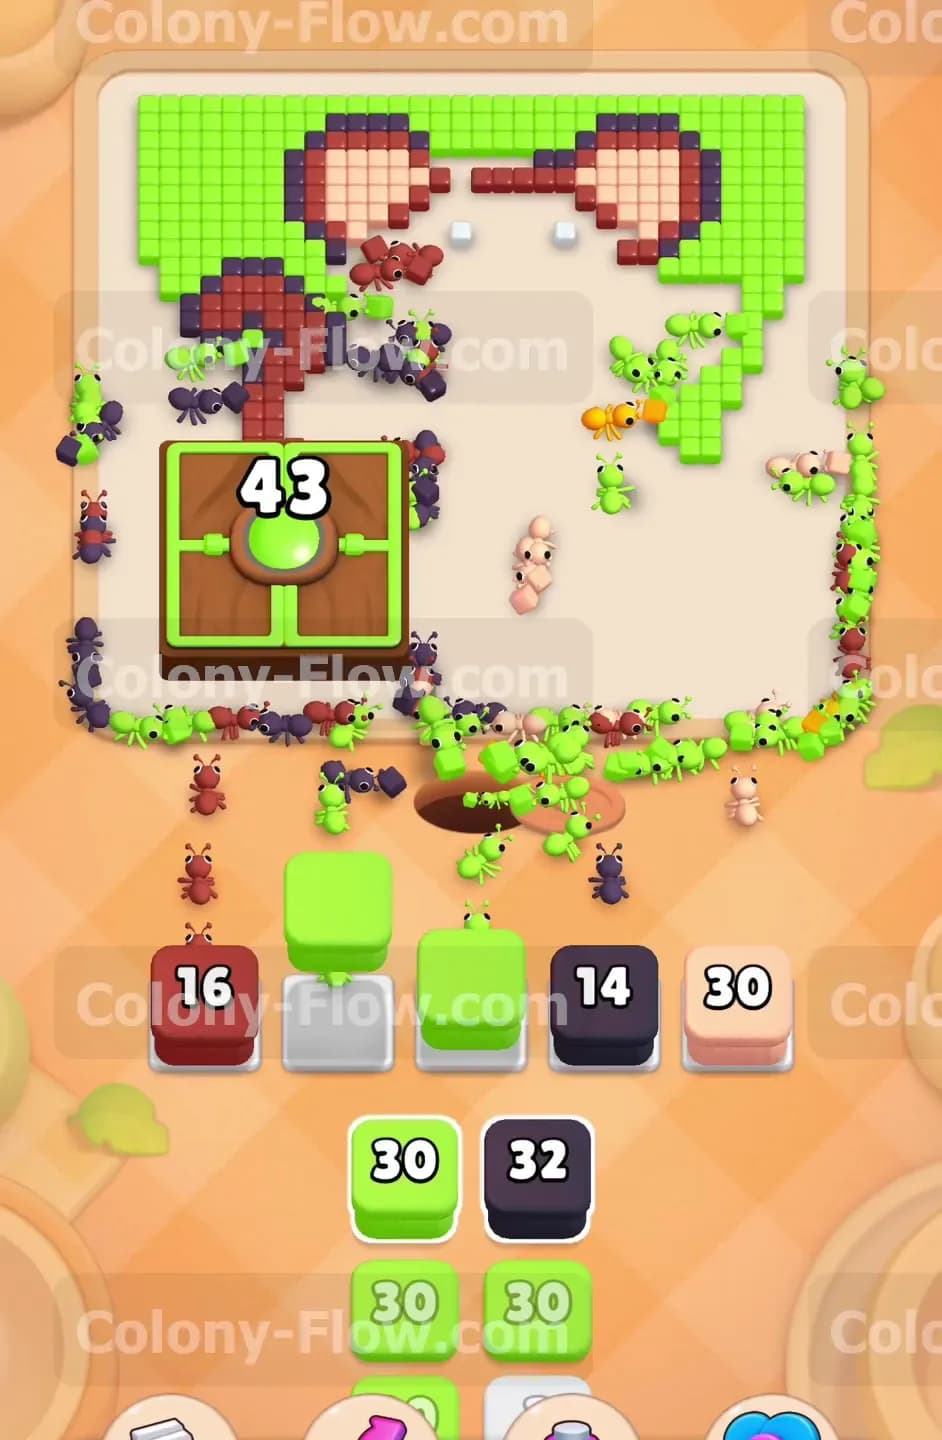
Look at the top half of the monkey. You need to reach that pink tongue in the center of the face. You cannot reach it until you remove the peach pixels surrounding it. Pull the remaining peach blocks into your tray. The ants march up the middle and devour the entire face. They leave behind just the black eyes the nose and that single pink pixel for the tongue. Do not pull any pink blocks before this exact moment. If you pull a pink block too early it will sit in your tray and steal one of your five precious slots.
Step 7: Play the connected pink and yellow block to clear the tongue
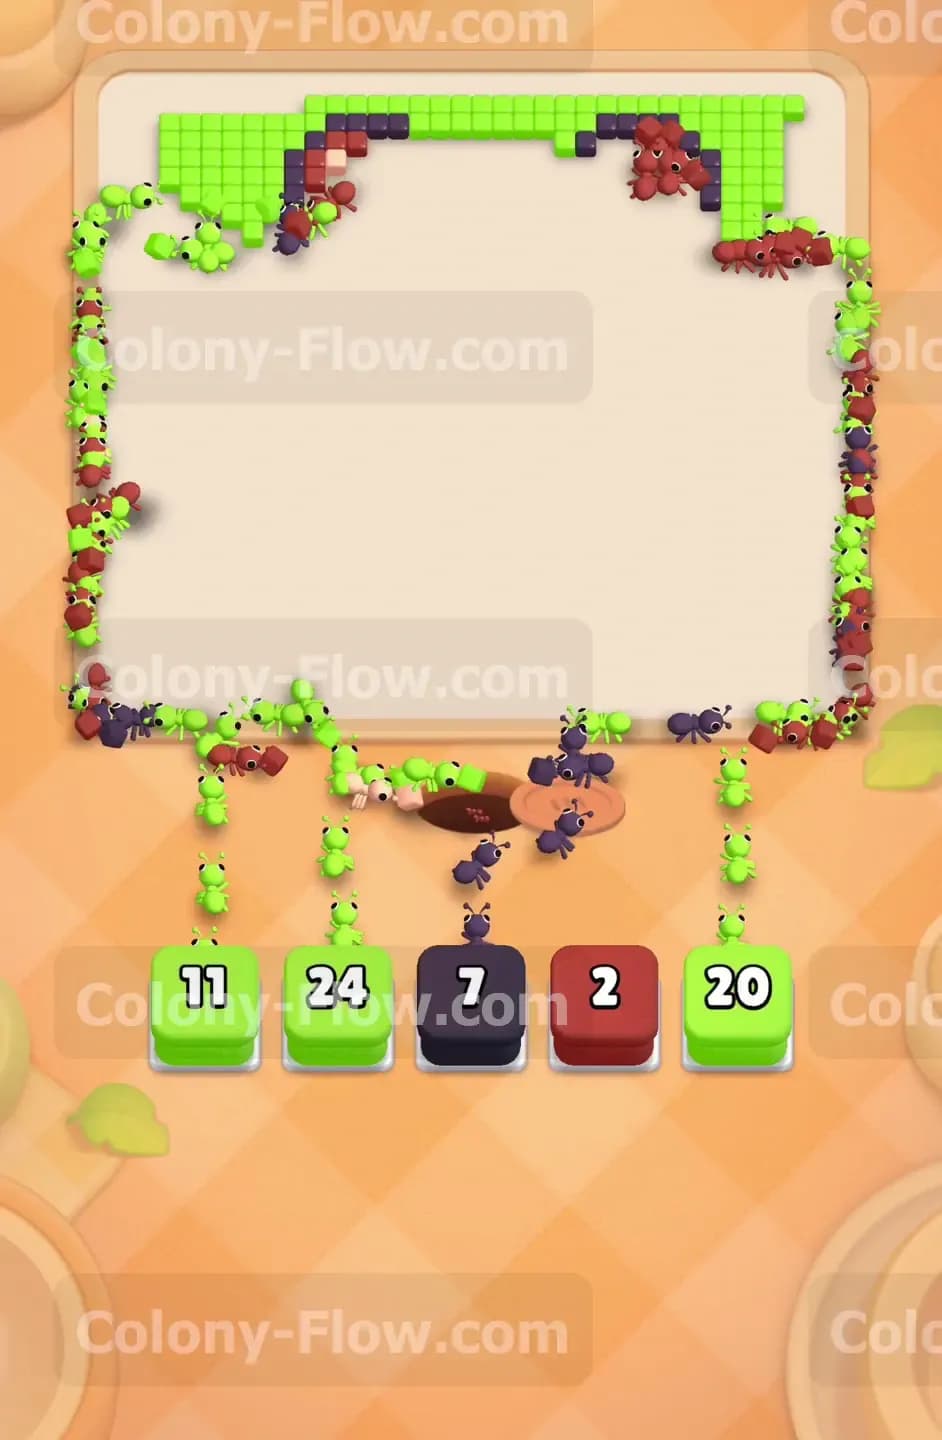
Now you must deal with the connected block in your tray. This special block links pink and yellow together into one solid unit. A connected block only moves when your ants have an open path to every color included in the link. Since you just exposed the pink tongue and you already have open paths to the remaining yellow pieces you are safe. Pull the connected block into your tray. The ants split up and consume the pink tongue and the yellow accents simultaneously. The connected block vanishes and your tray remains safe.
Step 8: Tap the hidden box in your tray to reveal its true color
You have a grey block sitting in your tray with a question mark on it. This hidden box will not show its color until it has a valid path on the board. Because you have cleared almost the entire monkey you have paths open to every remaining color. Tap the hidden box now. It flips over and reveals itself as a light green block. Since you still have plenty of green background left the ants immediately empty this block. Waiting to tap the hidden box until the board is mostly empty guarantees that it will never jam your tray.
Step 9: Finish the right Hungry Door and chip away at the left door
Keep feeding your light green blocks to the background. The ants swarm the right side and drop the right Hungry Door counter down to five and then finally to zero. The right door shatters and disappears from the board completely. At the same time you must send ants to the massive left Hungry Door. It started at 257 and you need to bring that number down to 162 and then down to 43. Pull every light green block that appears in your tray to maintain a steady stream of ants feeding those doors.
Step 10: Clear the dark red tail and the final black outlines
The only parts of the monkey left are the large curving tail on the left and the black outline around the head. Pull the dark red blocks to send your colony chewing through the tail. Once the tail is gone pull the final black blocks. The ants march around the top edge and finish off the head outline. The entire monkey is now completely gone. The only thing left on the board is the outer border of the green background and the remaining left Hungry Door.
Step 11: Flood the remaining green background to shatter the final door
You are in the home stretch. Your tray is full of light green blocks. Pull them all into your waiting slots. The ants swarm the outer edges of the board and consume the last of the green background pixels. They pour into the left Hungry Door and drive the final counter down from 43 to zero. The door shatters and the level is complete. You kept your tray moving the entire time by carefully choosing your colors from the outside in.
Final Thought
That is everything you need to know to beat this puzzle. Taking down a massive picture requires patience and a strict rule of never pulling a color until you actually see it open on the board. If you found any of these descriptions hard to follow in text form I highly encourage you to watch the video above this article. The video shows the exact sequence of block pulls in real time so you can match the rhythm and clear the board perfectly.