Colony Flow Level 111 Walkthrough Solution & Guides | How to solve Colony Flow 111

Guide By Liam Stone
Updated on July 11, 2026
Rather watch than read? The video above walks through Level 111 step by step.
Video doesn't match your screen?
Game updates frequently scramble layouts! Try our AI Screenshot Solver first to find your exact board instantly, or report broken guides to our team.
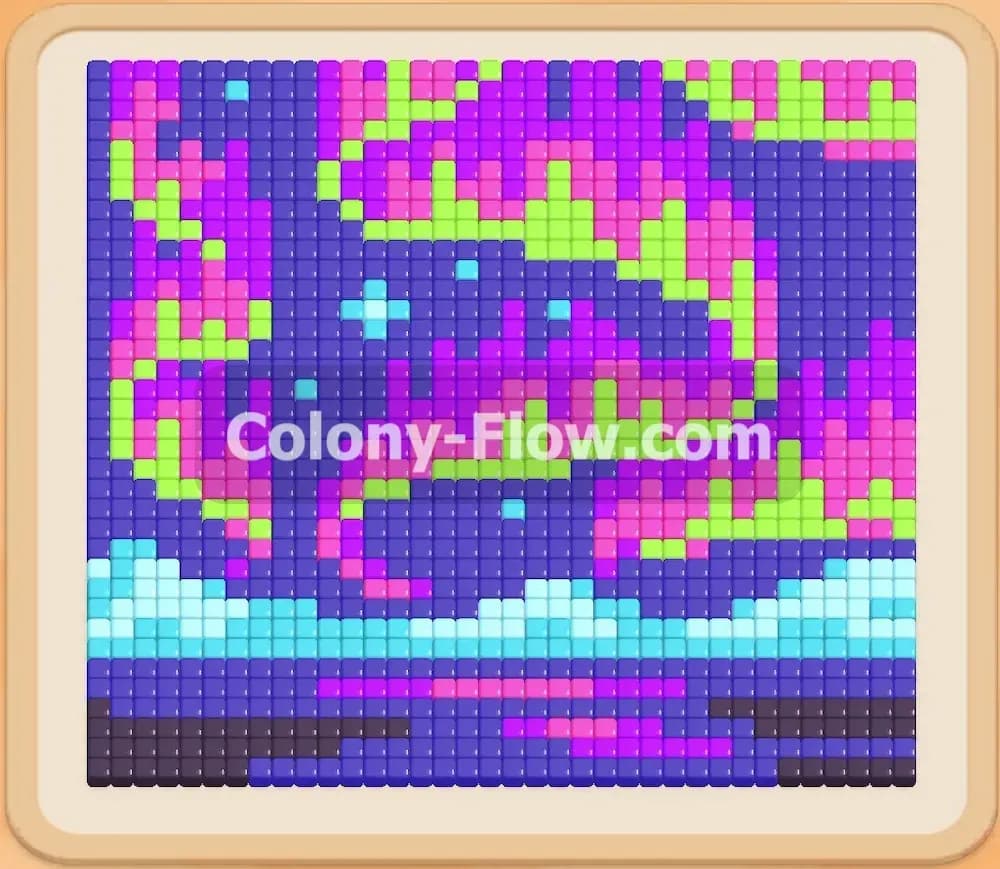
Colony Flow Level 111 features a beautiful pixel art picture of the northern lights shining over a dark landscape. You have a massive solid block of vibrant colors to clear in this puzzle. I play every single level myself to figure out the safest routes. I will show you exactly how I beat this board so you can keep your waiting slots clear and claim your victory.
Colony Flow Level 111 Overview
What You Are Working With
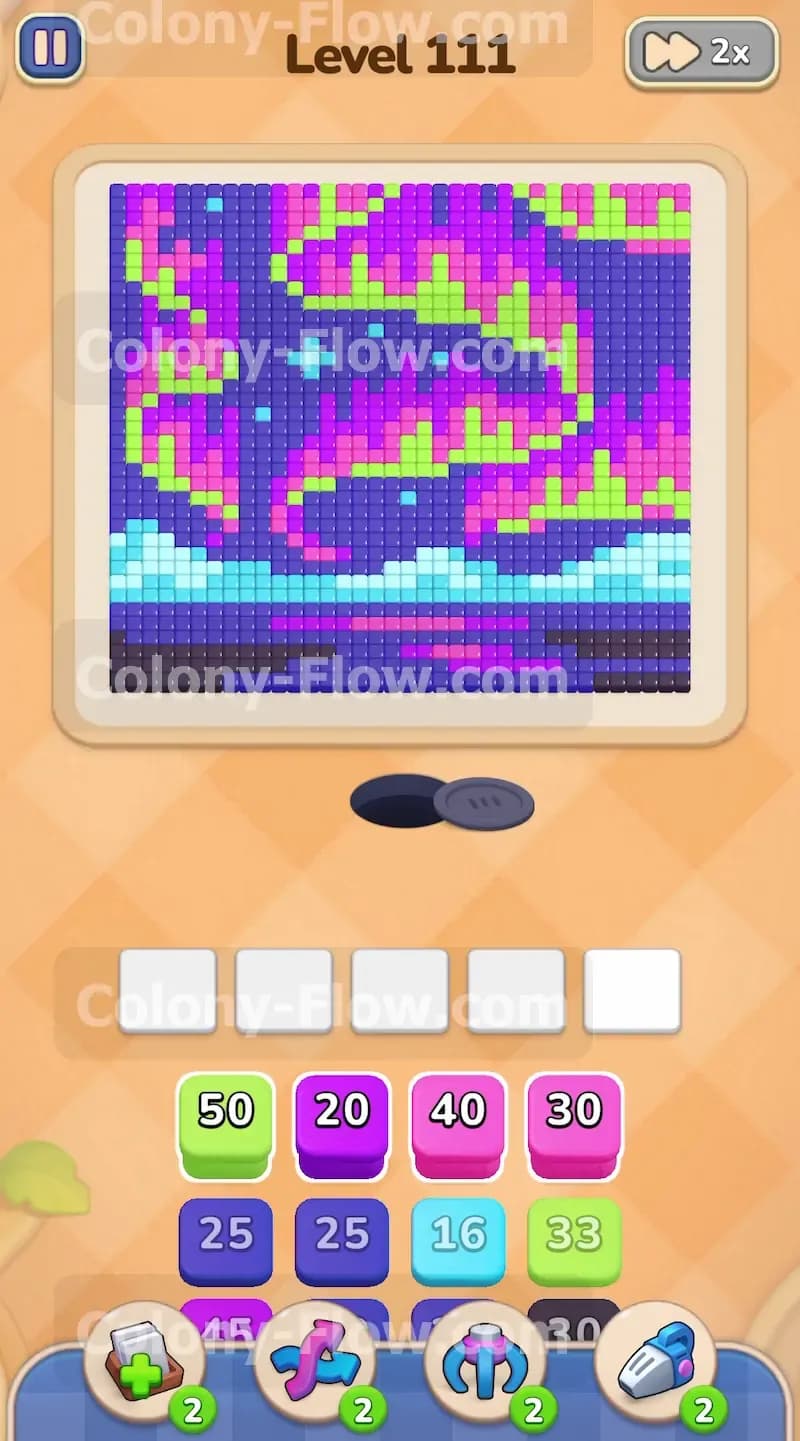
You are working with a massive solid wall of standard colored tiles. The picture is an incredibly dense and bright night scene. You have a black and dark gray landmass at the very bottom edge. Above that sits a flowing river made of light blue and dark blue tiles. The top half is completely dominated by a huge dark purple night sky. Cutting right through that dark sky are brilliant wavy ribbons of pink and light green representing the northern lights. The tray at the bottom of the screen is packed with blocks that match these exact colors perfectly. Many of these tray blocks carry very high numbers. Every single tile is visible right from the start. You do not have any complex tiles or tricks to work around on this specific board. It is just you your ants and a huge block of bright pixels.
What It Takes to Clear Level 111 Board
Winning this level requires you to completely erase every single pixel from the board. You do this by pulling the colored blocks from the tray into your five active waiting slots. The ants emerge from their nest hole at the bottom and march toward the matching colors. The core rule of the game is that ants need a clear open physical route to reach their food. If a color is completely surrounded by other colors the ants cannot reach it. If you pull a block for a trapped color that block will sit completely dead in your waiting slot. You only have five spaces. If you fill all five slots with blocks the ants cannot reach the entire board locks up entirely. The ants stop moving and you instantly lose the level. Clearing this board means carefully peeling away the picture from the outside moving inward so your paths always stay open.
Colony Flow Level 111 Step by Step Solution
Step 1: Pull the bottom black tiles and outer pink tiles to establish multiple marching routes.
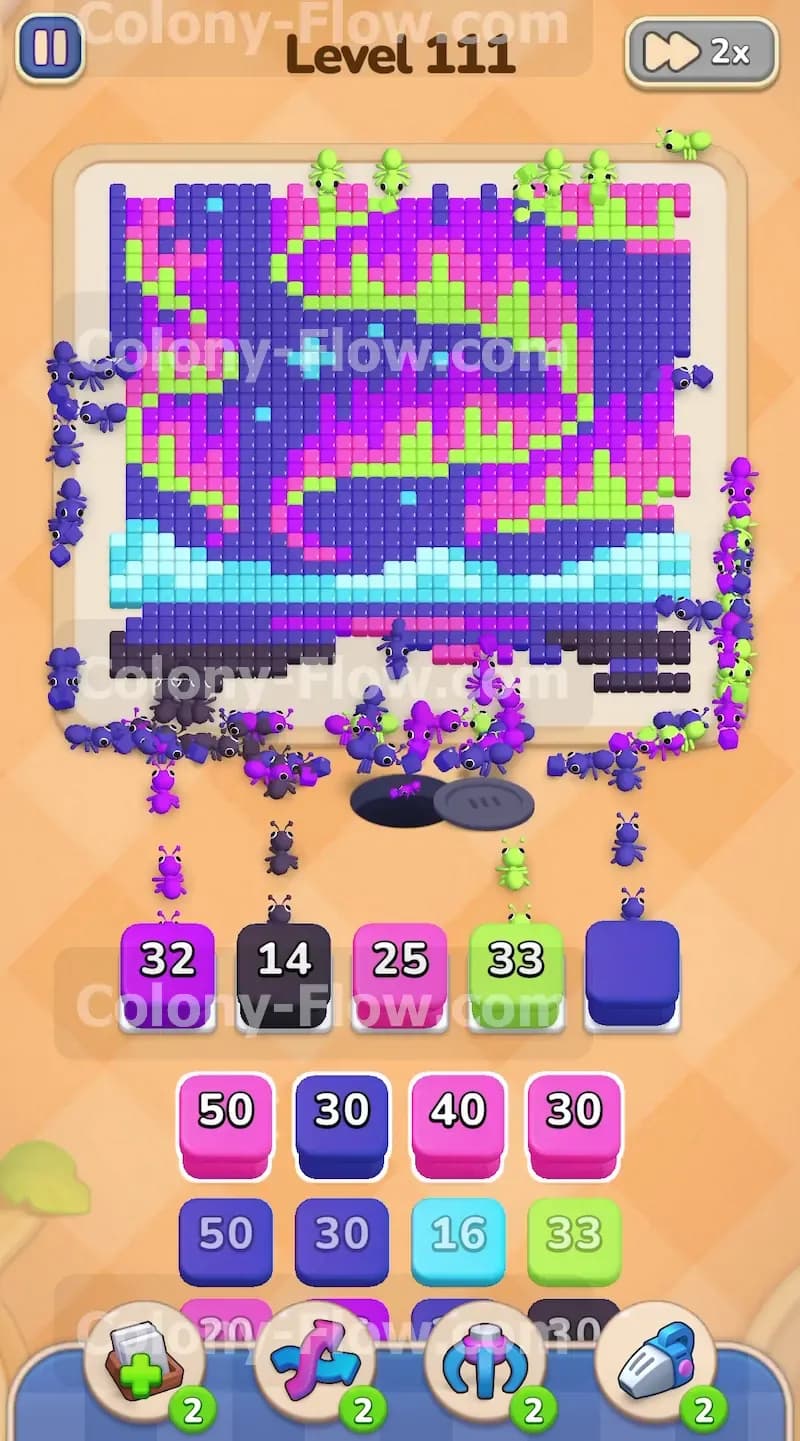
The black tiles form the absolute bottom row of the artwork directly above the nest hole. When you pull the black block into your waiting slot the ants simply walk straight up. It is the shortest possible path on the entire board. At the exact same time you pull a pink block from the tray. The pink tiles form a thin border wrapping around the far left and right edges. The ants divide their forces immediately. Half march up to the black dirt and half walk all the way around the outside edges. This dual assault is the absolute safest way to start the level. It guarantees your tray numbers drop simultaneously and prevents a sudden slot jam.
Step 2: Target the light blue water strip to open up the lower half of the picture.
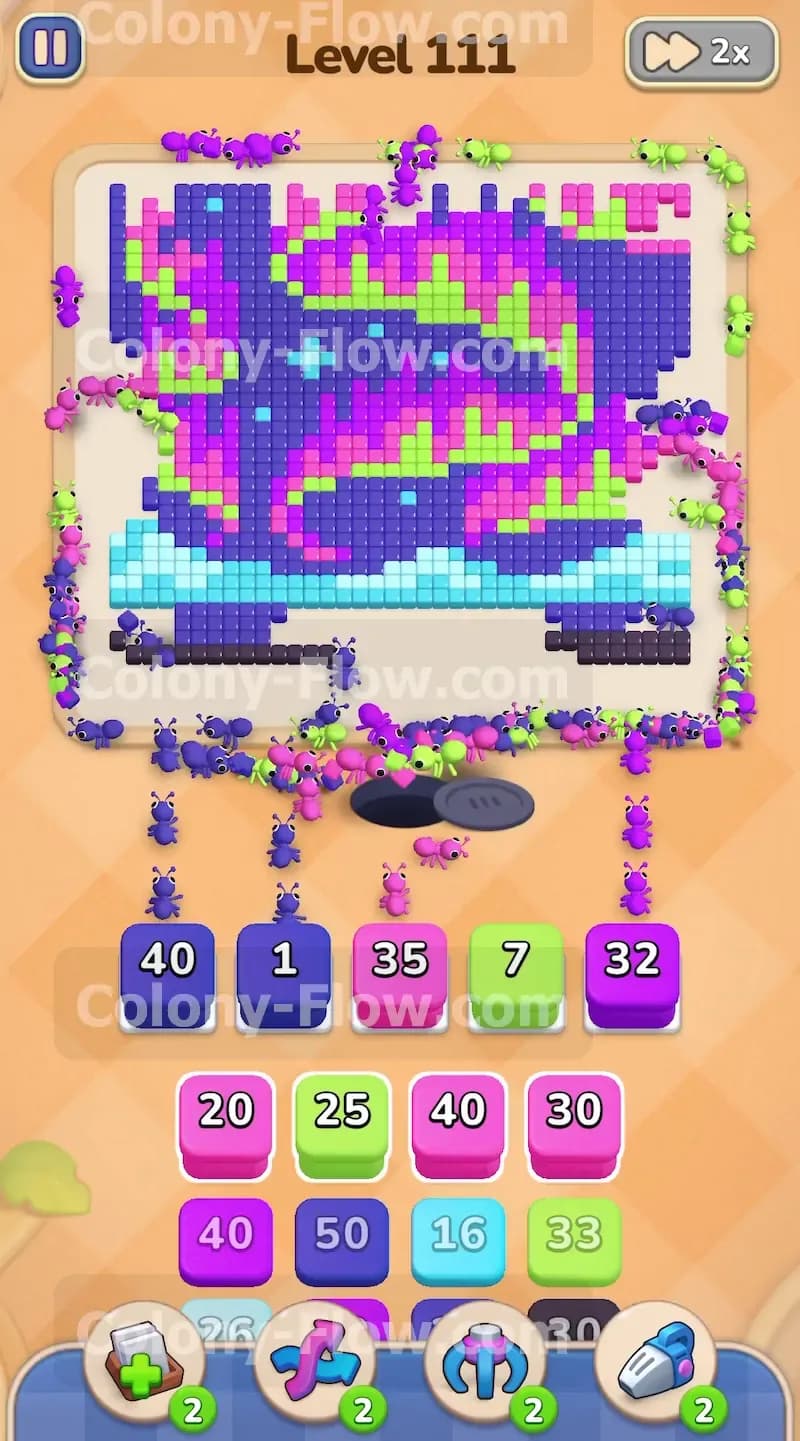
Once the black dirt is out of the way the water layer becomes completely exposed. The water consists of two colors but the light blue sits on the lowest edge. You pull the light blue blocks from your tray into the waiting slots. The ants form a wide horizontal line and march side by side across the entire width of the picture. They eat the light blue tiles with extreme efficiency. You will watch the numbers on your light blue blocks drop rapidly. This rapid clearing is excellent for your slot management. The block empties quickly and frees up a waiting space for your next move. Do not rush to fill the other empty slots. Let the ants finish this horizontal sweep completely.
Step 3: Clear the upper purple corners and outer pink boundaries slowly and carefully.
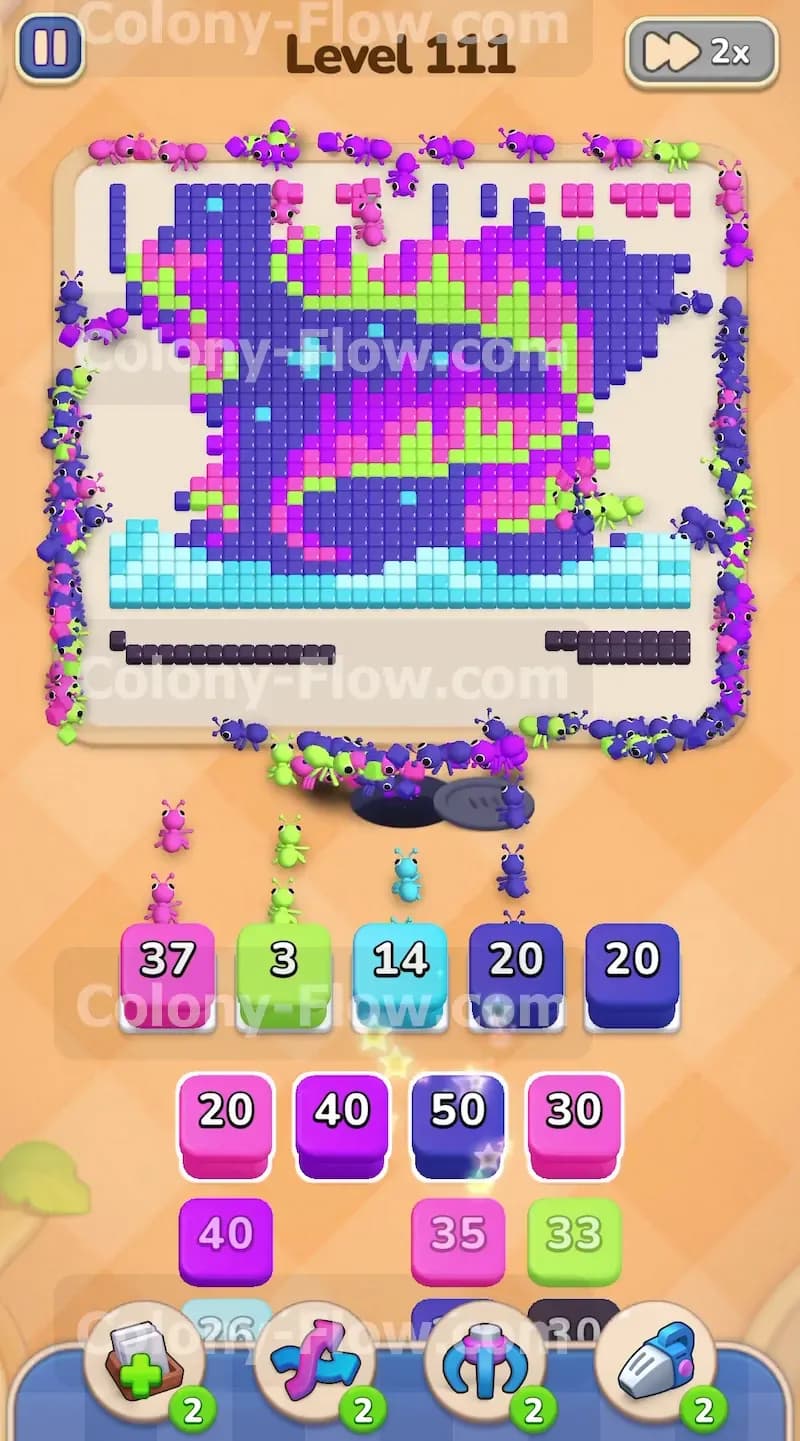
The top corners of the picture are entirely purple. You pull the large purple blocks into your tray. The travel distance is massive here. The ants must walk from the bottom nest hole all the way up the left and right sides to reach the very top. You will watch them form long single file lines along the far edges of the board. Because the walk is so incredibly long the purple blocks will sit in your waiting slots for a significant amount of time. You must exercise strict patience right now. If you pull three more blocks immediately your tray will completely fill up. The ants need time to complete their walk. You must wait for the purple numbers to drop before you make another move.
Step 4: Chew into the central green aurora bands to break the picture into smaller pieces.
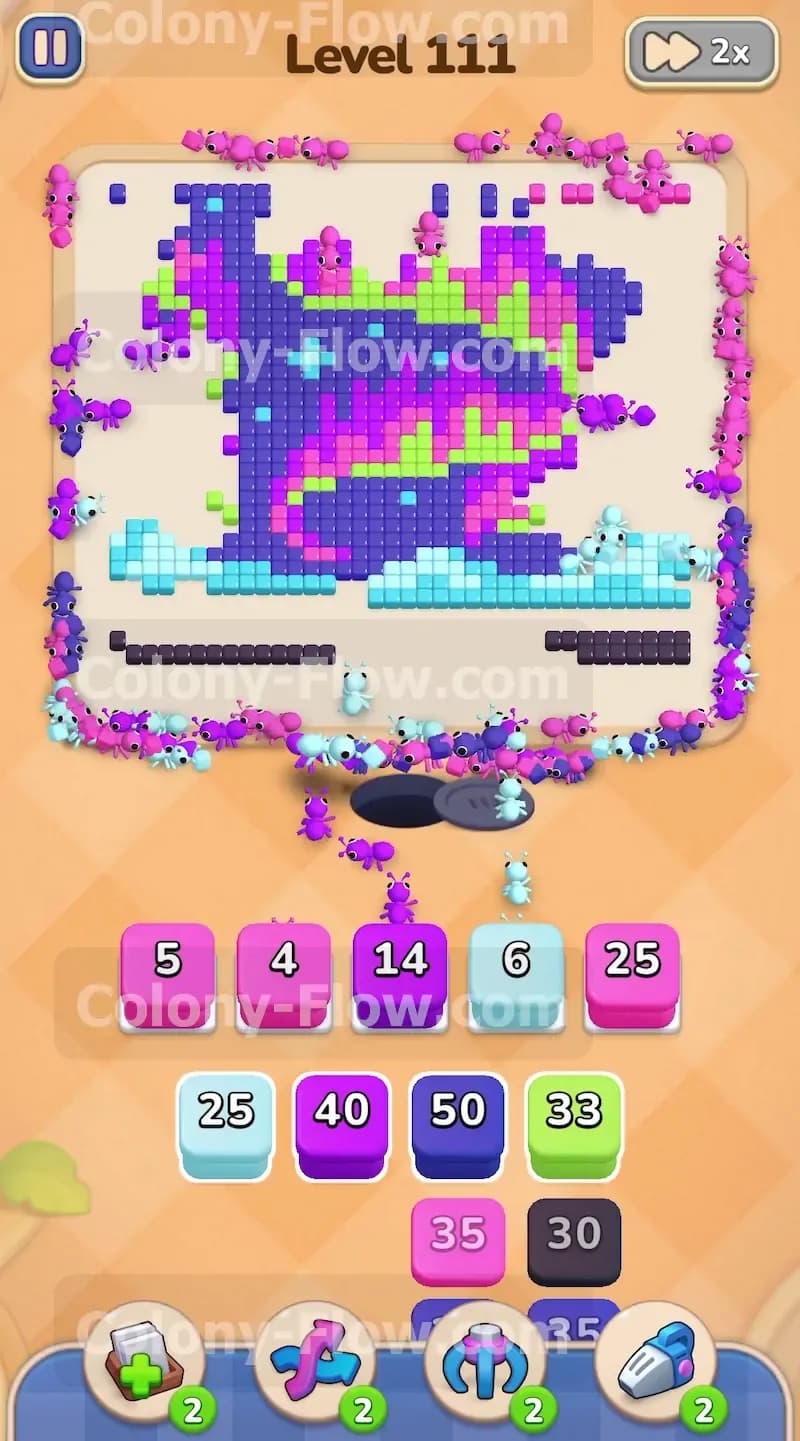
The outer edges are finally gone and the picture is much smaller. The ants now have direct access to the bright green aurora bands. These green tiles weave right through the middle of the thick purple night sky. You pull the green blocks into your active slots. The ants swarm the center of the board. They eat into the green bands and effectively slice the solid purple sky into smaller isolated chunks. This is a highly strategic action. By removing the green center you create far more surface area for the ants to attack the remaining purple tiles later. The board changes from one giant solid square into several disconnected floating islands.
Step 5: Break the remaining picture into isolated fragments by pulling the interior pink blocks.
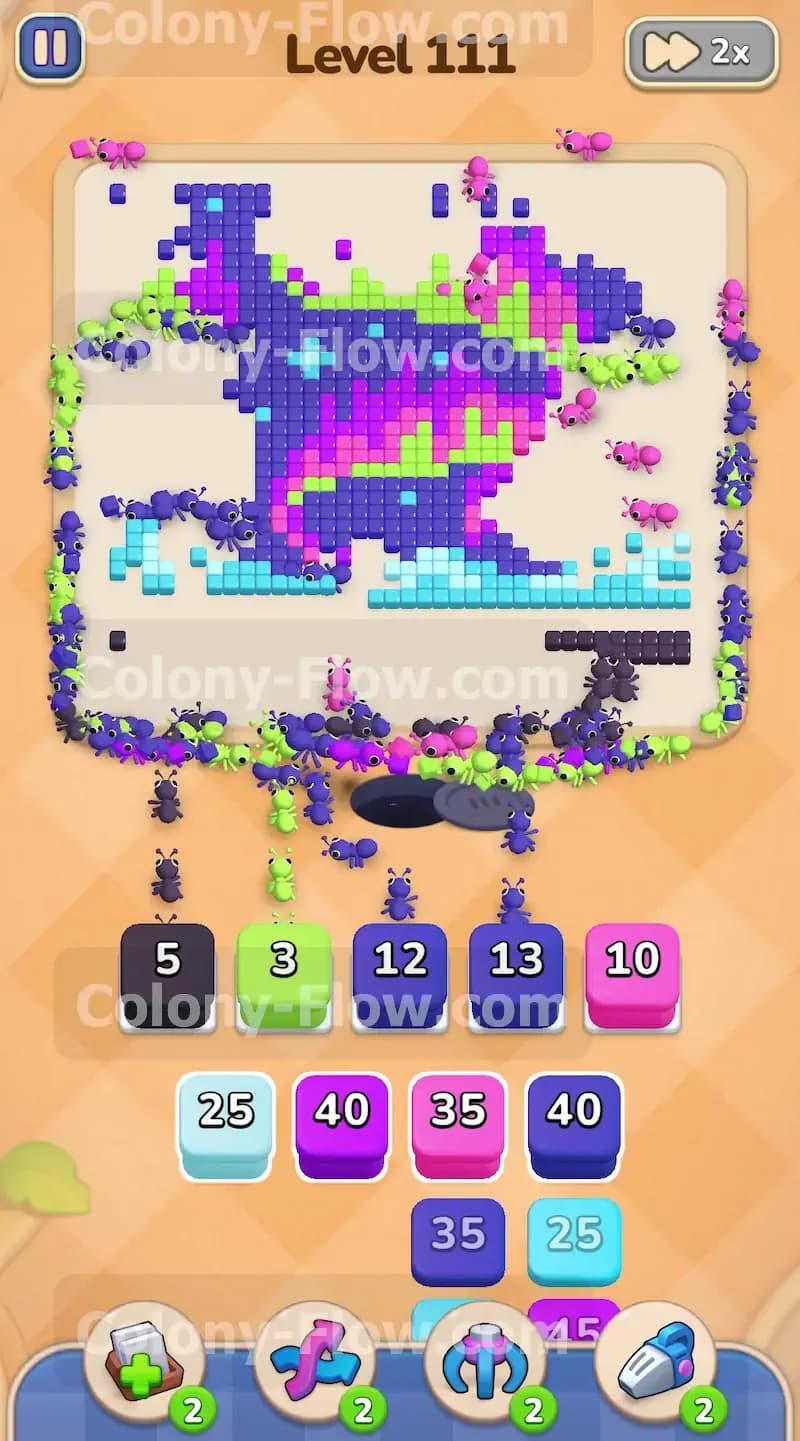
You have a large cluster of pink tiles left in the interior. Pull the pink blocks into your slots. The ants rush straight into the newly formed gaps. They surround the pink tiles from all sides. The travel distance is significantly shorter now because the ants just walk straight up the open middle. Your waiting slots will cycle much faster as a result. The numbers on the pink blocks drop rapidly. You then pull a light blue block to clear the remaining water fragments floating nearby. The ants easily switch targets and mop up the blue tiles. You must keep a close eye on the remaining tray numbers to ensure you only pull the exact colors exposed on the edges.
Step 6: Eliminate the final thick purple sections in the middle of the board.
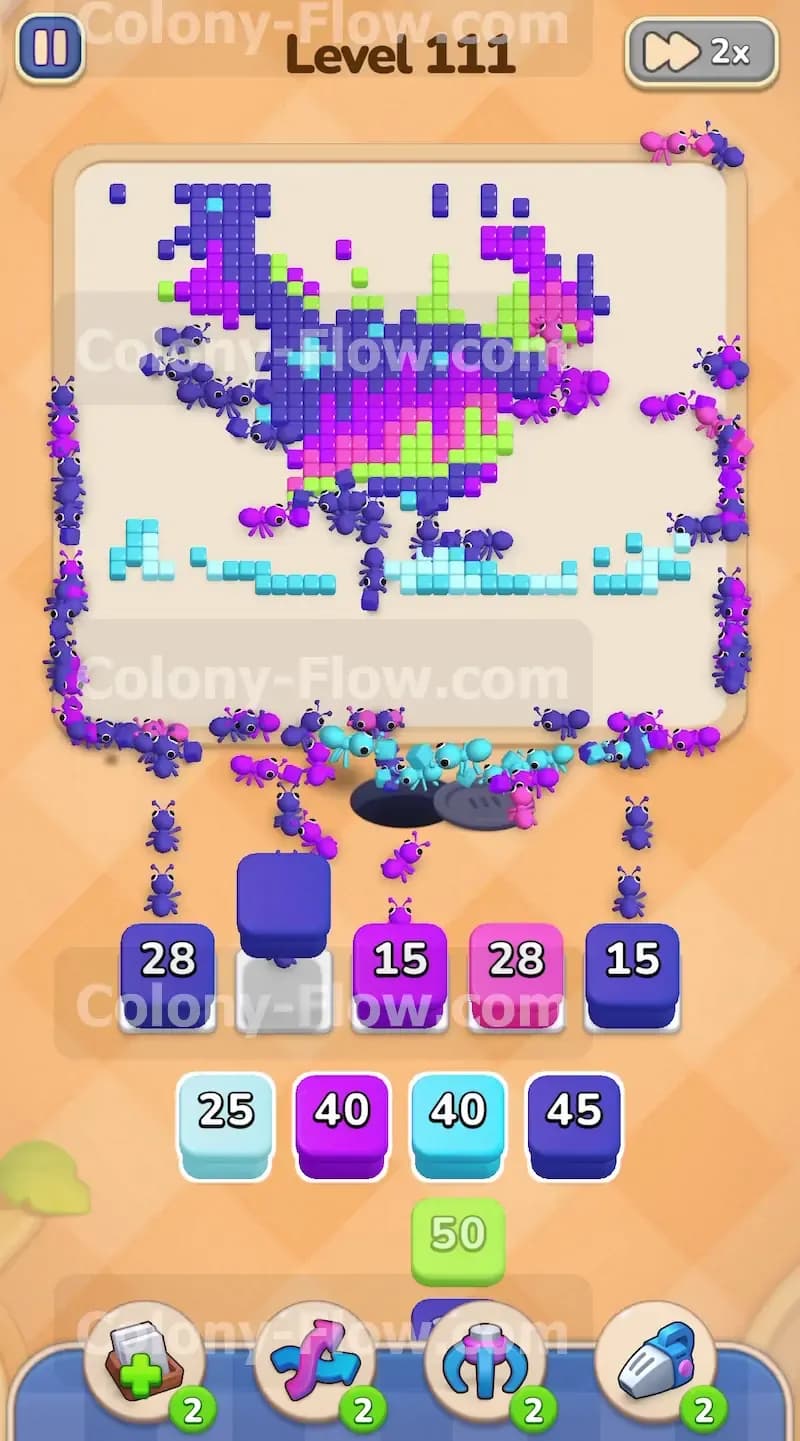
The board is severely depleted at this stage. You have massive blocks of purple night sky left but they are broken into very manageable pieces. You pull the highest numbered purple blocks from your tray. The ants attack from every single angle. They eat the top bottom left and right sides of the purple chunks simultaneously. The block numbers plummet to zero in record time because the access is entirely unrestricted. The board shrinks down to just a tiny core of mixed pixels. You have total control of the pacing now. The risk of a fatal tray jam is incredibly low because the ants have infinite open paths to reach their targets.
Step 7: Clean up the last scattered bits of light blue and green to finish the puzzle.
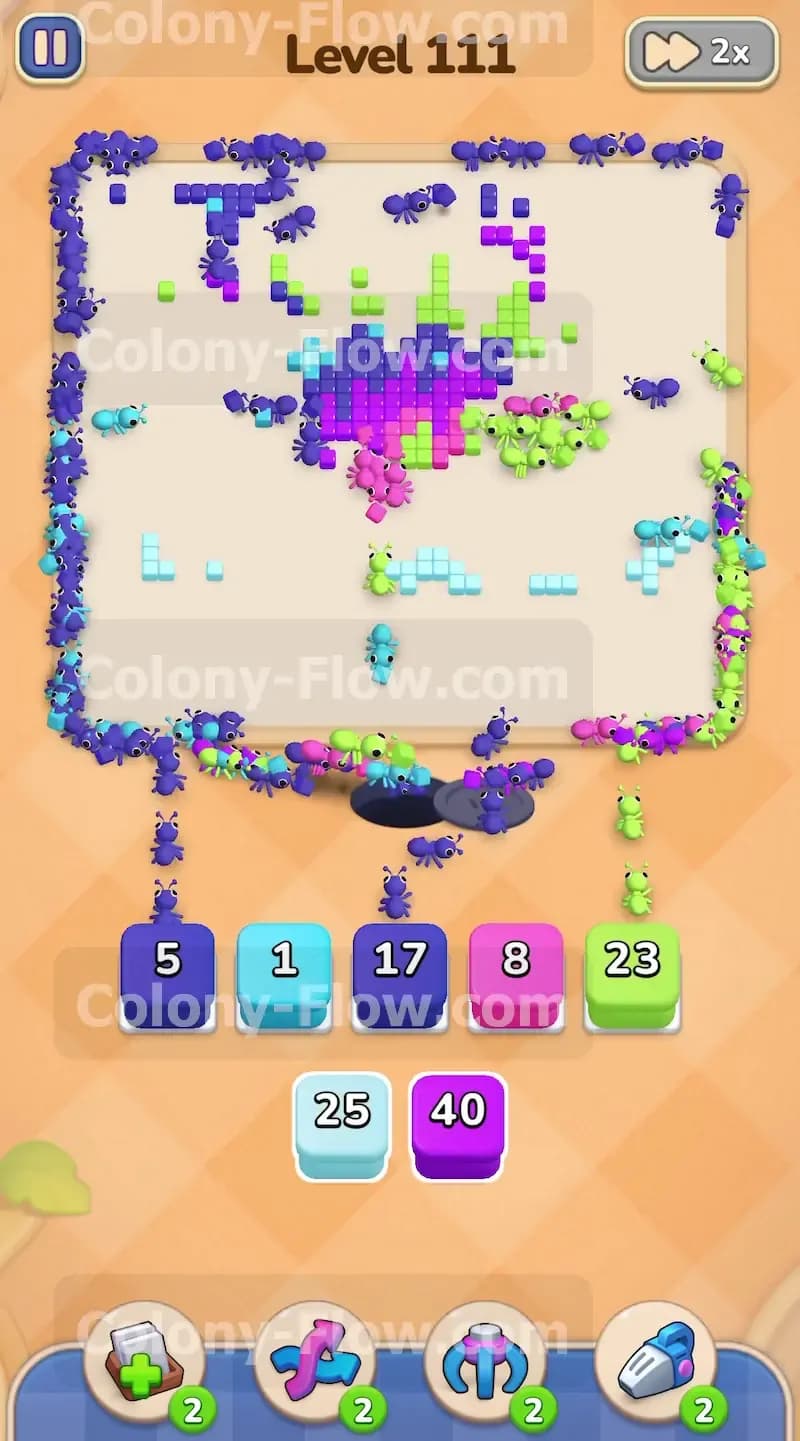
The final cleanup phase is incredibly satisfying. The entire picture is reduced to a few scattered light blue green and pink pixels floating in empty space. Your tray only has a few blocks left and they carry very low numbers. You pull the matching blocks one by one. The ants sprint out of the nest hole and grab the final pieces of food. The entire board is completely open so they take the shortest straight line directly to their targets. The last block empties from your waiting slot. The final ant returns to the nest hole. The board clears completely and you secure the victory.
Final Thought
That is exactly how you beat this level without filling up your waiting slots. The biggest challenge is pacing your block pulls so the ants always have a clear walking path to their targets. Take your time during the long walks to the top corners and you will easily conquer this board. If any of these steps are hard to picture simply check out the video above this article to watch the exact moves in action.