Colony Flow Level 416 Walkthrough Solution & Guides | How to solve Colony Flow 416

Guide By Liam Stone
Updated on July 29, 2026
Some readers just want to watch. The video above covers Level 416 from start to finish.
Video doesn't match your screen?
Game updates frequently scramble layouts! Try our AI Screenshot Solver first to find your exact board instantly, or report broken guides to our team.
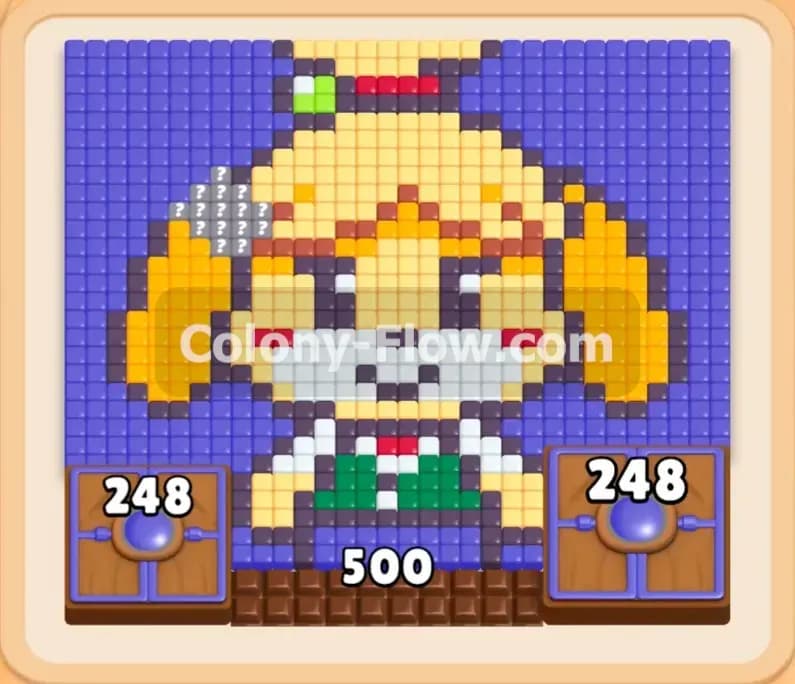
Colony Flow Level 416 presents a massive pixel art character portrait that demands careful planning to complete. You start with a board largely blocked off at the bottom, forcing you to attack the puzzle from the outer edges and work your way inward. This puzzle tests your ability to manage the tray and keep your ants moving without interruption.
Colony Flow Level 416 Overview
What You Are Working With
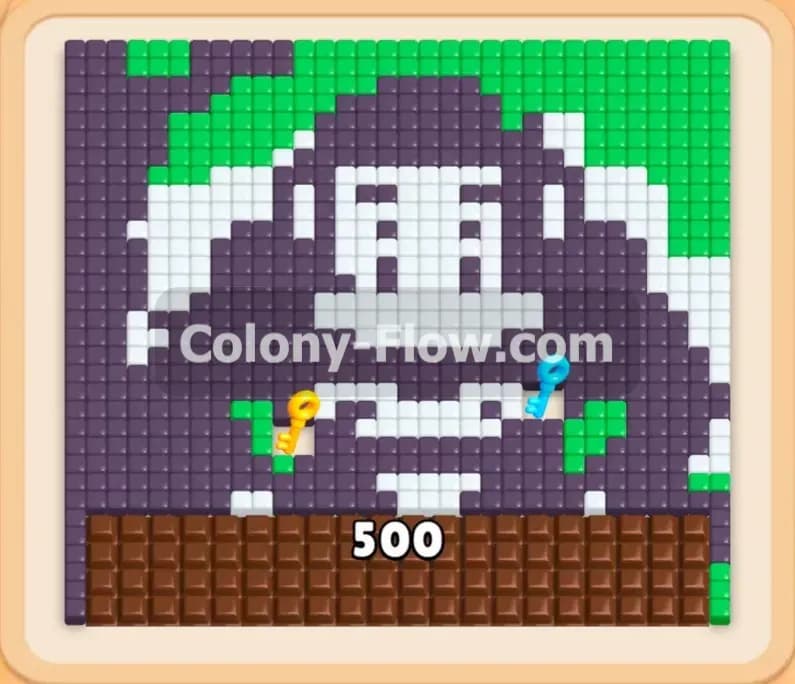
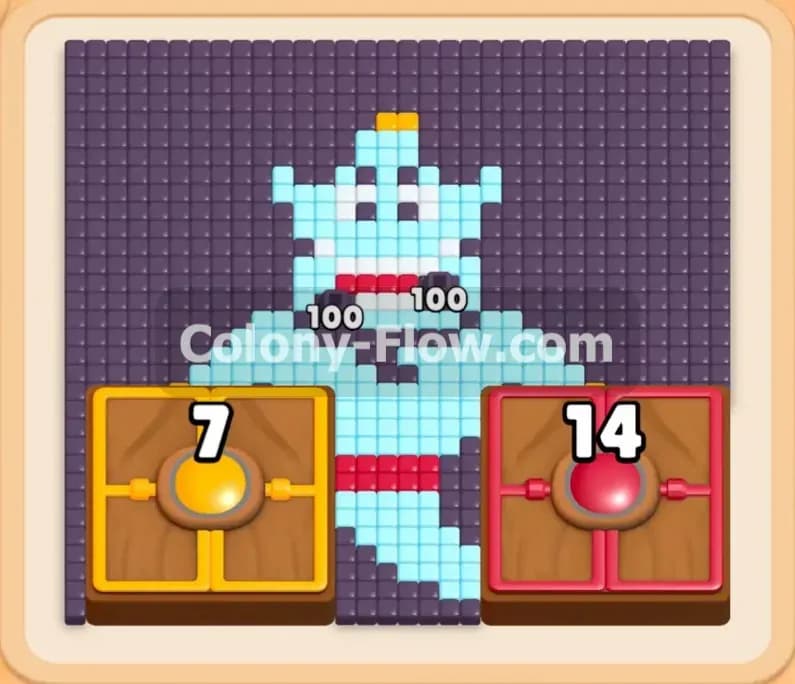
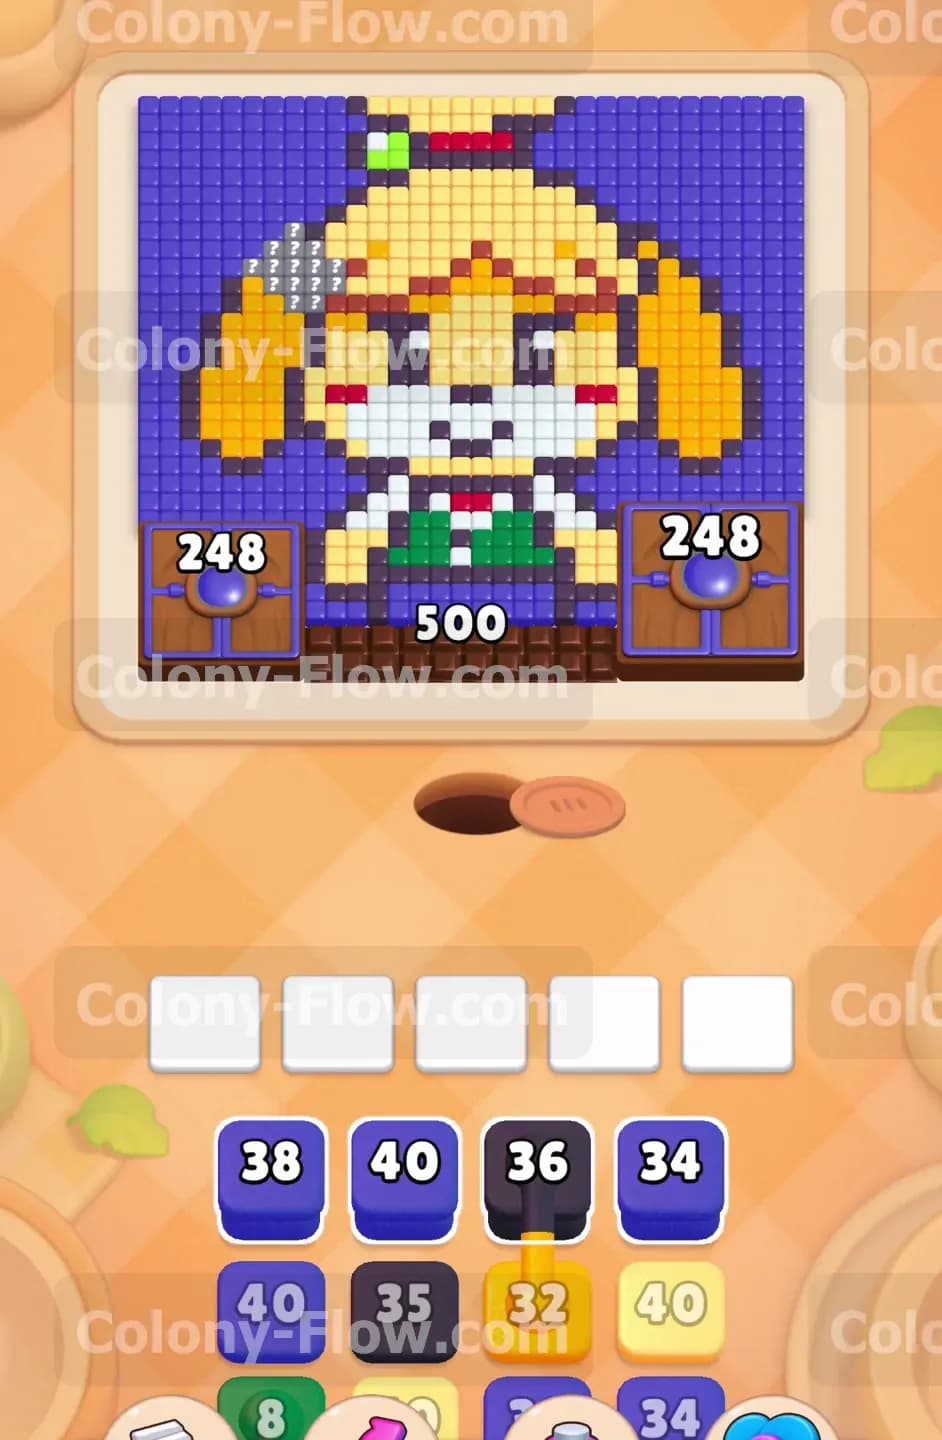
The board features a large portrait of a yellow dog character with a white snout, yellow ears, and a green and red outfit. This character sits against a vast blue background. At the very bottom of the picture, three enormous brown crates completely block access to the lower half of the character. These crates display massive numbers on them. The left crate shows 248, the middle crate shows 500, and the right crate shows 248. These numbers will gradually count down as you clear other parts of the picture.
Down in your tray, you have a wide variety of colored blocks ready to go. You will see large blue blocks, purple blocks, black blocks, and yellow blocks. You will also notice Connected Boxes in the tray. Specifically, there is a green eight block linked directly to a green three block. You must pull these Connected Boxes as a single group when the time comes to use them. Everything you do revolves around the five empty waiting slots above the tray. You must never fill all five slots with blocks that have no open path to the board.
What It Takes to Clear Level 416 Board
To win this level, you must systematically dismantle the picture from the outside in while keeping your five waiting slots free of jams. The three massive crates at the bottom prevent any direct assault on the green and red outfit. You must send your ants up and around the sides to eat the blue background and the yellow ears first.
As your ants consume the outer tiles, you will notice the large numbers on those bottom crates dropping rapidly. Clearing the board reduces those numbers until the crates finally break and vanish. Once those crates disappear, the bottom of the board opens up, and you can finally send ants to clear the outfit and the lower face. You just need to pull the right colors at the right time so your ants always have an open path to their target.
Colony Flow Level 416 Step by Step Solution
Step 1: Start with the blue blocks to clear the outer background edges.
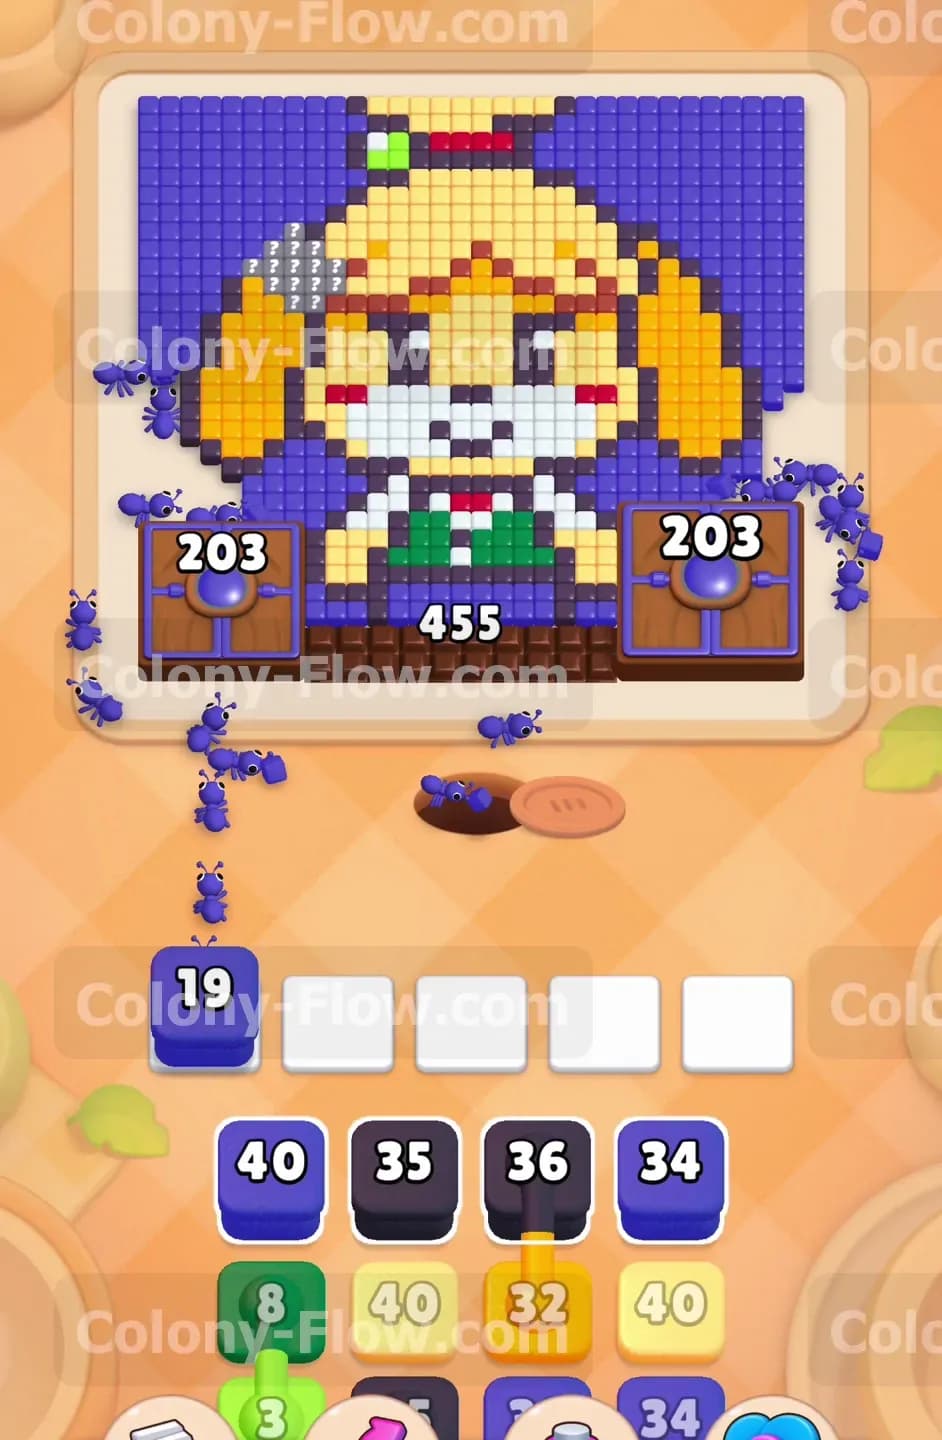
Begin by pulling the blue block with the number 38 into your waiting slot. A swarm of blue ants will immediately pour out of the nest hole and stream up the far left and right sides of the board. They will begin eating the blue background tiles surrounding the character. As they consume these blue tiles, you will see the numbers on the massive bottom crates start to decrease. The 248 crates will drop into the lower 200s, and the 500 crate will drop down to 455. Pulling this blue block first is the safest opening move because the blue tiles are completely exposed on the outside edges. This guarantees the blue ants will not get stuck, keeping your five tray slots perfectly safe.
Step 2: Deploy the purple ants to peel back the inner background layers.
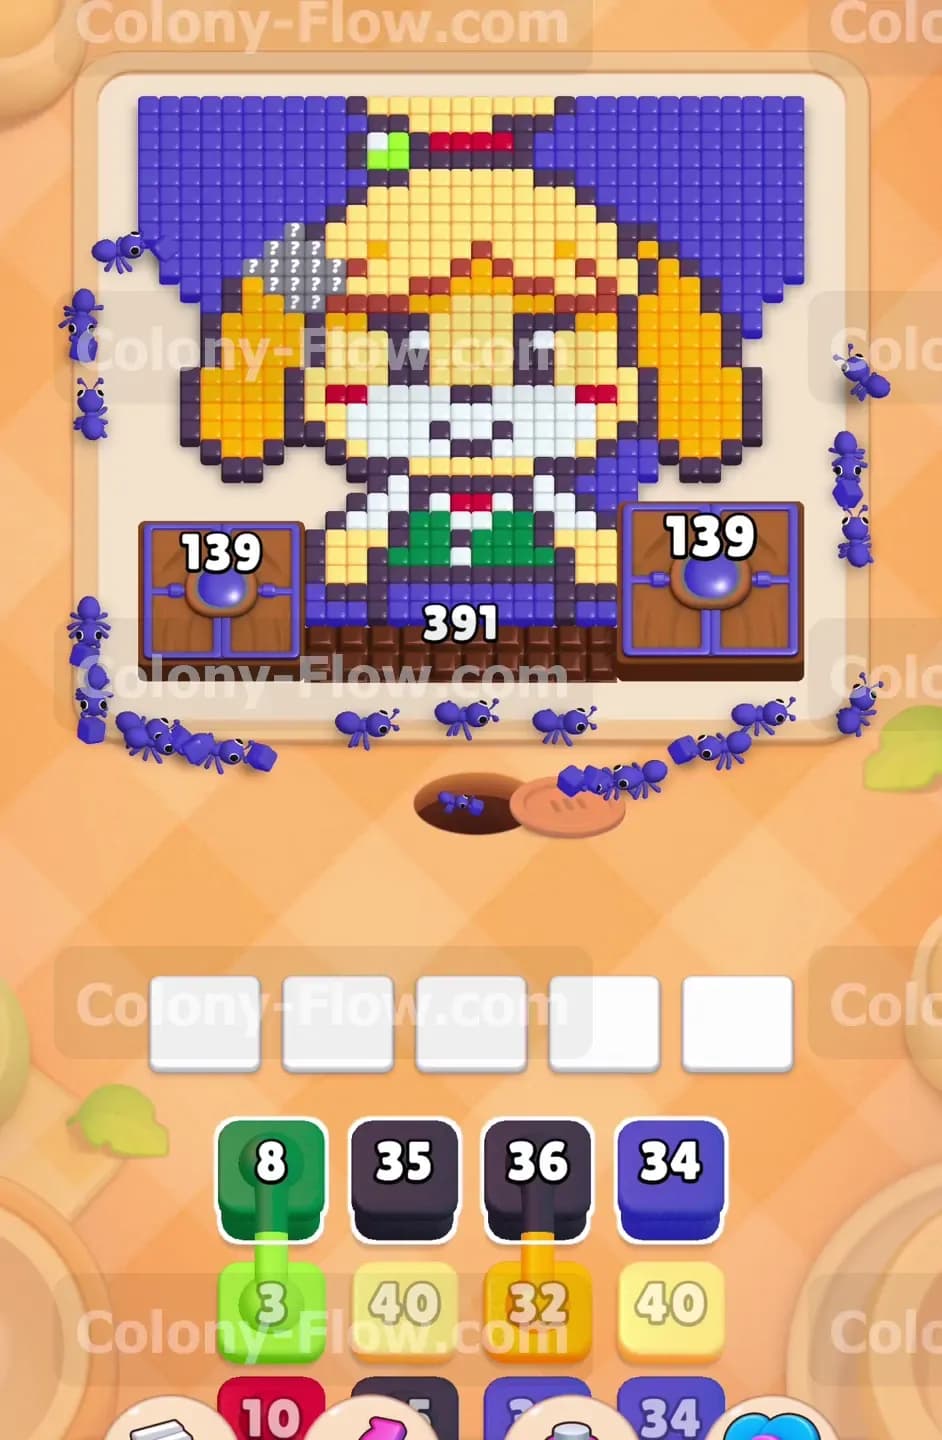
Once the first blue block is nearly finished, pull the purple block with the number 40 into a waiting slot. The purple ants will follow the paths just opened by the blue ants and attack the dark purple shading around the character. The numbers on your bottom crates will continue to plummet as the purple background vanishes. The outside crates will drop down to 139, and the middle crate will fall to 391. By waiting for the blue ants to clear the outermost layer before sending the purple ants, you ensure a wide open highway for the new swarm. Your waiting slots remain clear and ready for the next color.
Step 3: Send yellow ants to consume the large yellow ears on both sides.
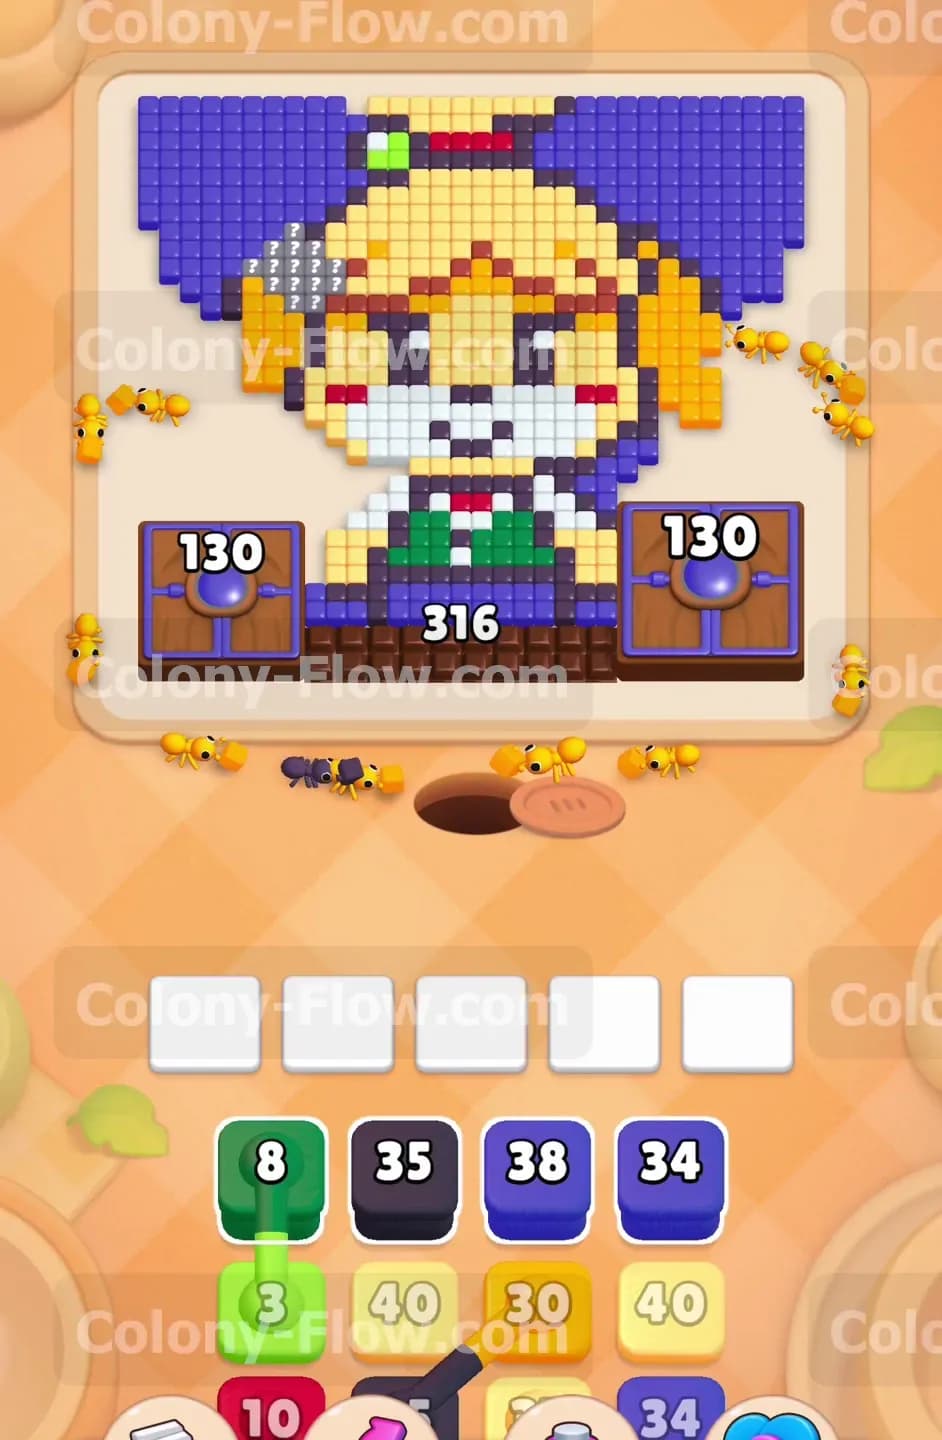
Now that the upper sides of the picture are completely exposed, pull the yellow block with the number 32 into your tray. The yellow ants will rush up the left and right sides to attack the large yellow ears of the dog character. This action clears a huge amount of space on the board. The numbers on the bottom crates will drop even further, hitting 130 on the sides and 316 in the middle. The yellow ears offer a massive target with plenty of surface area. This means the yellow ants will process their numbers very quickly and empty out of your waiting slot in record time.
Step 4: Use white and black blocks to start clearing the facial features.
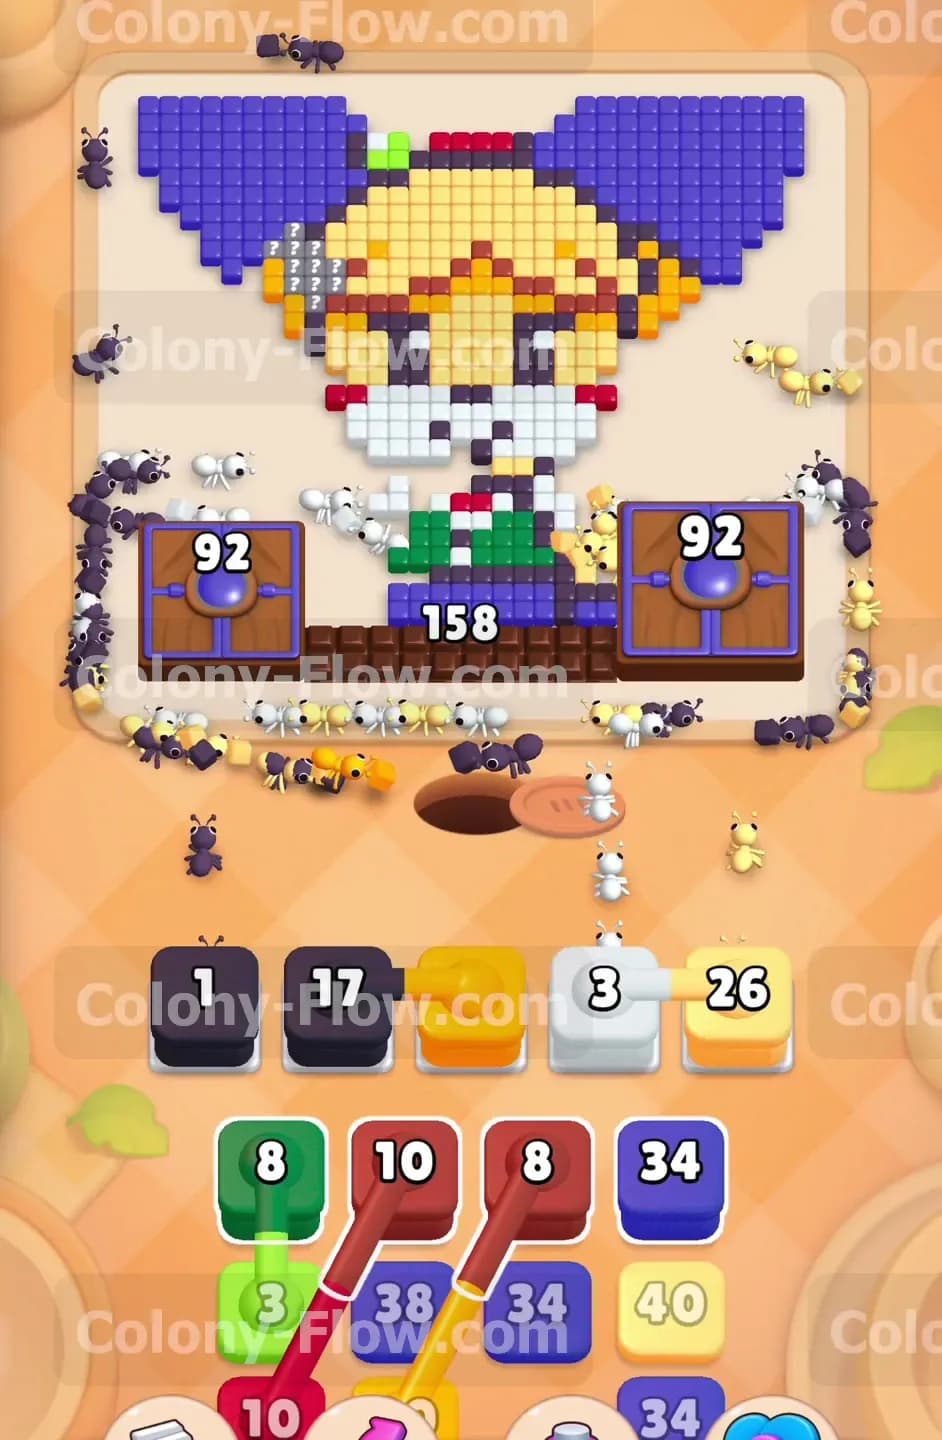
With the ears gone and the background shrinking, you can now target the face. Pull a white block and a black block into your waiting slots. The white ants will march straight to the white cheeks and snout of the character. The black ants will target the dark eyes and nose pixels. Managing your tray is critical right now. Only pull one or two blocks at a time so you do not accidentally overwhelm the open paths. As the face disappears, the bottom crates take massive damage. They will drop down into the double digits, setting you up for the final breakthrough.
Step 5: Pull the connected green boxes to open the lower outfit.
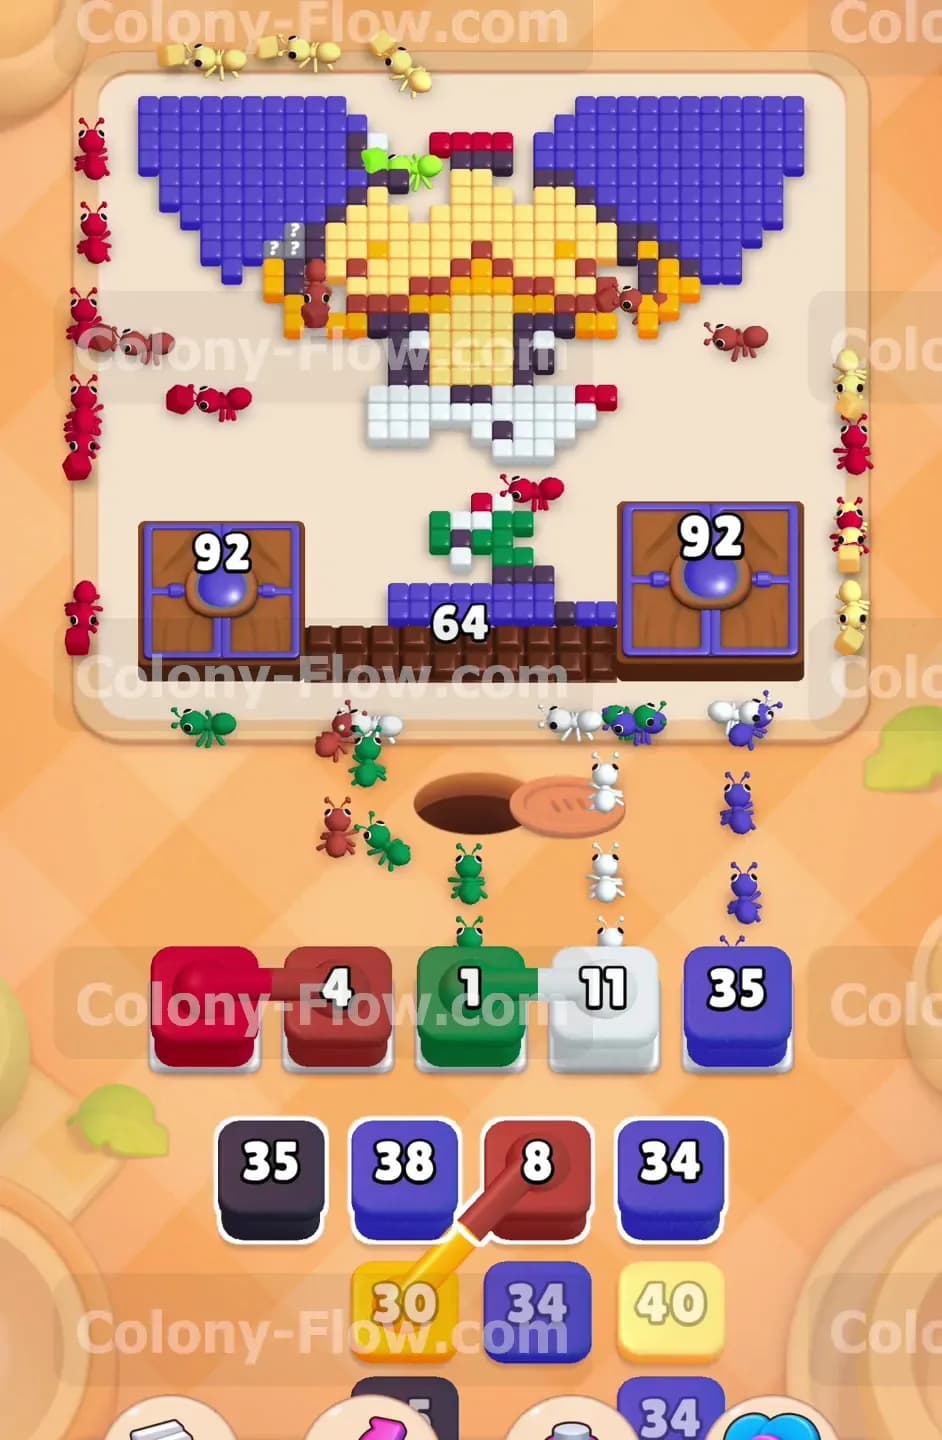
Look at your tray and locate the Connected Boxes. You will see a green block linked to another green block. Pull this connected group into your waiting slots. The green ants will flood out and attack the green shirt tiles that are finally accessible near the bottom. Consuming these green tiles causes the last remaining health on the middle crate to vanish entirely. The 500 crate breaks apart and disappears from the board. This completely opens up the lower center of the puzzle. You now have direct paths to every remaining section of the character.
Step 6: Clear the red collar and bowtie to break the final barriers.
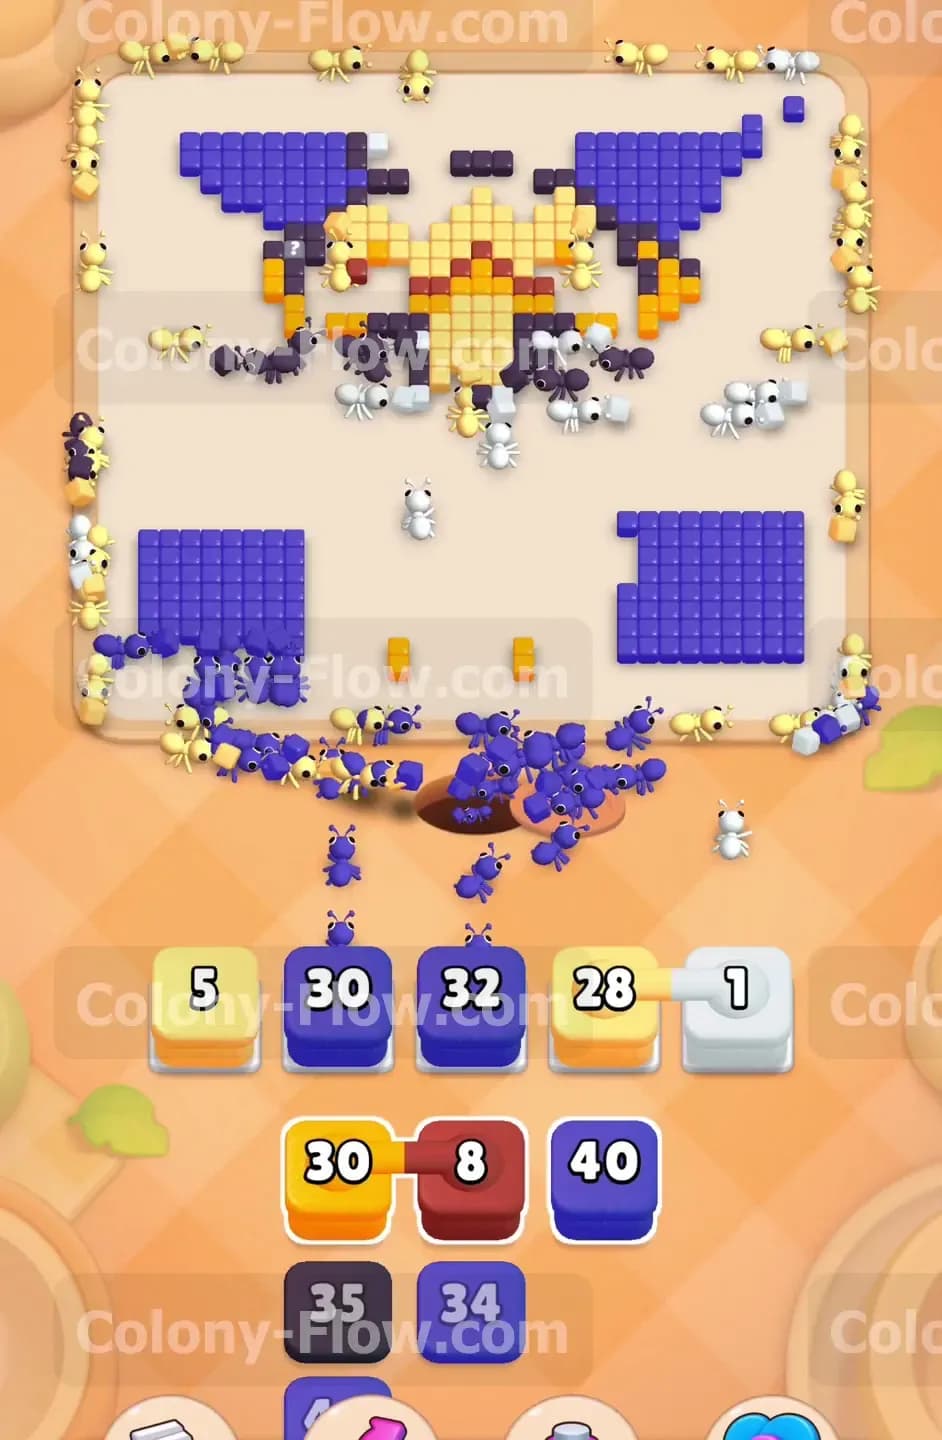
Pull the red block with the number 10 into your waiting slot. The red ants will head straight for the red bowtie and the red sections of the collar. Because the middle crate is gone, the red ants have immediate access to these tiles. Once the red tiles are cleared, the final side crates will hit zero and vanish from the board. The bottom of the picture is now entirely free of obstacles. Your ants can now freely roam across the entire bottom half of the screen without taking long detours around the edges.
Step 7: Clean up the remaining blue background and yellow forehead.
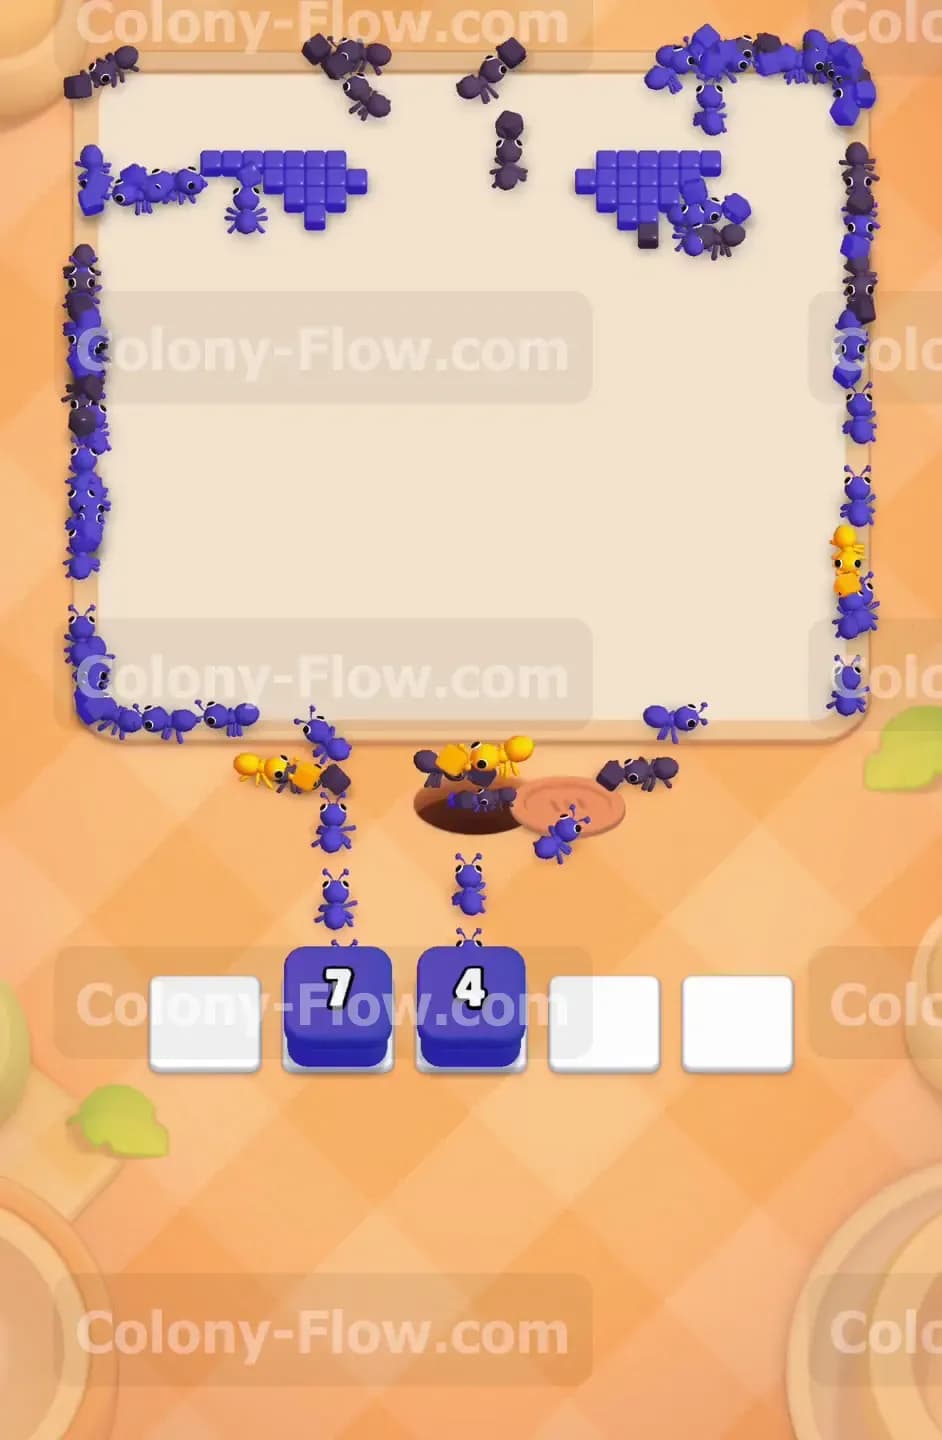
You are now in the final stretch. Pull the remaining large blue blocks and yellow blocks from your tray. The blue ants will swarm the top corners and eat the last isolated chunks of the blue background. The yellow ants will sweep across the forehead and clear the top of the head. Since all the bottom barriers are completely gone, the ants will fan out quickly and process these tiles with ease. Keep pulling the blocks one by one as space allows.
Step 8: Empty the tray to finish the last remaining pixels.
Only a few small numbered blocks remain in your tray at this point. Pull the final blue blocks, which have numbers like seven and four, into your waiting slots. The ants will run up and grab the very last background pixels hovering near the edges of the board. Because you managed your paths so carefully from the start, you never once came close to filling all five waiting slots with jammed colors. The final ants return to the nest, the board becomes completely blank, and you win the level.
Final Thought
Level 416 looks intimidating because of those massive numbered crates blocking the bottom of the board. The secret is simply having patience and working the outside edges until those barriers break on their own. If you have trouble visualizing how the ants route around the crates or how the Connected Boxes work in the tray, watch the video above this article. Seeing the sequence in motion will help you clear the board on your very next attempt.