Colony Flow Level 115 Walkthrough Solution & Guides | How to solve Colony Flow 115

Guide By Liam Stone
Updated on July 16, 2026
Watching beats reading for some players. The video above has the entire Level 115 walkthrough ready to go.
Video doesn't match your screen?
Game updates frequently scramble layouts! Try our AI Screenshot Solver first to find your exact board instantly, or report broken guides to our team.
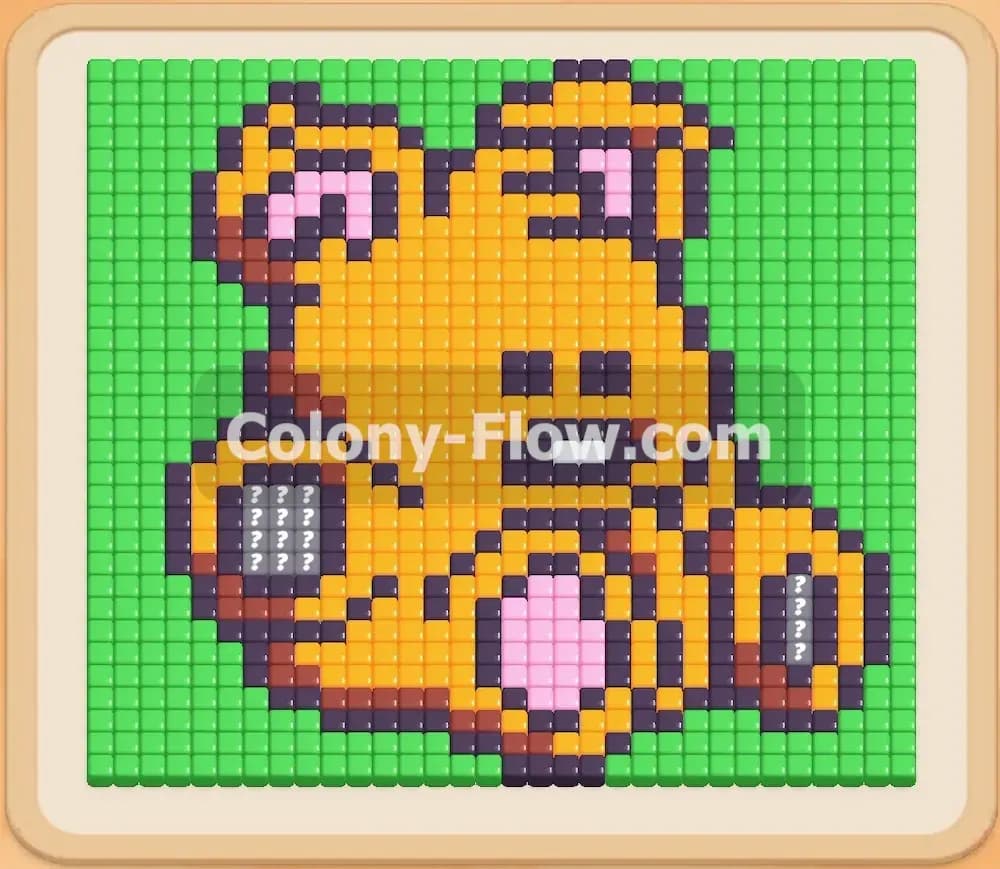
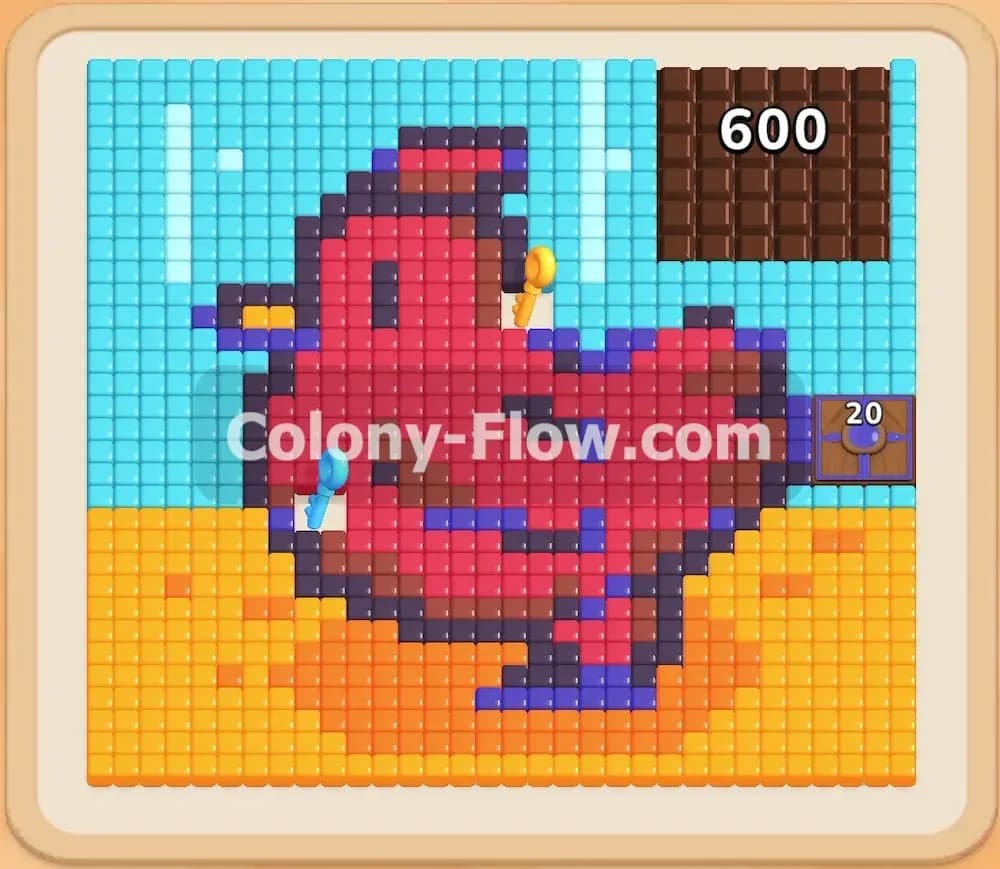
Colony Flow Level 115 drops you into a massive pixel art puzzle featuring a giant red bird standing in a bright open landscape. This stage introduces a brutal combination of mechanics that will test your ability to manage board space while grinding down a massive obstacle. You must carefully sequence your color pulls to keep the colony moving and prevent your waiting slots from backing up.
Colony Flow Level 115 Overview
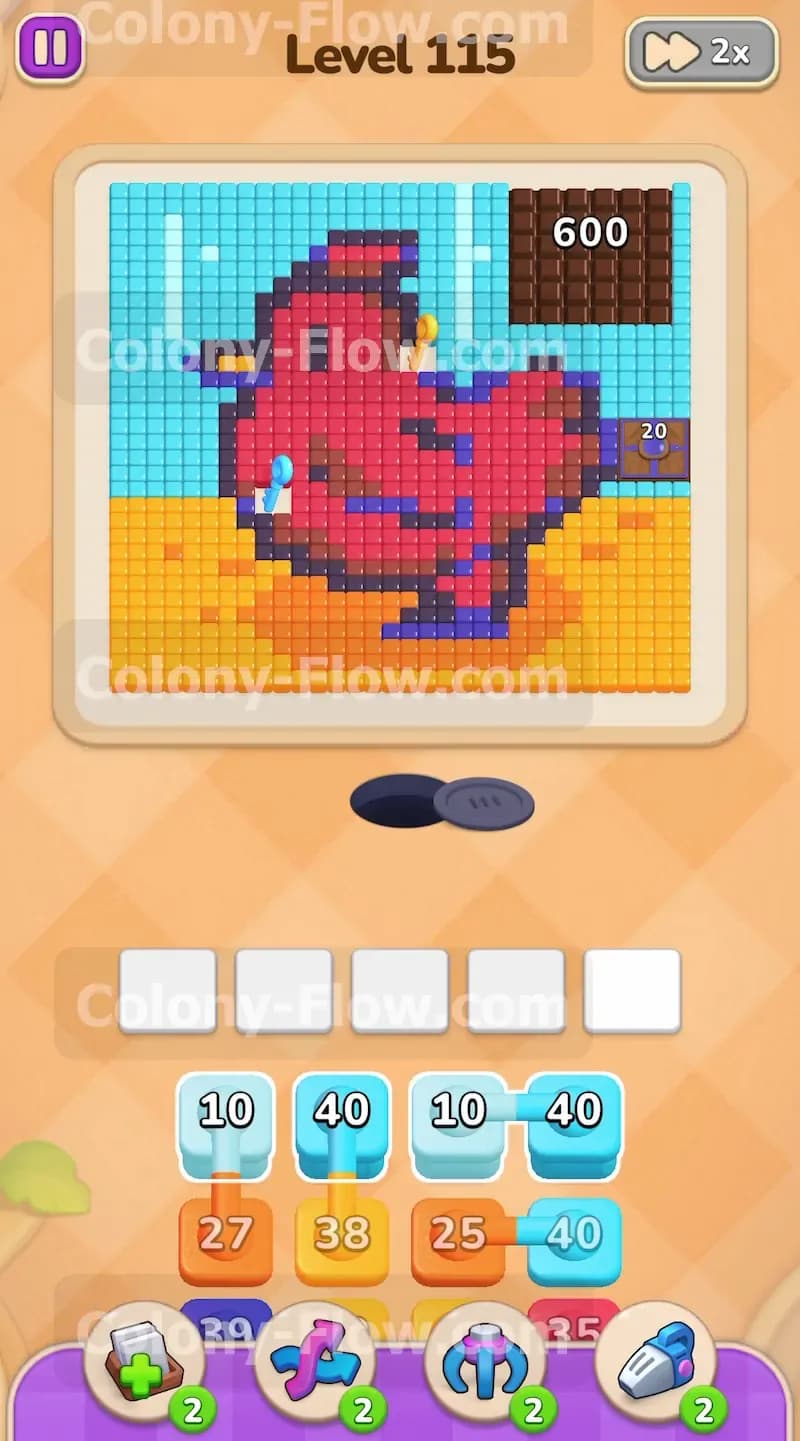
What You Are Working With
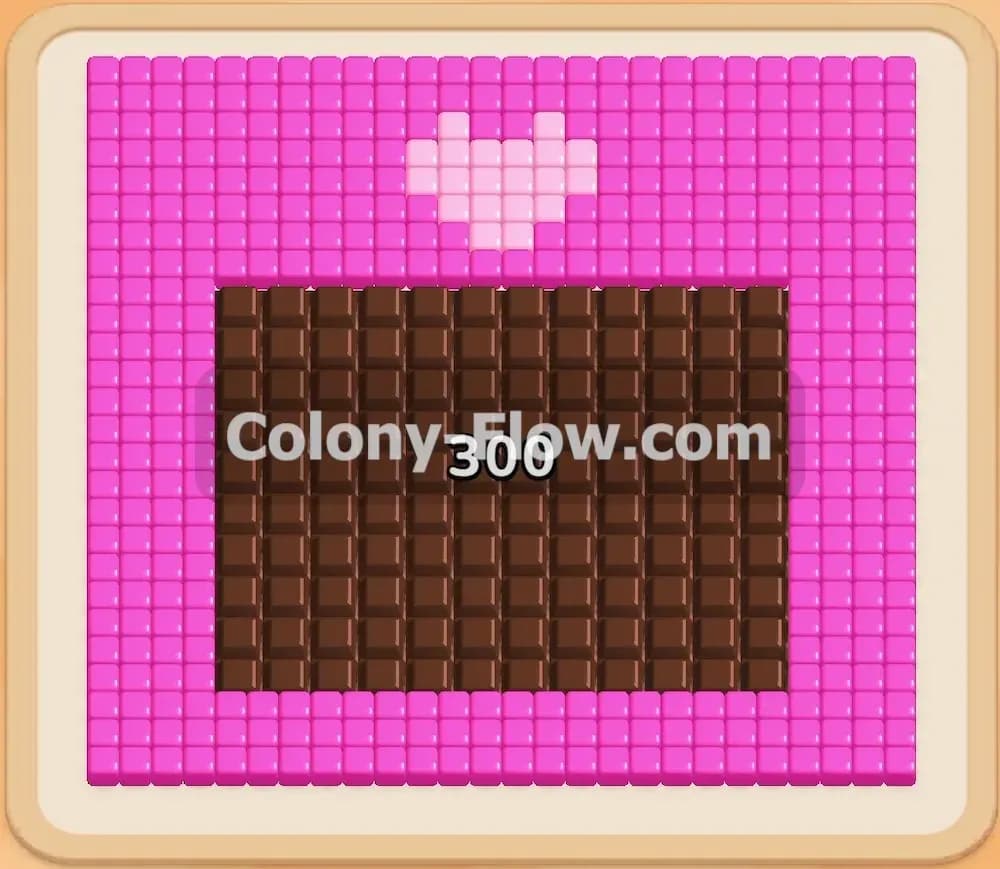
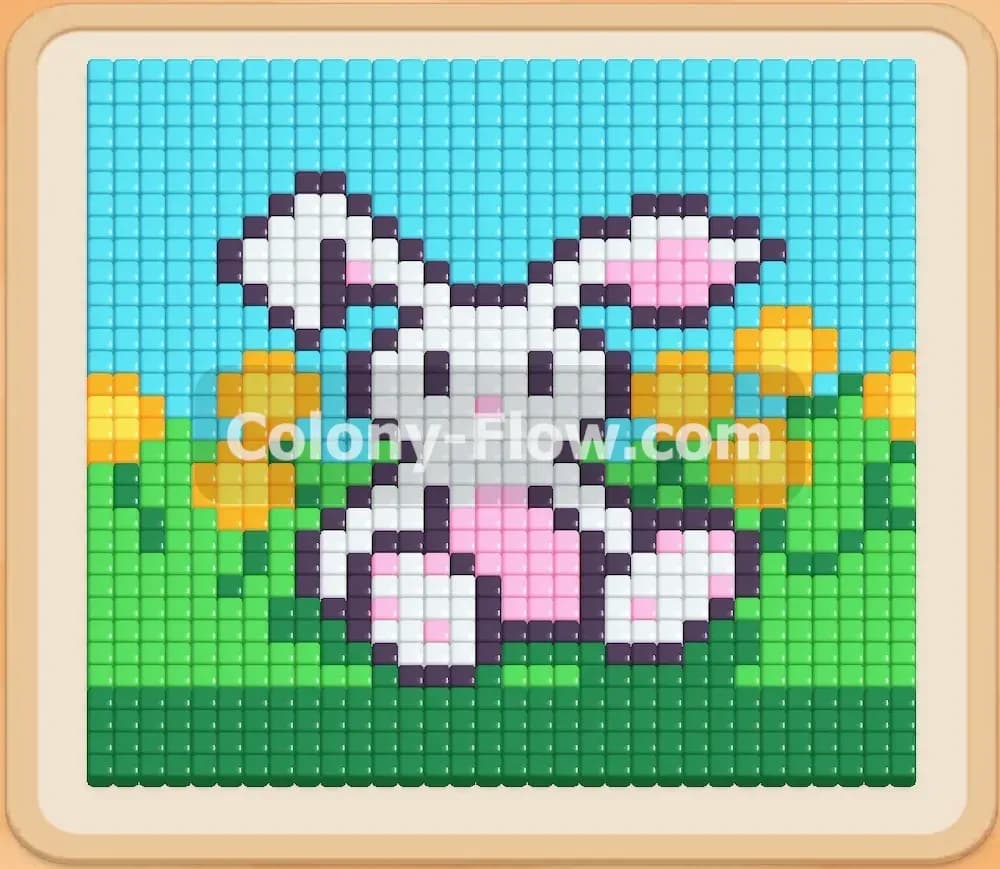
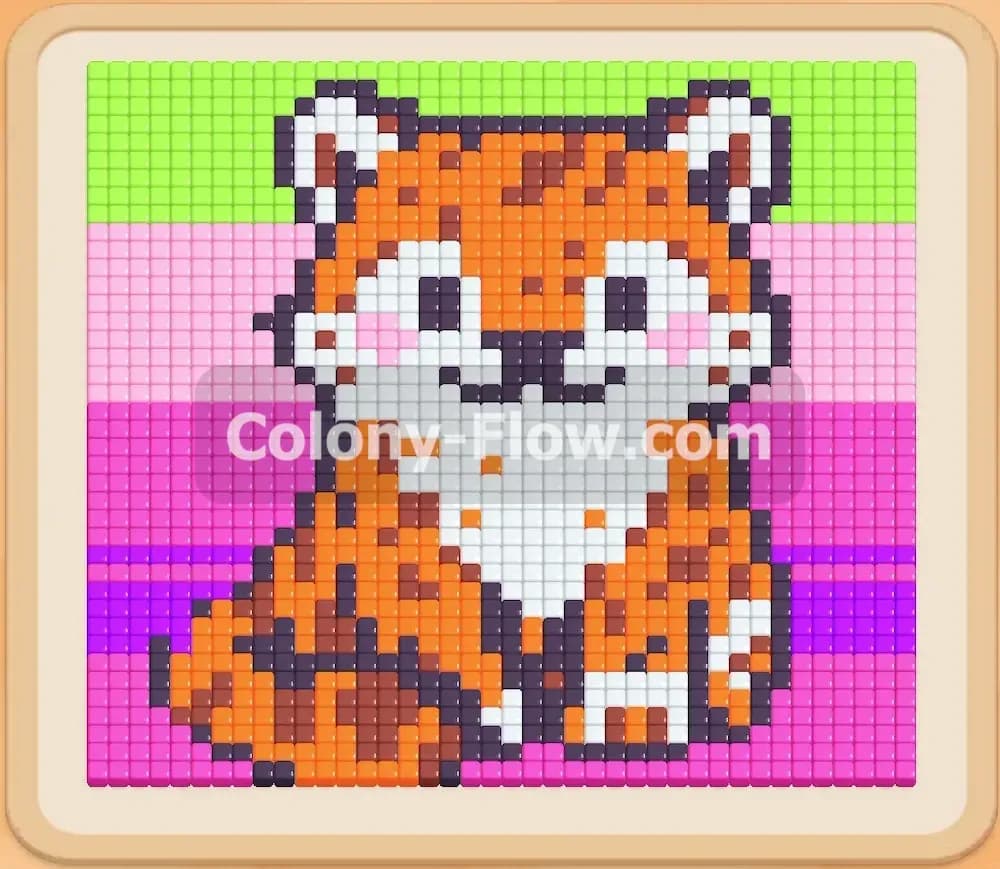
The canvas features a large red bird complete with a black outline yellow beak yellow feet and brown accents scattered across the feathers. The bird stands on a bright orange ground set against a light blue sky. Your biggest threat is a massive chocolate block sitting in the top right corner. This chocolate shield displays the number 600 and totally covers the sky tiles underneath it. The chocolate blocks your progress until your ants can hit it 600 times to break it apart. On the right edge of the board you will find a hungry door with a requirement of 20. Three keys are scattered directly on the bird and you need them to progress. Your tray holds light blue orange purple brown red black and yellow blocks. Many of the early blocks are connected together so pulling one pulls another simultaneously. The black and yellow blocks sit locked behind padlocks at the bottom of the tray.
What It Takes to Clear Level 115 Board
To win this level you must clear every single tile on the board without letting your five waiting slots fill up completely. When you pull a block from the tray it sits in a slot and releases ants. If those ants have no open path to a matching tile the block gets stuck. You lose the level instantly if all five slots jam with stuck blocks. Beating this board means you must constantly feed ants toward the 600 health chocolate block to wear it down. You also need to satisfy the hungry door to open the right side of the picture. Finally you must collect all three keys to unlock the padlocks securing the final black and yellow blocks. Every move must guarantee a clear path to prevent a jam.
Colony Flow Level 115 Step by Step Solution
Step 1: Pull the connected light blue and orange blocks to clear the outer background.
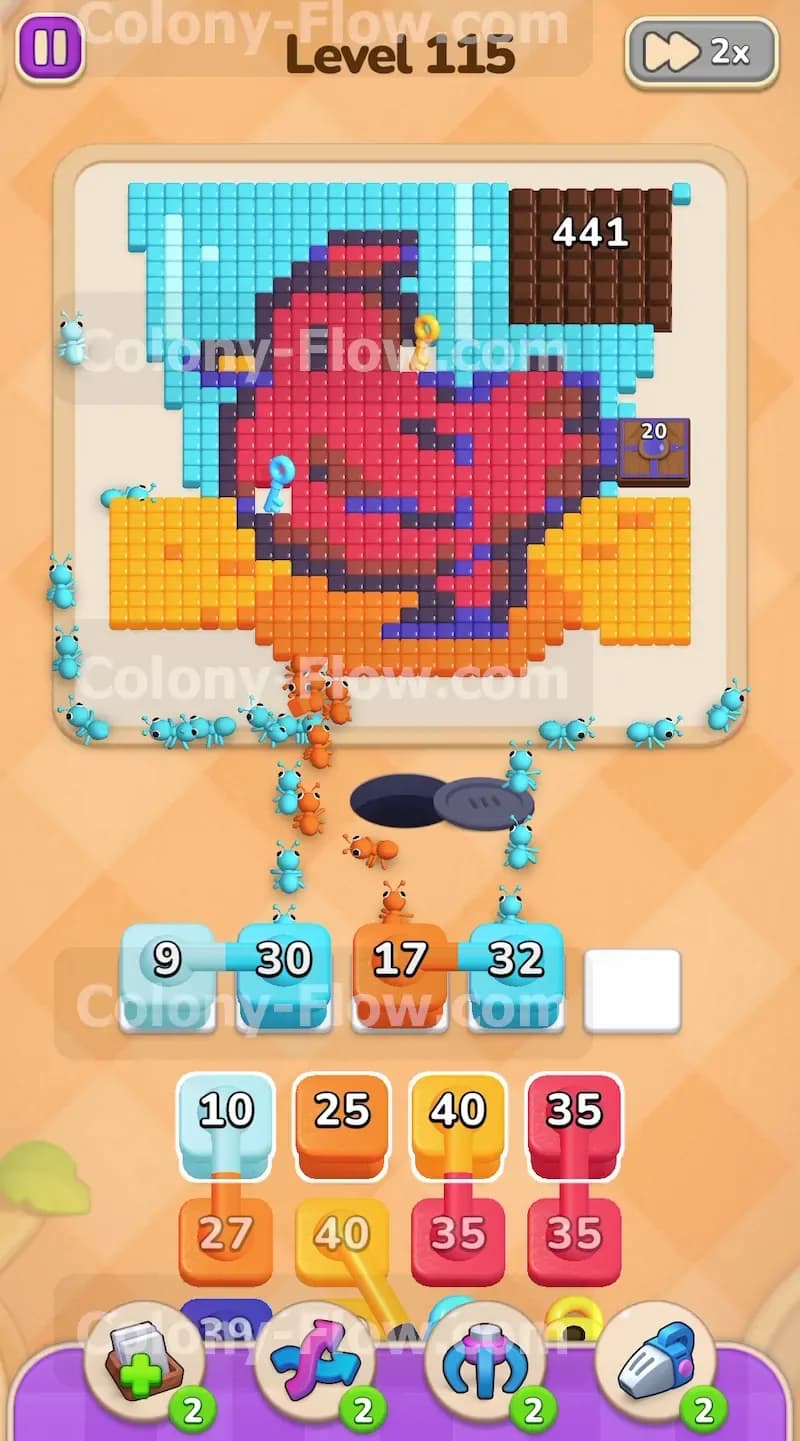
Your very first moves must target the fully exposed outer areas of the picture. The light blue sky and the orange ground offer wide open paths for your ants. Look at your tray and find the connected light blue blocks. Pull the light blue block with 10 that connects to the light blue block with 40. Then pull the next connected pair of light blue blocks. Next grab the connected orange blocks showing 27 and 38. Placing these blocks in your waiting slots sends a huge swarm of light blue ants to the top of the board and orange ants to the bottom. The light blue ants will eat away the sky tiles and begin chipping away at the massive chocolate block. Watching that huge number tick down from 600 is satisfying but you have a long way to go. The orange ants will quickly clear a large chunk of the ground. This opening move establishes a strong flow of ants and ensures your waiting slots remain active without jamming.
Step 2: Send a second wave of light blue and orange ants to weaken the chocolate.
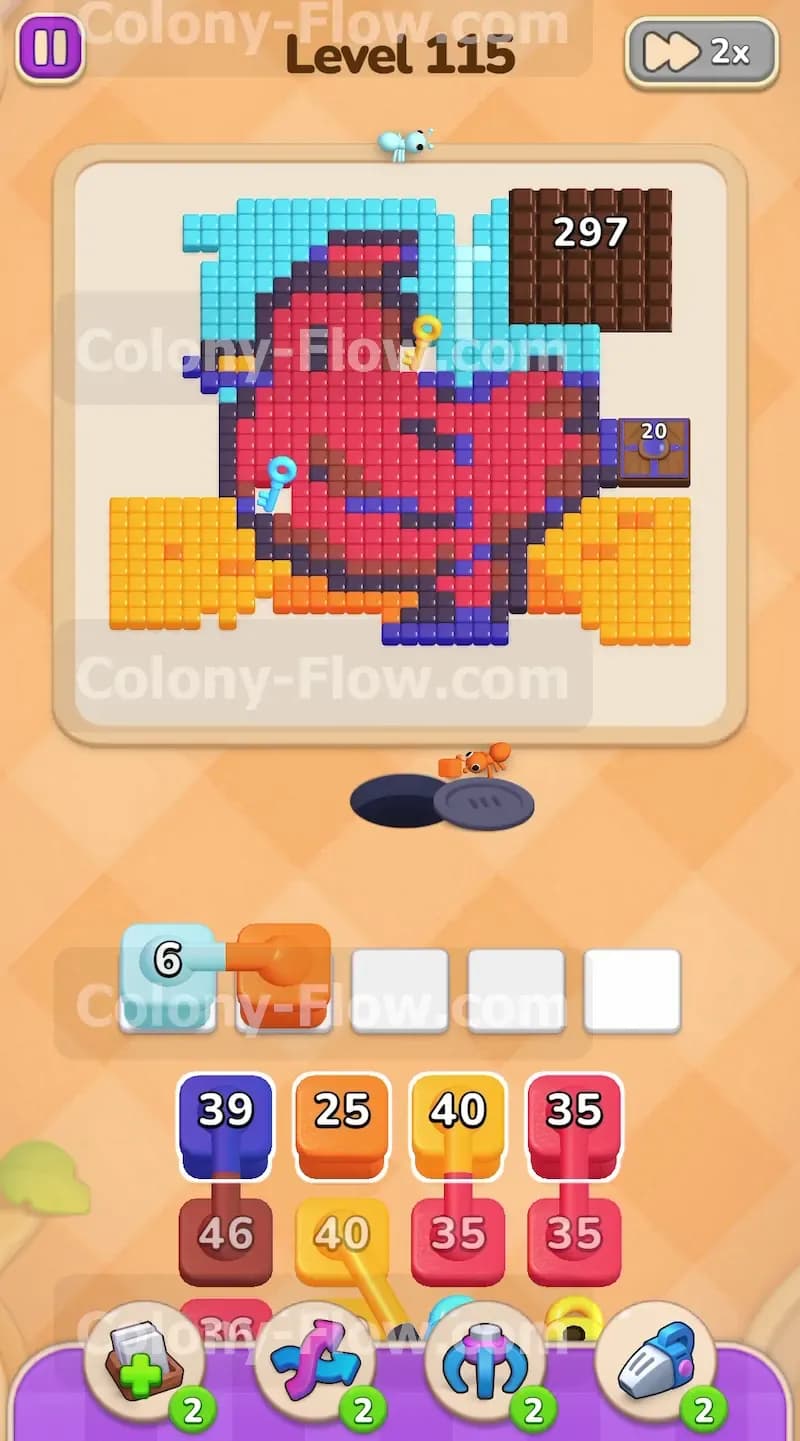
The chocolate block requires 600 hits to break apart completely. You cannot afford to ignore it for long. As your first set of light blue blocks counts down and frees up space in your waiting slots pull the next connected pair from the tray. This pair links an orange block with 25 to a light blue block with 40. Pulling this pair sends a fresh wave of light blue ants to continue the assault on the sky and the chocolate shield. You will watch the chocolate health drop steadily from the 400s as the ants relentlessly hit its edges. At the same time the new orange ants will chew through more of the ground. This continuous clearing of the bottom right area matters because it slowly uncovers the path leading directly to the hungry door waiting on the right side of the screen. You must maintain this rhythm to keep your slots rotating.
Step 3: Feed the purple hungry door and start dismantling the red bird.
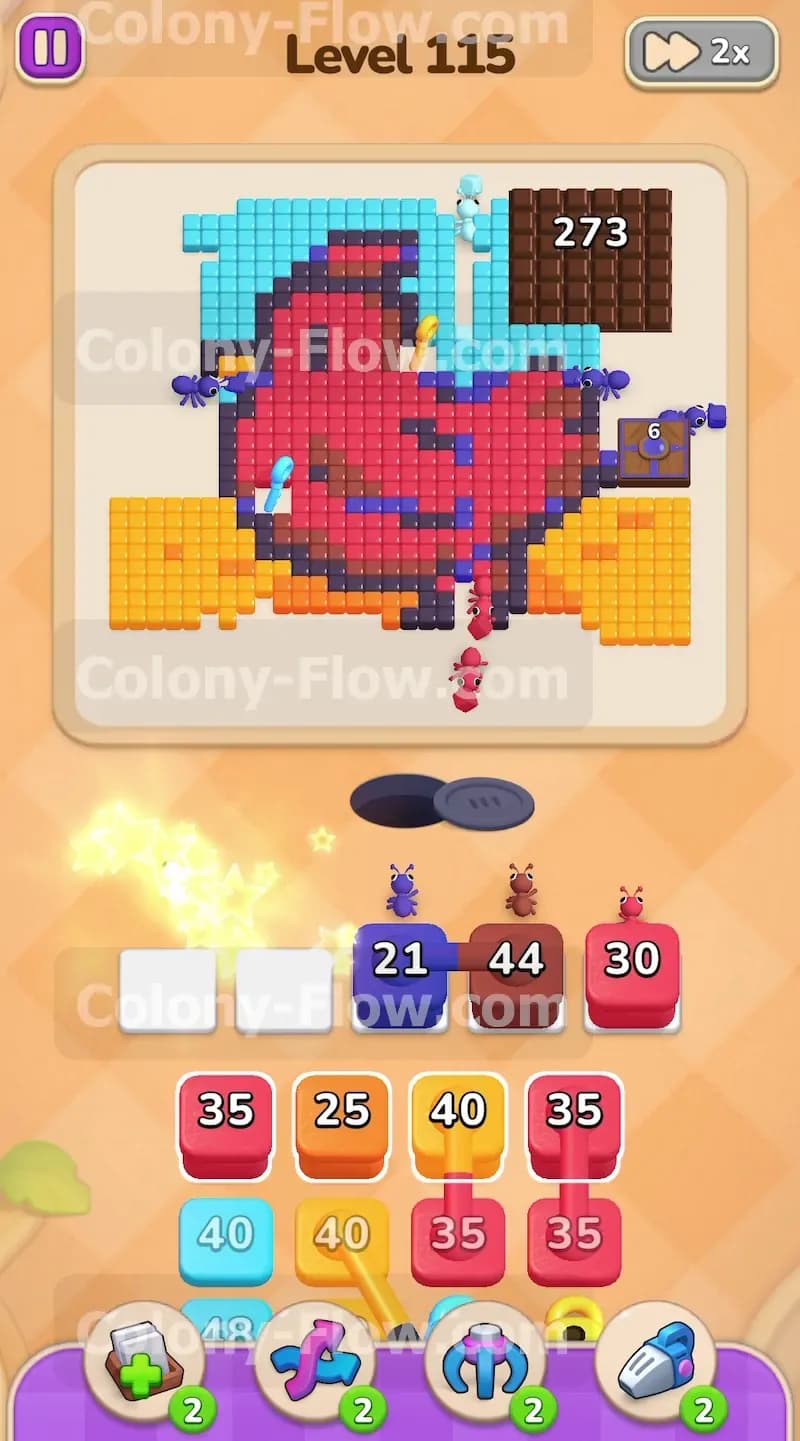
Once the orange ants clear the right side of the ground the purple hungry door becomes fully exposed. This door blocks access to the tiles behind it and demands 20 hits to disappear. Look at your tray and pull the purple block showing 39. The purple ants will march directly to the hungry door and easily overwhelm its requirement. The door will vanish in a puff and any remaining purple ants will hunt down the few purple accent tiles on the bird. Now that the background is mostly gone the main red body of the bird is open for attack. Pull the brown block with 46 and the red block with 35. The red ants will flood the board and begin dismantling the large red body section by section. The brown ants will target the dark brown details scattered across the feathers and the outline. Because these colors are completely exposed your waiting slots are safe from jamming.
Step 4: Route your red and brown ants to collect the three scattered keys.
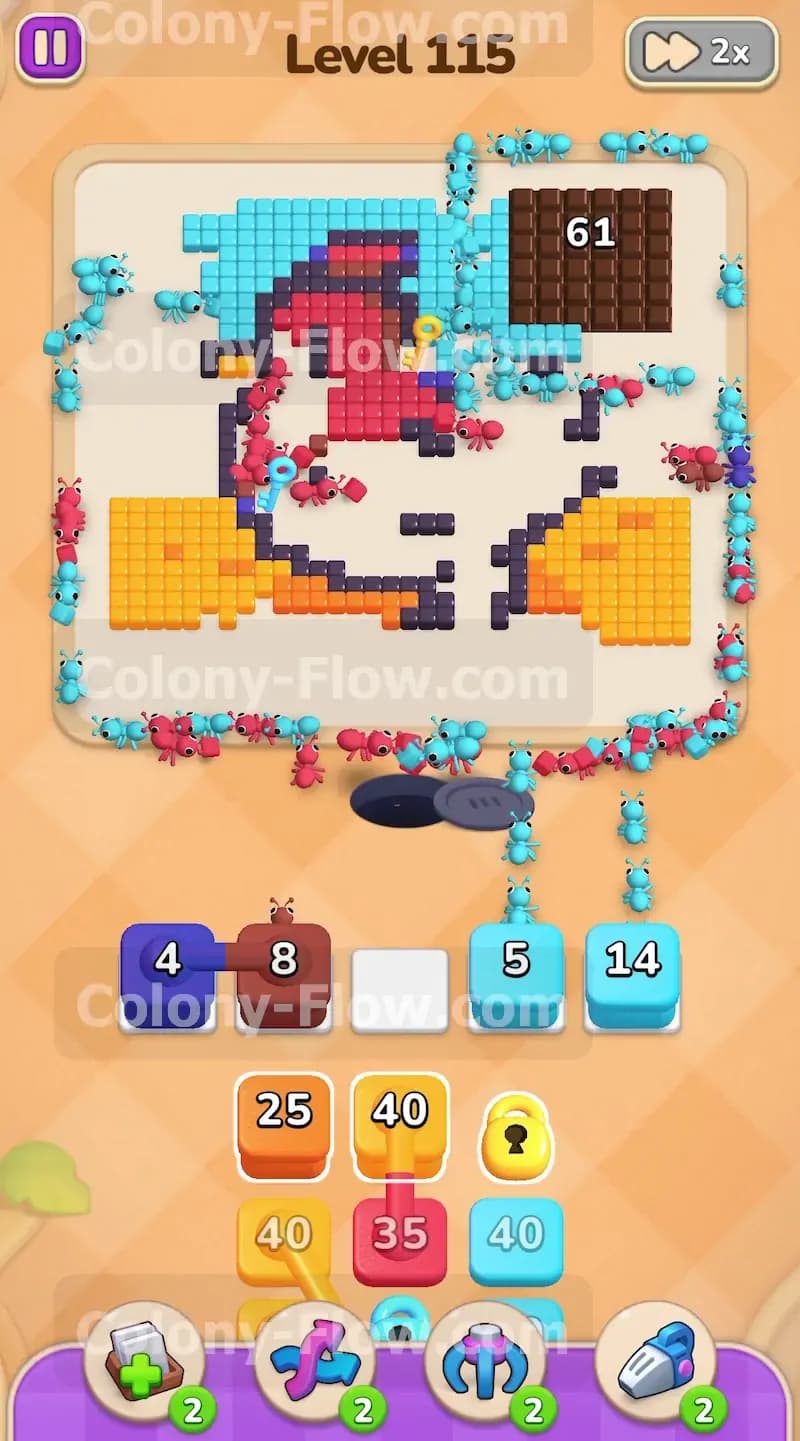
Your tray contains several blocks trapped behind padlocks. You must collect these keys because they break the padlocks holding the rest of your tray hostage. These keys are sitting directly on top of the red and brown tiles that make up the bird. As your red and brown ants continue to eat away the body they will eventually path right over the keys. Keep monitoring your waiting slots and pull another red block with 35 when you have empty space. The steady stream of red ants will carve out the chest the head and the tail of the bird. Once an ant touches a key it immediately flies down and breaks one of the padlocks in your tray. You must remain patient during this phase. Do not panic and pull random colors. Keep feeding red and brown blocks into the slots as long as the ants have a clear path to the bird.
Step 5: Send a final surge of light blue ants to break the chocolate block.
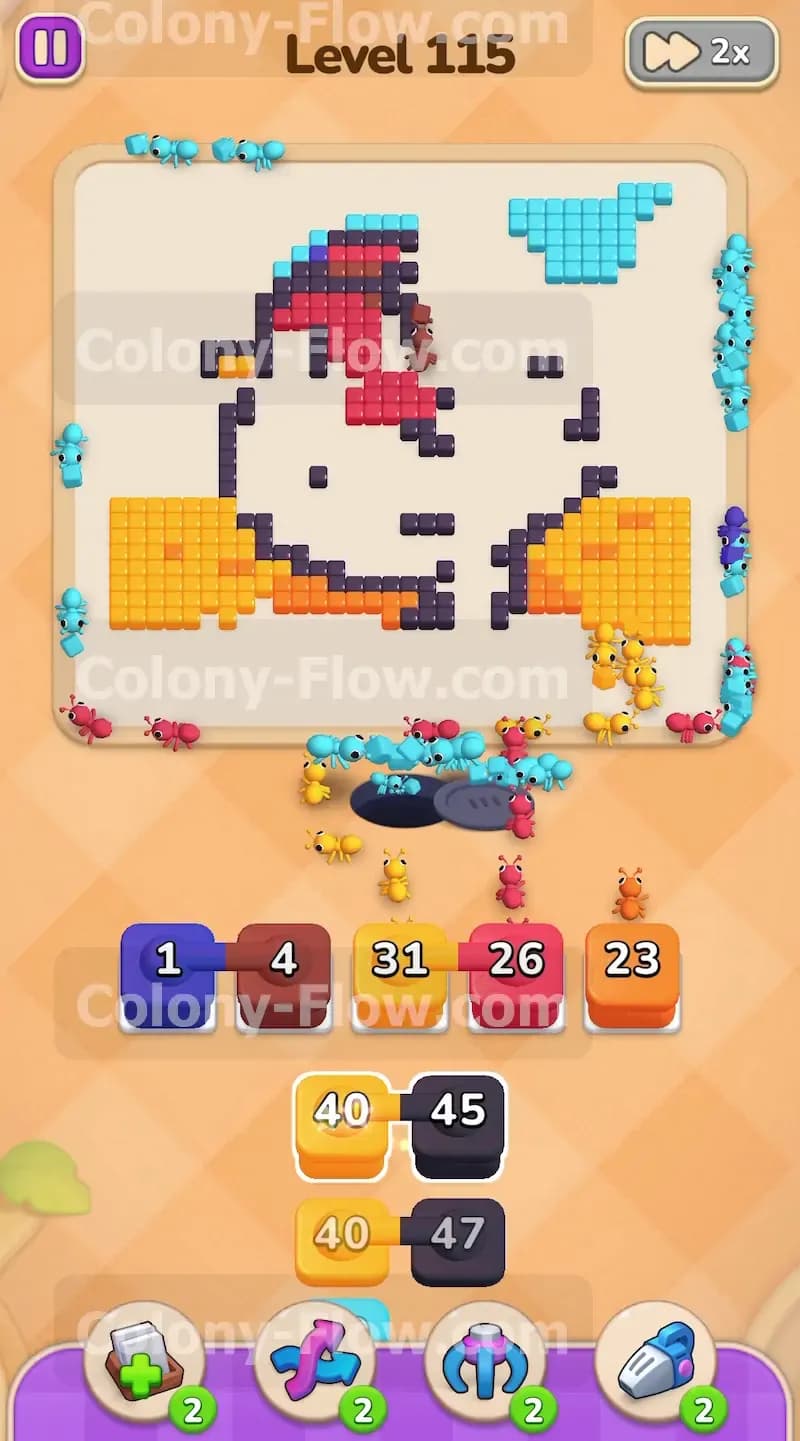
The board will look very empty at this stage but the stubborn chocolate block will still be clinging to the top right corner. Its health number will be very low after the constant bombardment from the light blue ants and the red ants that cleared the adjacent tiles. Pull any remaining light blue blocks from your tray to send a final surge of ants up to the corner. The ants will strike the chocolate block a few more times until it completely shatters and vanishes from the screen. Destroying the chocolate reveals a small patch of hidden light blue sky and a few red tiles that were trapped underneath it. This removes the biggest threat on the board. You can now use a small red block or light blue block to clean up those newly exposed tiles without any interference.
Step 6: Deploy the newly unlocked black and yellow blocks to finish the details.
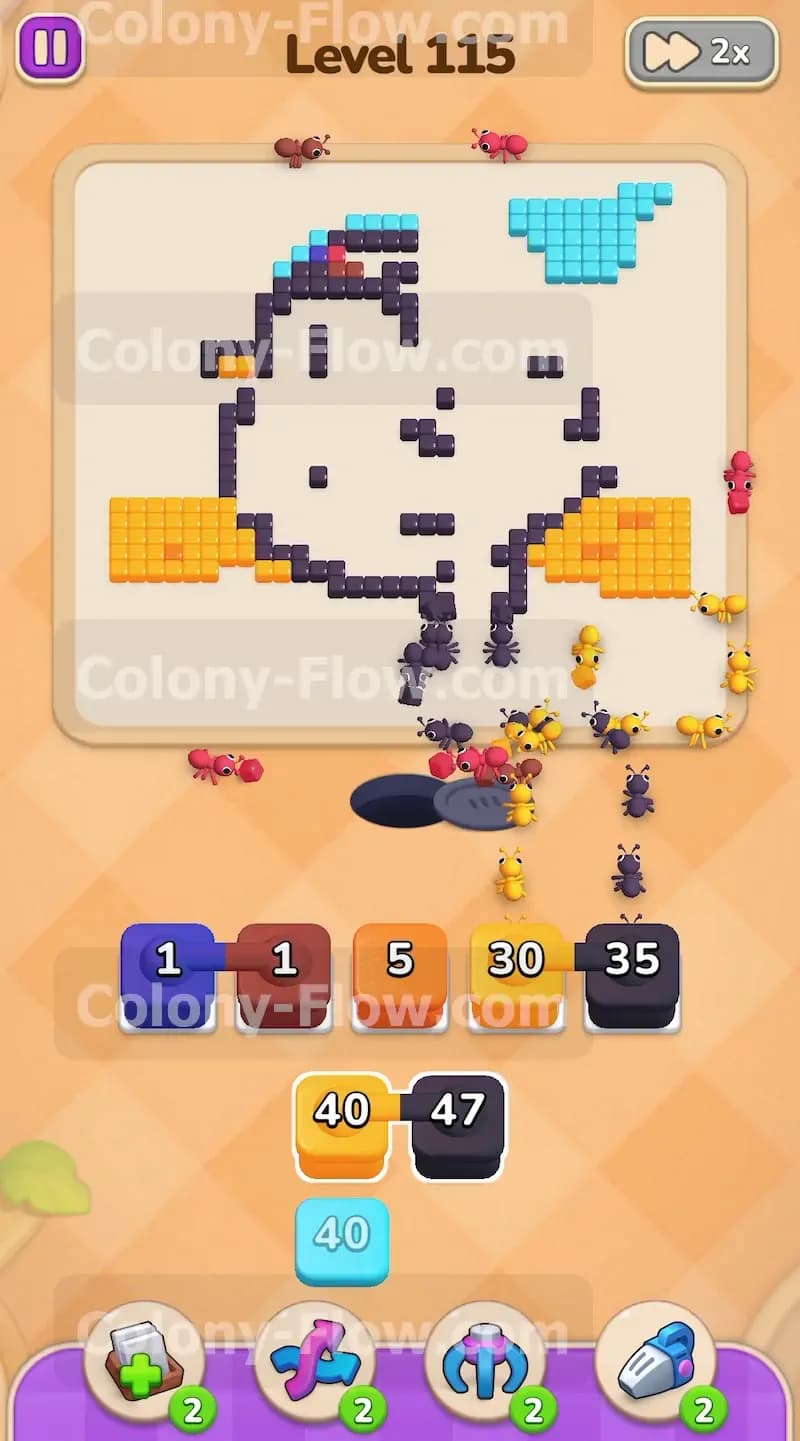
Once the chocolate is destroyed and all three keys are collected your entire tray is finally unlocked and ready to use. The only tiles remaining on the board are the black outline of the bird the yellow beak the yellow feet and a few stray orange ground tiles. Pull the black blocks showing 45 and 47 into your open waiting slots. Then pull the yellow block with 30. The black ants will run along the edges of the bird and consume the entire outline perfectly. The yellow ants will rush to the beak and the feet to clear those bright sections. Finish the puzzle by pulling the final orange blocks to sweep up the last bits of the ground. Because every remaining tile is completely exposed and the chocolate is gone the ants will rapidly clean the board. Your waiting slots will empty out one last time and you will complete the level.
Final Thought
Level 115 demands patience and careful timing to grind down that massive chocolate block without trapping yourself. Keep your ants flowing toward open paths and you will break through the board smoothly. If you have trouble visualizing the order of the color pulls or how to handle the connected blocks please watch the video above this article to see exactly how I play the level.