Colony Flow Level 1090 Walkthrough Solution & Guides | How to solve Colony Flow 1090

Guide By Liam Stone
Updated on August 12, 2026
The video above covers the entire Level 1090 solution. Watch it if you want to skip the article and jump straight to the answer.
Video doesn't match your screen?
Game updates frequently scramble layouts! Try our AI Screenshot Solver first to find your exact board instantly, or report broken guides to our team.
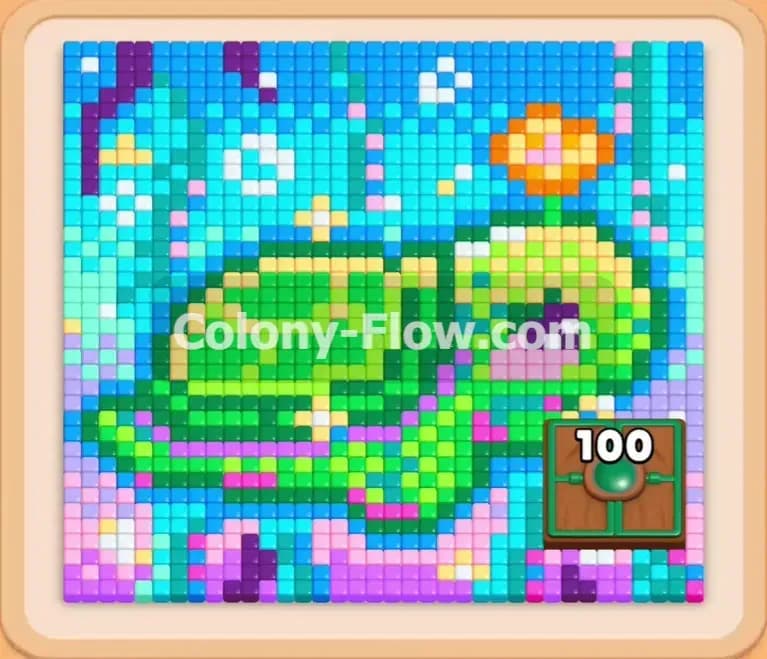
Colony Flow Level 1090 is a beautiful but tricky puzzle featuring a large pixel art turtle swimming in the ocean. You face a dense board packed with colorful tiles and a massive green block that demands a huge number of ants to clear. I will walk you through exactly how to feed your colony and clear every single tile without filling your waiting slots.
Colony Flow Level 1090 Overview
What You Are Working With
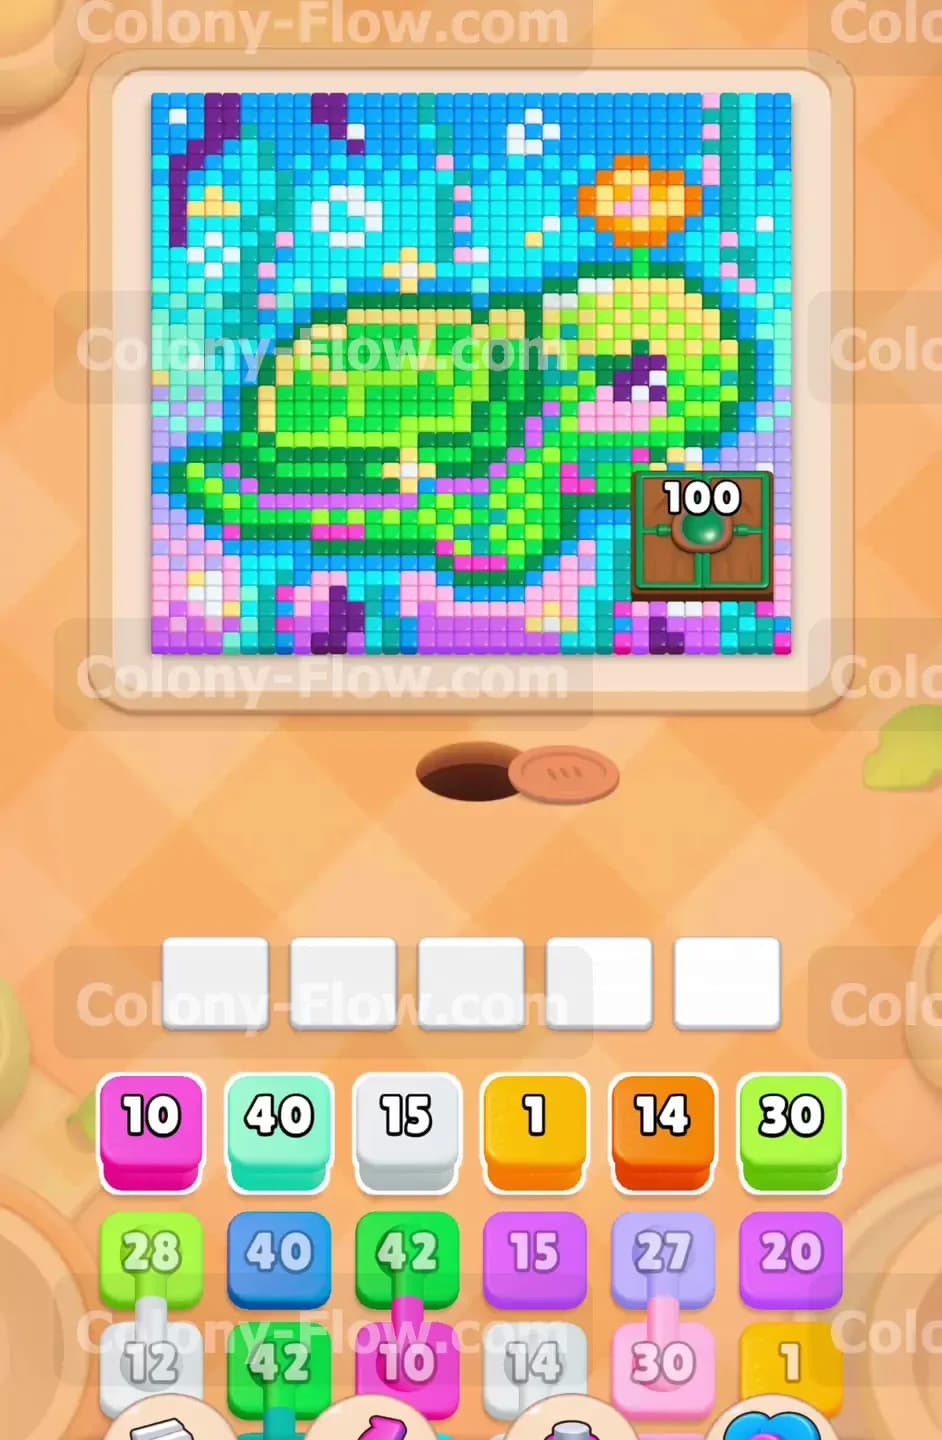
The board displays a vibrant pixel art picture of a green turtle surrounded by deep blue and light blue water. You see a bright orange fish in the upper right corner and a thick layer of pink and purple coral along the bottom edge. A huge green block sits directly on the board in the bottom right corner with a massive one hundred count printed right on it. Your tray at the bottom holds many single color blocks with very high numbers. You will also deal with multiple connected boxes throughout this level. These connected boxes link two different colors together and take up two waiting slots at the same time until the ants completely clear both matching colors from the board.
What It Takes to Clear Level 1090 Board
You clear the level by removing every single colored tile from the picture and feeding them all to your ants. The massive one hundred count green block serves as your biggest obstacle. You must constantly feed ants into this giant block while carefully managing your remaining waiting slots. Since you only have five waiting slots available at the bottom of the screen, pulling the wrong blocks will fill your tray and cause a fatal jam. You avoid a dead end by always clearing the outer layers of the picture first. This strategy guarantees the ants always have an open walking path to the inner tiles. You win when the final pixel art tile vanishes and the last ant returns to the nest hole.
Colony Flow Level 1090 Step by Step Solution
Step 1: clear the bottom pink and purple coral layers to open the board
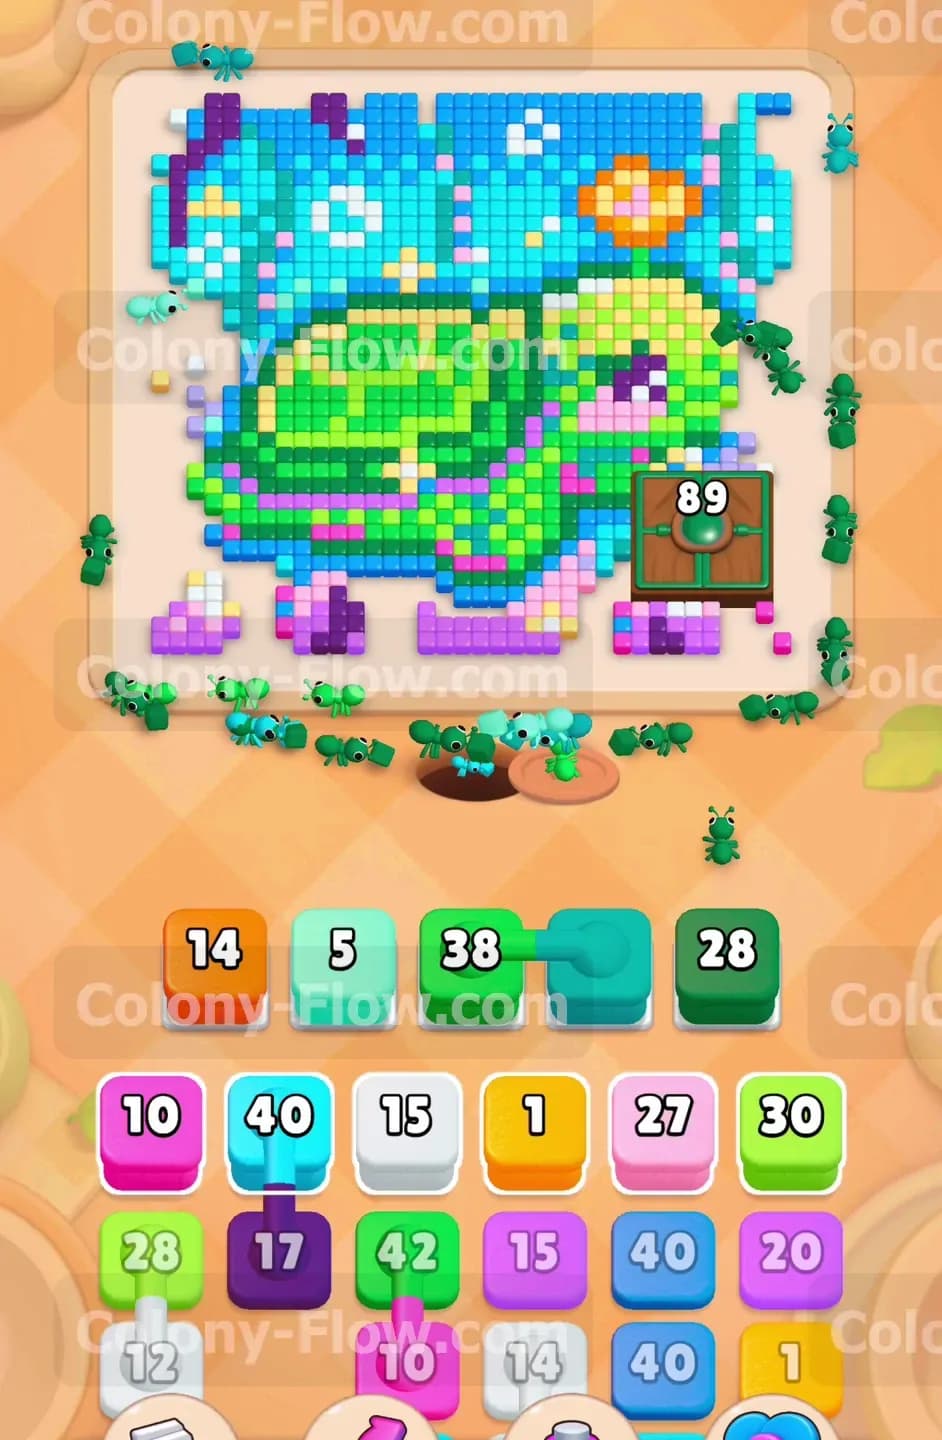
You start by attacking the bottom edge of the pixel art picture to create walking space for your colony. You pull the magenta ten block and the pink twenty block from the tray into your waiting slots. The ants stream out of the nest hole and immediately eat away the pink and magenta coral tiles along the bottom edge. You then pull the purple fifteen block to continue clearing this lower boundary. This specific action opens a direct physical path to the bottom of the green turtle shell and the giant one hundred count green block. You must clear these bottom layers first so your ants do not get blocked when you send up the green blocks later.
Step 2: start chipping away at the massive green block
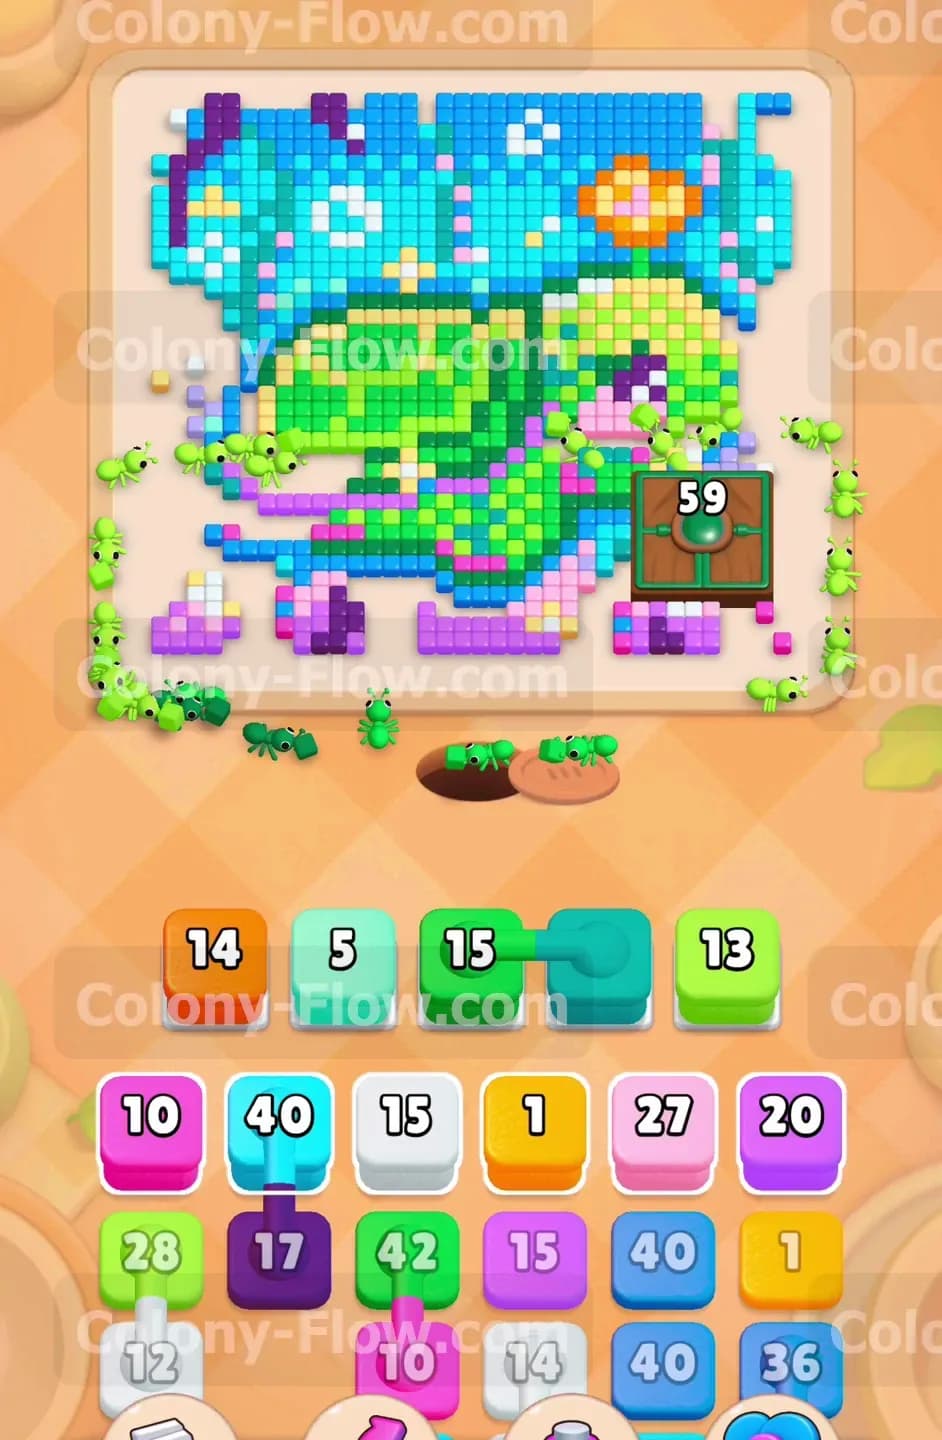
You pull the large light green thirty block into the waiting area to begin the long process of feeding the giant green block. The ants march straight to the bottom right corner and start eating the massive one hundred count block directly on the board. You watch the number on the giant block drop down to eighty nine. To keep the momentum going, you pull the connected bright green thirty eight and cyan twenty eight pair from the tray. These connected boxes take up two of your five waiting slots. The ants continue eating the green shell and the giant green block while simultaneously clearing the cyan water tiles on the exact opposite side of the picture.
Step 3: clear the upper water tiles and the orange fish
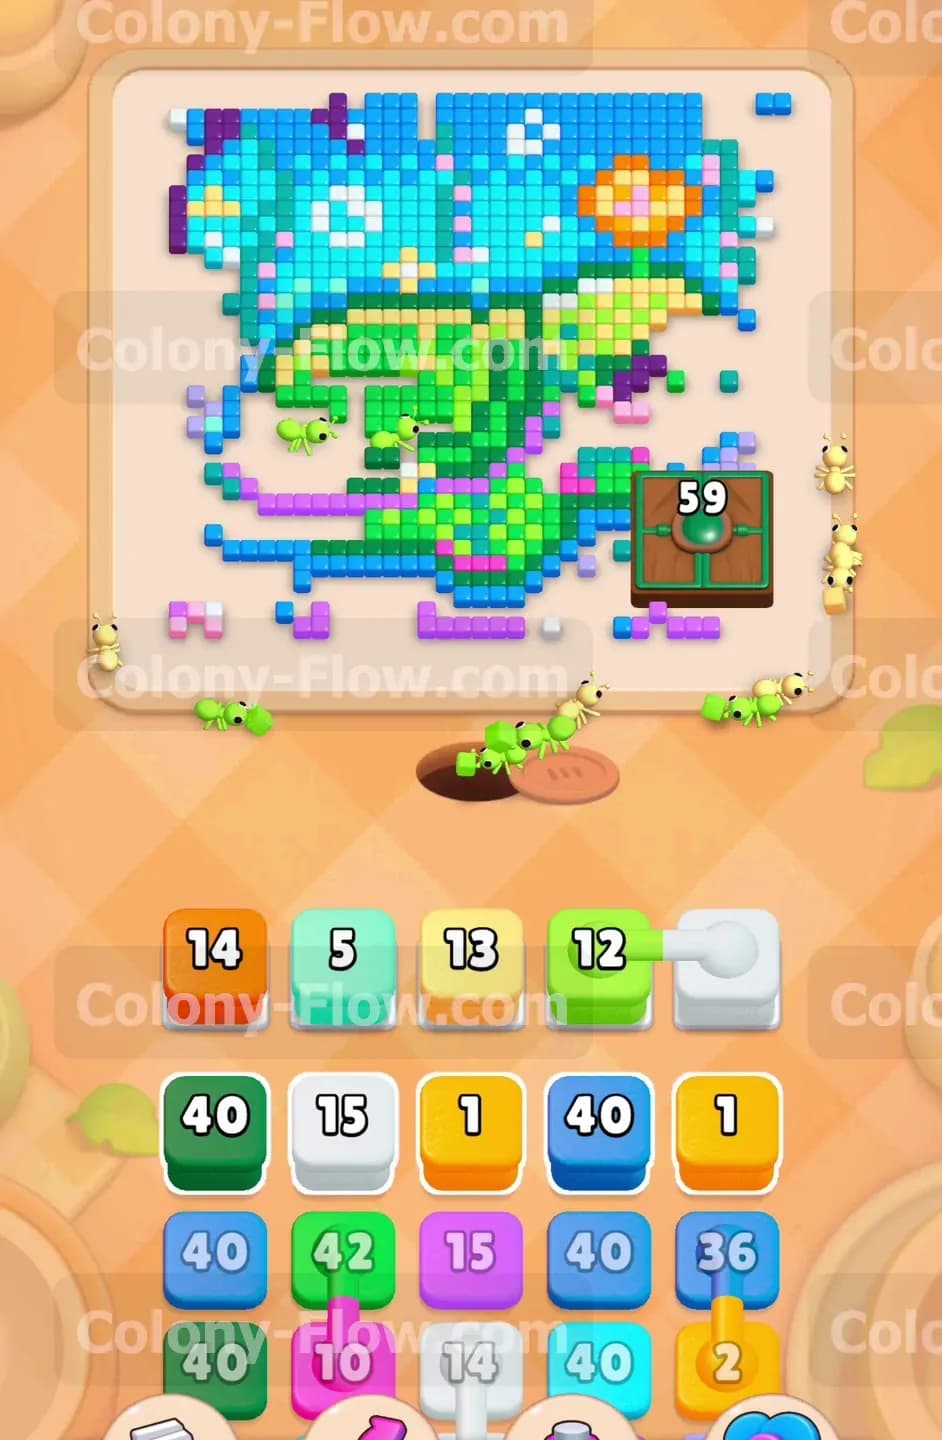
The giant green block on the board now drops to fifty nine. You have plenty of open paths to the top section of the picture at this stage. You pull the dark blue forty block and the orange fourteen block into your open waiting slots. The ants bypass the bottom area entirely and climb up to eat the bright orange fish near the top right corner. Another massive stream of ants attacks the dark blue water tiles covering the upper left section. You leave one waiting slot completely empty to guarantee you never dead end your board. The picture starts to look much smaller as the thick outer borders disappear into the nest.
Step 4: remove the yellow shell accents and white water bubbles
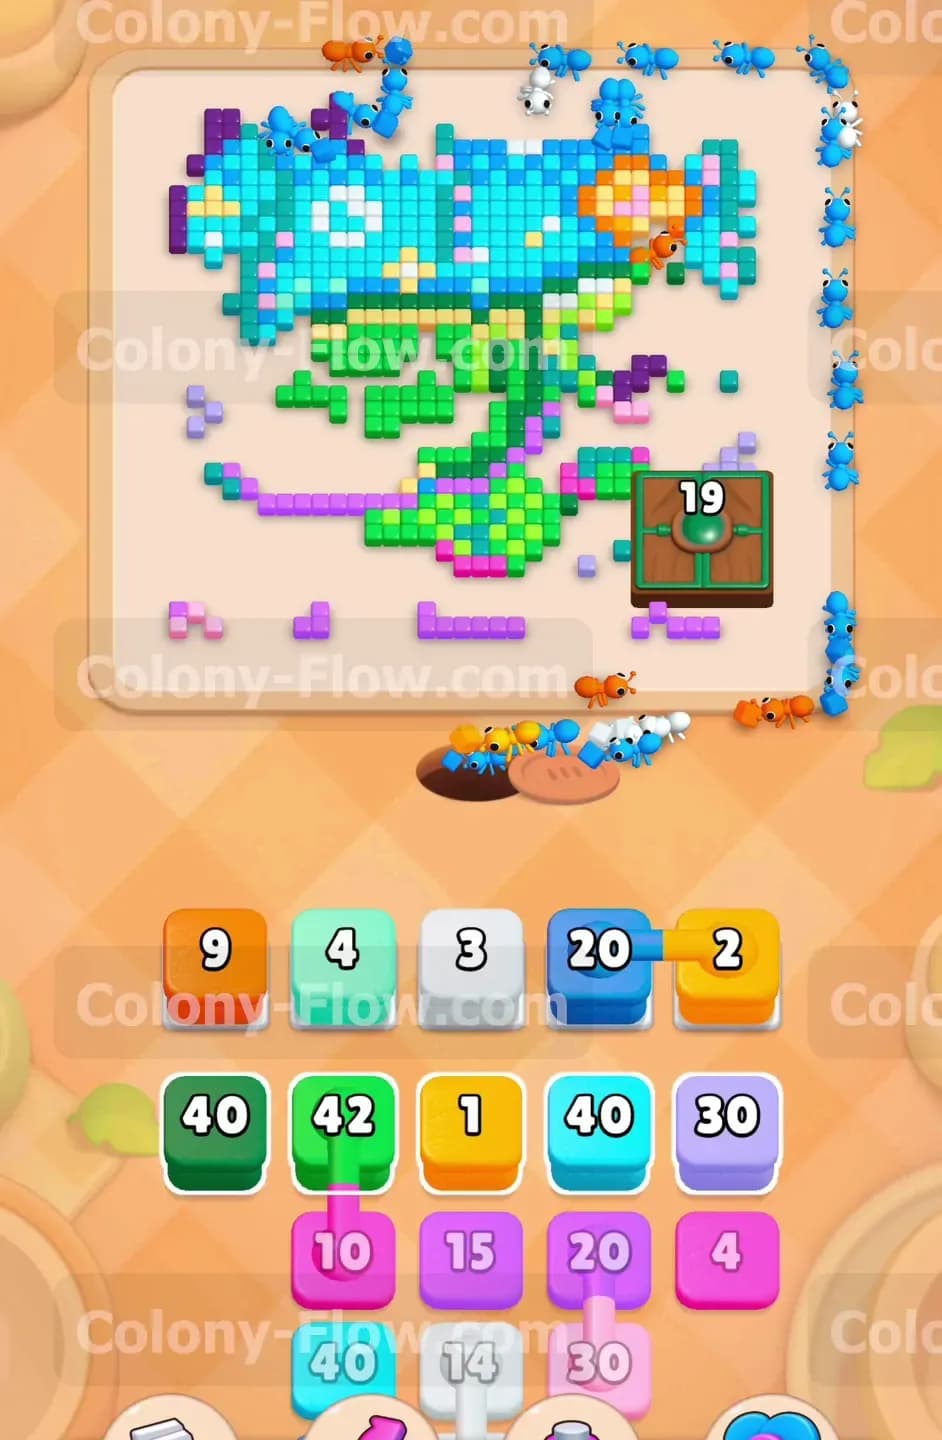
You shift your focus to the small details scattered across the turtle body and the surrounding water. You pull the connected yellow thirteen and bright green twelve pair from the tray into the waiting area. The ants quickly consume the bright yellow spots on the turtle shell and clear away more of the green body. You then pull a white one block and a cyan five block to handle the small white bubbles and the remaining light blue water patches. The giant green block remains at fifty nine for a short moment while the ants prioritize these newly exposed detail tiles. Your waiting slots stay perfectly balanced and completely safe from jamming.
Step 5: destroy the giant green block and the remaining shell
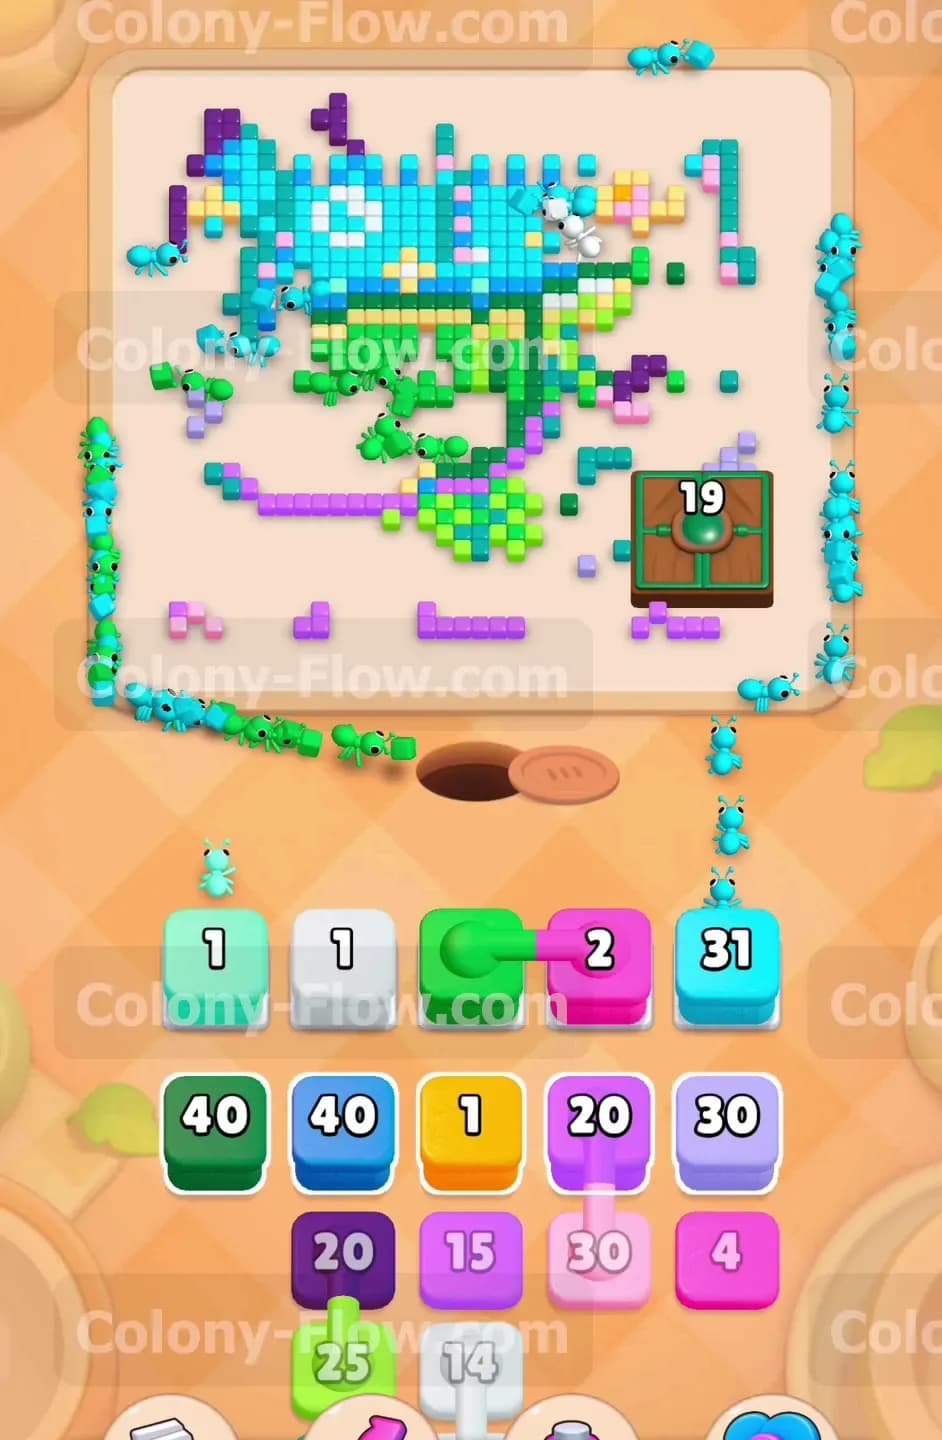
You pull a dark green forty block and a bright green forty two block from the tray to finish off the main subject of the picture. The ants swarm the dark green sections of the turtle shell and completely obliterate them. A massive line of ants then marches straight into the giant green block on the bottom right. The number plummets from nineteen all the way to zero. The giant block vanishes from the board entirely. This massive clearing action opens up every single remaining path on the board. You no longer have to worry about the giant block blocking your access to the right side corners.
Step 6: process the tricky connected boxes from the tray
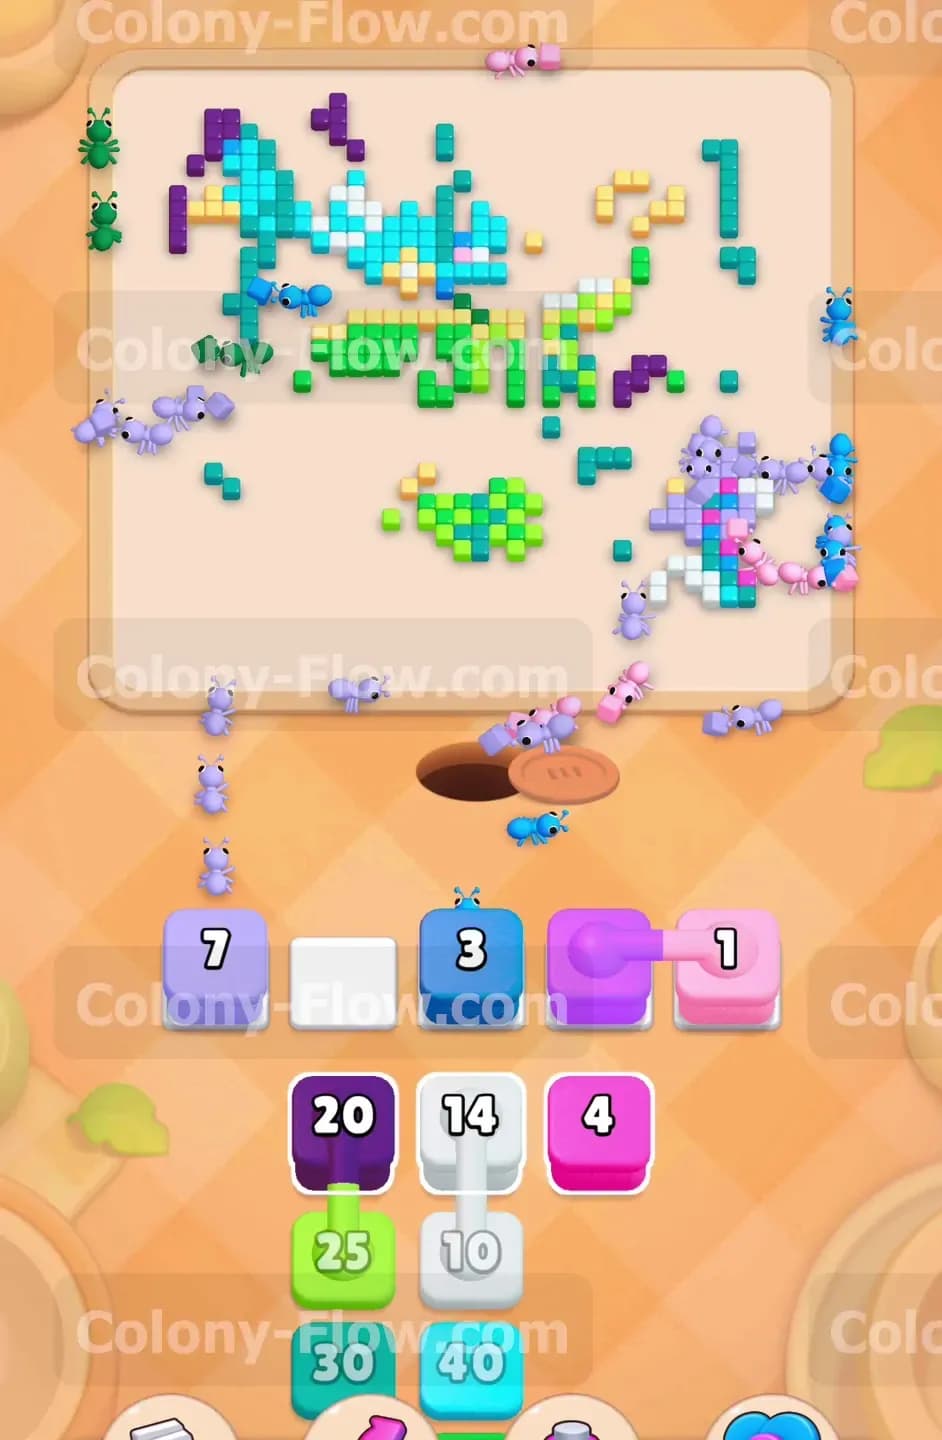
The tray now serves up several complex connected boxes that you must handle carefully. You pull the connected dark blue twenty and orange two pair into the waiting area. The ants rush out to clean up the last pieces of the orange fish and the deep blue water tiles. Next you pull a connected bright green two and magenta two pair. Because you already opened the entire board during the previous steps, the ants immediately find the last two green tiles and the last two magenta tiles. These connected boxes clear out of your waiting slots almost instantly and leave you with plenty of room to finish the level.
Step 7: sweep the final scattered coral and water pieces
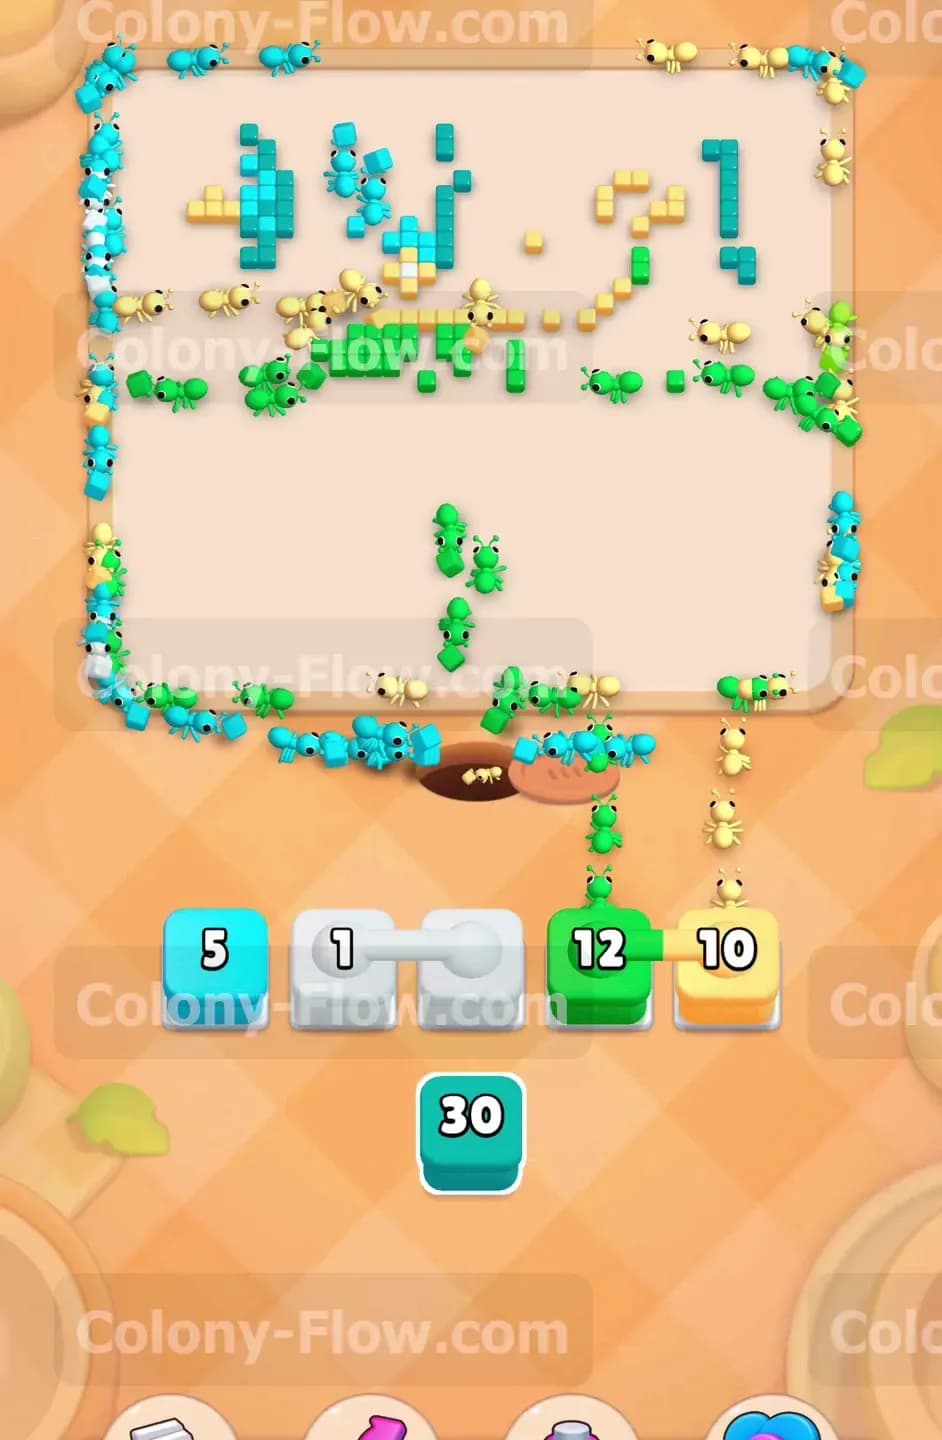
Only a few random patches of tiles remain scattered across the nearly empty board. You pull a light blue seven block to clear a small patch of water near the top left corner. Then you pull a connected purple one and pink one pair from the tray. The ants easily walk across the empty board space to eat the very last pieces of pink and purple coral on the right side. You pull a dark blue three block to finish off an isolated water patch floating near the middle. Your waiting slots remain wide open and completely safe from any sudden jams.
Step 8: eliminate the last white bubbles and blue water tiles
You enter the final cleanup phase of the level with a very clear path to victory. You pull a connected white one and white twelve pair from the tray alongside a yellow ten block. The ants sweep across the top edge of the board to eat the final white bubbles and the last yellow accents. You pull the final cyan thirty block from your tray into the very last open slot. The ants consume the remaining light blue water tiles covering the background. The entire pixel art picture disappears and you win the level.
Final Thought
Level 1090 tests your patience by forcing you to chip away at a massive obstacle while managing a tight waiting area. You win by carefully balancing the huge green blocks with the smaller detail colors to keep the board moving. Please watch the video above this article if any step is hard to follow in text.