Colony Flow Level 384 Walkthrough Solution & Guides | How to solve Colony Flow 384

Guide By Liam Stone
Updated on August 1, 2026
The video above solves Level 384 in real time, so skip the article if watching works better for you.
Video doesn't match your screen?
Game updates frequently scramble layouts! Try our AI Screenshot Solver first to find your exact board instantly, or report broken guides to our team.
Colony Flow Level 384 presents a fun pixel art picture of a familiar green frog character sitting on a lily pad. You face a large light blue water background and a solid brown border at the top of the screen. I play every level myself to figure out the exact sequence that keeps the board flowing without interruptions. I found this level requires careful sequence planning so your waiting slots stay clear from start to finish. You need to pull the right colors at the right time to keep the ants moving constantly. The sheer volume of light blue tiles means you will spend a lot of time managing your tray to prevent a total jam.
Colony Flow Level 384 Overview
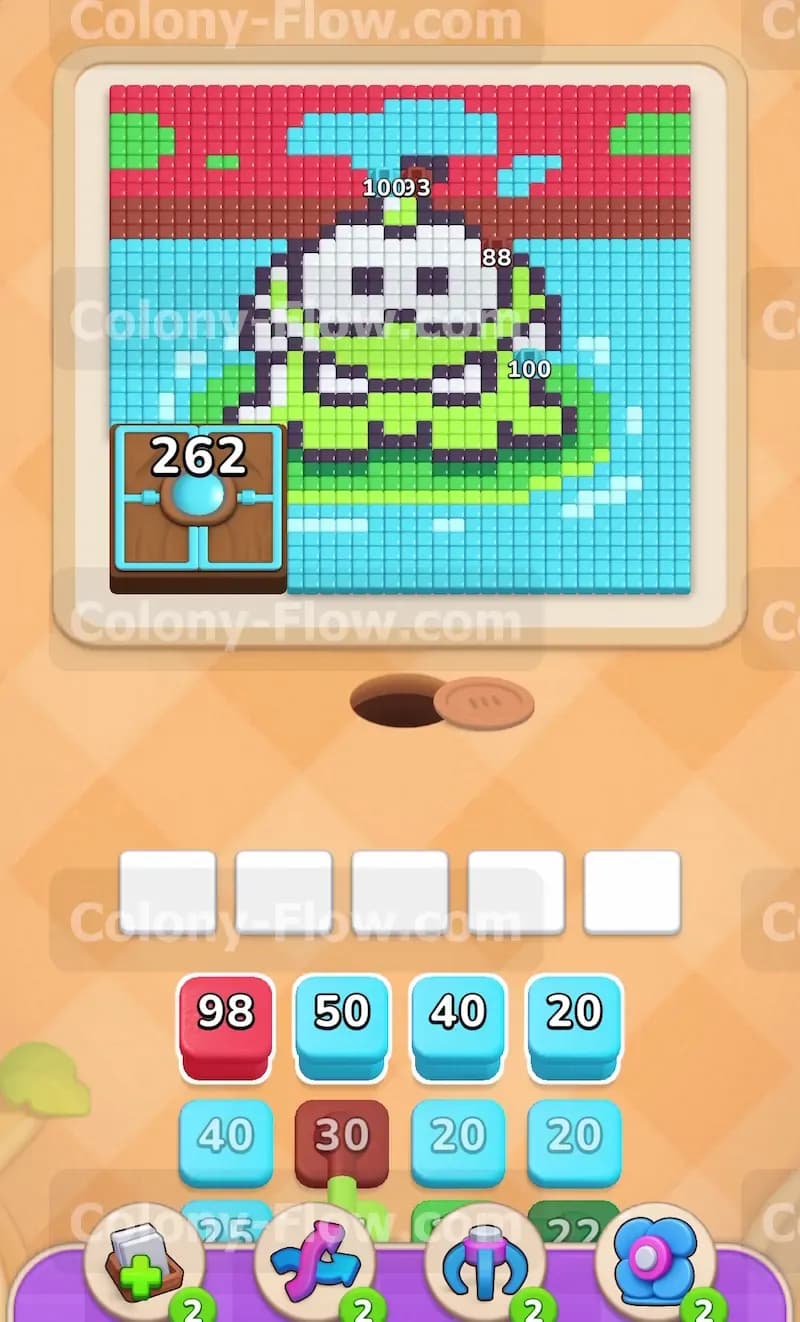
What You Are Working With
The board features a large central character made of light green and white tiles with thick black outlines. A dark green lily pad sits directly underneath the character. The surrounding area is completely filled with light blue tiles representing a large pool of water. A thick brown path stretches across the entire top edge of the picture. Small light green plant clusters sit isolated in the upper left and upper right corners. Looking at your tray at the bottom you will see standard numbered blocks in white light green dark green light blue dark red and black. You will also deal with Connected Boxes in this level. A light green block and a dark green block are joined together permanently in the tray. You must pull them into the waiting slots as a single unit which takes up two of your five available spaces.
What It Takes to Clear Level 384 Board
Winning this level comes down to managing the outer layers before diving into the center of the picture. The five waiting slots at the bottom of the screen dictate your survival entirely. If you fill all five slots with blocks that have no open path to their matching tiles your ants will stop moving and you will lose the puzzle instantly. Clearing this board means systematically eating away the brown top border and the light blue water to open up wide paths from the very beginning. Once the perimeter is gone your ants can swarm the black outlines and the white eyes of the character without getting stuck behind obstacles. You must pace your block pulls and watch the numbers count down before committing new blocks to the slots. Every single move you make must keep at least one path open for the ants so the waiting slots never jam.
Colony Flow Level 384 Step by Step Solution
Step 1: Clear the top brown border and the corner plants first
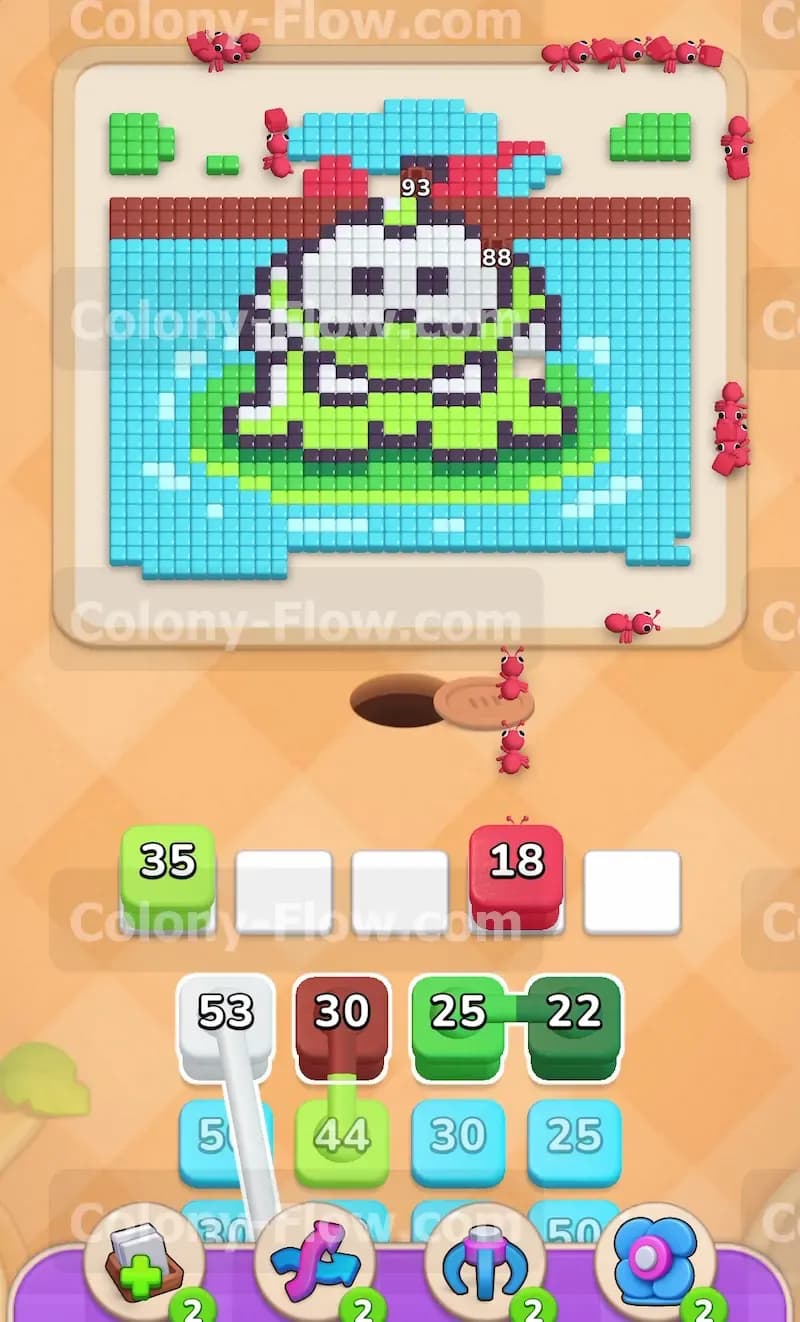
You need to create immediate space on the board to prevent an early bottleneck in your waiting slots. Look at the top of the picture where the thick brown line spans the entire width. Select a dark red block from your tray and place it into a waiting slot. The dark red ants will march up the screen and begin consuming the brown top border from left to right. While they work tap a light green block to target the small plant clusters in the upper corners. This dual approach uses two of your five slots but guarantees continuous movement on the board. The red block number will count down steadily as the top edge disappears into the central nest. The light green block will count down as the corner plants vanish entirely. Keep an eye on the numbers decreasing to ensure the slots will free up soon. Do not pull any other blocks into the tray until these first two finish their job and leave the board entirely.
Step 2: Attack the light blue water background to open side paths
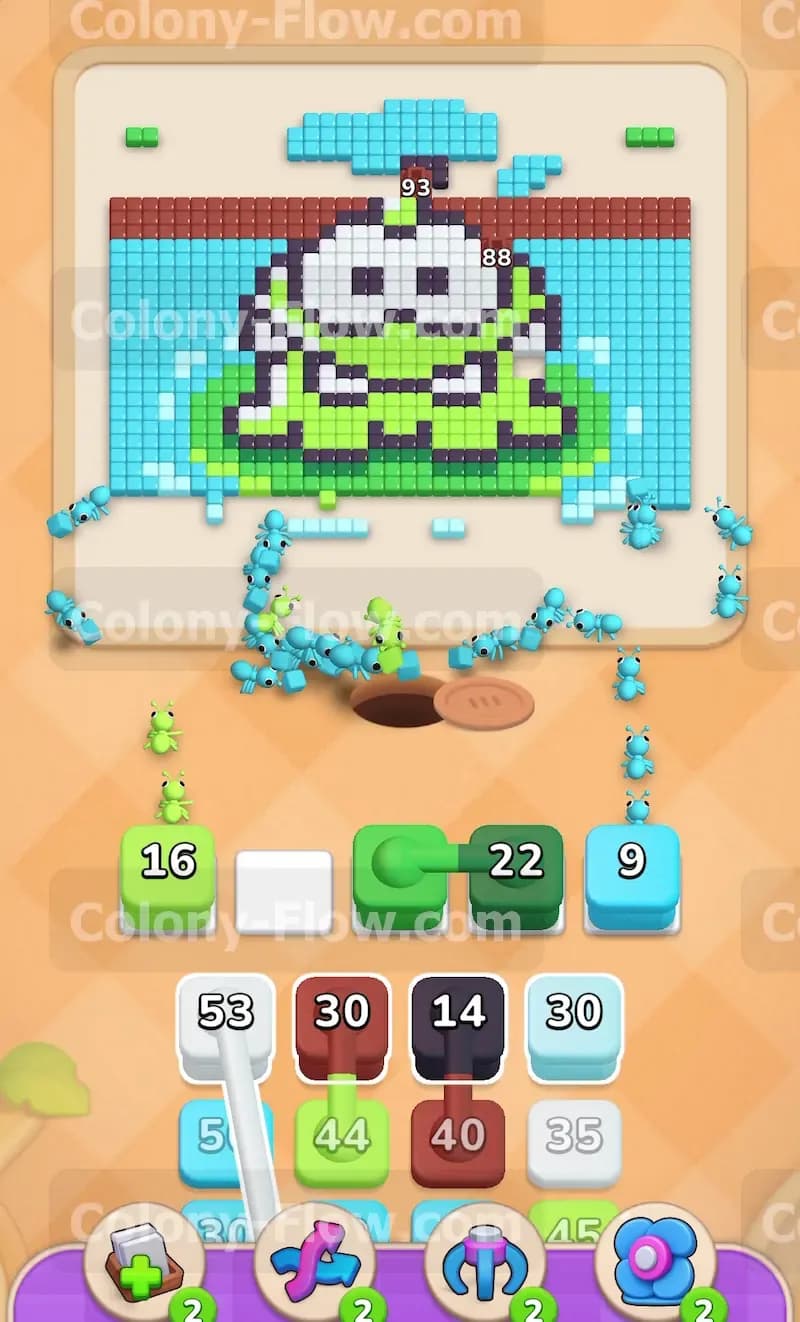
With the top edge cleared your next target is the massive light blue water area surrounding the central character. Pull a large numbered light blue block into the waiting slots. The ants will stream out of the nest hole and split their paths toward the bottom left and bottom right corners of the water. The light blue tiles block access to the lower half of the lily pad so clearing them is a mandatory move. Watch the light blue block number drop rapidly as the ants eat through the thick layers of water. If the first light blue block empties and a large amount of water remains pull a second light blue block to keep the clearing momentum going strong. This wide open path ensures your waiting slots cycle out quickly and keeps your board completely safe from dead ends. The more water you clear now the easier the inner sections become for your remaining colors.
Step 3: Deploy the connected boxes to tackle the lily pad and body
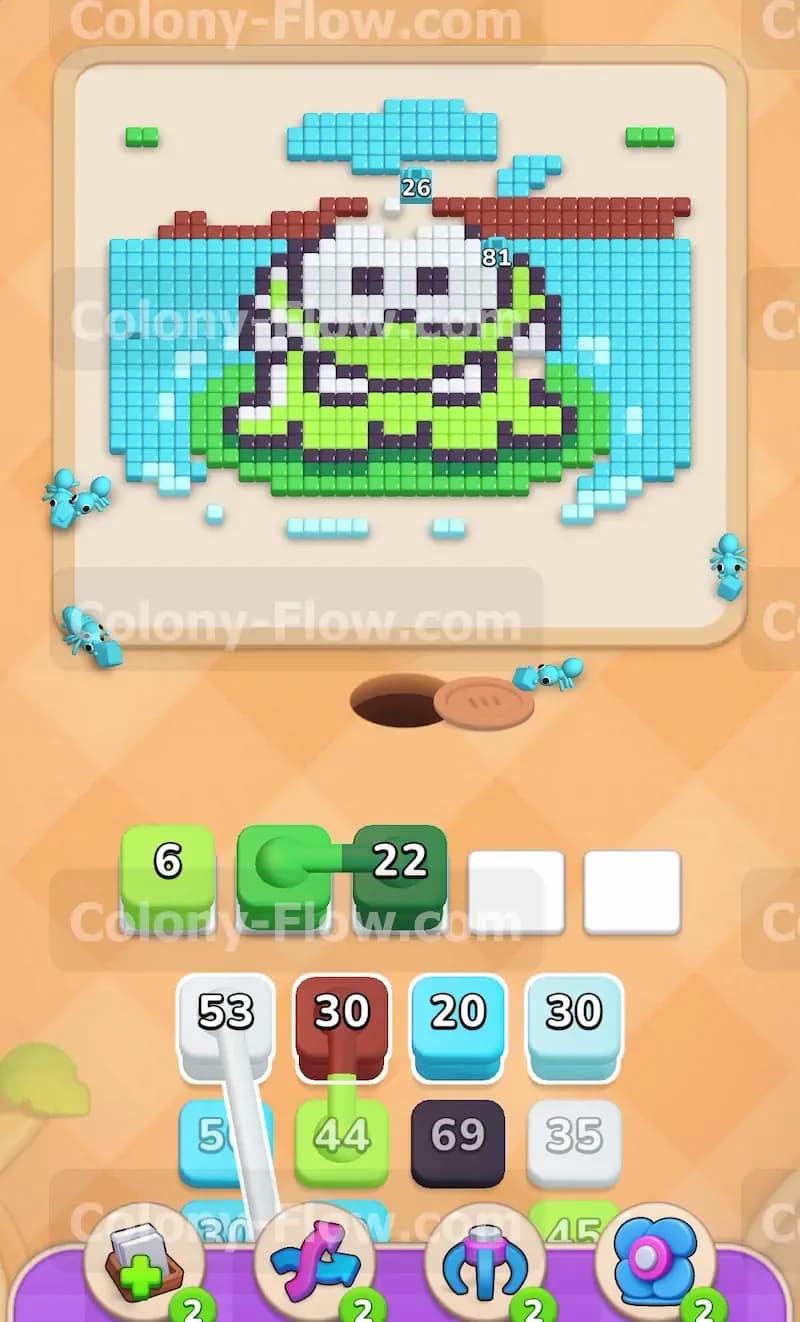
Now you must handle the Connected Boxes sitting in your tray. You will see a light green block joined directly to a dark green block. When you tap them they take up two spaces in your waiting slots simultaneously. Make sure you have at least two empty slots before making this specific move. The light green ants will immediately head for the outer edges of the frog character body. The dark green ants will target the dark green lily pad located underneath the character. Because the outer water is mostly gone both colors have perfectly clear paths to their respective tiles. This allows both halves of the connected pair to count down at the exact same time. The simultaneous drain keeps the blocks from sitting too long in your tray and frees up your slots for the next crucial phase of the puzzle. Connected Boxes can ruin your game if pulled too early but right now they flow perfectly.
Step 4: Break down the black character outlines
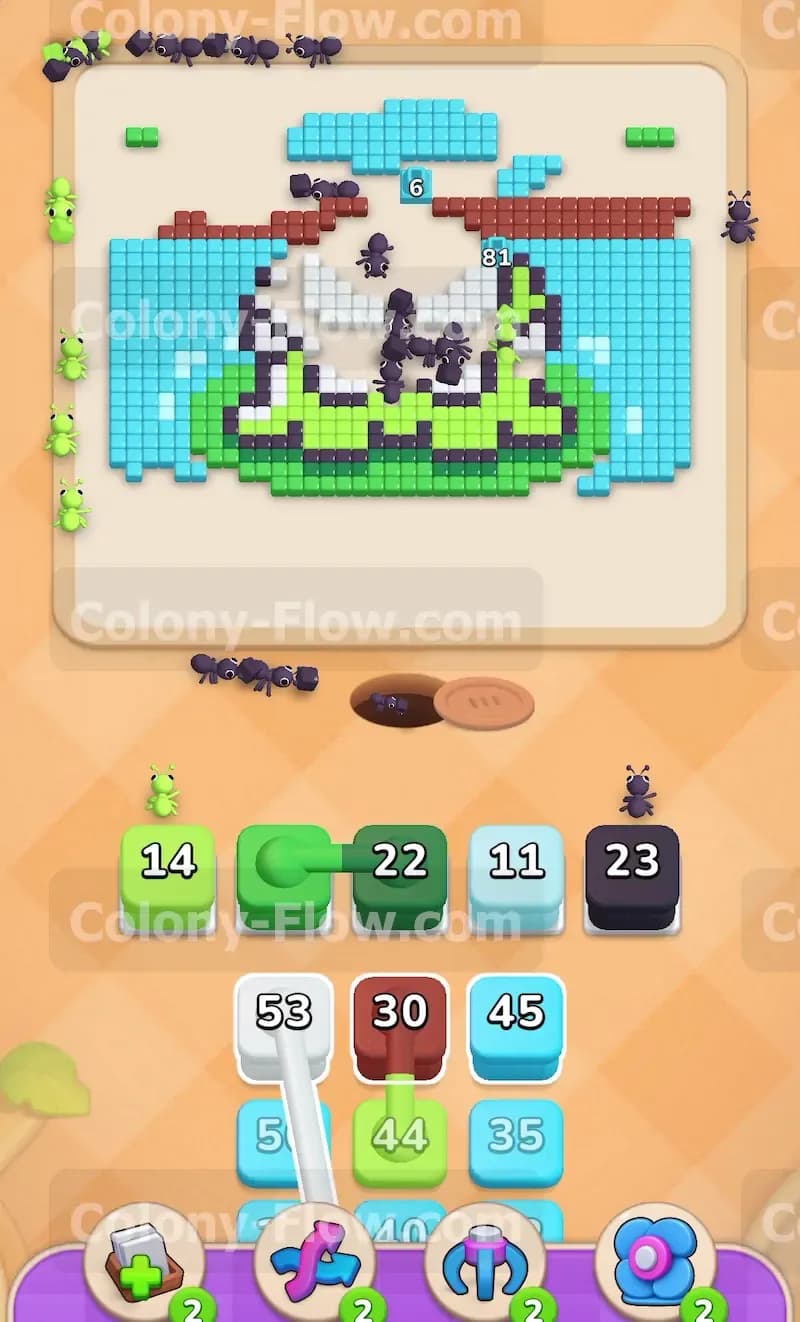
The inner white eyes and the remaining green body sections are protected by thick black outline tiles. You cannot reach the core of the picture without removing these dark barriers first. Bring a black block into the waiting slots to unleash a huge swarm of black ants. They will travel up the board and systematically dismantle the borders around the eyes the mouth and the outer body shape. The black block holds a very high number so this clearing process takes a long moment to finish. Leave the other waiting slots completely alone while the black ants do their heavy lifting. Adding unnecessary blocks right now risks a fatal slot jam if their paths are blocked by the remaining black tiles. Wait patiently until the black block number drops down to zero before planning your next color pull. The black tiles act like a hard shell protecting the soft center of the puzzle so removing them is your absolute top priority here.
Step 5: Clear the mouth details and remaining body tiles
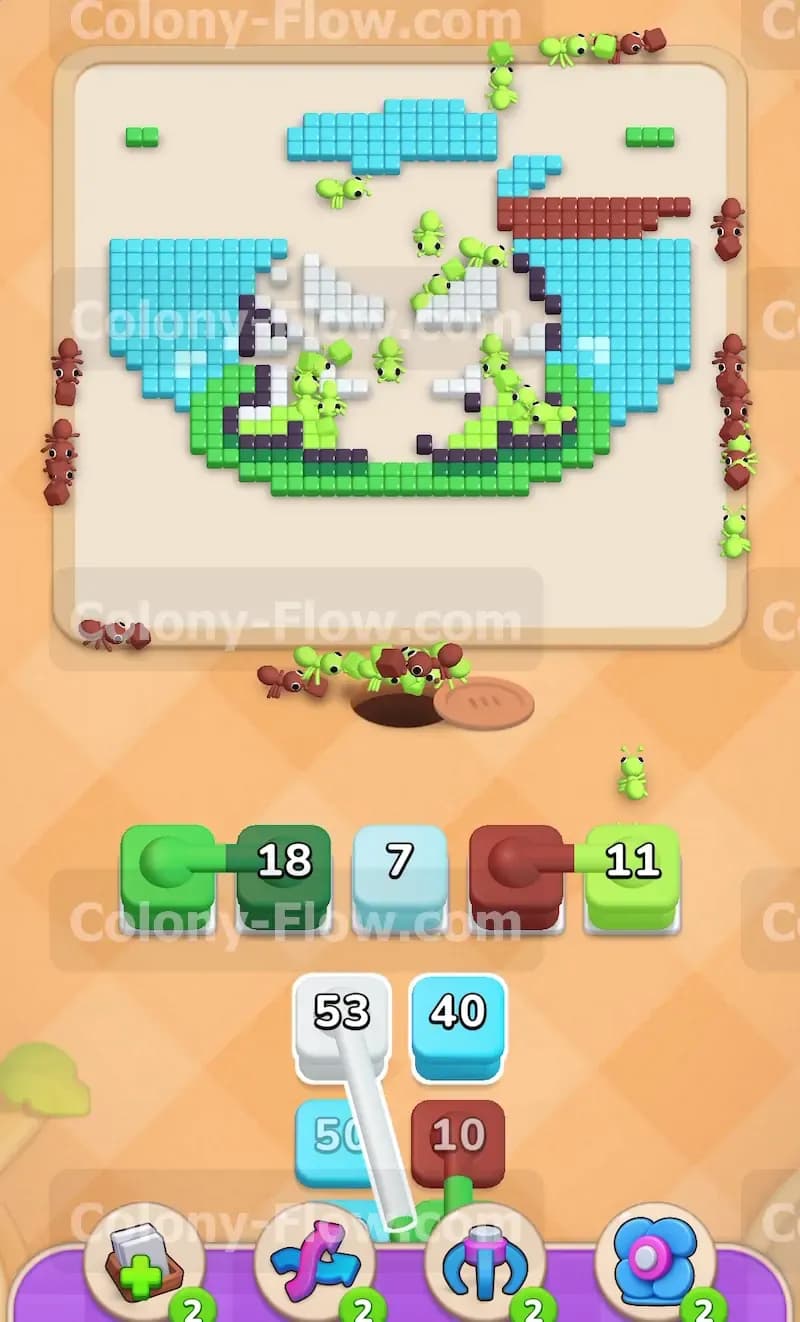
Once the black outlines break apart the inner details become highly vulnerable. Pull a dark red block to target the small mouth section of the character. The red ants will easily reach the mouth now that the black barriers are completely gone. At the same time pull another light green block to finish off the remaining light green body tiles. These two colors will work in perfect tandem to hollow out the lower half of the character. The dark red block will empty quickly because the mouth section requires very few tiles. The light green block will take a bit longer but the path remains wide open. Your waiting slots remain perfectly safe as long as the ants have these direct lines to their food. Keep watching the countdown numbers to confirm your slots are freeing up properly. Synchronizing the dark red and light green pulls maximizes your efficiency and keeps the board highly active.
Step 6: Finish the white eyes and flood the remaining water
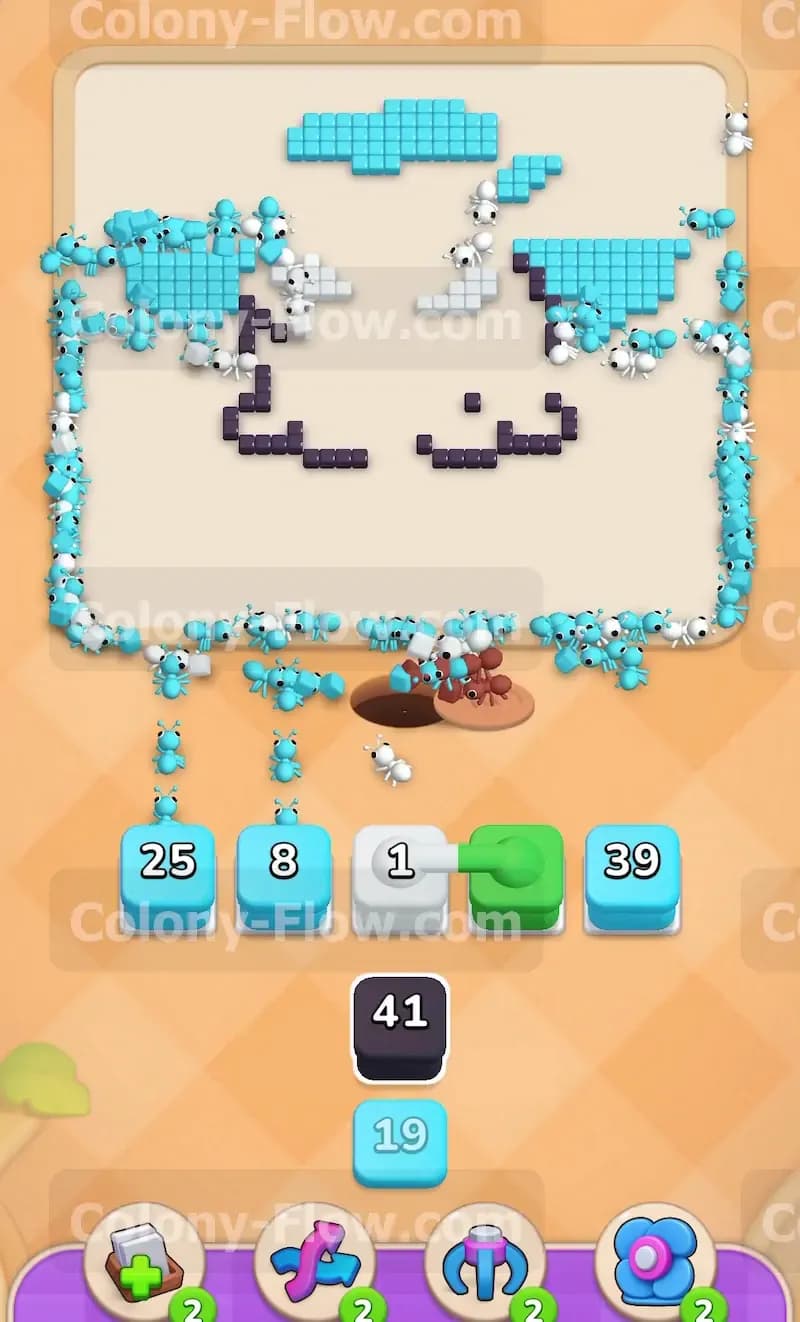
The final stage requires clearing the massive white eyes and the last remaining chunks of light blue water on the board. Tap a white block from the tray to send white ants directly into the large eye sections. While they feast on the white tiles pull your remaining light blue blocks into the open waiting slots. A massive swarm of light blue ants will flood the board to clean up the rest of the water background on the left and right sides. The white block will drain rapidly as the large eyes disappear. The light blue blocks will cycle through your slots one by one as the final water tiles vanish from the screen. The picture clears completely and the ants finish the board securing your victory without ever jamming the tray. Watching the massive swarm of white and light blue ants clean up the final tiles is incredibly satisfying and proves your strategy worked perfectly.
Final Thought
This frog character picture provides a great test of your slot management skills. By clearing the top border and the outer water first you ensure that your connected boxes and black outline blocks never get stuck waiting for an open path. Remember to always let the large numbered blocks drain down completely before crowding your tray with new colors. If any of these maneuvers feel hard to follow in text I encourage you to watch the video above this article to see the exact timing in action.