Colony Flow Level 462 Walkthrough Solution & Guides | How to solve Colony Flow 462

Guide By Liam Stone
Updated on July 29, 2026
You can follow along with the video above for the complete Level 462 solution instead of reading below.
Video doesn't match your screen?
Game updates frequently scramble layouts! Try our AI Screenshot Solver first to find your exact board instantly, or report broken guides to our team.
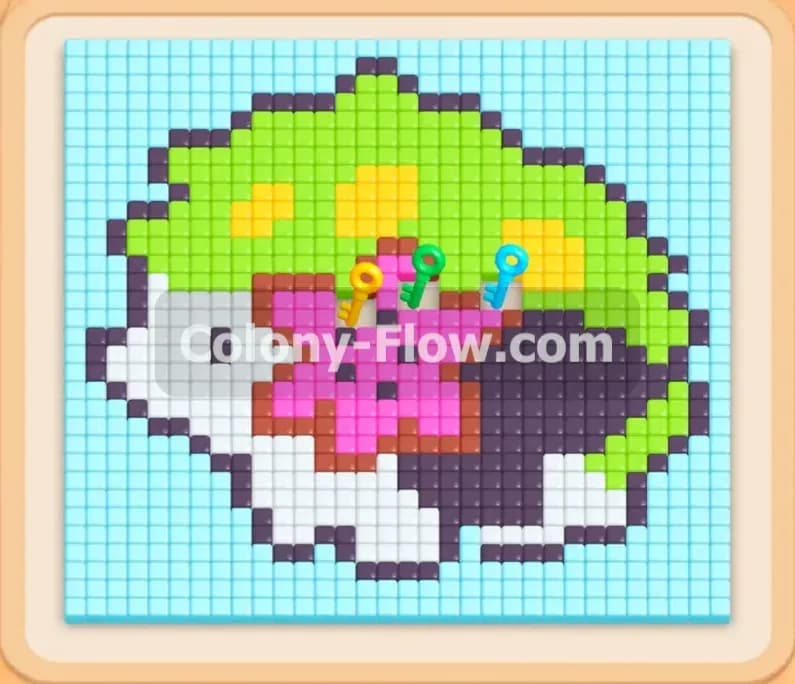
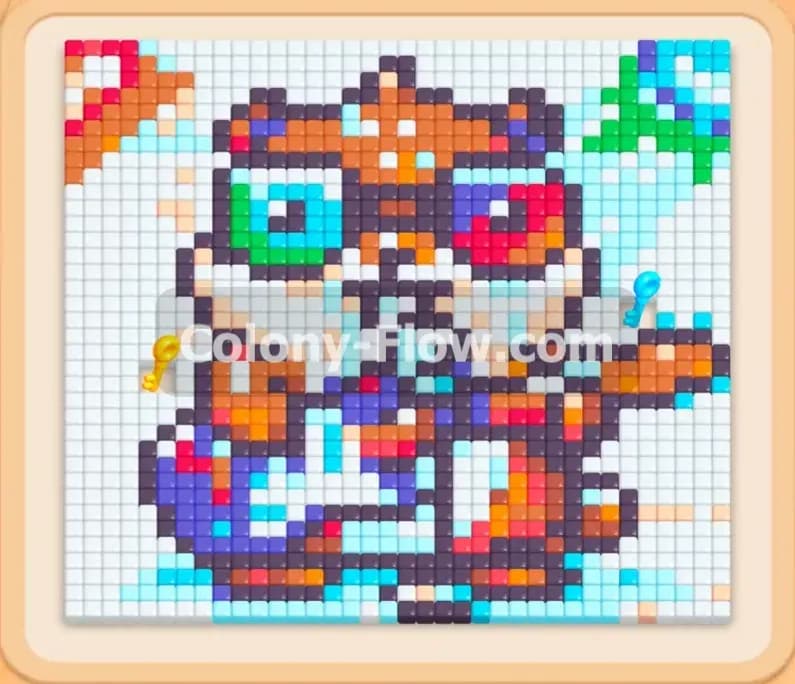
Colony Flow Level 462 presents a fun but tricky challenge featuring a large fox creature built from colorful pixels. You must guide your ant colony to eat away the red and beige art while dealing with some heavy obstacles blocking the nest. I will walk you through exactly how to manage your tray and keep the board open from start to finish.
Colony Flow Level 462 Overview
What You Are Working With
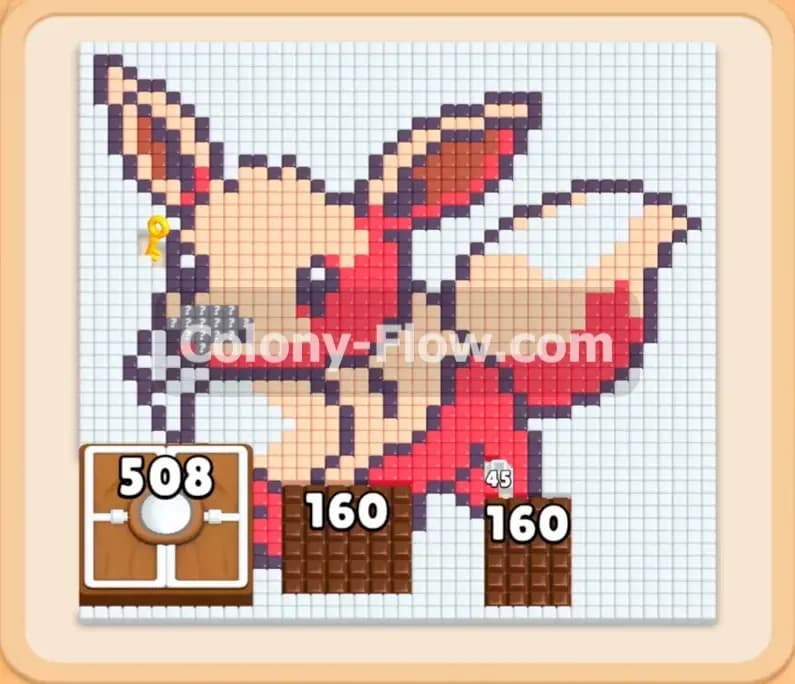
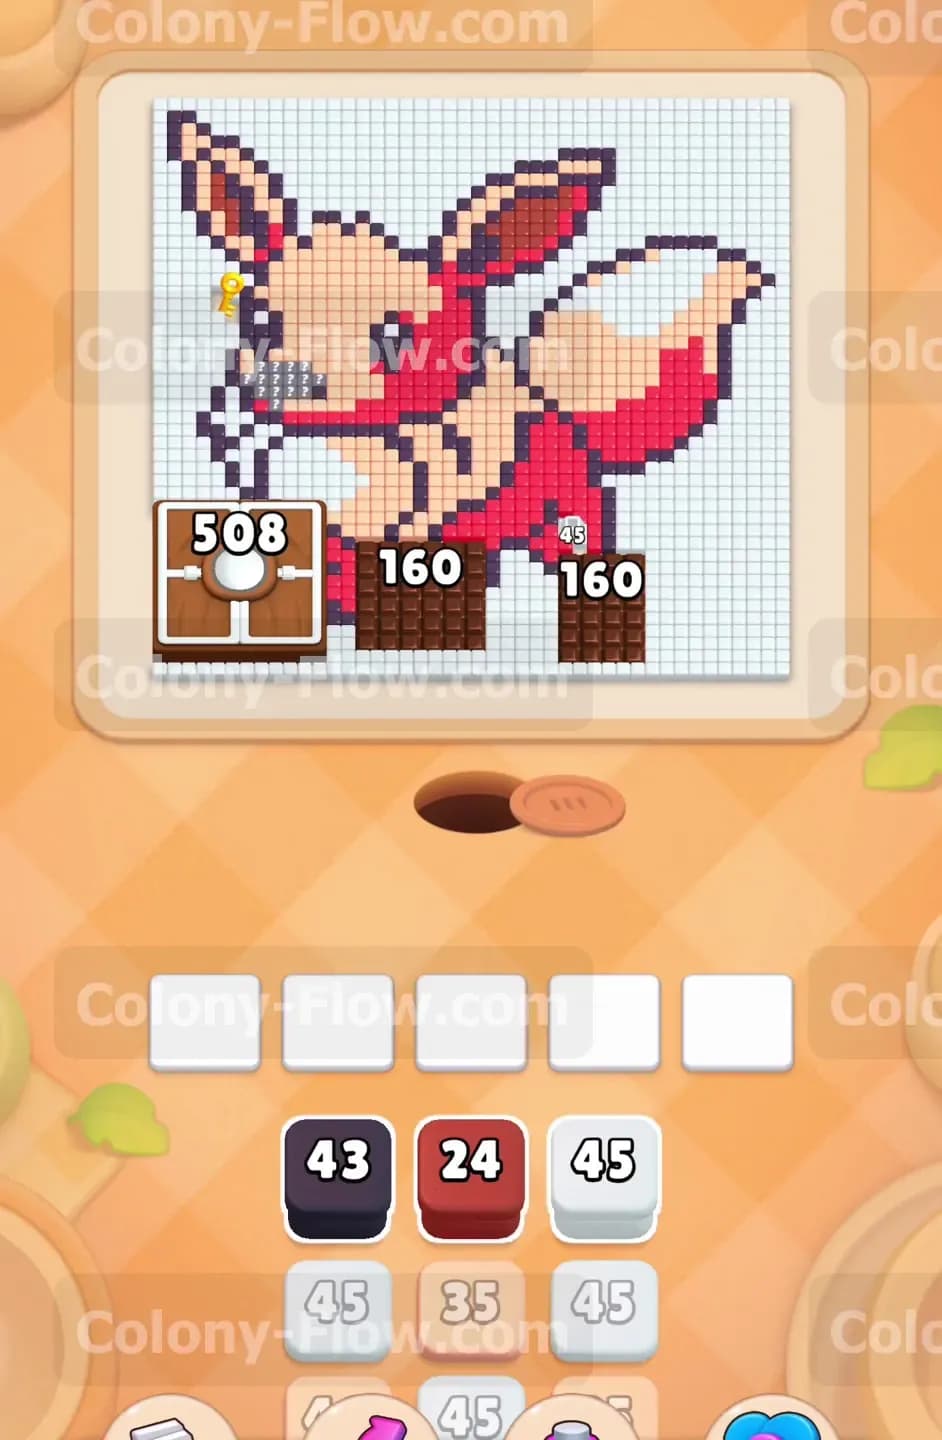
When you load into the board you will see a detailed fox design surrounded by a plain white background. The creature has a beige face and a thick red tail outlined in black pixels. The biggest hurdle sits right at the bottom edge near your nest hole. Three heavy blocks of chocolate cover the bottom rows of the art completely. The left side features a massive chocolate chunk requiring 508 ant bites to clear. The right side features two smaller chocolate blocks requiring 160 bites each. These chocolate barriers prevent you from reaching the food tiles underneath them. Your tray holds a steady supply of white red beige and black numbered blocks that you must pull to feed the colony.
What It Takes to Clear Level 462 Board
Winning this board requires you to systematically break down those heavy chocolate pieces before you can freely attack the rest of the drawing. You win the game when every single colored tile is eaten and the board is completely empty. The core danger is letting your five waiting slots fill up with blocks that have no valid path to their matching tiles. If you jam the tray and the ants stop moving you will lose the level immediately. You must always look ahead and pull colors that the ants can reach right away.
Colony Flow Level 462 Step by Step Solution
Step 1: Focus on breaking down the heavy chocolate barriers early in the game
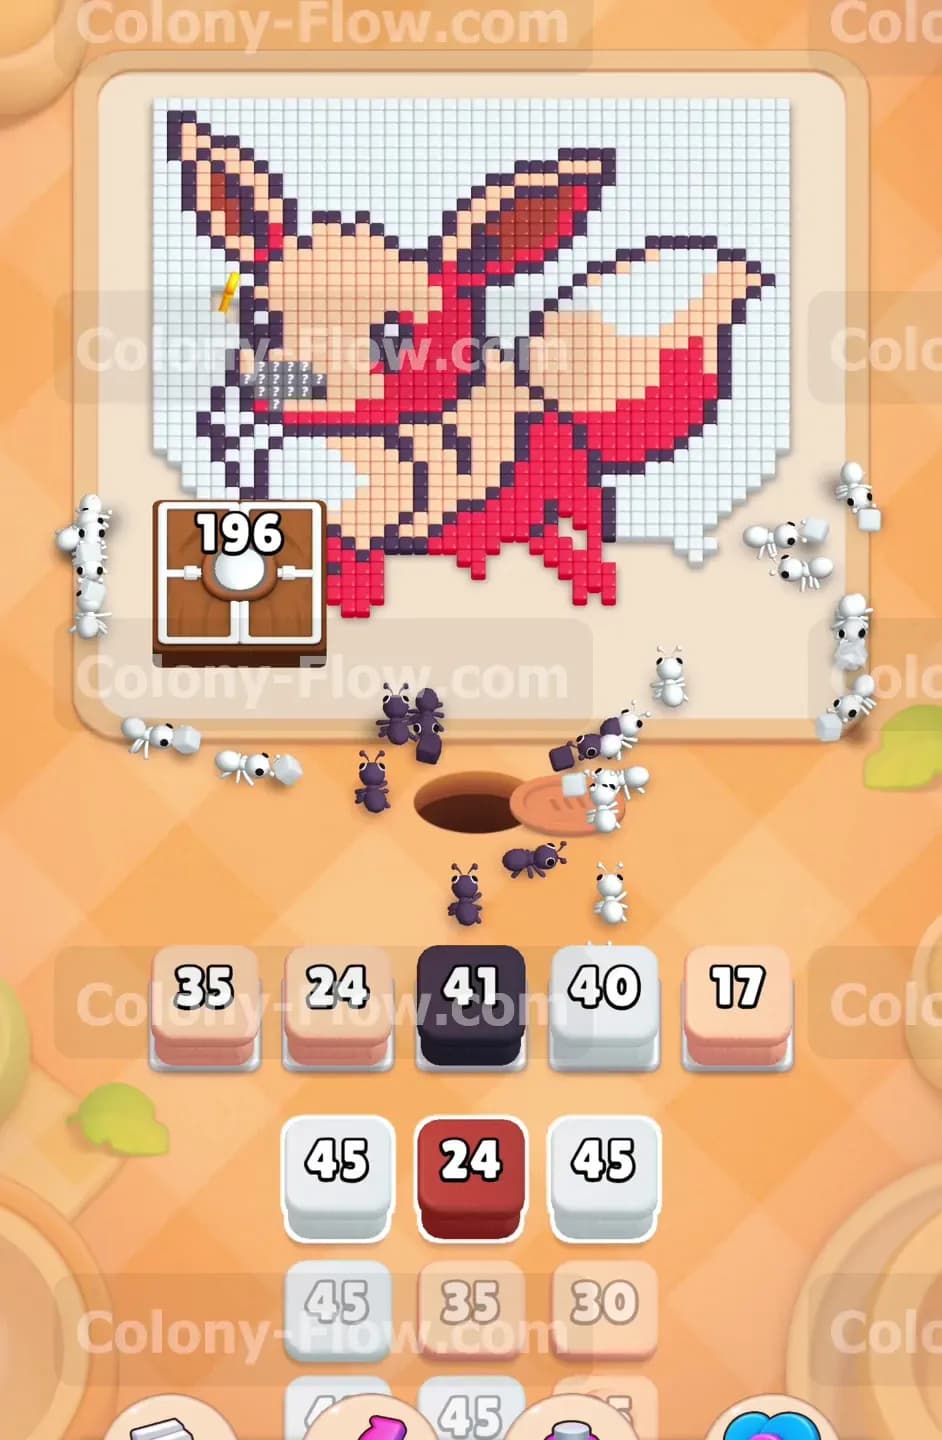
Begin your game by focusing on the massive chocolate chunks blocking the lower portion of the board. You cannot bypass these pieces so you must break them down early. Pull the available blocks from your tray that correspond to the outer edges of the exposed colors. The ants will pour out of the nest hole and begin attacking the chocolate directly. You will see the massive 508 number on the left chocolate chunk slowly tick down as the ants chip away at the brown shell. The two smaller 160 chocolate blocks on the right will also begin to shrink. You must be very careful with your tray slots during this opening phase. Do not pull blocks for colors trapped behind the chocolate. If you pull a black block before the black outline is exposed it will sit in your slot and take up needed space. Only bring up colors that give the ants an immediate target. Keeping your tray clear early on sets you up for a smooth run.
Step 2: Open up the left side of the board by pulling white blocks to clear the background
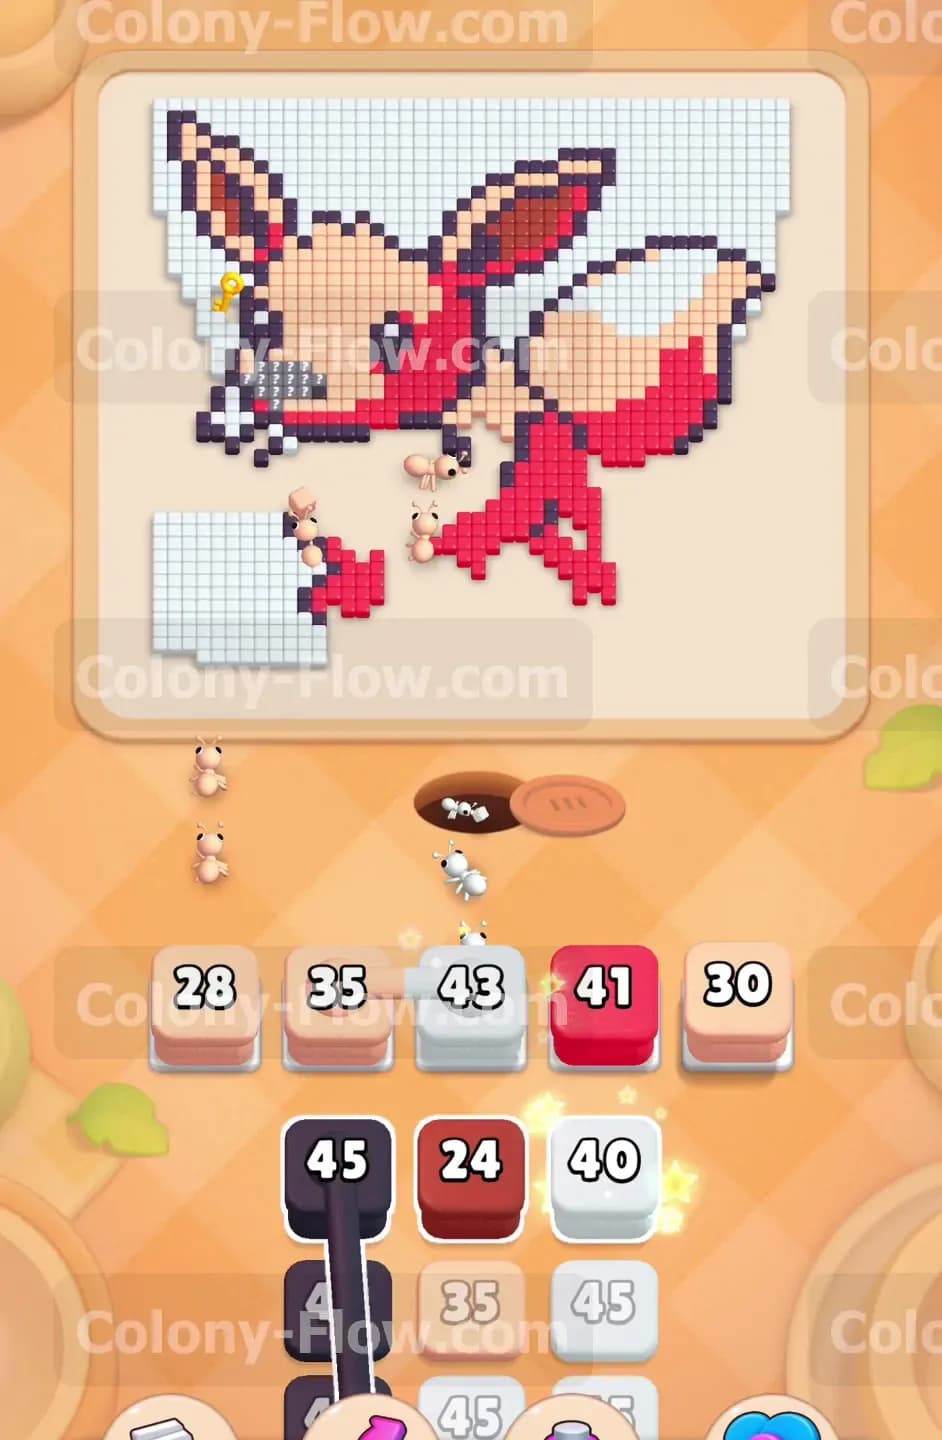
Open up the left side of the board by pulling white blocks to clear the background space. Once the chocolate barriers melt away your ants gain access to the raw pixel tiles making up the bottom left corner. This area consists entirely of white background tiles. Pull the white blocks showing numbers like 40 and 45 from your tray. This sends a huge wave of ants swarming up the left edge of the screen. Eating this white space is incredibly helpful because it creates a wide open lane for your colony to travel north. The ants need open paths to reach the upper sections of the ears and the head. Keep pulling white blocks as long as they show up in your tray and the ants have a clear run. Watch your tray capacity closely. Leave at least two empty slots so you can react if the board shifts or a new color becomes available. Clearing the background first removes the clutter and exposes the actual outline of the creature.
Step 3: Target the beige blocks to begin devouring the face and chest of the fox
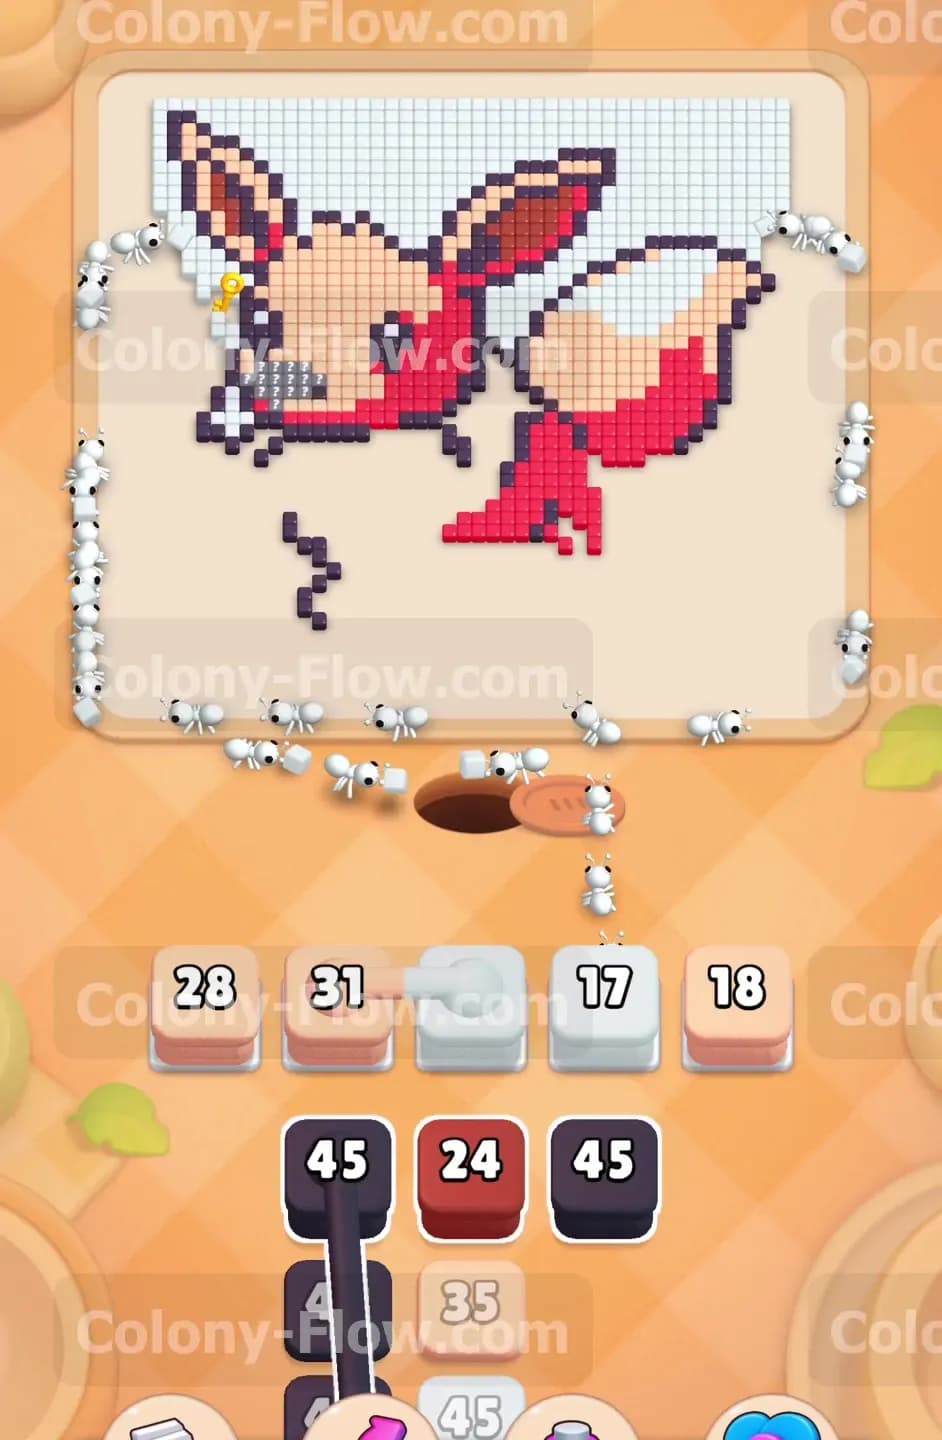
Target the beige blocks to begin devouring the face and chest of the fox. With the left side highway established your ants can easily reach the beige pixels making up the front half of the animal. Look at your tray and pull up the beige blocks carrying numbers like 35 and 28. The colony will march up the open left side and start eating inward toward the center of the face. You want to focus on this large cluster of beige because it clears a massive central area very quickly. Tearing a hole in the middle of the art gives your ants more angles to attack the surrounding red and black tiles. Always verify that a path exists before you pull a new beige block. If the ants are currently busy finishing a white block you can queue up the beige block in an empty slot. Just make sure you never fill the fifth slot unless you are absolutely sure the ants are about to clear a block and free up space.
Step 4: Bring up red blocks to carve out the thick tail section on the right side
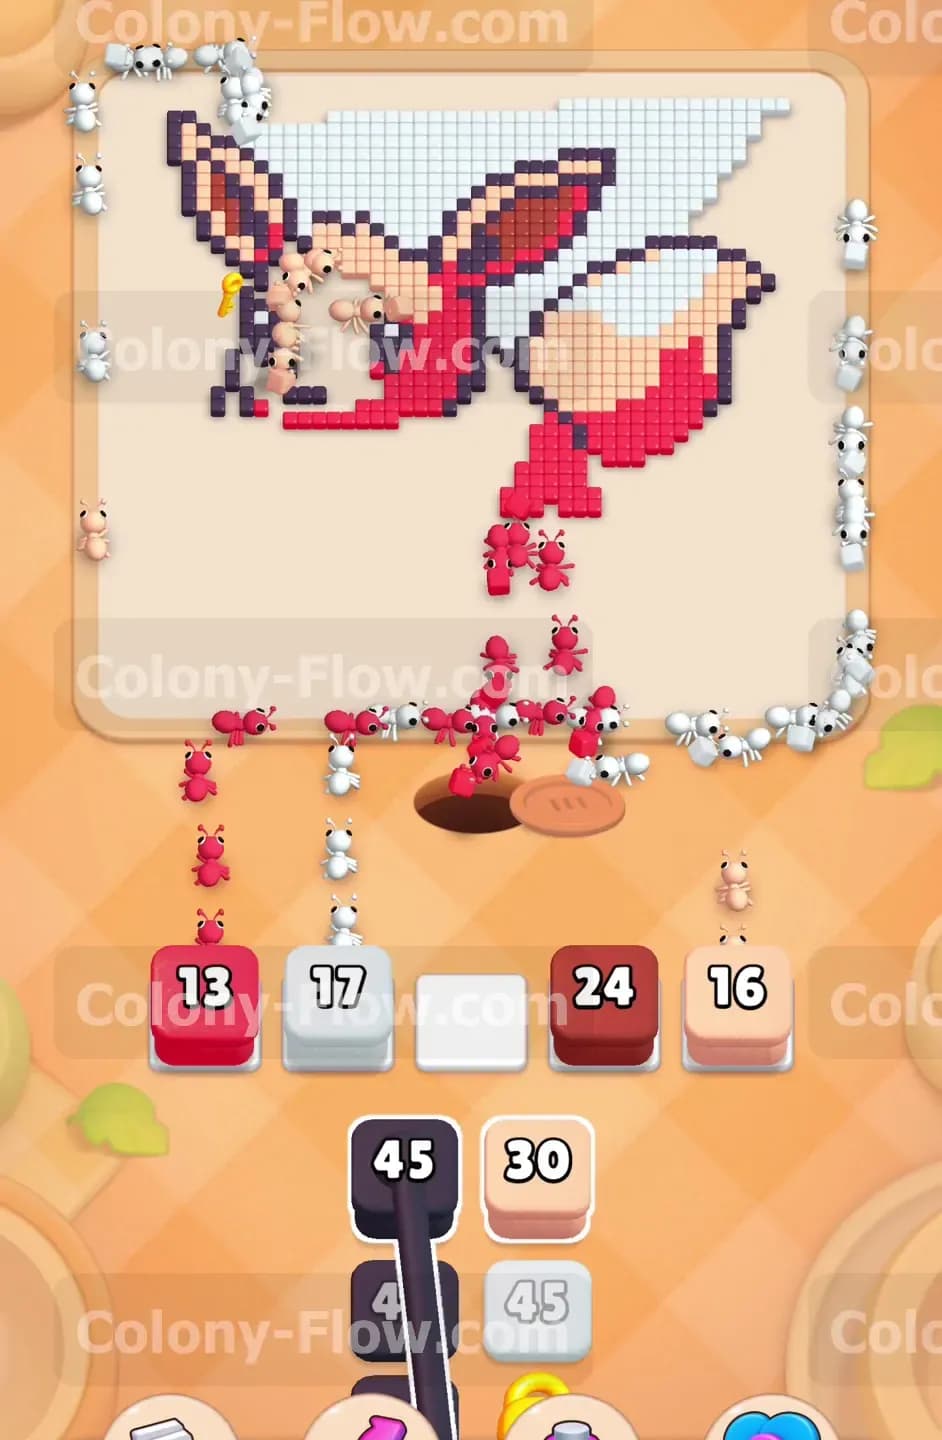
Bring up red blocks to carve out the thick tail section on the right side of the board. The back half of the creature is made of solid red pixels that take a lot of ant power to chew through. Pulling red blocks with numbers like 41 and 24 will direct a new stream of ants toward the lower right area. They will flood into the tail and start dropping the numbers quickly. Alternating between the red blocks for the tail and the beige blocks for the head is a great way to balance the board. It splits your colony into two different working groups and prevents traffic jams near the nest hole. A smooth flow of ants means your tray numbers tick down faster. This dual approach keeps the board moving and ensures you never dead end your progress. Keep feeding the red blocks into the slots as long as the tail pixels remain exposed and you have an open path.
Step 5: Clear the remaining top right white background to isolate the figure completely
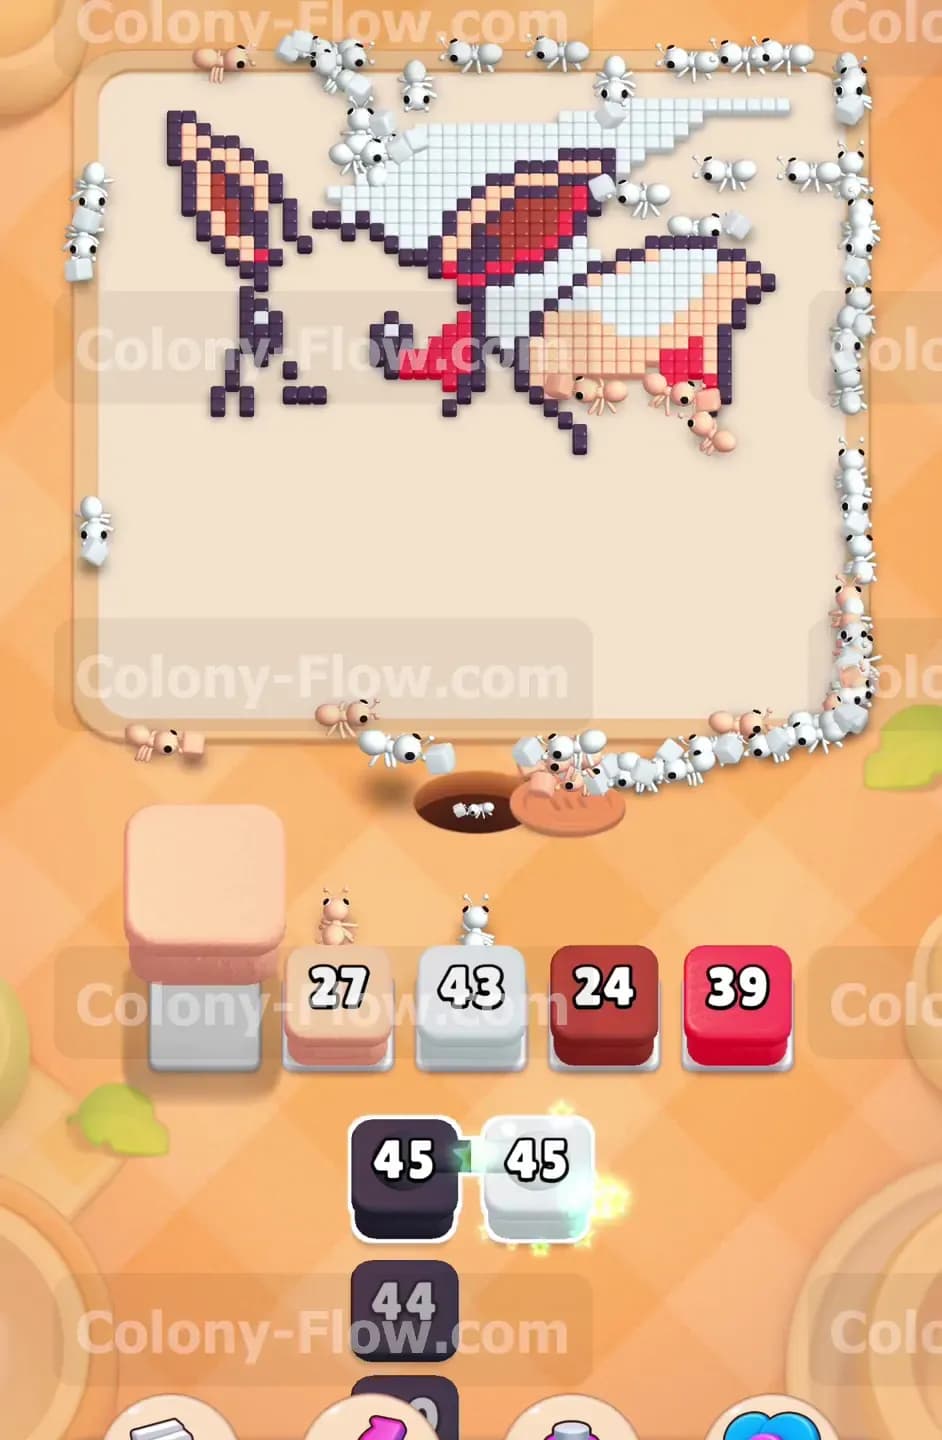
Clear the remaining top right white background to isolate the figure completely. As the red tail shrinks you will notice a large pocket of white background tiles sitting untouched in the upper right corner. Pull a high numbered white block like a 43 or a 45 to send your colony on a long march around the top of the screen. The ants will run past the beige ears and sweep down the right edge to eat the white space. Getting rid of this final background section leaves the fox completely exposed from every single angle. This is exactly what you want late in the game. When the art stands alone without any background clutter your ants can reach the interior pixels much faster. Keep an eye on your slots and let the ants finish their long journey across the top before you flood the tray with too many new colors.
Step 6: Pull the black blocks to consume the dark outlines and finish the board
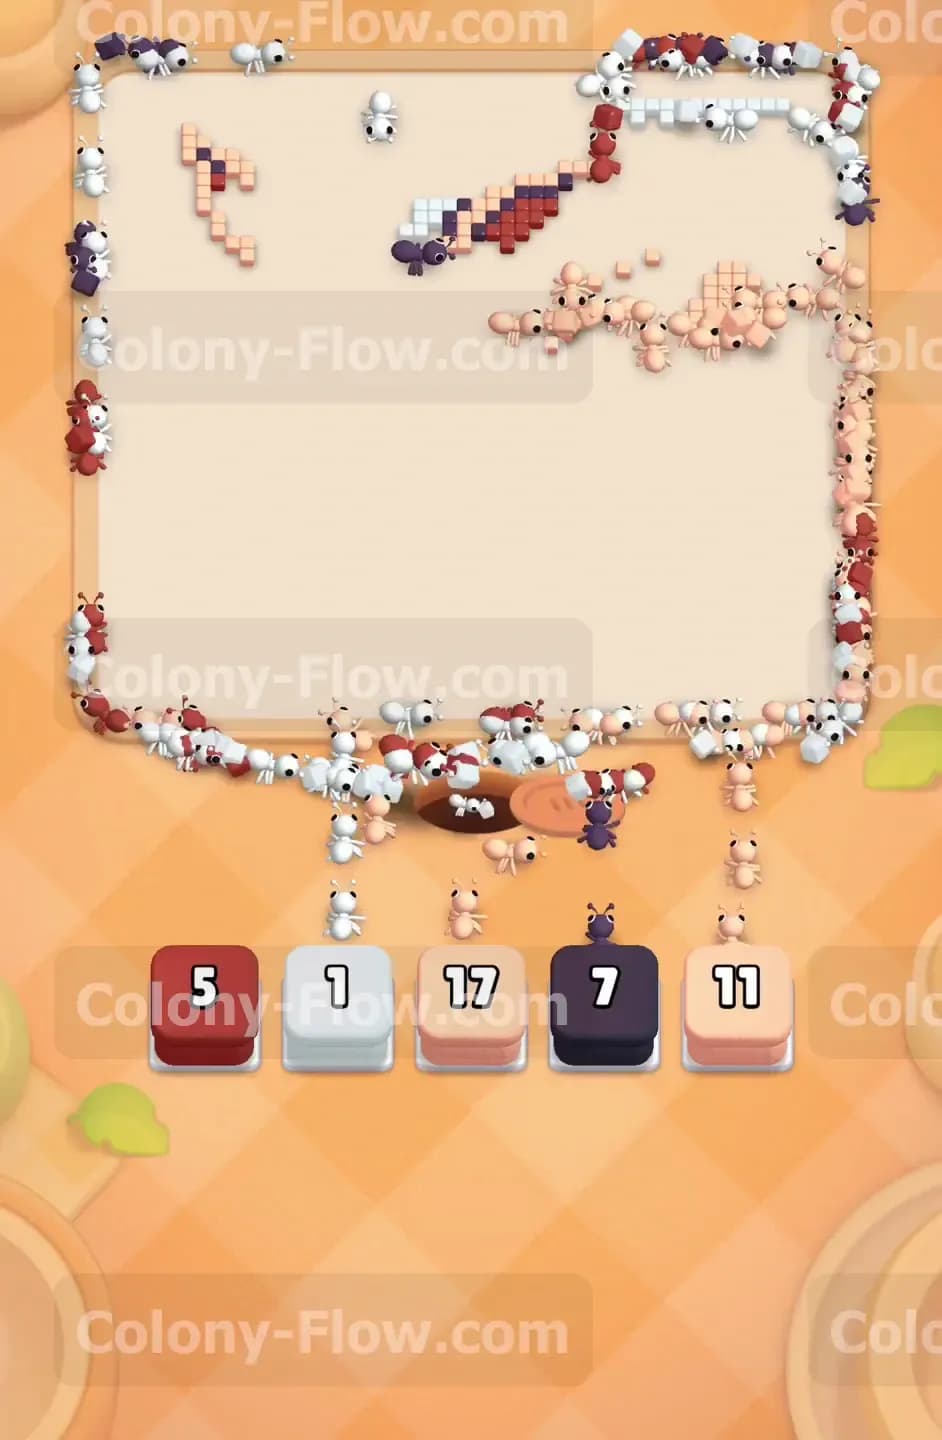
Pull the black blocks to consume the dark outlines and finish the remaining scattered pieces. You saved the black blocks for the end because the outline tiles weave all around the outside and inside of the creature. Now that the background and the solid interior colors are mostly gone these black paths are totally open. Pull the black blocks from your tray and watch the ants run along the thin winding lines. They will quickly dismantle the borders and the facial features. You might also have a few low numbered red or white blocks left in your tray. Pull them alongside the black blocks to mop up any random leftover pixels. The ants will swarm the final few tiles from all sides. Make sure you do not rush the final pulls. Just feed them in one at a time to keep the board flowing until the last piece vanishes and you win the level.
Final Thought
That is everything you need to know to beat this board. Managing the heavy chocolate barriers early makes the rest of the run much smoother. Keep an eye on your tray limits and you will finish with ease. Please watch the video above this article if any step is hard to follow in text.