Colony Flow Level 127 Walkthrough Solution & Guides | How to solve Colony Flow 127

Guide By Liam Stone
Updated on July 11, 2026
The video above has the full walkthrough for Level 127, so use it if you'd rather skip the article.
Video doesn't match your screen?
Game updates frequently scramble layouts! Try our AI Screenshot Solver first to find your exact board instantly, or report broken guides to our team.
Welcome to Colony Flow Level 127. I am Liam Stone and I am here to guide you through this puzzle. You will find a colorful video game controller waiting for you on this board. Colony Flow is an incredibly satisfying puzzle experience but it requires careful planning. I played this exact level to figure out the safest path to victory. I wrote this guide to help you beat the stage without getting stuck. Every move I suggest keeps the game flowing. Let me show you how to clear this board.
Colony Flow Level 127 Overview
What You Are Working With
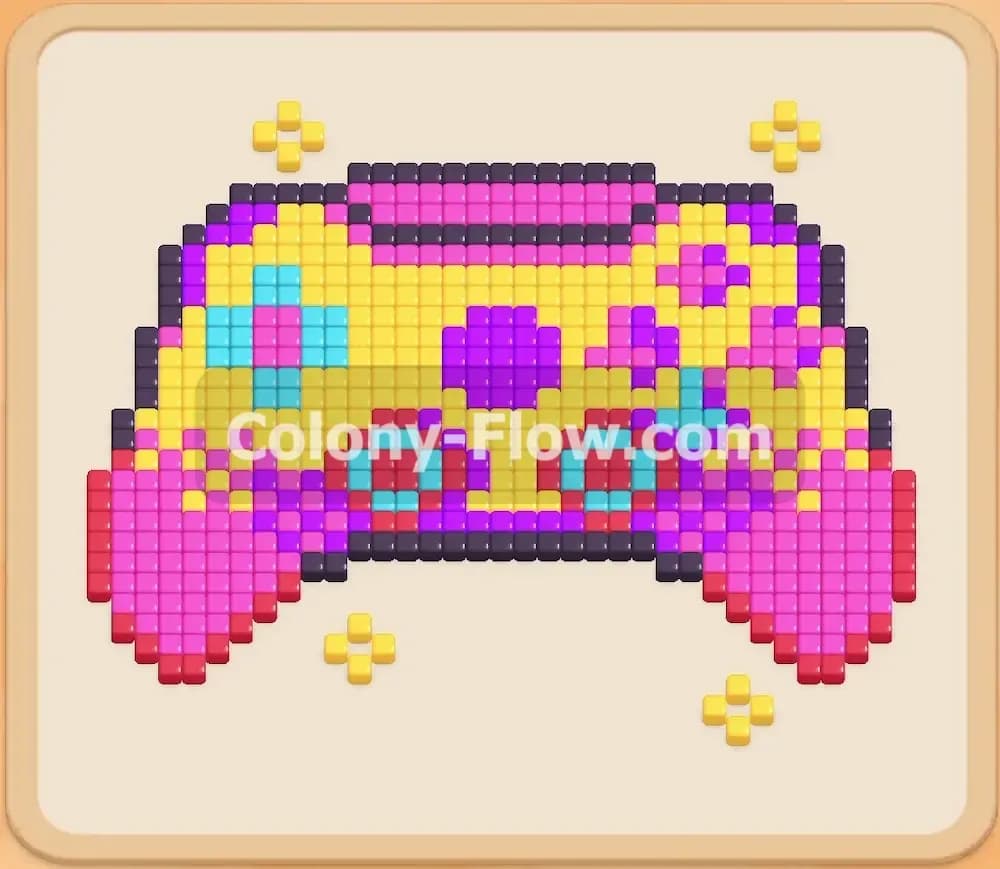
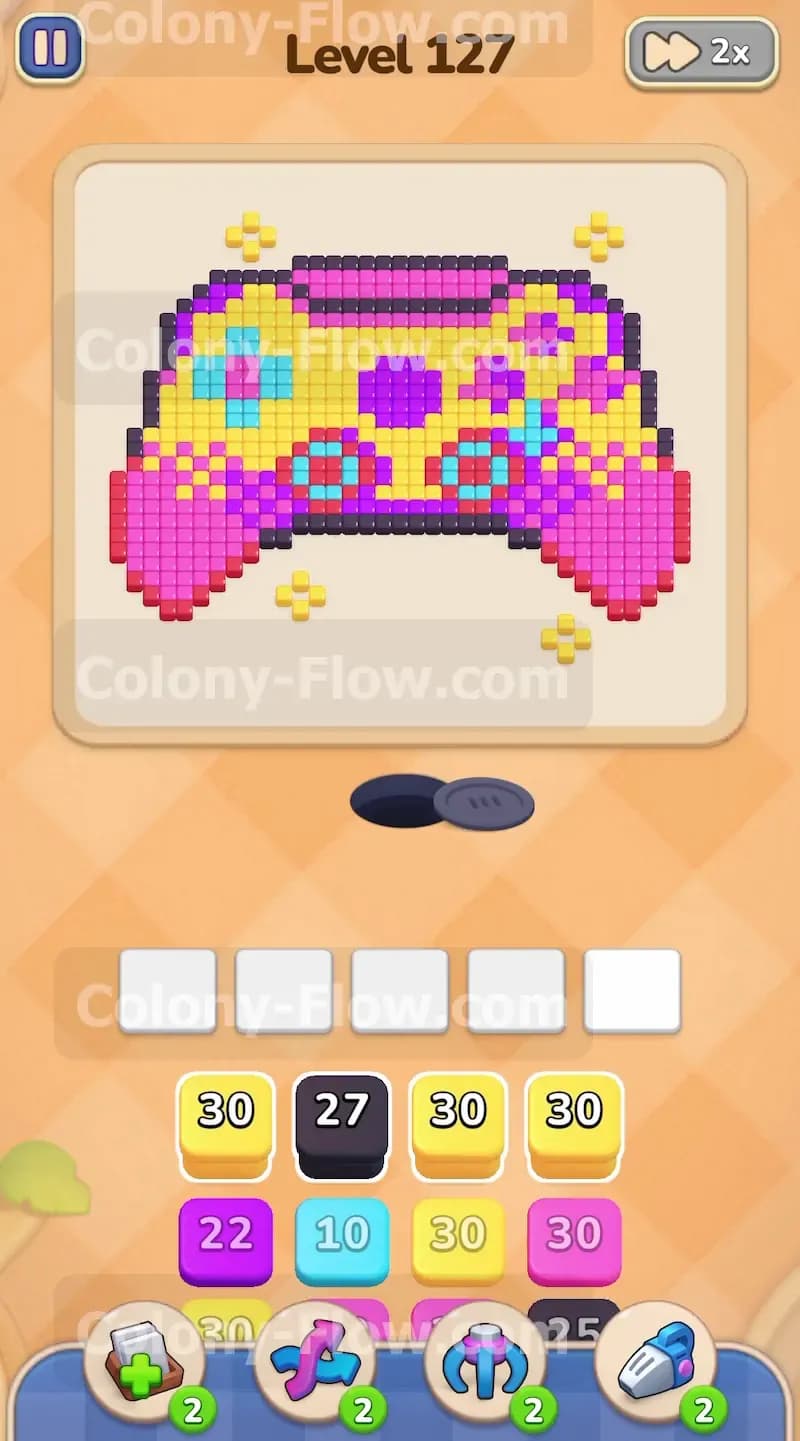
The board shows a beautiful pixel art video game controller. The top outline has a dark gray edge. The main shell body is solid bright yellow and takes up the majority of the screen space. The two grip handles at the bottom are bright neon pink and very thick. The right side has four purple action buttons perfectly arranged in a diamond shape. The left side has a light blue directional cross pad that resembles classic retro hardware. You will also spot tiny red accent squares tucked near the inner pink handles. The tray at the bottom is loaded with high number blocks. You will see yellow blocks with thirty counts and pink blocks with thirty counts. There are also smaller black and purple blocks waiting underneath. The paths are wide open from the very start. The ants can reach the top edge and the bottom handles right away. There are no special hidden boxes or chocolate wrappers blocking your path. You just have raw colorful tiles to clear.
What It Takes to Clear Level 127 Board
Clearing this board means feeding every single pixel to your ants. You start with five empty waiting slots at the absolute bottom of the screen. You must tap the right colored numbered blocks from the tray to match the open tiles on the controller above. The main rule of this game is simple but incredibly unforgiving. If you fill all five waiting slots and none of those selected colors can reach an open tile on the board you lose the level instantly. You must always maintain an open lane so the ants can move out of the nest hole. You have to balance pulling the massive yellow and pink blocks with the tiny red and black blocks. Your ultimate goal is a completely empty screen where all the ants return home.
Colony Flow Level 127 Step by Step Solution
Step 1: Open the top edges and the right action buttons
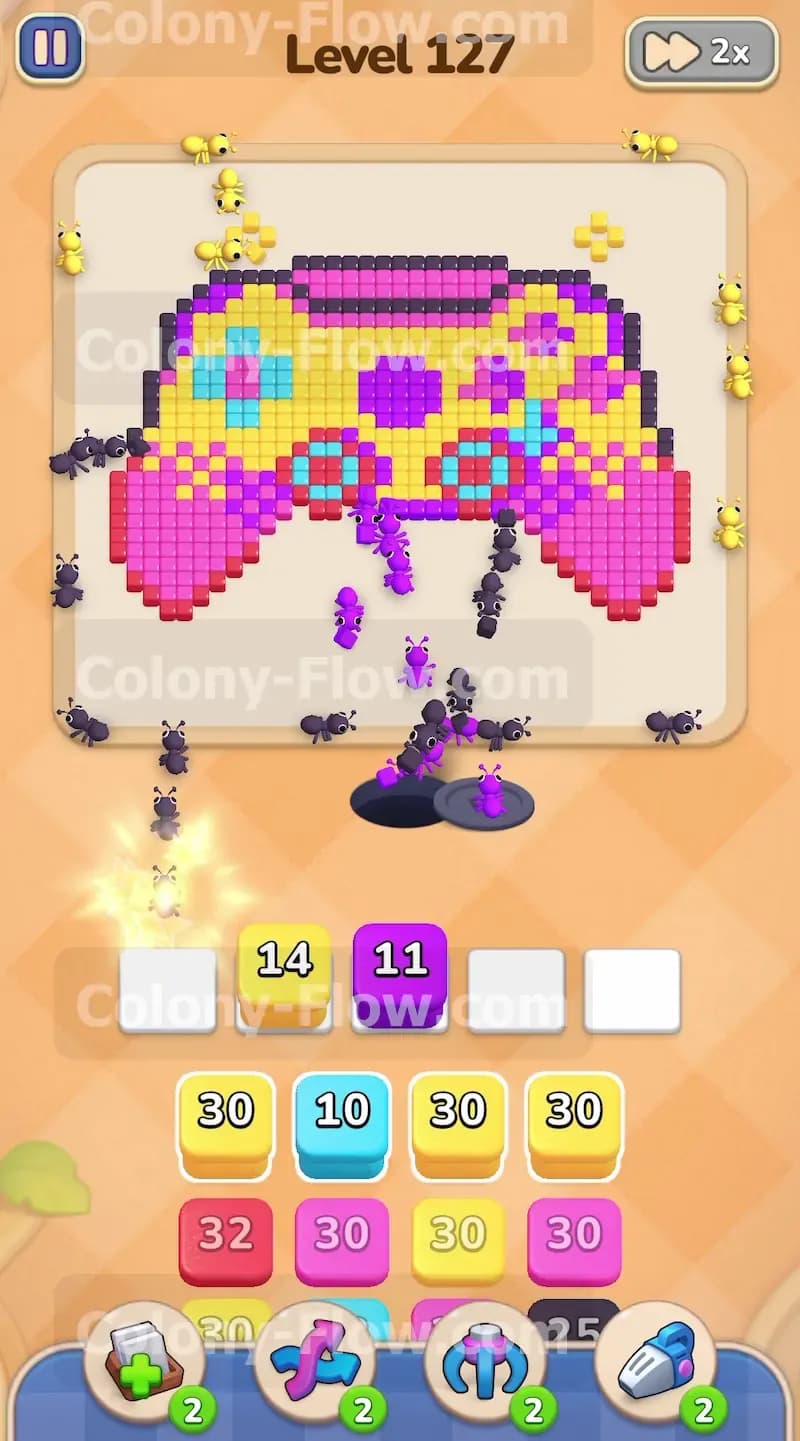
Pull a black block and a yellow block to open the top outer lines. The black block will send little black ants climbing all the way up to the dark gray border across the very top of the controller. You will notice the black number dropping from twenty seven down to fourteen very quickly as they eat the outer pixels. At the exact same time you should click a purple block into your tray to keep the momentum going. The purple ants will march toward the top right side to nibble on the action buttons. Click a yellow block to start clearing the upper corners of the yellow casing. These three colors will run simultaneously and keep your slots moving fast. Your board will start shrinking from the top down. Watch the numbers tick down and wait for one of the slots to empty completely.
Step 2: Bring in the pink blocks to attack the bottom grips
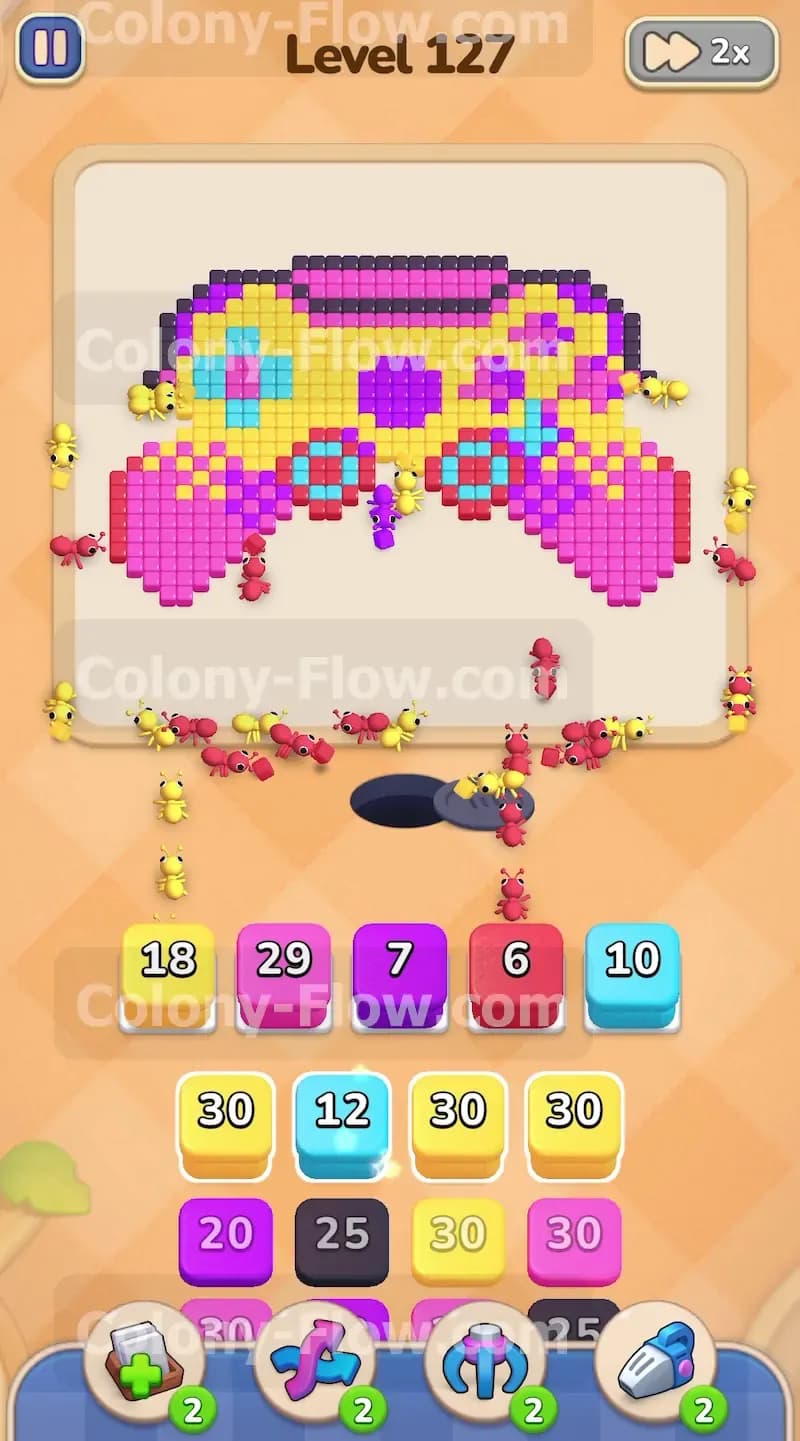
The two thick handles on the bottom are made entirely of pink tiles. Click a pink block into your empty tray slot to send a swarm of pink ants up the middle. They will split left and right to eat the inner edges of both grips. You should also click a light blue block with a ten count into a waiting slot. The light blue ants will head toward the directional cross pad on the left side. If you see a small red block in the tray you can pull it right now. The red ants will quickly clear the tiny red accent squares tucked near the pink handles on the right side. It is crucial to get these tiny accent colors out of the way early so they do not block your progress later. Your five slots will be full for a short moment but the active eating will empty them fast enough to keep you safe.
Step 3: Feed the center yellow section while the black ants finish the border
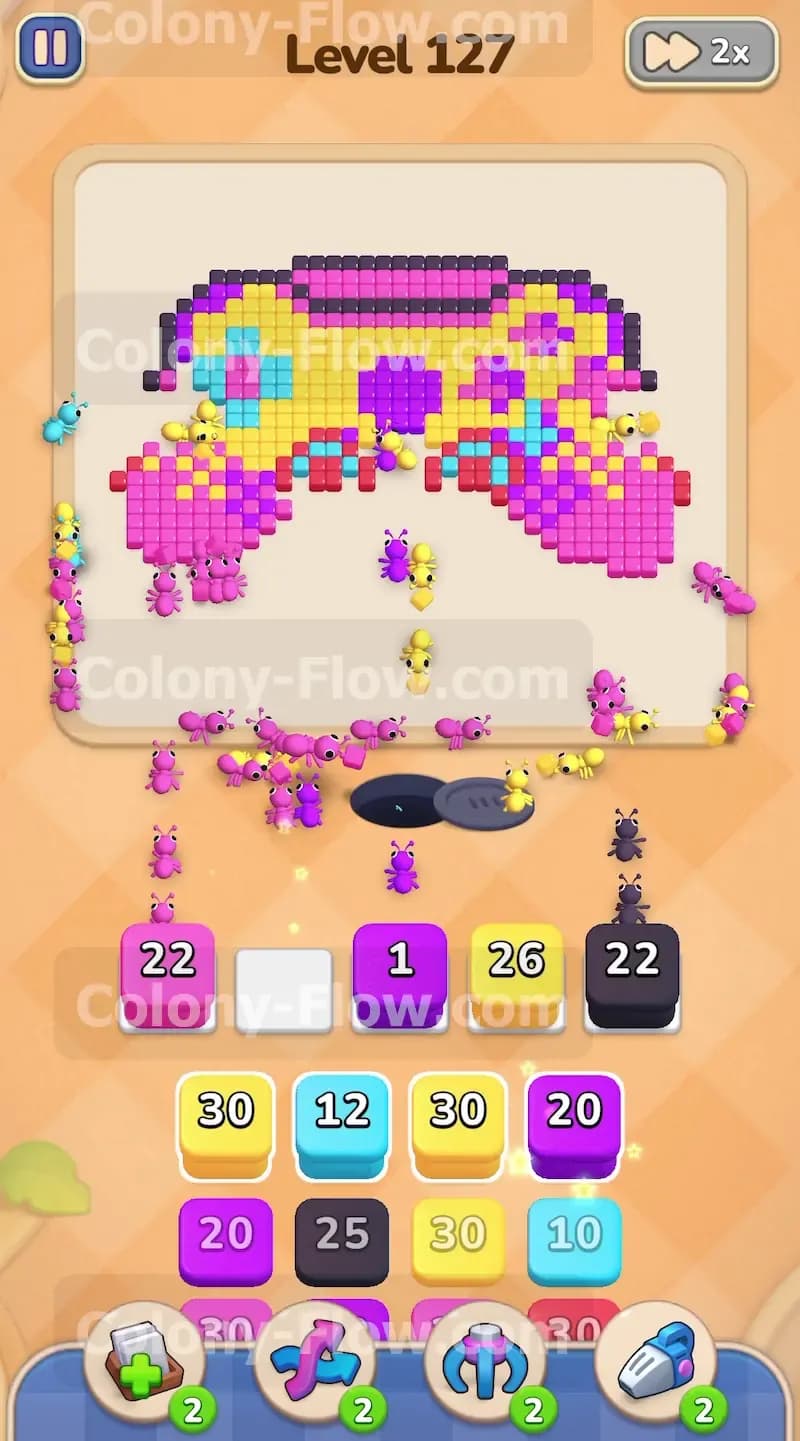
The dark gray border takes a long time to clear completely because it stretches so far. Your black block might sit in the slot with a low number like thirteen for quite a while. Do not let this worry you at all. Just keep working around it and do not pull any colors that are currently blocked. Click another yellow block with a thirty count to feed the massive center of the controller. The yellow ants will flood the middle of the board and consume the main body from the top down. Add another purple block to keep clearing the right side action buttons. The purple tiles are clustered tightly so the ants eat them very rapidly. This rapid clearing frees up your slots for the next wave of blocks. Always keep your eyes on the tray to see what colors are coming up next.
Step 4: Clear the left side directional cross pad completely
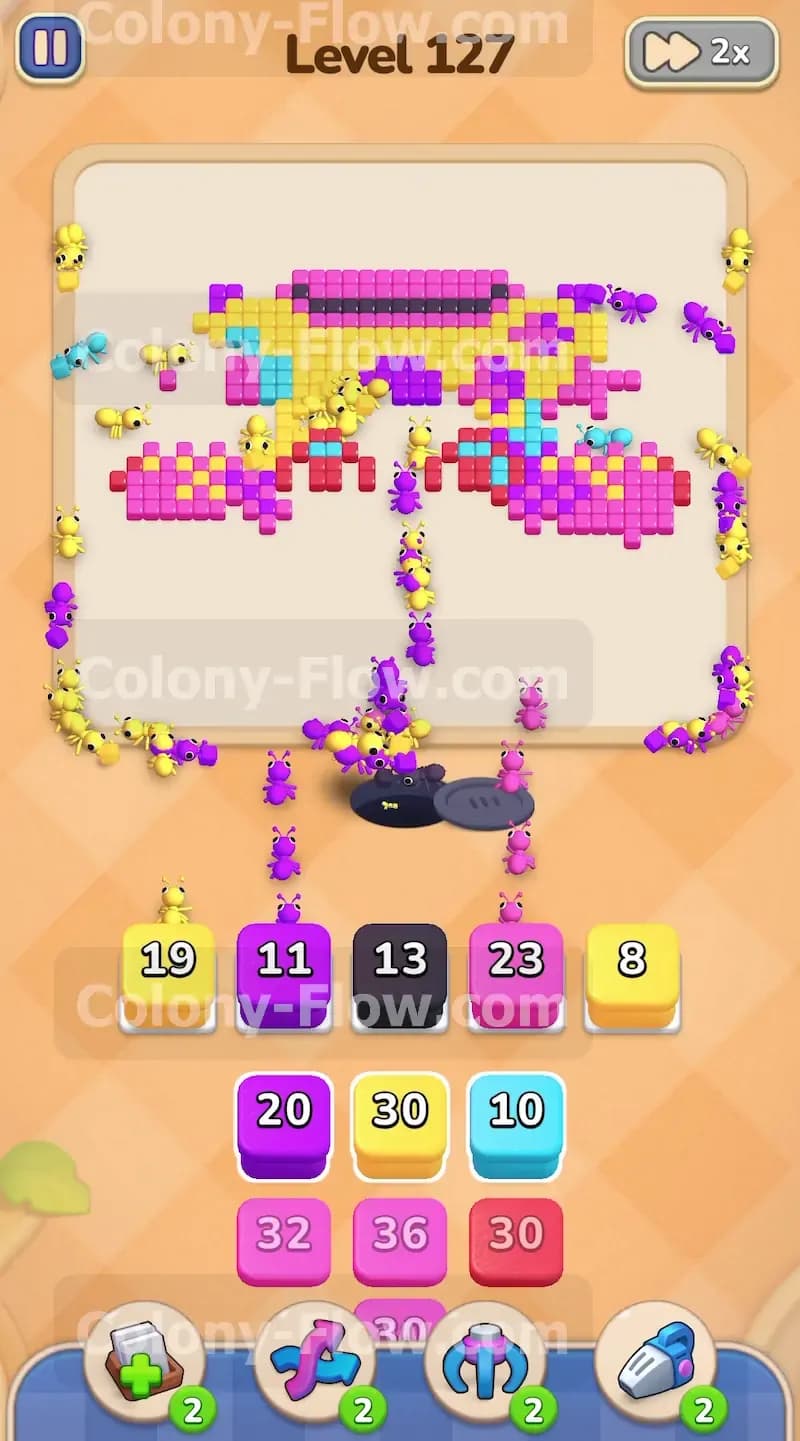
The left side of the controller still has a large chunk of light blue tiles. Pull another light blue block from the tray to keep the pressure on that section. The light blue ants will carve out the entire left input area until it vanishes. Meanwhile your yellow ants will continue eating the solid yellow background behind the buttons. You will need multiple yellow blocks to finish the main casing. Keep clicking yellow blocks into your waiting area as soon as a slot opens up. You will also see more pink blocks surfacing in the tray beneath the yellow ones. Pull one pink block to continue grinding down the thick bottom handles. The board will start looking very fragmented and hollow at this point but you are making excellent progress.
Step 5: Empty the thick pink grips from the bottom corners
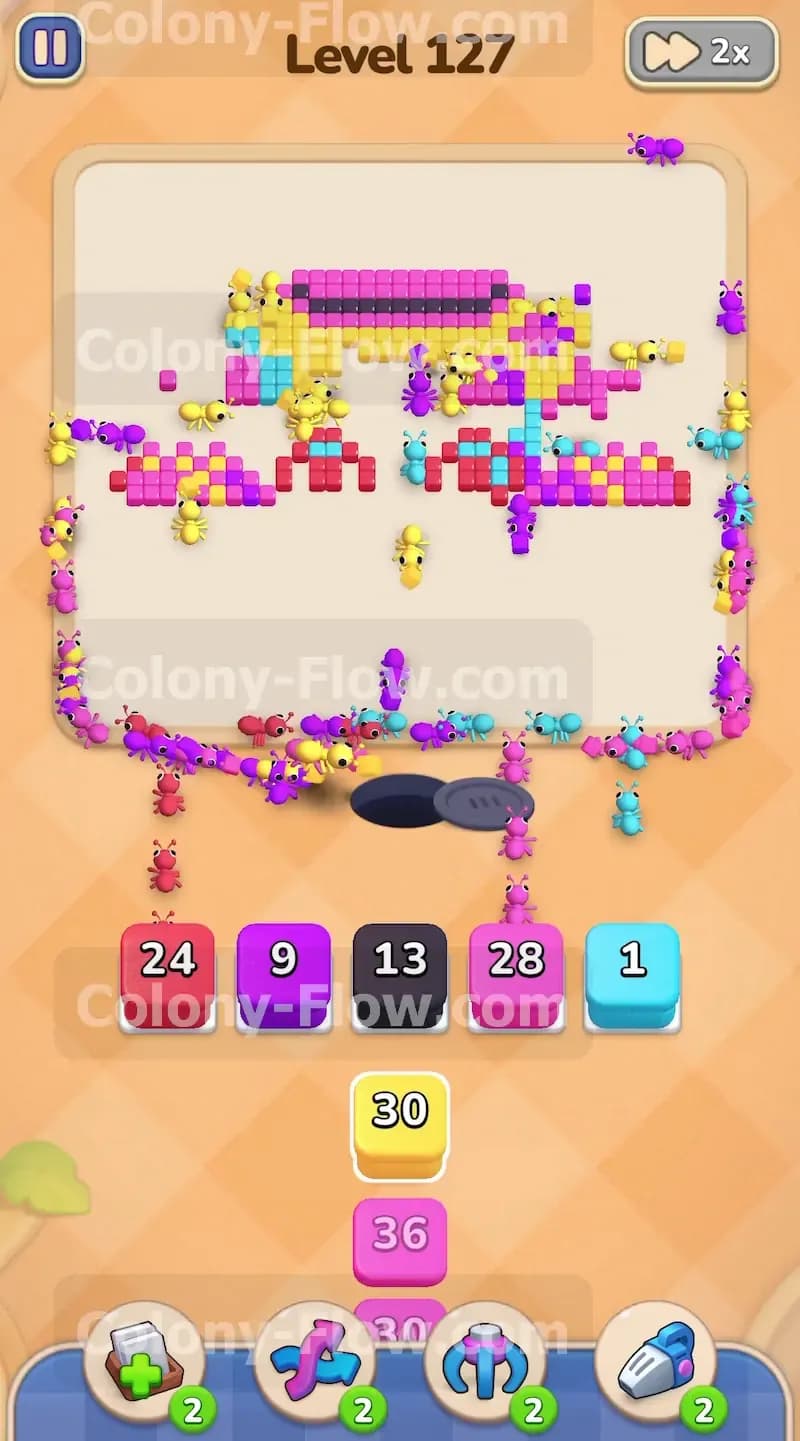
The bottom handles require a massive amount of pink ants to disappear entirely. Your tray will offer several pink blocks with thirty counts and thirty six counts. Click them into your empty slots one after another. The pink ants will storm the bottom left and bottom right corners. The handles will melt away very quickly under this swarm. Your black block should finally reach zero and vanish as the last dark gray border tiles disappear from the top. This opens up a permanent slot for the final cleanup phase. Use that newly opened slot to bring in a purple block with an eleven count. The purple ants will sweep up the final action buttons on the right side and clear that area completely.
Step 6: Finish the remaining scattered center tiles to win
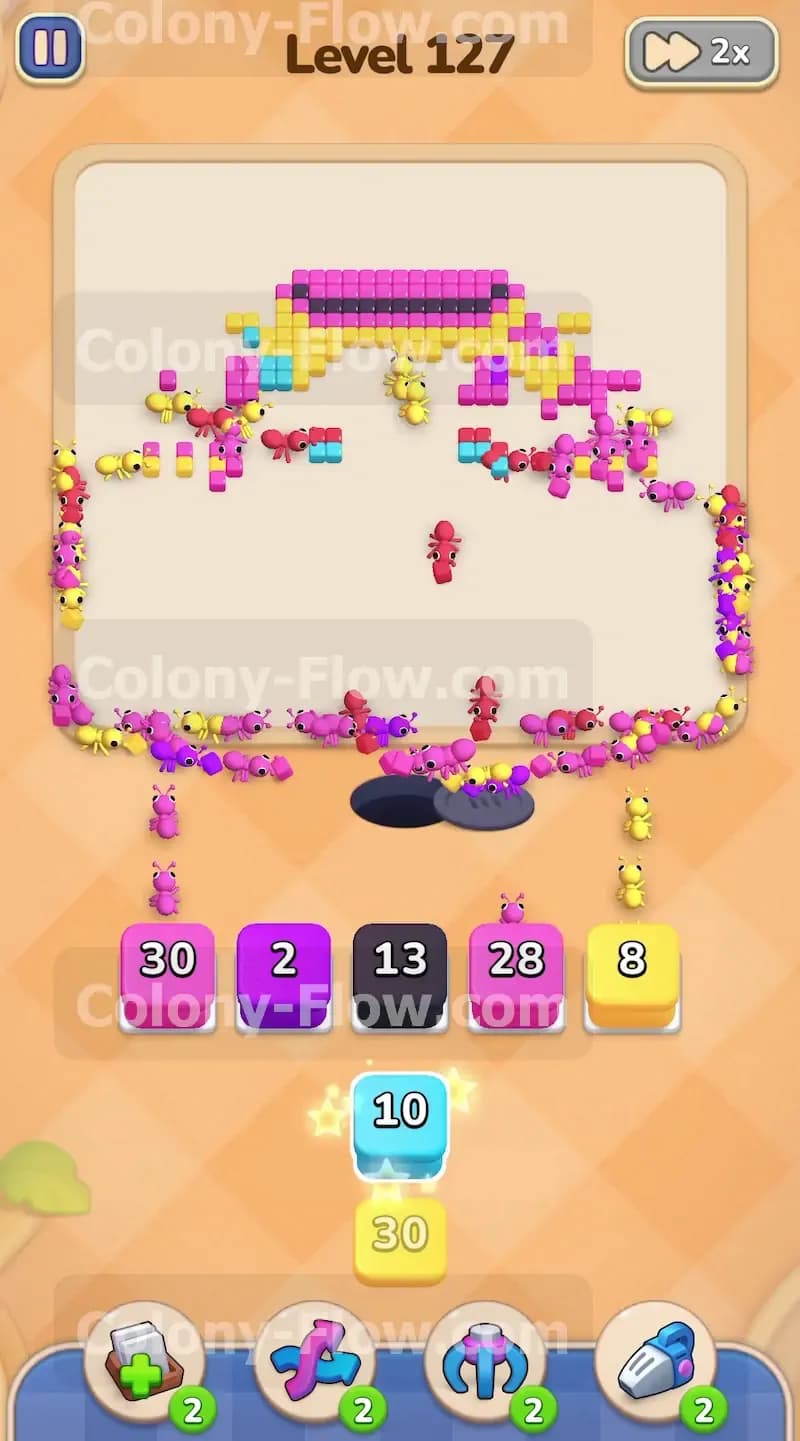
The large solid shapes are now entirely gone. You only have a few isolated dots of yellow and pink scattered near the middle. Click a yellow block with an eight count to clear the last yellow casing pieces. Click a pink block with a twenty eight count to consume the final pink handle fragments. The ants will run up and grab these isolated pixels one by one in a very satisfying way. You might see a final light blue block drop into the tray near the very end of the stack. Click it if there are any tiny blue spots remaining on the left side of the board. Once the very last pixel is eaten the ants will run back to the nest hole. The screen will clear completely and you will beat the level.
Final Thought
Level 127 is a wonderfully fun exercise in managing massive color blocks alongside tiny accent details. The secret key to winning is never letting the small red or black blocks choke your five waiting slots. By working the top border and the bottom handles at the exact same time you keep your ants moving constantly. Follow the moves I outlined above to conquer this stage with ease. Please watch the video above this article if any specific move feels hard to picture in text. Good luck clearing the board.