Colony Flow Level 530 Walkthrough Solution & Guides | How to solve Colony Flow 530

Guide By Liam Stone
Updated on August 1, 2026
If you want the fast route, watch the video above. It covers Level 530 from the first move to the last.
Video doesn't match your screen?
Game updates frequently scramble layouts! Try our AI Screenshot Solver first to find your exact board instantly, or report broken guides to our team.
Welcome back to another puzzle guide. Today we are tackling Colony Flow Level 530 and this one brings a massive pixel art landscape to clear. This puzzle tests your ability to handle multiple heavy obstacles at once while managing a very tight tray space. The image depicts a beautiful nature scene but you have to dig through thick barriers before you can even see most of it. I played through this level multiple times to find the perfect sequence of moves. If you follow my strategy you will easily feed your colony and clear the board without ever jamming your waiting slots.
Colony Flow Level 530 Overview
What You Are Working With
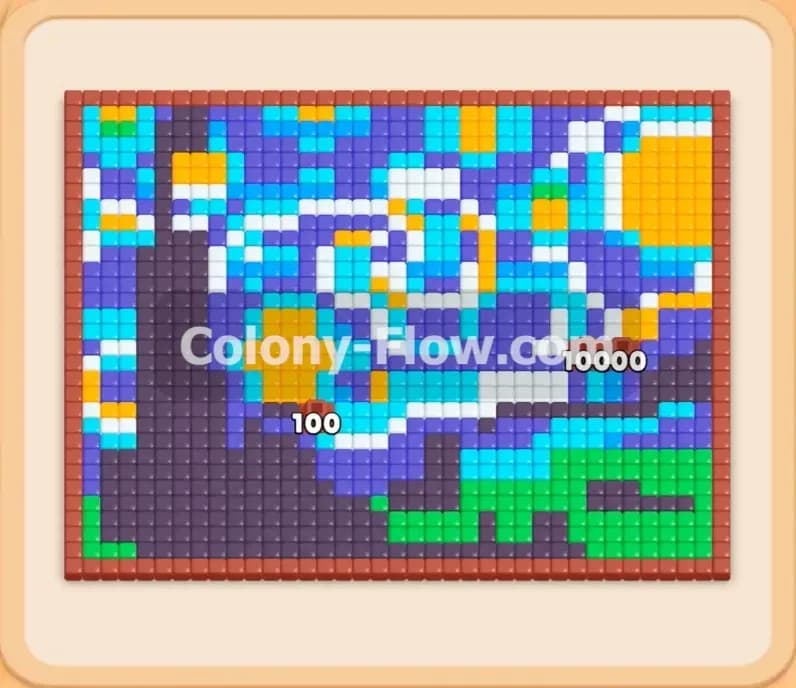
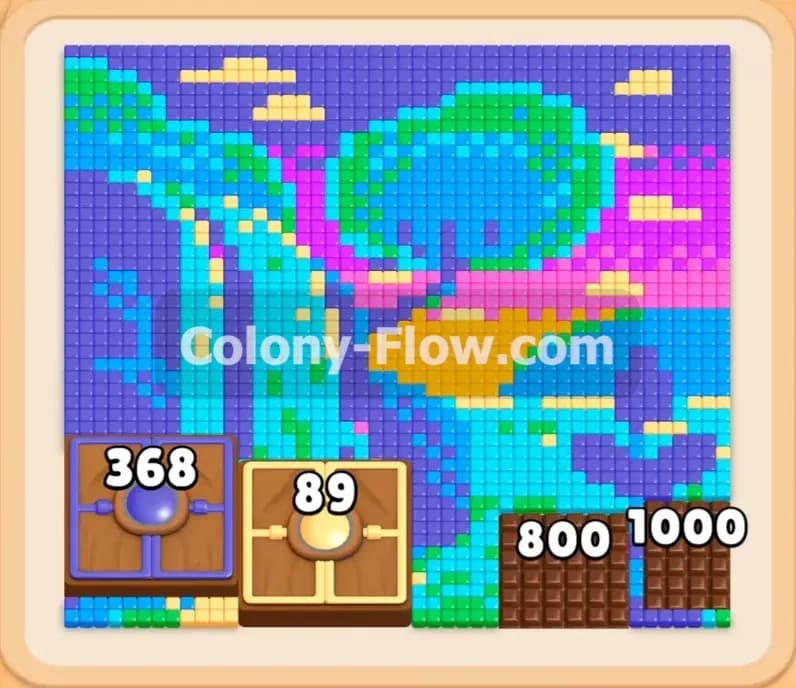
This board presents a vibrant pixel art picture of a lush tree beside a flowing river set against a purple and yellow sunset sky. The bottom section of the picture is completely blocked by huge special tiles. On the left side you face two Hungry Doors that require massive amounts of food points to open. The outer door demands 368 points. The inner door sits right behind it waiting for 89 points. On the right side you have two thick Chocolate blocks covering the lower corner. The outer Chocolate block requires 1000 points to break while the inner block needs 800 points. Down in your block tray you have a mix of standard colored blocks and several Connected Boxes holding blue cyan green purple and yellow colors. You will also uncover a Hidden Box late in the puzzle.
What It Takes to Clear Level 530 Board
Winning this level means melting down those huge Chocolate blocks and feeding the Hungry Doors until they fully open so the ants can reach the landscape behind them. The main challenge comes directly from balancing your tray slots. You only have five waiting slots available at the bottom of your screen. If you pull up too many colors at once the slots will fill up entirely. When all five slots are full and no ants can reach their matching colors on the board you lose the level instantly. You have to alternate your focus between the left side doors and the right side Chocolate. Feeding both sides simultaneously keeps the ants flowing outward in two different directions. This strategy prevents traffic jams on the board and frees up space in your waiting slots for the next round of blocks.
Colony Flow Level 530 Step by Step Solution
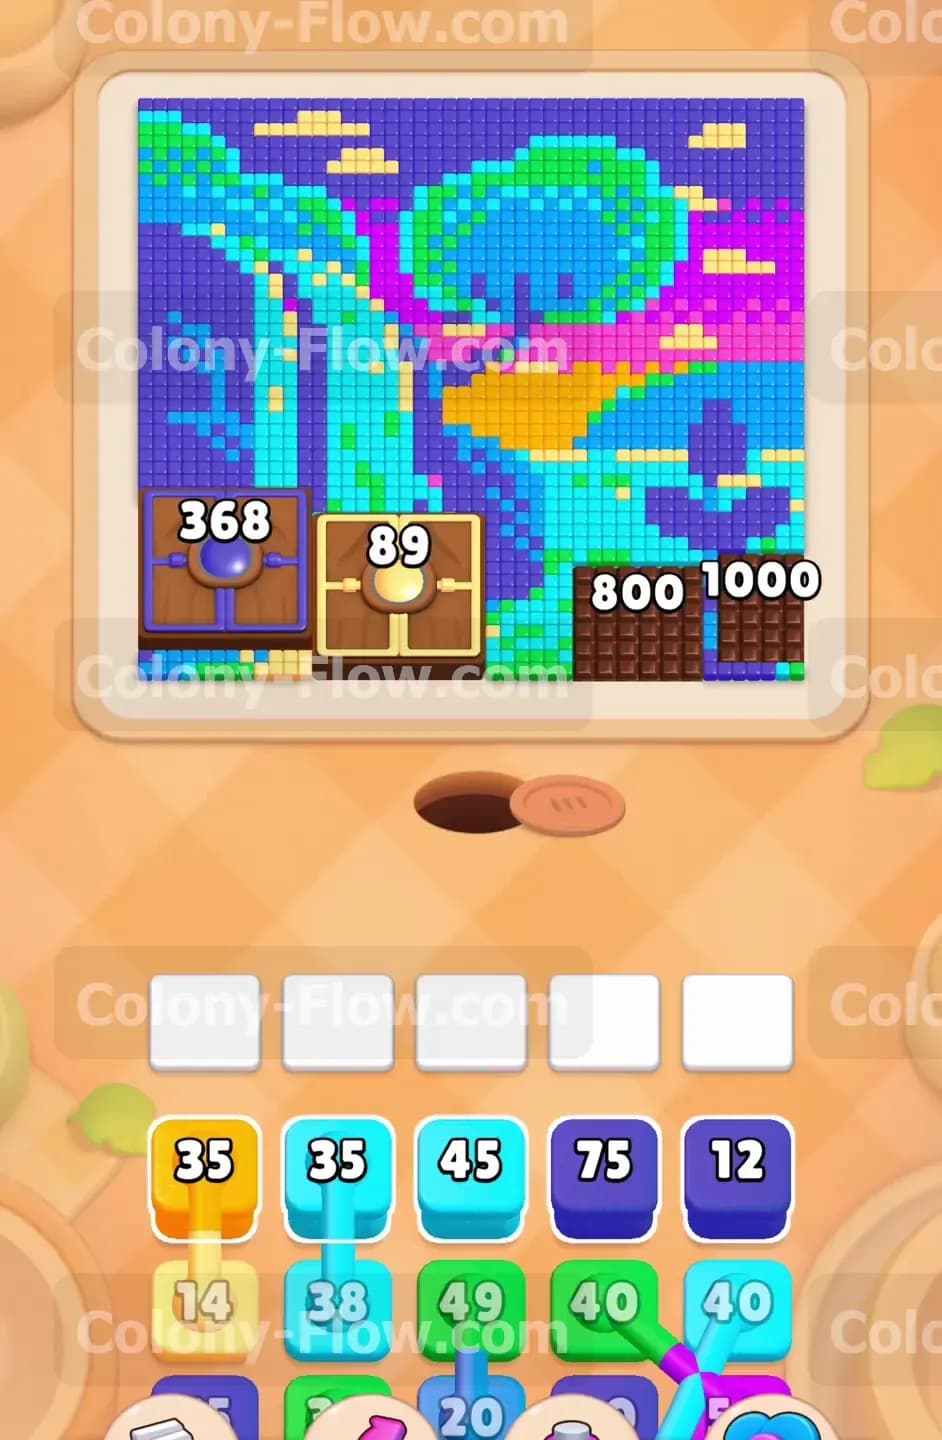
Step 1: Send your first cyan and blue blocks to attack the heavy chocolate and the first hungry door.
You want to start by attacking the biggest numerical barriers right away. Tap the blue and cyan blocks from your starting tray to send them up into the waiting slots. The ants will immediately stream out of the nest hole and split into two massive swarms. One group heads left to start feeding the large Hungry Door. The other group rushes right to start eating away at both the 1000 point and the 800 point Chocolate blocks at the same time. Keeping both sides active is the absolute best way to prevent a dead end early on. As the ants consume the targets the numbers on the door and the chocolate drop rapidly. Make sure you leave at least one tray slot open so you always have room to adapt to the changing board.
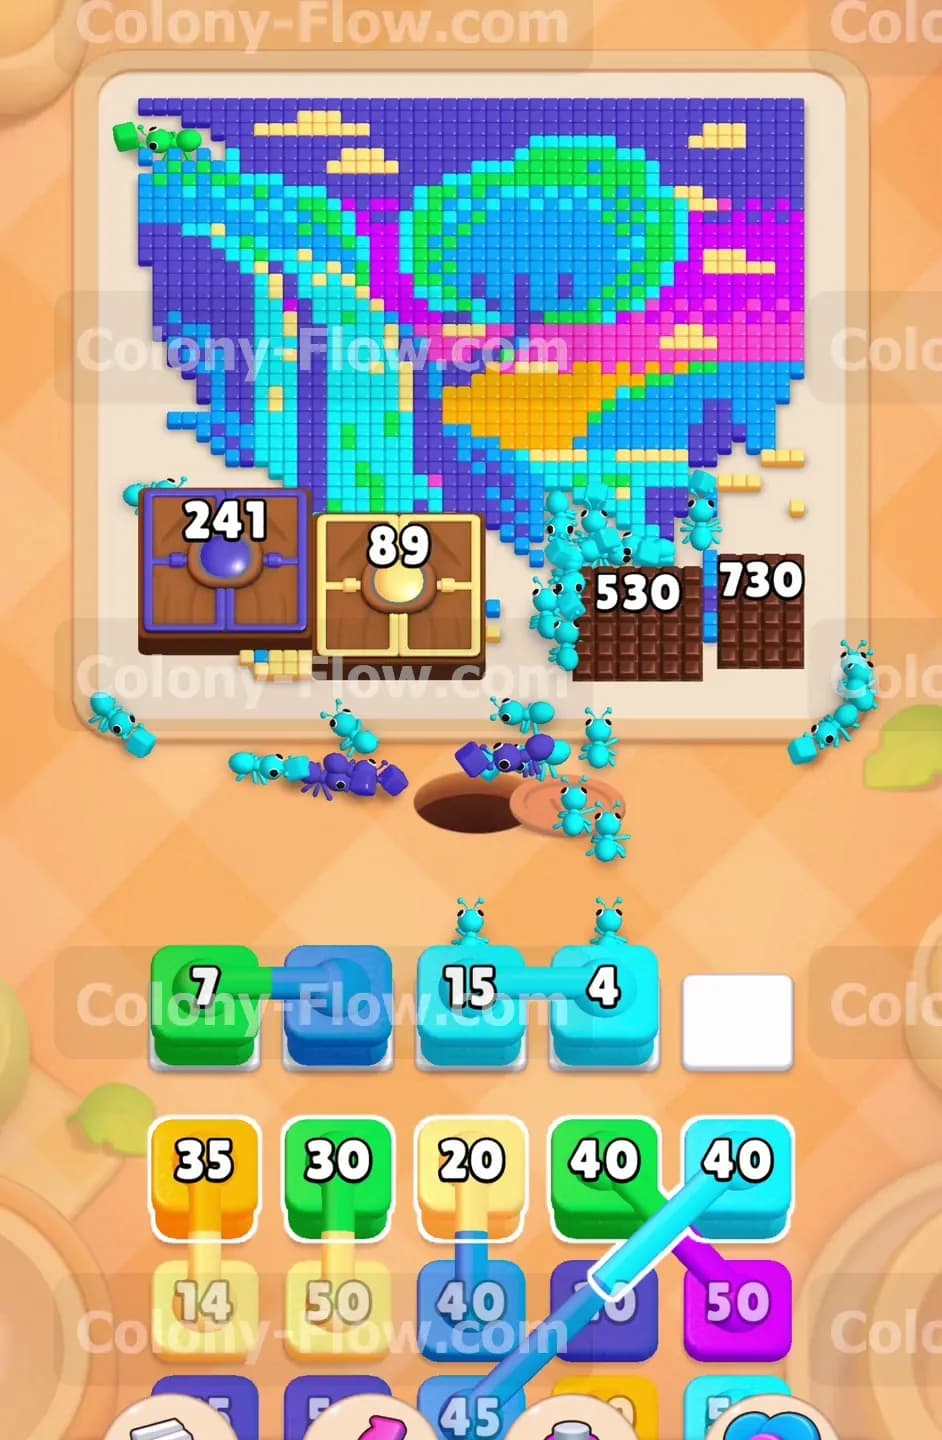
Step 2: Deploy green and yellow blocks to maintain the flow as the outer chocolate breaks.
Once the first wave of cyan and blue blocks runs dry you need to keep the momentum going forward. Pull up the green and yellow blocks into your open slots. The ants will switch their targets and begin clearing the grass and sun pixels near the middle of the board. This action provides a great alternate route for the colony and keeps the center paths completely clear. The thick Chocolate blocks on the right will steadily melt down during this phase. Sending these alternate colors keeps the ants flowing while you wait for more blue blocks to appear. The numbers on the left Hungry Door will also drop below 200 as the ants continue their steady work on both flanks. You are building a strong foundation for the mid game by breaking these heavy barriers evenly.
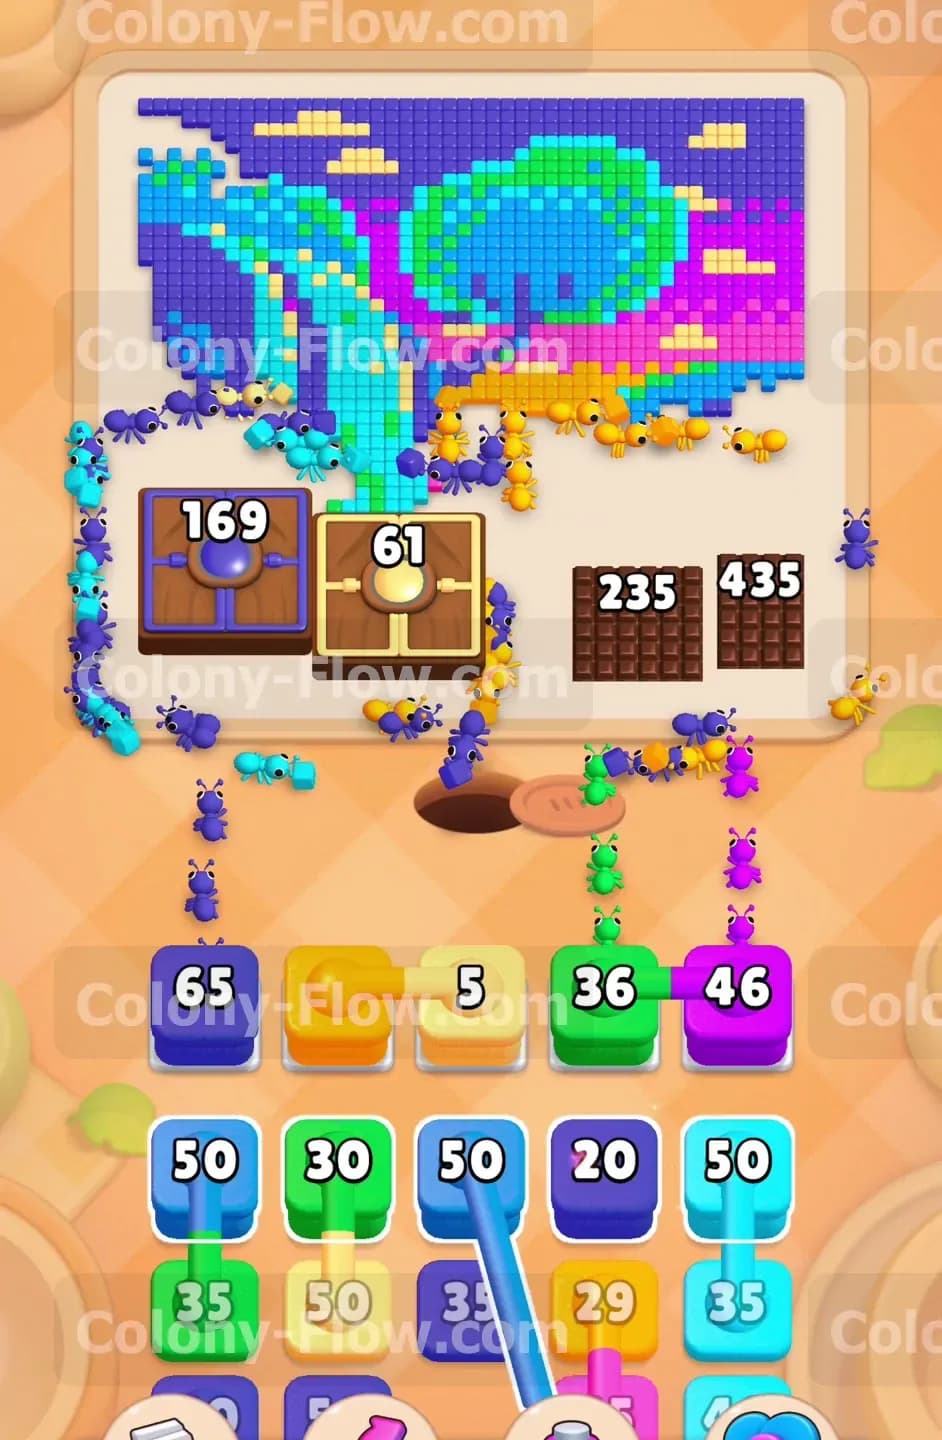
Step 3: Use the connected boxes to clear the remaining chocolate and push the first door lower.
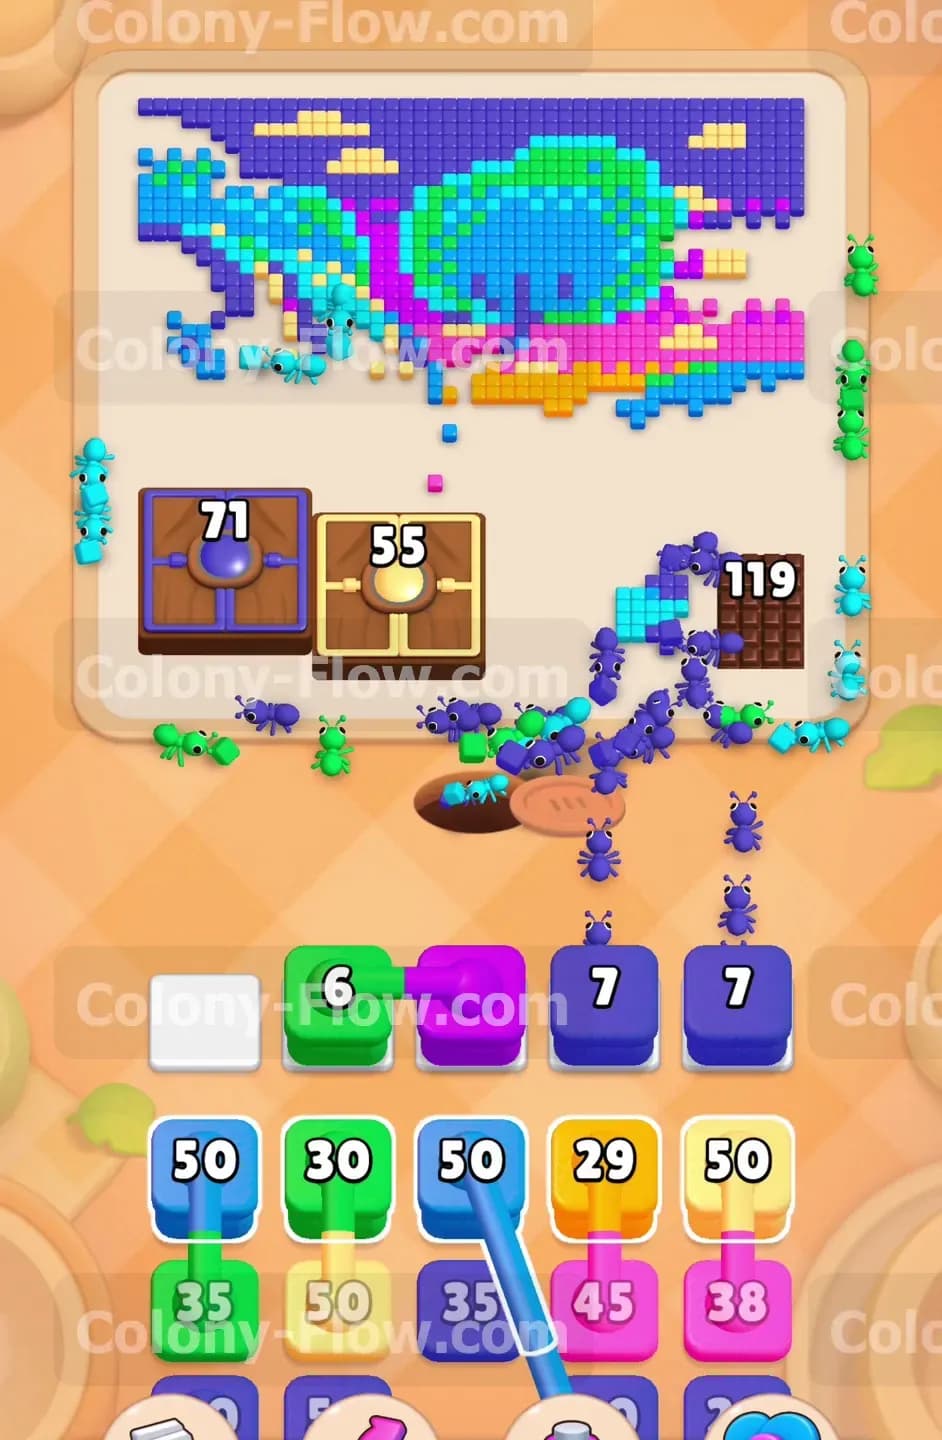
Now you will start seeing Connected Boxes in your tray holding blue cyan green and purple combinations. Pull the blue and cyan Connected Boxes into the slots to feed the left side of the board. The ants will swarm the remaining requirement on the first Hungry Door and bring it down to double digits. Next you should pull up the purple and green Connected Boxes to shift focus back to the right. The purple ants will flood the right side and completely devour the last thick layer of Chocolate. Getting rid of the Chocolate entirely opens up a huge section of the picture for your colony to explore. You now have plenty of open paths on the right side of the board so your waiting slots are completely safe from jamming for the moment.
Step 4: Break the first hungry door and unleash the colony into the sky and tree pixels.
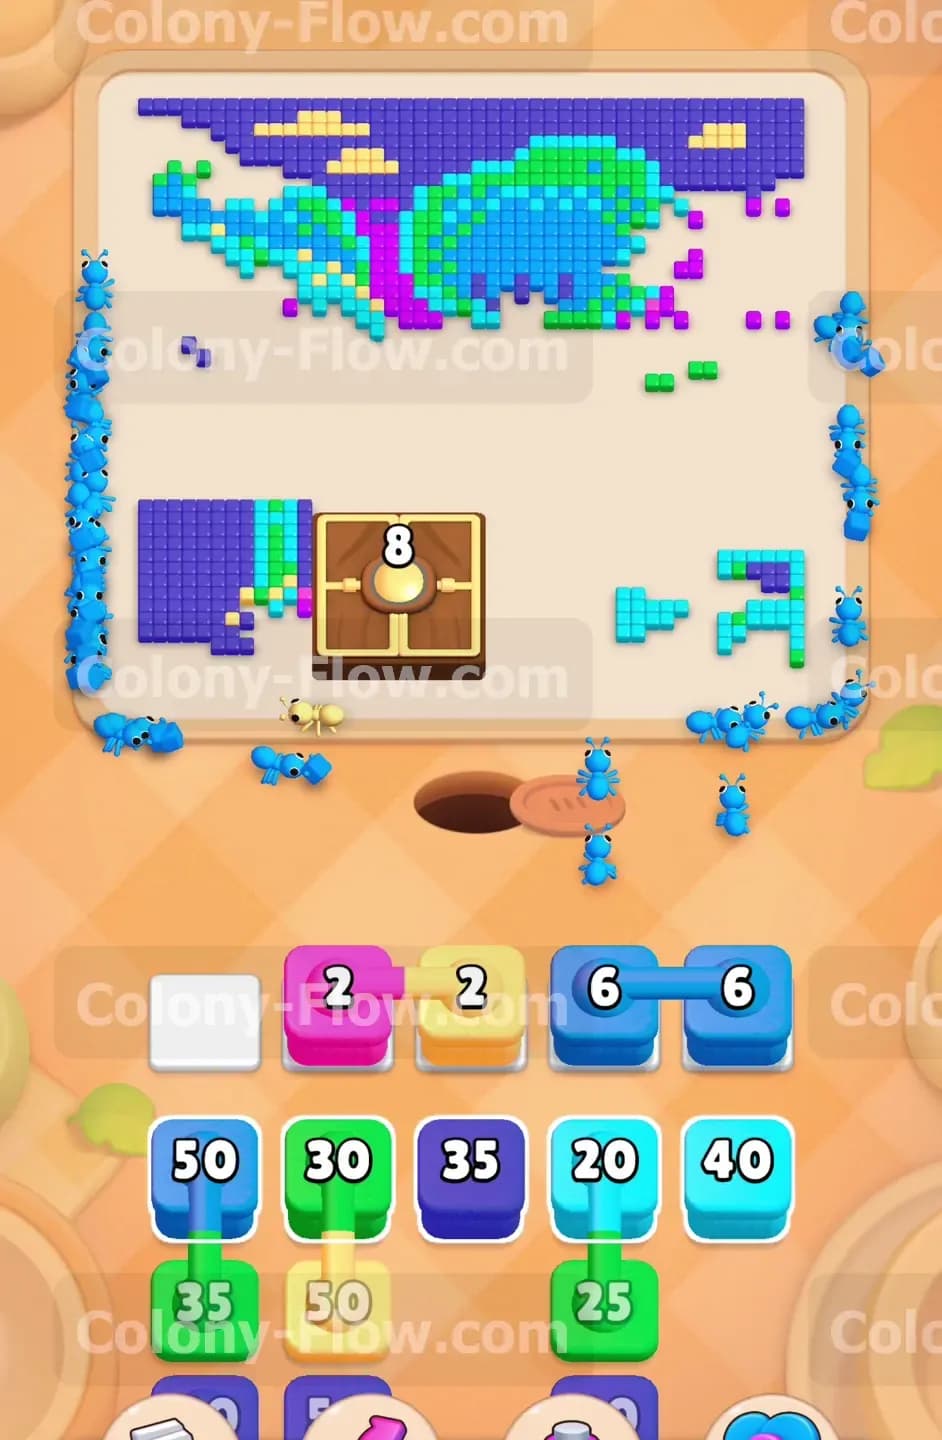
With the right side totally open you can focus your attention back to the left side obstacle. Deploy a large blue block and a yellow block from the tray into the empty slots. The ants will carry the last few points needed to bust the first Hungry Door wide open. This exposes the second Hungry Door sitting directly beneath it. More importantly breaking the first door gives the ants access to the deep blue sky and the thick green tree canopy. Pull up several green blocks to clear the leaves from the tree. At the same time send cyan blocks up to carve a clear path through the river in the middle of the picture. Your colony will spread out like a massive wave across the entire top half of the screen.
Step 5: Reveal the hidden box and use it to unlock the final hungry door.
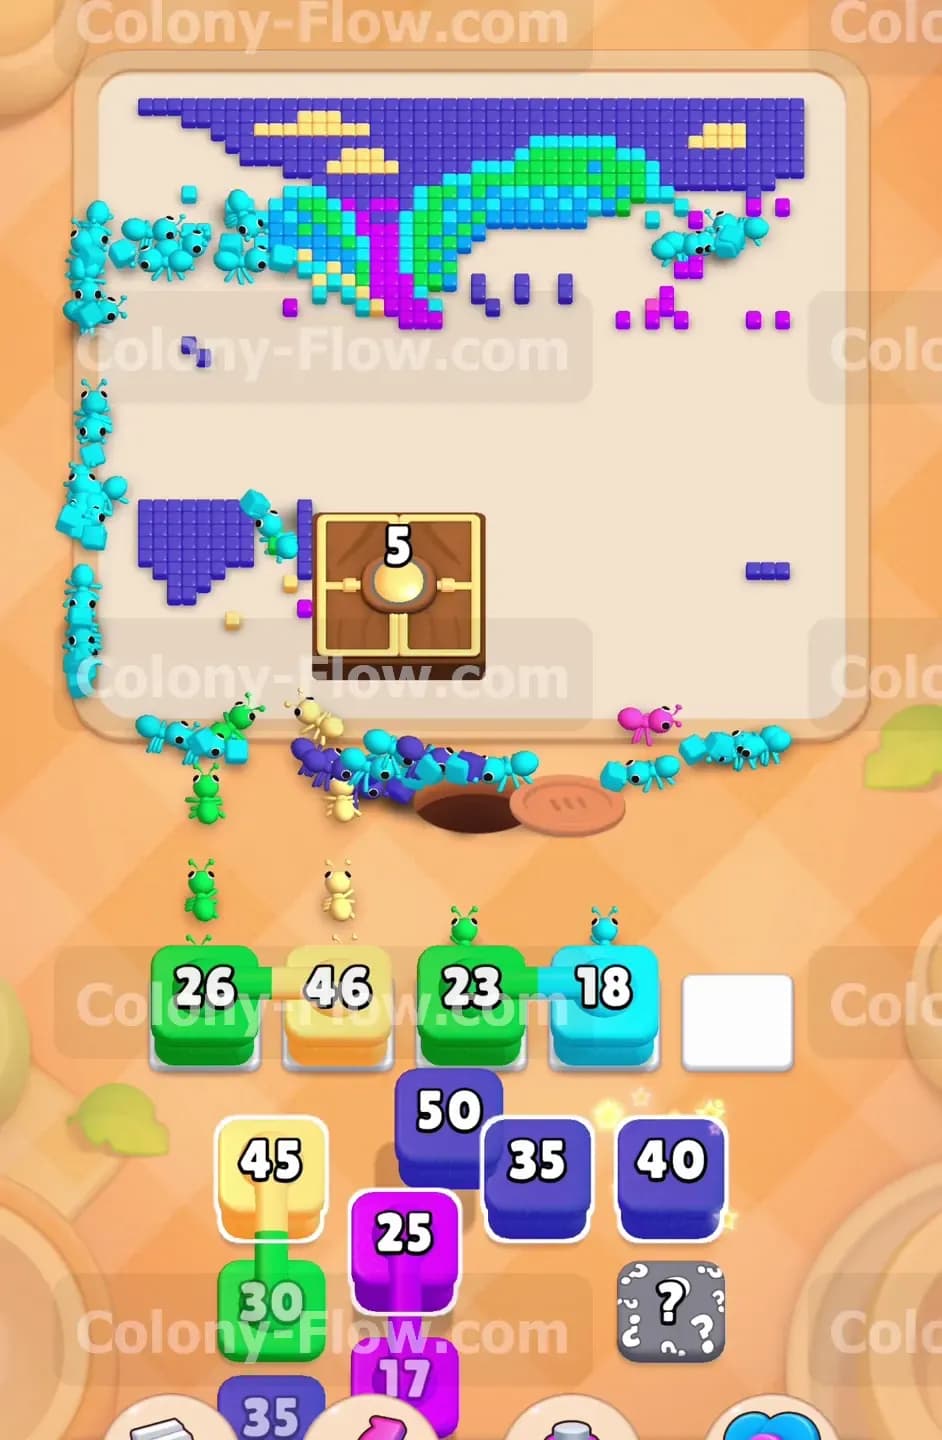
As the main picture starts looking sparse a Hidden Box will appear in your lower tray area. You must clear the blocks above it to reveal its true color before you can use it. Keep feeding green and purple blocks to the ants working on the tree and sky sections. Once the space in the tray clears the Hidden Box activates and reveals itself. Pull it up into your waiting slots to feed the final Hungry Door on the left. The second door only requires 89 points which is a small amount compared to the first one. The ants will quickly dismantle this final door leaving the entire left side completely open. You have successfully removed every major obstacle from the board and only standard pixels remain.
Step 6: Sweep the scattered top edge pixels using standard purple and cyan blocks.
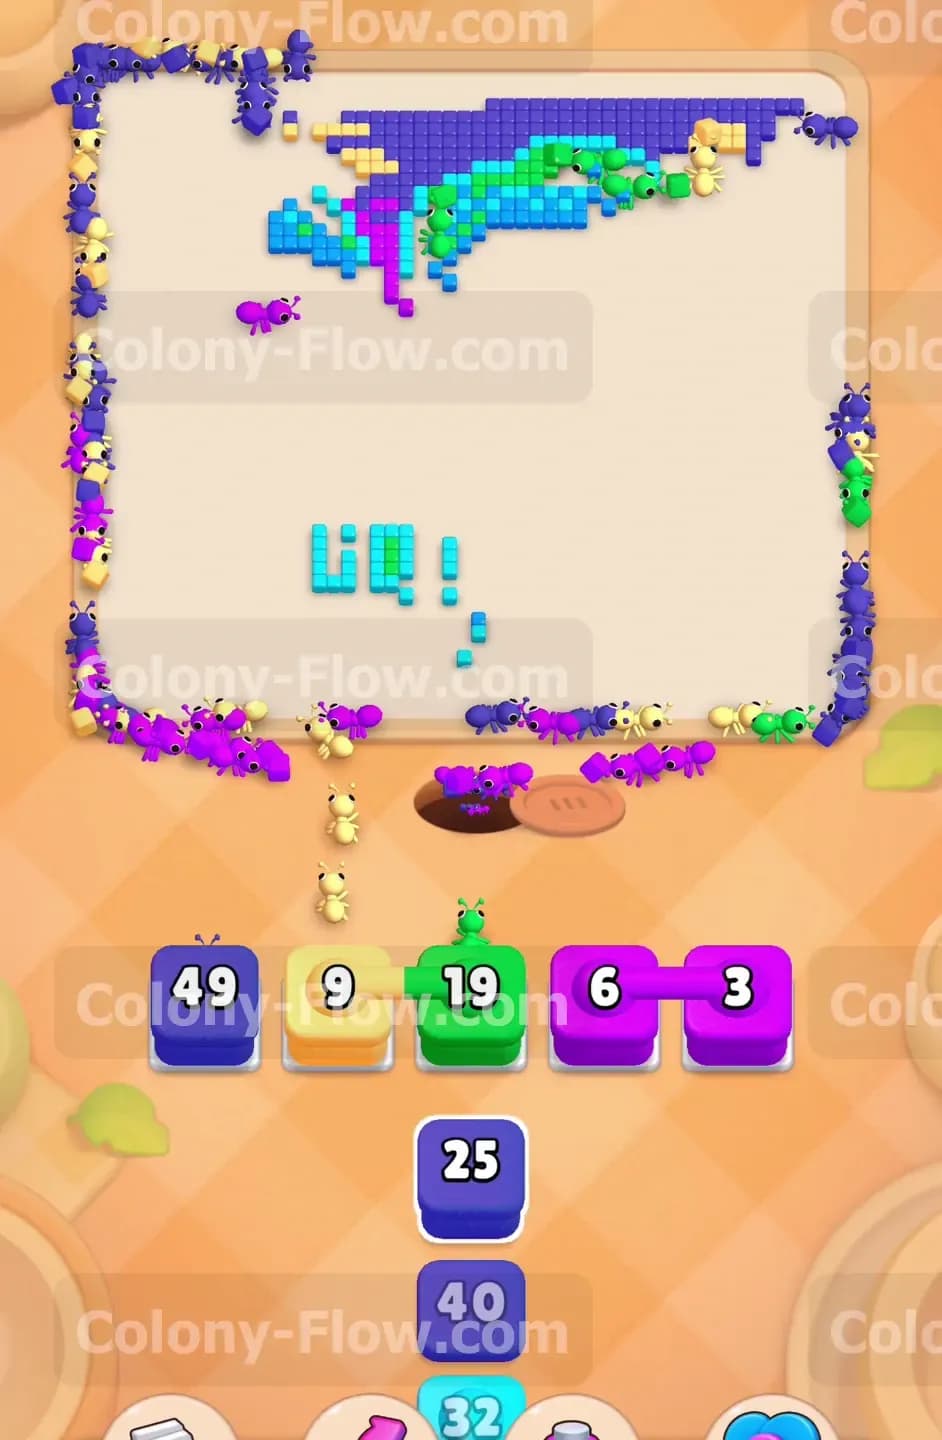
The board is mostly empty now but you still have a scattered line of pixels clinging to the very top edge. These remaining pieces form the distant clouds and the highest part of the sunset sky. Pull your purple and cyan standard blocks into the slots. The ants have to travel a long distance from the nest hole all the way up to the top border. Because the distance is long the blocks will sit in your waiting slots for a few extra seconds while the ants make the journey. Do not panic and do not flood the tray with unnecessary colors. Just wait patiently as the colony marches upward and clears the scattered blue and purple pixels. Patient slot management during this phase prevents a silly mistake right at the finish line.
Step 7: Clear the final green and yellow pixels to trigger the level completion.
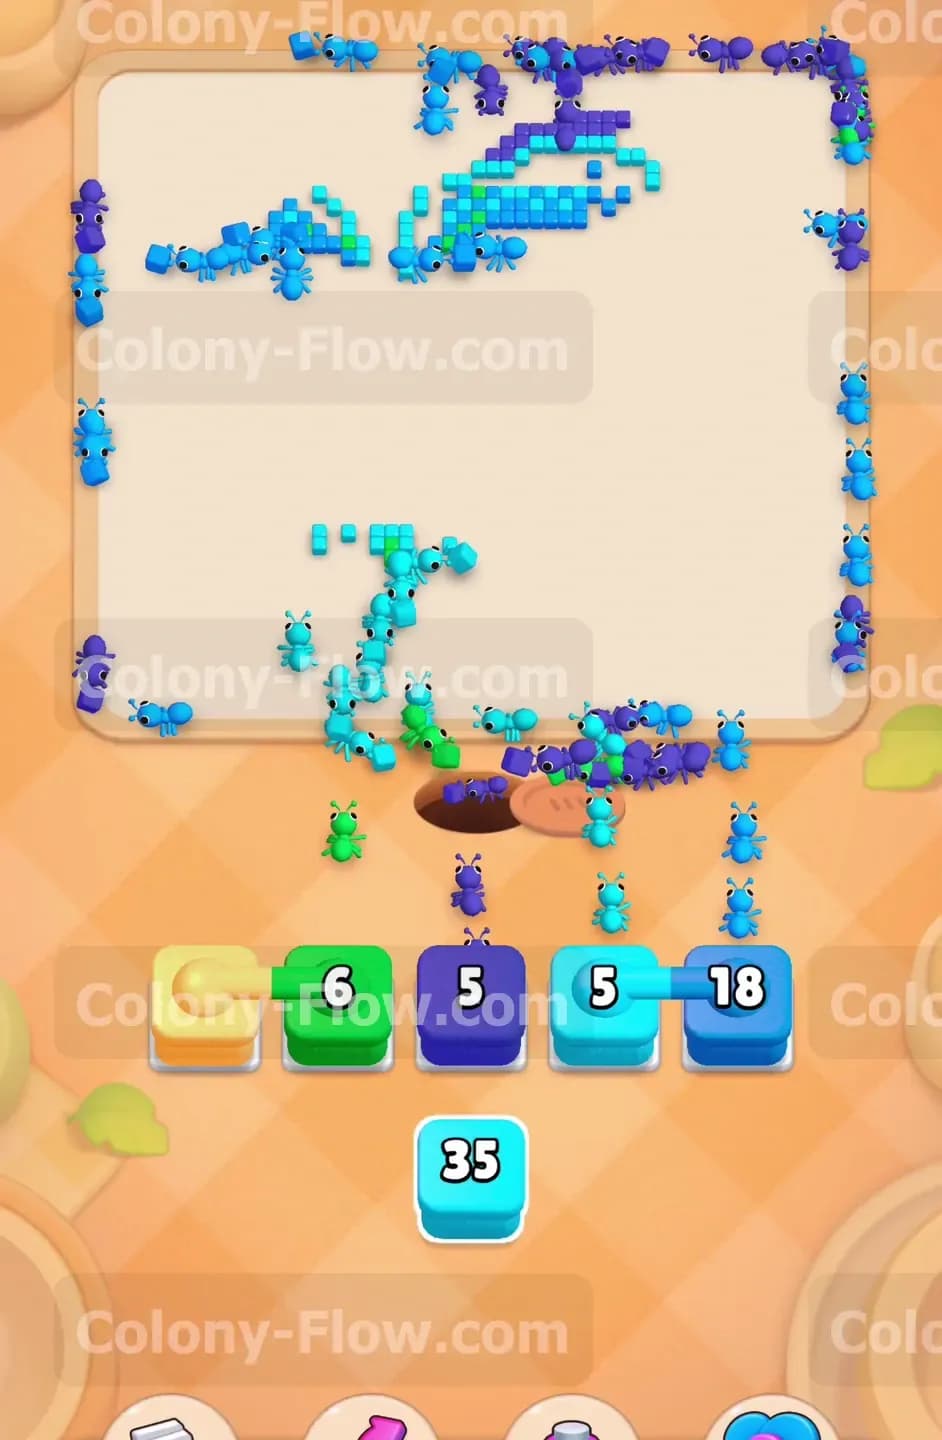
Only a handful of green leaves and yellow sun rays remain on the board at this point. You will see a few final Connected Boxes in your tray containing exactly what you need to finish the job. Tap the green and yellow combinations to fill your last empty slots. The remaining ants will rush out of the nest and hunt down the exact spots on the board. Since the entire map is clear they take the shortest straight paths directly to the top corners. Watch as the numbers tick down to zero and the very last pixel vanishes from the screen. The colony flows back into the nest and the victory screen appears.
Final Thought
Clearing this landscape requires strict attention to your tray space and a steady rhythm from start to finish. The massive barriers can easily trick you into clogging your slots if you pull too many colors too fast. Stick to the sequence above and keep the colony split between the left and right sides to ensure a smooth victory. Please watch the video above this article if any step is hard to follow in text.