Colony Flow Level 550 Walkthrough Solution & Guides | How to solve Colony Flow 550

Guide By Liam Stone
Updated on August 1, 2026
Reading not your style? The video above shows exactly how to beat Level 550.
Video doesn't match your screen?
Game updates frequently scramble layouts! Try our AI Screenshot Solver first to find your exact board instantly, or report broken guides to our team.
Welcome to Colony Flow Level 550. This board throws a massive pixel art puzzle at you right from the start. You face two huge obstacles blocking the main paths to the upper sections of the picture. I played this level many times to figure out the exact perfect sequence of moves. You need to manage your tray space incredibly carefully to win this one. I will guide you through every single move so you can beat this board without getting stuck.
Colony Flow Level 550 Overview
What You Are Working With
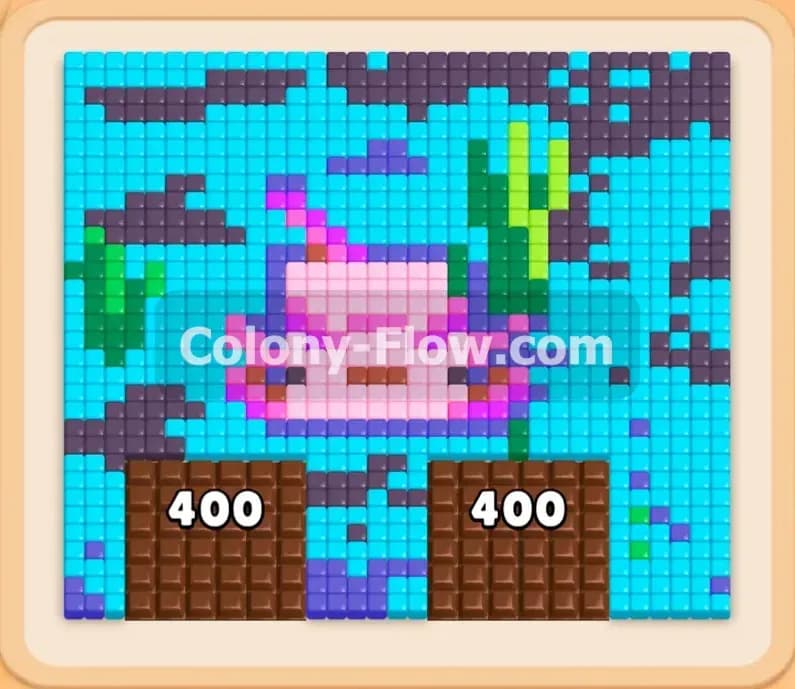
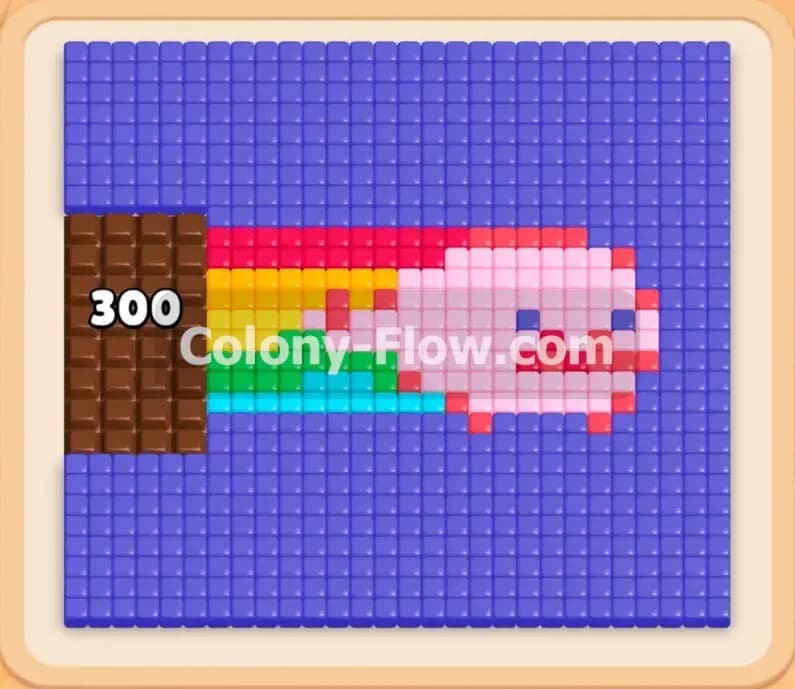
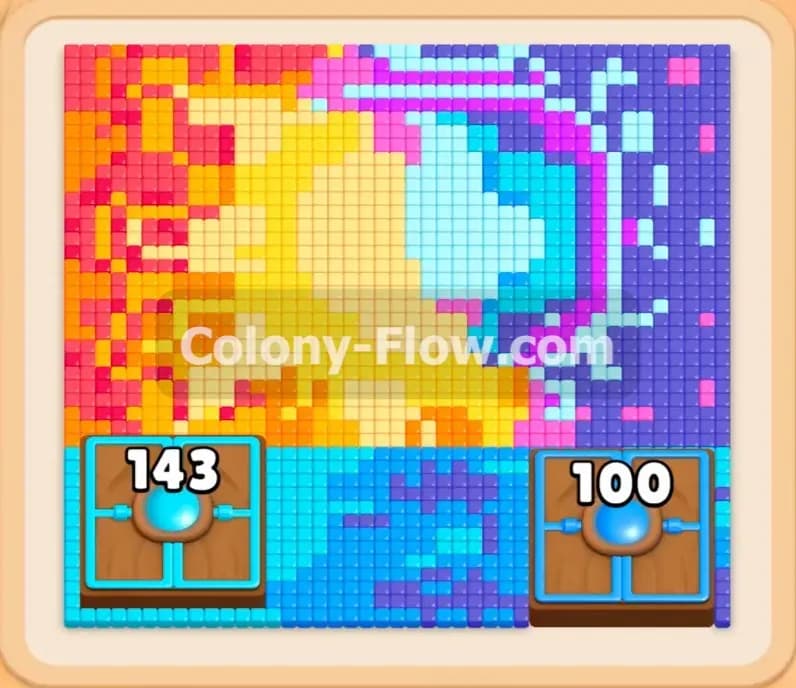
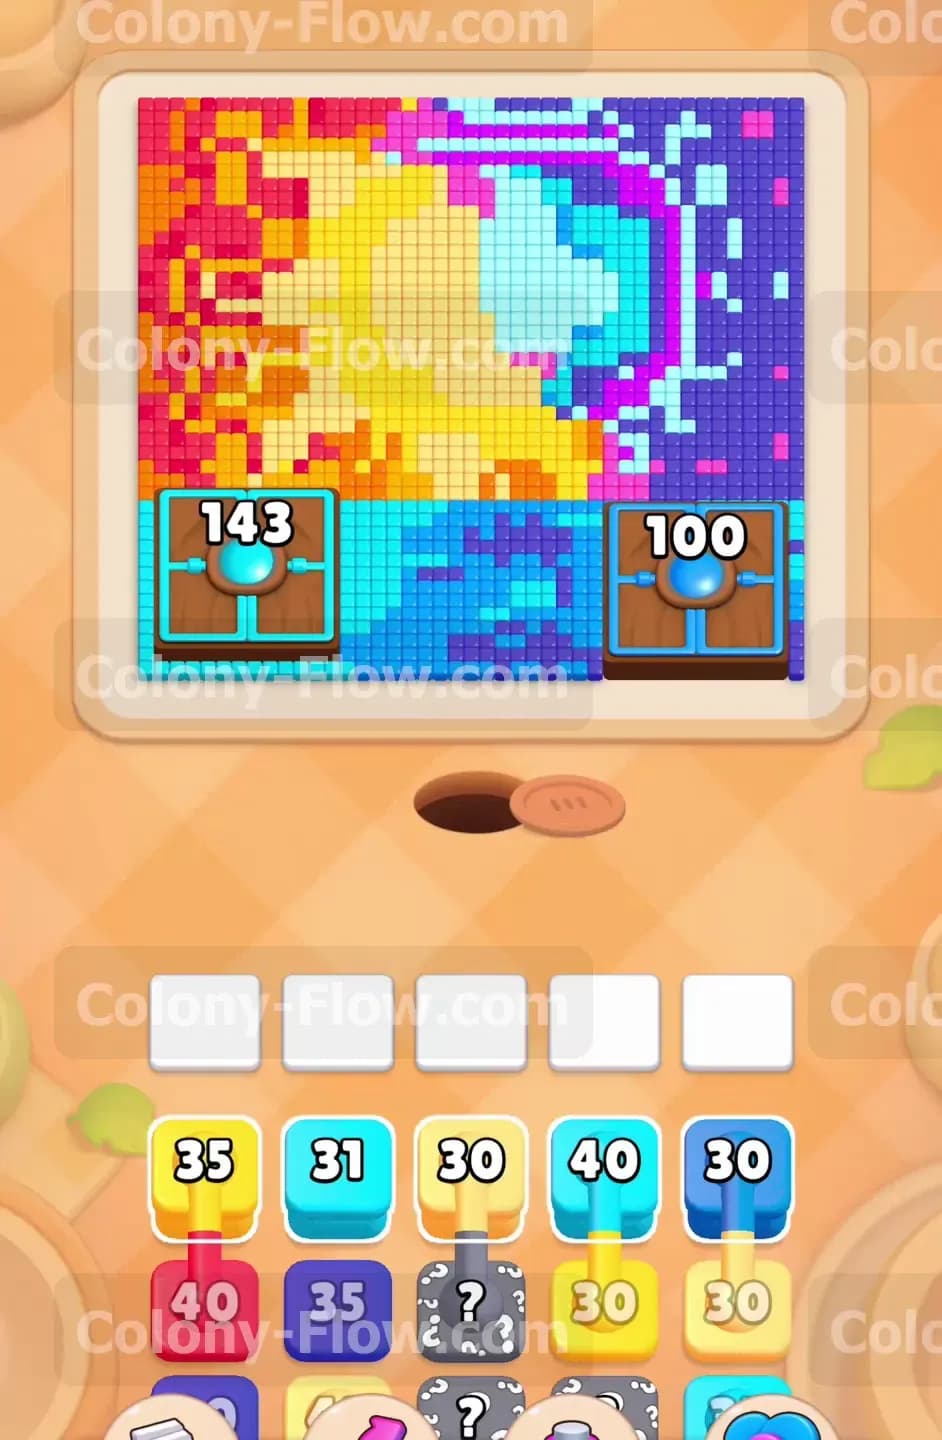
The picture at the top of your screen displays a large colorful swirl design made of hundreds of individual pixels. A thick border of red food sits on the far left side. You will find dark blue and dark purple pixels lining the right edge. The middle features a massive blob of yellow and light blue food. The most threatening features on this board are the two giant hungry doors sitting right in the middle of the lower section. The left door glows cyan and requires 143 matching food pixels to open. The right door glows dark blue and demands exactly 100 pixels. Down in your tray you start with a mix of single numbered blocks. You will also encounter several pairs of connected boxes linked together by a metal bar. The bottom row of your tray holds a few hidden boxes that display gray question marks instead of numbers.
What It Takes to Clear Level 550 Board
Clearing this level requires you to unlock those two massive hungry doors before your waiting slots jam up. You only have five available slots at the top of your tray. The blocks you pull hold very large numbers in the 30s and 40s. You must match the exact right colors to the available open paths without pulling blocks you cannot currently use. If you fill all five slots and the ants cannot reach the food you lose the level instantly. Once you satisfy the numbered requirements on the hungry doors they will vanish and grant your ants access to the top half of the picture. After the doors disappear you just need to manage your connected boxes carefully to clear out the remaining red orange and pink border clusters.
Colony Flow Level 550 Step by Step Solution
Step 1: Start feeding the huge hungry doors to open the lower board.
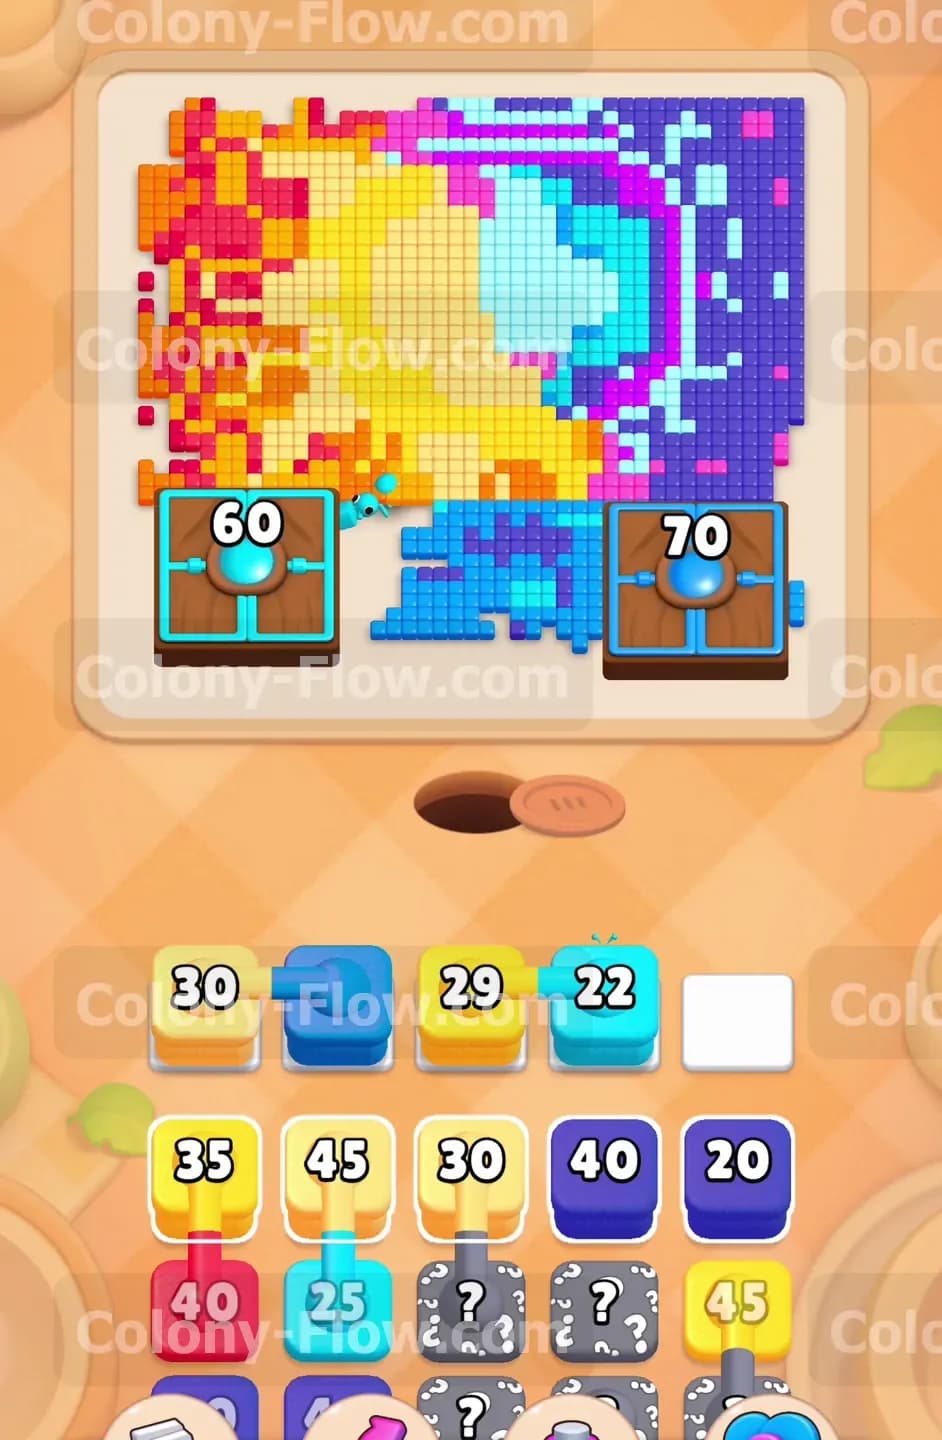
You must attack the two hungry doors the moment the level starts. These massive barriers block all access to the upper picture. Look at your tray and pull the cyan 31 block. Then pull the dark blue 30 block. These two blocks drop into your waiting slots. The ants will instantly march out of the nest hole and split into two distinct trails. One trail heads left to feed the 143 cyan hungry door. The other trail heads right to feed the 100 dark blue hungry door. Feeding these doors lowers their required numbers. This opening move also clears crucial space in your tray to reveal the next set of blocks. You must keep the ants busy so they do not jam your five waiting slots. Next you should pull a yellow 35 block. The ants will target the thick yellow border touching the bottom edge of the board. Creating three active paths guarantees your ants never stop moving.
Step 2: Pull the first set of connected boxes to access new colors.
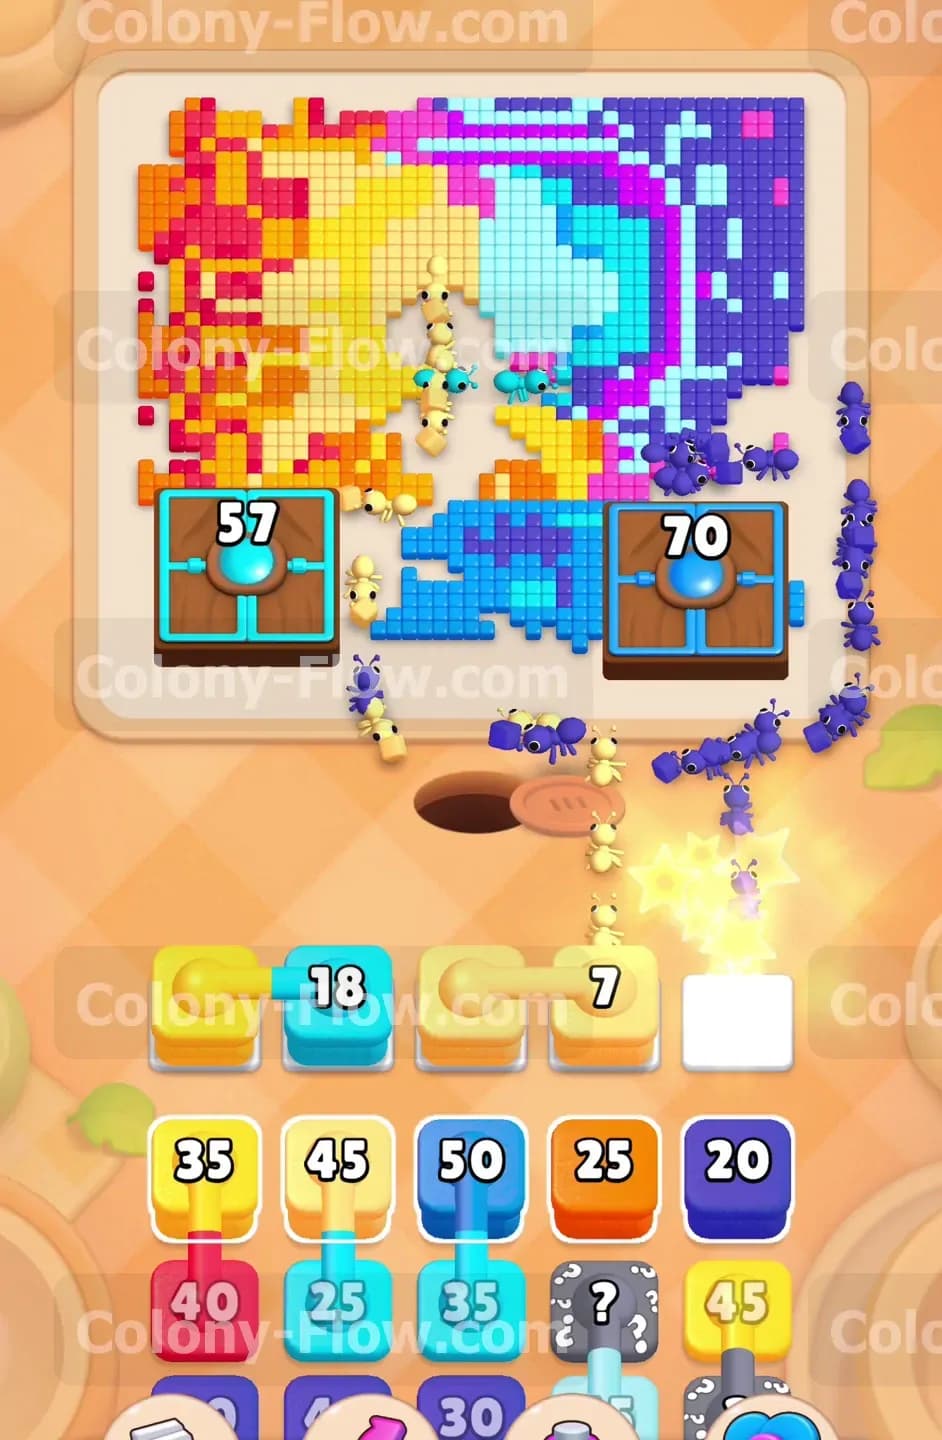
Now you will spot your first set of connected boxes in the tray. You will see a yellow 30 block permanently linked to a dark blue 29 block. You have to pull them together. This action immediately occupies two of your five waiting slots. You must ensure you have active paths for both yellow and dark blue colors before pulling them. Luckily your opening moves cleared enough space. The yellow ants will chew through the lower left section while the dark blue ants continue feeding the right hungry door. This simultaneous eating drains both connected blocks at the exact same time. Once the blocks empty they vanish from your slots. The tray then shifts upward to reveal a new cyan 22 block. Pull this cyan block next to resume feeding the left hungry door. Managing these connected blocks perfectly is the only way to avoid a dead end.
Step 3: Target the central yellow food cluster to open wide paths.
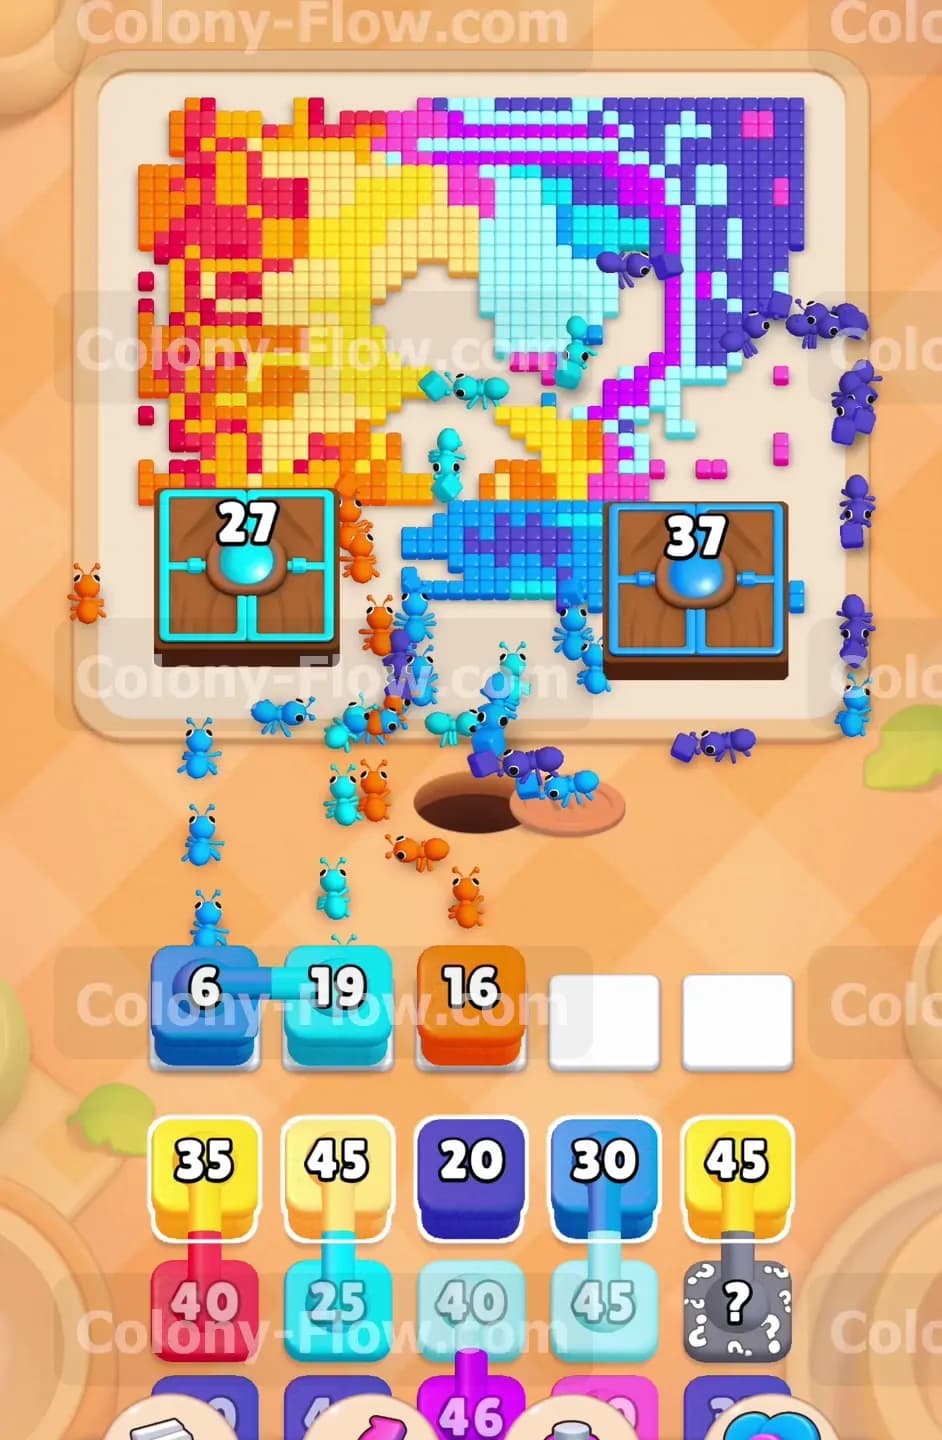
The center of the picture holds a massive cluster of yellow food pixels. You want to clear a huge chunk of this central yellow mass right away. Pull the yellow 45 block into your waiting slots. A huge swarm of yellow ants will flood the middle of the board. They will devour the yellow pixels and create a wide open space. This cleared area drastically reduces the travel time for future ants leaving the nest hole. While the ants eat that large block you will uncover another set of connected boxes in your tray. This pair features a yellow 18 linked to a yellow 7. Pull this double yellow pair immediately. Because you just opened a massive path through the center the ants will drain both of these yellow blocks incredibly fast. This rapid clearing keeps your waiting slots empty and ready for the next move.
Step 4: Finish off the hungry doors to reach the upper sections.
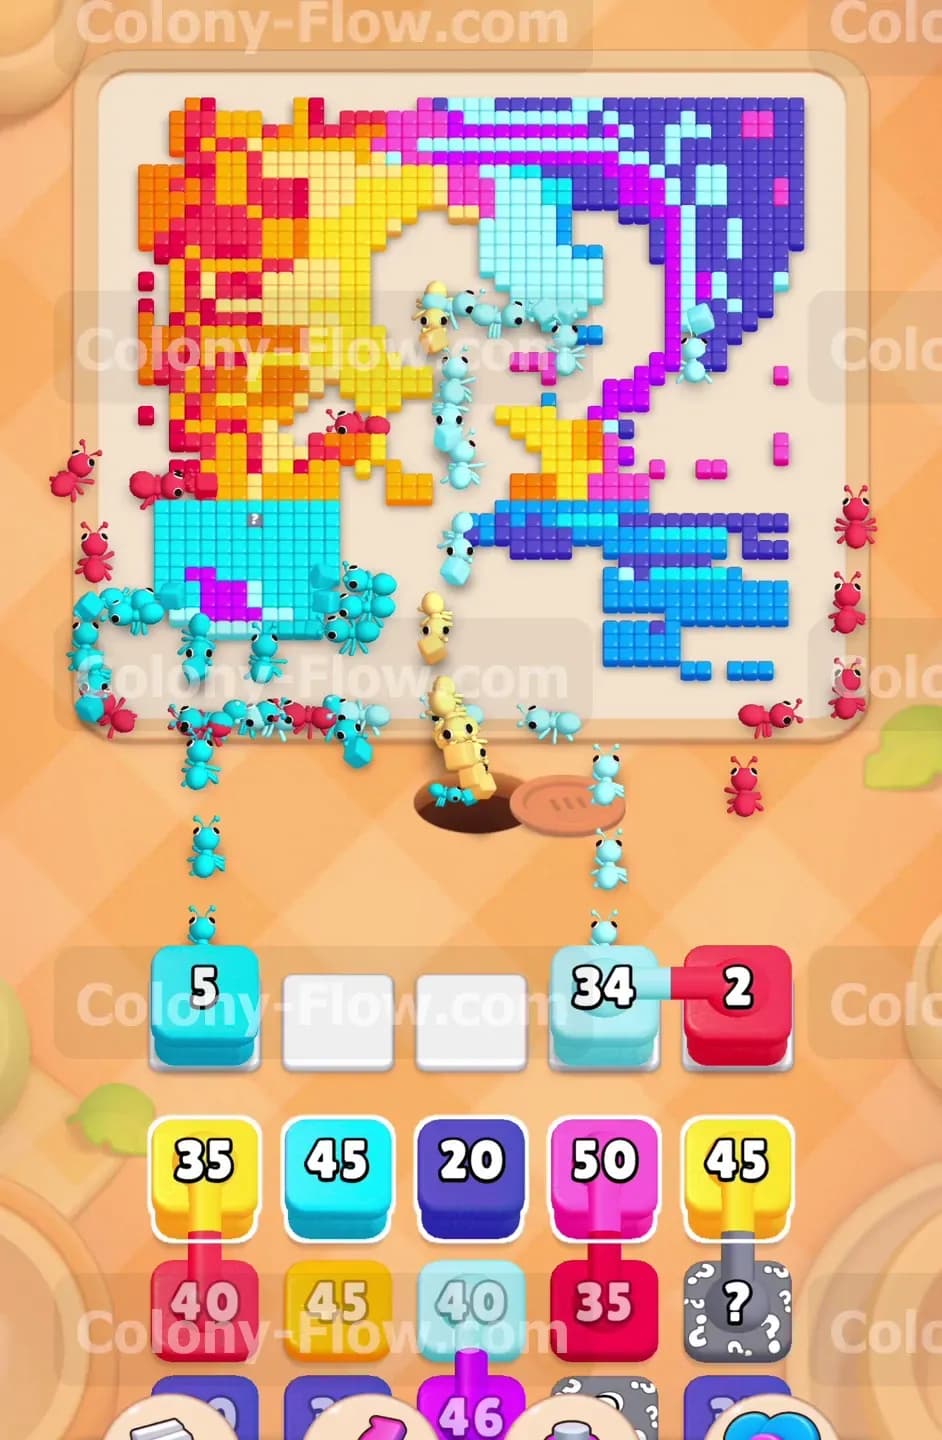
Your two hungry doors are finally getting weak. The cyan door requirement has dropped into the 20s. The dark blue door requirement is down in the 30s. You are ready to break them open. Pull the dark blue 30 block and the cyan 40 block from the second row of your tray. The ants will rush the structures and deliver the final required pixels. The moment the numbers hit zero both hungry doors shatter and vanish completely. This event changes the entire landscape of the level. The top half of the pixel art is finally available. You now have complete access to the light blue sections and the dark purple borders that were previously trapped behind the doors. The board is now wide open for your remaining blocks.
Step 5: Deploy the orange and purple blocks to clear the right side.
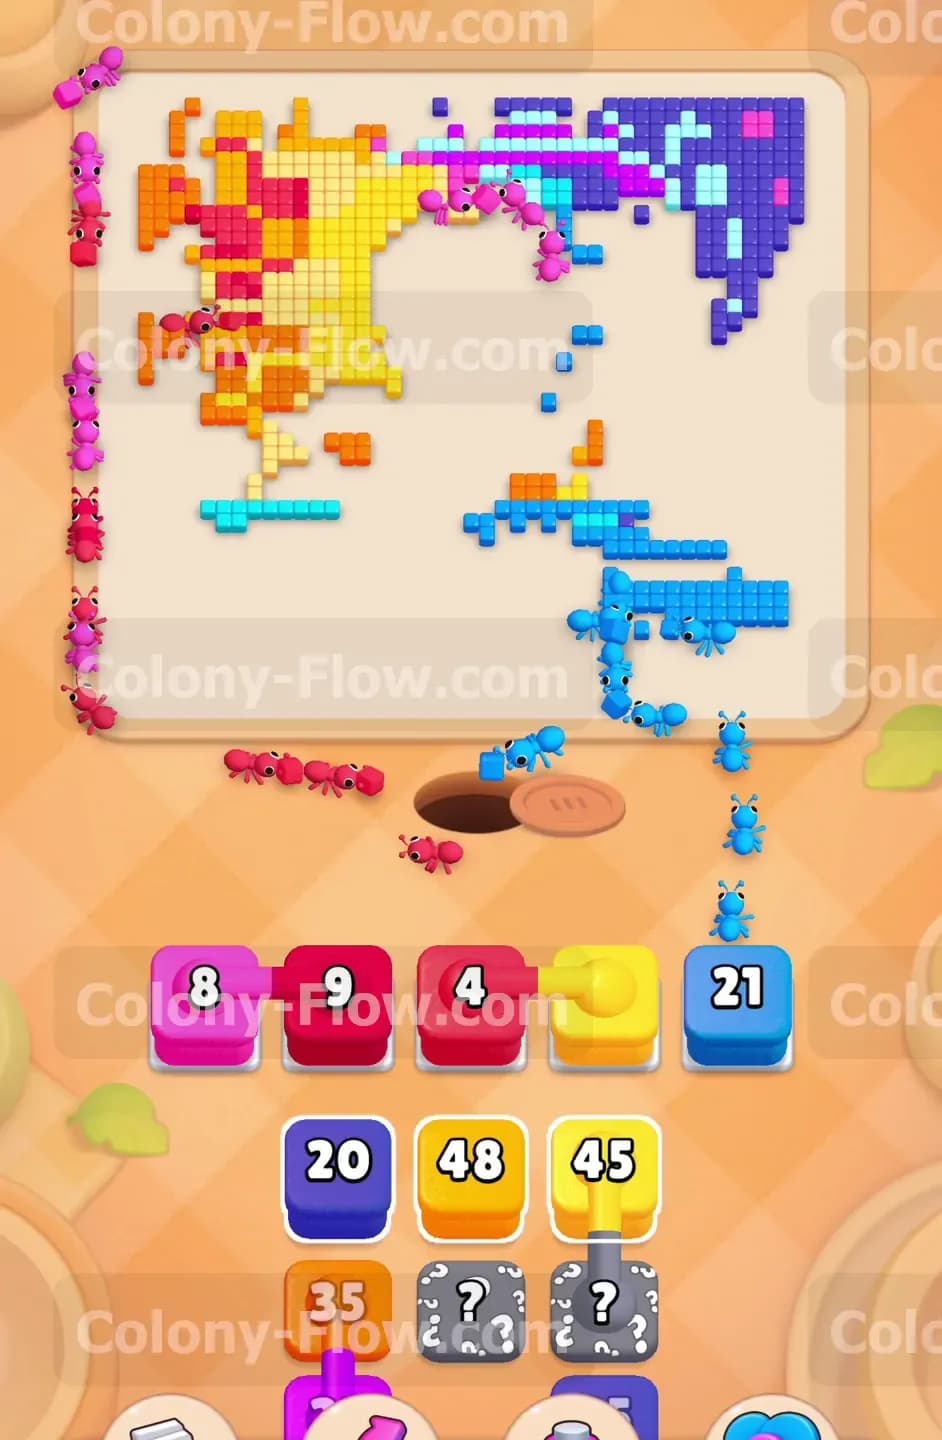
With the central barriers destroyed you can focus on clearing the right side of the picture. Look at your tray and locate the orange 25 block and the dark purple 20 block. Pull both of these blocks into your waiting slots. A large stream of purple ants will march all the way up the right edge to clear the dark border. Simultaneously orange ants will spread out to eat the orange cluster located near the bottom right. Targeting two separate areas of the board prevents your paths from bottlenecking. The ants have plenty of room to maneuver and reach their food without stepping on each other. This smooth movement empties the orange and purple blocks from your slots quickly.
Step 6: Handle the massive red border on the left side of the picture.
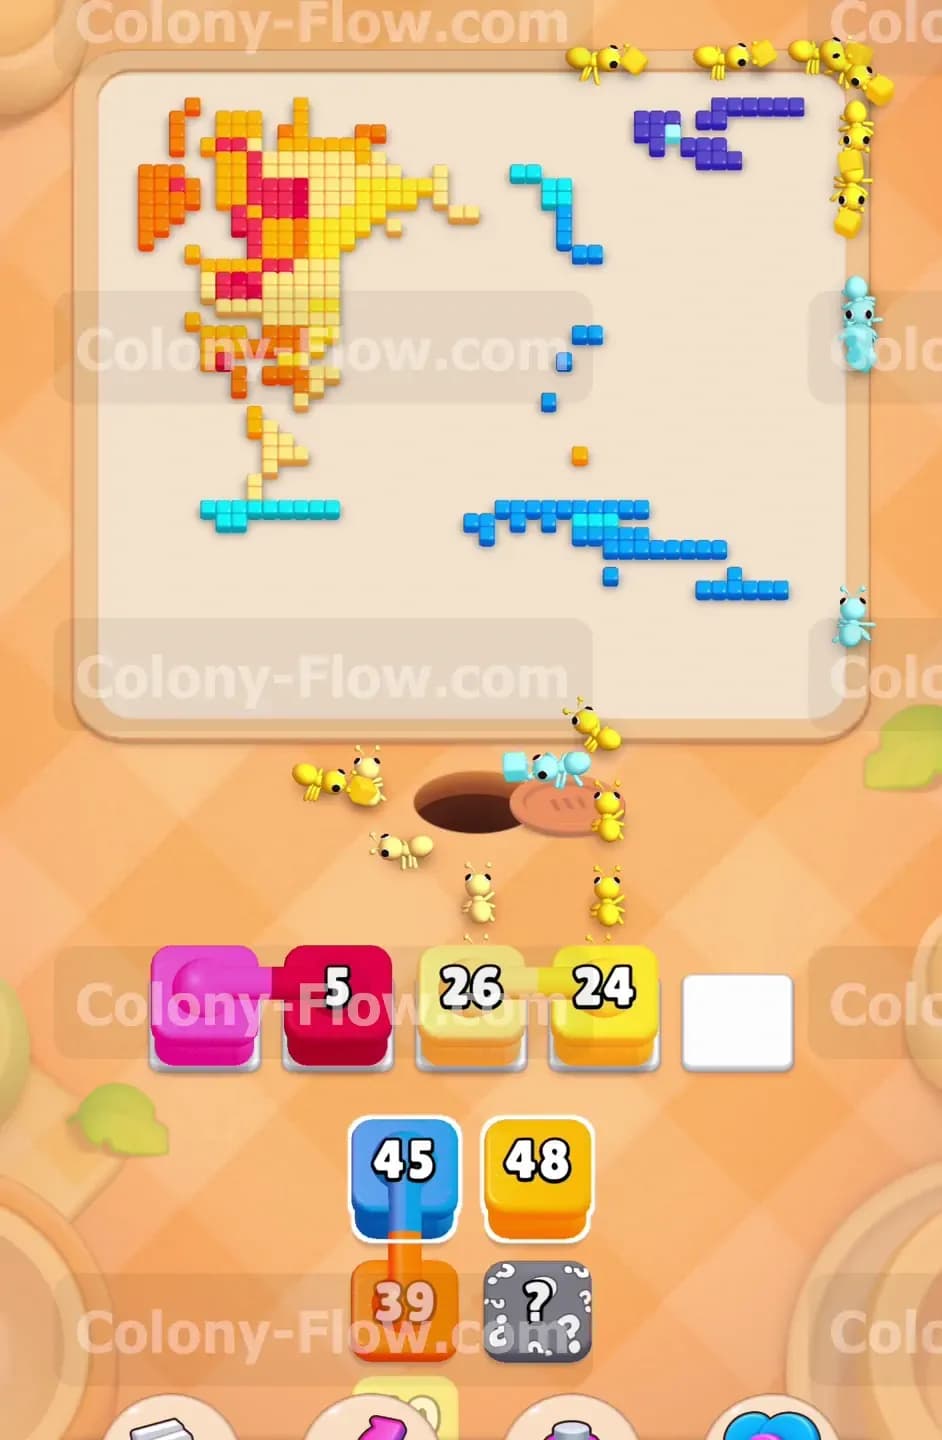
Now turn your complete attention to the solid wall of red pixels on the far left side. Find the red 40 block located on the left side of your tray. Pull it into a waiting slot. A huge swarm of red ants will begin a long journey up the left edge of the board. Because this travel distance is quite far the block will take a while to empty. You need to pull other colors to keep the game moving. Find the cyan 34 block and the pink 50 block in your tray. Pull them into the slots. The cyan ants will finish off the light blue section in the top right area. The pink ants will travel to the very top edge and start chewing through the pink border pieces. Keeping three different colors active prevents any single block from hogging a waiting slot for too long.
Step 7: Clear the connected pink boxes to finish the top border.
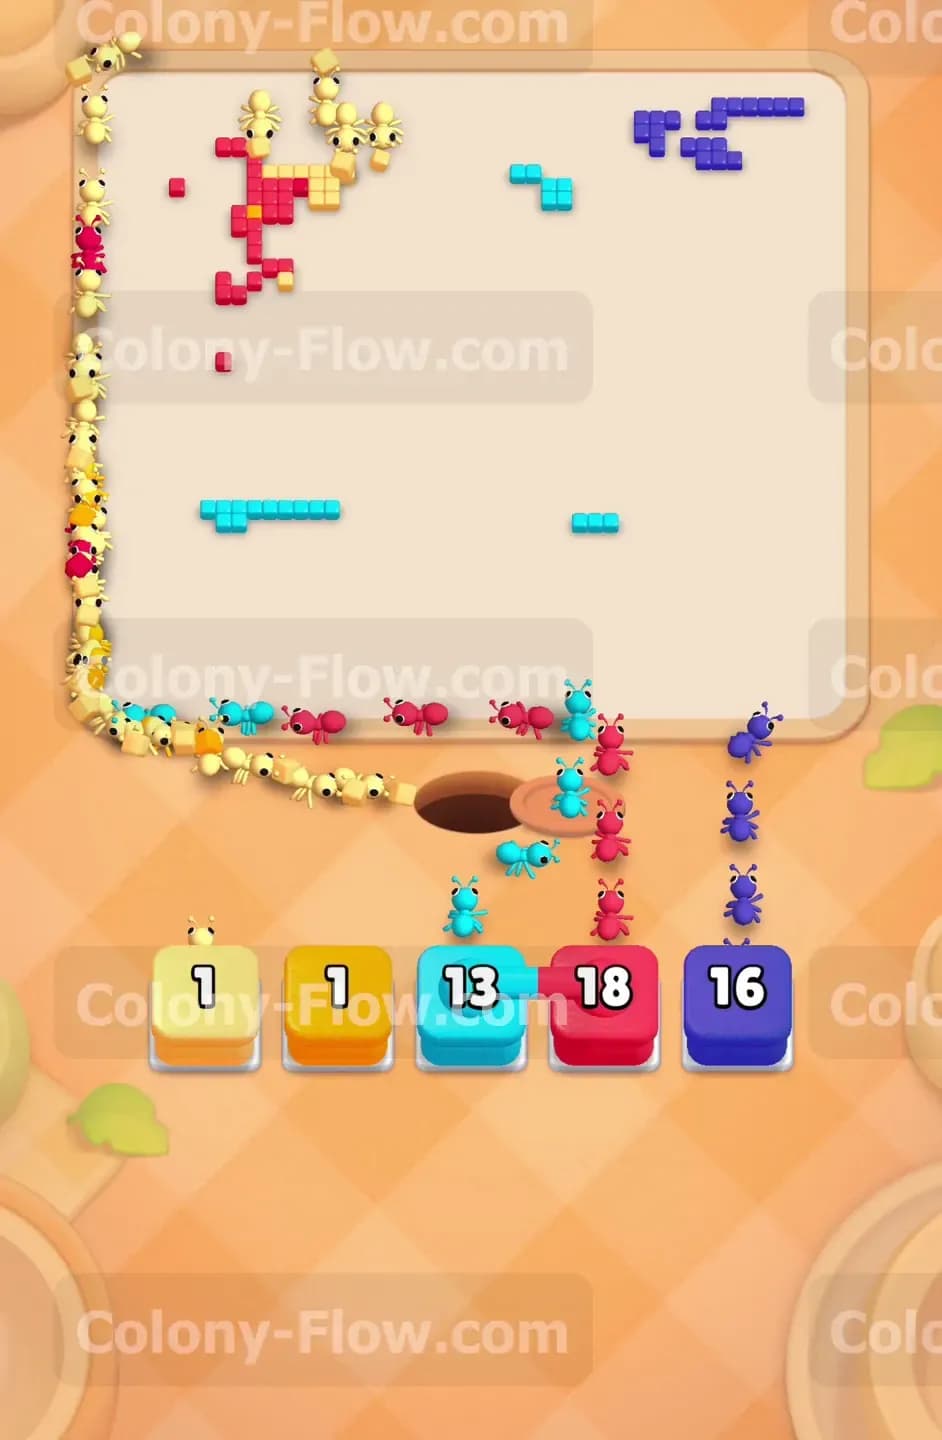
Your tray will now present another challenging set of connected boxes. You will see a pink 9 linked to a pink 4. Pull this connected pair into your slots. Because you already established a clear path to the top border in the previous step the ants will have absolutely no trouble reaching the pink food. They will eat the scattered pink pixels and empty both blocks with ease. As your tray continues to empty out you will finally reach the hidden boxes at the bottom row. These gray blocks display question marks instead of numbers. They only reveal their true colors when a valid path opens up. Because you cleared the majority of the board these hidden boxes will flip over and reveal their colors immediately. You will usually uncover a new orange block and a new yellow block.
Step 8: Empty the final tray blocks for the cleanup phase.
You have reached the final cleanup phase of the level. The board looks very empty with only a few scattered pixels remaining. Your tray contains the last few blocks needed to win. You will see a yellow 26 block a dark blue 45 block and a red 35 block. Pull all of these blocks into your slots at the same time. You do not need to worry about filling four or five slots during this final push. The board is so empty that the ants will never get stuck or block each other. They will race across the blank white background and grab the last few red yellow and blue pieces. Sit back and watch your ants finish the job. The level concludes the exact second the last pixel disappears from the screen.
Final Thought
Level 550 requires deep patience and excellent tray management skills. You must focus completely on those huge hungry doors early in the game so you do not run out of room in your slots. Always remember to check your paths before pulling connected boxes. Please watch the video above this article if you find any step hard to follow in text. Watching the ants move across the screen often helps clarify the overall strategy. Good luck and enjoy clearing the rest of the board.