Colony Flow Level 87 Walkthrough Solution & Guides | How to solve Colony Flow 87

Guide By Liam Stone
Updated on July 11, 2026
You don't need to read the article to solve Level 87. The video above shows you everything.
Video doesn't match your screen?
Game updates frequently scramble layouts! Try our AI Screenshot Solver first to find your exact board instantly, or report broken guides to our team.
Welcome back to another puzzle breakdown. Colony Flow Level 87 brings you face to face with a royal pixel art character. You will need to carefully dismantle a massive background before you can even touch the king holding his treasure. The sheer volume of tiles makes this puzzle a fantastic challenge for testing your patience and your slot management skills. You play every move by deciding which color can safely reach its target without jamming your progress.
Colony Flow Level 87 Overview
What You Are Working With
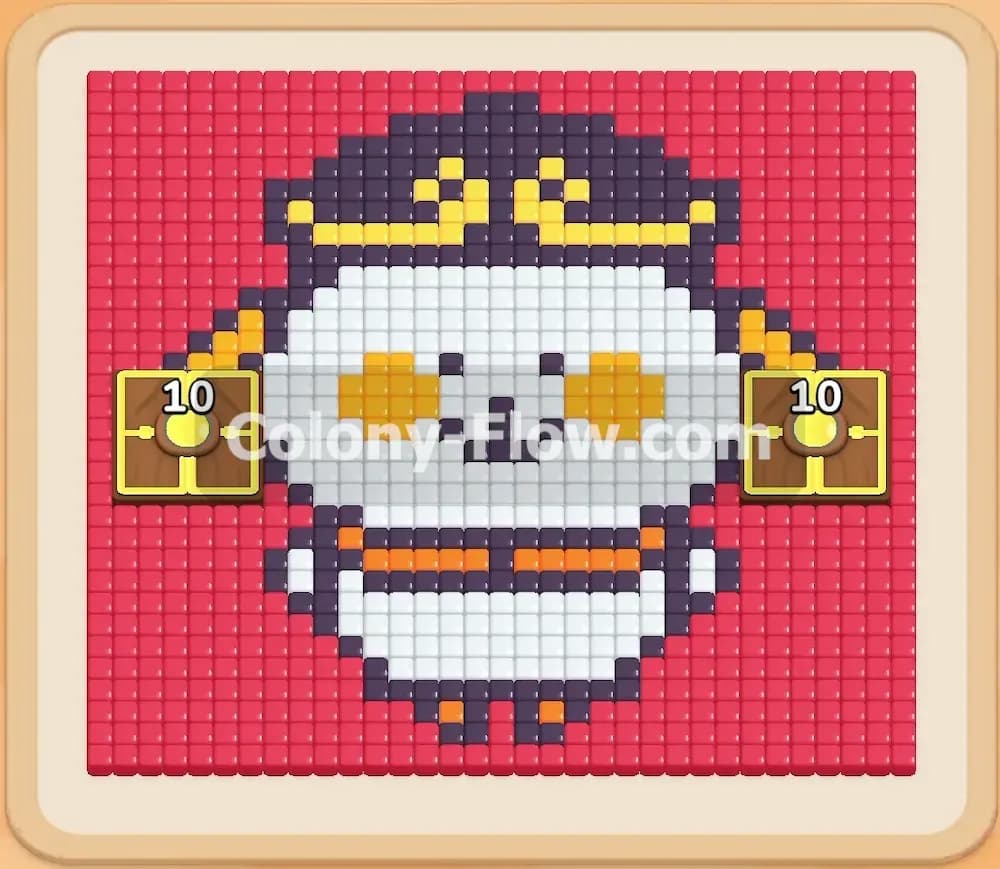
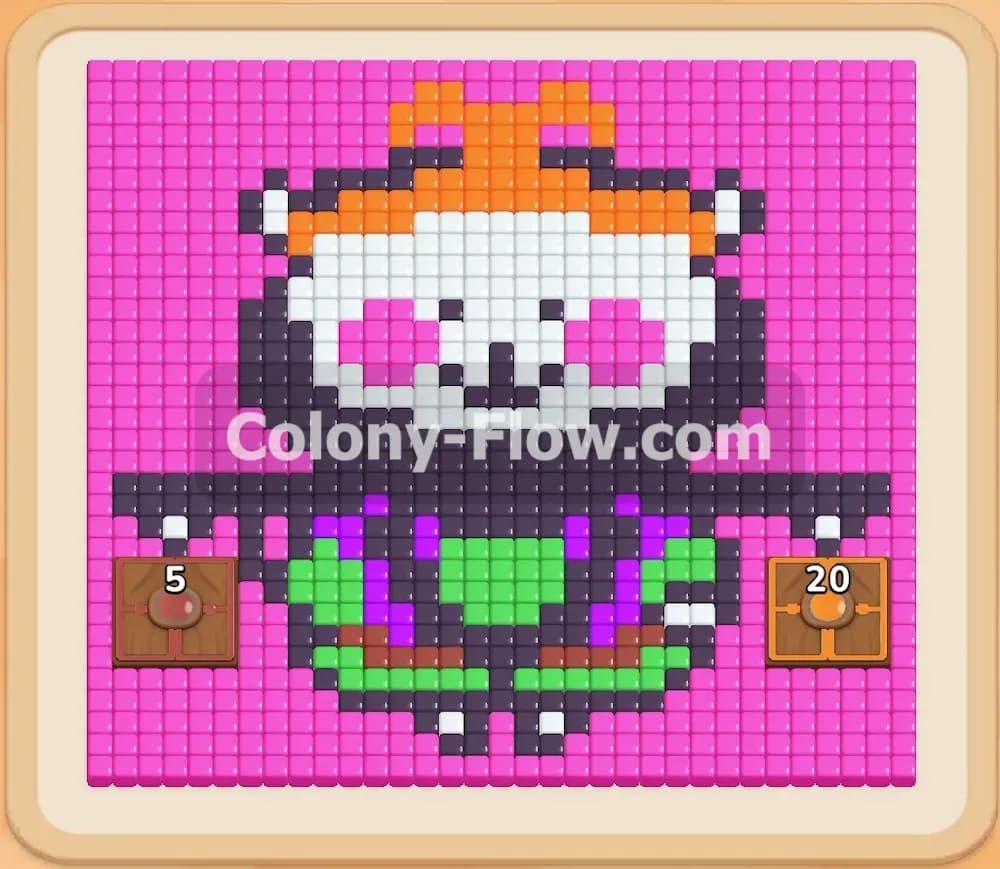
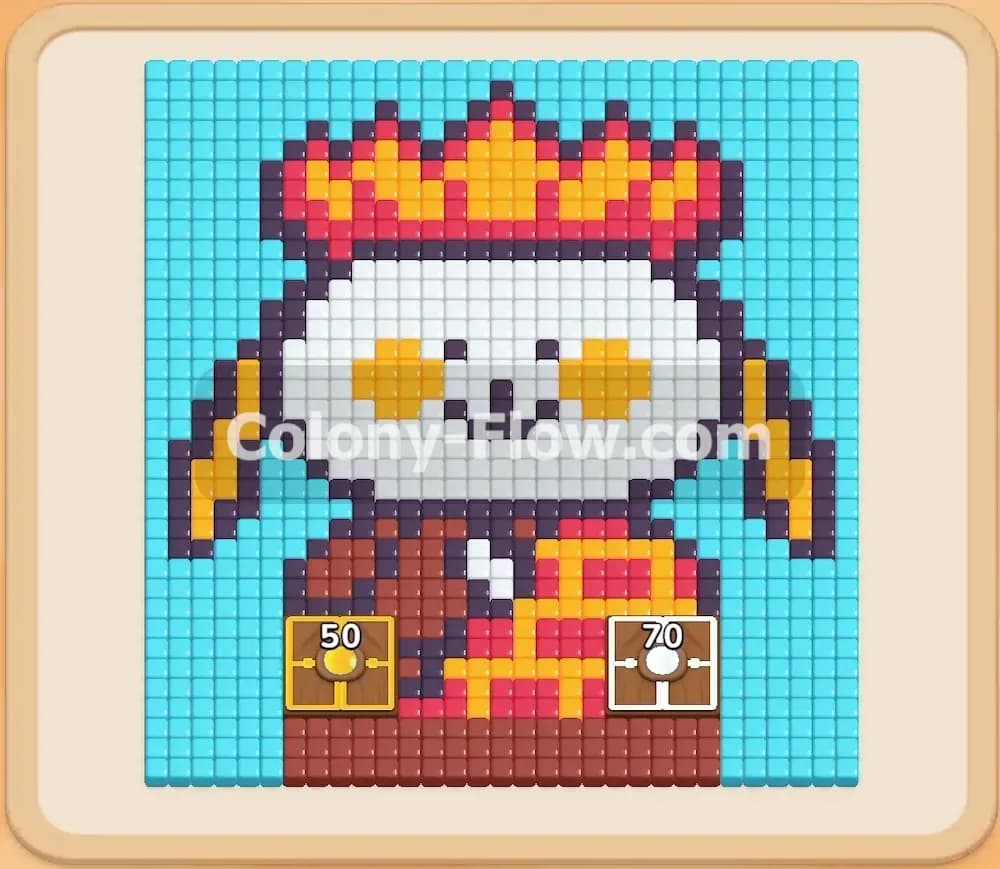
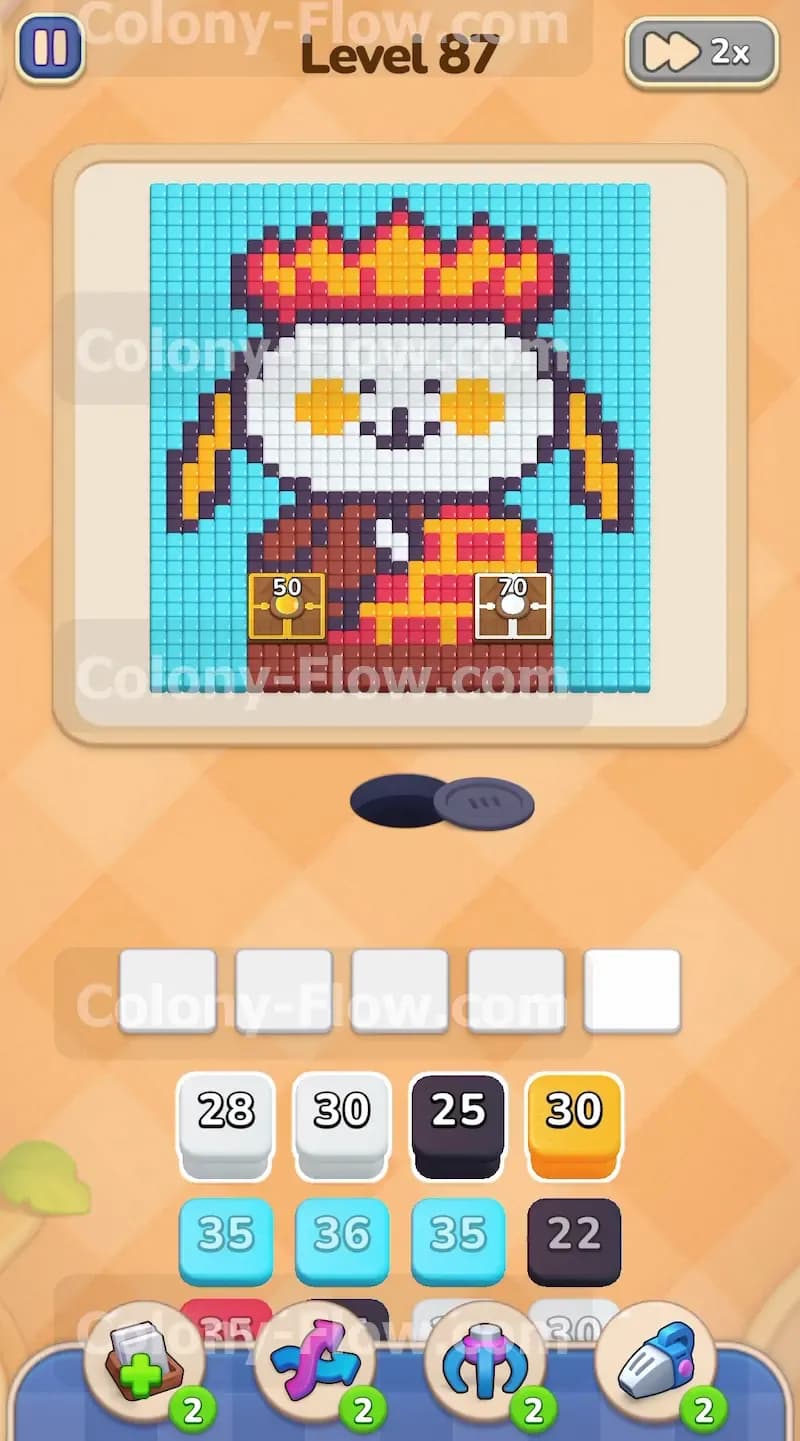
The puzzle board features a very distinct portrait surrounded by a massive solid background. The largest element on the screen is the light blue cyan background that completely swallows the top and sides of the pixel art. Inside this ocean of light blue sits the main character. The character is completely sealed inside a solid black outline. This outline acts as a thick wall protecting all the inner colors.
Inside the black border you will see a large white face with bright orange cheeks. On top of the character rests a vibrant red and yellow crown. Down at the bottom you will find a brown body holding red and yellow objects that look like gold bars or treasure chests. You will also notice two distinct square blocks resting directly on top of the treasure area. One block holds the number fifty in yellow and the other holds seventy two in white.
Down at the bottom of your screen sits your tray. This tray provides the numbered color blocks you need to pull to release your ants. You have exactly five empty waiting slots above the tray. The blocks in the tray feature very large numbers. You will see cyan blocks in the high thirties alongside massive white black red and yellow blocks. The high numbers mean you have plenty of ants to get the job done but you also have a lot of traffic to manage.
What It Takes to Clear Level 87 Board
Winning this level requires a strict outside in approach. You lose the game if you fill your five waiting slots with blocks that cannot find an open path to their matching tiles. Since the cyan background completely surrounds the character you have zero access to the inner colors at the start. You must dedicate your first several moves entirely to the cyan blocks.
Once the cyan background falls away the black outline becomes your next mandatory target. Breaking the black outline is the most important milestone in the level. Once the black wall is breached the inner face and the crown become accessible. You must constantly monitor the paths on the board. Never pull a white or red block into your slots until you can physically trace an open route from the nest hole to those specific tiles. Manage your five slots carefully and you will steadily erase the entire portrait.
Colony Flow Level 87 Step by Step Solution
Step 1: Clear the vast cyan background to expose the character.
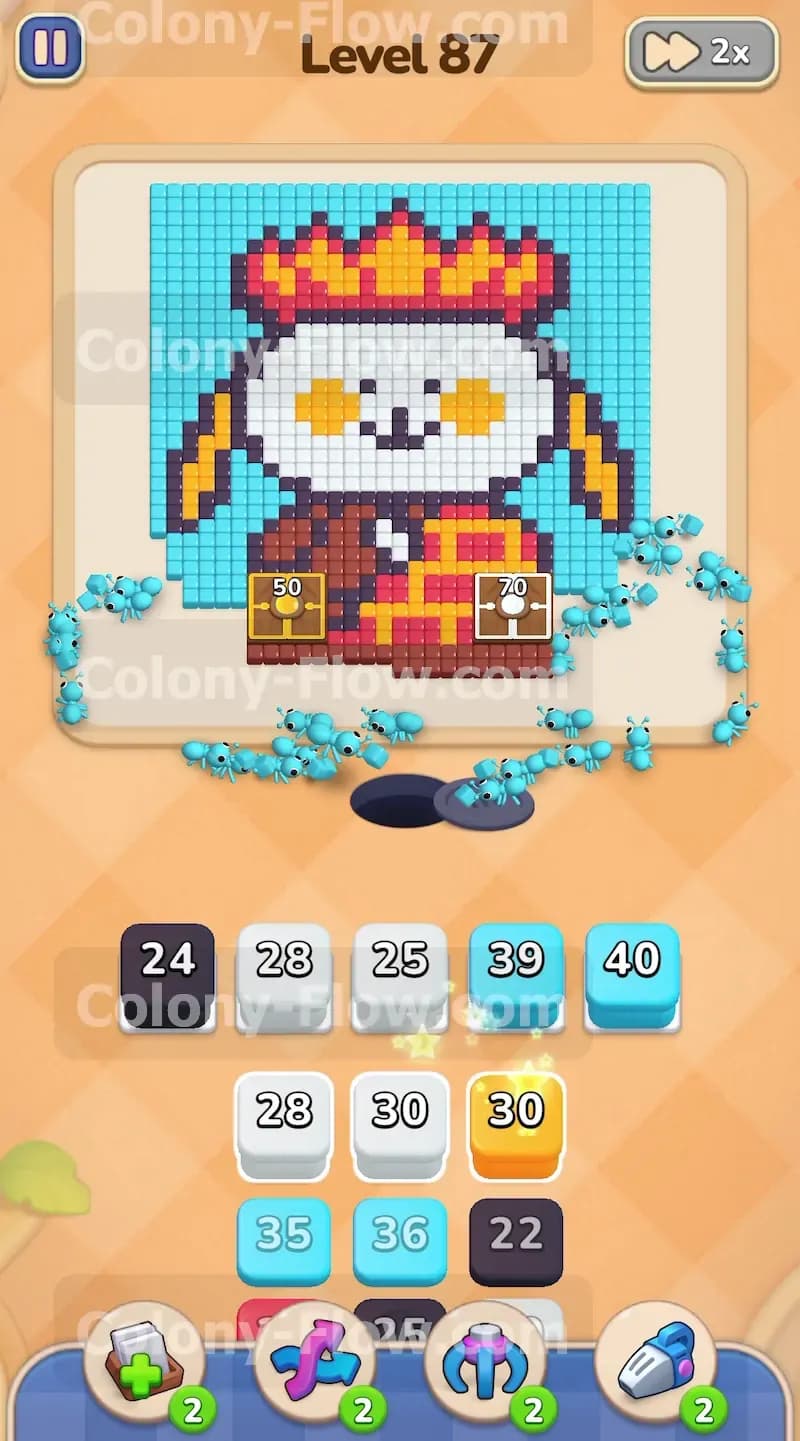
Your very first objective is to eliminate the enormous light blue area filling the outside of the board. Look down at your tray and locate the large cyan blocks. You will see blocks holding thirty five and thirty six ants. Tap these cyan blocks to move them up into your waiting slots. The numbers on these cyan blocks will quickly tick down to zero as the ants rush out of the nest hole. They will march straight toward the background tiles. Do not touch any other colors yet. Keep your waiting slots focused purely on cyan right now. If you pull white or red blocks too early they will sit dead in your slots because those ants cannot reach the face or the crown. You will also find massive cyan blocks holding thirty nine or forty ants. Use them all. Watch the cyan ants wrap around the outer edges of the screen. They will chew through the light blue pixels and slowly reveal the black outline hiding underneath. Keep your focus entirely on the cyan background until the outer edges are fully stripped away to prevent a fatal slot jam.
Step 2: Break the black outline to open new entry paths.
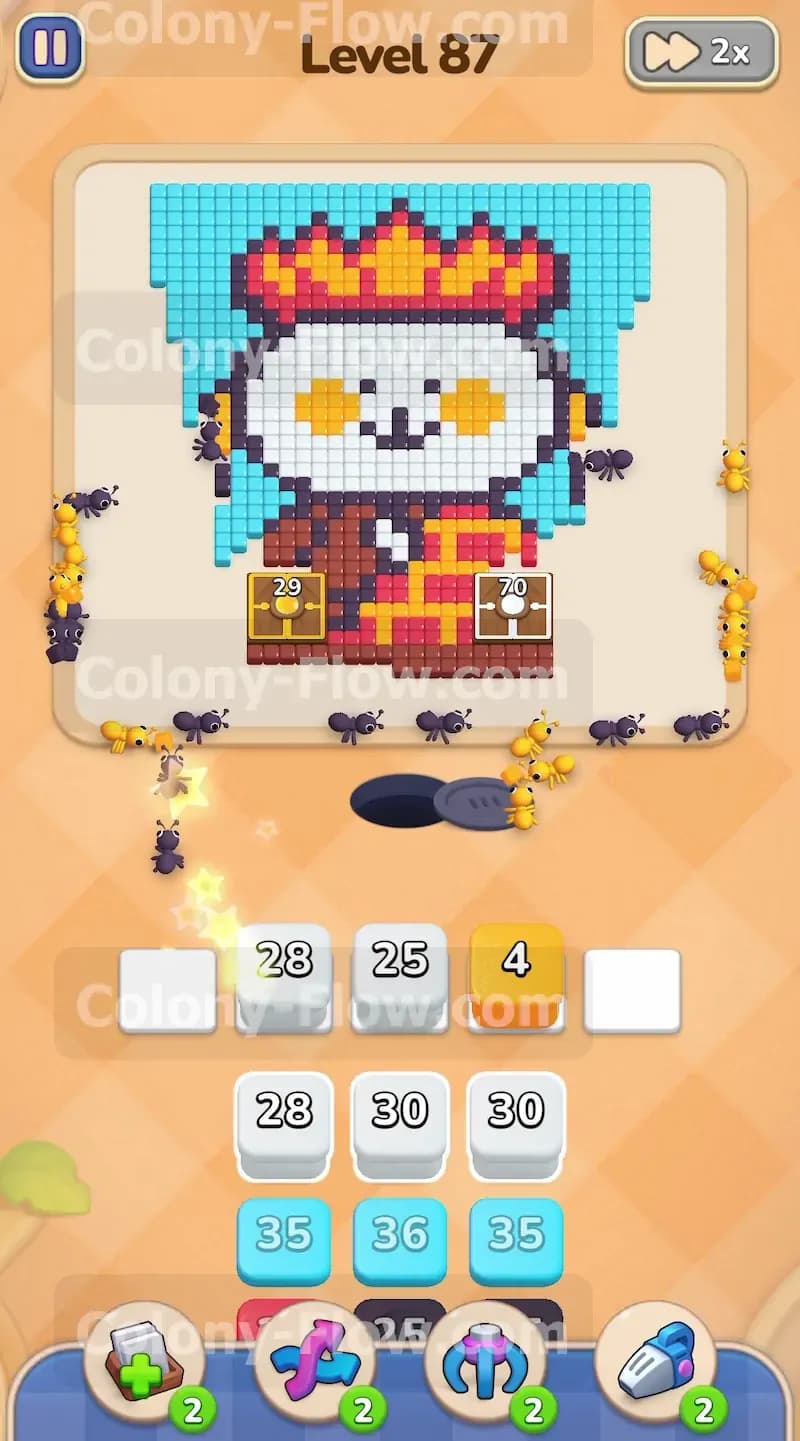
With the massive cyan background mostly destroyed you finally have clear access to the black border. This black outline wraps around the entire character and acts as a barrier protecting the inner face and crown. Pull a black block from your tray into your active slots. You will find a black block holding twenty four or twenty five ants. Tap it and watch the twenty four drop to zero as the ants deploy into the black tiles. The black ants will travel through the empty space left by the cyan background and begin eating the border. You must clear enough of this outline to create physical openings for your other ants to use. Allow the black ants to do their work and carve holes into the perimeter of the character. Always make sure you leave at least one or two of your five waiting slots empty during this phase. You never want to crowd your tray while you wait for a critical wall to fall. Keeping open slots guarantees you always have a fallback move.
Step 3: Target the yellow crown details and orange cheeks.
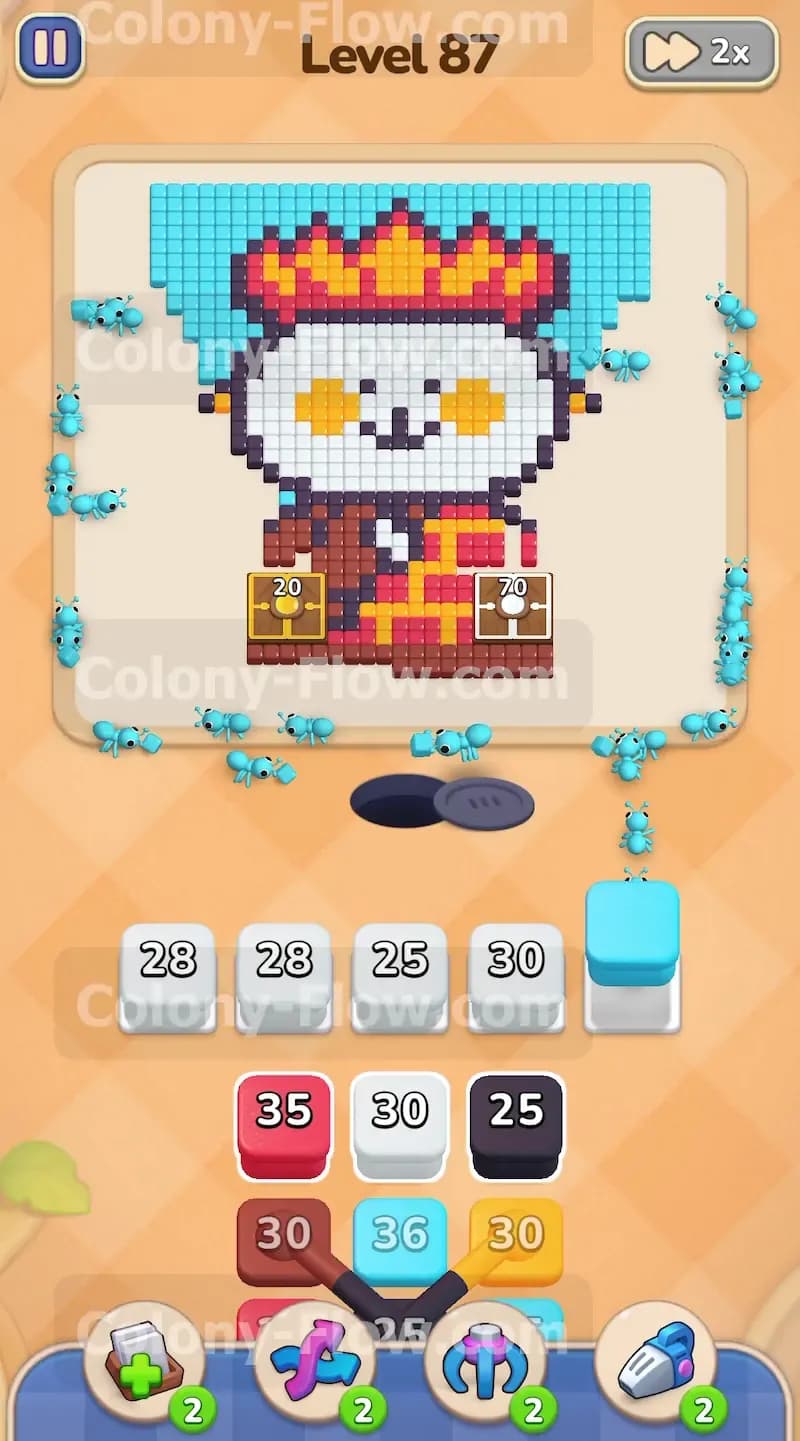
Now that the black border is broken you can start sending ants into the upper details of the character. Locate the yellow blocks in your tray. You will see a yellow block with thirty or a smaller one with four. Tap a yellow block to dispatch the ants toward the yellow sections of the crown and the bright orange cheeks on the face. The numbers will count down as the ants travel up the sides of the board where the cyan background used to be. By clearing the yellow and orange tiles you dismantle the upper structure of the crown. This opens up even more space for your future moves. Before you pull any yellow block you must verify that the black ants have actually opened a path to the yellow tiles. If the black wall is still solid in that specific area the yellow ants will stall and block your slots. Confirm the route is clear before tapping the block.
Step 4: Flood the board with white ants to erase the face.
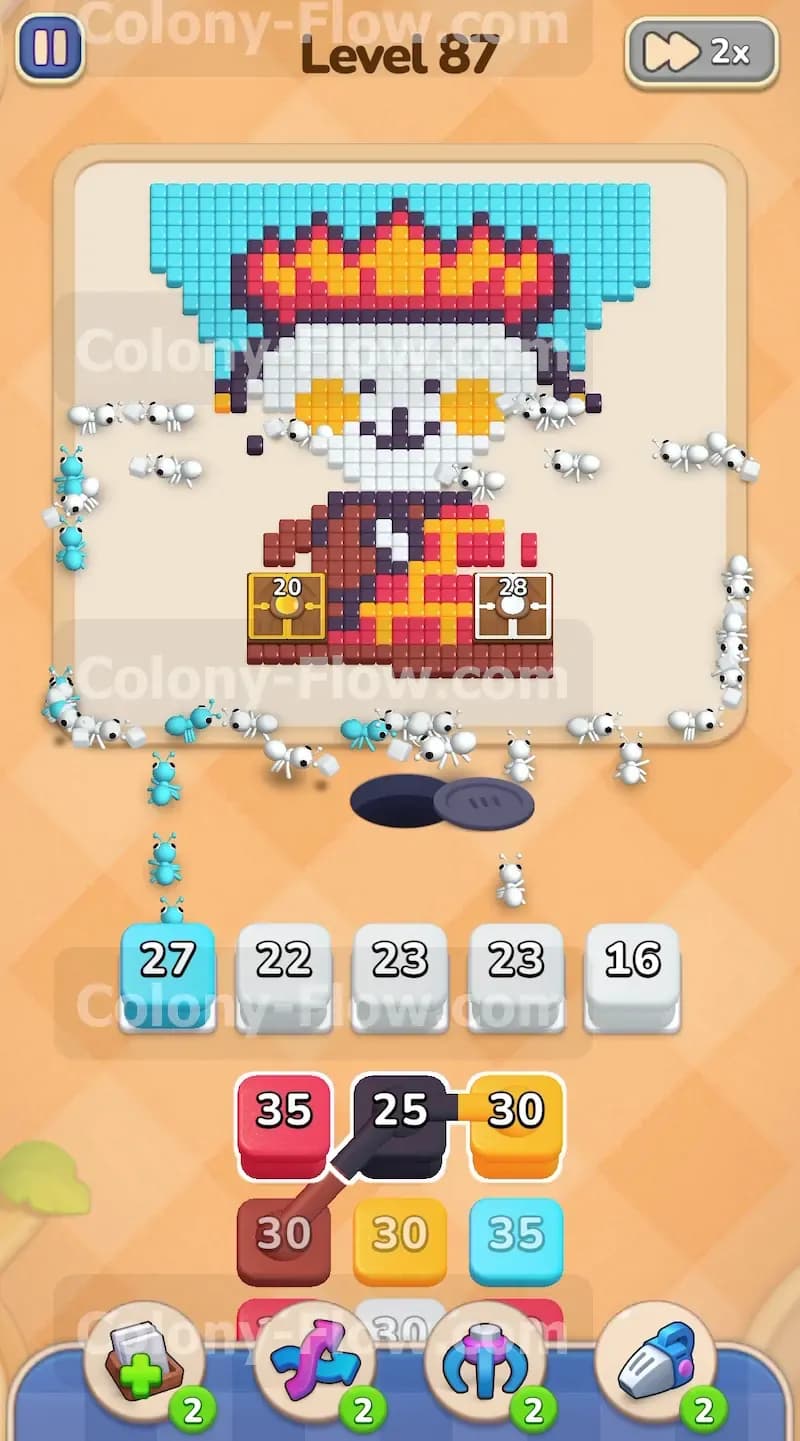
The upper border is dismantled and the large white face is totally exposed. This is the perfect moment to deploy your massive reserves of white ants. Go to your tray and pull the large white blocks into your waiting slots. You have access to multiple blocks holding twenty eight and thirty ants. The face contains a huge number of white tiles so you will pull several of these white blocks to get the job done completely. Watch the twenty eight and thirty tick down to zero as the ants erase the central portion of the character. You can safely pull two or three white blocks at the same time as long as you leave one slot open for emergencies. This keeps your queue moving and prevents a sudden tray jam. The white ants will swarm straight up the middle of the board and rapidly consume the face of the character. As the white tiles vanish you will notice the large white block on the board containing the number seventy two also clears out. This massive push hollows out the entire center of the portrait.
Step 5: Dismantle the red crown and the bottom treasure.
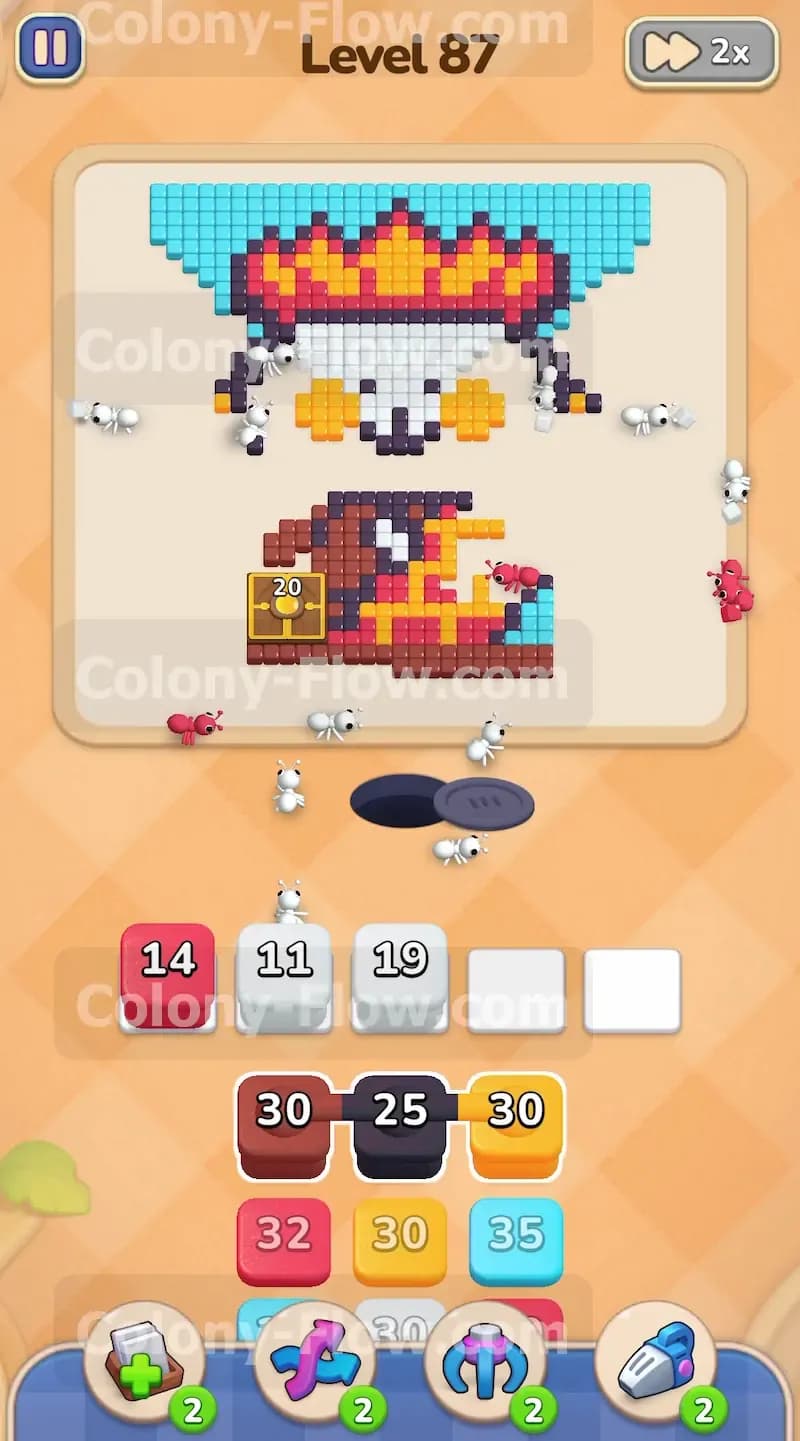
With the central face gone you will shift your strategy to the red sections of the board. The red tiles are split between the top crown and the treasure sitting at the bottom of the image. Look at your tray and pull a red block into your active lineup. You will see red blocks holding twenty nine or thirty five ants. Once you tap them the red ants will split their focus. The number thirty five on the red block will count down rapidly as the ants divide their efforts. Some will march all the way up to the top to finish off the crown while others will attack the red treasure items right near the nest hole. The treasure tiles sit very close to the bottom so the ants reach them almost instantly. This split action means your red blocks will drain very efficiently. You will also pull additional yellow blocks to help clear the remaining yellow treasure pieces interwoven with the red tiles. Keep a close eye on your tray and avoid pulling more blocks than you need. By letting the red ants finish their paths first you keep your active slots clear.
Step 6: Clear the brown body to finish the lower half.
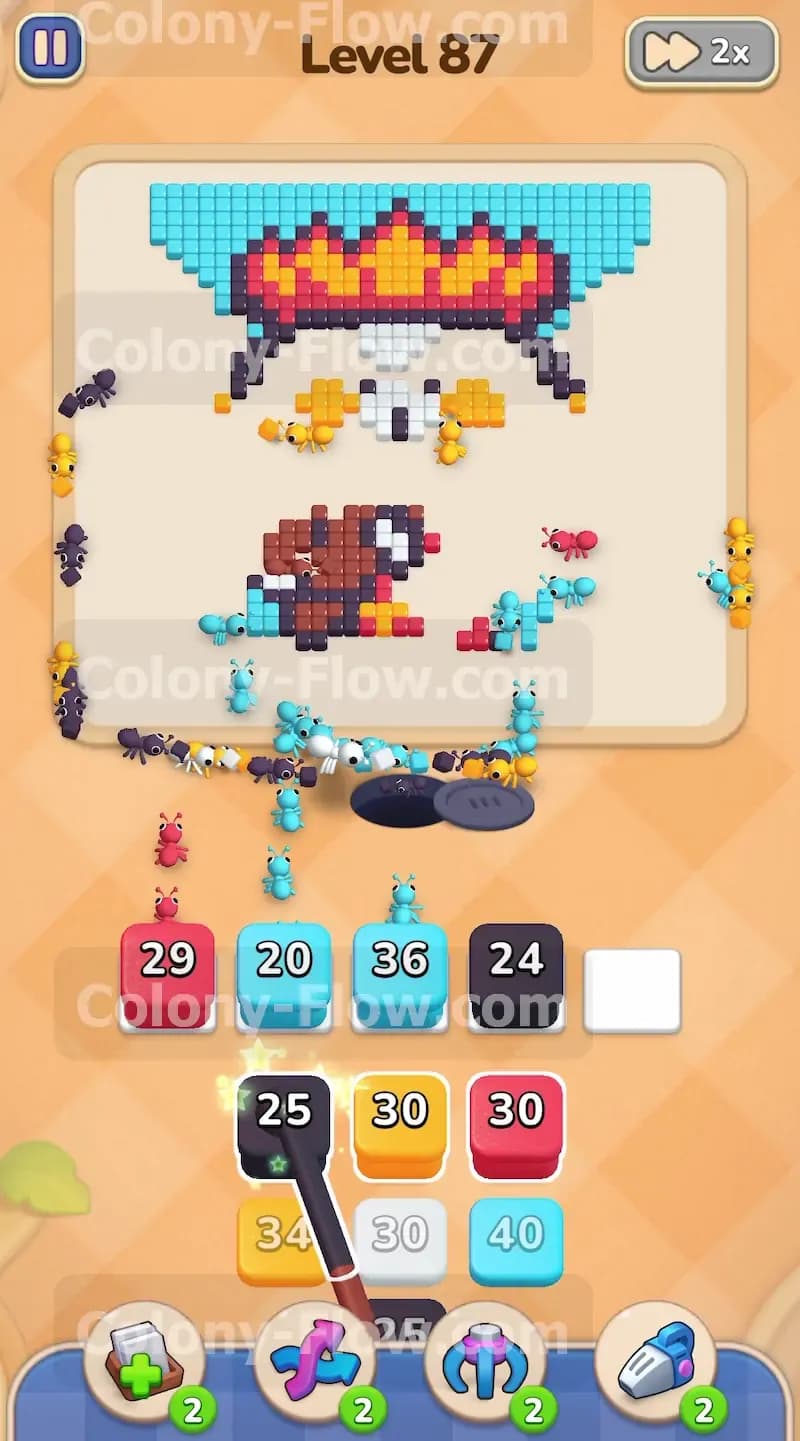
The entire upper half of the board is now completely empty. The only major solid section left is the brown torso of the character sitting just above the nest hole. Check your tray for the brown blocks. Look for a brown block holding fourteen ants. Pull the brown block into a waiting slot and let the ants loose. Because the body is located so close to the nest the brown ants have an incredibly short travel time. Watch the fourteen drop to zero as they consume the brown pixels. They will immediately flood the remaining torso and eat away the base of the character. You must make sure that all blocking black outline tiles are completely gone before you pull the brown block. If even a single black pixel blocks the route the brown ants will freeze in your tray. Let the brown ants chew through the core of the body until the bulk of the character is completely erased.
Step 7: Clean up the scattered remnant tiles and empty the board.
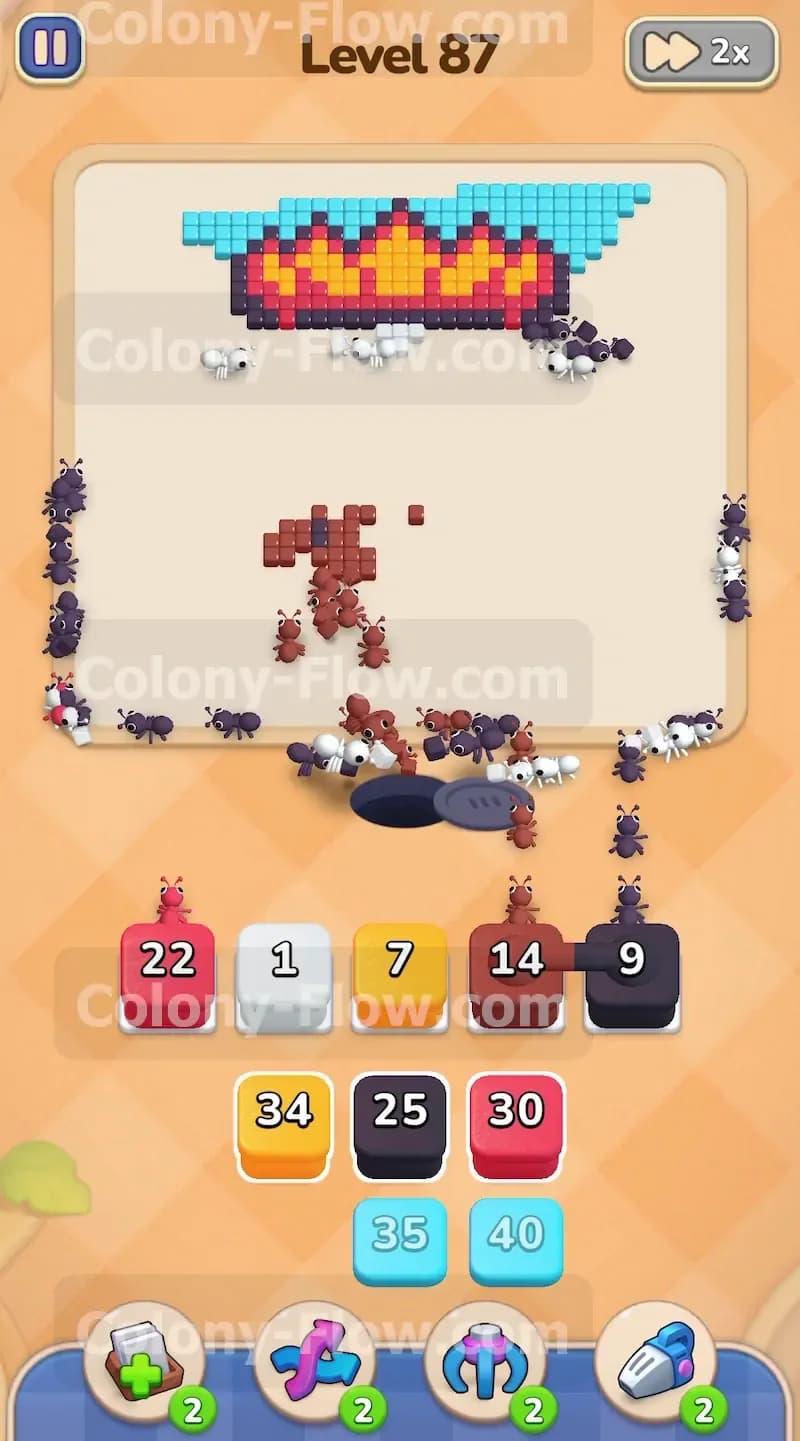
The main structures of the picture are completely gone but your job requires one last push. You will see several scattered tiles left on the board. These will be small fragments of the black outline stray pieces of red treasure or a few lonely yellow pixels. This is the cleanup phase and it requires extreme precision. Do not just blindly pull blocks from your tray. Look exactly at what colors remain on the screen and pull only the corresponding blocks. You will see a small yellow block with seven ants or a black block with nine ants. Pull exactly what you need to match the surviving tiles. You will see the numbers drop from nine or seven straight to zero as the final pieces disappear from the screen. This guarantees every block you pull has an open path to its target. The final waves of ants will sprint out of the nest hole and hunt down the last scattered pixels. Once the board is entirely empty and your tray is clear you have successfully beaten the puzzle.
Final Thought
Colony Flow Level 87 requires incredible discipline during the early stages of the puzzle. You must respect the massive cyan background and dedicate your first moves entirely to clearing it away. If you maintain patience and wait for the black outline to properly open you will never struggle with jammed waiting slots. Your steady outside in strategy will tear down the portrait piece by piece. Be sure to watch the video above this article if any step is hard to follow in text.